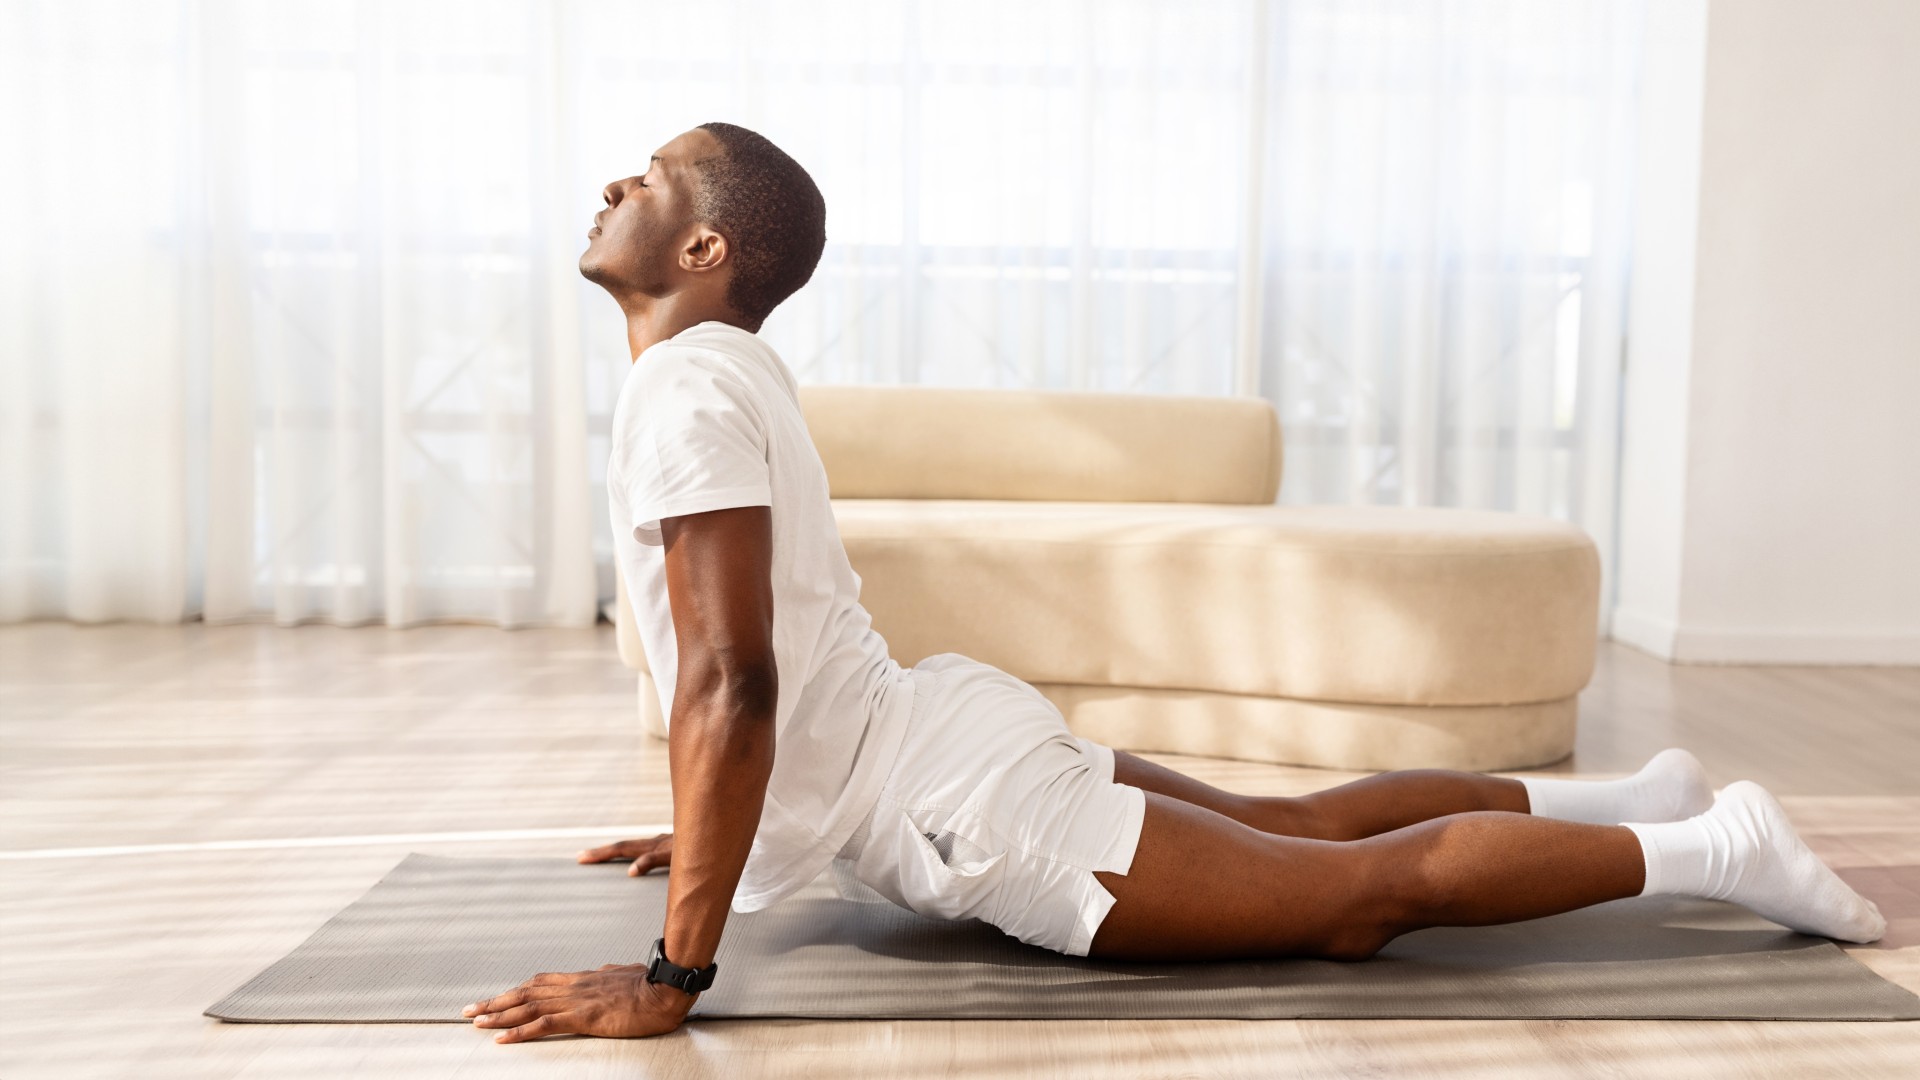
A 12-minute hip mobility routine that releases tight hips and increases lower body flexibility? Yes, please. Just roll out one of the best yoga mats, and try these simple yoga exercises.
As a yoga beginner, you might wonder if this routine is for you. Anyone working with an injury or illness, diagnosed or not, should consider medical advice before delving in. Otherwise, this hip mobility yoga routine is suitable for most people. That said, the exercises shouldn’t hurt, so if you do experience pain, stop immediately.
Designed by Yoga With Tim, the short routine below can improve the mobility of the hips and surrounding tissues, and it only takes 12 minutes to do, making it the perfect way to start or finish your day. Read on to access the video in full.
Watch Yoga With Tim’s 12-minute yoga routine
“This works great as a stand-alone morning routine or any time of day or can be used as a warm-up or cool-down pre or post-workout,” says Tim. “This daily mobility class will help release hip tension and open the body for better movement.”
Tim, who I’m convinced looks alarmingly like Hugh Jackman (I can confirm that Hugh hasn’t made a secret career change), flows through beginner-friendly yoga exercises like glute bridges, figure-4 stretches, windshield wipers, 90/90 and internal hip rotations.
If at any point an exercise isn’t for you, I recommend a restorative child’s pose or downward dog and jumping back in when you can. That said, most yoga teachers, including Tim, will give you scaling options to make an exercise more or less challenging depending on your unique physiology and abilities.
3 tips for nailing this simple yoga routine
I’ve tried the routine myself and here are three tips for getting the most out of it as a fellow yogi and fitness enthusiast.
Get instant access to breaking news, the hottest reviews, great deals and helpful tips.
Learn to breathe
Tim recommends breathing “calm through the nose,” which is generally how you breathe during yoga classes — in and out through the nose. Integrating breath and movement doesn’t come naturally to me, it takes practice, but my top tip is to be mindful of your breathing throughout and avoid holding your breath during postures.
Yoga combines a physical “asana” practice with breath — pranayama. In yoga, breathing is just as important as the postures you move through. A guide to ujjayi became useful to me when learning yogic breathing. Just think about breathing to expand your torso rather than into your chest. An active diaphragm can also help engage your core.
In yoga circles, ujjayi is considered “cleansing” or “oceanic." Research published in Scientific Reports indicates that breathwork like this can even help relieve stress in the body by soothing the nervous system, and just minutes can have a positive impact.
Here’s Chris Hemsworth’s 5-minute breathing exercise and 3 breathing exercises using your Garmin watch to help you get started.
Don’t force anything
Sure, we’re built with the same sorts of structures as humans — we're a big old mix of bones, muscles, ligaments, tendons, joints and so on. However, every human’s physiology and movements are unique to them, so just because your instructor can bend themselves into seemingly impossible angles, doesn’t mean you can (or should) too. And that’s perfectly okay.
My yoga practice improved tenfold when I finally let go of the expectations around poses or looking perfect in them. Cues are invitations to find more space, improve posture and alignment and explore each pose, not a pressure to do anything your body doesn't like.
Gwyneth Paltrow might not agree, but gravity is your best friend, so let it happen naturally.
During the class, rather than forcing anything, guide your body there. Come back to your breath; the exhale is a great time to sink deeper into postures, so allow the rhythm of your breathing to help you reach a more challenging version of each move.
Use your props
Finally, Tim encourages using a yoga block or chair if you prefer. Props aren’t an easy way out, so try to enjoy using them! Sometimes, placing a block beneath your butt, hands, knees, or feet (depending on the yoga flow) can help you understand a pose better and get even more out of it.
Blocks and bolsters are brilliant for improving alignment and posture, so be sure to use them if you find a pose particularly challenging for your flexibility.
More from Tom's Guide
- You'll never do sit-ups again after trying these 5 dumbbell ab exercises — according to a personal trainer
- I've been walking 5K every day to boost my metabolism and build mental stamina — here's why I don't count steps
- I tried this 5-minute morning yoga routine as soon as I woke up each day

Sam Hopes is a level 3 qualified trainer, a level 2 Reiki practitioner and fitness editor at Tom's Guide. She is also currently undertaking her Yoga For Athletes training course.
Sam has written for various fitness brands and websites over the years and has experience across brands at Future, such as Live Science, Fit&Well, Coach, and T3.
Having coached at fitness studios like F45 and Virgin Active and personal trained, Sam now primarily teaches outdoor bootcamps, bodyweight, calisthenics and kettlebells.
She also coaches mobility and flexibility classes several times a week and believes that true strength comes from a holistic approach to training your body.
Sam has completed two mixed doubles Hyrox competitions in London and the Netherlands and finished her first doubles attempt in 1:11.

