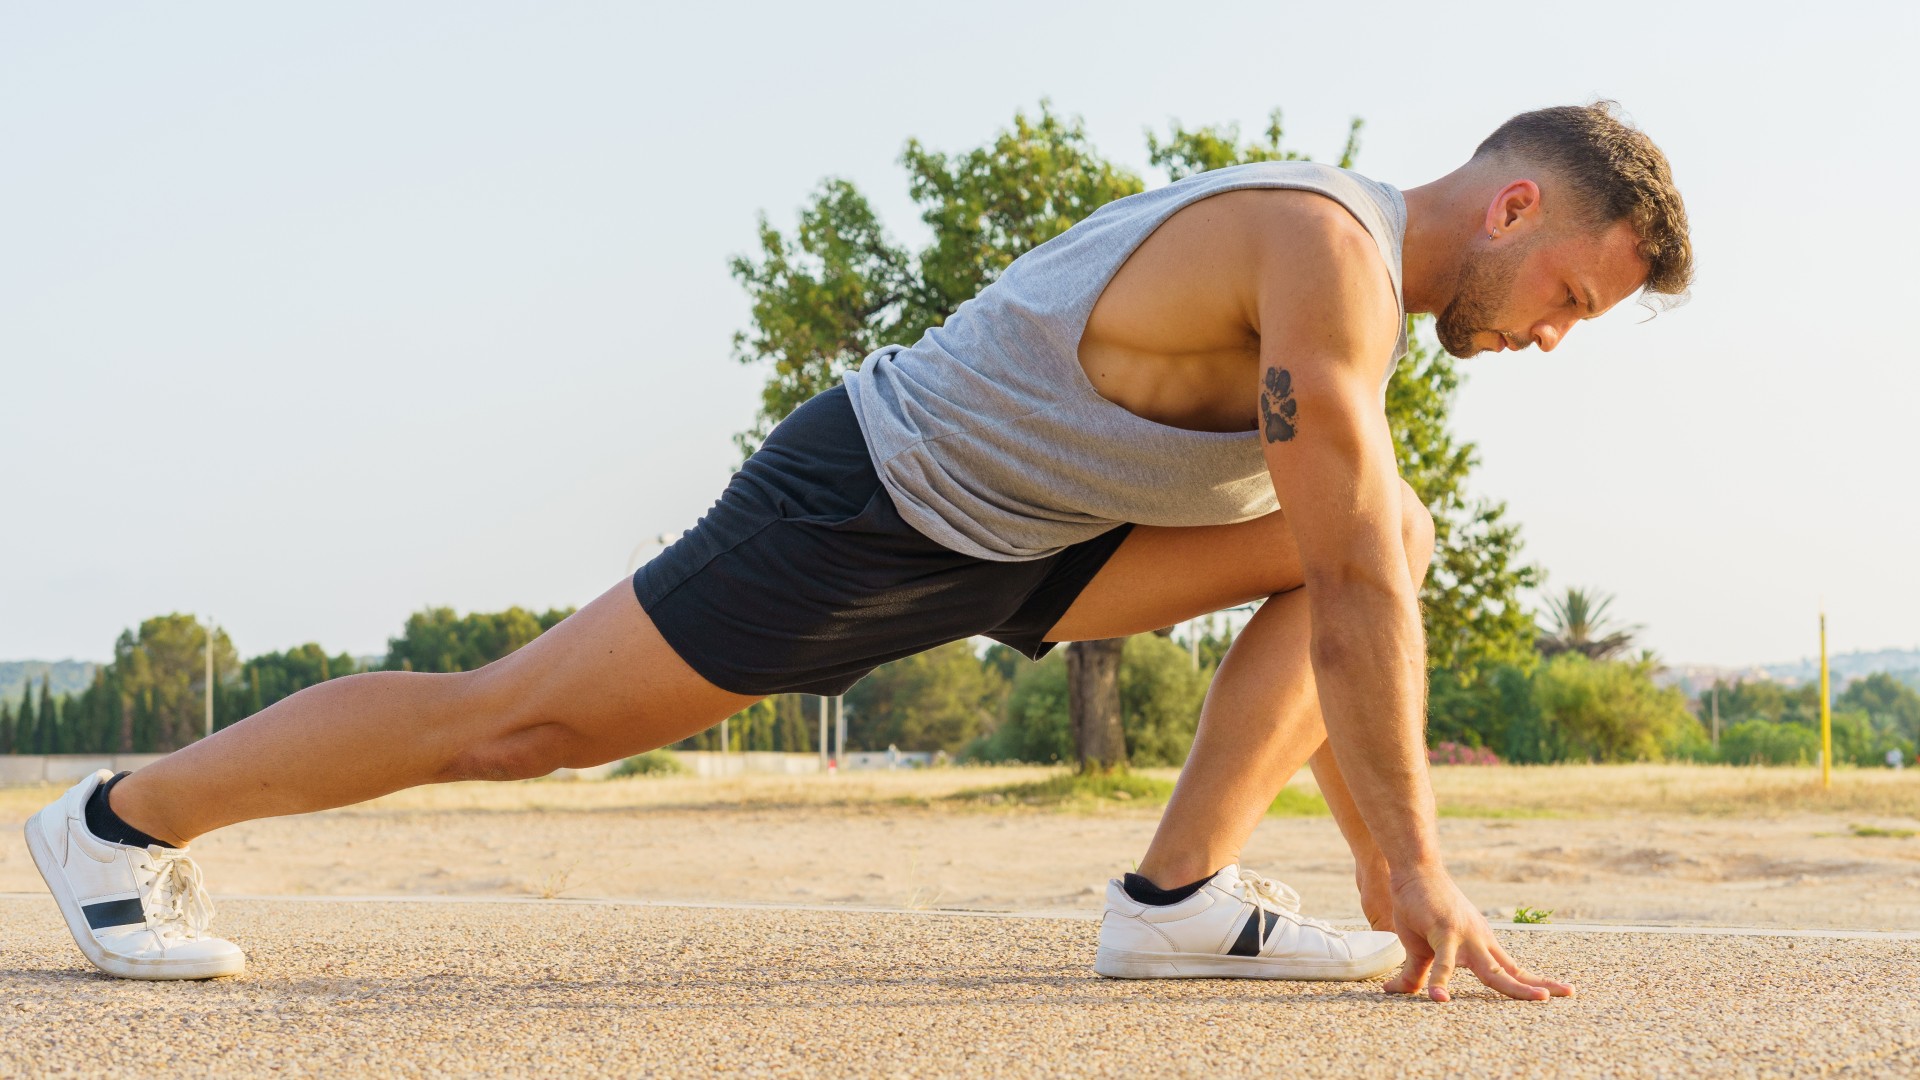
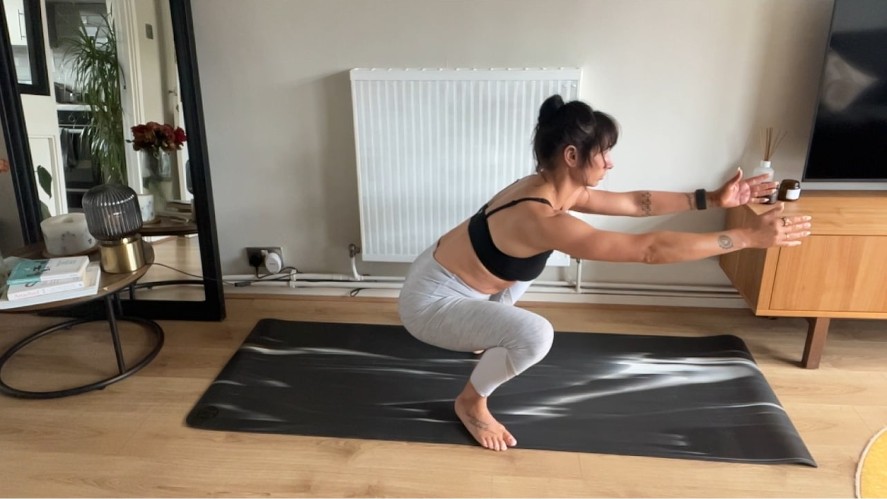
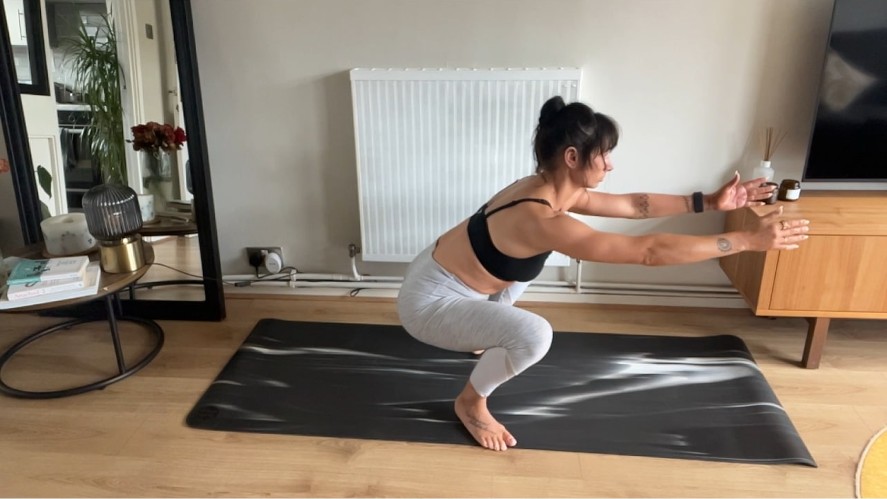
My Achilles heel is performing the squat — I have such tight ankles and struggle to find a tall and proud back position deep in the bottom of the exercise. No matter how much I work on them, they’re always my most problematic of the ‘big 5’ lifts.
While scrolling through the Pliability mobility app recently, I found the “Live Below Parallel” path. It’s a three-week lower-body mobility series focusing on finding depth in the squat (below parallel) and improving mobility around the hips, knees and ankles. The path includes two sessions per week for three weeks, all lasting between 23-26 minutes a session, and can be cycled every three weeks for maintenance.
Could it be the answer to all my squat prayers? I hope so. Here’s my results so far.
What is the ‘Live Below Parallel’ squat series?
This one is for the butt-winkers out there (butt-winking is a term that refers to a slight pelvic tilt at the bottom of the squat, creating rounding in the lumbar spine due to limited range of motion elsewhere). If you guys, like me, need a little help with lower-body mobility, I highly recommend following the series.
Areas you can expect to improve include ankle, hip and knee joint mobility and glute, groin, psoas, quad, hamstring and lower back flexibility. There’s also some focus work on the IT band, plus breathwork while you hold each pose.
I’ve plucked a few exercises and examples from the path you can follow from home to get you started, which gives you a flavor of the hell — I mean, work — I’ve been pursuing over the last few weeks. Before we dive in, these stretches aren’t designed to be easy. At no point should it feel like a cruise, nor should you be experiencing out-and-out pain.
For instance, I like to keep things under a 4/10 in the pain sector. Ideally, there will be no pain, but it might feel uncomfortable at times and challenging to hold the position without adjusting or wriggling.
Remember, it’s normal, and the feeling will pass, so just focus on your breathing. And as you settle into each posture, notice how the muscles begin to relax — it’s common for this to occur roughly 15-45 seconds into the stretch when performing stretching and mobility exercises.
1. Lizard pose
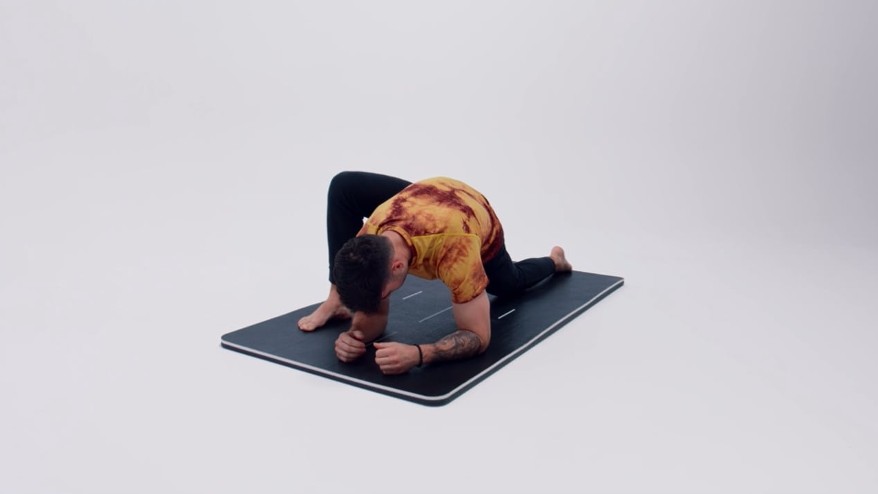
To perform the lizard pose, start on all fours:
- Step your right foot forward and extend your left leg behind you
- Bring your hands to the mat on the inside of your right foot
- If you can, lower to your forearms and hold the stretch
- Pull your shoulders back and lift your chest without hunching your back
- Wrap your right knee in and stack the knee over the ankle
- Hold for at least 60 seconds, then switch sides.
You should feel the stretch in the hip flexors and quad muscles of the back leg, and the gluteal muscles and groin of the front leg.
2. Frog pose
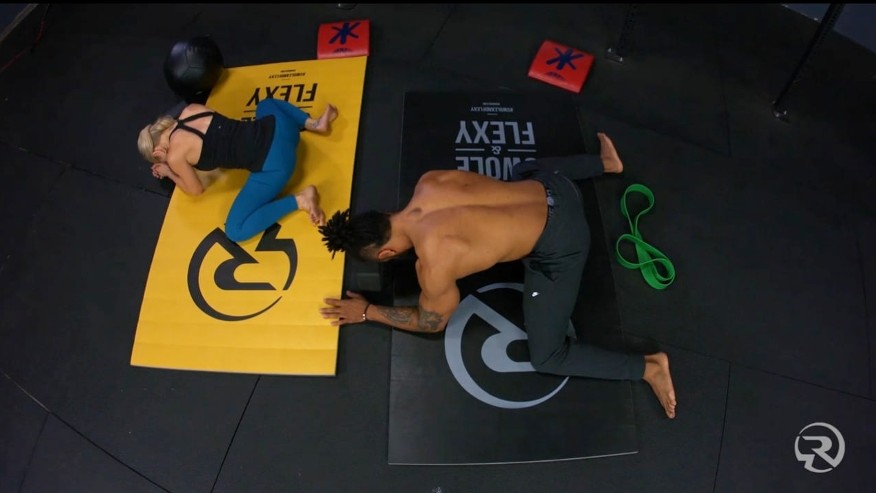
- Start on all fours
- Widen your knees as far as possible
- Draw your heels out as far as possible in line with your knees
- Flex your feet or point your toes
- Place your elbows on the ground in front of you
- Shift your bum backward and press into your hips
- Relax your upper body to the mat and hold for at least 60 seconds.
To make the exercise easier, bring your feet closer together. The inner knees and ankles should make contact with the mat. The frog pose is the ultimate groin opener and can even improve symptoms of sciatica.
3. Sumo squat (yogi squat)
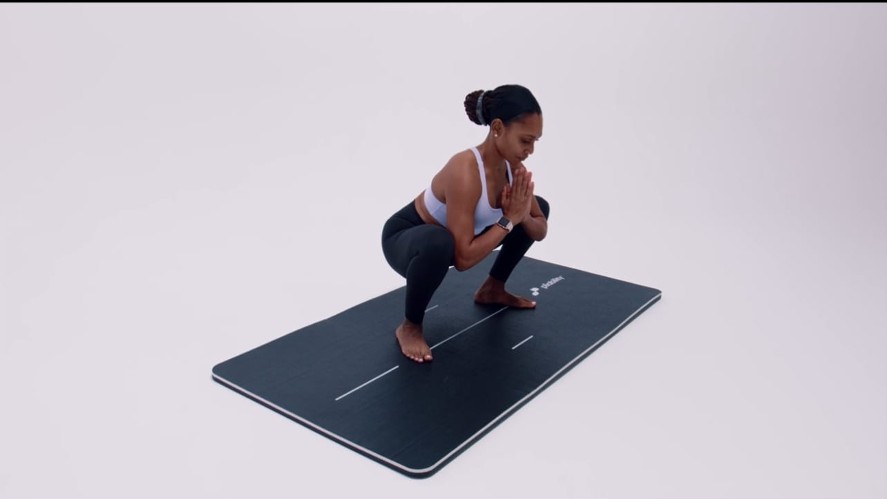
- Start standing with feet wide — the narrower, the harder the move becomes
- Turn your toes out slightly if it feels more comfortable on your knees
- Squat below parallel and draw your bum downward
- Lift your chest and keep your back straight, heels pressing down
- Draw your knees outward in line with your toes
- Press your hands together in front of you and push against your inner shins with your triceps
- Hold the stretch for at least 60 seconds
- If you prefer, elevate your heels with blocks or cushions or place one under your bum for support.
Sumo squat, also known as the yogi squat targets the groin, spine and quads and helps decompress the back.
4. Bound angle pose
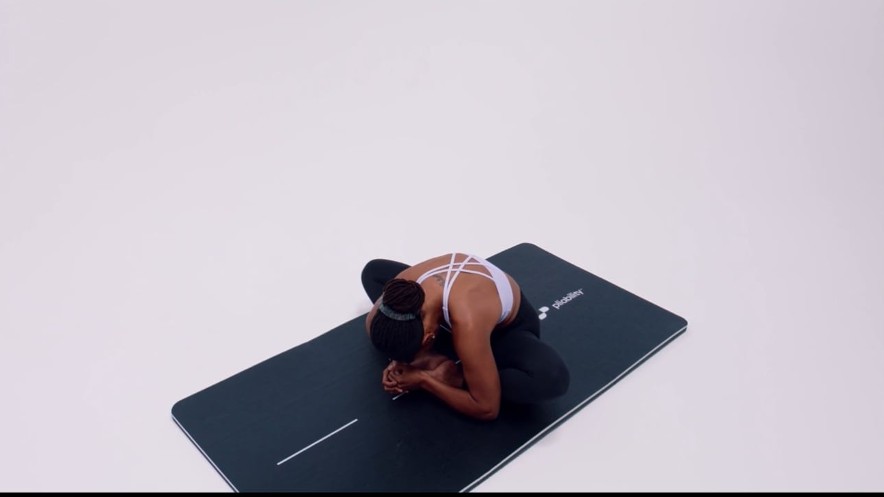
- Start seated, then bend both knees and press the soles of your feet together
- Relax your knees
- Hinge forward at the hips, keeping your back straight as you lean your chest toward your legs
- Hold your feet to drive your chest forward or extend your arms in front of you to stretch the shoulders
- Relax your head
- Move your feet further away from the groin if you have very tight hips or closer for a deeper stretch
- Hold for at least 60 seconds.
Place a block beneath your forehead or bum for extra support and a more passive stretch. The bound angle, similar to the butterfly pose, targets the groin, hips and lower back.
5. Saddle pose
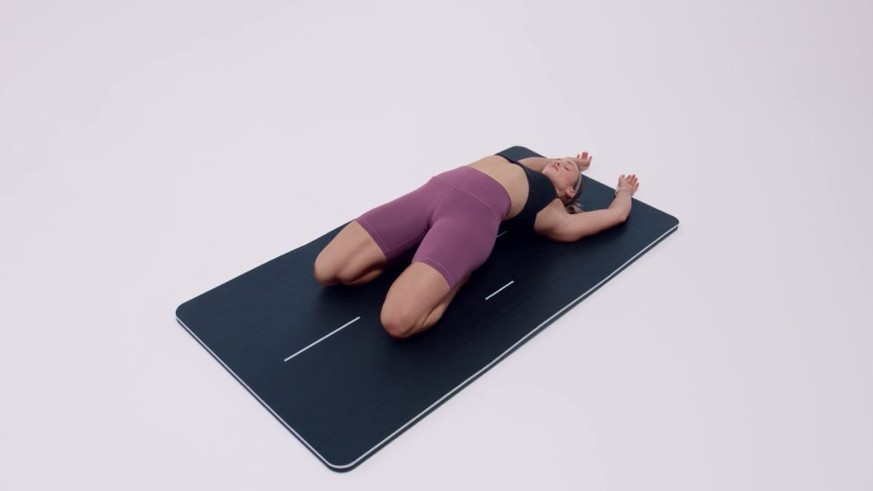
- Start on all fours
- Take your knees wide to about hip-width apart and bring your toes together
- Keep your spine tall and place your hands on your thighs
- For a deeper stretch, place your hands behind your hips and lean back
- To progress further, lower your forearms and lean further back. Look ahead
- If you can, lower your back to the mat behind you, slightly rounding the spine and lifting the chest. Extend your arms overhead behind you and relax your upper body.
Sit on a block if you can’t sit on your heels or place a blanket between your feet. You can also position a block along your spine or under the midback and shoulders. Avoid forcing your knees down. The saddle is great for the quads, knees, ankles, spine and hips.
Trainer tips
I like to adjust postures to suit my ability and personal mechanics. If any of these tips are helpful to you, use them to find a more comfortable or challenging variation of each exercise. Remember, this is optional, and if you experience pain or discomfort, listen to your body and stop if necessary.
I place a pillow beneath my back knee during lizard, as it helps me to focus on the hip flexor and glute of my front leg without compressing my knee too much. Similarly, I place a block along my midback on the highest setting during saddle pose, which helps my upper body relax into the stretch. I know many people find saddle too intense, but you can safely allow your knees to lift slightly without hurting your knee joints.
The beauty of all of these poses is that they’re easy to modify to your ability. For example, bound angle can be done whether or not your knees touch the ground. The key is to let gravity do its thing and allow your knees to naturally fall open rather than forcing them down. You’ll still get a deep groin stretch without jamming your knees.
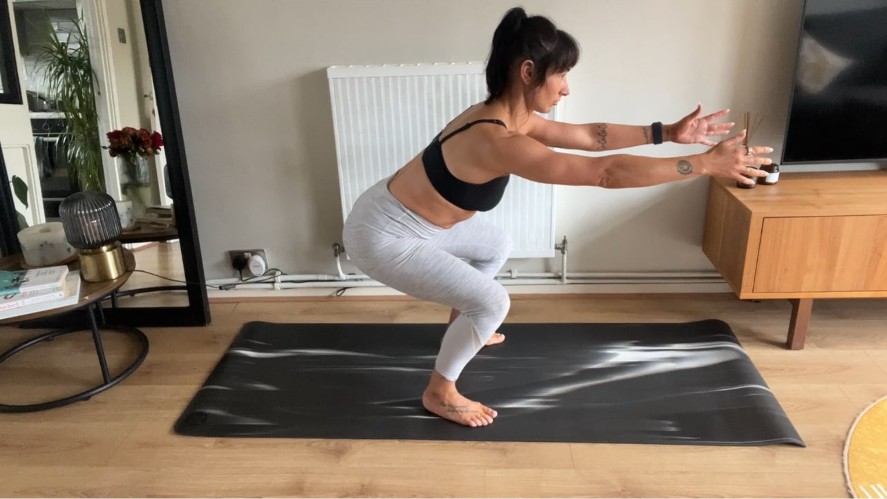
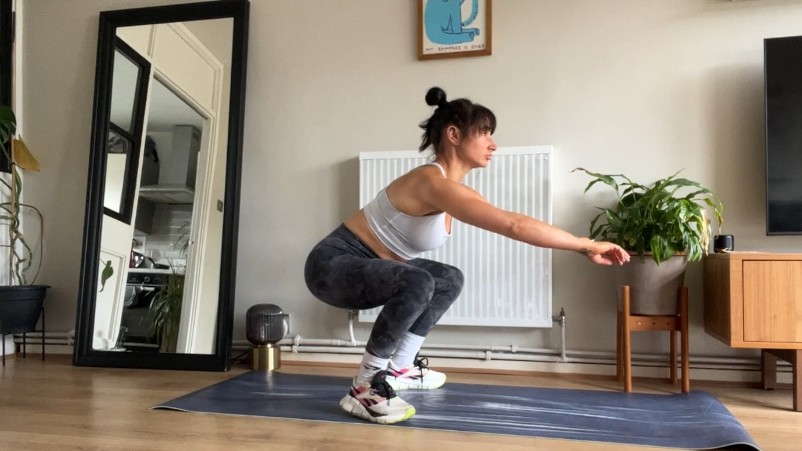
I’ve been following the path for three weeks and plan to continually cycle it. Here are my results so far.
More from Tom's Guide
- Who needs leg raises? Try this lower abs exercise to strengthen your core and hips instead
- Personal trainer shares the one simple hip flexor trick you're missing
- You only need 10 minutes and these 4 standing abs exercises to strengthen your core and boost your metabolism
Sign up to get the BEST of Tom's Guide direct to your inbox.
Get instant access to breaking news, the hottest reviews, great deals and helpful tips.

Sam Hopes is a level 3 qualified trainer, level 2 reiki practitioner and senior fitness writer at Tom's Guide. She is also currently undertaking her Yoga For Athletes training course. Sam has written for various fitness brands and websites over the years and has experience across brands at Future such as Live Science, Fit&Well, Coach, and T3.
Having worked with fitness studios like F45 and Virgin Active, Sam now primarily teaches outdoor bootcamps, bodyweight, calisthenics and kettlebells. She also coaches mobility and stretching-focused classes several times a week and believes that true strength comes from a holistic approach to training your body.
Sam has completed two mixed doubles Hyrox competitions in London and the Netherlands and finished her first doubles attempt in 1:11.


