I’m a big fan of pigeon pose; the yoga posture helps stretch your glutes, hips, lower back and groin and offers a deep lower body release — when performed correctly. The problem is, that many people find pigeon pose hurts their knees, or are unsure how to perform the exercise safely without an instructor close by.
Enter, spider lunges. If you’re unfamiliar, trust me, you’ll have seen these before, even if you don’t know them by name. And considering how many names the fitness industry has for every exercise in existence, that’s not uncommon.
You’re even utilizing spider lunges when performing the World's Greatest Stretch, so, you might have already done it, too. Intrigued? Here’s how to do spider lunges step-by-step, the benefits and ways to modify them.
What are spider lunges?
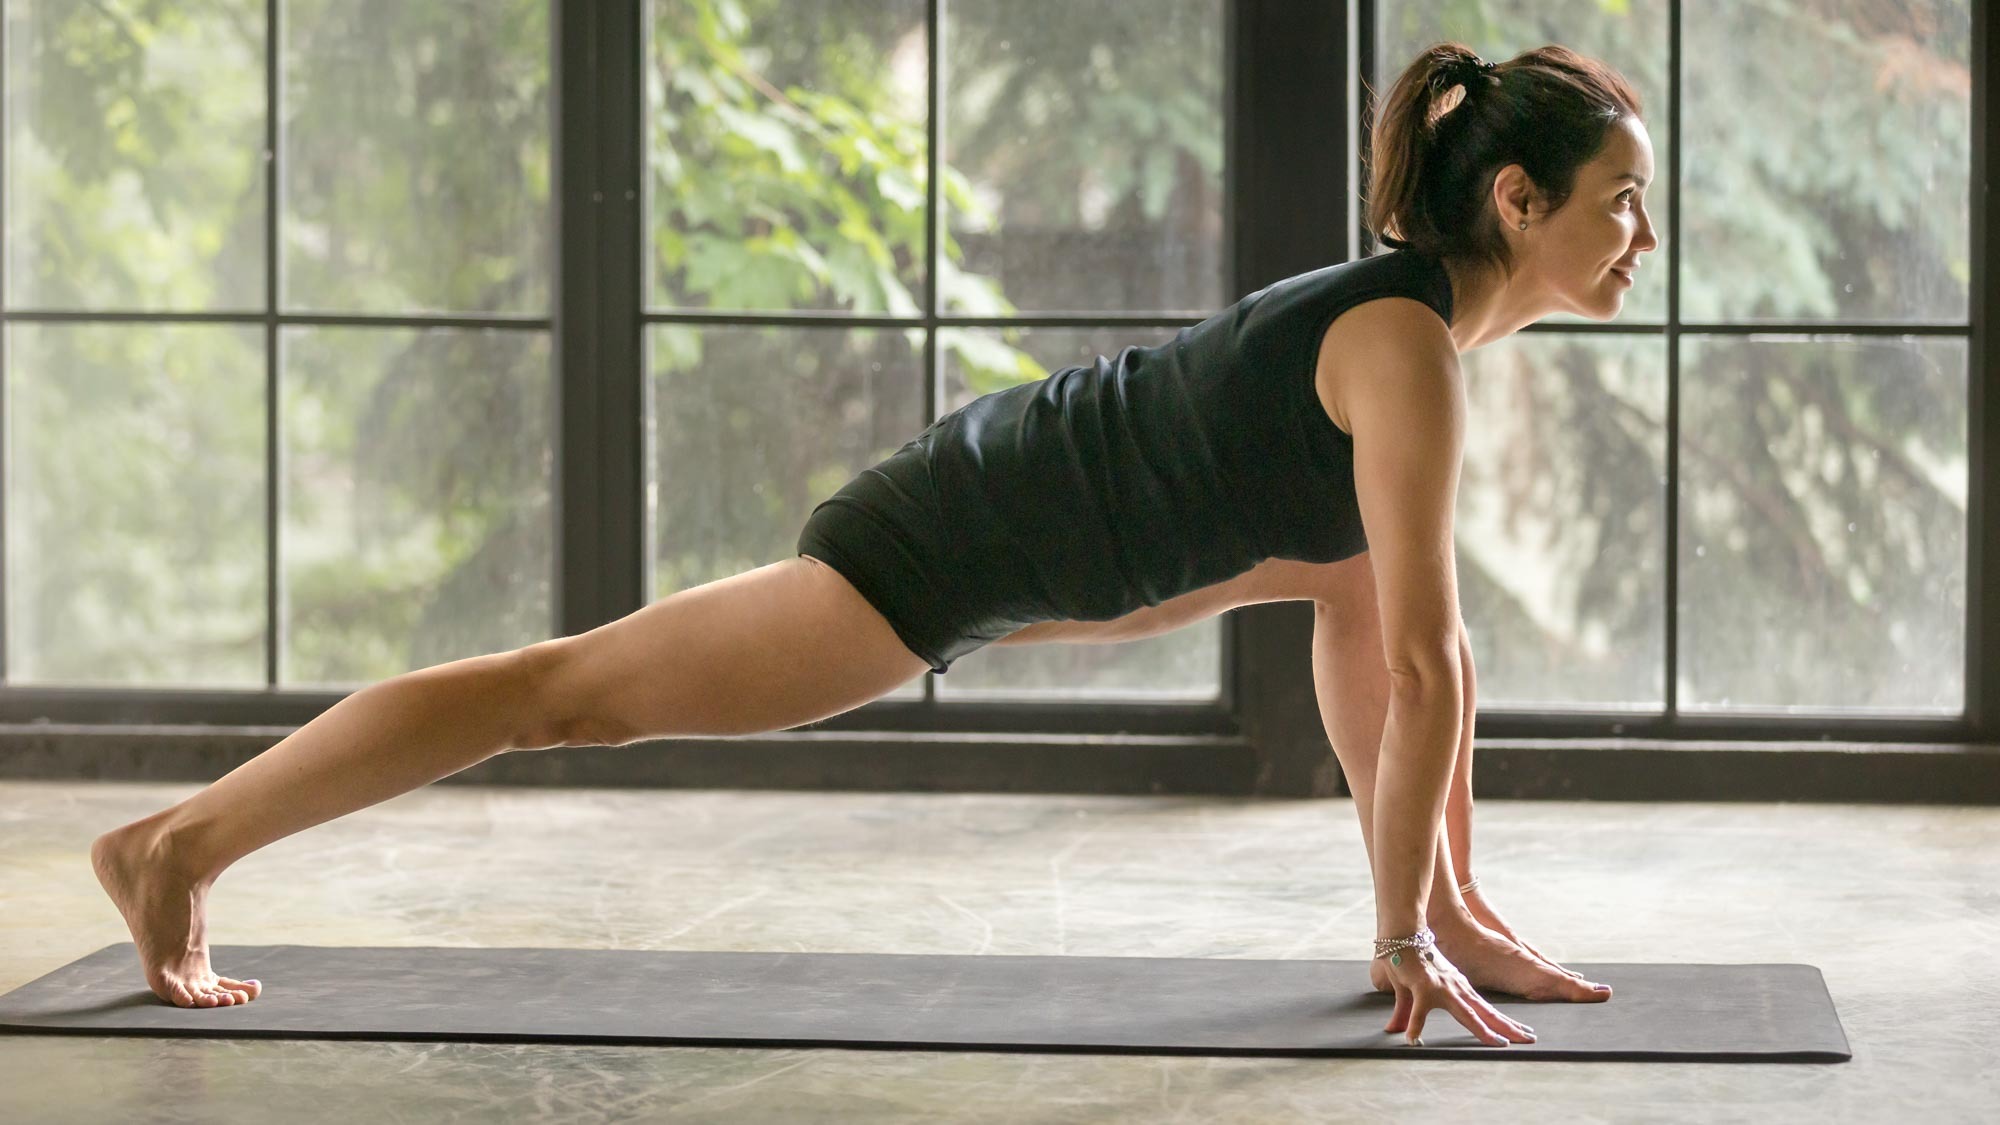
One of the best stretches for tight hip flexors, the spider lunge, also known as a Spiderman stretch, can help you stretch out tight glutes and hips and relieve tension in the lower body, which could contribute toward lower back pain if left untreated.
You’re more likely to suffer from tight hips as a runner, if you sit for prolonged periods, or forget to warm up or cool down properly from workouts, leaving you more susceptible to injuries and strains. It’s great news though, because plenty of lower body stretches can relieve tension and reduce short and tight hip flexor muscles.
Pigeon pose (video below) has been a go-to yoga pose for many years to stretch out the lower body — and not just by bendy yogis. Considering many athletes and gym-goers alike now tap into the benefits of yoga, from time to time, or regularly, it’s not uncommon to see someone sprawling into pigeon pose for a hip stretch.
But for various reasons, pigeon pose could be off the table — sometimes down to poor alignment, anatomy, injury, or preference. Spider lunges are more accessible, require arguably less flexibility to do, and still tackle tight hips and glutes. Besides, you can perform them with your back knee supported, or using a block, if you prefer.
Sign up to get the BEST of Tom's Guide direct to your inbox.
Get instant access to breaking news, the hottest reviews, great deals and helpful tips.
I recommend pairing this move with some gentle foam rolling exercises and one of the best yoga mats for best results.
What are hip flexors?

Your hip flexors run along the front of your legs between the pelvis and thighs and help you lift your legs into the air and support leg and trunk movement together. The primary muscles include the psoas (major and minor) and iliacus, known collectively as the iliopsoas.
Without them, you’d be unable to flex the hip joint or properly move your legs, and the flexors also count as core muscles, helping to support your trunk and lower back, keep your posture in check, and allow you to move and function properly.
Because of how the hip flexors attach with the lumbar spine, pelvis and thigh bones, tightness in the area could contribute toward lower back pain or general tension in the area.
How to do the spider lunge
I recommend trying this exercise as a warm-up before training, moving dynamically between the left and right sides. As a cool-down stretch, perform without moving and hold for up to 60 seconds per side.
- Start in a plank position
- Step your right foot to the outside of your right hand, slightly wide of your yoga mat if you choose to use one
- Hold the stretch
- Keep your left thigh engaged and pull your left heel back
- Stack your right knee over your right heel and plant the heel down. Your hands should be close to the inside of your right foot
- Step back to the plank, then switch sides.
If this feels too intense, place your back knee down for support and either untuck your toes or keep them tucked to stretch the calf muscle. You can also elevate your hands on blocks to help raise your upper body if your hands don't reach the ground. Keep a neutral spine, send your gaze forward and lift your chest.

When holding the stretch, remember to breathe. Holding a stretch for several minutes at a time can be difficult for some, so I recommend some breathing exercises to help relax your muscles and allow you to soften into the pose.
You might even find you feel more relaxed afterward, as focused breathwork helps shift the body from the sympathetic to the parasympathetic nervous system. In other words, from a state of high-function stress or the "on" mode to a state of relaxation and repair.
More from Tom's Guide
- Forget crunches — this 10-minute standing ab workout strengthens your core in 10 moves
- I just tried these simple hip mobility exercises for hip flexor pain — here’s what happened
- Hip pain? Build lower body strength and boost flexibility with 3 moves and 15 minutes
- No, not push-ups — strength coach shares the benefits of overhead triceps extension and to how master the correct form

Sam Hopes is a level 3 qualified trainer, level 2 reiki practitioner and senior fitness writer at Tom's Guide. She is also currently undertaking her Yoga For Athletes training course. Sam has written for various fitness brands and websites over the years and has experience across brands at Future such as Live Science, Fit&Well, Coach, and T3.
Having worked with fitness studios like F45 and Virgin Active, Sam now primarily teaches outdoor bootcamps, bodyweight, calisthenics and kettlebells. She also coaches mobility and stretching-focused classes several times a week and believes that true strength comes from a holistic approach to training your body.
Sam has completed two mixed doubles Hyrox competitions in London and the Netherlands and finished her first doubles attempt in 1:11.


