I did 30 reverse crunches with leg lifts every day for a week — here's what happened to my body
One move to build a stronger core

When it comes to workout moves, variation is a wonderful thing. Doing the same exercise every day (or even every week) can become boring and make it more likely that you’ll either stop getting maximum benefit from an exercise or, worse, simply give it up.
Fed up with a squat? Try a sumo squat. Has the basic plank lost its appeal? How about the plank with a knee tap? And if the lunge is bringing you down, add some walking to the mix.
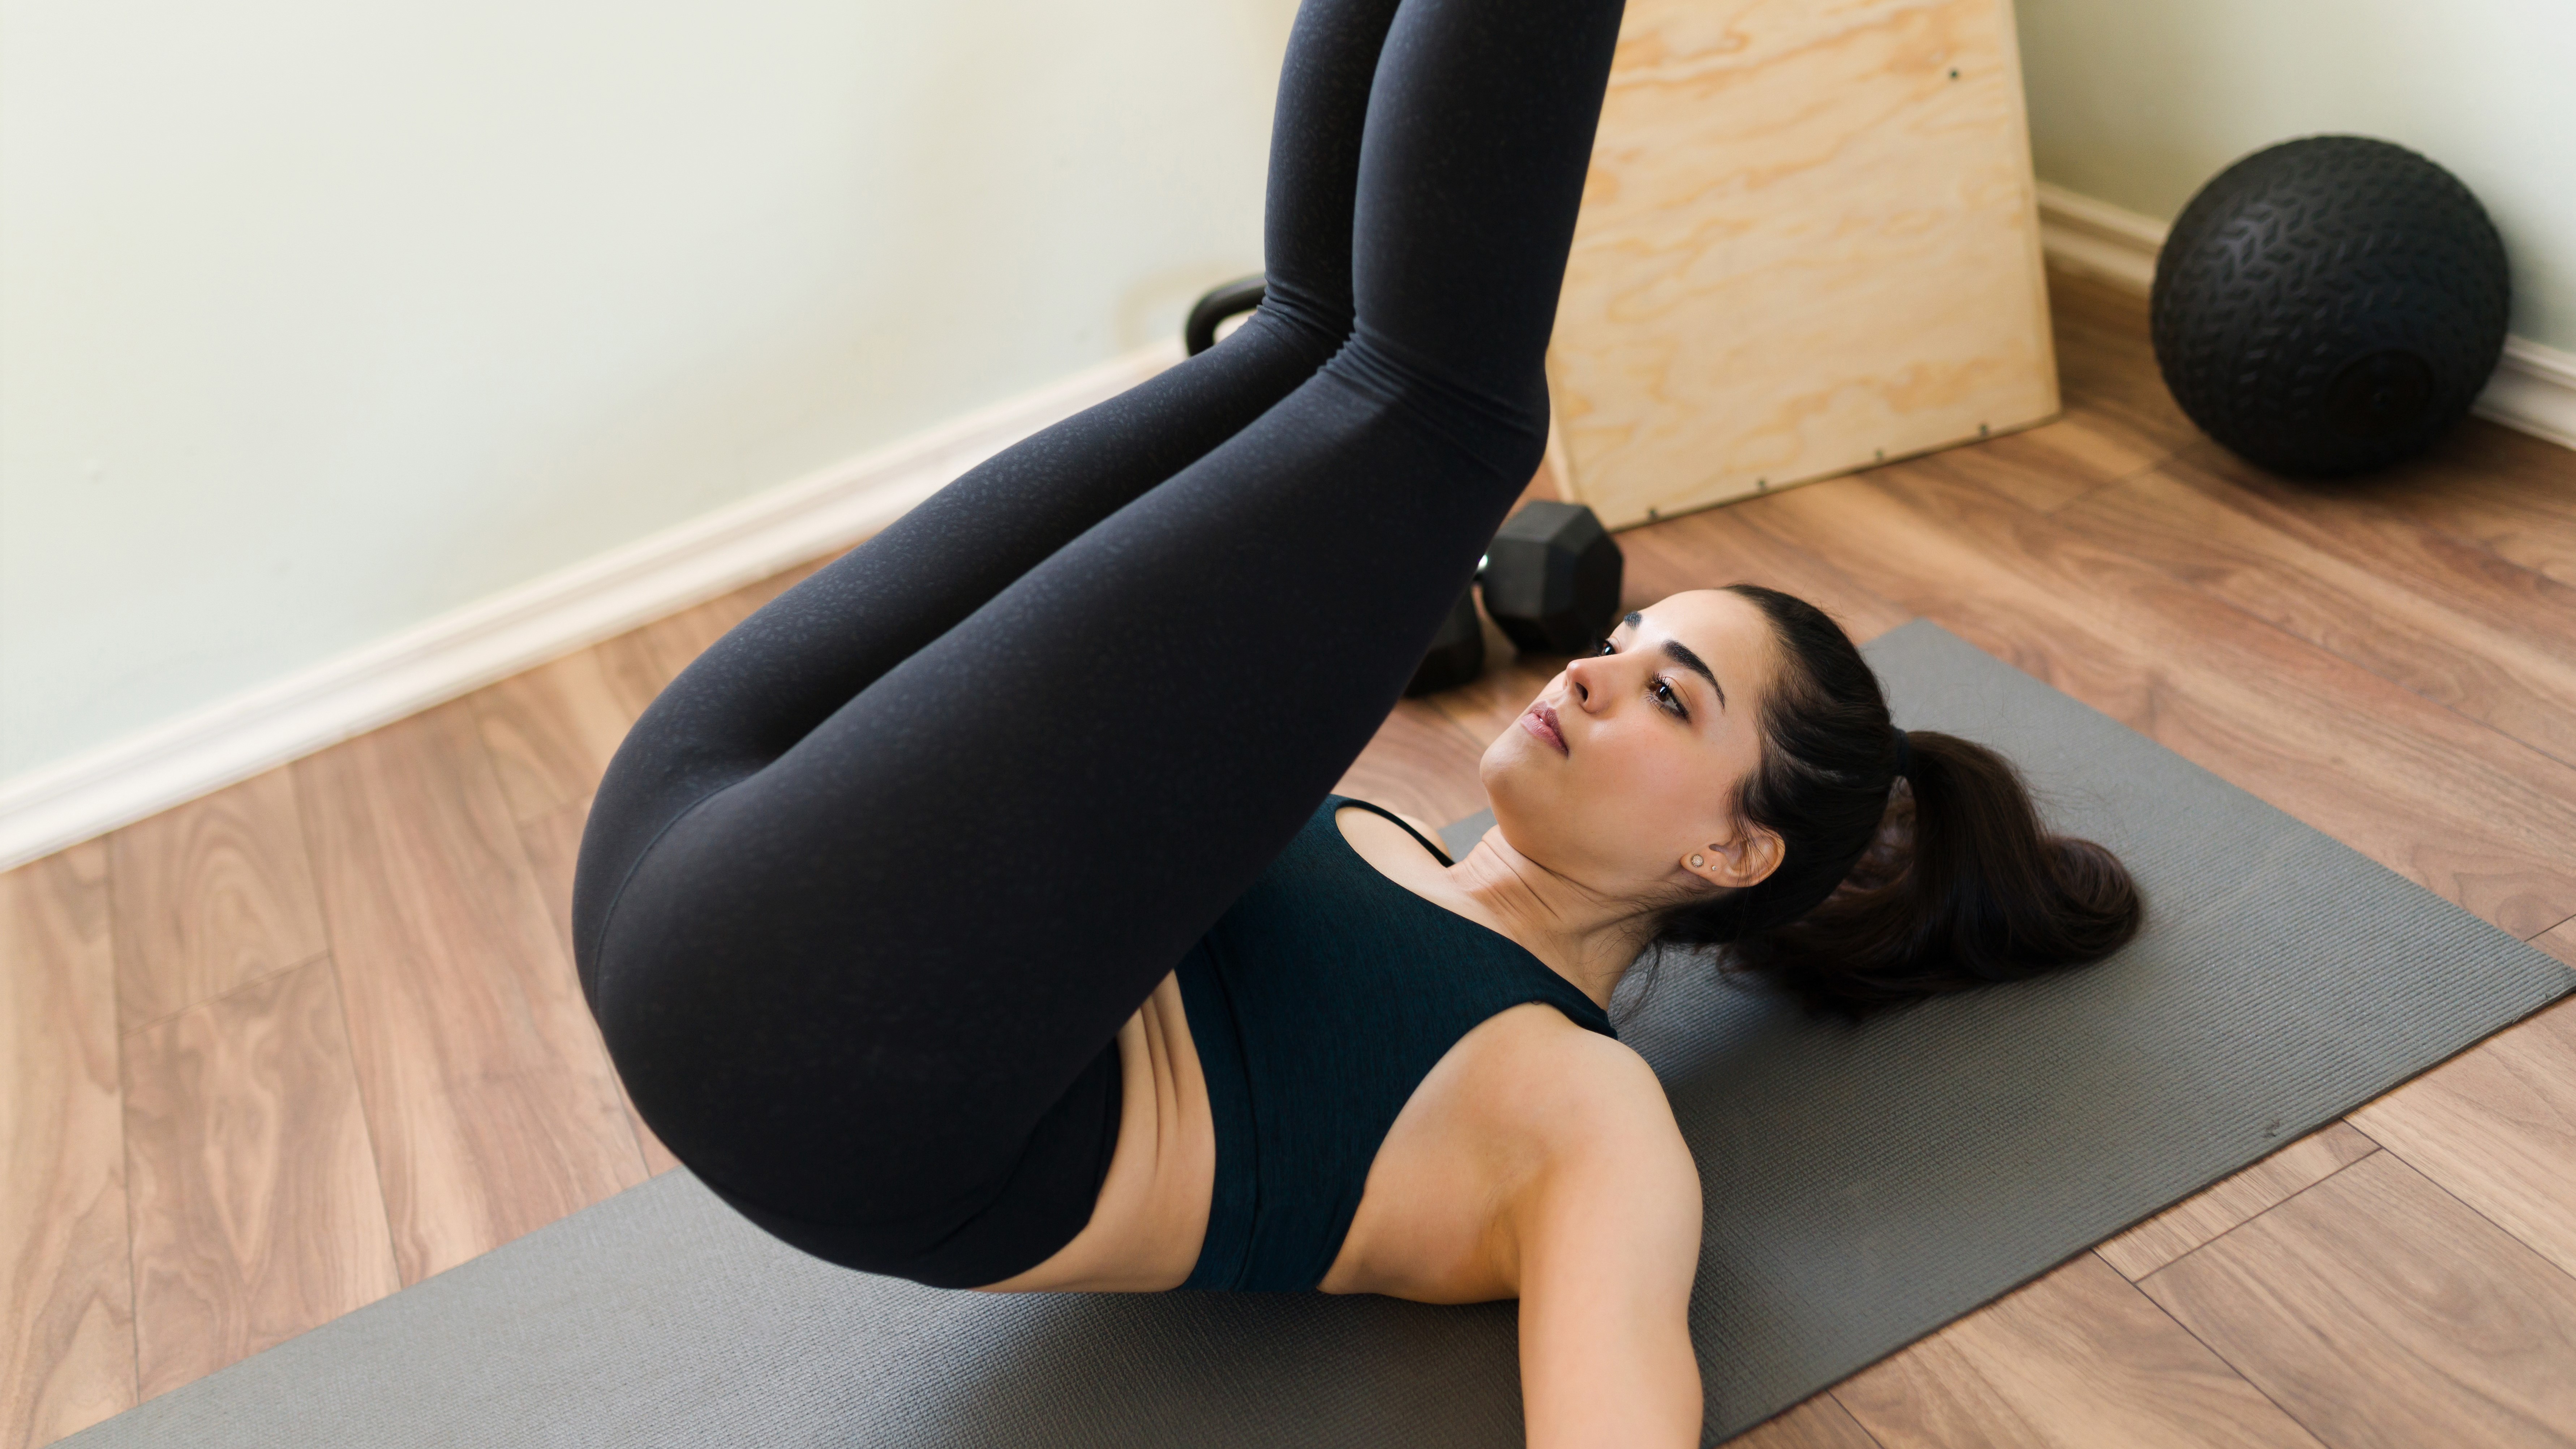
And so it was with great enthusiasm that I took on the challenge of a variation on the standard crunch. And no ordinary variation, either. A reverse crunch, but with added leg lift (or hip raise). Variety upon variety. Ain’t life grand?
What is the reverse crunch with a leg lift?
The crunch is an effective core exercise but it has come in for criticism over the years because it can result in lower back or neck pain if performed incorrectly.
The reverse crunch involves using your core muscles to raise your legs, so there is minimal pressure on your back and neck. You can choose to bend your legs as you raise them or keep them straight as you lift; I chose the latter.
The second part of the move is where things get tricky, as it requires you to really crunch those abs as you raise your butt and hips off the floor when your legs are already raised high.
Done properly, this one is a real test for the rectus abdominis (the six-pack) and the deeper transverse abdominis. But as you need to add extra effort at the top of the move, it can reintroduce risk to your lower back, so if you already have back pain or are concerned by it, skip this part.
Make sure you use a yoga mat or another soft surface because you want to be as comfortable as possible and without some friction, you may find the motion of the move causes you to slide along the floor so you wind up nudging a wall, fireplace or sleeping dog.
How to do a reverse crunch with a leg lift
- Begin by lying face-up on the floor, with your legs straight and lower back pressed into the floor. Place your arms by your sides, with the palms of your hands on the floor.
- Brace your core and raise your legs until they are perpendicular to the floor, or as close as you can manage. Do not lift your head from the floor.
- From here, raise your hips off the floor and then, without stopping, lower your legs with control back to the floor. That’s one rep.
- Aim for three sets of 5-10 to begin with. If you feel a twinge in your lower back, stop.
When I’m doing these challenges, I generally find that I become far more proficient and confident as the days go by. Sometimes, I even surprise myself and surpass my expectations. Not this time. With this move, I did improve, but I’d set the bar so low that things could only get better. A little.
A matter of form
On the first day, I struggled through three ragged, messy sets of 10 and was breathing hard when I finished. Raising the legs was easy enough, but then lifting my backside and hips was far more challenging than I’d imagined.
I found I was pressing my palms into the floor and raising my head to achieve the final lift. I tried to avoid doing both as I progressed but this made it harder still to get my hips off the floor.
The natural urge to help my body do what it was trying to do meant I had to focus on keeping my head on the floor and place my hands by the side of my head to prevent them from pressing into the floor. I felt the move deep into my core and from my waistline up to just below my sternum. And it was tough.
My form did get better and, later in the week, I was able to place my hands on the floor without using them to assist me, but this one never became easy. For that reason alone, I was determined to get it right.
Patience is not only a virtue — it’s essential
By the end of the week, I was up to three sets of 15. This might seem a modest improvement in terms of reps, but compared with where I began, it was a different class and I held a small party to celebrate.
I was smoother and more controlled, and I felt confident I would maintain that form throughout. Take your time with this one, as it will test you in body and mind. Don’t give in to the temptation to use momentum to complete the sets.
This is a core exercise, so focus on those muscles, rather than swinging your legs up and down. If you can, place one hand on your core to feel how hard it’s working.
My verdict on the reverse crunch with leg lift
I was delighted with my improvement after seven days. I truly thought this one was going to defeat me, so to go from a graceless, wheezy 30 to a relatively smooth 45 was more than enough. That said, this is not a move I will be continuing.
The basic reverse crunch is an excellent core move, suitable for all levels, but I found the extra elevation of the legs at the top of the exercise did not provide the benefit to match the effort required. This one may well suit you, but I found that variety in this case was a little too spicy.
More from Tom's Guide
- I did 100 bird dog crunches every day for a week — the results surprised me
- Sit-ups vs crunches: Which ab exercise is better?
- Forget crunches — 3 reasons I ditched abs workouts for compound exercises
Sign up to get the BEST of Tom's Guide direct to your inbox.
Get instant access to breaking news, the hottest reviews, great deals and helpful tips.
John is a writer and editor based in London. He was worked for magazines such as Runner’s World, Men’s Health, Women’s Health and Cosmopolitan. A keen runner, what he lacks in ability he makes up for with enthusiasm and excuses.
-
mej I'm a retired exercise instructor. This exercise is a recipe for a herniated disc. I know of one woman in her sixties who slipped a disc doing it. I do not recommend anyone do this.Reply


