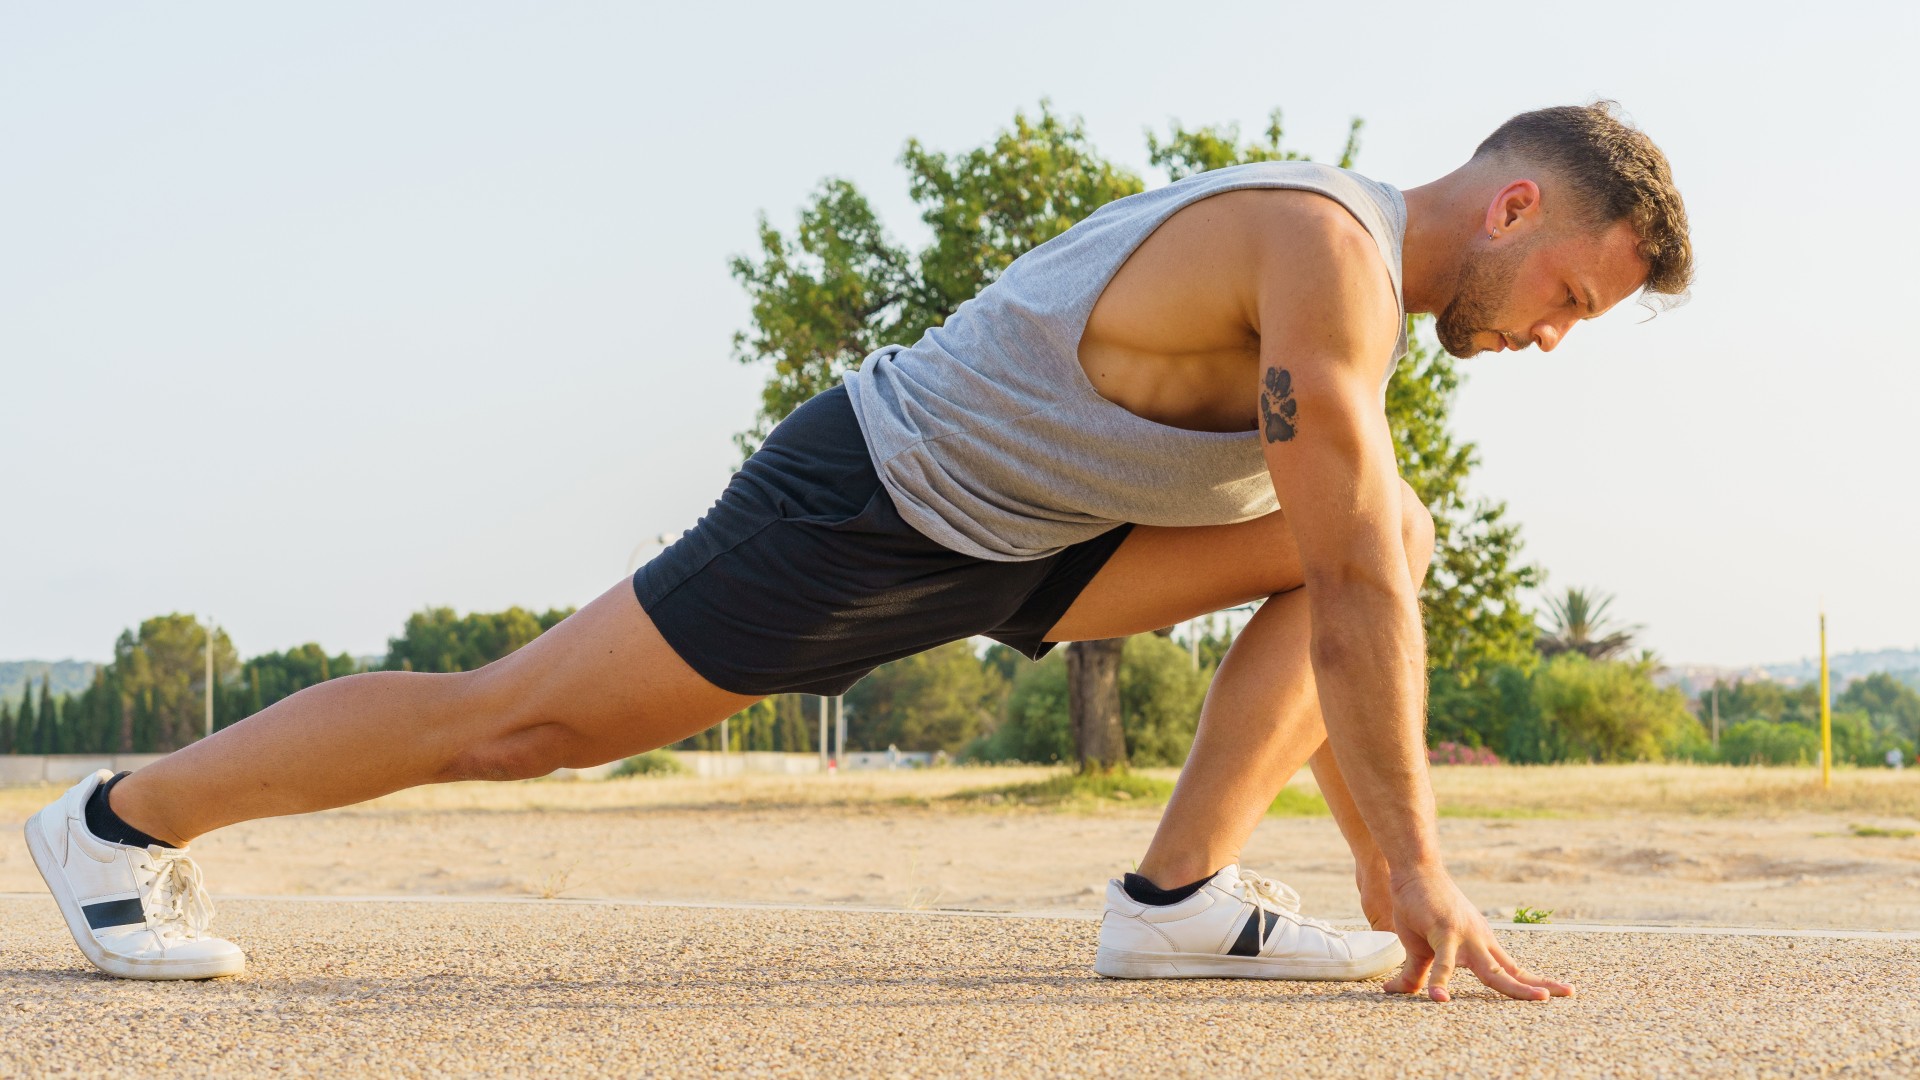
You can improve lower body mobility, release tension and unlock tight hips with just three exercises and a few minutes spent on each — all you need is my short but effective routine and roughly 10-15 minutes of time.
For this three-move mobility routine, I recommend one of the best yoga mats, and that’s it. No equipment, no bands, bells, or whistles — just you, your mat and these simple mobility moves. They are designed for low impact on your knees, but if you experience pain, stop immediately; if you’re currently injured, I advise clearing new routines with a qualified medical professional like your physician first.
We love the frog pose, but you don't need it to improve your hip health. Those looking to add a few minutes of gentle mobility to their routines could benefit from just three lower body exercises — so here they are.
Sam is Tom's Guide's resident senior fitness writer and a personal trainer based in London. She teaches mobility, weightlifting and calisthenics alongside working full-time in journalism.
Why is it important to do mobility exercises?
Mobility refers to the ability to move your joints through a range of motion, and do so dynamically, meaning with movement and using a combination of strength and control; performing hip rolls rather than sitting in pigeon pose, for example.
There’s a wealth of research into mobility and stretching and the efficacy of the modalities, spanning years and years of studies. As recently as 2024, a systematic review published in the Journal of Sports Sciences looked at performance adaptations from mobility routines across 22 studies.
Of the 22 studies, 20 of them showed mobility training was of “some benefit or helped to maintain sports performance to a larger degree than control conditions,” which were generally “no activity conditions” in comparison. The results also suggest that the “majority of evidence” indicates adding mobility routines unlikely to harm performance or negatively impact athletic performance outcomes.
Before diving into the routine, knowing the difference between stretching and mobility will help you build the type of routine you need to achieve your goals, whether that’s increasing your range of motion, boosting flexibility, or both.
Sign up to get the BEST of Tom's Guide direct to your inbox.
Get instant access to breaking news, the hottest reviews, great deals and helpful tips.
Personally? I recommend adding both into your exercise routine, using dynamic exercises to warm your joints and muscles for movement and weightlifting, and saving static stretches afterward. This routine is pro the former — prepping and priming those tight muscles and joints for exercise and improving functional fitness all-round when utilized over time.
What are the three lower body exercises to unlock tight hips?
Read how to perform each exercise below.
1. Yogi squat with spinal twist
The yogi squat is a tried and tested yoga staple for releasing tight hips. It stretches and strengthens muscles, including the hips, glutes, lower back, core, adductors, quads, hamstrings and calves. Focus on lifting your chest, drawing down your shoulders and keeping your back neutral — no rounding.
Using this variation, You’ll test your ability to hold the deep squat position while mobilizing the upper body and spine through gentle rotation.
3-4 sets of 5-6 reps per side
- Stand with your feet hip-width apart and slightly turn your feet out. Go wider if you need to
- Lower into a deep squat with both heels planted and knees driving outward in line with your toes
- Keep your back straight and sit tall
- Pull your shoulders down, then bring both hands together at your chest
- Drive your bum downward
- Extend your right arm to the mat outside your right foot, keeping the arm in contact with the leg
- Rotate and extend your left arm toward the ceiling and allow your gaze to follow as you twist to the left. Keep your heels planted without turning your knees
- Return to the center, then repeat on the other side
2. "Froggies"
I use this exercise as a strengthening and mobility exercise. In a mobility setting, “froggies” build hamstring flexibility and work the quads and glutes through hip and knee flexion and extension, plus the bottom of the squat helps open up the hips, lower back and groin. In essence, you’re performing the yogi squat again, alternating with a forward fold to help stretch out those muscles down the posterior chain (back body).
If you struggle to bring your hands flat to the mat, place them across your shins.
3 sets of 8-10 reps
- Start in a yogi squat following the steps above
- Place your hands on the mat between your feet
- Lift your bum, lower your chest toward your thighs, and extend your legs, moving into a forward fold
- Maintain a knee bend or bring your hands to your shins if you have tight hamstrings
- Gently continue pulling your chest toward your thighs and relax your neck, sending your gaze between your legs
- Hold for a few seconds, then reverse the movement into a yogi squat by lowering your bum, lifting your chest and re-bending your knees.
With both the froggies and yogi squat, the more flexible and mobile you become, the narrower you can place your feet. If, like me, you suffer from limited lower body mobility, adopt a wider stance and narrow your feet as you warm up.
3. 90/90 to kneeling hip extension
The 90/90 hip stretch is my go-to for releasing tension around the pelvic region. It targets the hip flexors, external rotators and glutes and feels less impactful on the knees for most people than hip-focused postures like pigeon pose. The dynamic expression of this stretch taps into hip extension and promotes lower body range of motion.
3-4 sets of 6-8 reps per side.
- Sit on your yoga mat with both legs extended in front
- Bend your right leg behind you and keep your left leg in front, then bend your left leg to create a 90-degree angle — left hip, thigh, and knee aligned and left shin parallel to the top of the mat
- Do the same with the right hip, thigh, and knee, creating a 90-degree angle
- Sit tall and rotate your hips to the front of your mat. Place both hands on the floor.
- Keeping your back straight, lean your chest toward your left leg
- Return to sitting upright, place your left hand on the mat close to your left hip, then push your hips upward and forward
- From kneeling, pause and send your gaze behind you as you lift upward
- Lower your bum to the floor, then repeat the steps for reps.
Either work through the sets and reps of one exercise, then move to the next, or create a small circuit, working through one set of reps, then moving to the next exercise and so on.
Move fluidly, slowly and with control to improve the conscious mind-muscle connection. Note where you feel particular areas of tightness and move into them, breathing calmly throughout the reps.
More from Tom's Guide
- Ditch the weights — this resistance band workout will build lower body strength and improve your mobility in just 20 minutes
- Who needs weights? This 8-move bodyweight workout strengthens your whole body in 25 minutes
- Personal trainer shares the one simple hip flexor trick you're missing

Sam Hopes is a level 3 qualified trainer, level 2 reiki practitioner and senior fitness writer at Tom's Guide. She is also currently undertaking her Yoga For Athletes training course. Sam has written for various fitness brands and websites over the years and has experience across brands at Future such as Live Science, Fit&Well, Coach, and T3.
Having worked with fitness studios like F45 and Virgin Active, Sam now primarily teaches outdoor bootcamps, bodyweight, calisthenics and kettlebells. She also coaches mobility and stretching-focused classes several times a week and believes that true strength comes from a holistic approach to training your body.
Sam has completed two mixed doubles Hyrox competitions in London and the Netherlands and finished her first doubles attempt in 1:11.
