12 Tips for Taking Killer Sports Photos
Whether you're interested in shooting college football for the local paper or simply want to capture your daughter's Little League practice, these 12 tips are guaranteed to take your sports photography game to the next level.
12 Tips for Taking Killer Sports Photos
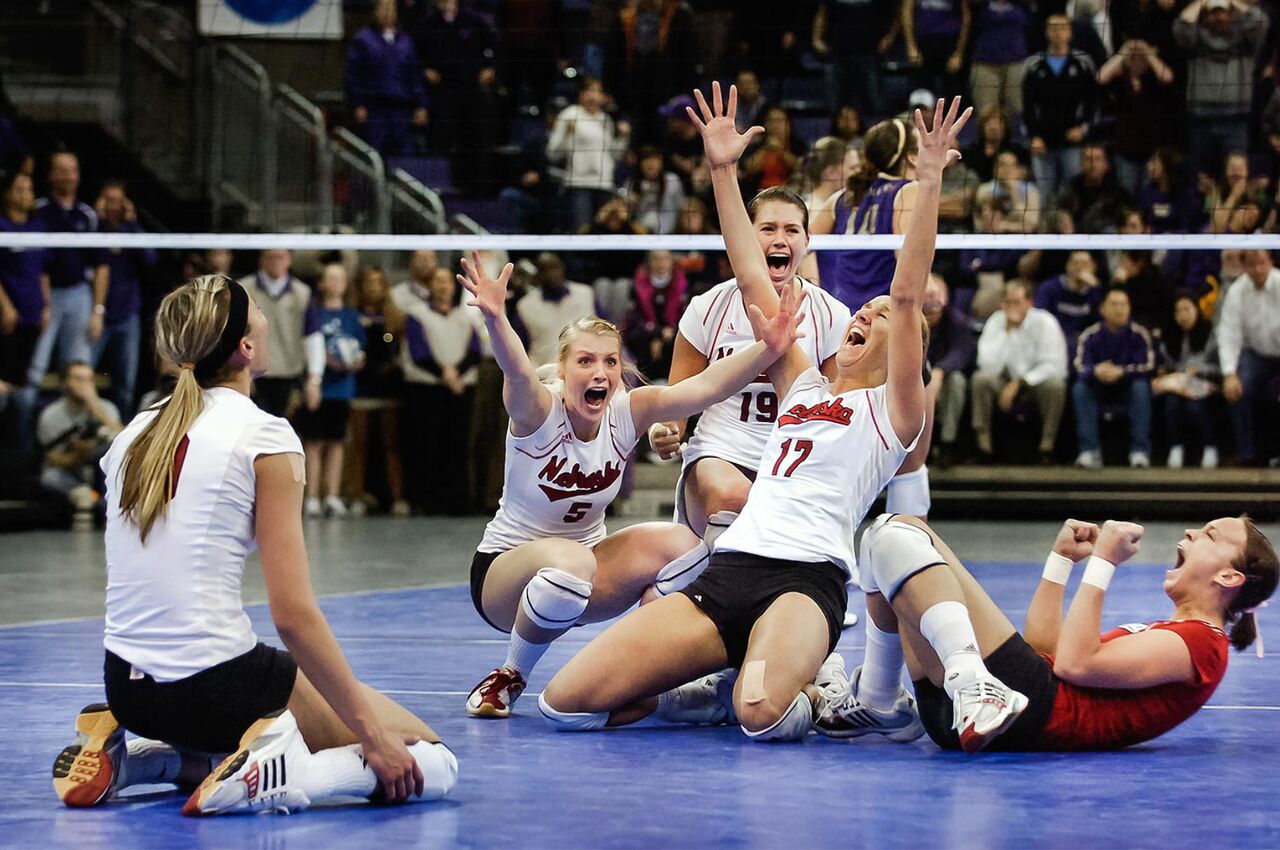
Sports Illustrated photographers make their jobs look easy, but a surprising amount of know-how goes into capturing an athletic event. Follow our 12 quick tips to get the same type of results that the pros do.
Photo credit: Jacob Hannah
1. Use a DSLR or high-end mirrorless camera
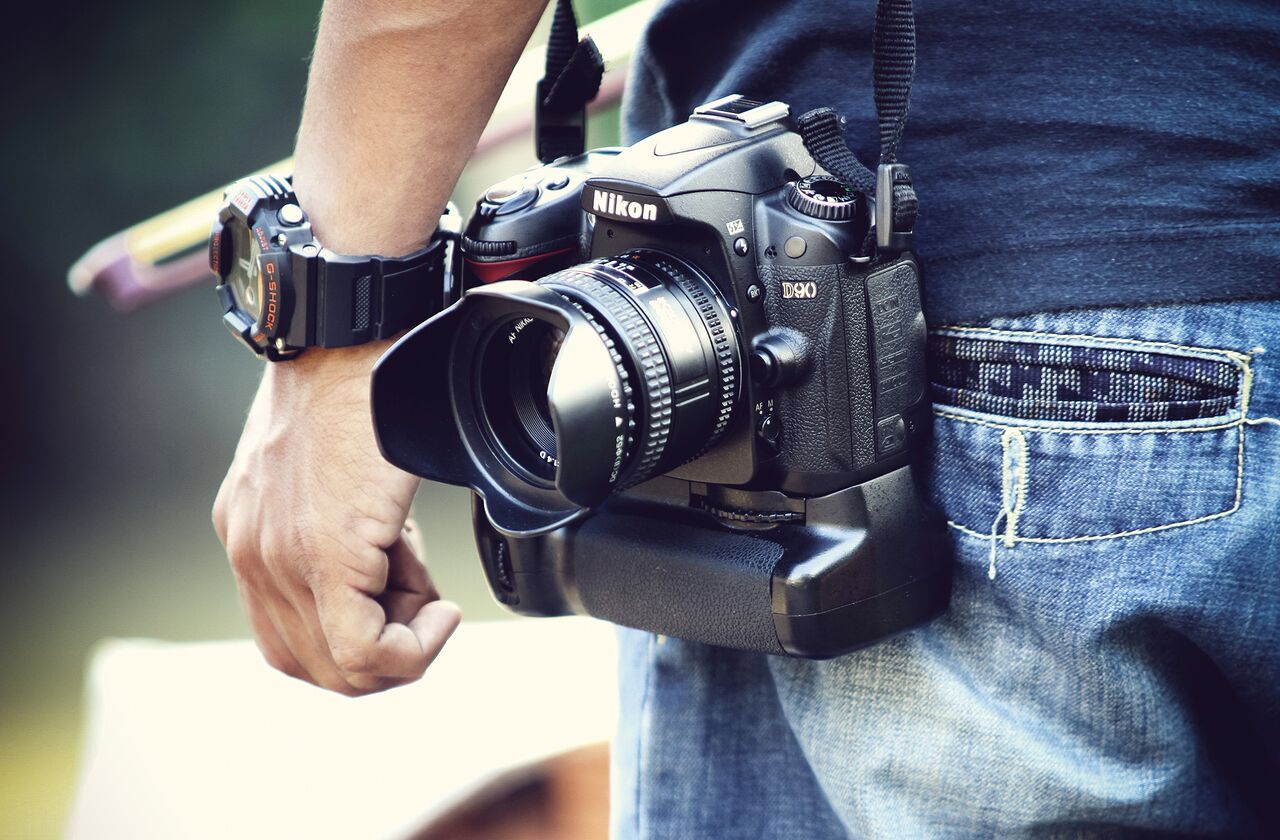
A high-quality camera is essential for sports photography. Many sporting events happen at night or indoors, which means you'll need to freeze action in low light. DSLRs are ideal because they have excellent image sensors that can produce clear, low-noise images at high ISO ranges. DSLRs also allow you to attach telephoto lenses that can outperform any built-in lens on a point-and-shoot camera. If using a DSLR isn't possible, a good mirrorless camera is a decent backup option.
Credit: Tom's Guide
MORE: DSLR vs. Mirrorless: Which Is Right for You?
2. Get close to the action
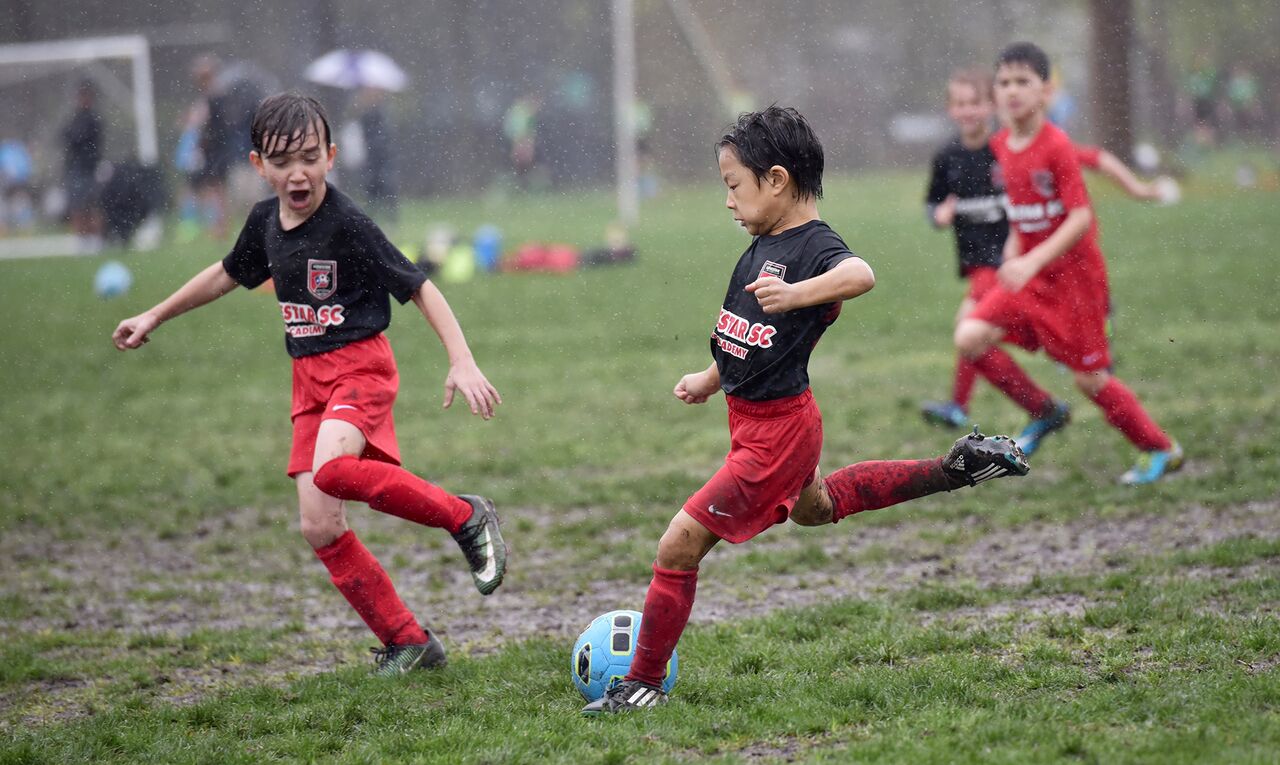
When photographing sports, closer is almost always better. Shooting from the sidelines is ideal, but if that's not an option, try to sit as close to the action as you can. Remember to stay alert and keep both eyes open while taking pictures. Many photographers have been injured by athletes crashing into them during a play.
Photo credit: Steven Welch
Sign up to get the BEST of Tom's Guide direct to your inbox.
Get instant access to breaking news, the hottest reviews, great deals and helpful tips.
3. Use a long lens
It's nearly impossible to capture the action on a large field without using a telephoto lens of 200 millimeters or higher. The longer the lens, the heavier it will be, so consider attaching a monopod to help support some of the weight.
Photo credit: Matteo Vistocco
4. Capture players' faces and emotions
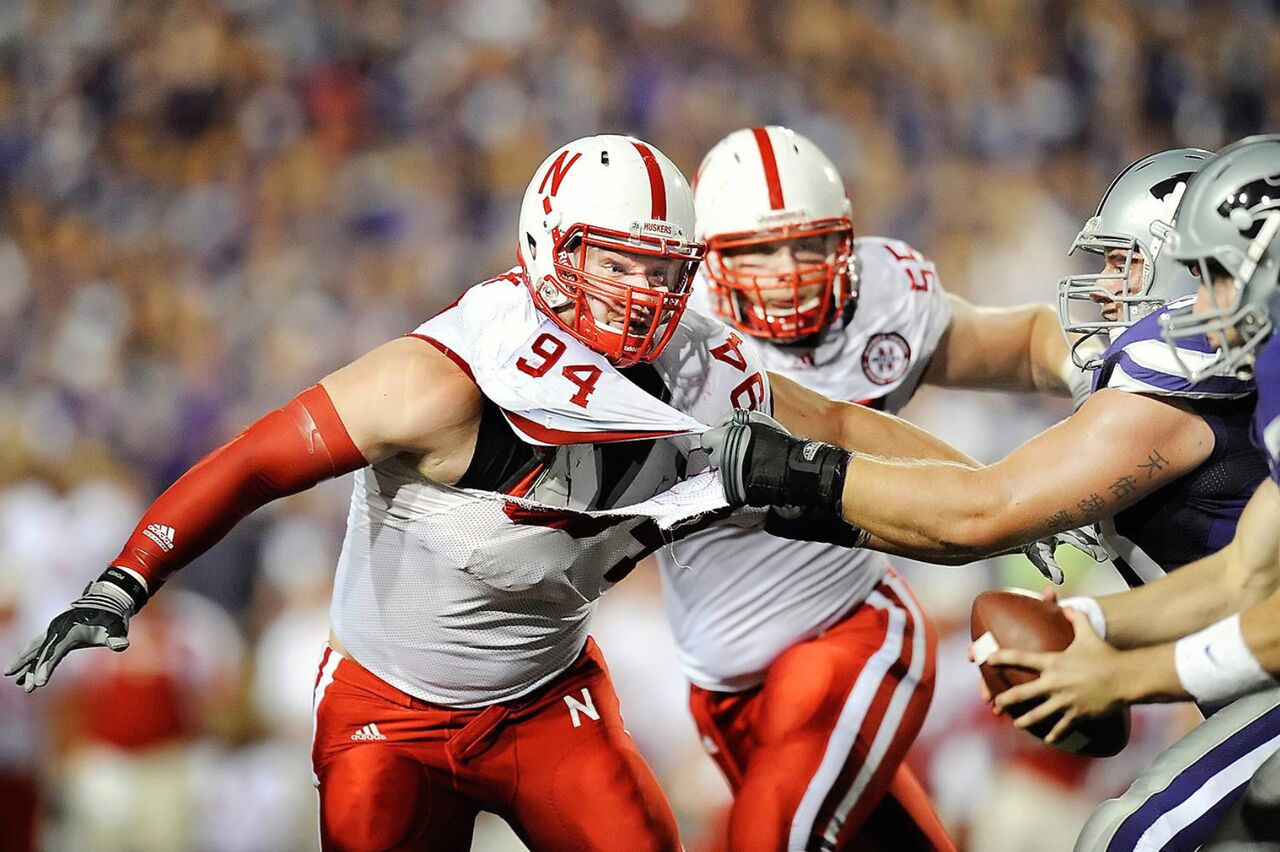
A common mistake of amateur sports photographers is failing to capture players' faces. Viewers need to see an athlete's expression to make an emotional connection with the image, so avoid shots where players are turned away from the camera or their faces are obscured by a helmet.
Photo credit: Jacob Hannah
5. Optimize your camera settings
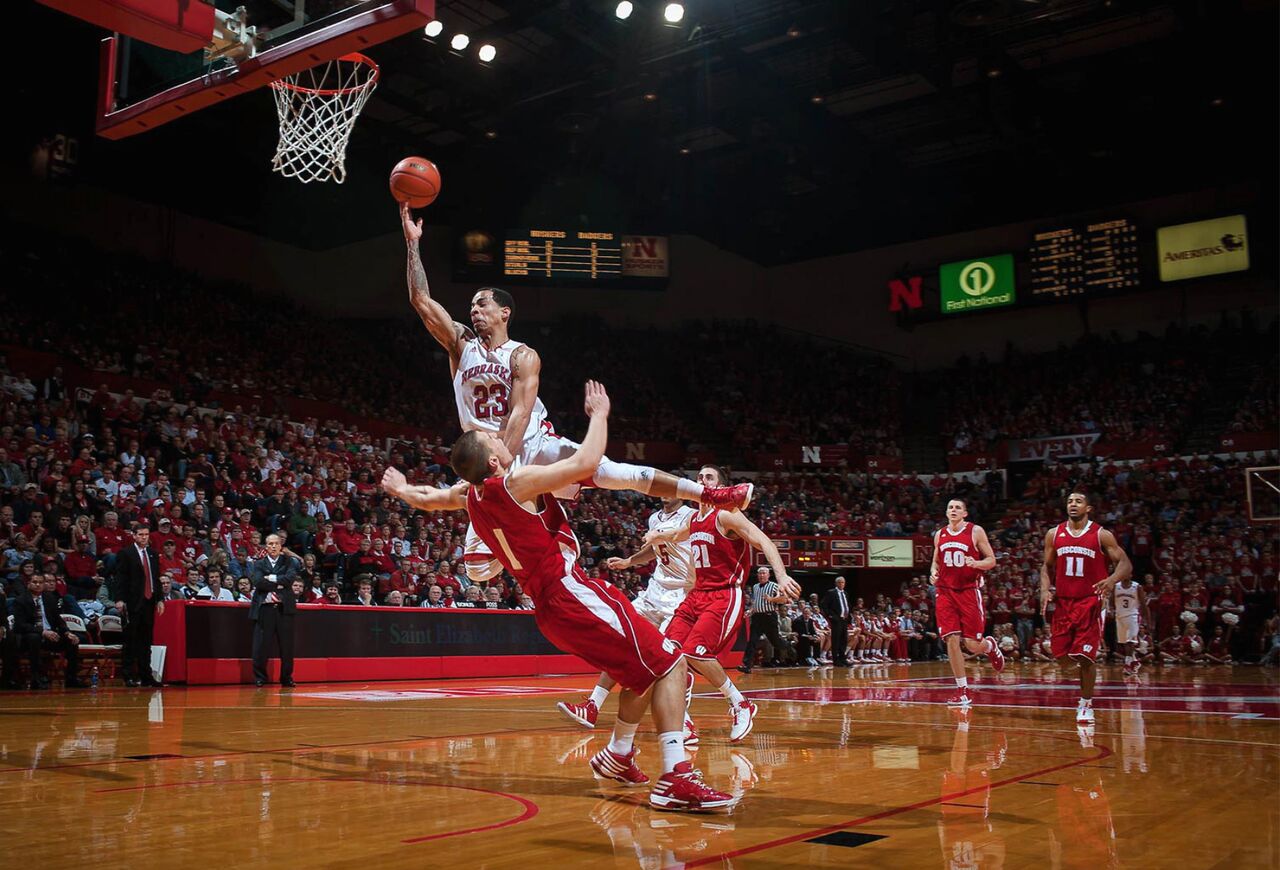
Shooting moving targets isn't easy, but choosing the right camera settings will make a huge difference in your sports photography. One useful function available on most DSLRs is "continuous focus" mode, which allows you to lock your focus on a moving person or object. Every camera's continuous-focus function is a bit different, so be sure to get comfortable with how yours works before shooting an important sporting event.
Most digital cameras also have rapid-fire or "burst mode" settings that can capture between three and 20 images per second, depending on the model. Shooting with burst mode is a great way to capture high-speed sports — just remember to use a memory card with a write speed of at least 95MB/second so your camera doesn't seize up while processing the photos.
Photo credit: Jacob Hannah
6. Familiarize yourself with the sport
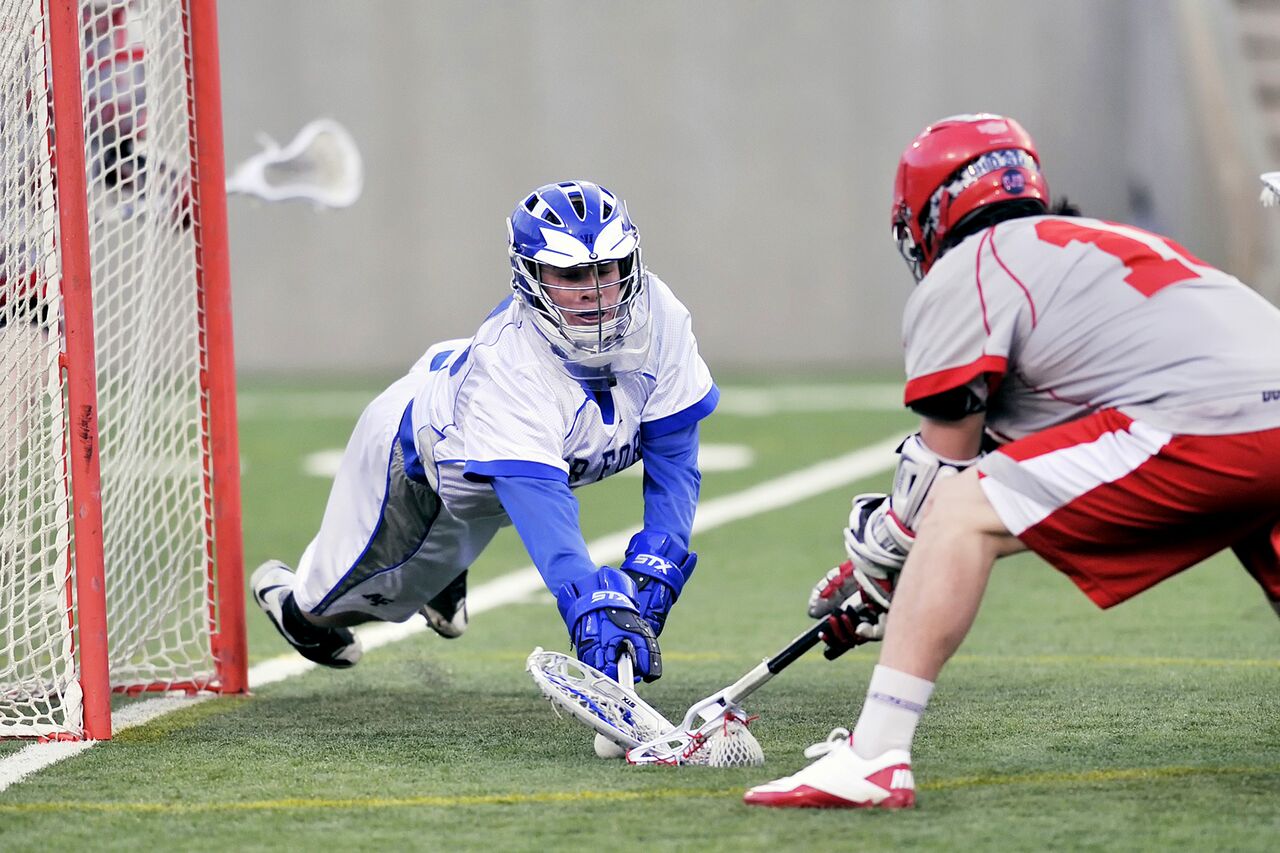
The better you understand a sport, the easier it will be to anticipate and capture the players' movements. Before shooting an unfamiliar sport, take time to learn the rules, watch a game online and seek out tips from more experienced photographers.
Photo credit: David Mark
7. Use a fast shutter speed
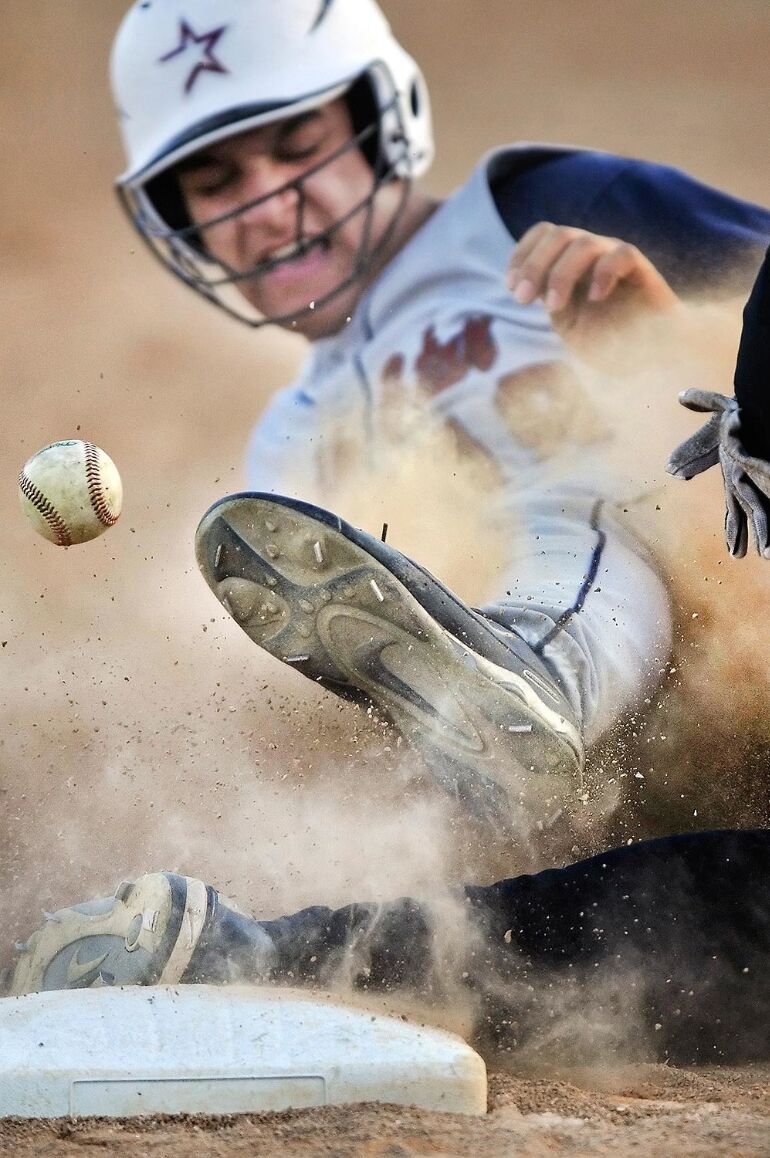
The easiest way to screw up a sports photography shoot is by using a shutter speed that's too slow and not realizing it until you get home and view your images on a big screen. Between fast-moving athletes and exaggerated camera shake (caused by using a long lens), it's easy to underestimate how fast your shutter speed needs to be.
Shooting at 1/1000th of a second is fast enough to freeze most sports scenes, but to completely stop an object like a baseball in midair, use a shutter speed of at least 1/4000. If you're shooting on an overcast day or under artificial lights, plan on cranking up your ISO to maintain a correct exposure.
Photo credit: Jacob Hannah
8. Experiment with panning
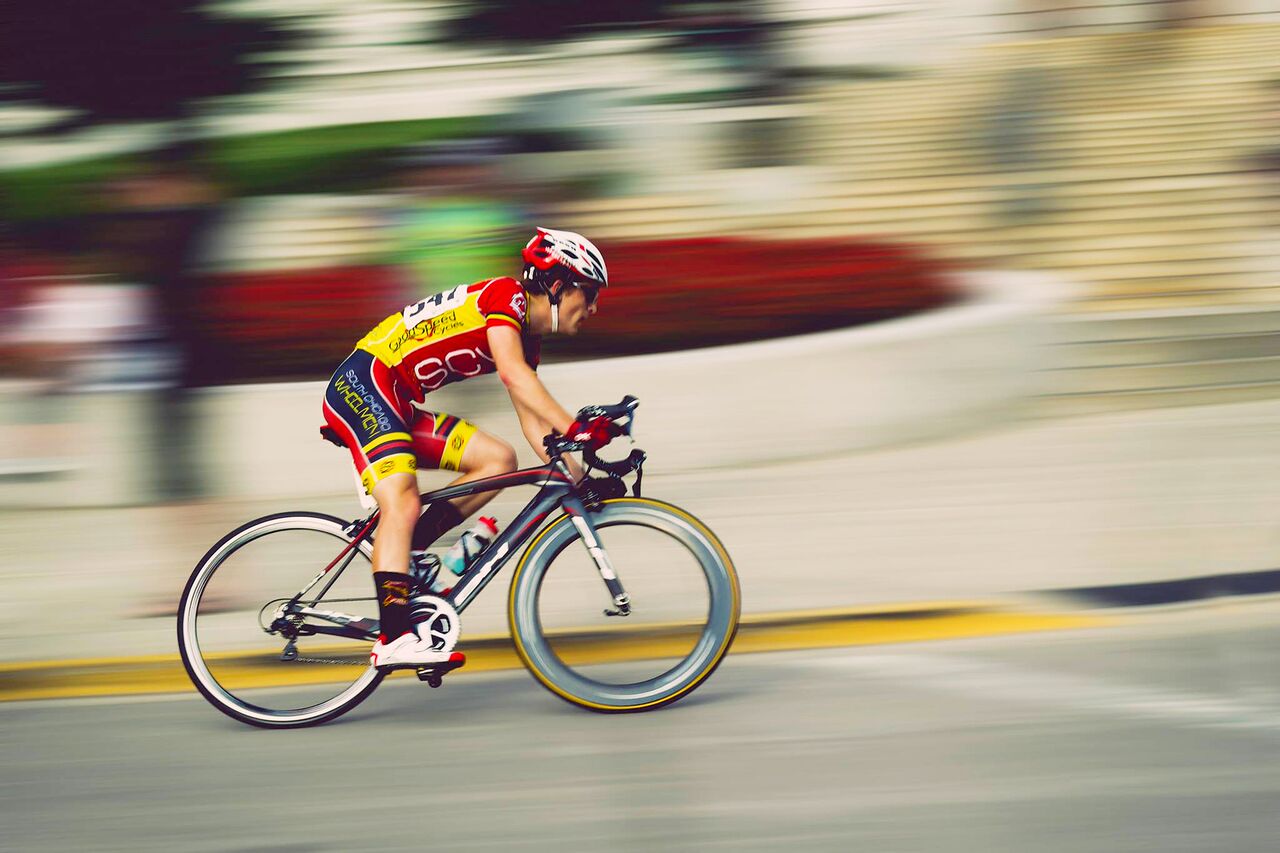
Panning is one of the few instances when it's suitable to shoot action using a slow shutter speed. Shooting between 1/15th and 1/125th of a second while following your subject with the camera will produce a panning, or motion-blur, effect in the background. The closer you are to your subject, the more pronounced the effect will be. It takes some trial and error to capture a perfect pan (your subject should be relatively sharp), so expect to take a few dozen photos before nailing the shot.
Photo credit: Thomas Borges
9. Get permission
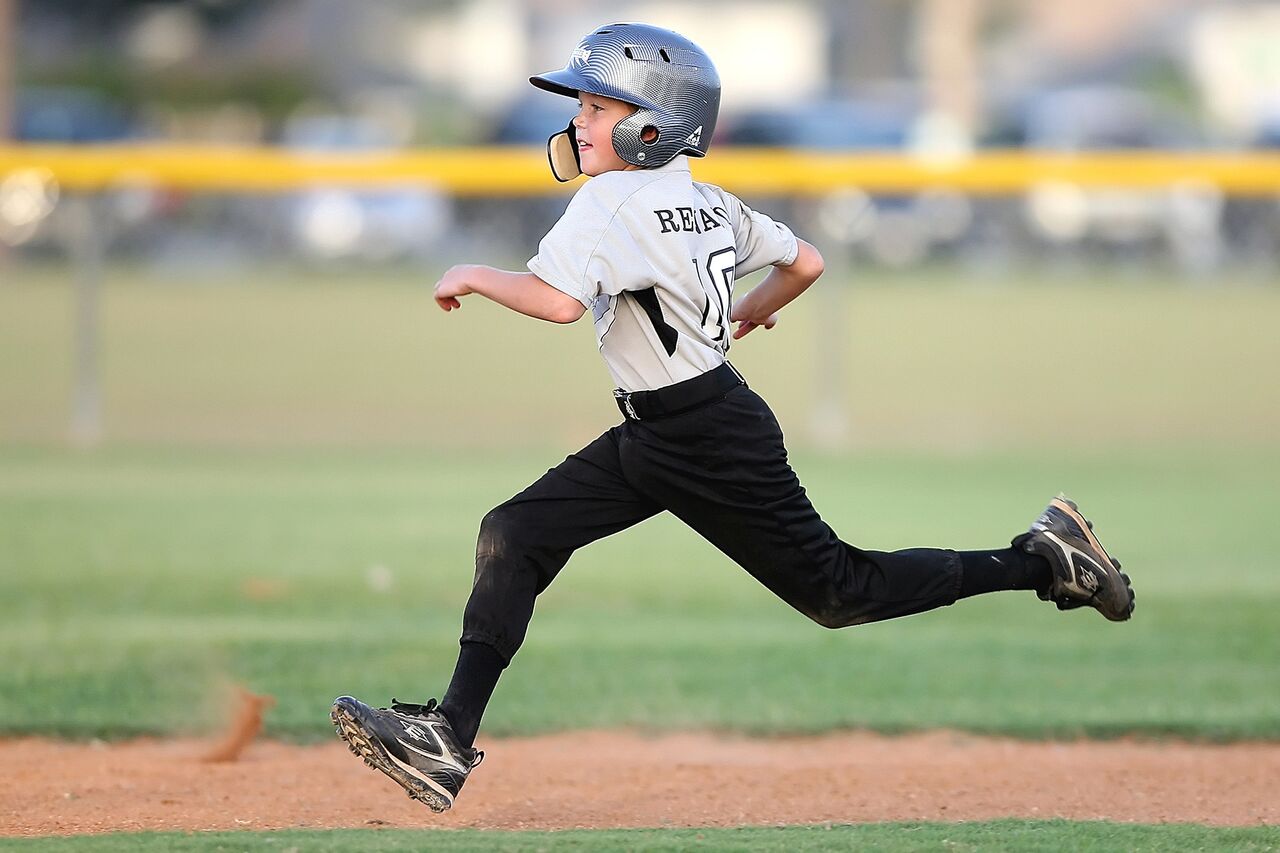
It's best to get permission before photographing sporting events, especially when it comes to children's leagues. If you want to photograph a professional or collegiate sport, try asking whether you can shoot from the sidelines or press area. You may get lucky.
Credit: Pixabay
10. Remember to photograph the fans
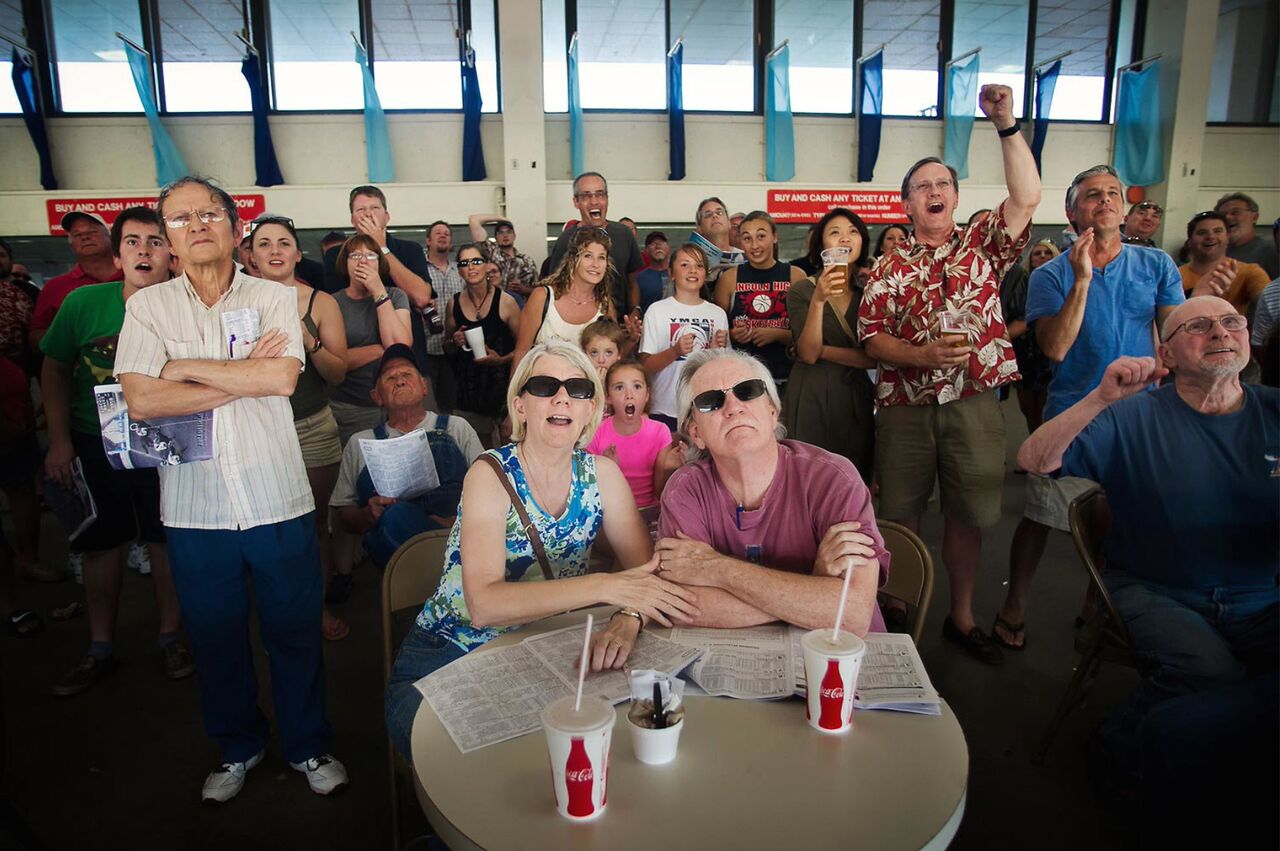
A sports game isn't just about what's happening on the field — it's also about what's happening in the stands. Shots that capture the emotion of the crowd will help tell the story of the game. Show the crowd size, the anticipation on fans' faces and the cheers following a winning point.
Photo credit: Jacob Hannah
11. Keep chimping to a minimum
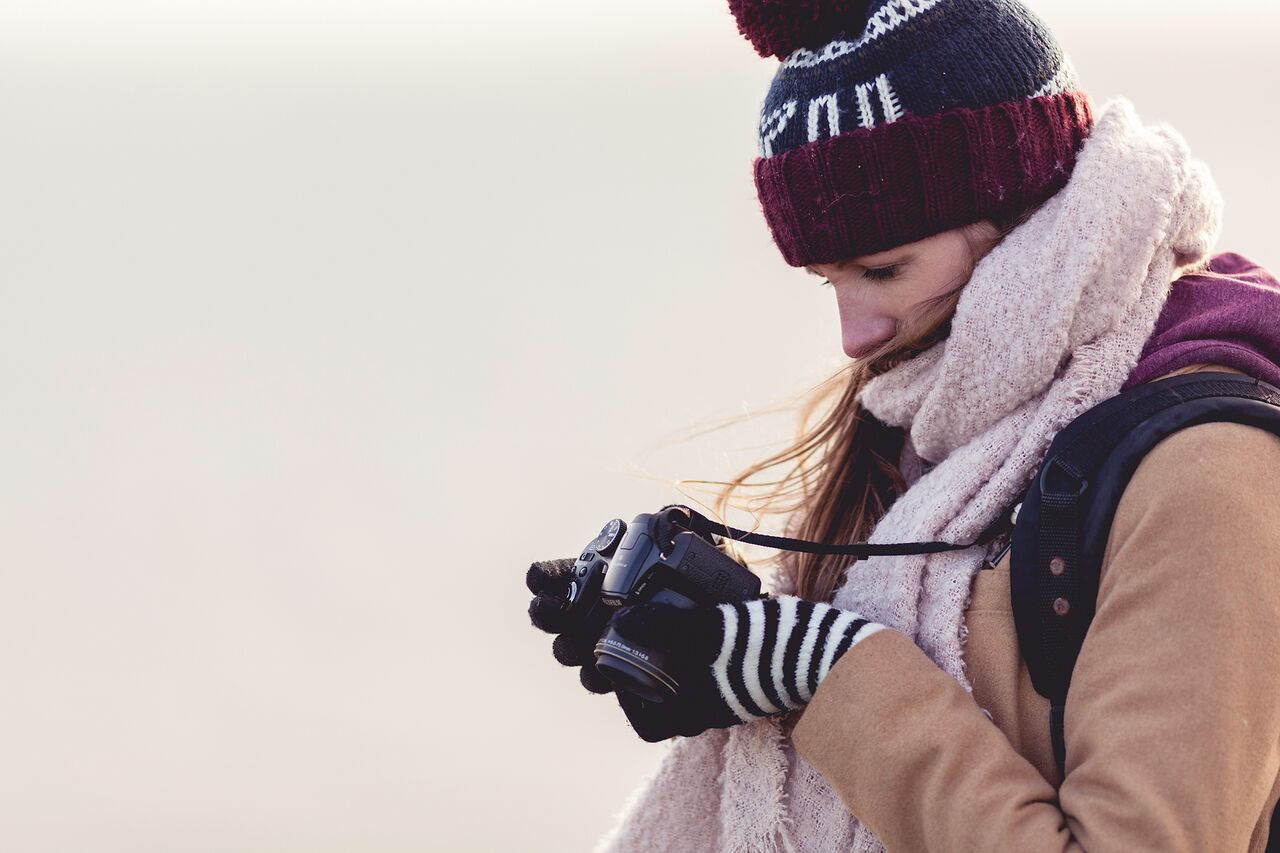
In photography speak, "chimping" refers to looking down at your camera's screen to review your shots. Some chimping is necessary to get a sense of your exposure and color balance, but excessive chimping is problematic when you're shooting sports. If you're looking at the back of your camera instead of through the viewfinder, you're likely to miss key moments on the playing field.
Credit: Tom's Guide
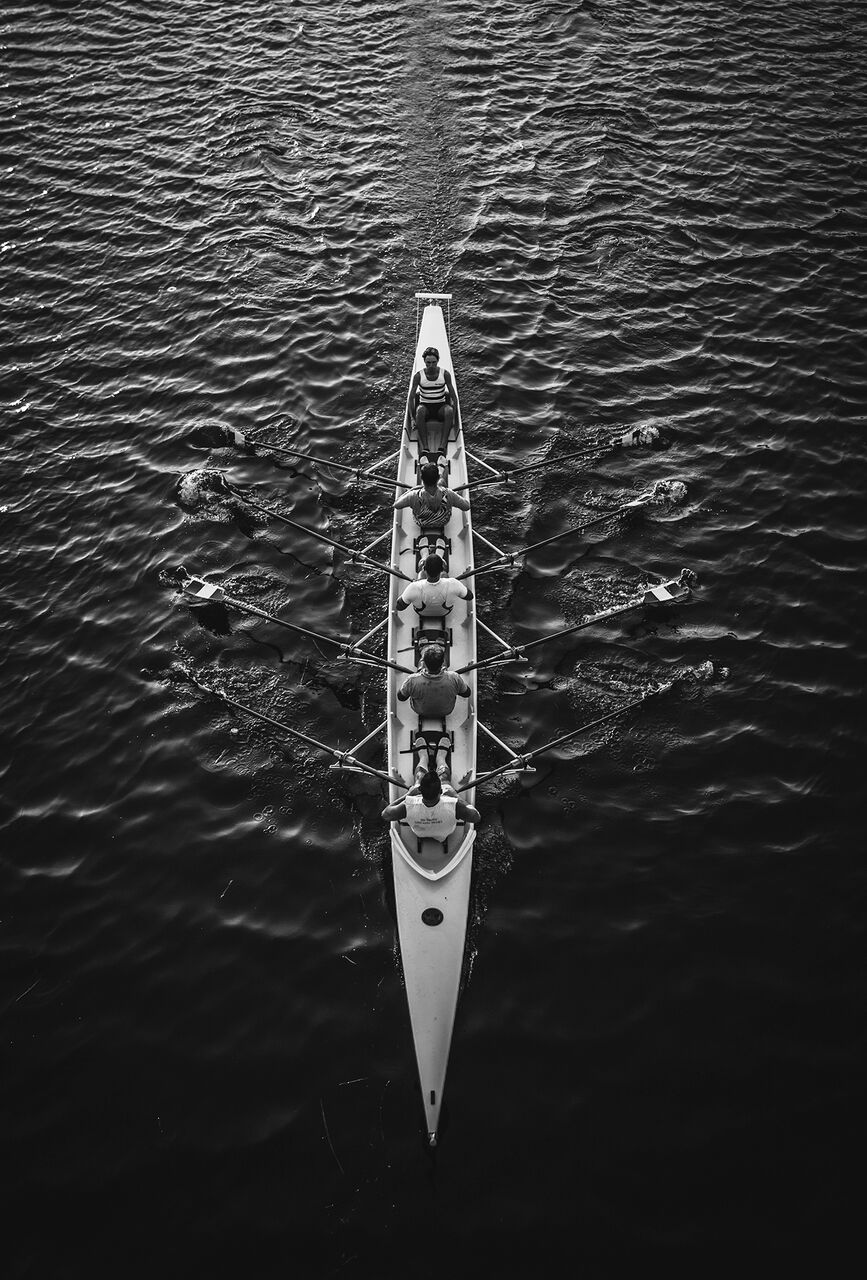
12. Find interesting angles
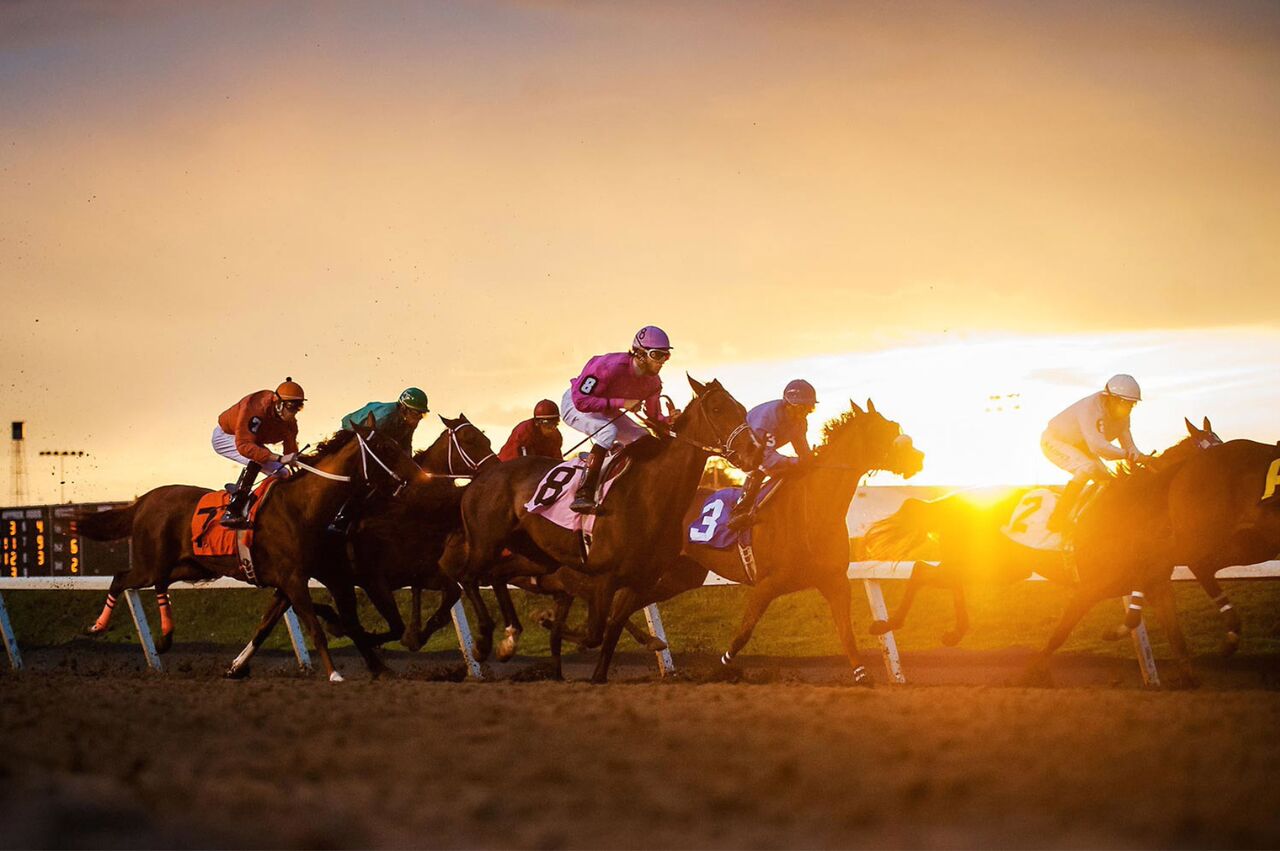
Get creative with your sports photography by trying out different angles. Kneeling down and shooting from a low perspective is an easy way to make athletes appear larger and more heroic, while overhead shots are ideal for setting the scene or showing players working as a team.
Photo credit: Jacob Hannah

Lacey is a freelance journalist and photographer based in Washington, D.C. with a specific interest in a variety of scientific topics including climate change, health, and renewable energy. She is also a keen photographer and her work has appeared in numerous national and international publications. Many of her articles on Tom's Guide are geared towards helping you take better pictures.
