Sony 2018 Android TV Settings Guide: What to Enable, Disable and Tweak
We walk you through the menus and features of Sony's 2018 Android TVs. Use our handy guide to find the settings and features you need.
How to adjust picture settings on a Sony TV
Sony's TVs tend to be pretty accurate, even when used out of the box with no further adjustments. But if you're picky about the picture, there are several settings to tweak as you fine-tune things to your liking.
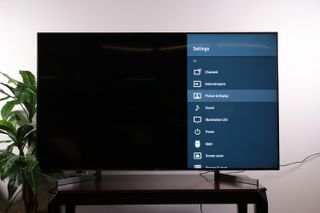
1. Open Picture and Display settings. In the settings menu are the Picture and Display settings. This is where you'll find everything from simple picture presets to granular settings for color, brightness and more.
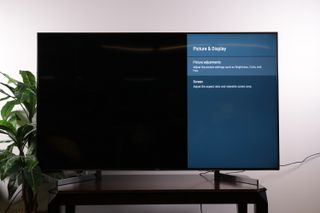
2. Open Picture Adjustments. To find full picture settings, open the Picture Adjustments menu, where you will find both basic settings and advanced settings. The other option — Screen settings — allows you to adjust the display aspect ratio and size.
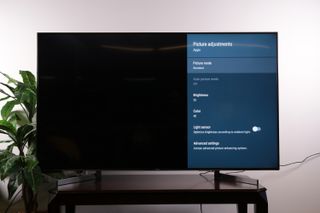
3. Picture Mode options. In the picture adjustments menu you can change the picture mode, selecting between Vivid, Standard, Custom, Cinema Pro, Cinema Home, Sports and Animation. There are also a handful of modes for displaying still images, called Photo Vivid, Photo Standard and Photo Custom, as well as special display modes for Game Mode and Graphics.
4. Brightness and color settings. In the picture adjustments menu, you can adjust the brightness, which can be set to a maximum of 50. You can also fine-tune the color saturation level, which is on a 100-point scale.
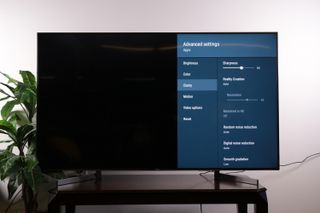
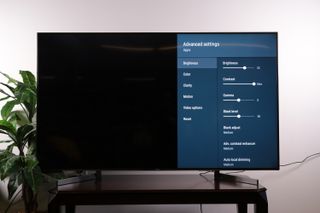
5. Advanced Settings. For more granular control, scroll all the way to the bottom and select Advanced Settings. This will open up a menu of sliders, allowing you to modulate brightness, contrast, gamma, black levels, color and hue, color temperature and more.
Resetting picture settings
If you've fiddled with the color and brightness on your TV, or turned something on or off, and can’t quite get the picture back to your liking, you may want to reset your picture settings entirely.
Sign up to get the BEST of Tom's Guide direct to your inbox.
Get instant access to breaking news, the hottest reviews, great deals and helpful tips.
1. Open Picture and Display settings. From the main settings menu, open the Picture and Display settings, and then Picture Adjustment controls.
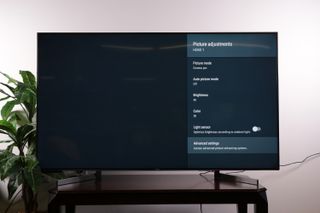
2. Open Advanced Settings. Go to the Picture Adjustment settings menu and select Advanced Settings to open the more comprehensive set of picture options.
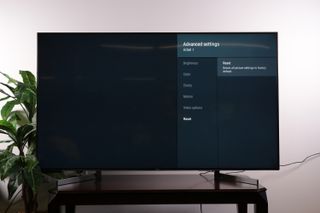
3. Select Reset. At the bottom of the Advanced Settings menu is the Reset option. To undo any changes in settings to the picture, select this option.
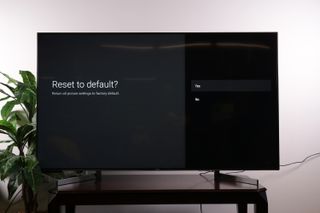
4. Confirm Reset. The system will ask you to confirm that you want to reset the picture settings. Select yes to restore the settings to factory defaults.
Current page: How to adjust picture settings on a Sony TV
Prev Page How to use HDMI-CEC to control all the devices attached to your Sony TV Next Page How to turn off the Soap Opera Effect on a Sony TVBrian Westover is currently Lead Analyst, PCs and Hardware at PCMag. Until recently, however, he was Senior Editor at Tom's Guide, where he led the site's TV coverage for several years, reviewing scores of sets and writing about everything from 8K to HDR to HDMI 2.1. He also put his computing knowledge to good use by reviewing many PCs and Mac devices, and also led our router and home networking coverage. Prior to joining Tom's Guide, he wrote for TopTenReviews and PCMag.
