How to Root Your Galaxy Note 8
If you want to root your Galaxy Note 8, the process is relatively painless. Here's a step-by-step look on how it's done.
When it comes to Samsung’s smartphones, it’s often difficult to gain root access to the device, thanks to all the built-in security features. For that reason, when the Galaxy Note 8 hit the market earlier this year, not many people were holding their breath waiting for the phablet to get the rooting treatment.
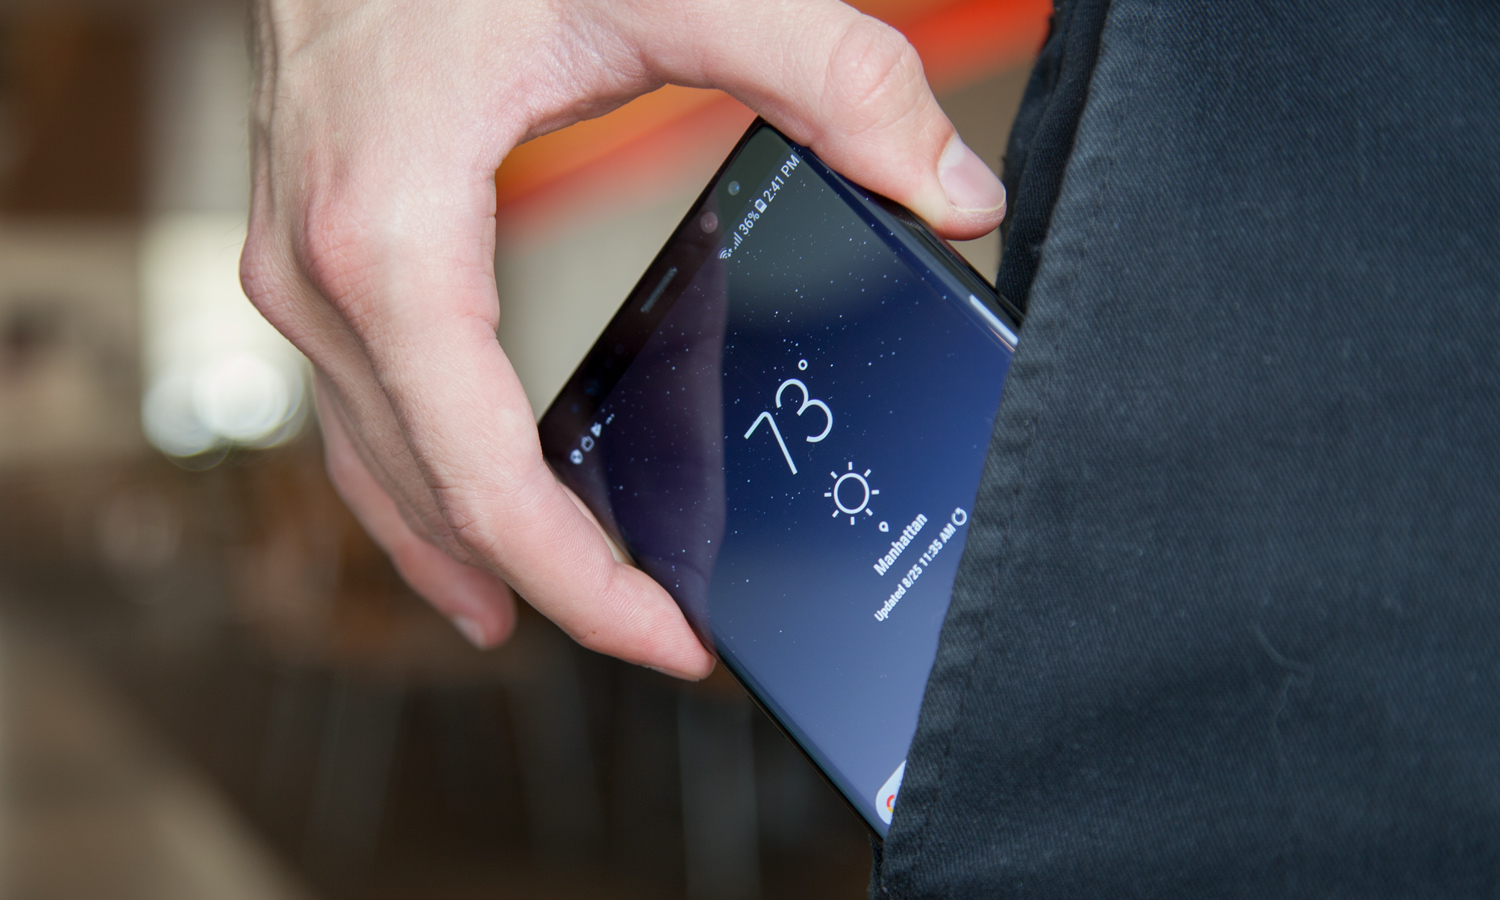
As it turns out, we were wrong. The Note 8 has already been rooted using the Odin application. Even better, the process is relatively painless, and it’s easy to undo, as well.
MORE: Our Favorite Apps for Rooted Android Phones
Before we unlock the Note 8, it’s worth addressing a few caveats about the unlocking process.
- This will only work on the U.S. version of the Note 8, powered by the Snapdragon 835. If you’re using a Note 8 feature Samsung’s own Exynos 9 series CPU — essentially, the model sold outside the U.S. — look elsewhere.
- You’ll need a PC to unlock your smartphone.
- The process described below erases whatever’s on your Note 8, so backup anything you need off the phone before you start.
- Because of the boot.img we are flashing, there’s a good chance the battery will never charge to more than 80 percent.
- Rooting your phone voids your warranty (though you can unroot your Note 8, restoring the stock firmware).
- You root phones at your own risk, and it’s something the average smartphone user shouldn’t really mess with.
With those cautions in mind, here’s how to root your Note 8.
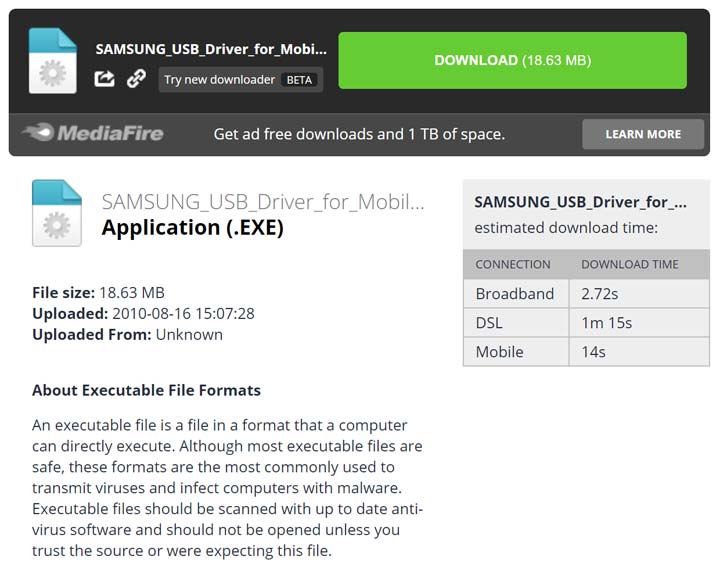
1. Download and install the Samsung Drivers on your PC.
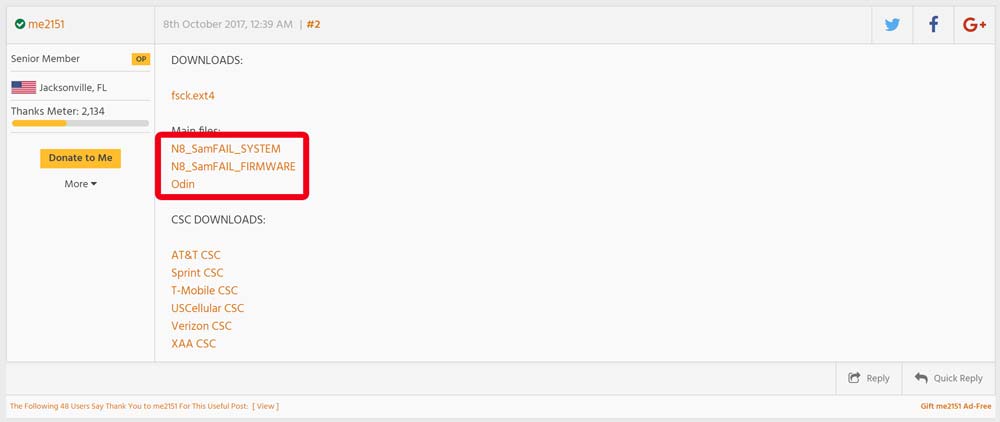
2. Next, we'll need to download the following files from XDA in this post: SAMFAIL System, SAMFAIL Firmware and Odin. Save them to your Desktop and extract them all.
Sign up to get the BEST of Tom's Guide direct to your inbox.
Get instant access to breaking news, the hottest reviews, great deals and helpful tips.
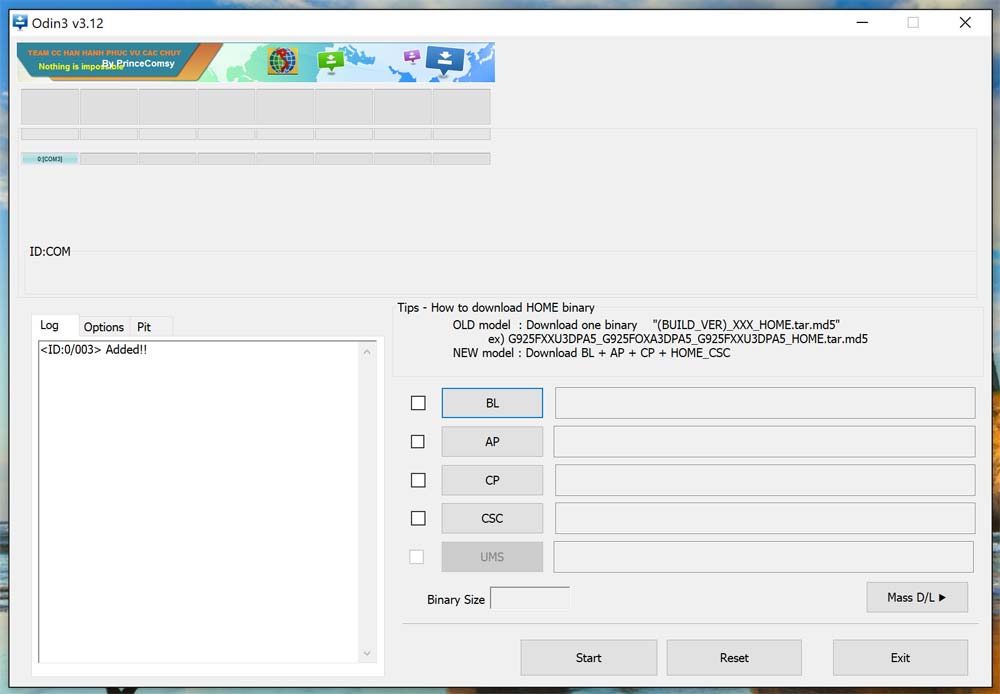
3. Open the newly extracted Odin folder and double click the Odin .exe file inside.
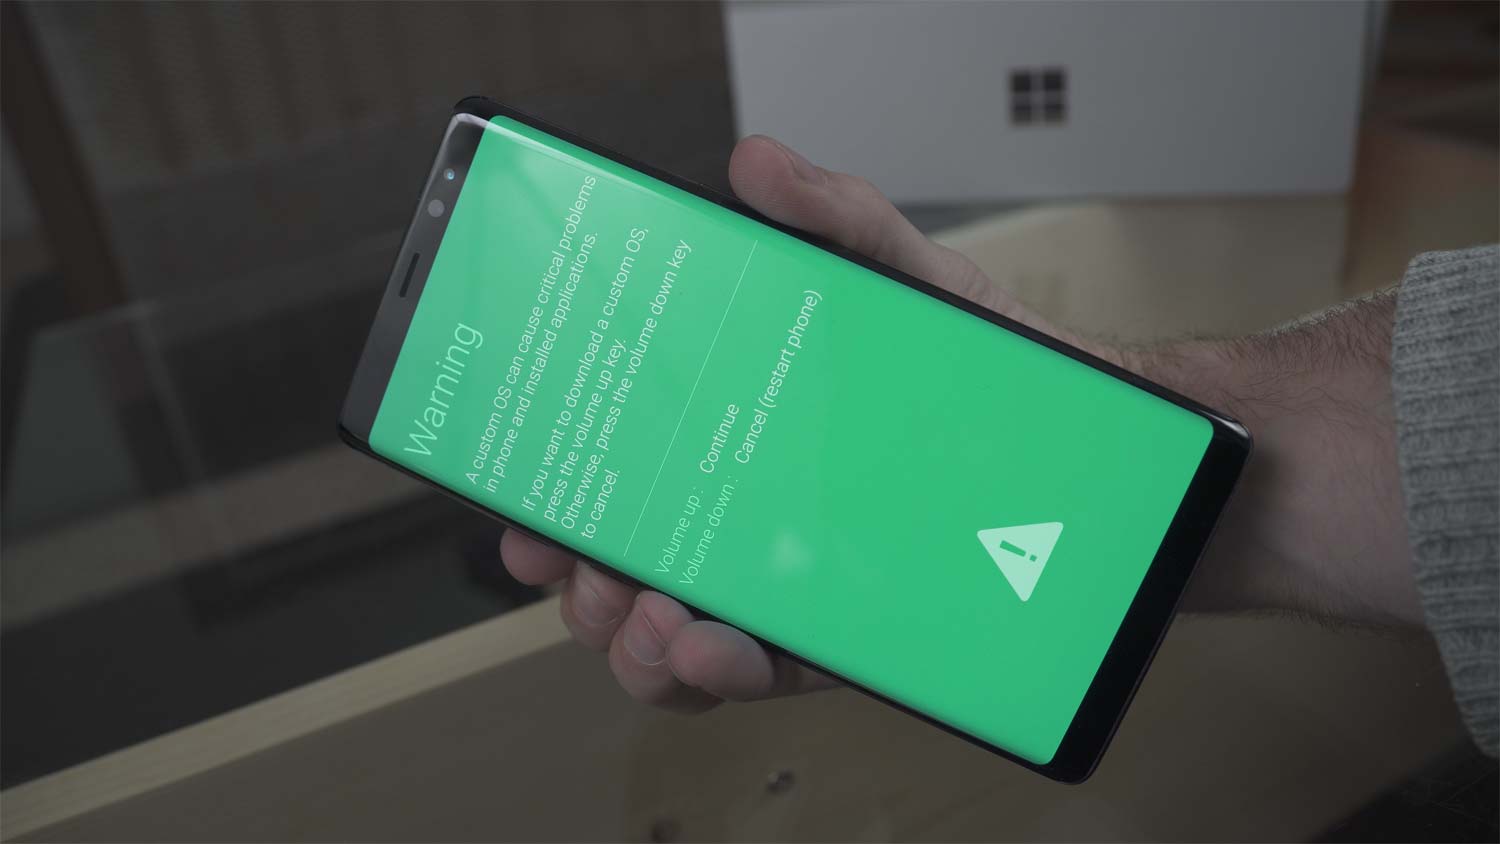
4. Turn off your Note 8 and put it into Download Mode by holding down the Volume Down, Power and Bixby buttons at the same time. Keep holding them until the phone’s display says you are in download mode and then plug it in.
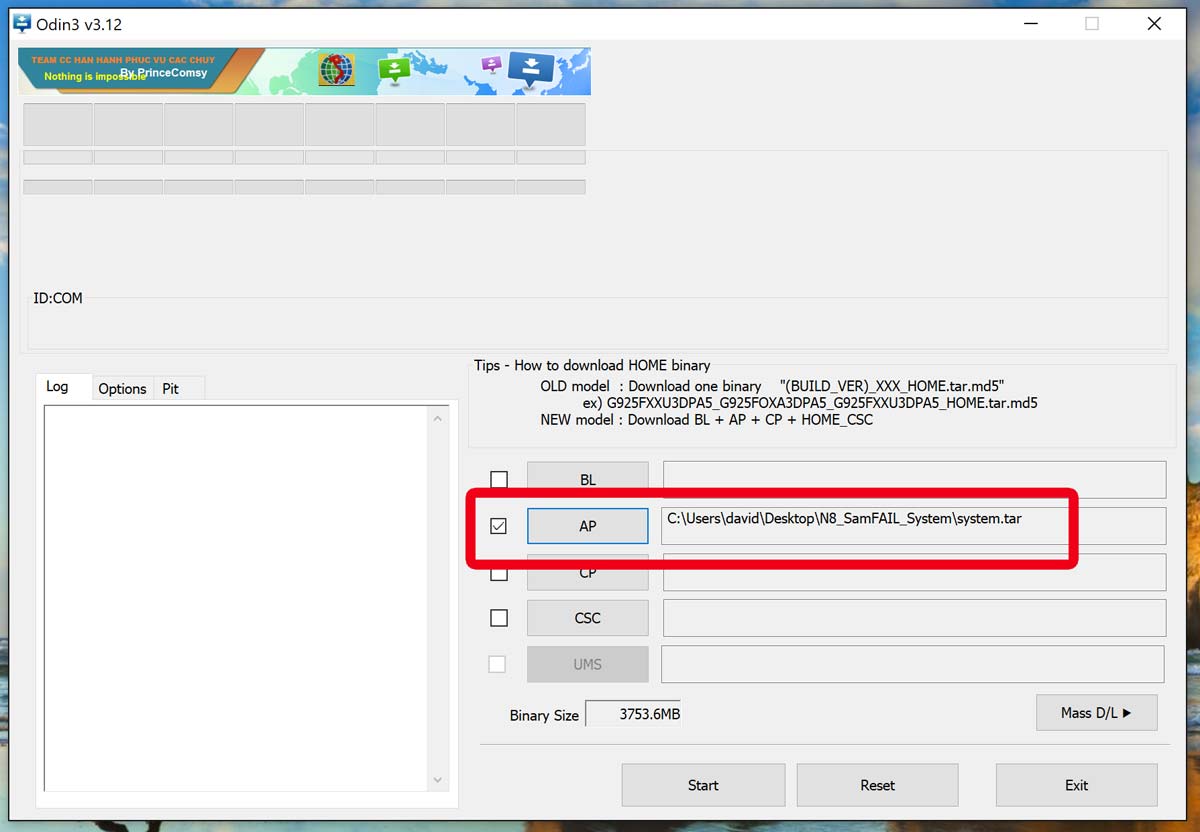
5. In Odin, click the AP button and select the system.tar file from inside the newly extracted SamFail System folder.
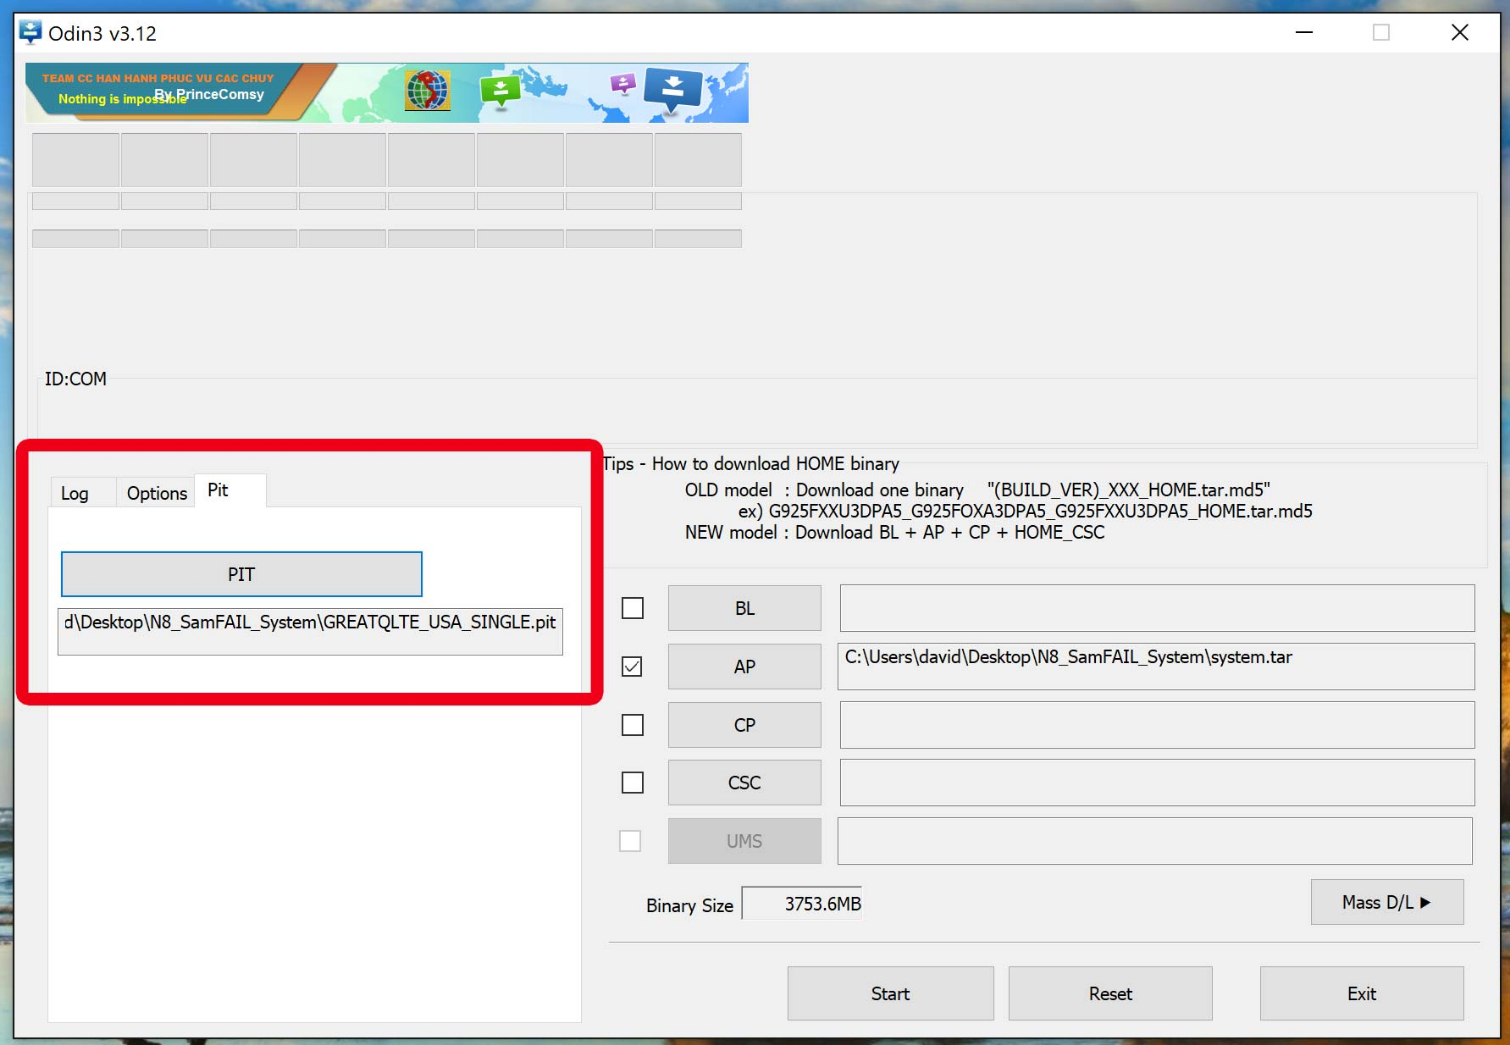
6. Select the PIT tab on the left in Odin. Click PIT and select the .pit file from that same folder, as well.
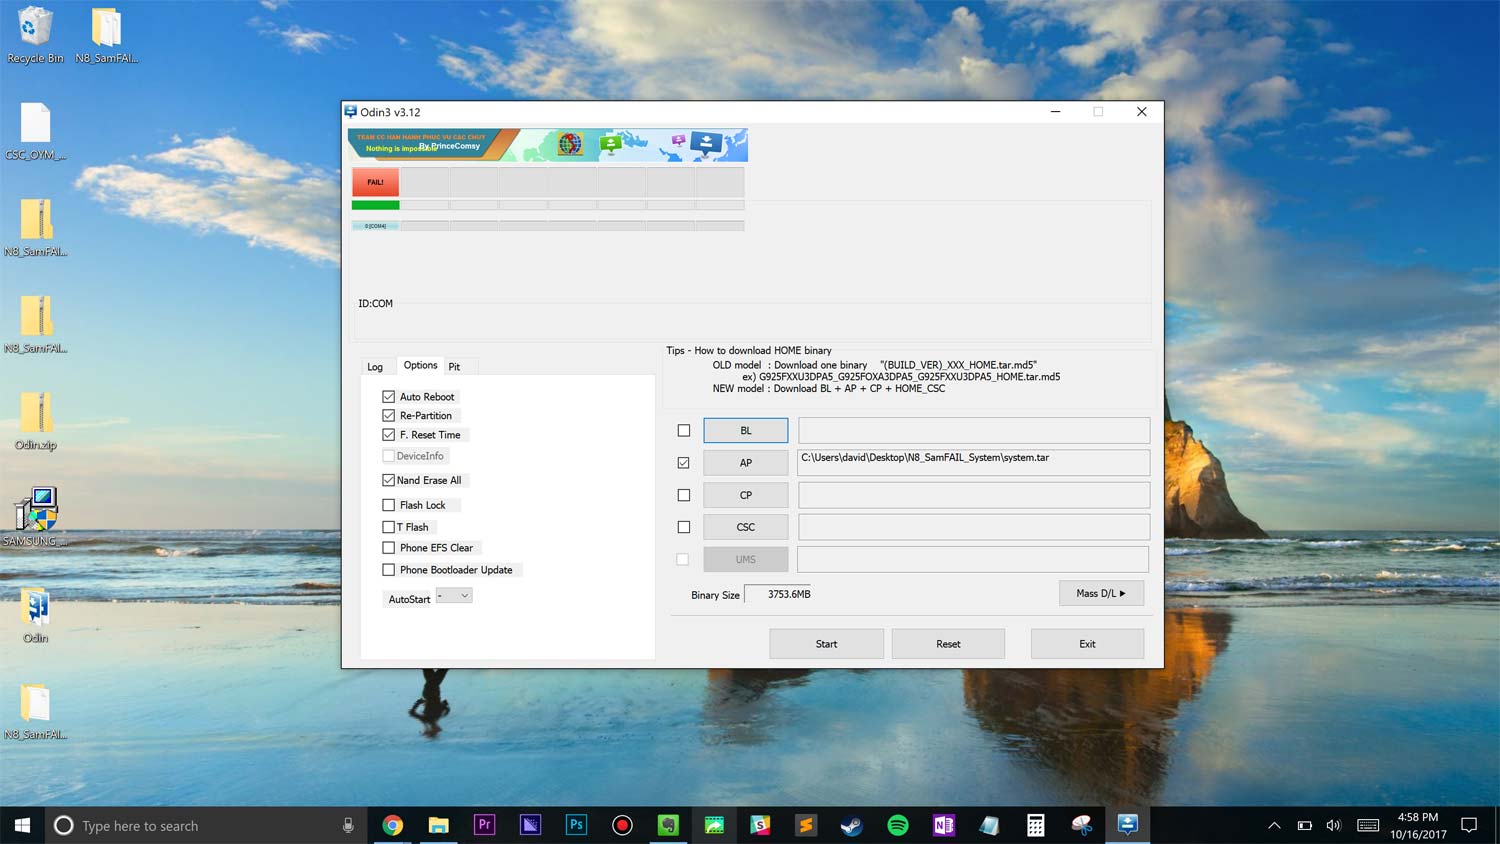
7. Click the Options tab and make sure all of the following are checked on (and everything else is not checked):
- Auto Reboot
- F. Reset Time
- NAND Erase All
- Re-Partition
8. Click Start and wait for the phone to flash. It will say FAIL at the end, but it still worked.
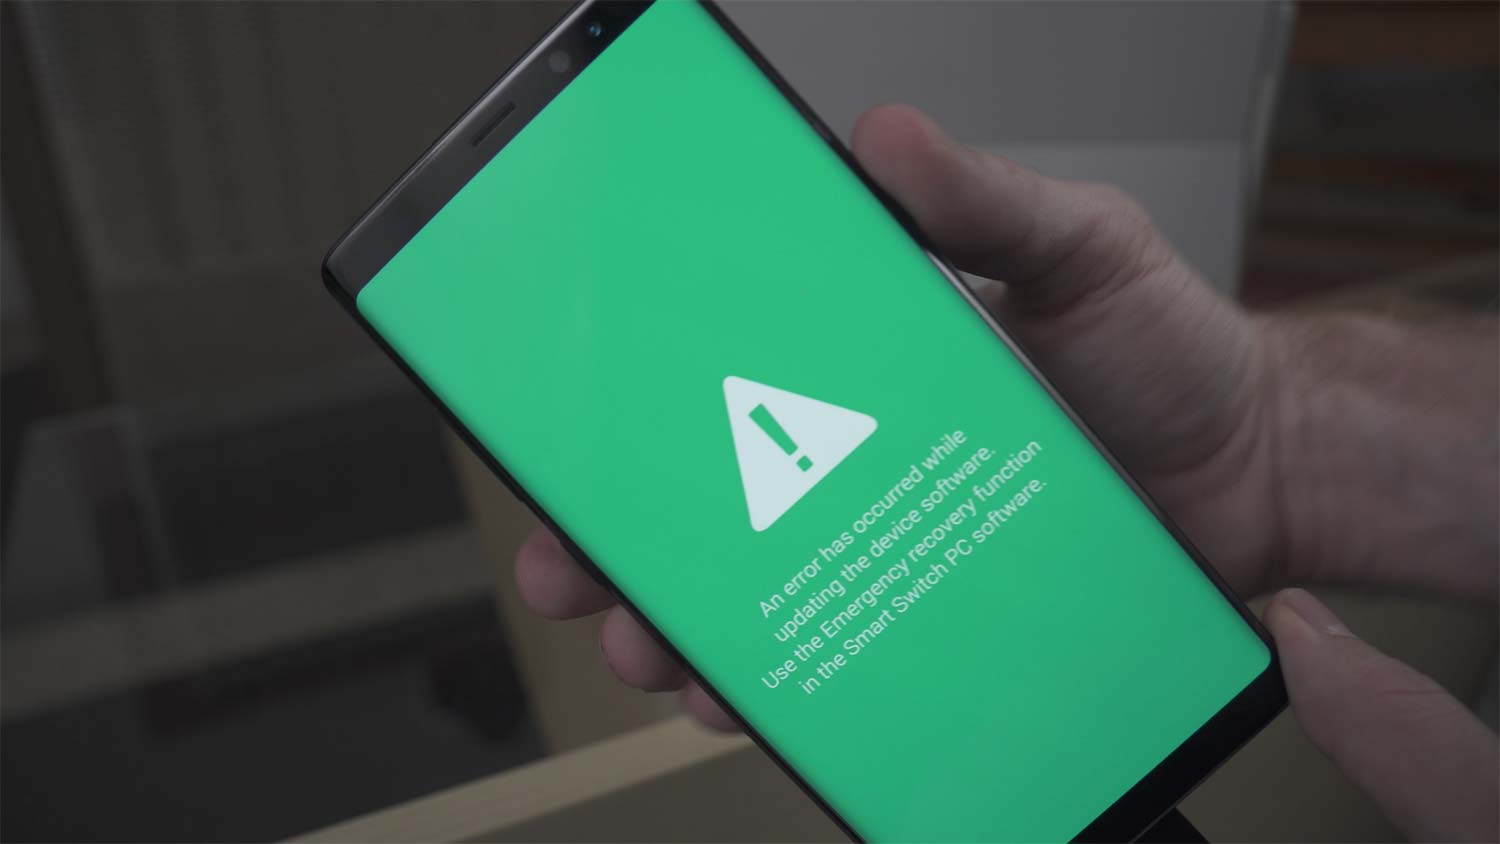
9. Put the phone back into Download Mode by holding down Volume Down, Power and Bixby buttons at the same time and keep holding them until the screen says you are in download or upload mode. (If you wind up in upload mode, hold the same buttons again to get into download mode). The phone will tell you it is in emergency mode, which is fine.
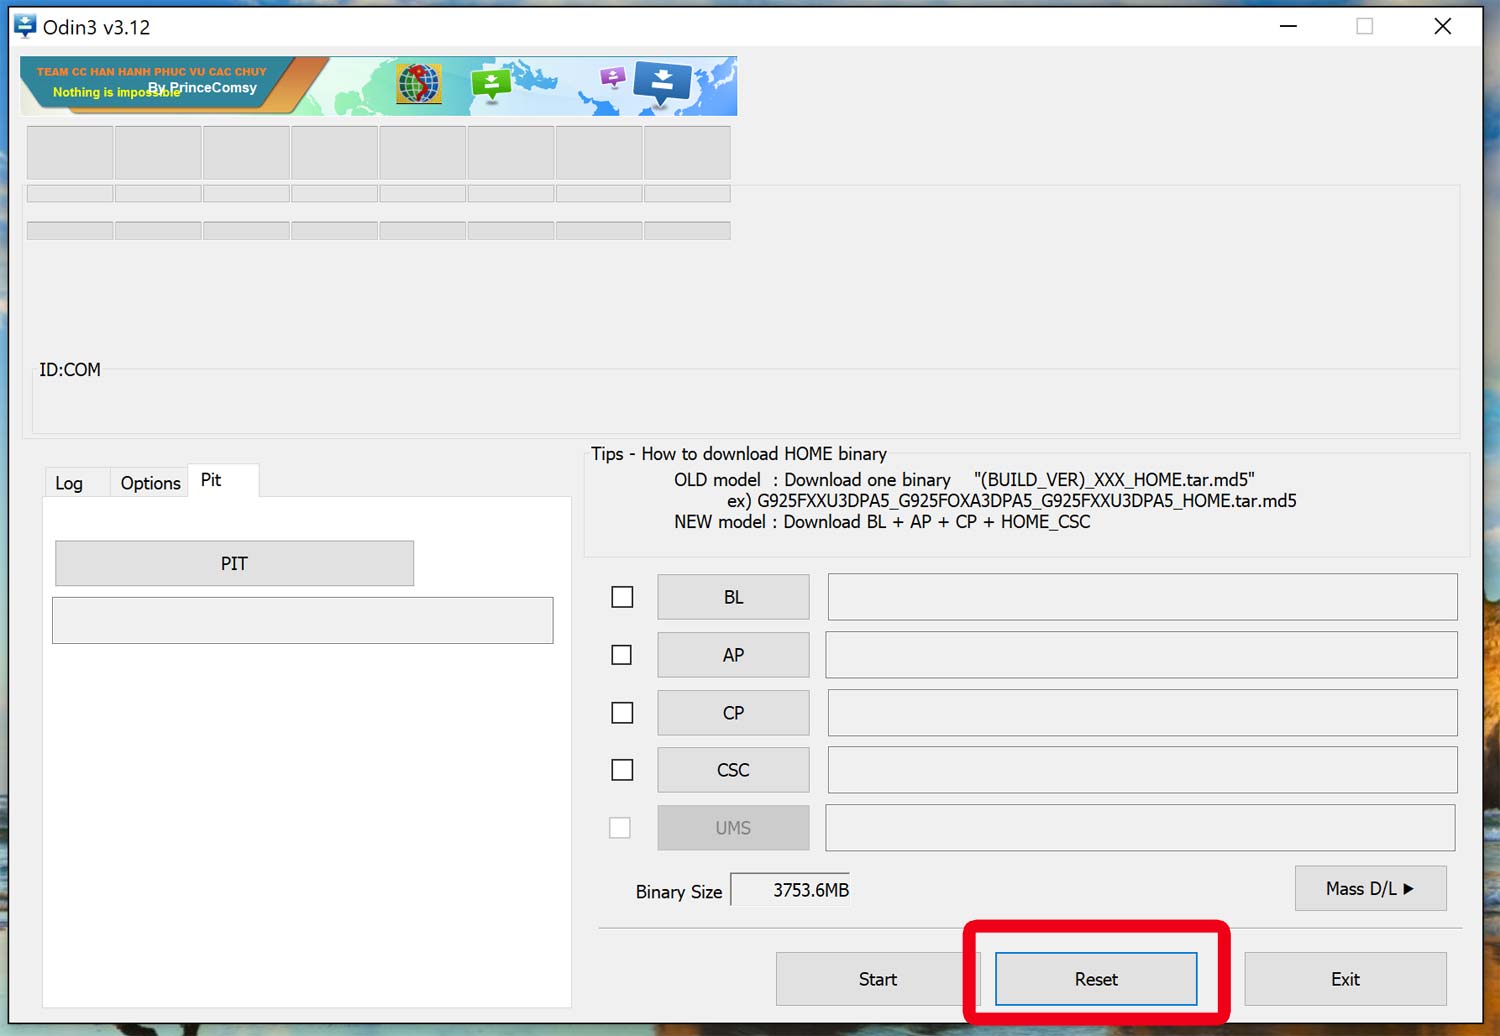
10. Click Reset in Odin.
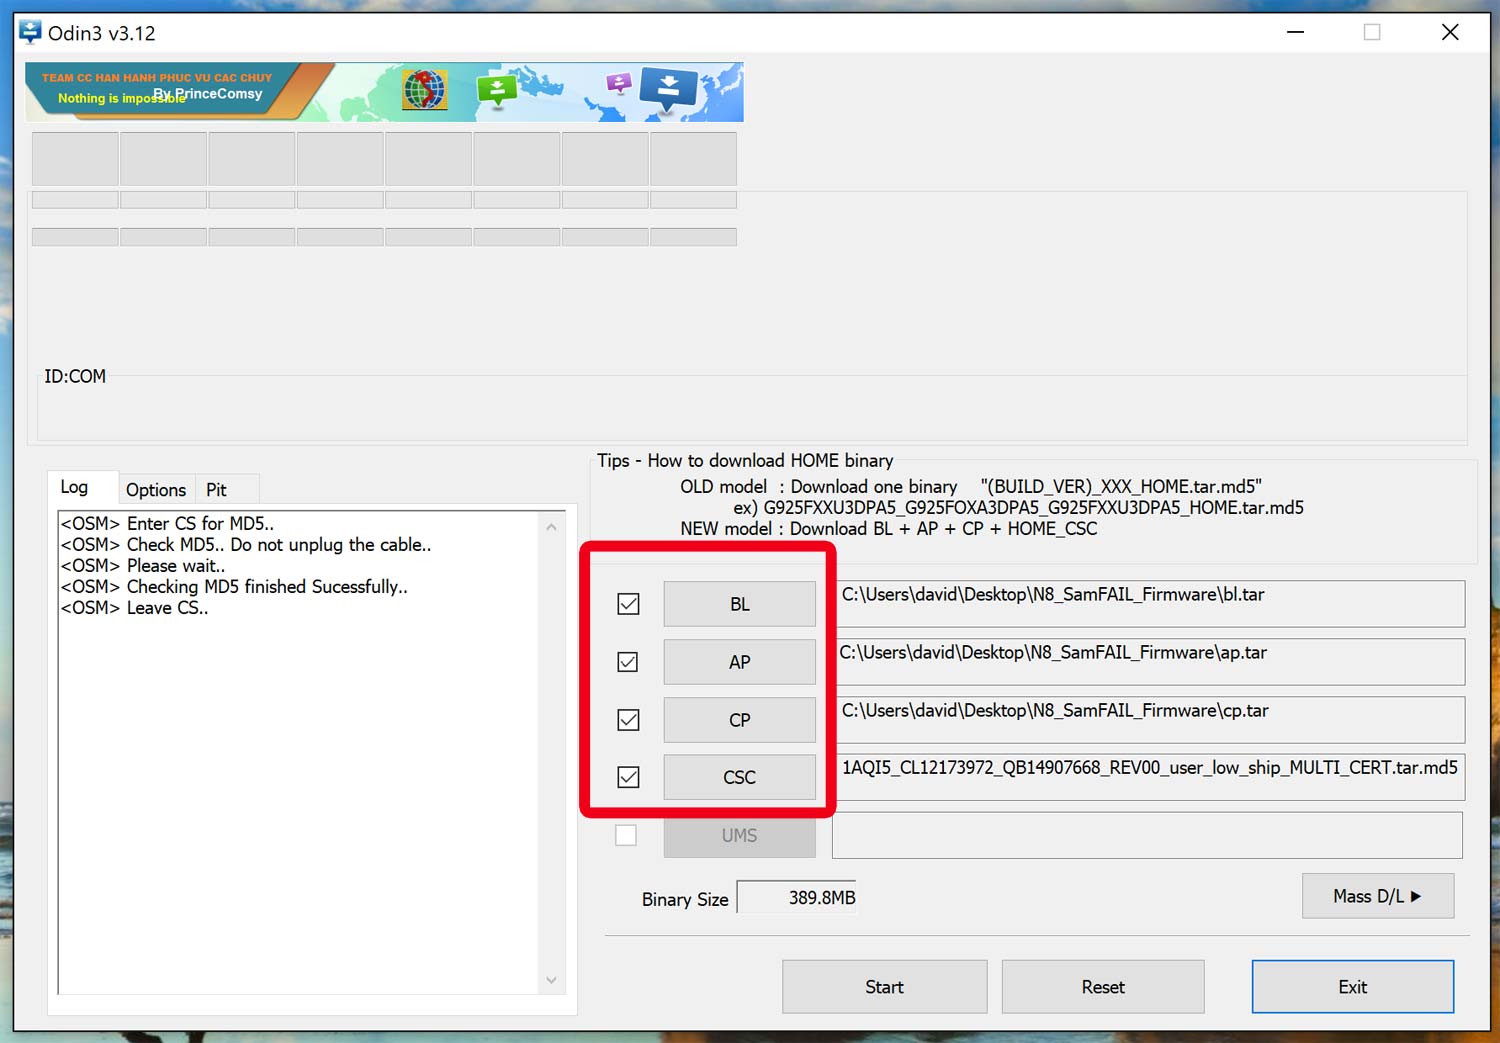
11. Click on BL in Odin and select the BL file inside the newly extracted folder. Then click AP and select the AP file. Click CP and select the CP file. Finally, click CSC and select the CSC file.
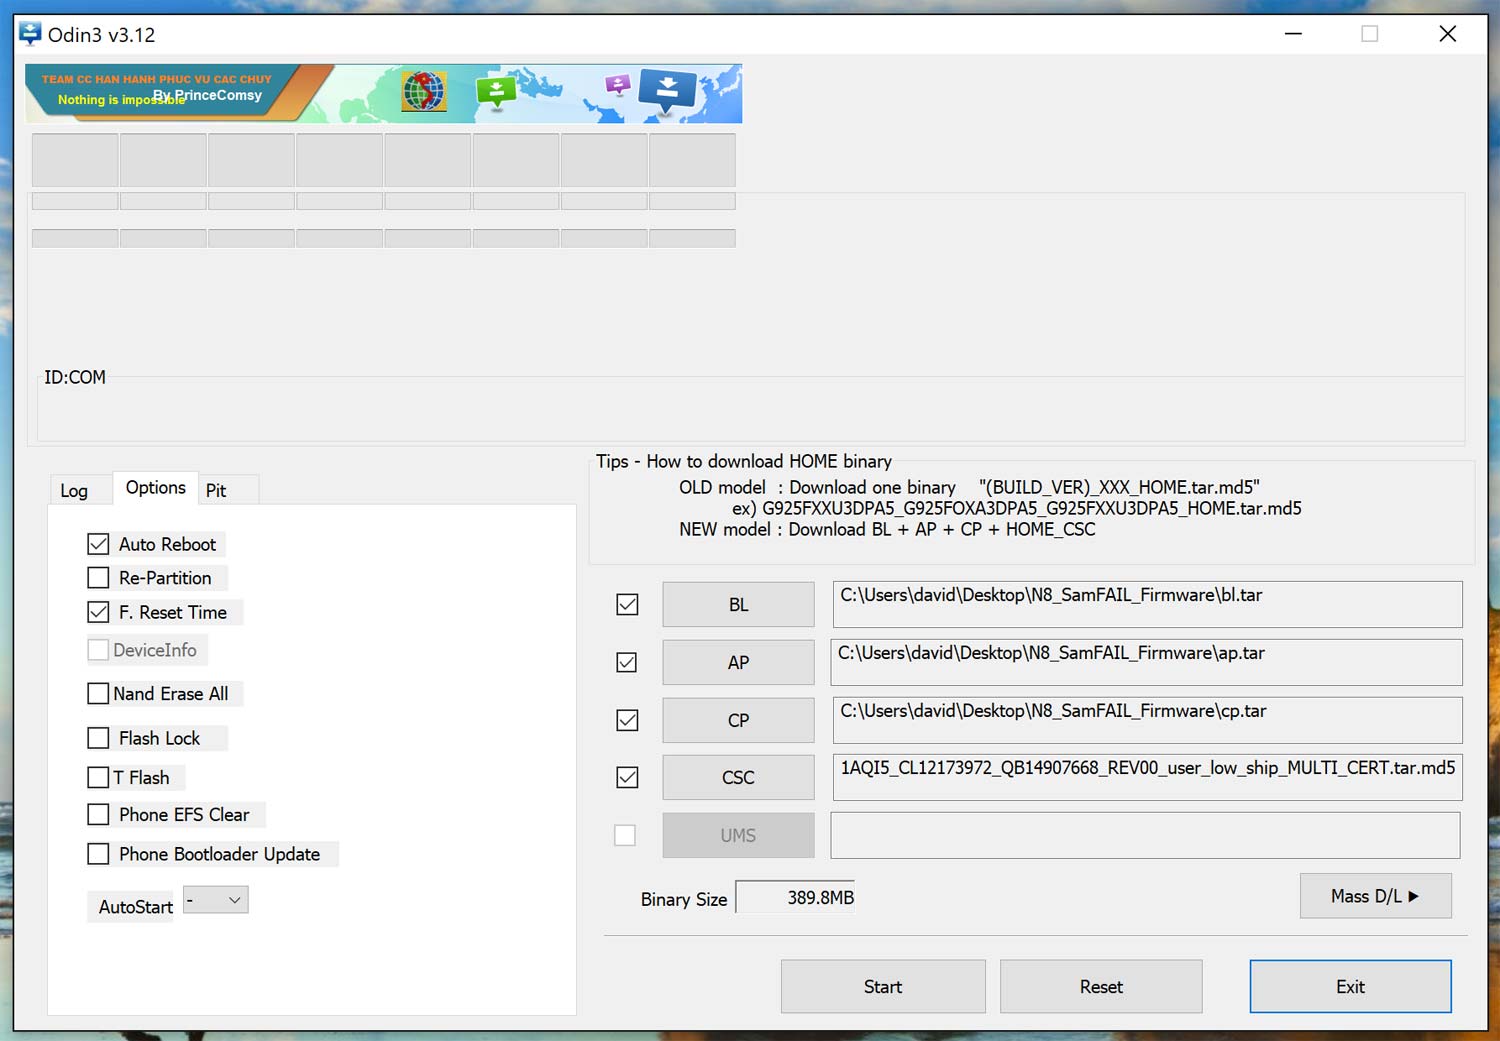
12. Click on the Options tab and select the following ONLY and uncheck everything else. (Take note: this list is different from earlier so make sure to review exactly what you’re checking.)
- Auto Reboot
- F. Reset Time
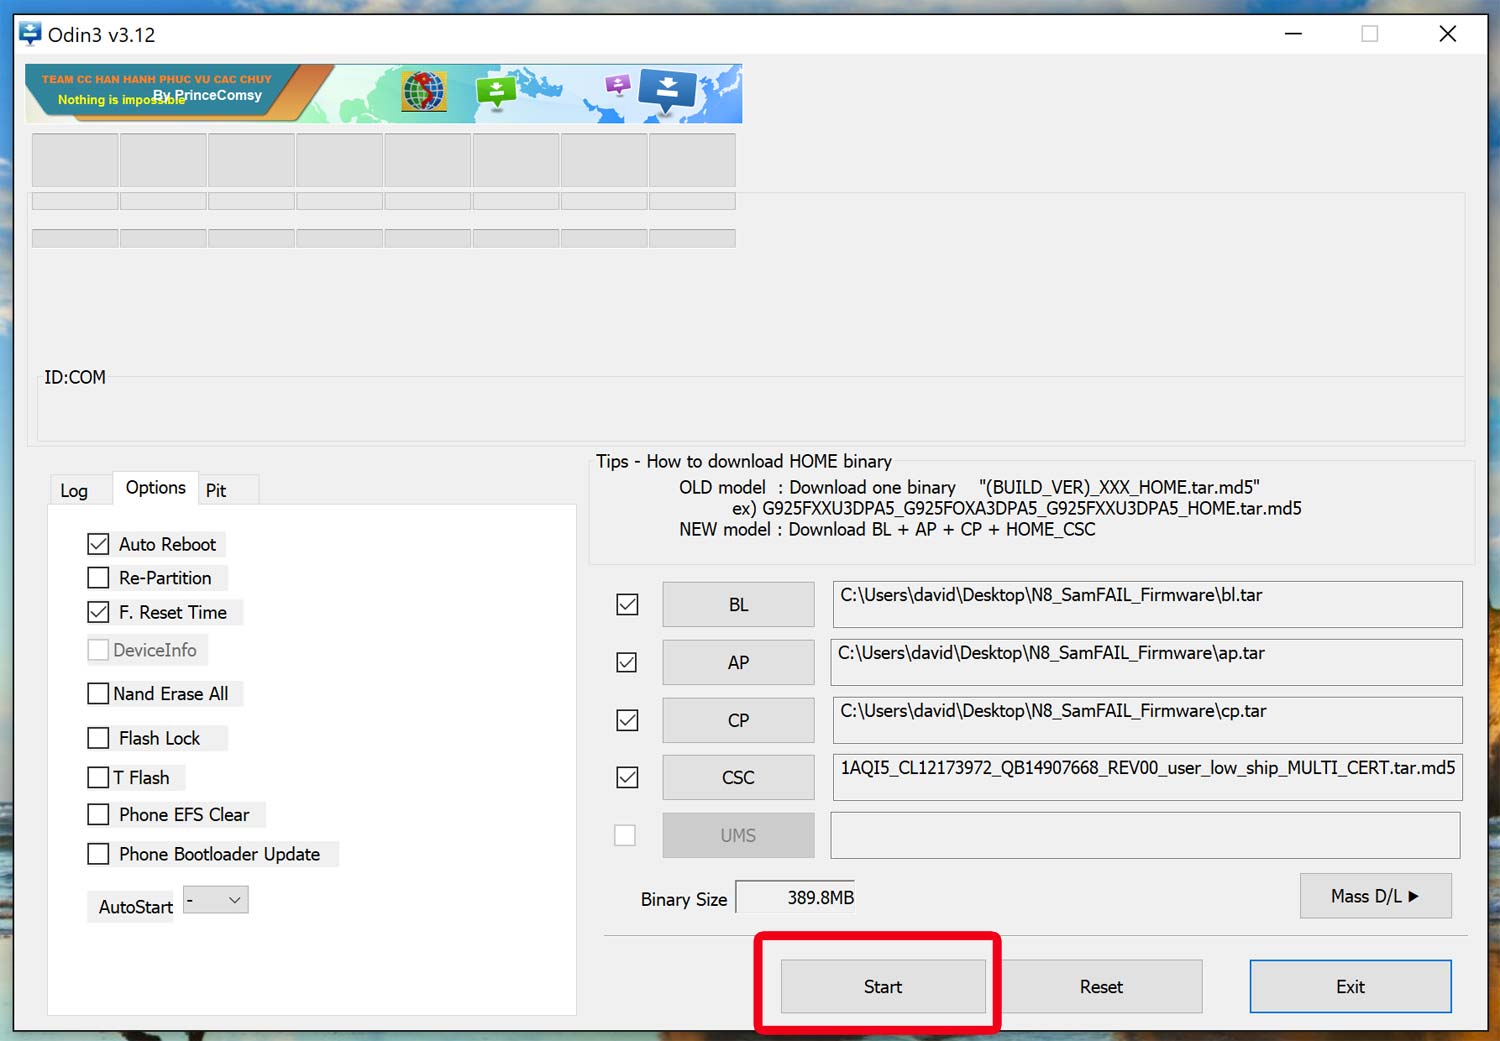
13. Click Start and the phone will reboot into recovery mode. Check to see if it says Failed to Mount /System (Invalid Argument). If it does,you did something wrong and need to start over from the very beginning. But if there’s no message along those lines, you can continue.
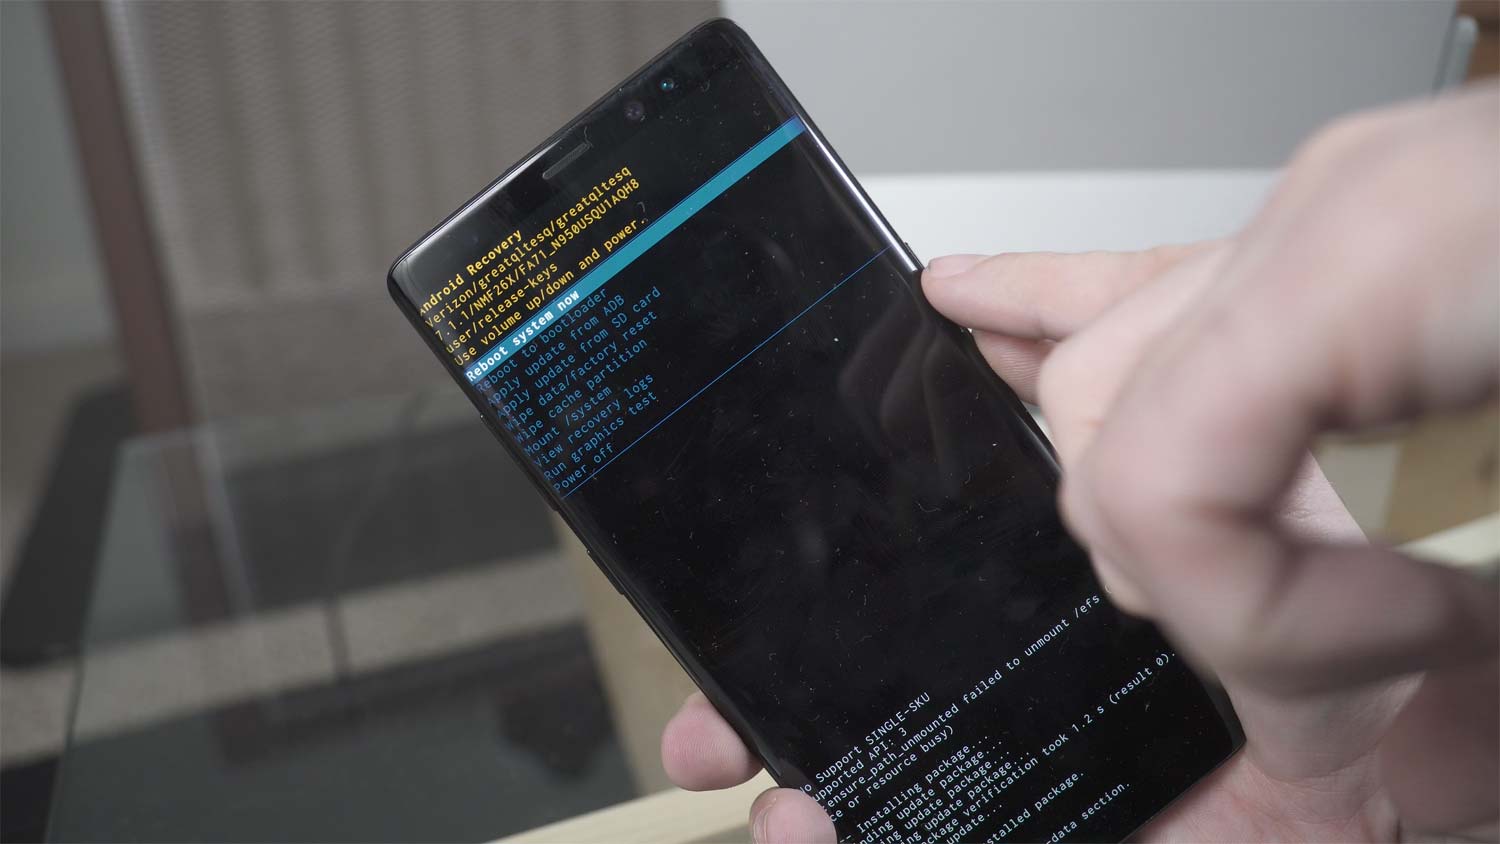
14. Using the volume buttons to navigate and power to select, choose Reboot to System.
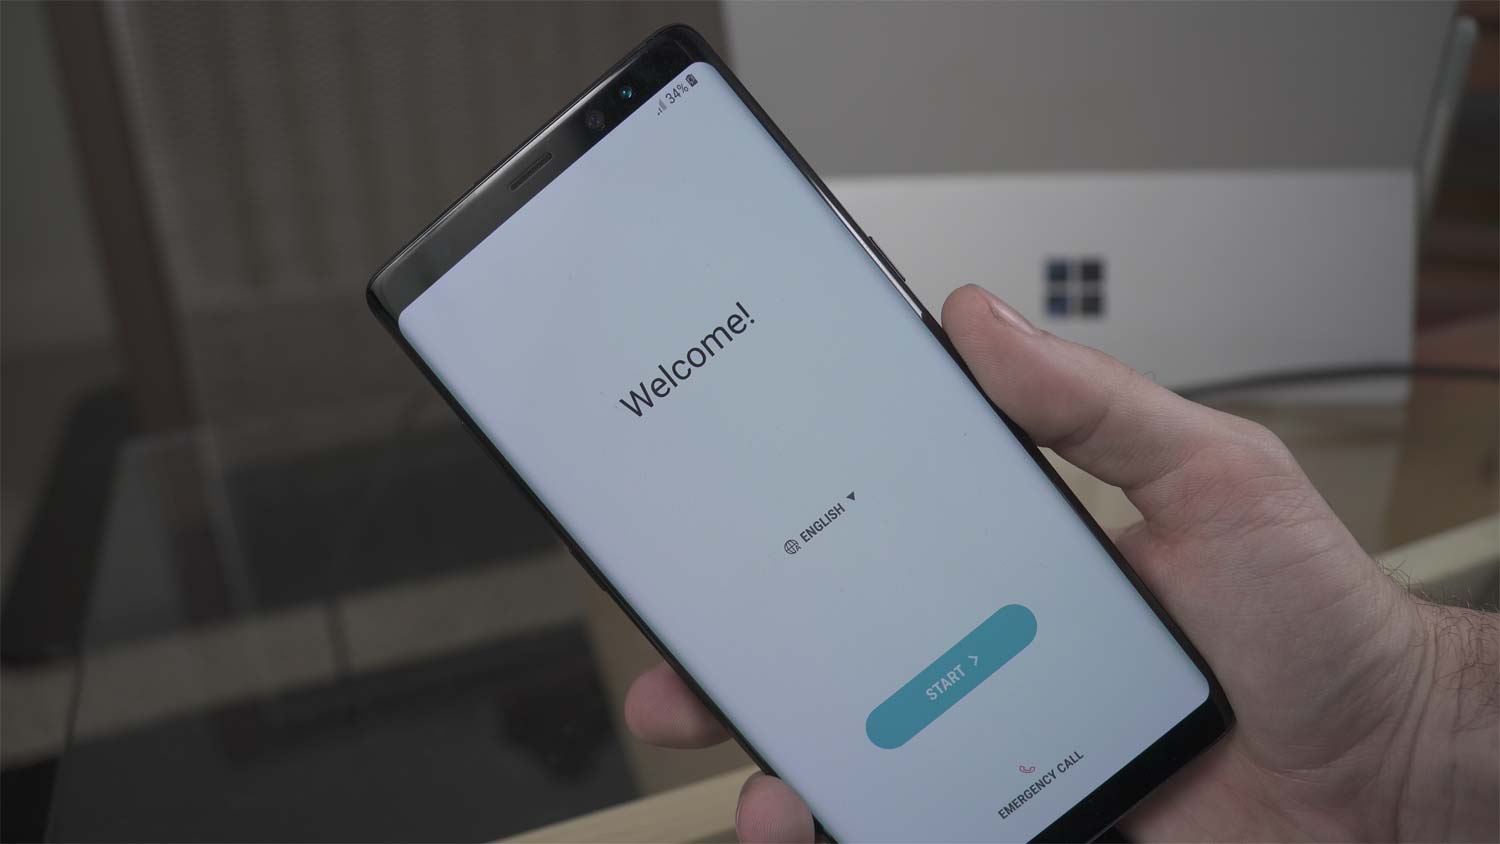
15. Once the phone boots up, go through the normal setup process.
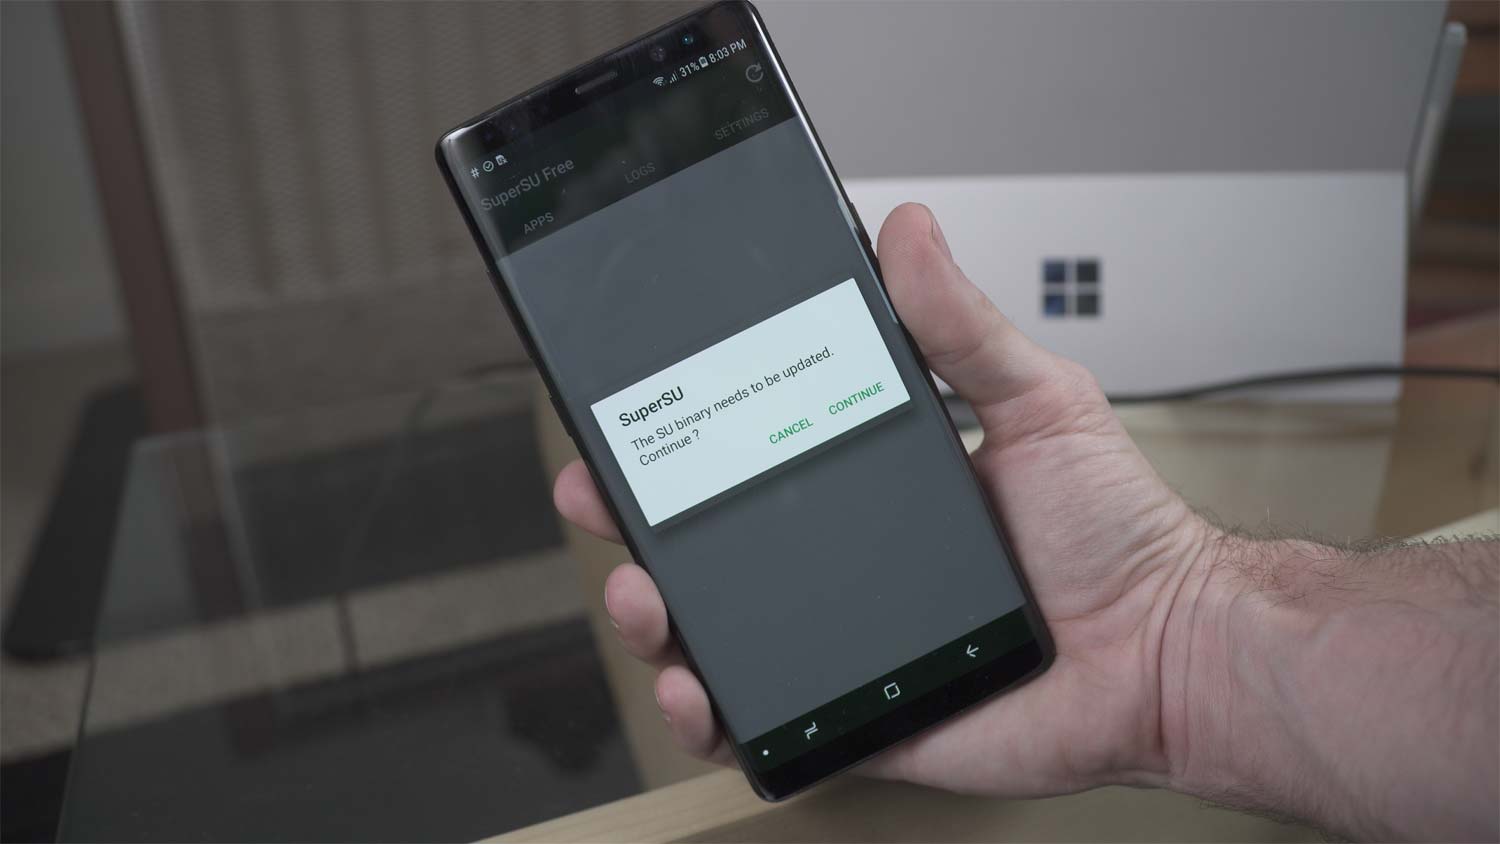
16. Once you can get to the homescreen, open the SuperSU app from the app drawer. It'll prompt you to update binaries.
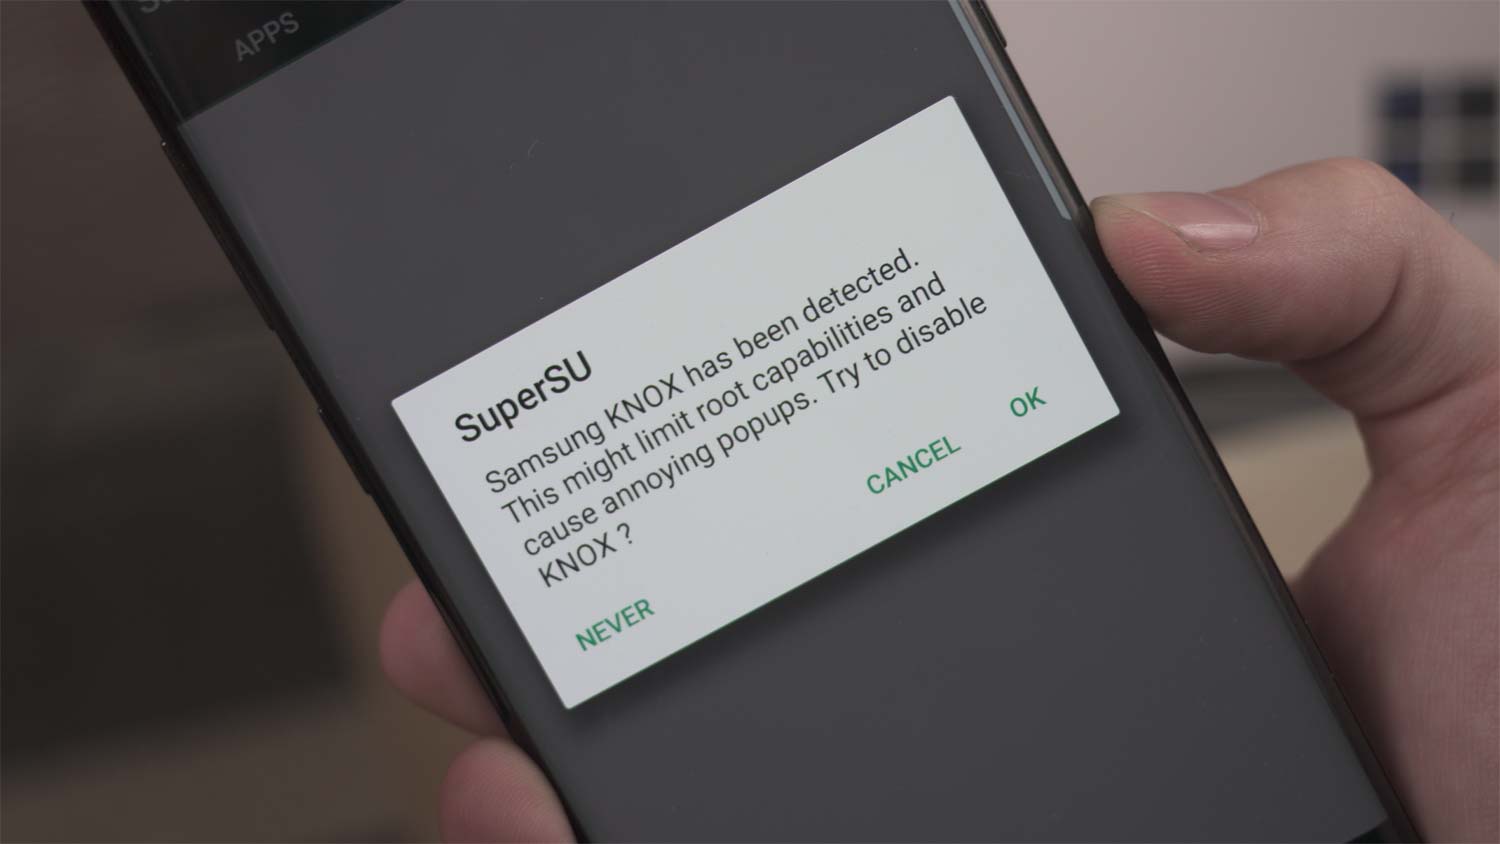
17. Select Normal Method, and then follow the instructions to disable Knox if a message pops up instructing you to do so.
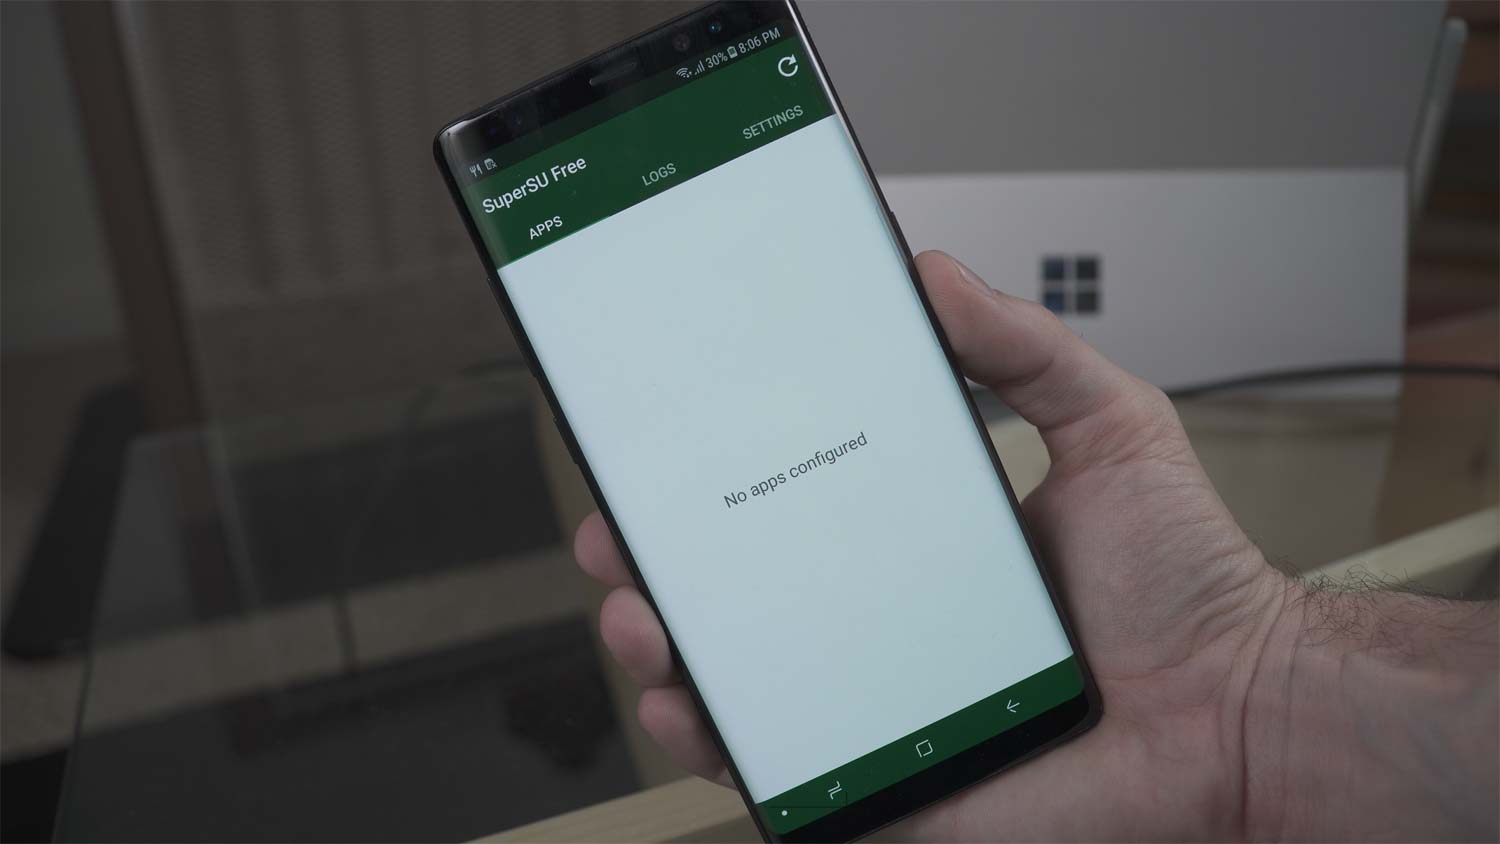
When SuperSU is done, you’ll be told to reboot. Allow your phone to do so. It'll reboot a few times and once done, you're all set. Enjoy your new-found root access.
If you ever decide to go back to stock, you’ll just need to find the stock Odin firmware files for your particular model phone (they need to be for your exact model) and just flash them in Odin as illustrated here.
David Cogen's blog, TheUnlockr.com, is a popular site for rooting/jailbreaking, tips & tricks, tech news, and more. Check it out and say hi to him on Twitter.
