How to Take Product Photos That Sell on eBay and Etsy
Whether you're launching an online store or looking to make a quick buck on eBay, our product-photography tips will help you sell your items fast.
Photos that move product
From Etsy to eBay, there are more places to sell stuff online than ever before, but few people know how to create professional-looking marketing photos. Follow our 12 simple tips to transform your advertising images from amateur to amazing.
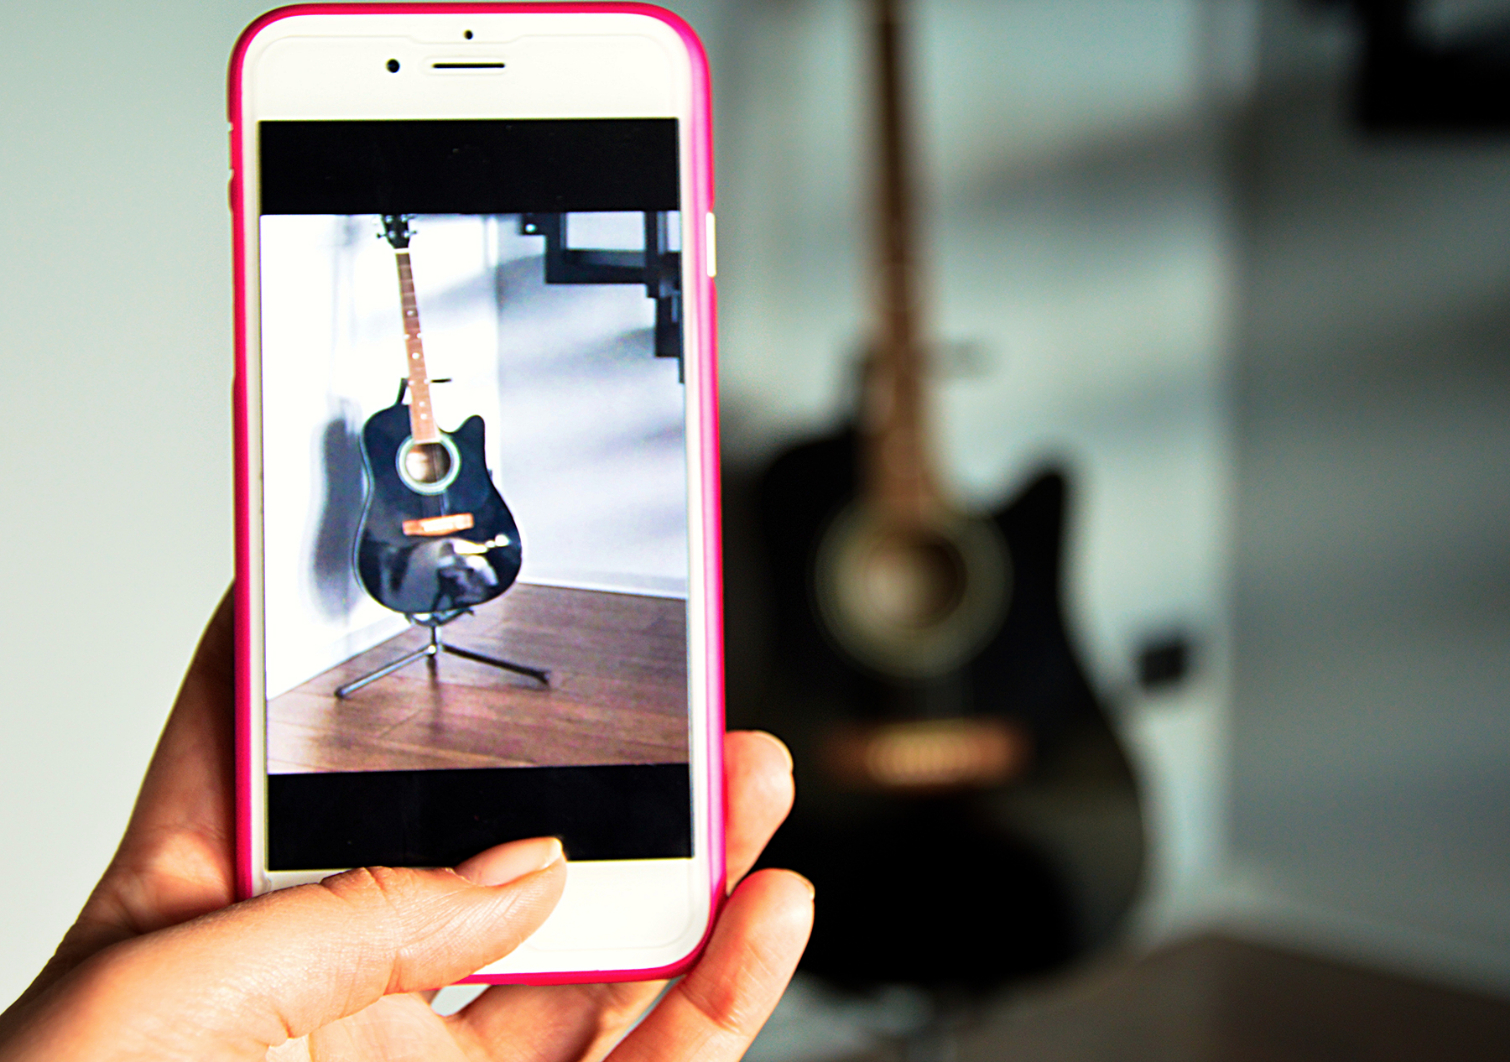
Do some cleaning.
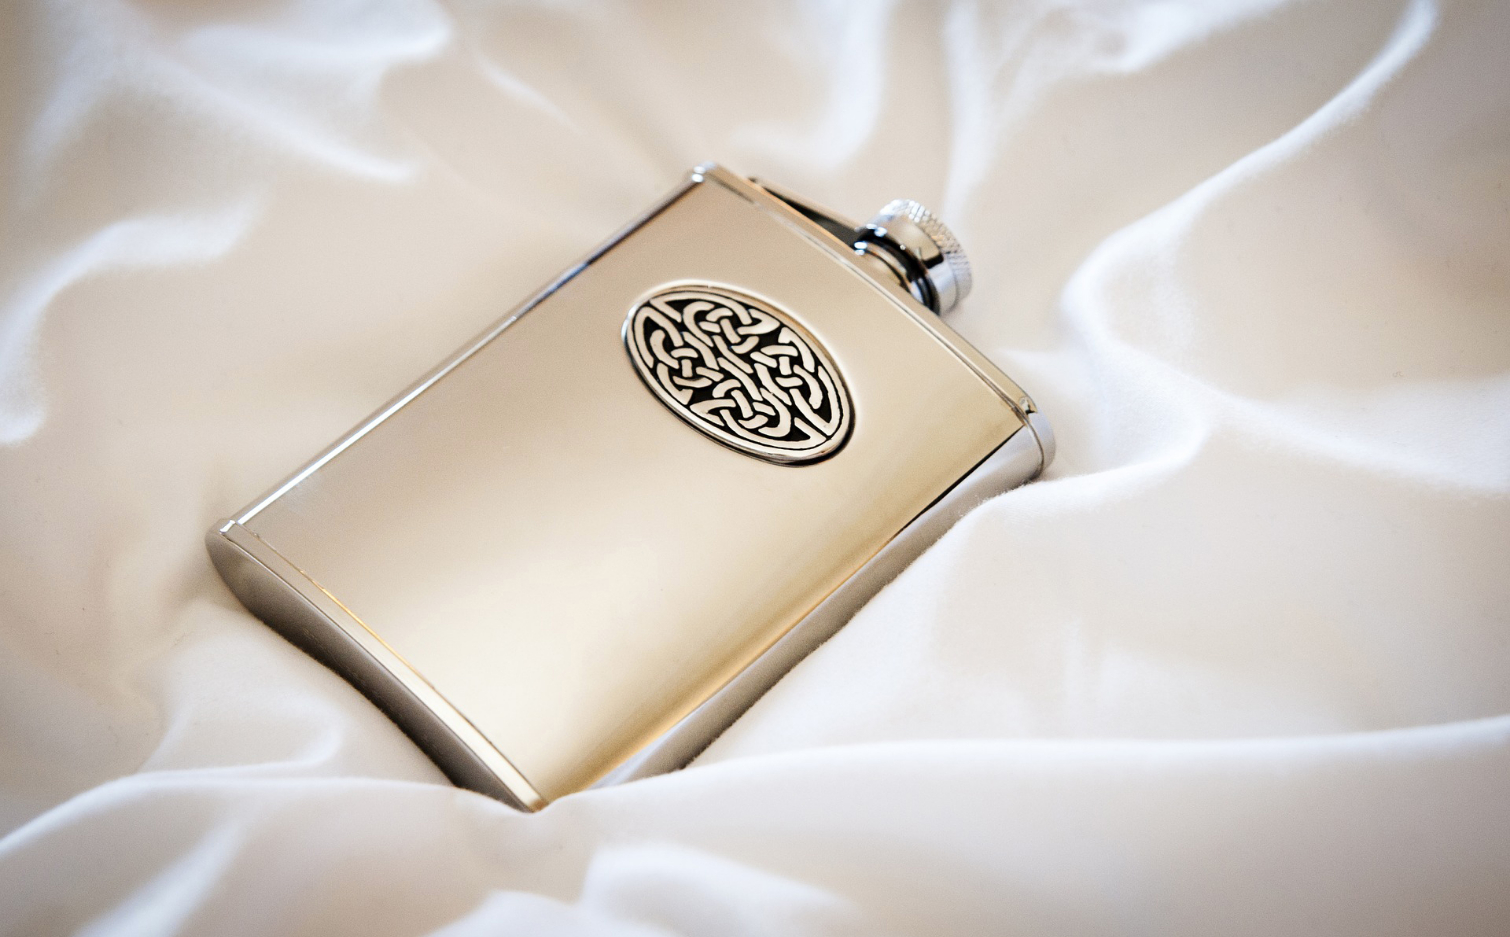
It may seem like a no-brainer, but you should take a moment to clean or polish the item you're selling before you start photographing it. No one wants to see someone else's fingerprints, dust or crud on a product.
Photo credit: Pixabay
Use window light.

Creating great lighting for advertising photos requires little more than a window. The soft, natural light will minimize harsh shadows and give whatever object you're photographing a fresh, airy quality (as long as the sun isn't shining directly in). Remember to turn off any indoor lights, which may give your image a yellow cast.
If you don't have access to natural light, you can always mimic window light by using a single, diffused light source. We recommend a $106 Lowel Ego tabletop light or an off-camera flash attached to a soft box.
Photo credit: Pexels
Use a reflector or white card.
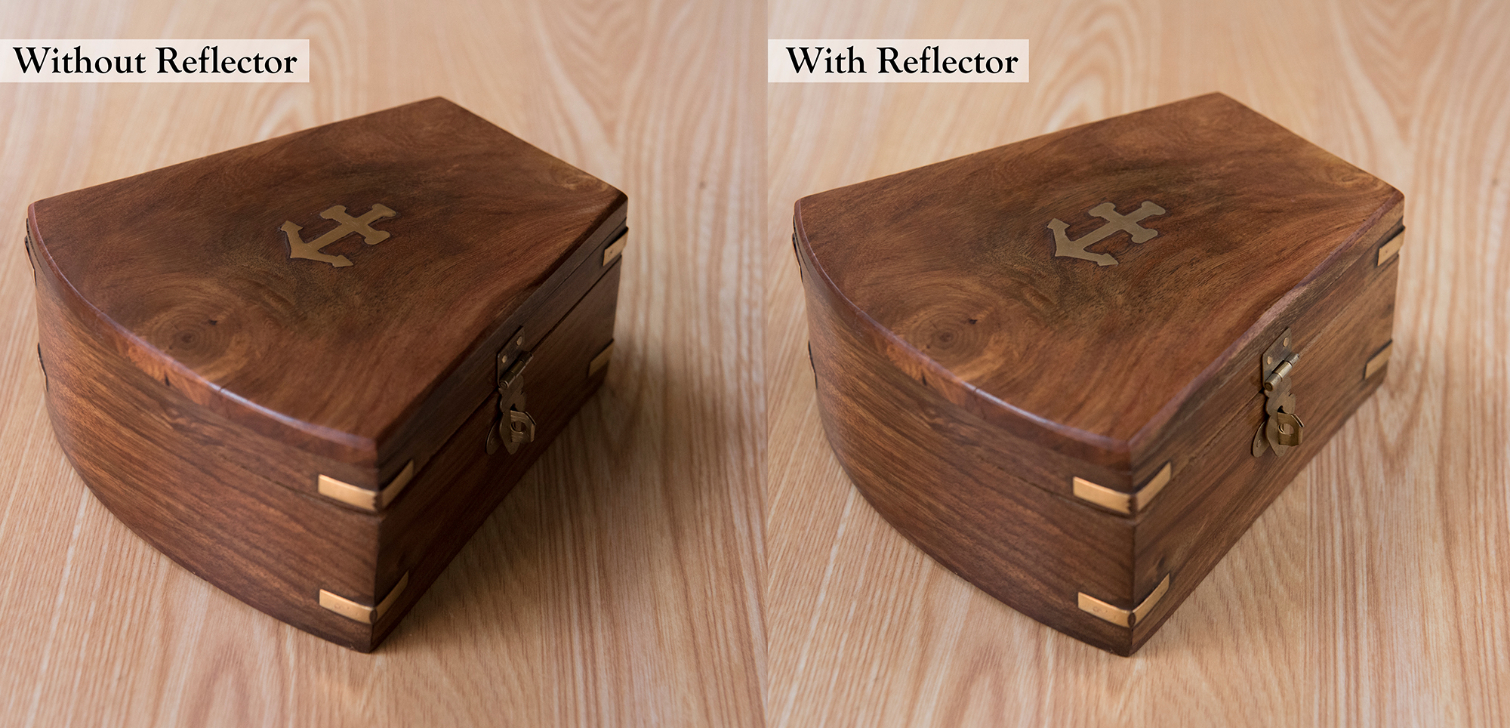
Shooting with a single, diffused light source creates a soft shadow to one side of your subject. To brighten up the dark areas, place a reflector or white card on the shaded side of your image. This will bounce the light back into the shadows and give your lighting a more even appearance. If you don't have a reflector or white card handy, you can improvise with aluminum foil or sheets of printer paper.
Sign up to get the BEST of Tom's Guide direct to your inbox.
Get instant access to breaking news, the hottest reviews, great deals and helpful tips.
Photo credit: Lacey Johnson
Shoot from different angles.

The more thoroughly you photograph an item, the more confidence a buyer will have about what they're getting. Make sure to shoot the top, bottom, inside (if it opens) and all sides of the object you're selling.
Photo credit: Pixabay
Get close.
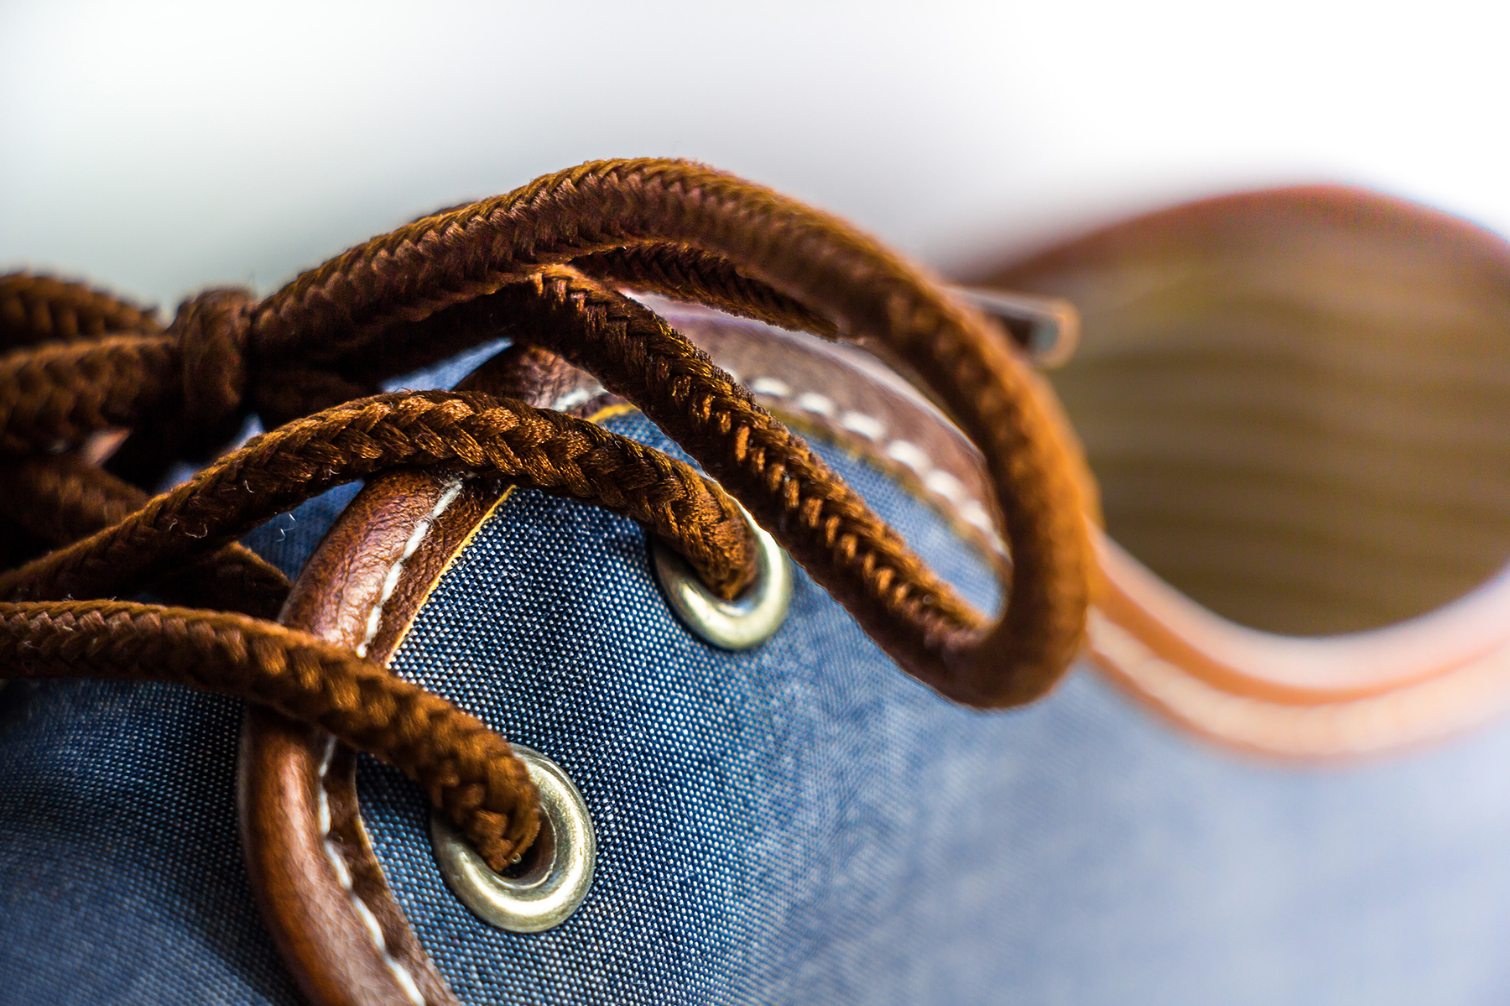
Be sure to zoom in and show the fine details of the item you're selling. The craftsmanship in a woodworked shelf, condition of hand-painted china or facets in a diamond ring can be seen only from close up. If you have a DSLR, consider using a macro lens to take your product photography to the next level. Some smartphones and point-and-shoot cameras also have built-in macro settings (and there are some great macro lenses for the iPhone) that allow you to focus at close range.
Photo credit: Pexels
Minimize distractions.
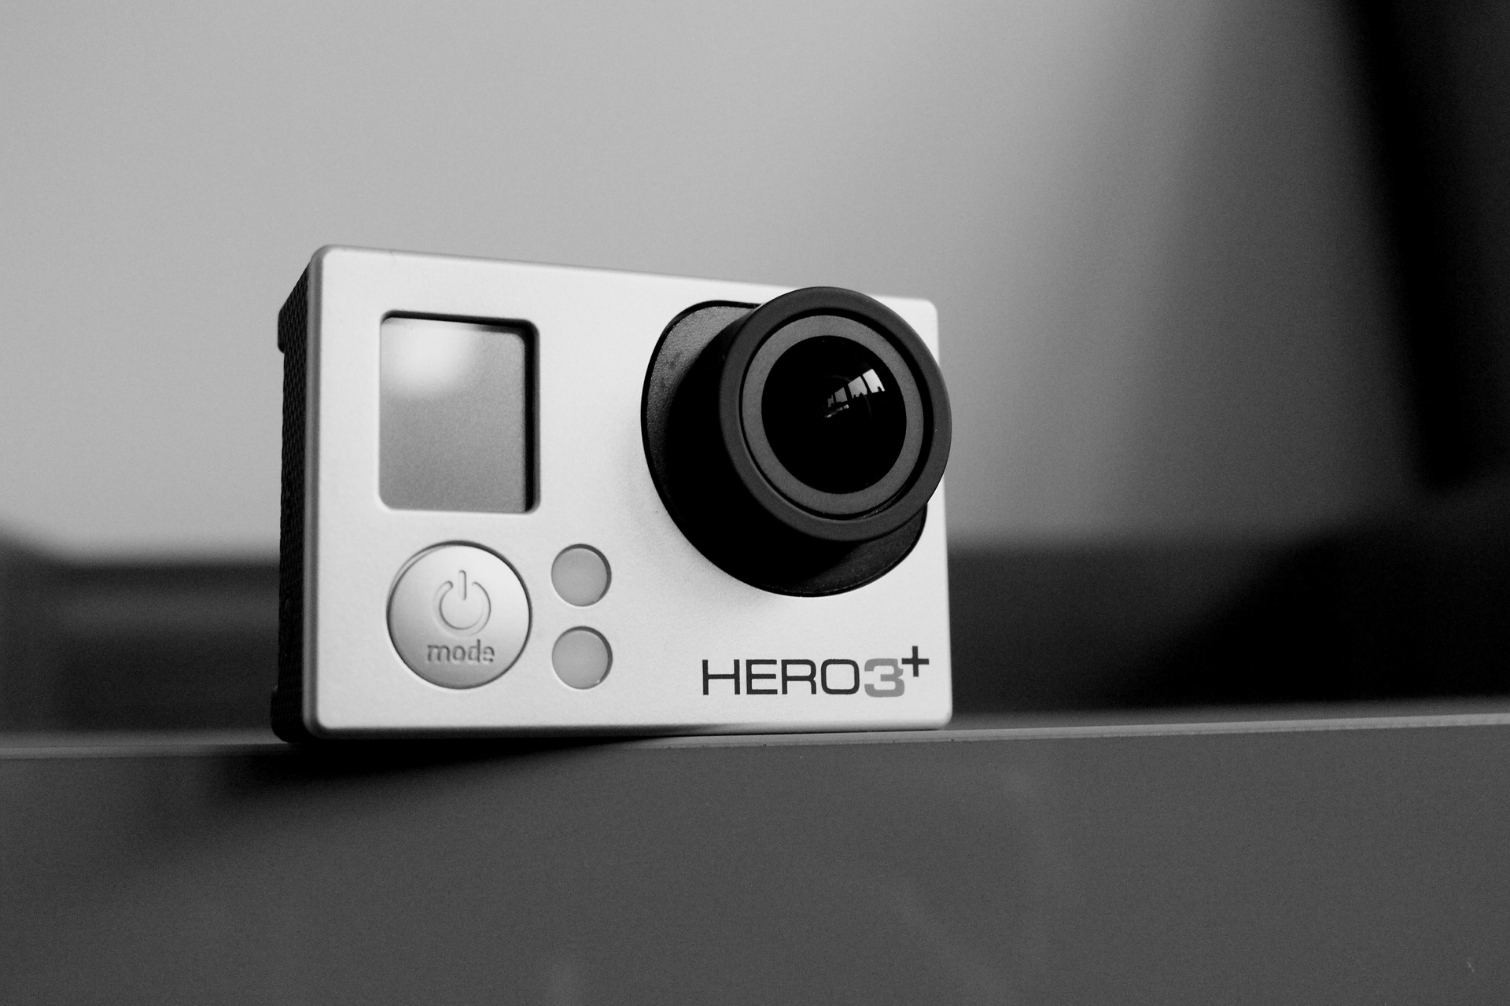
Nothing shows off a beautiful product like a clean, uncluttered composition. Take some extra time when setting up your shot to remove any distracting background elements. You'll look more professional if customers can't see your messy living room in the background.
Photo credit: Pixabay
Experiment with depth of field.
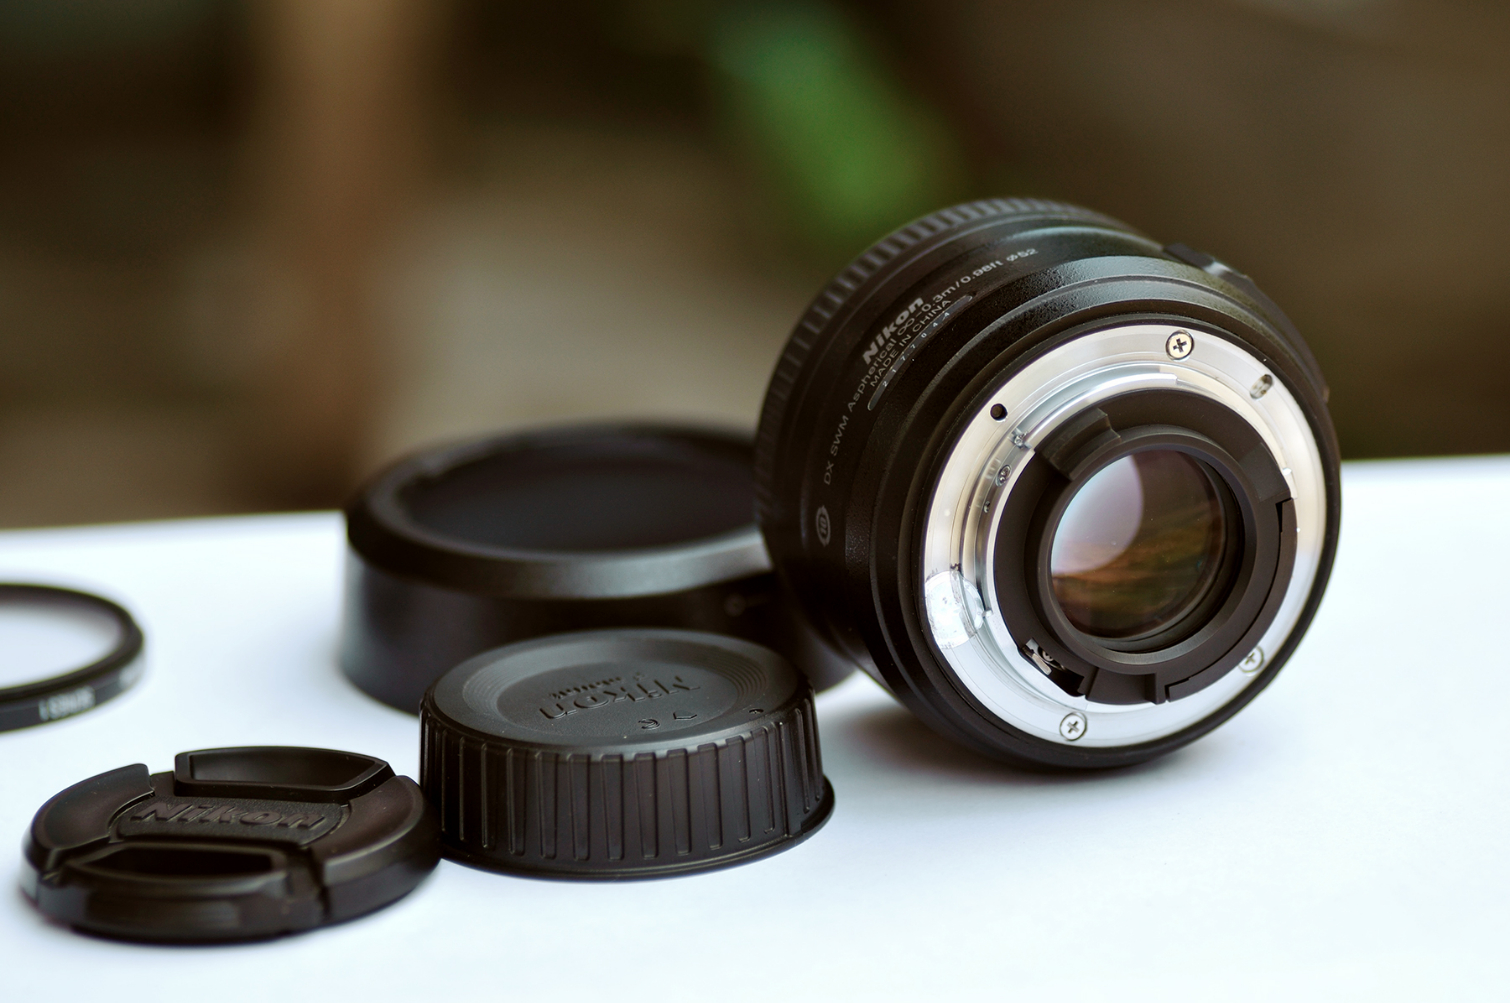
Try shooting with a variety of f-stops to see how it affects the depth of field in your photo. A low f-stop will help blur the background and make your subject pop, but it's also important to keep key elements in focus. If you don't have a camera that lets you control your settings, you can achieve a similar effect using Portrait mode on the iPhone 7 Plus, iPhone 8 Plus and iPhone X, which use two lenses to create a blurred-background effect.
Photo credit: Pixabay
Show the item in use.
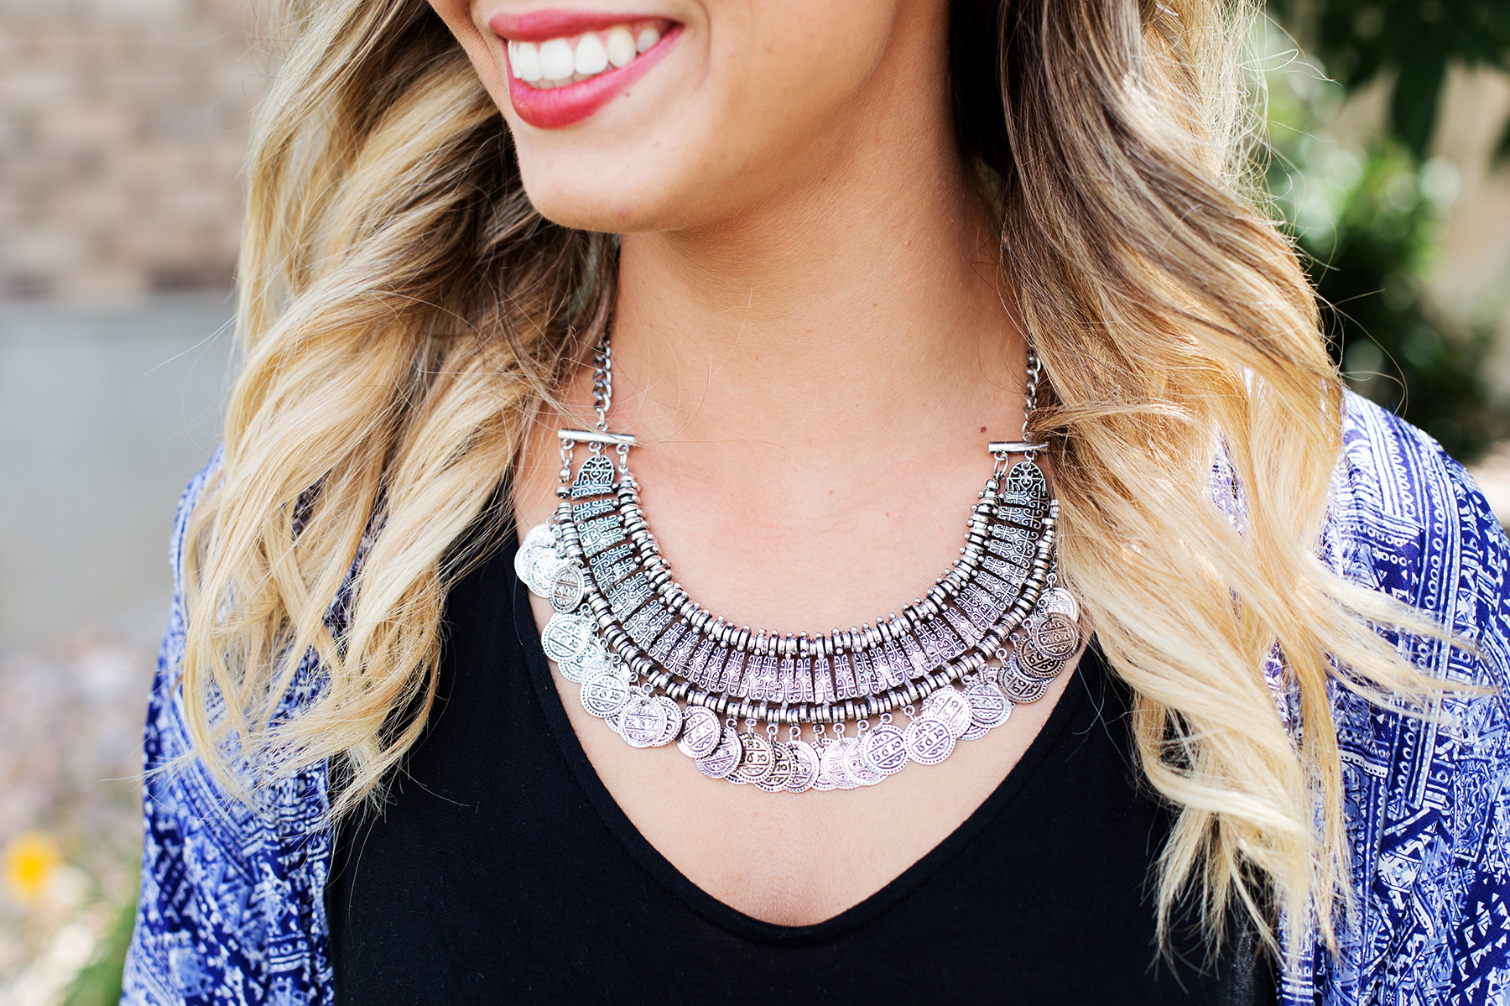
Showing an item in use helps buyers imagine owning it themselves. If you're selling an article of clothing, photograph an attractive friend wearing it. If it's a piece of furniture, incorporate it into a beautifully decorated room. If you're selling artwork, put the print inside a nice frame and shoot it hanging on a wall. Just be careful not to damage the thing you're selling in the process.
Photo credit: Pixabay
Use a light tent.
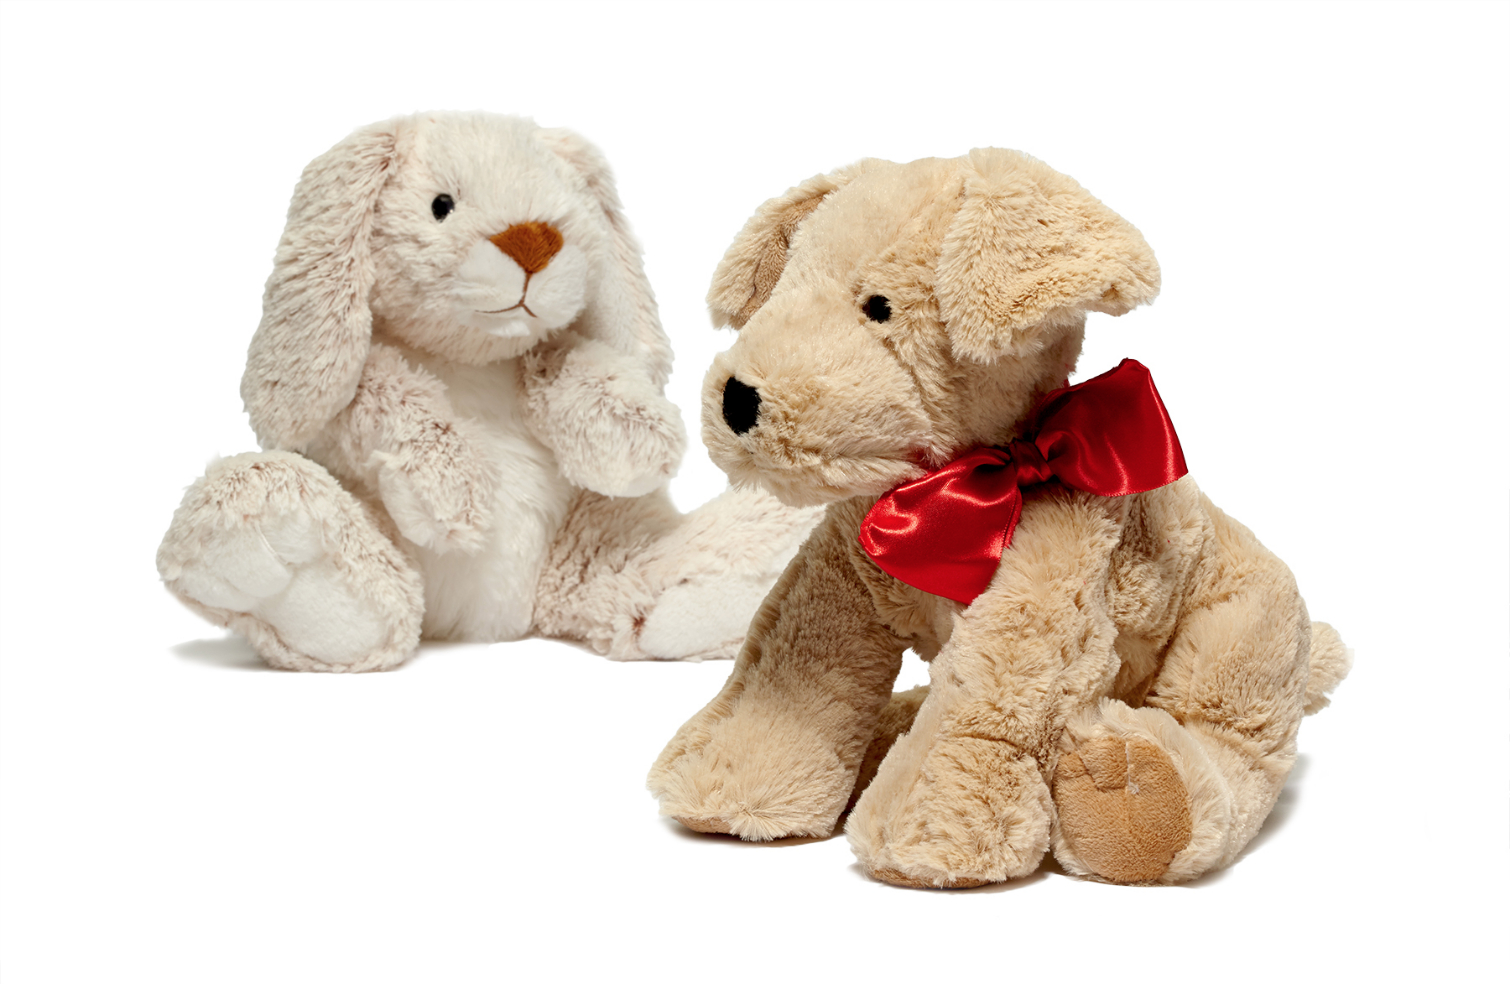
If you're photographing multiple items and want to keep things simple, consider buying a light tent. The walls of a light tent are usually made of translucent fabric and include an opening for you to poke your lens through. Whatever item you place inside will be evenly lit and look like it's in a tiny studio. Just aim powerful lights at the tent or take it outside on a bright day to ensure that your item is sufficiently lit from all sides. Some tents also come with built-in lights.
Photo credit: Joe Sciacchetano
Provide a sense of scale.
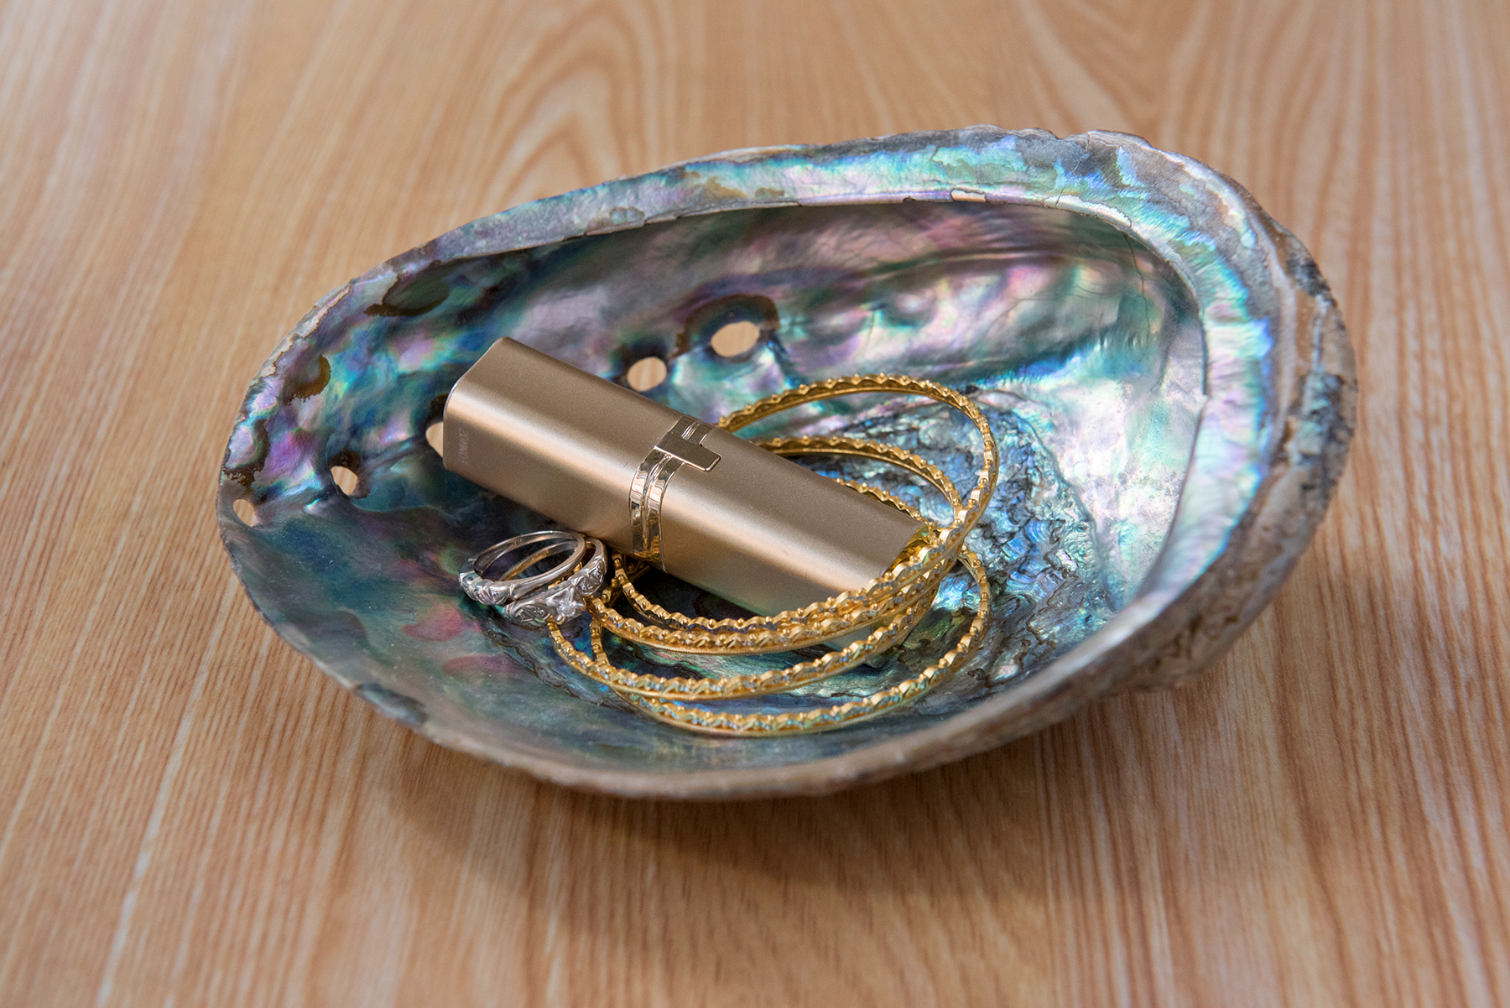
If you're shooting an object that doesn't have an obvious size — like a bag, vase, stuffed animal or sculpture — try to include other props that people are familiar with. A ruler is an obvious choice, but you can get more creative by inserting items that add to your composition. In this image of a seashell dish, the photographer included jewelry and lipstick as reference points.
Photo credit: Lacey Johnson
Set the scene.
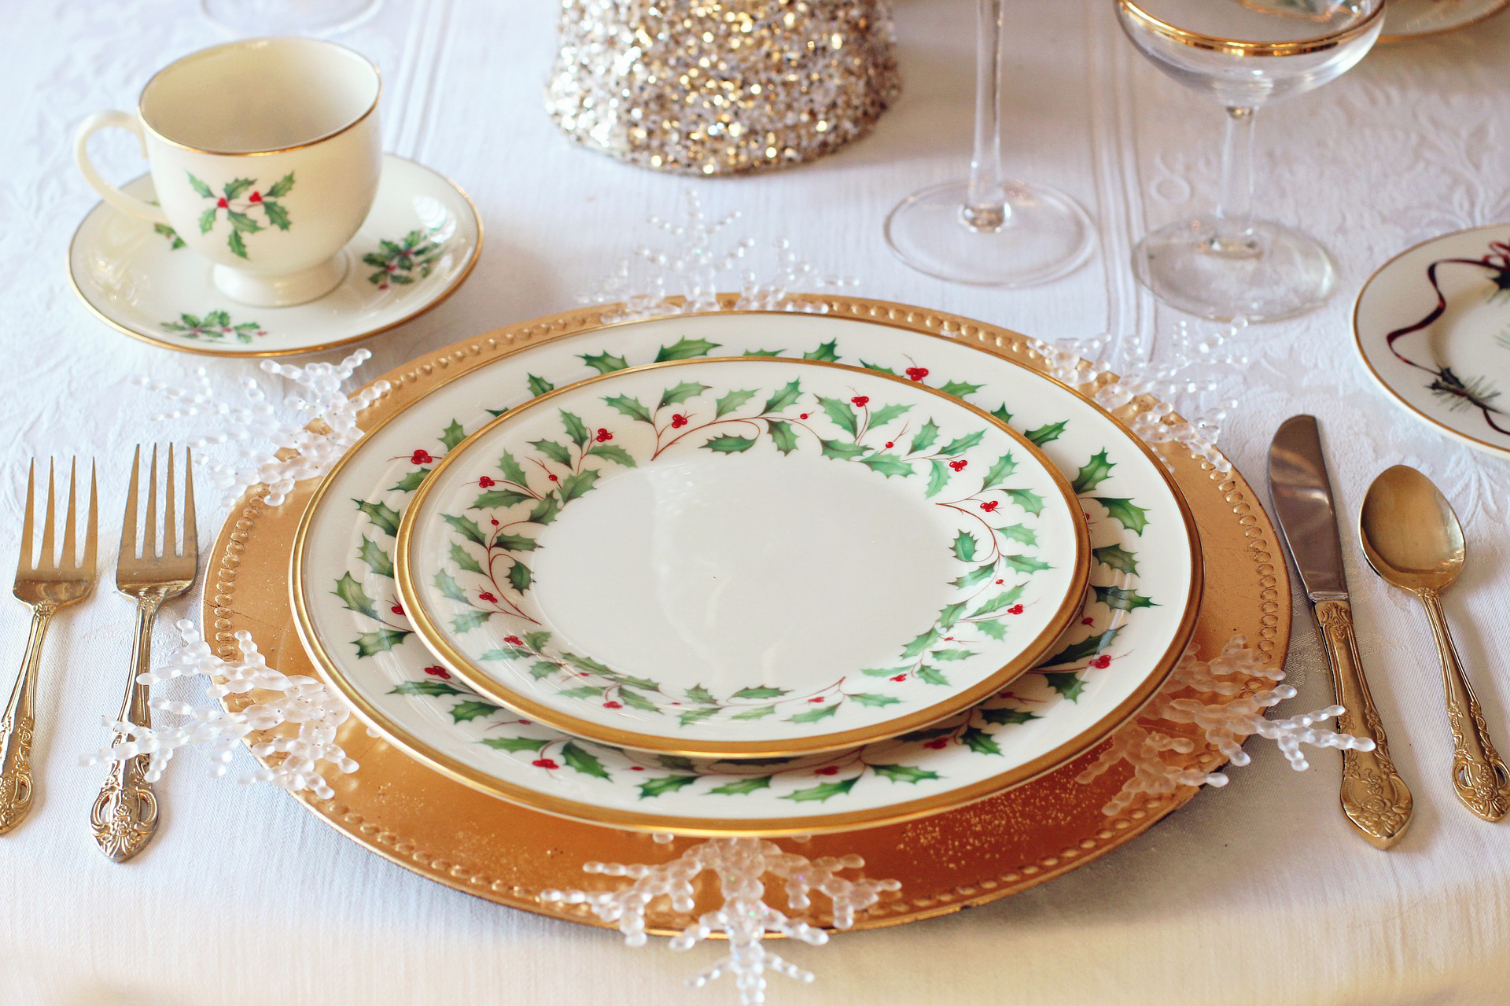
A collection of related items — such as a dinnerware set, a tool set or a collection of baseball cards — provides a perfect opportunity to get creative with your product photography. Instead of shooting the objects lumped together against a plain background, try orchestrating a still life to make the products come alive. This may take a bit more time, but it's guaranteed to catch buyers' attention.
Photo credit: Pixabay
Be honest.
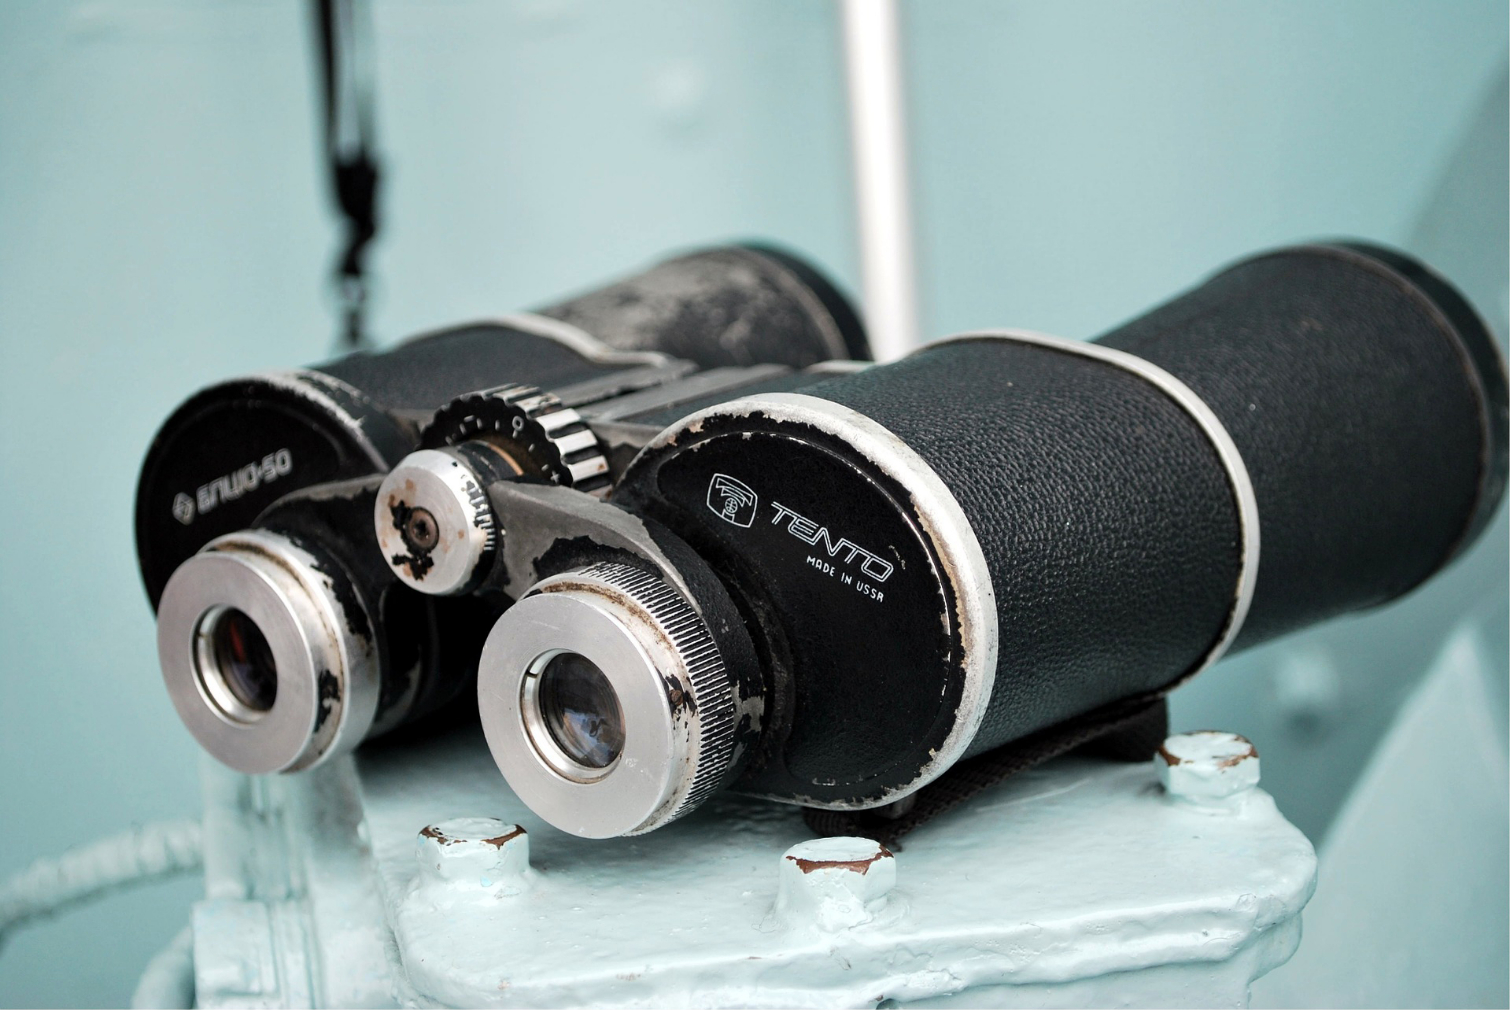
There's nothing worse than selling an item and then having to issue a refund because a buyer is unhappy. If you're photographing an imperfect product, resist the urge to hide things like scratches, dents, and general wear and tear. It's better to mention flaws outright and make sure they're visible in your photographs.
Photo credit: Pixabay

Lacey is a freelance journalist and photographer based in Washington, D.C. with a specific interest in a variety of scientific topics including climate change, health, and renewable energy. She is also a keen photographer and her work has appeared in numerous national and international publications. Many of her articles on Tom's Guide are geared towards helping you take better pictures.
