Tom's Guide Verdict
This intriguing 3D printer gives you a relatively expensive entry into SLA printing, though extensive tweaking and expertise is required.
Pros
- +
Excellent print quality
- +
Low cost for an SLA printer
- +
Supports a variety of resins
Cons
- -
Print preparation requires experience and tweaking
- -
Some setup hassles
- -
Print trays require fairly frequent replacement
Why you can trust Tom's Guide
The Peopoly Moai is the first of a new generation of low-cost printers that use stereolithography assembly (SLA) printing. Priced as a build-it-yourself kit for $1,295 or available preassembled for $1,995, the Moai offers excellent printing quality at one of the lowest prices for an SLA printer that we've seen. But there are a few caveats.
The printer has no USB or network connections, and the process of preparing 3D models for printing is complex and confusing. It's daunting for the novice, though 3D printing enthusiasts will welcome the level of control this procedure offers; you can tweak pretty much any aspect of the printing yourself. And you will have to do this to get the best results, so the Moai turns out to involve much more of a hands-on process than the click-to-print experience of more-expensive models such as the Form 2.
Design: Monolithic
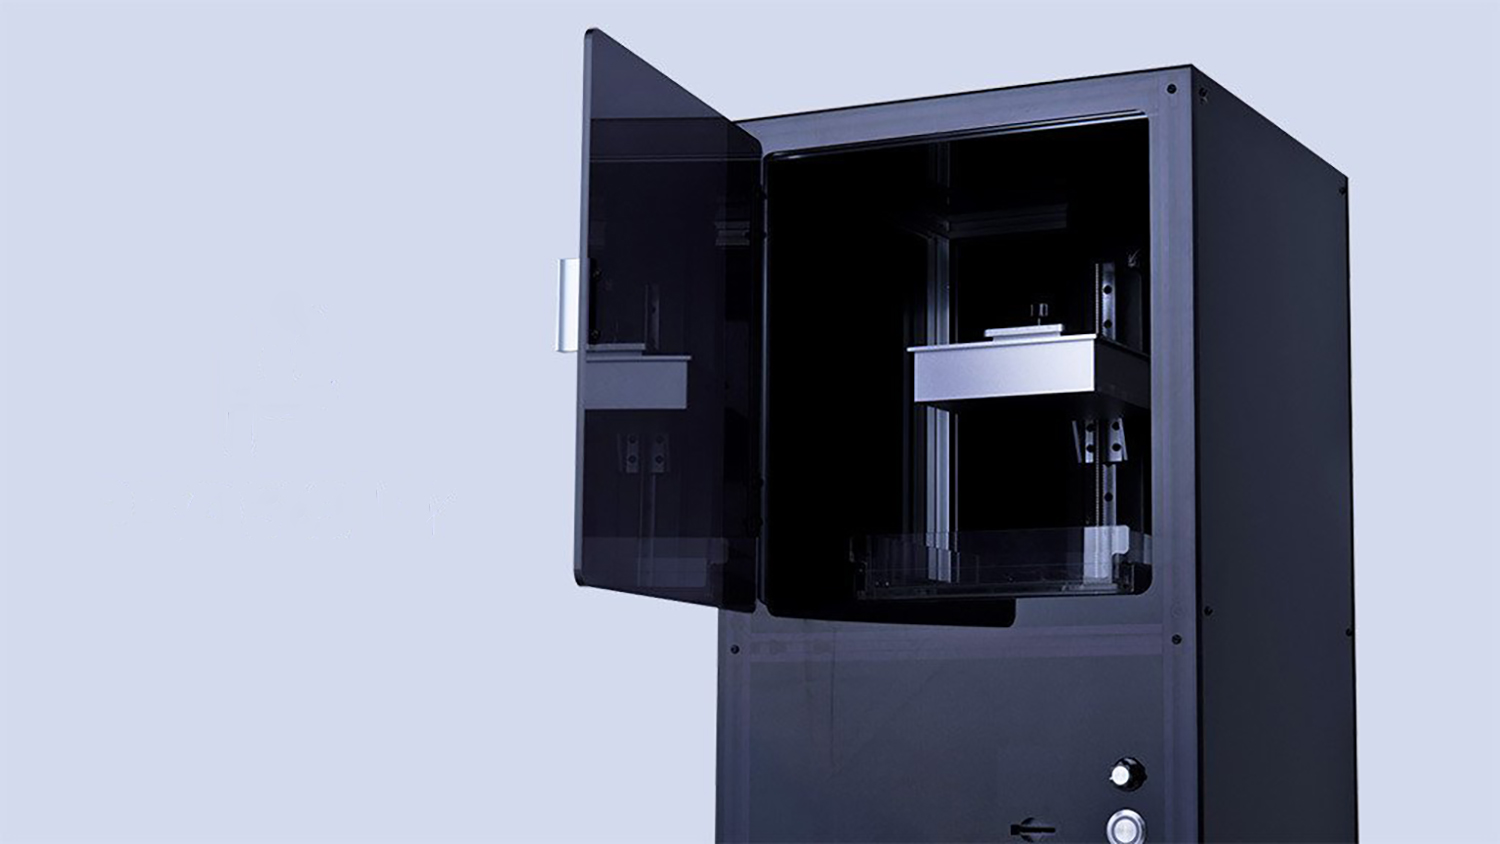
The Moai is an imposing printer once you assemble it, with a shiny, dark, plastic case that stands nearly 26 inches tall. On the front of the case, you'll find the power button, a single control dial and a small LED screen. A lockable door provides access to the print area, which can handle prints of up to 7 x 5.1 x 5.1 inches. That's a lot of printing space, especially in the vertical, making it much easier to print tall, thin models.
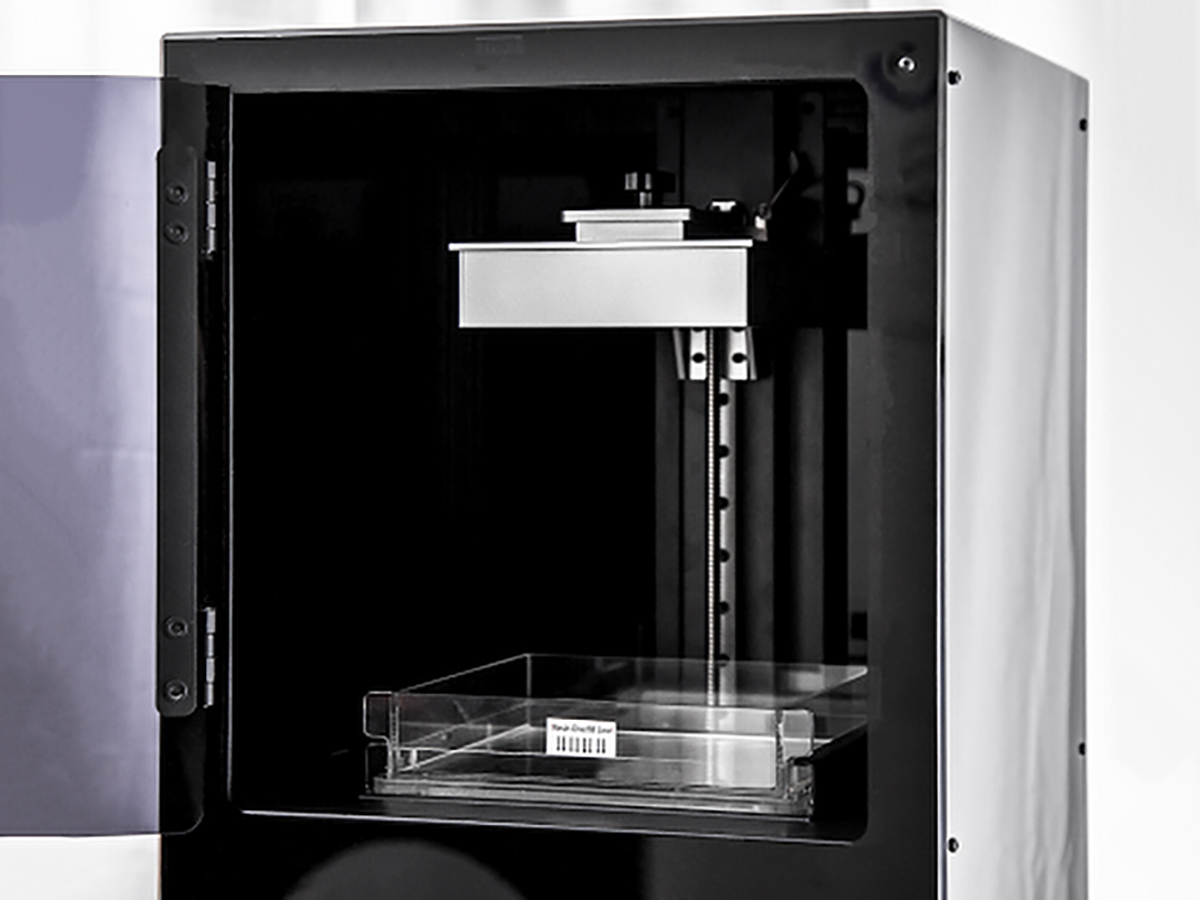
At the bottom of the printing area, you find the tray that holds the printer's resin. There is no auto-fill or pumping mechanism here; you just pour in as much resin as your print is likely to need.
These trays are replaceable, and Peopoly recommends that you install a new one (which costs $55) after every 4 liters or so of resin, as the special layer that the print is created on degrades over time. That's typical for SLA printers.
The Moai is an imposing printer once you assemble it, with a shiny, dark, plastic case that stands nearly 26 inches tall.
Above the print tray is the print base, the removable metal block that the print sticks to. It's lowered by the printer into the resin tray, then raised for each level. The print is thus created upside down, emerging from the resin like a confused Venus.
There are no Wi-Fi, networking or USB ports on this printer. Instead, you load your files onto an SD card that fits into the front of the printer, and you set the print going using the control wheel/button and LED screen. That means you can't control the printer over a network or monitor the progress of a print, except by opening the door and having a look.
With a greater number of high-end printers offering integrated software and webcams to monitor progress, the Moai's simpler setup could be an issue for users who want multiple people to use the same printer, like in a small office or design shop. Rather than use a software queuing and monitoring system, like the one Form 2 offers, Peopoly Moai users will have to queue up with SD cards.
Print Materials: Any SLA resin
SLA printers use an ultraviolet laser focused on a tray filled with resin goo to make the material harden. The printer then lifts this layer, more resin goo flows in, and the laser zaps this to form the next layer. Compared to the the filament-melting fuse deposition manufacturing (FDM) printers we usually test, SLA devices can print smaller details at higher resolution and in thinner layers. This means prints are smoother, cleaner and more detailed; these devices can also use materials that FDM printers can't handle, like clear resin or the neon green resin we use in our tests.
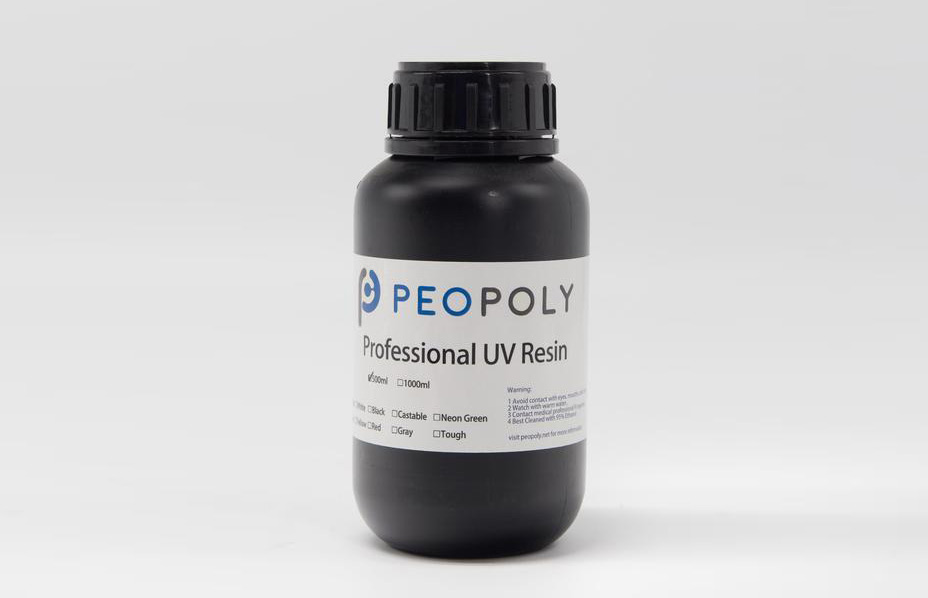
The Moai can use any resin designed for SLA printers, with no limitations on where this resin comes from. Peopoly even keeps a list of recommended settings for resin from different manufacturers, based on feedback from users in its online forum. Peopoly does manufacture its own resin, which costs $85 a liter. That's a little cheaper than most: Form Labs charges $149 for a liter of its standard resin. It's hard to determine how many prints you might get out of this, though, as a certain amount is wasted during printing, but we were able to get five of our 4-inch high "Thinker" prints out of one 0.5-liter bottle of the neon green resin.
Setup: Kit vs. pre-built
We tested the kit version of the Peopoly Moai and found that it was mostly easy to assemble, with an illustrated guide that explains the process and a series of videos that show the method step by step. There are a few confusing steps, though, because some of the photos in the guide don't show the details very clearly. Some factors, like the orientation of the bars that form the frame, aren't clear. Install these the wrong way around, and you might not realize until several steps further on, so you'll have to go back and turn them around.
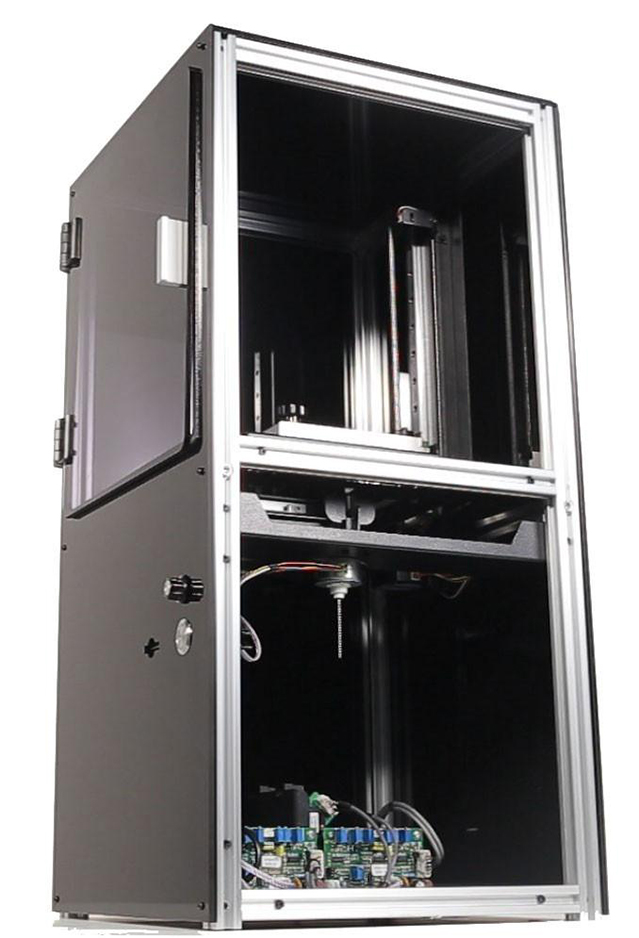
The step-by-step videos definitely help, though, and there are no soldering or other tools required; everything you need to put the Moai together is included. Mostly, it's just about screwing one bit into another and plugging a few things in. The laser and galvanometers that are the heart of the printer come pre-assembled; you just install the assembly and bolt it in.
The whole process took me about 4 to 5 hours, so the lower cost of the kit is definitely worth it, unless you are very busy or don't fancy the idea of installing the laser yourself.
The Moai requires a considerable amount of preparation work and passing of files from program to program compared to other SLA printers.
Speaking of which, the 405nm UV laser at the heart of the printer is not that powerful (it outputs 150 mW, which is less than a Blu-ray writer), but that's enough to seriously damage your eye if you shine the laser into it. Part of the building process involves calibrating the laser by running the printer with the case off to make sure that the laser works properly. You need to approach this with some caution, so use the included protective eyeglasses. Once this step is done, you install the plastic casing and the locking door, which block any stray light, but the laser should still be treated with respect.
MORE: 3D Printing: What to Do After You Buy Your Printer
The Moai doesn't include any software; instead, the company provides links to open-source programs like Cura and Meshmixer that process and create 3D models. This can be a somewhat baffling process at first; although the Peopoly forums offer plenty of helpful advice, this is often based on users' personal preference or the specific features of the program.
After some experimentation, I came up with a process that used three programs: Meshmixer to read in the initial model and hollow it out (which makes models easier to print), B9 Creator to build the supports that hold the model in place while it is printing and Peopoly's own version of Cura to create the final file that the printer reads. I then copied this file onto an SD card and put that into the printer to start a print.
That's a considerable amount of preparation work and passing of files from program to program compared to what other printers require. In contrast, the Form 2 does all of this work automatically in an simple package that can also queue print requests from multiple users.
Printing Process: Simple once started
To start a print, you insert your SD card containing your print file and use the control dial and screen to select Print. The printer then kicks into action, lowering the print bed into the resin, zapping the resin with a laser, then raising the print bed slightly and zapping again, slowly producing the final print.
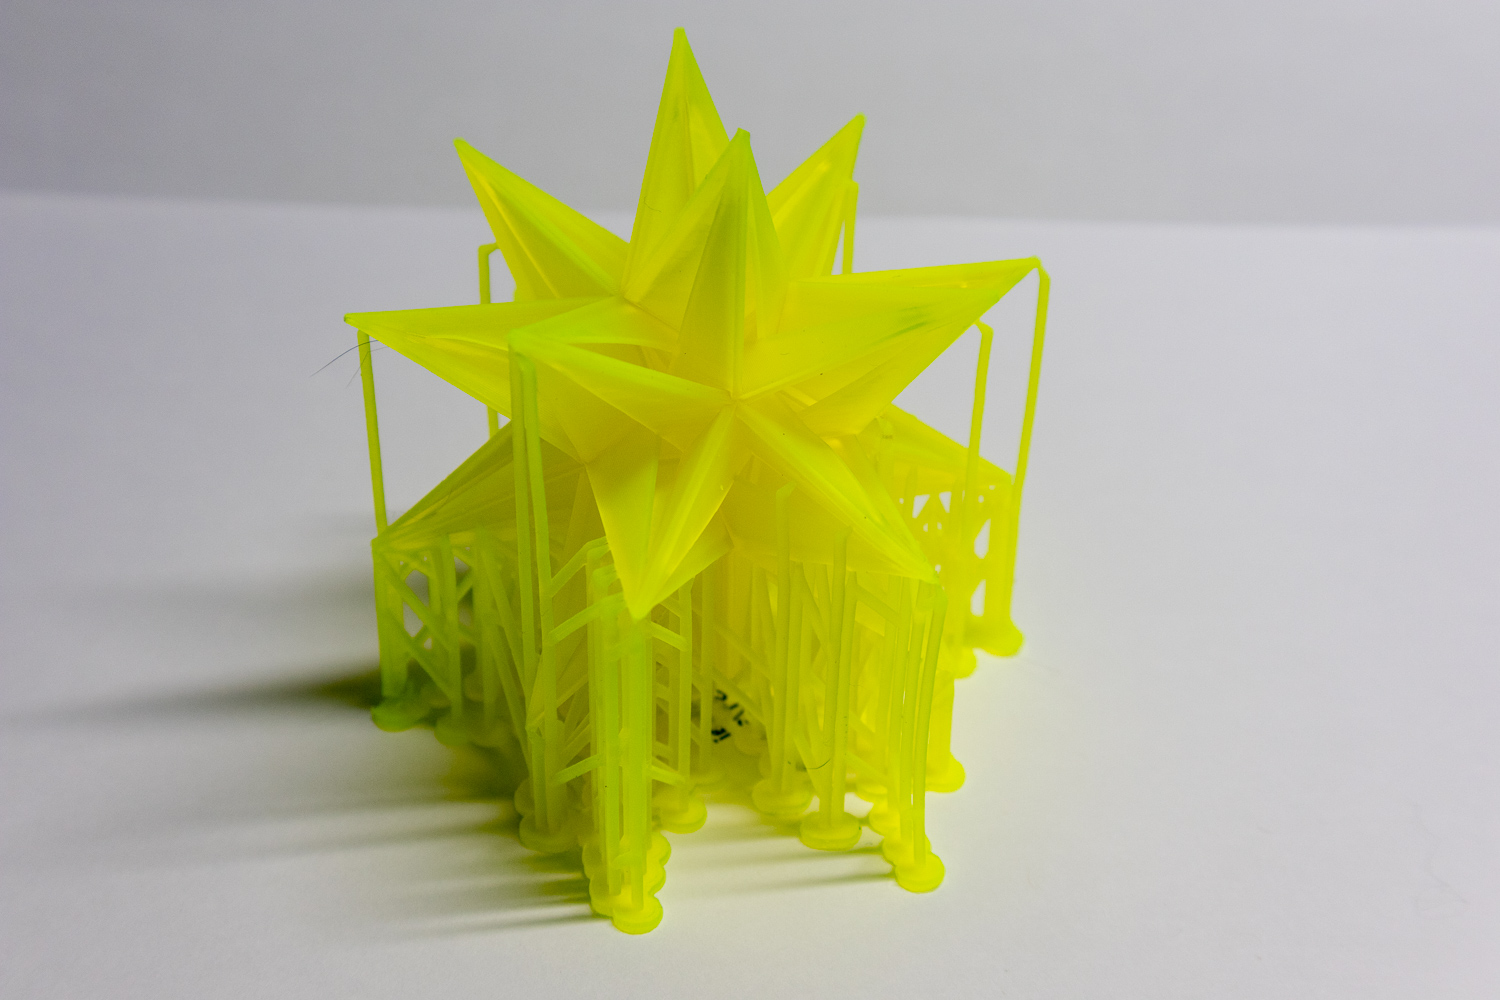
Once the print is complete, the printer lifts the print bed out of the resin, so you can remove the bed by loosening a single thumbscrew You can then remove the print itself from the print bed using a small paint scraper that's included.
This is simple to do, although smaller parts do require some care, as they can be damaged when you use the scraper. You then have to wash the print in isopropyl alcohol, which dissolves the unzapped resin on the surface of the print. Another quick rinse in water, and the print is ready for the final step: zapping it with UV light to make sure all of the resin is completely solidified.
MORE: 3D Printing - News, Reviews and 3D Printer How-Tos
For small prints, an hour or two in the sun to dry should suffice, but if you live in less sunny climes or produce larger prints, you will require more UV. This does not have to be a complex process: I bought a $30 strip of UV LEDs from Amazon and mounted them inside a cardboard box to create a UV finishing chamber for our test prints.
During our testing, we found that the Moai is also very sensitive to the temperature. If it is below about 60 degrees, the resin may not set properly. My office is on the cold side, so I had to put a small heater inside the printer case to bring the air to the required temperature. Again, this is a complication that other printers do'’t have; the Form 2 includes a heater that warms the resin when required.
Print times: On the slow side
The Moai is about the same speed as most SLA printers, which is to say, rather slow. It took between 7 hours and 20 minutes at draft quality and 18 hours and 20 minutes at the highest print-quality setting to print our 4-inch-high "Thinker" model. Still, those times are comparable to those of other SLA printers we've tested, including the Form 2 and the XYZ Nobel.
Print Quality: Excellent details
We were impressed with the print quality of the Moai, which produced excellent detail. Even on the draft mode, which uses layers 100µm (0.1mm) high, the layers were barely visible in our test prints. In the Normal and Fine print modes, which use layer heights of 50µm (0.05mm) and 25µm (0.025mm), respectively, these layers became invisible.
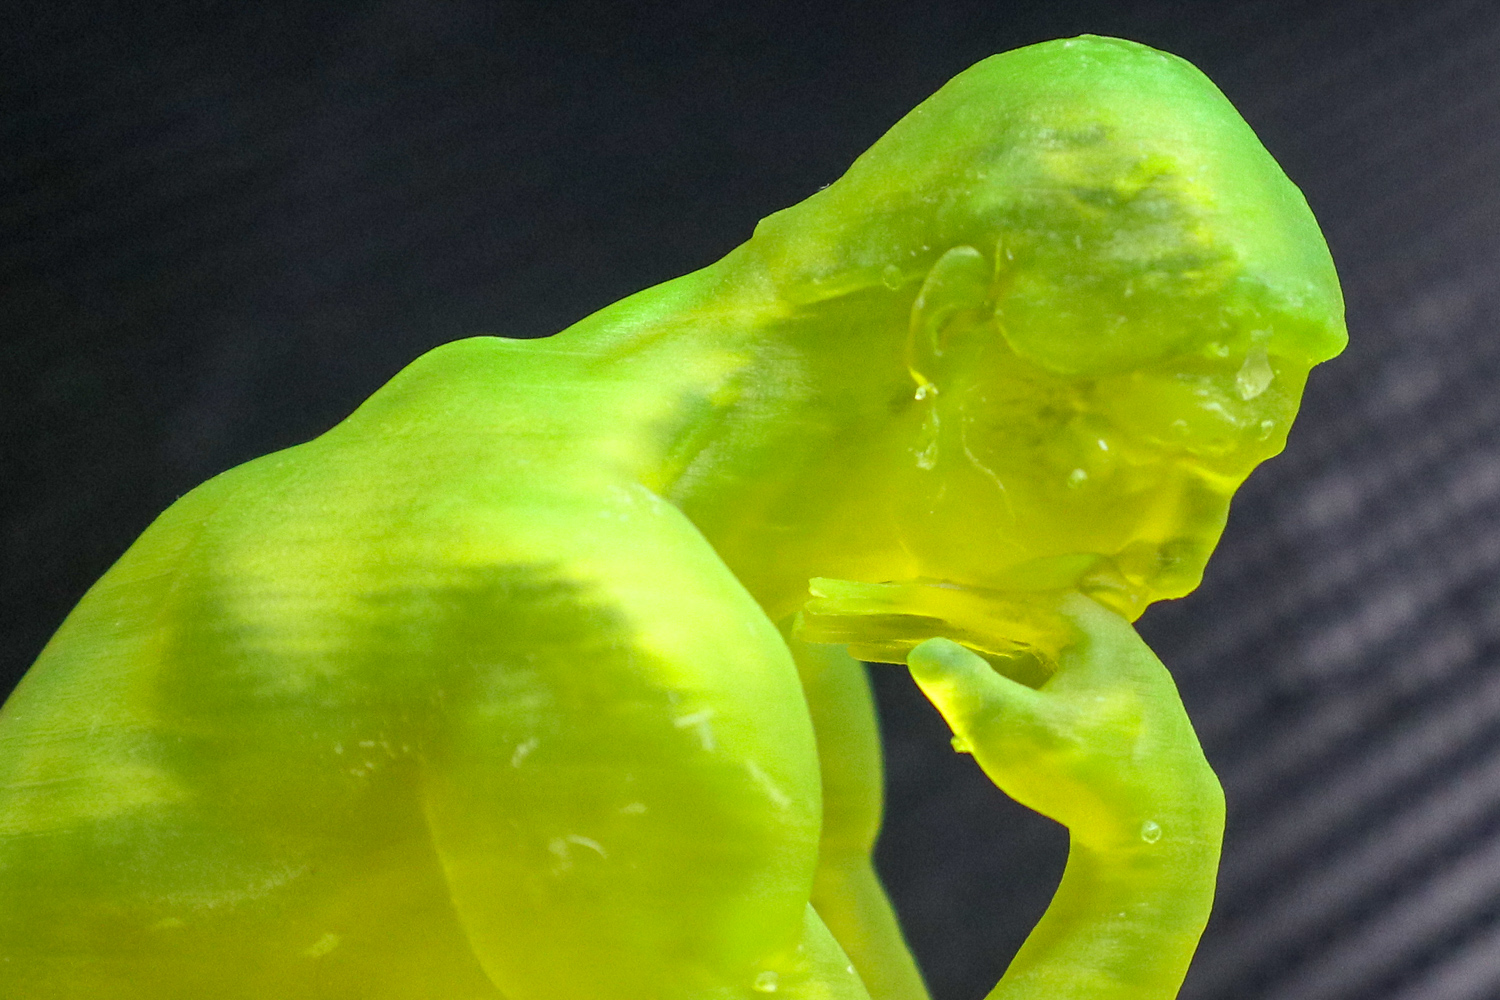
The smooth curves and details of our "Thinker" test print were very well-reproduced, with a natural, attractive look. That means the Moai could handle tasks where small details are important, such as making casts for jewelry.
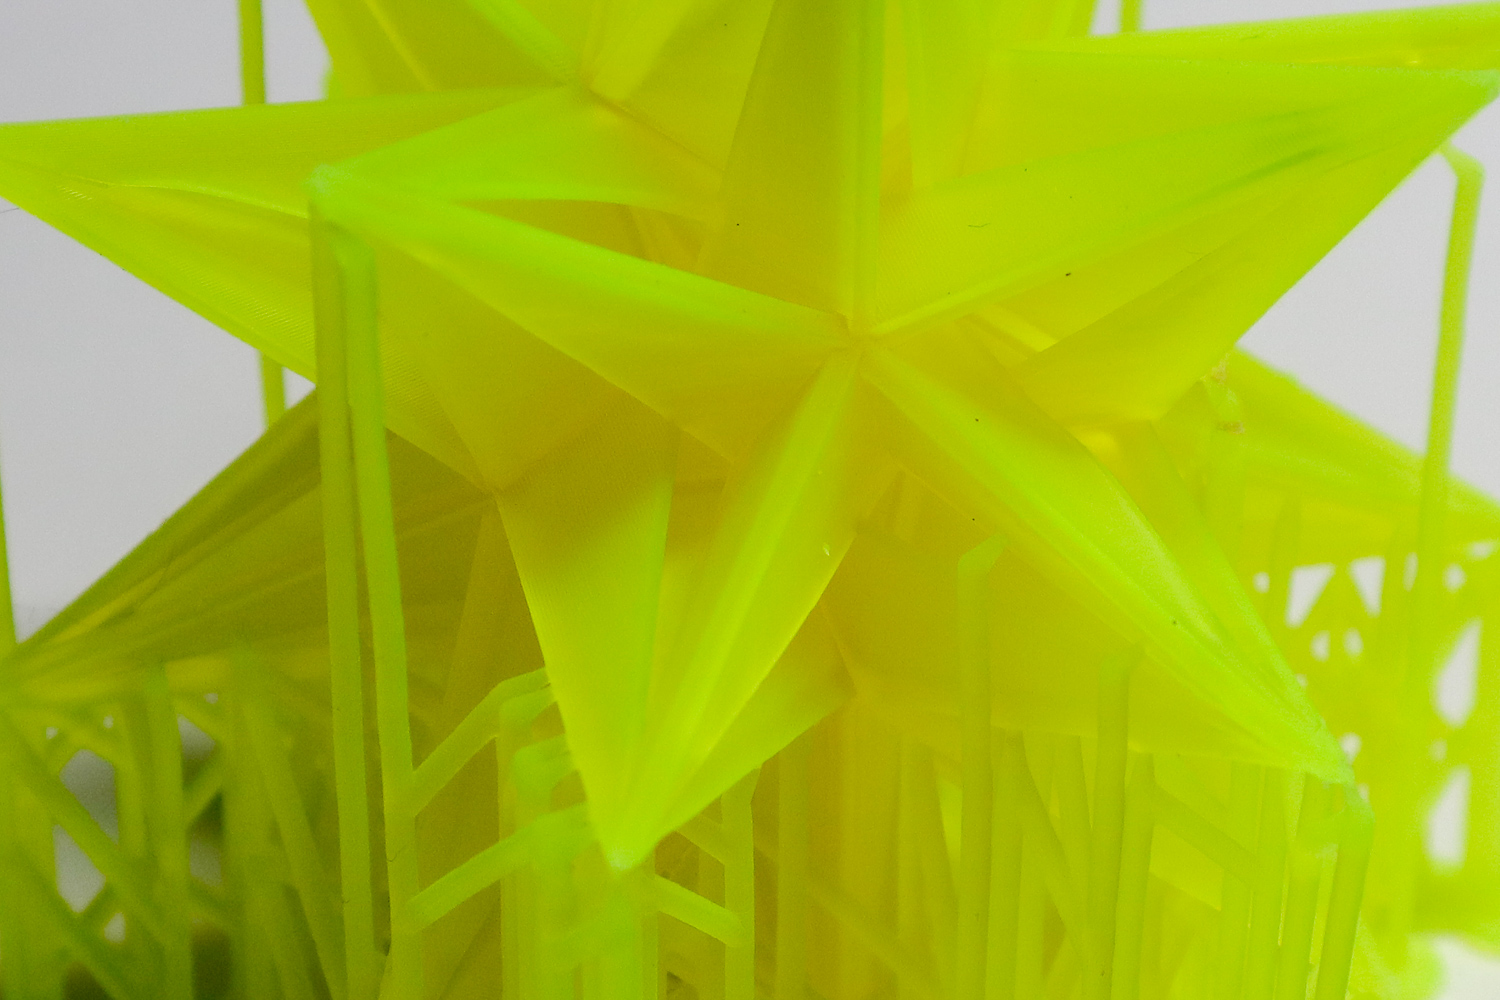
We were also impressed with the quality of our other test prints. The Moai did a good job reproducing our geometric sculpture, printing sharp, clean edges and sharp tips.
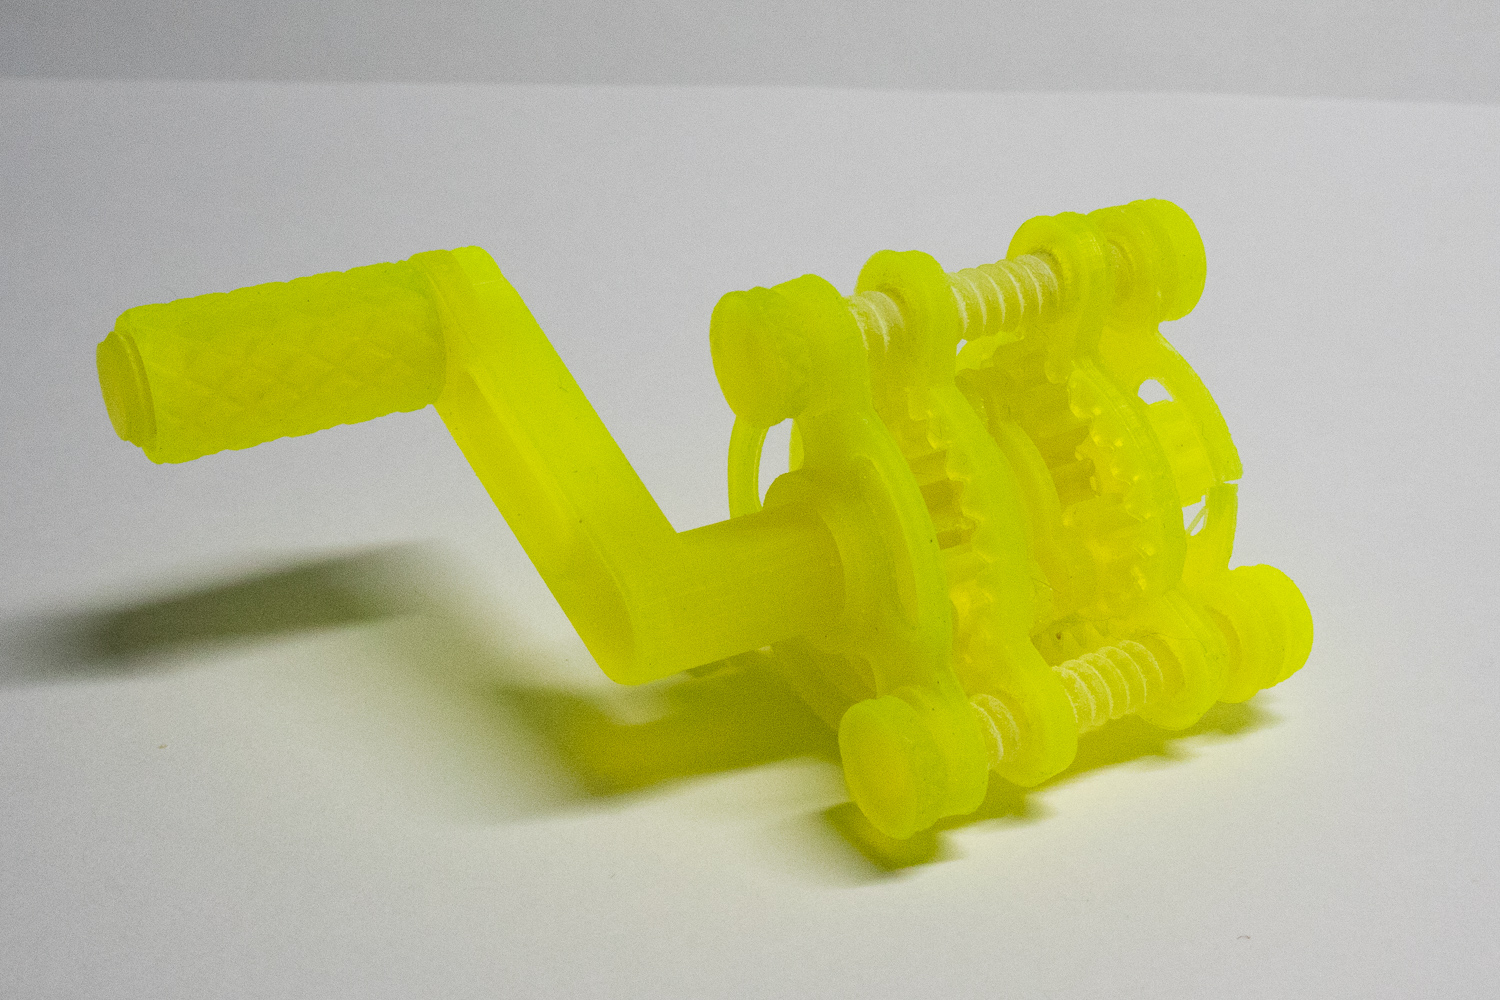
Our test print of a set of planetary gears also turned out well, with the complex gears and cogs fitting together well. That said, the neon green material that we used in our tests was somewhat brittle, and one of the outer rings of the gear set cracked when we pried it off the print bed.
Bottom Line
The Peopoly Moai can produce very high-quality prints, and at $1,295, the kit sells for only a bit more than XYZprinting's Nobel SLA model while producing better results. The Moai is less than half of the price of the Form 2, but produces similar-quality prints.
What the Moai doesn't offer, though, is the software that the Form 2 and similar printers boast that makes the process of preparing prints much easier. The Moai can produce great prints, but it needs more tweaking, configuring and general fiddling-with than other printers.
For 3D printing enthusiasts and artists who don't mind (or even enjoy) this process, the Moai would be a good (and cheap) way to get into SLA printing. Those who want to be able to just print quickly might be better off looking elsewhere.
Credit: Tom's Guide
Richard Baguley has been working as a technology writer and journalist since 1993. As well as contributing to Tom's Guide, he writes for Cnet, T3, Wired and many other publications.
