Nintendo Labo Starter Guide: 9 Things to Know
Here are 9 key tips for creating and playing with Nintendo's cardboard Labo kits.
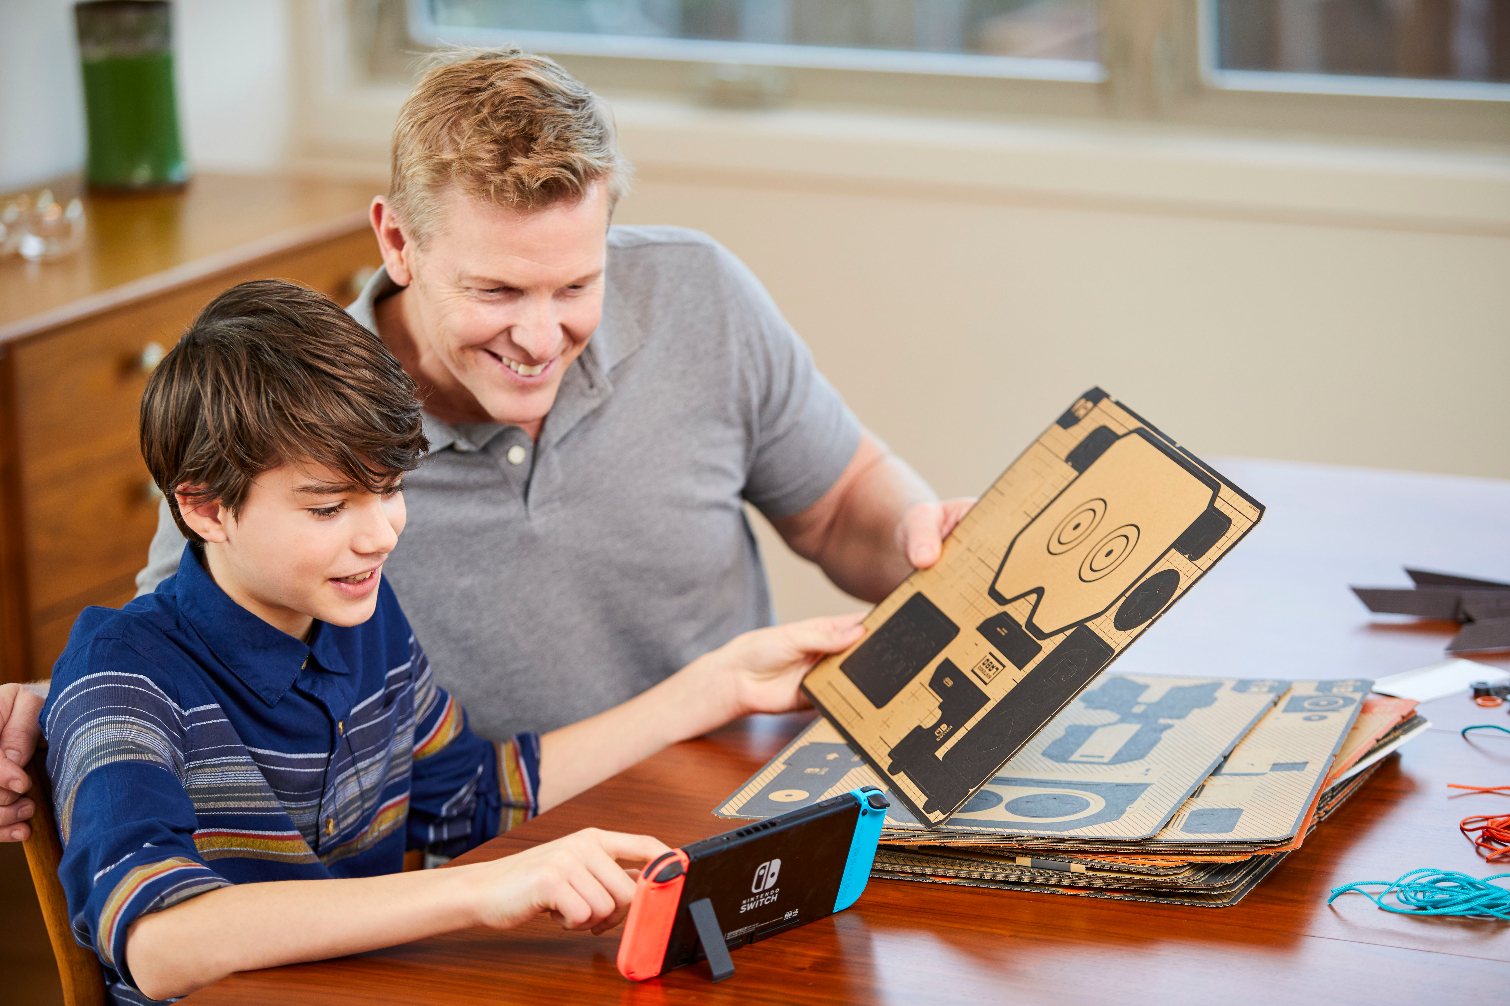
Nintendo Labo is finally here, allowing you to build a variety of cardboard creations that interact with your Switch in fun and exciting ways. But before you start building that RC car, house, piano, or giant robot backpack, there are a handful of things you should get up to speed on in order to make the most of your Toy-Con adventures. Here are our tips for getting started.
Set aside time (and space).

As with any DIY project, Nintendo Labo is a time investment. Aside from the very simple RC car, most of the buildable Toy-Cons take anywhere from 1 to 4 hours to finish, so plan accordingly. Also, make sure you have a large, clean surface for building -- those cardboard sheets will fill up your workspace fast.
Have a garbage can handy.
As you fold your cardboard cutouts into intricate playable toys, you'll accumulate a whole bunch of scrap from punching out holes. Be sure to have a place to trash them all to keep your building area free of clutter.
Always crease your fold lines.
Any time you start working on a new piece of cardboard, it's a safe bet that the software will ask you to crease every single fold line on it. Doing so is crucial for making sure that each piece's various flaps and taps interlock neatly with one another once you start folding things together.
Utilize the camera controls.
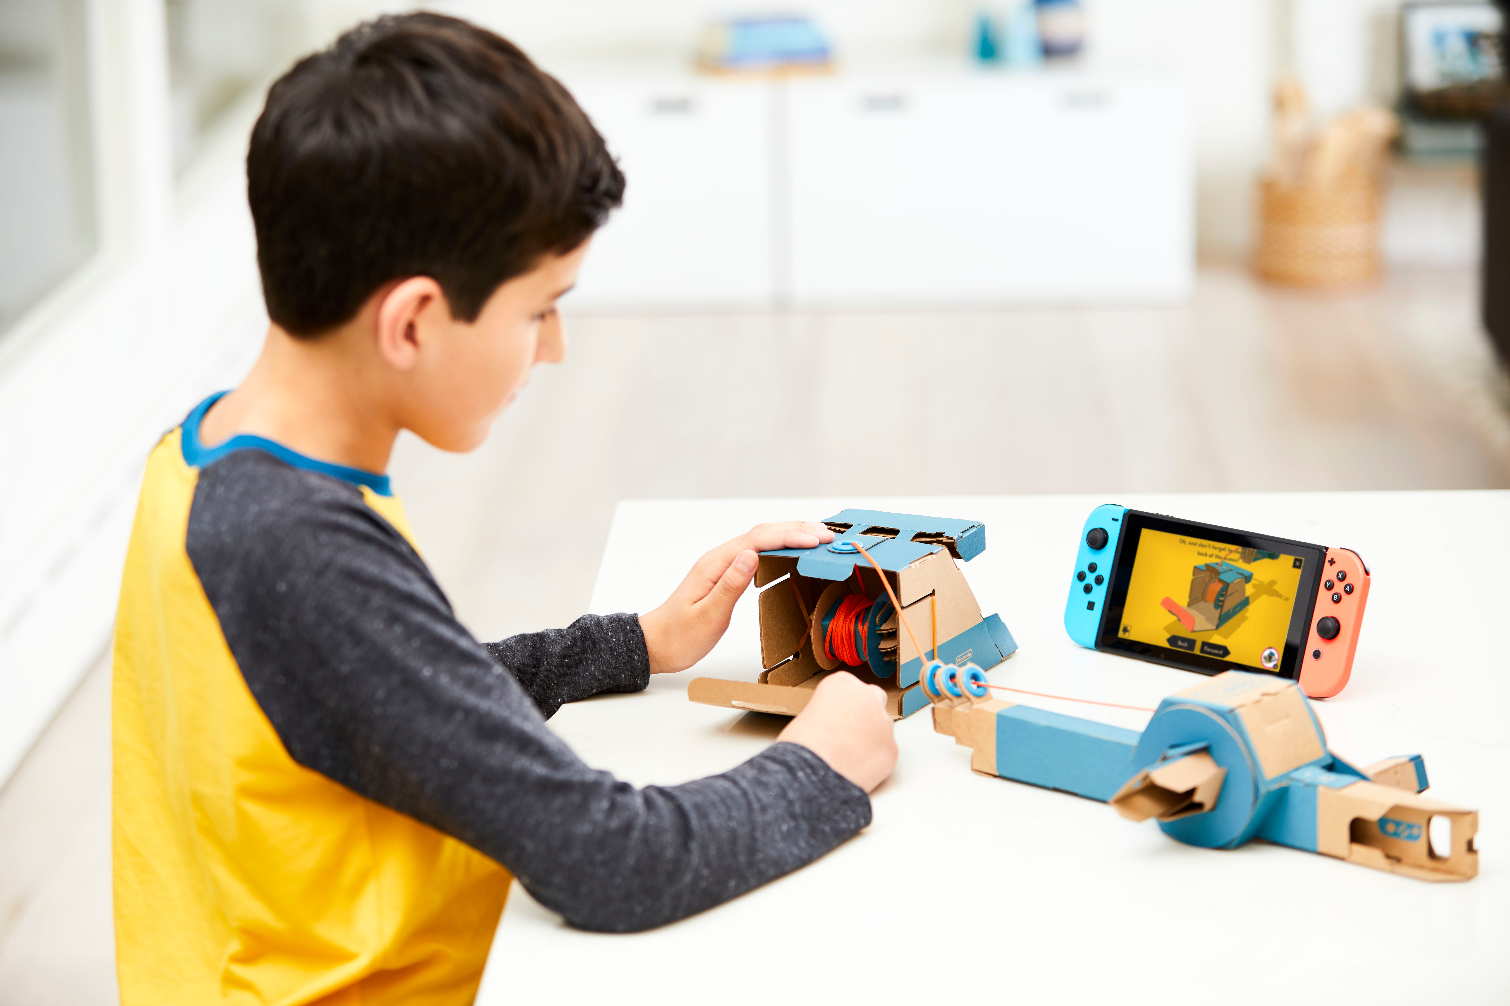
One of the key features of the Labo software is just how easy it is to get an interactive 3D view of what you're building in order to make sure you're nailing all the steps. Don't forget that you can pinch to zoom by spreading two fingers on the touchscreen, rotate by moving one finger, and move side-to-side by sliding two fingers at once. Also, if you've gotten ahead and need to speed through some instructions, simply slide the "Forward" icon all the way to the right of the screen.
Tabletop mode is best (but docked mode works too!)

Since you'll constantly be reading and interacting with instructions, it's generally best to prop your Switch up in tabletop mode during the building process. However, you can also use the Labo software with your Switch docked to a TV. The Labo interface is fully compatible with a controller, and you can even use a Pro Controller or extra set of Joy-Cons to control certain games, such as the RC car.
Keep your Switch charged (if you can).
You'll likely be working on Labo for hours at a time, so make sure to keep your Switch plugged in while you build (or take breaks to charge up). Using docked mode is one option for charging and playing; another is to pick up a Switch stand, such as Hori's $13 Compact Playstand, so that you can stay in tabletop mode while charging.
Sign up to get the BEST of Tom's Guide direct to your inbox.
Get instant access to breaking news, the hottest reviews, great deals and helpful tips.
The Labo app saves (and tracks) your progress.
Need to take a break from building? No problem - the Labo app saves your progress for each build, allowing you to pick up from wherever you last stopped. Also, if you're curious how close you are to finishing a build, just check the small, circular icon at the bottom-right of the screen. The closer the circle is to being filled, the closer you are to completing that particular step.
The RC car has a hidden camera mode.
The RC car is the first thing you'll build if you buy the Labo Variety Kit, and it can do more than rattle along your living room floor. While controlling the RC car in Play mode, press the circular button right in the middle of the screen.
This will open up a new interface that allows you to more finely adjust the speed of the car, as well as a camera feed in the center that taps into the Joy-Cons IR blaster. Tap this area to alternate between night vision and thermal camera modes. Pretty neat, right?
You can unlock hidden builds.

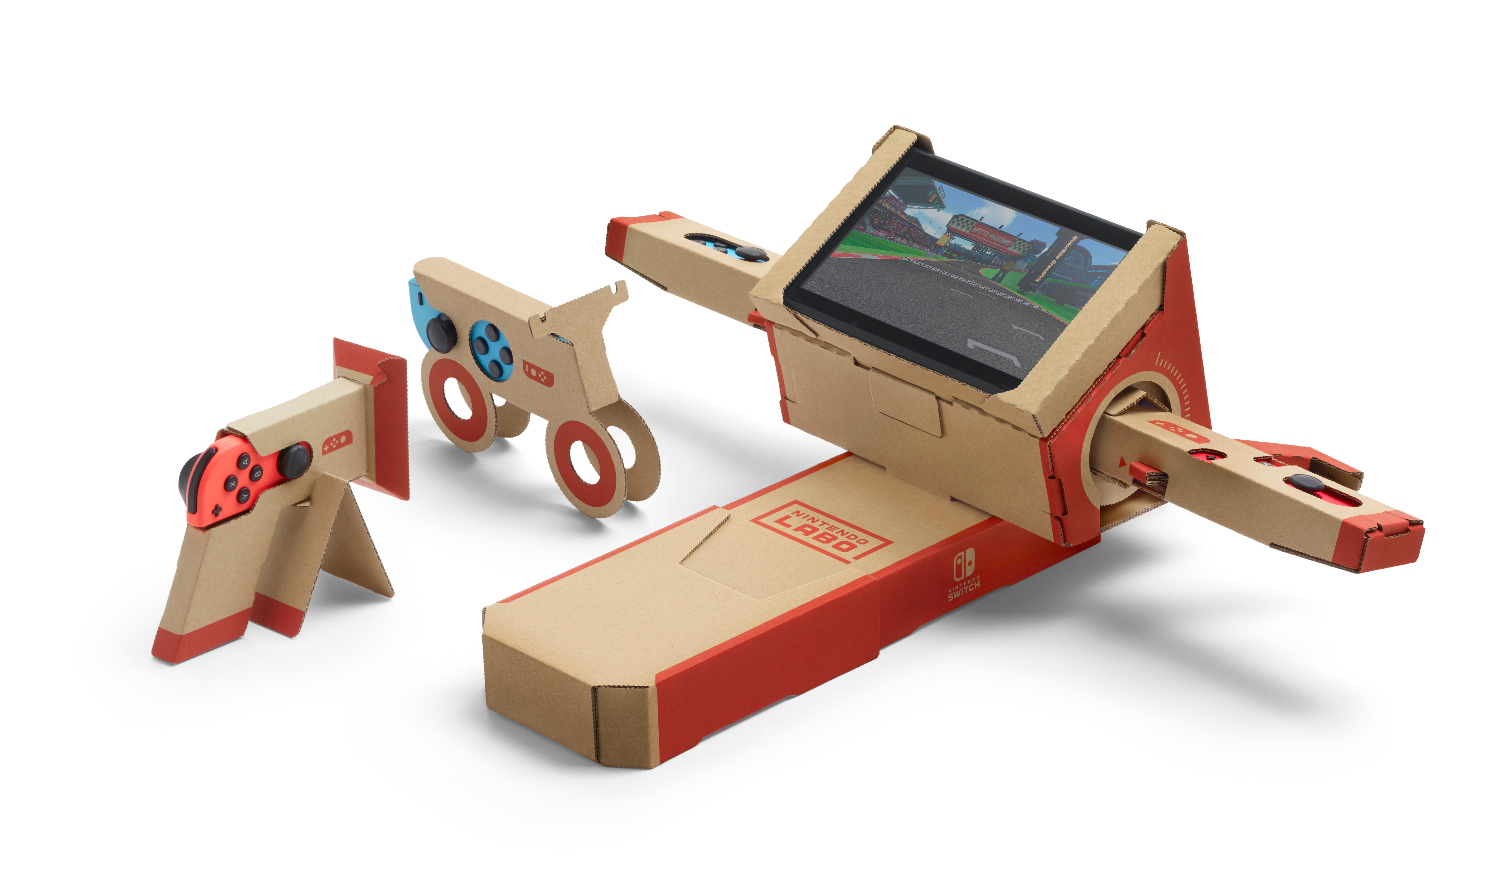
The $70 Labo Variety Kit is technically listed as having five Toy-Con (RC car, piano, house, motorbike and fishing rod), but there are actually a few more than that.
Once you start working on the motorbike Toy-Con, for example, you'll unlock two mini-builds: the Toy-Con mini-bike, which lets you create your own in-game paths, and the Toy-Con scanner, which lets you scan real-world objects and add them to your course.
You can order replacement parts.
If your cardboard creations have succumbed to the wrath of your child or pet, fear not. Nintendo sells replacement parts for all of its Toy-Con for a few bucks a pop. Just know that this is not an alternative to buying either of the Labo starter kits, as you can't get the Labo software separately.
Credit: Nintendo
Mike Andronico is Senior Writer at CNNUnderscored. He was formerly Managing Editor at Tom's Guide, where he wrote extensively on gaming, as well as running the show on the news front. When not at work, you can usually catch him playing Street Fighter, devouring Twitch streams and trying to convince people that Hawkeye is the best Avenger.

