How to Take Great Photos with the Nikon D7500
Get the most out of your Nikon D7500 in any situation with this guide to its features, controls and capabilities.
We had many reasons for naming the 20-megapixel Nikon D7500 as the best DSLR under $1,500: image quality, extensive feature set and excellent performance, to name just a few of the capabilities of this DX-format camera.
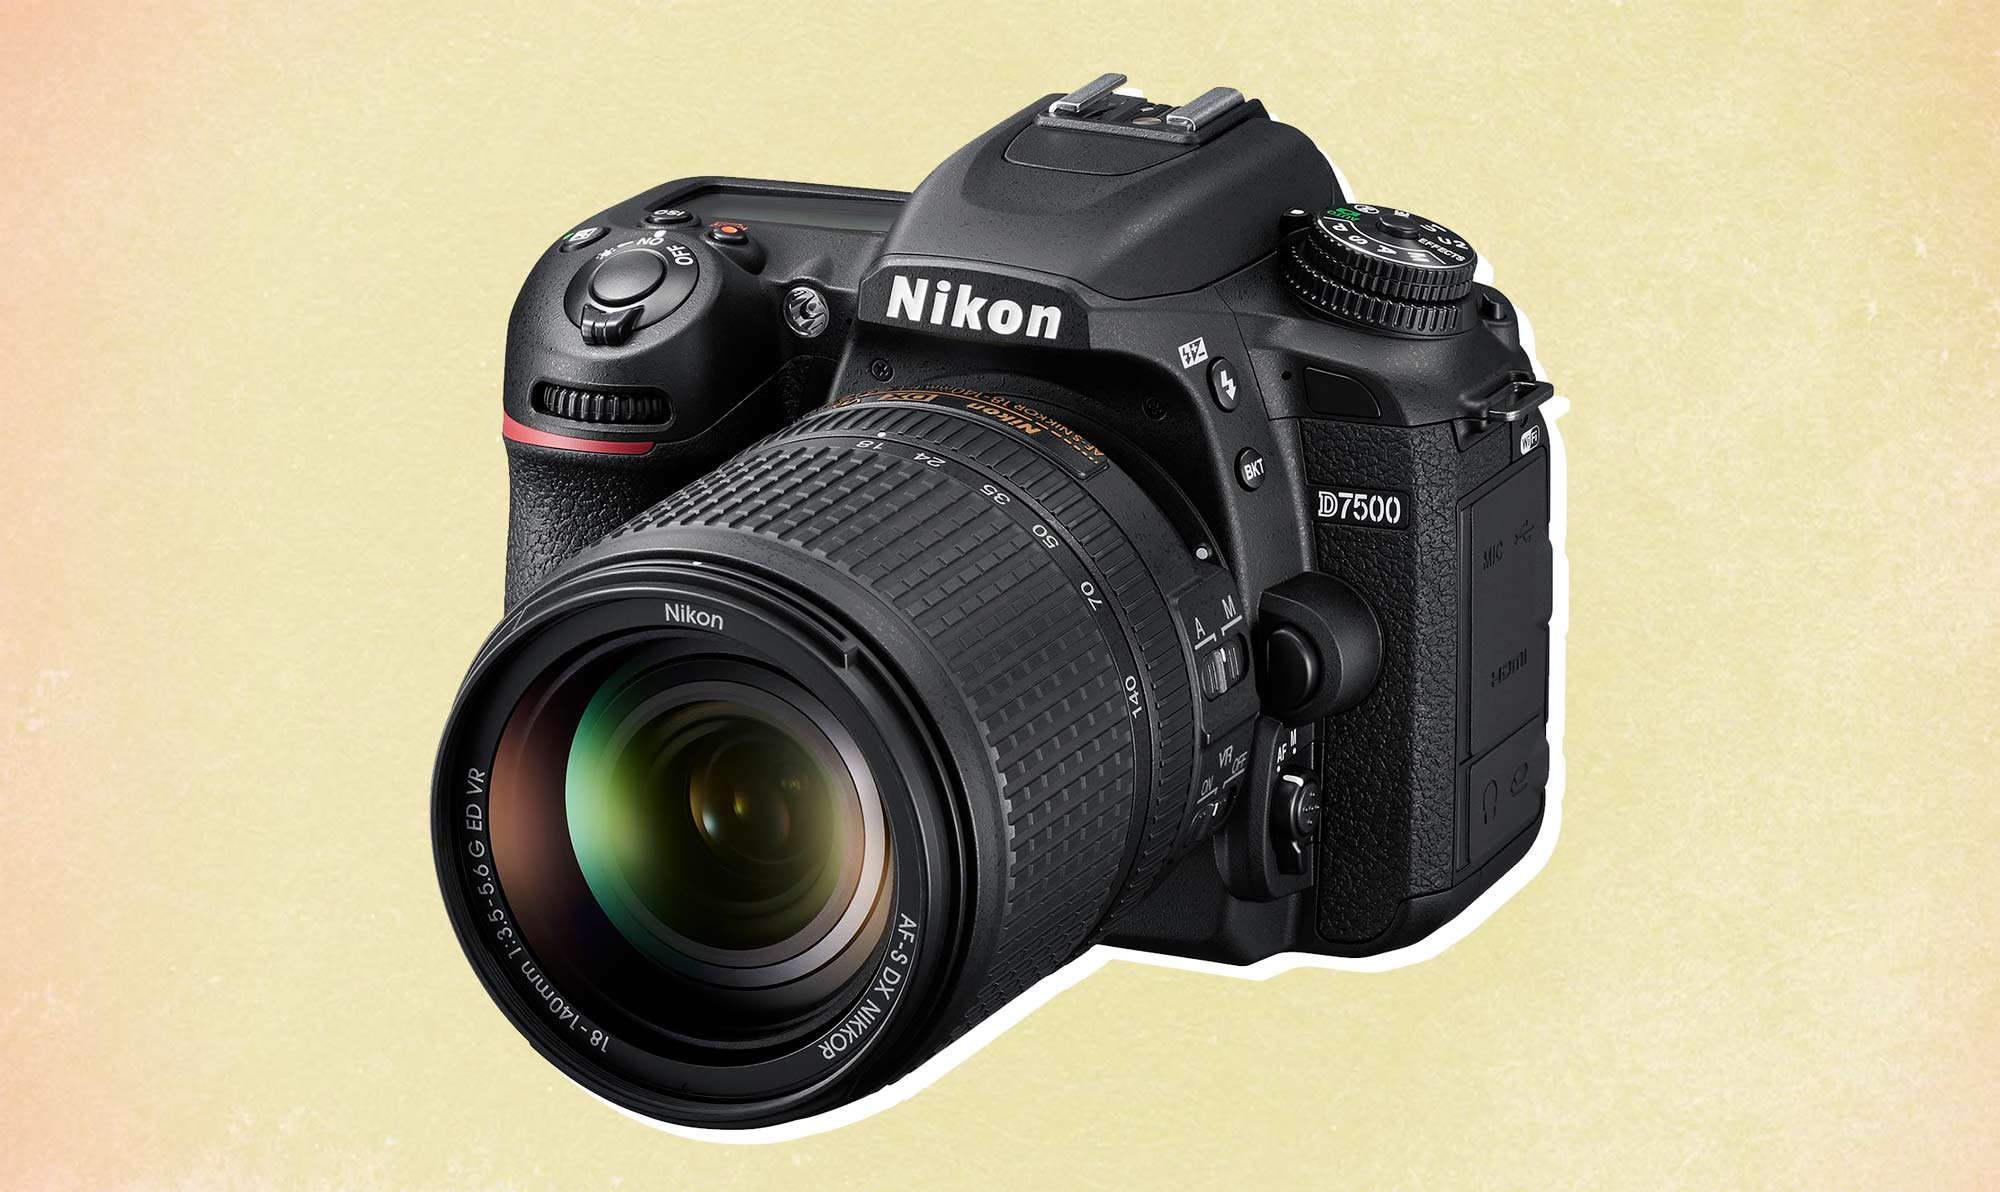
Newcomers to DSLRs have plenty of room to grow, and those with more skills will quickly take advantage of the D7500's broad feature set. Regardless of your experience level, here are some tips and tricks that will help you to get the most out of your photos with this camera.
Quick Tips
1. Format your SD card, but only after making sure you have transferred any images to your computer. Memory cards should be formatted each time you use a new or different camera. To format the card, go to Menu > Setup (wrench icon) > Format Memory Card > OK > Yes > OK.
2. While you're in the Setup menu, scroll through the pages and set your preferred Beep options (On/Off, Volume, Pitch) as well as touch-screen preferences (Enable/disable, playback only, direction of playback flick gestures).
3. Until (or unless) you're comfortable with semimanual and manual controls, start shooting with the D7500's P (Program Auto) mode. Once you're confident about handling the camera, move into A (Aperture-priority), S (Shutter-priority) or M (Manual) exposure modes. Scroll down to the Mode Dial section of this guide for more details about when and how to use each of these exposure options.
4. Save your most used combination of settings to the U1 and U2 user modes. Once your favorite settings are in place, go to Menu > Setup > Save user settings, press the right arrow and choose either U1 or U2. Press the right arrow, select Save settings and hit OK. When you're ready to use those settings, just move the Mode dial to the matching user option.
5. Always double-check your settings before heading out to take pictures; doing so will ensure, for example, that the camera isn't still set on ISO 3200 from last night's low-light shoot when you're ready to take pictures outdoors on a bright, sunny day.
Sign up to get the BEST of Tom's Guide direct to your inbox.
Get instant access to breaking news, the hottest reviews, great deals and helpful tips.
Getting to Know the Nikon D7500's Exposure Controls
The mode dial
Nikon's mode dial is clearly labeled and includes the following icons: a green A (automatic) — and, going counterclockwise — the standard PSAM, Effects, User 1 and 2, Scene and Flash Off.
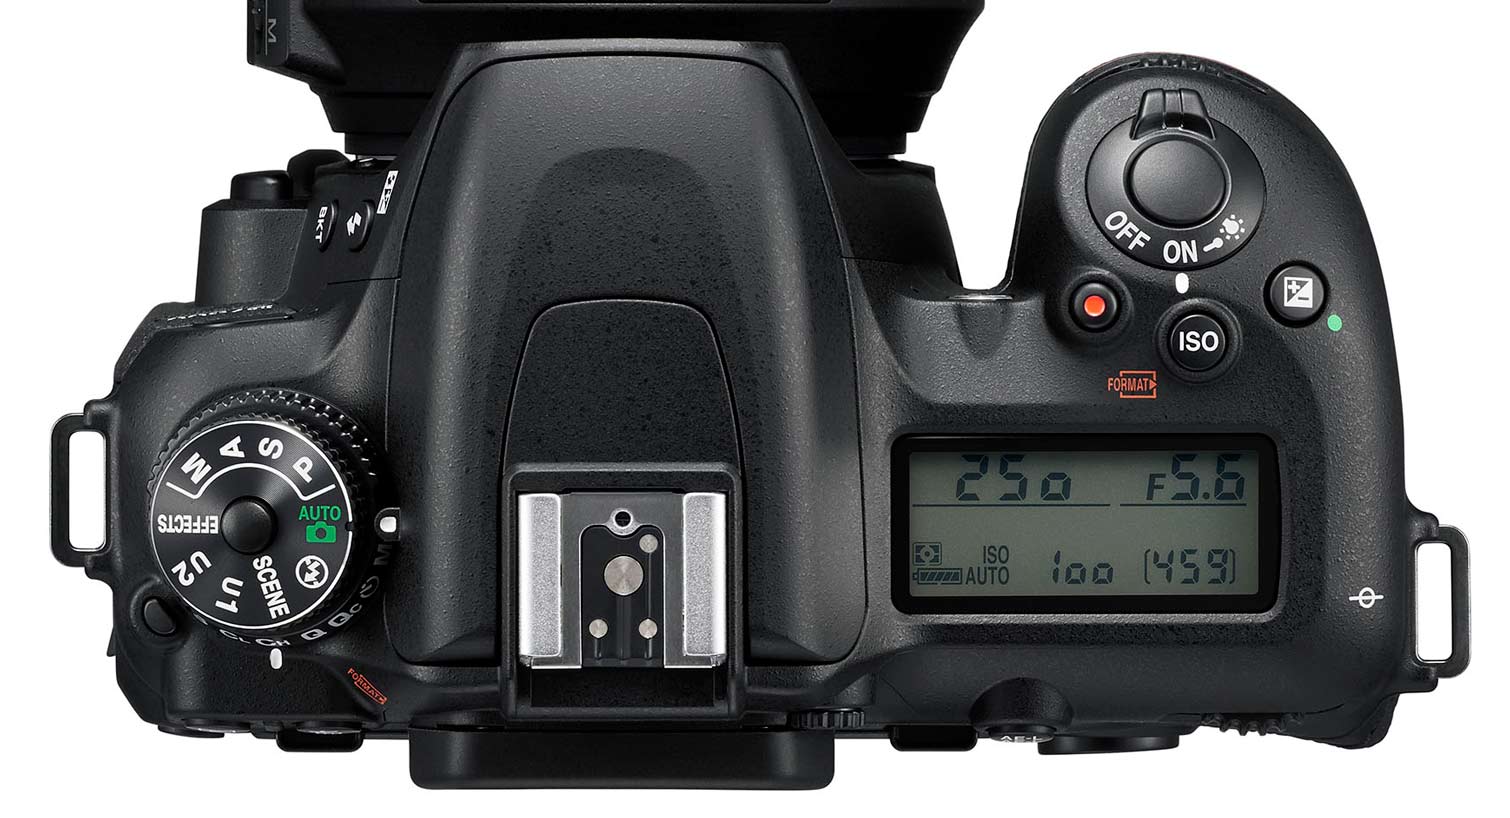
A (green) = Auto: This fully automatic mode turns over full control to the camera. While this may seem like a good option, and it's easy, the camera doesn't always know best, and you might end up with blurry photos (shutter speed too slow) or other problems. Avoid this mode. If you want an equally easy exposure mode with far more control, use Program Auto Exposure (listed next).
P = Program Auto Exposure: This mode delivers all the ease of the green Auto mode, with the camera deciding the final exposure, but it allows you to use its Flexible mode to prioritize Shutter and Aperture settings. Just half-press the shutter to activate the meter and rotate the Main Command dial (on the rear of the camera), and a small P or asterisk appears to the left of the shutter speed in the viewfinder.
Rotate the Main Command dial to the left to decrease the shutter speed and increase the aperture. This allows you to determine how much depth of field — how much of the image is in focus from near to far — the camera can achieve. Remember, a higher aperture number (f/16) delivers a broader depth of field. Reverse direction to increase the shutter speed and decrease the aperture setting. A faster shutter speed helps prevent blurry images; a lower (f/4) aperture number delivers a shallow depth of field. The latter is ideal for portraits, since the subject is in focus and the background and foreground will be softly blurred.
S = Shutter-priority: This mode allows you to select the shutter speed while the camera chooses the appropriate aperture for a proper exposure. Choose a faster shutter speed when handholding the camera (I prefer at least 1/125th second) or stopping action (at least 1/200th second; go higher for fast-moving action).
If you want to get creative, slow the shutter speed down to 1/60 or slower, put the camera on a tripod and photograph a waterfall or nighttime traffic. The waterfall will look soft and dreamy, while the surrounding scene will be in focus. For the latter scenario, you'll get interesting streaks of lights from the cars, while the remaining elements stay in focus.
A = Aperture-priority: With this mode, you choose the aperture (f/stop) and the camera selects the shutter speed to create what it considers to be a balanced exposure. The aperture setting helps determine the depth of field, or how much of a photo appears in focus from foreground to background and everything in between.
The way f/stops are numbered may seem backward, since a lower f/stop number — such as f/2.8 or f/4.0, for example — indicates a larger aperture opening and creates shallower depth of field. A lower f/stop number is ideal for portraits or other photos, where you want the focus — and, therefore, the emphasis — to be on the main subject, while the rest of the image falls into a soft blur.
Higher numbers, such as f/8, f/16, etc., create a broader depth of field, bringing more of the image into focus. These settings are best for landscapes and other scenes where you want everything to be in focus.
M = Manual: Don't be intimidated by this mode, which you can use to select both shutter speed and aperture. There's an exposure gauge in the viewfinder (and the LCD screen in Live View) to help guide you. Manual exposure gives you the most control over exposure, and you can adjust the exposure up or down by moving the exposure mark to the right (to make an image brighter) or to the left (to make an image darker).
A Bulb setting is available in the Manual mode. To use it, turn the Main Command dial to the left until the word "bulb," or two dashes (- -) indicating Time, appears in the top control panel. Both are perfect for long exposures when you're shooting at night — fireworks, astrophotography, light painting, etc. The shutter remains open for as long as you hold the shutter button down (either physically or via a remote). With the Time mode, the shutter opens when you press the shutter button (on the camera or via a remote), and it stays open until you press the button again.
Effects: The D7500 comes with 10 special effects, including Night Vision (which takes a high-ISO, grainy black-and-white image in low light), Super Vivid (with increased saturation and contrast), Toy Camera Effect and more. They're easy to use and many of the effects can be adjusted to your aesthetic tastes.
U1 and U2: You can assign your favorite settings to these two User modes. For example, if you have special settings for low-light photography, you can assign them to U1. For portraits, action or movies, assign those settings to the other User mode. Once they're set up, all you have to do is turn the mode dial to U1 or U2, and you're good to go.
Scene: In this mode, you choose from among 16 different scenarios (landscape, sunset, pet portrait, food, etc.), and the camera automatically chooses what it considers to be the ideal settings for each. Yes, it's easy to use, but you'll get better results using one of the semimanual or manual exposure controls.
Flash Off: The name is self-explanatory. Keep in mind, though, that the camera automatically selects your exposure settings in this mode. If the mode dial is set to PSAM, the flash will remain off until or unless you raise it manually — another good reason to shoot in one of those modes.
How to Take a Great Portrait
To emphasize your subject rather than the surrounding scenes, use either the P (Program Auto) or A (Aperture-priority) exposure modes. This gives you control over the aperture and, therefore, the depth of field. Set an aperture that's fairly wide (low f-stop number) to soften the foreground and background.
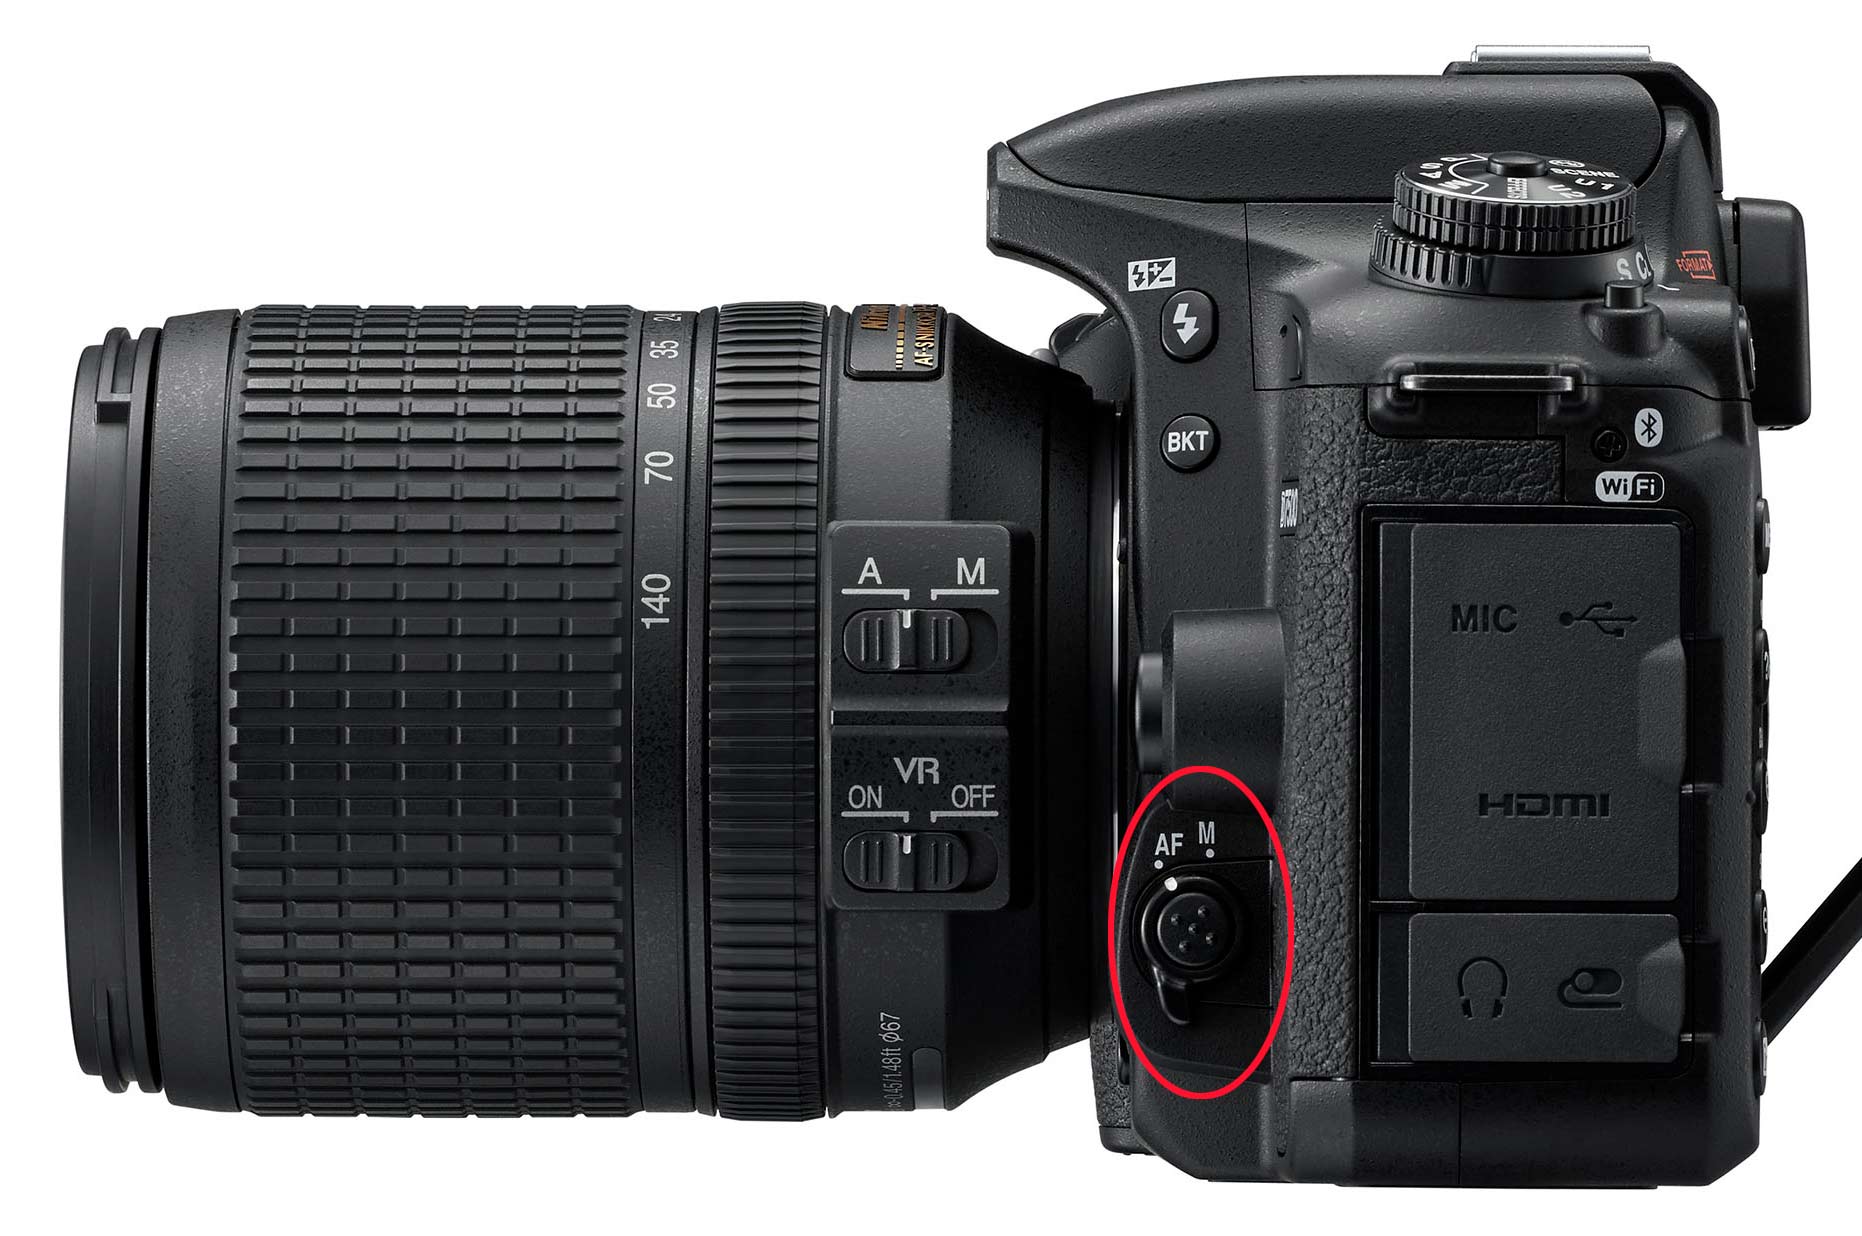
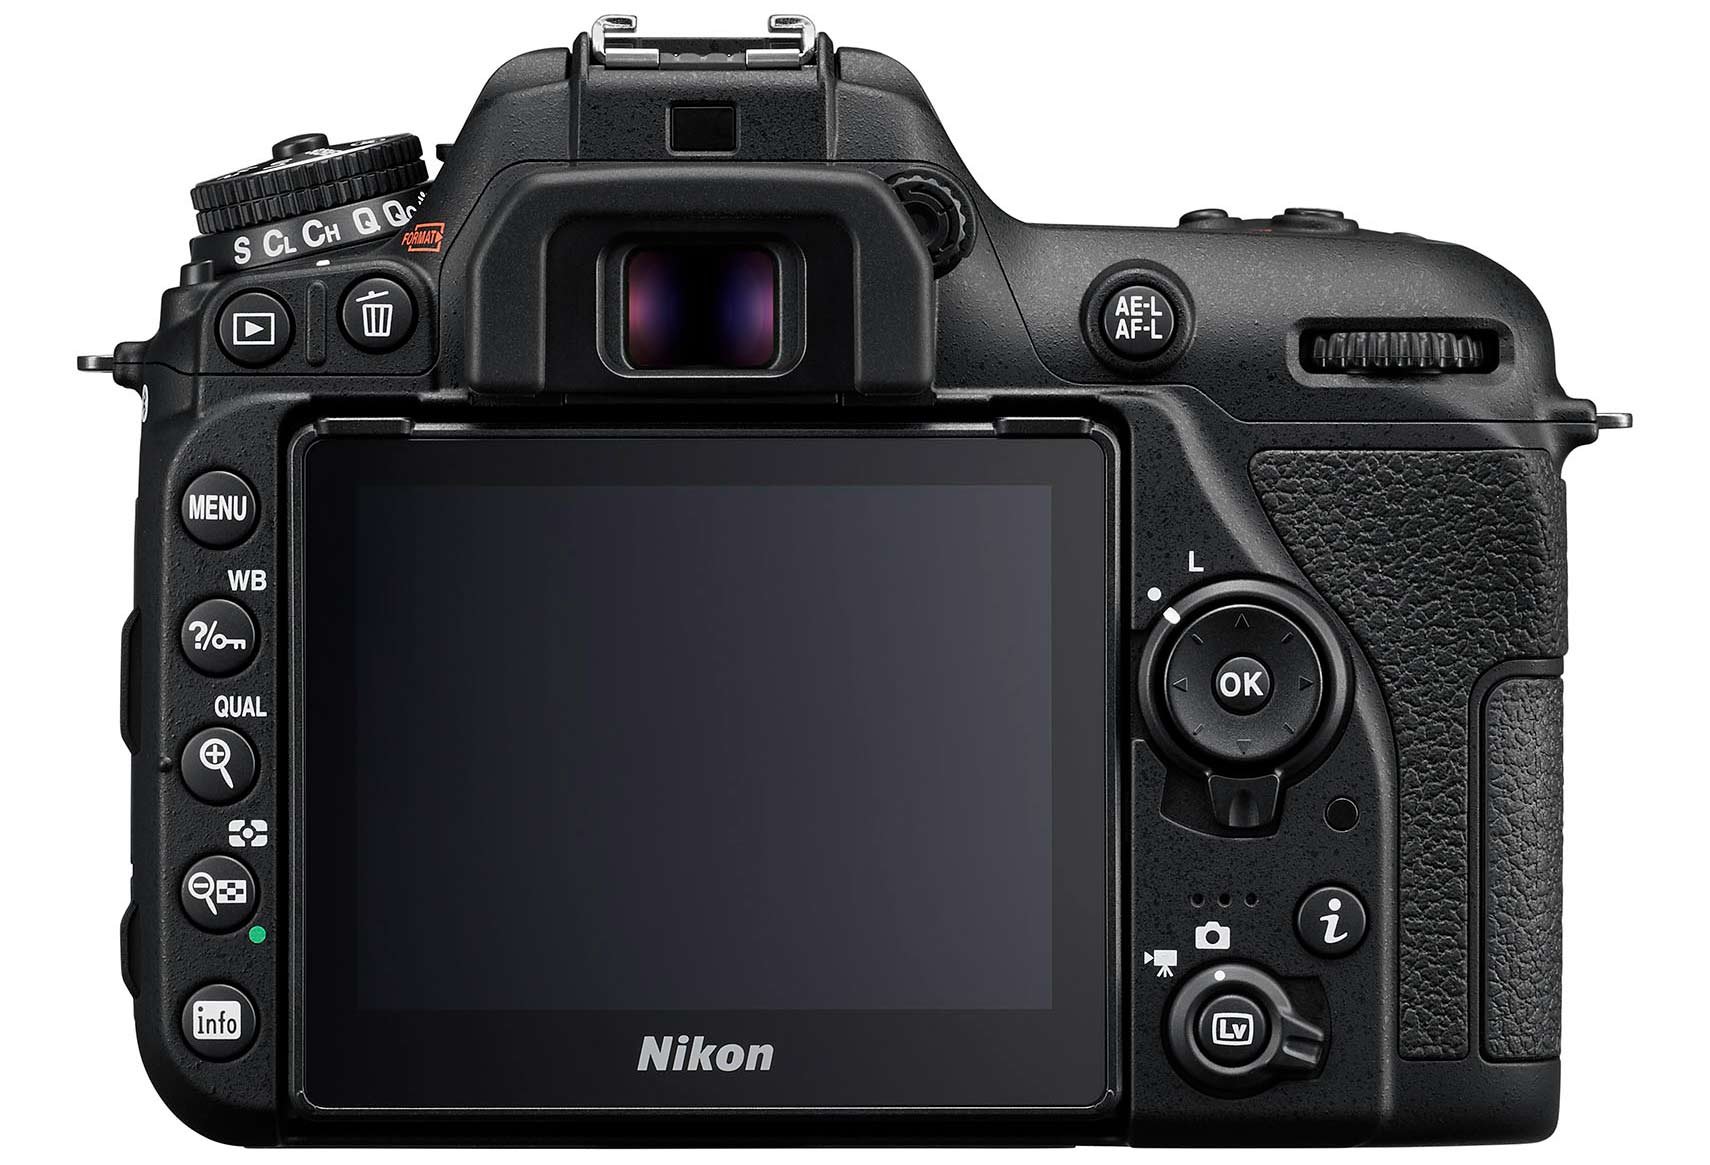
Focus on the eye of the subject that's closest to the camera. To switch to a single-point AF mode, be sure the camera's focus switch (located on the left side of the camera) is set to AF.
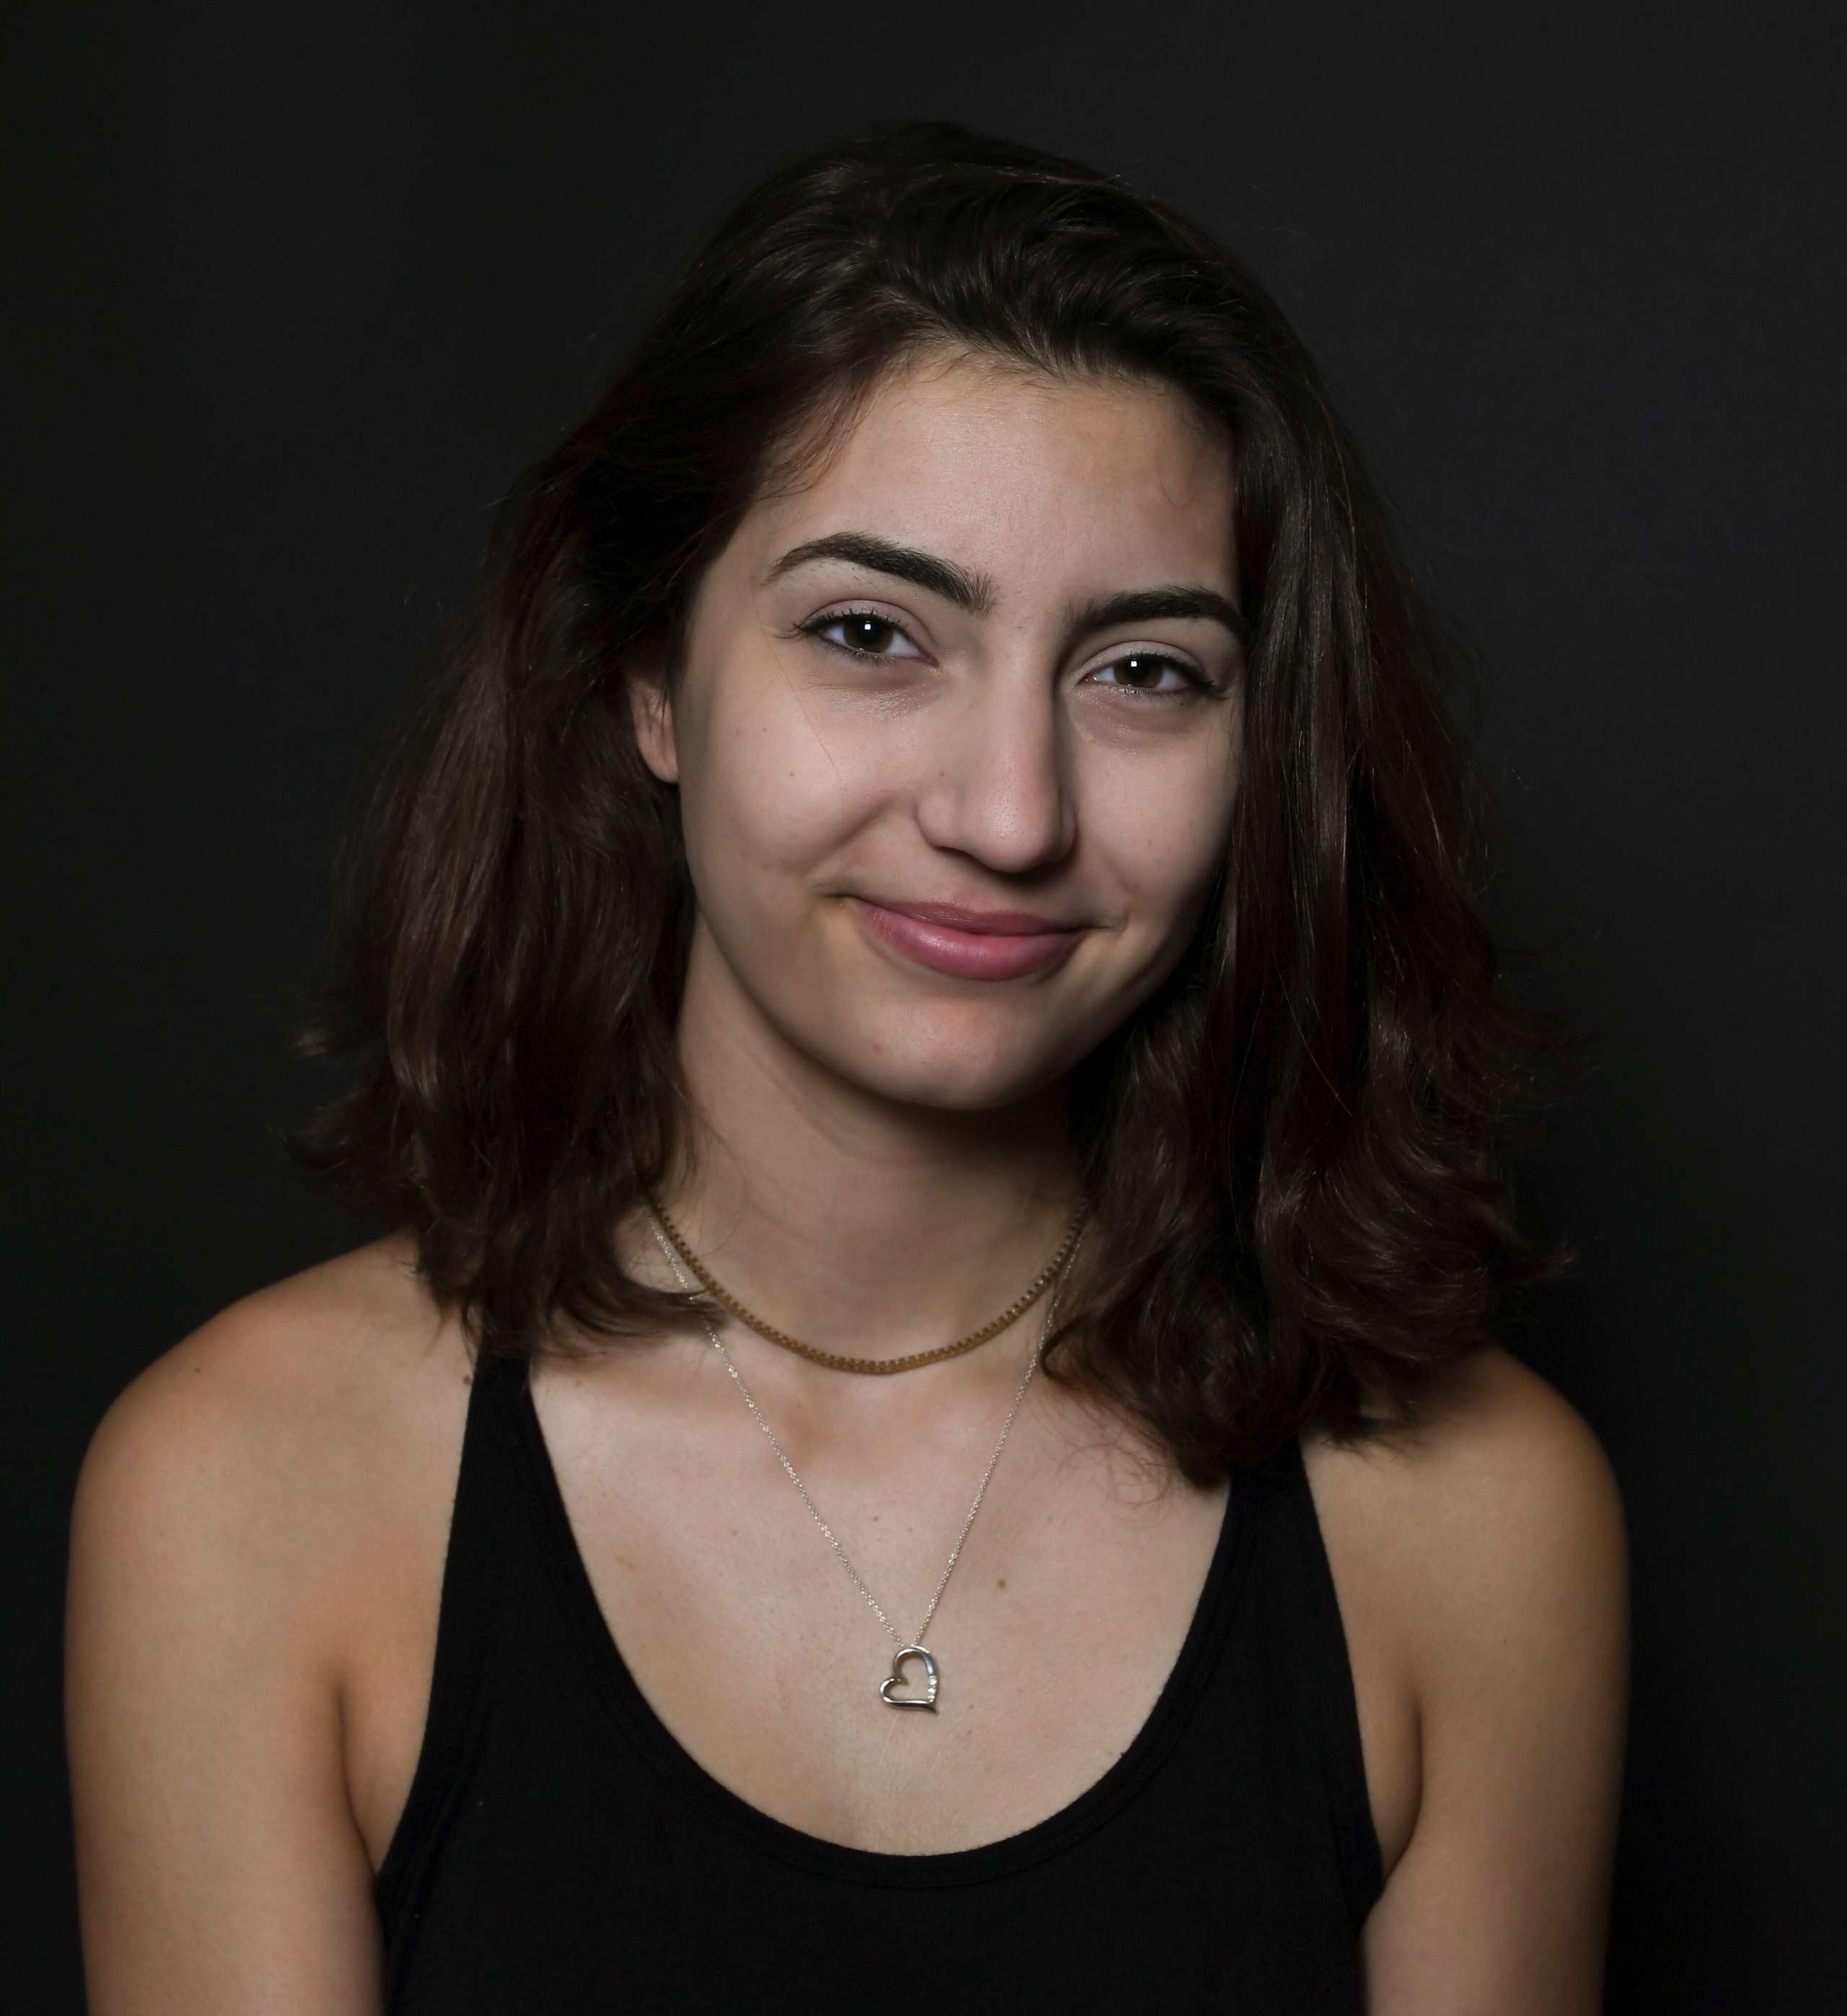
Press the center of the switch and, using the sub-Command dial (the front dial), change the AF mode to S (single). Half-press the shutter button briefly and use the left/right arrows on the rear controller to move the AF point over the subject's eye. Half-press the shutter again to lock focus, double-check your exposure and shoot!
How to Take Great Landscapes
Sure, we'd all like to go to the Grand Canyon or another spectacular national park, but sometimes, we're stuck at home and need to find someplace local to shoot. Why not check out a local park or conservancy, like I did? I waited for nice weather and a bright sky, with just enough clouds to make it interesting. Colorful fall leaves also helped to create a lovely scene.
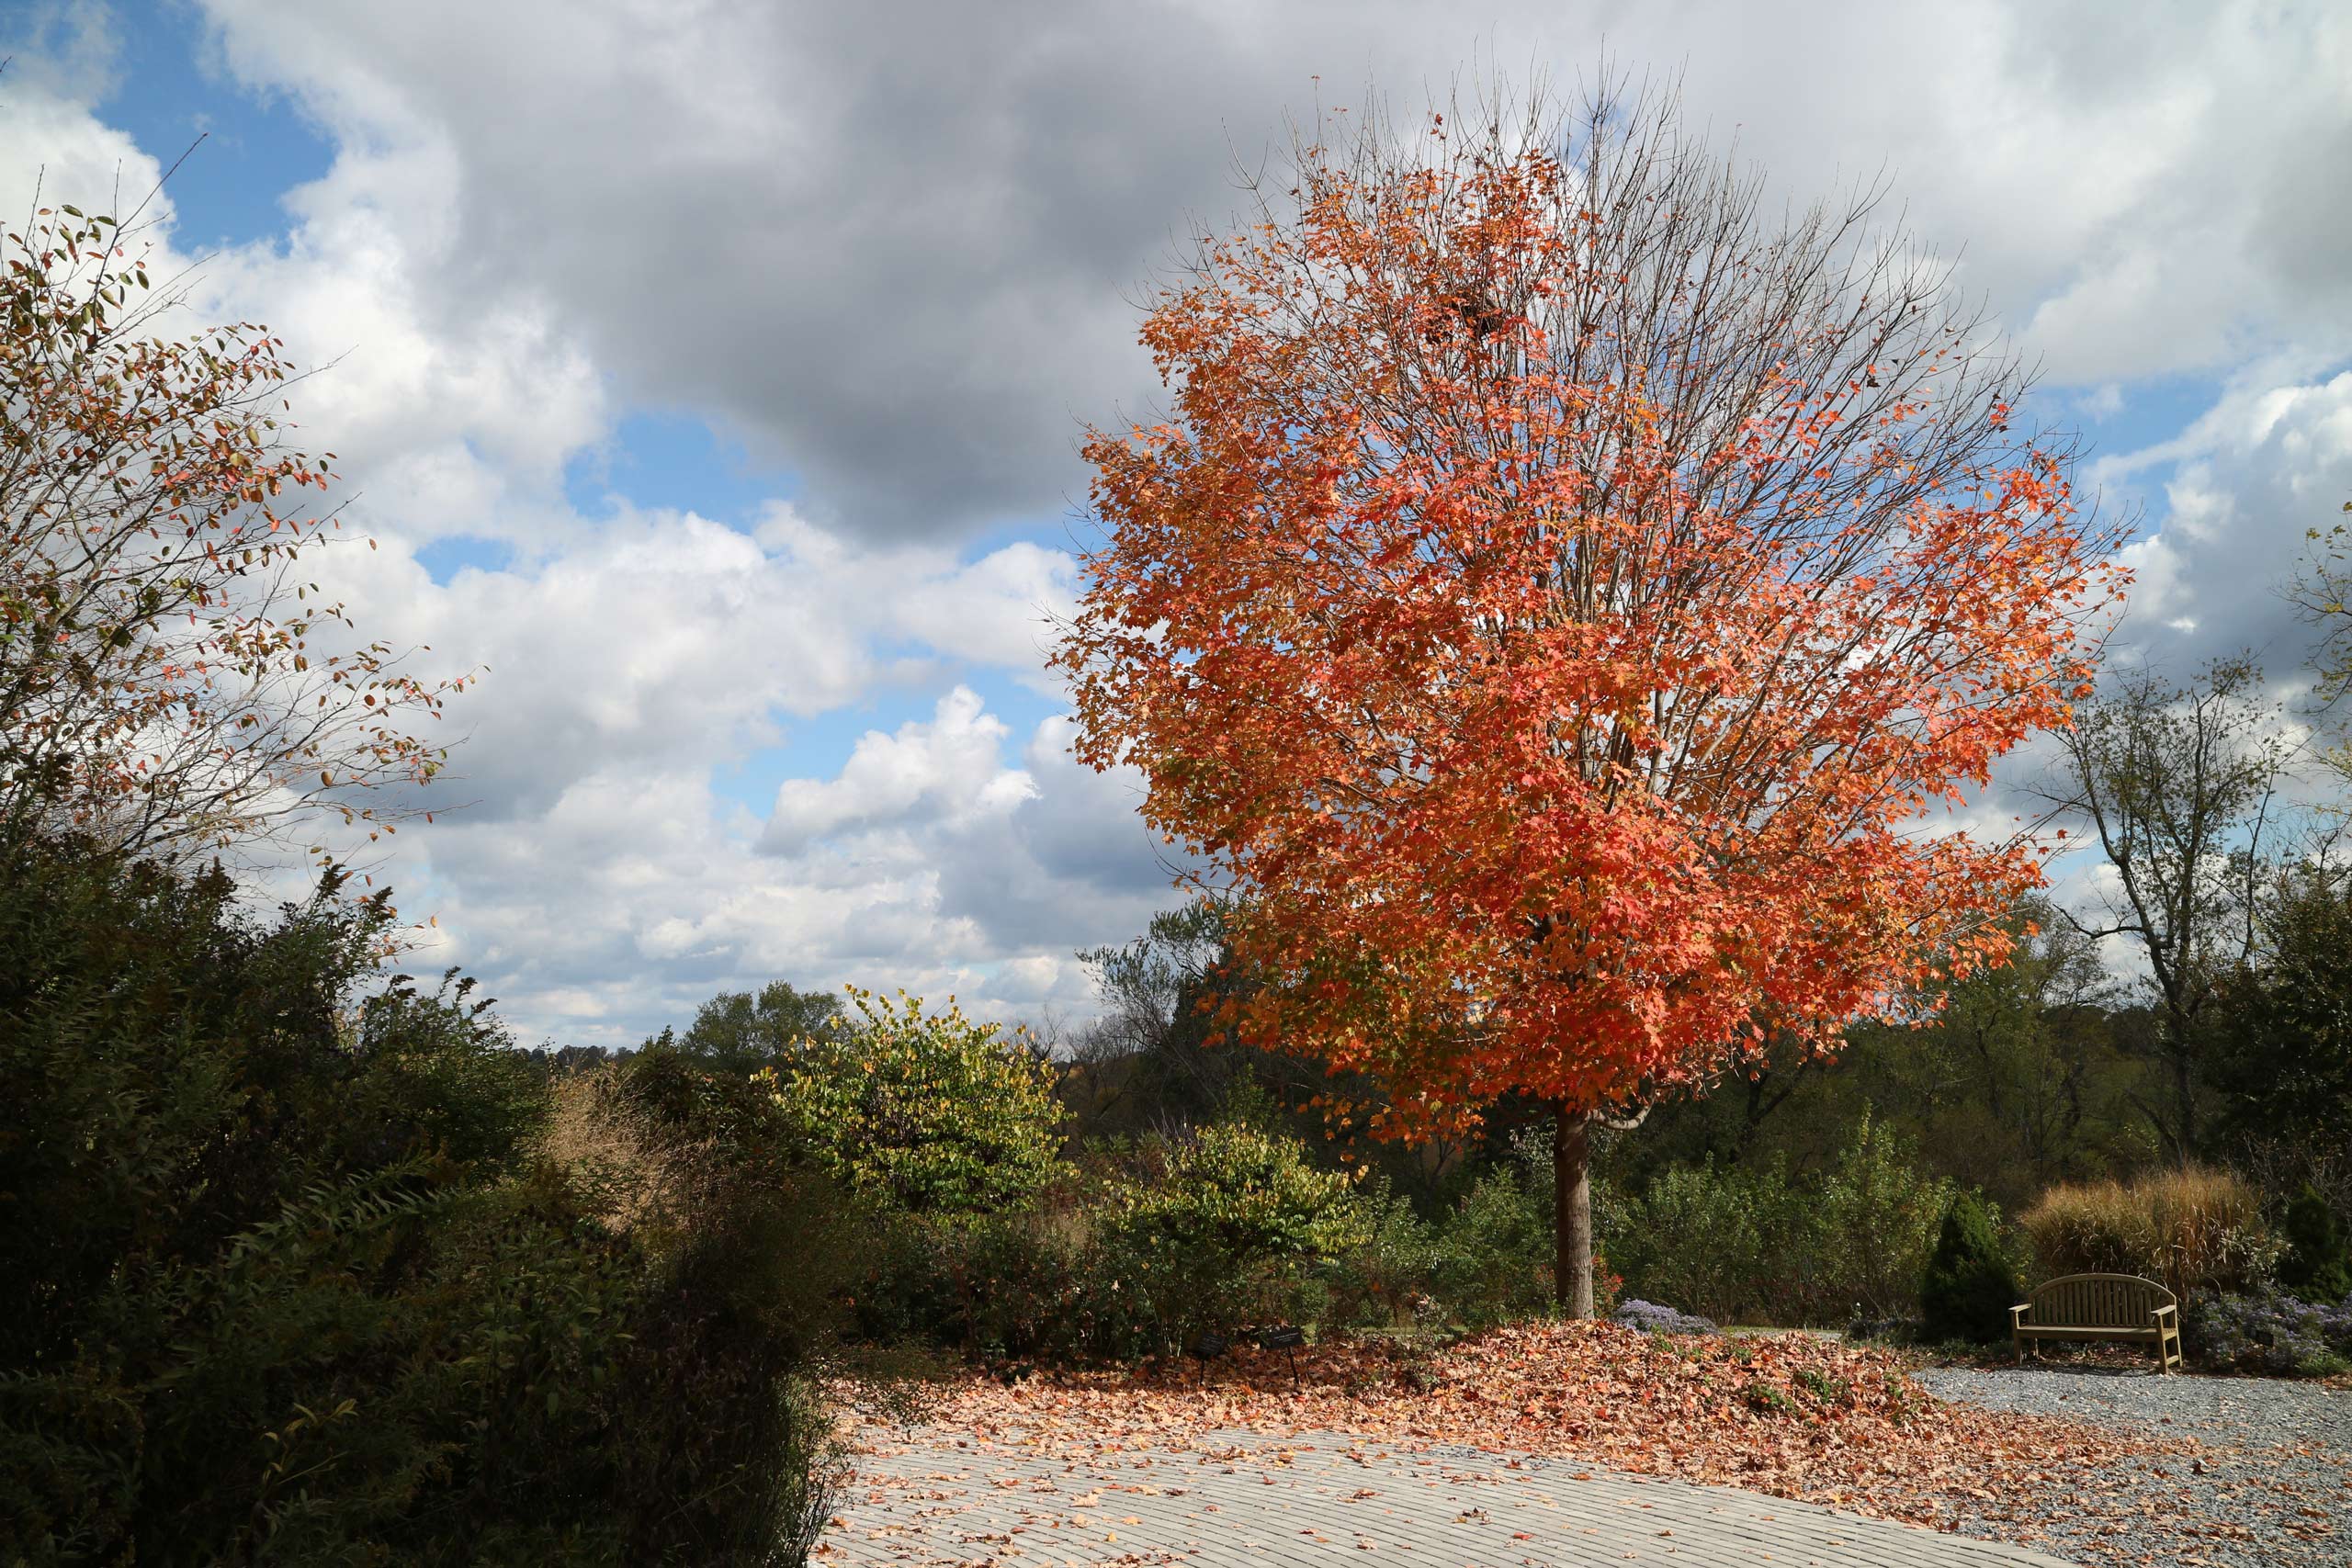
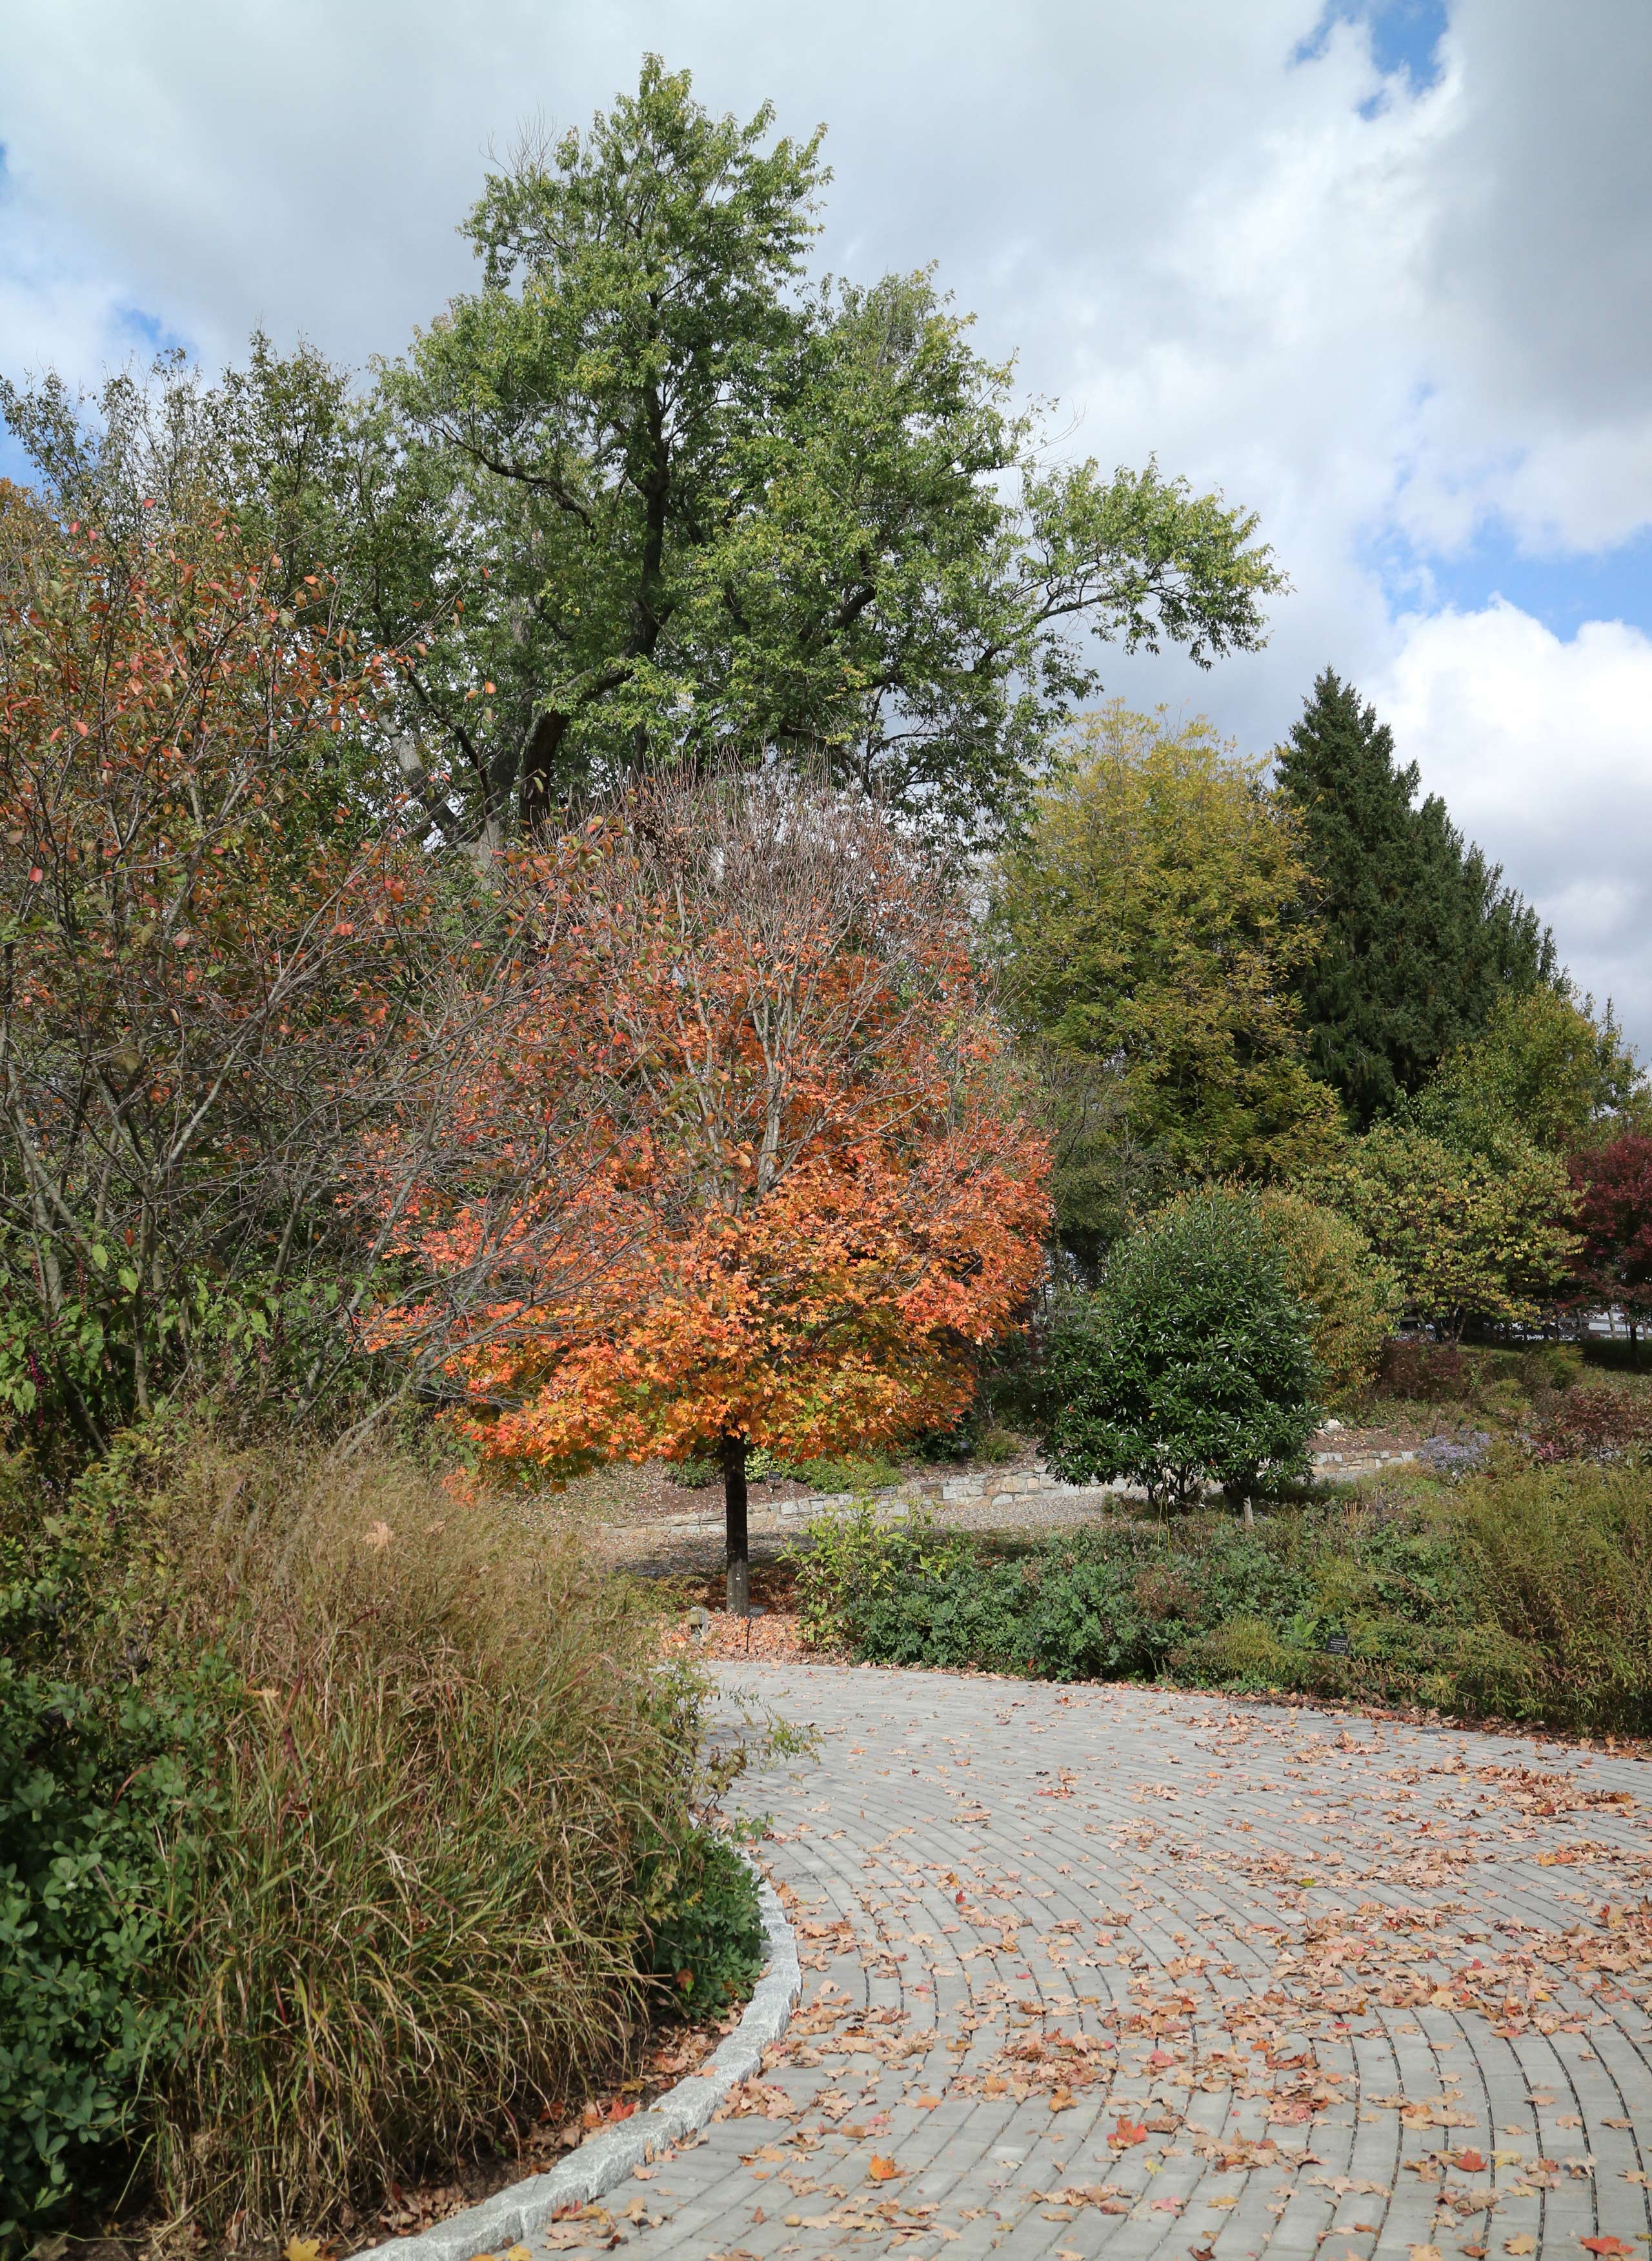
Zoom your lens to its widest focal length (in this case, 18mm, which has a 35mm-equivalent focal length of 27mm on a DX-format D7500). Shoot in Aperture-priority mode and stop down to a higher f/stop number, such as f/8 or f/16, to increase depth of field — but keep an eye on your shutter speed so it's not too slow to handhold — and frame your shot. While landscapes are traditionally shot horizontally (landscape format), try a vertical shot just for fun. You may be pleasantly surprised.
Time-Lapse Movies
One of the cool features of the Nikon D7500 is Time Lapse, which automatically creates a silent video from a series of images. Similar to the camera's Interval shooting, Time Lapse takes pictures at a set interval of your choosing. However, with Time Lapse, the camera automatically assembles the images into a video. The Interval shooting feature requires that you import the images into your computer and use software to create a video. While the latter ensures that you end up with individual still images and Time Lapse does not, it's much faster and easier to let the camera put the video together.
To get started, it's best to shoot during the day since, in low light, you have to make sure that the interval at which the camera takes pictures is not longer than the shutter speed. You'll need the camera, an empty, high-capacity SD card (at least 8GB to be safe, but it depends on the length of your movie), a fully charged battery and a tripod. If you haven't lost the small eyepiece cap, remove the rubber eyecup and slide the cap into place to prevent light from entering the viewfinder.
Use Aperture-priority and Automatic ISO to set the exposure. Set the appropriate white balance. Also, make sure that D-Lighting and Vignette control are turned off. Head into the Movie Shooting Menu and choose the following settings: Frame Size/Frame Rate (I used 1080p at 60 fps, but try different variations until you find one that suits the subject and your aesthetics.) Set Movie Quality (I used High) and choose MOV Movie File Type. Scroll to the next page and choose a Picture Control; I used SD (Standard).
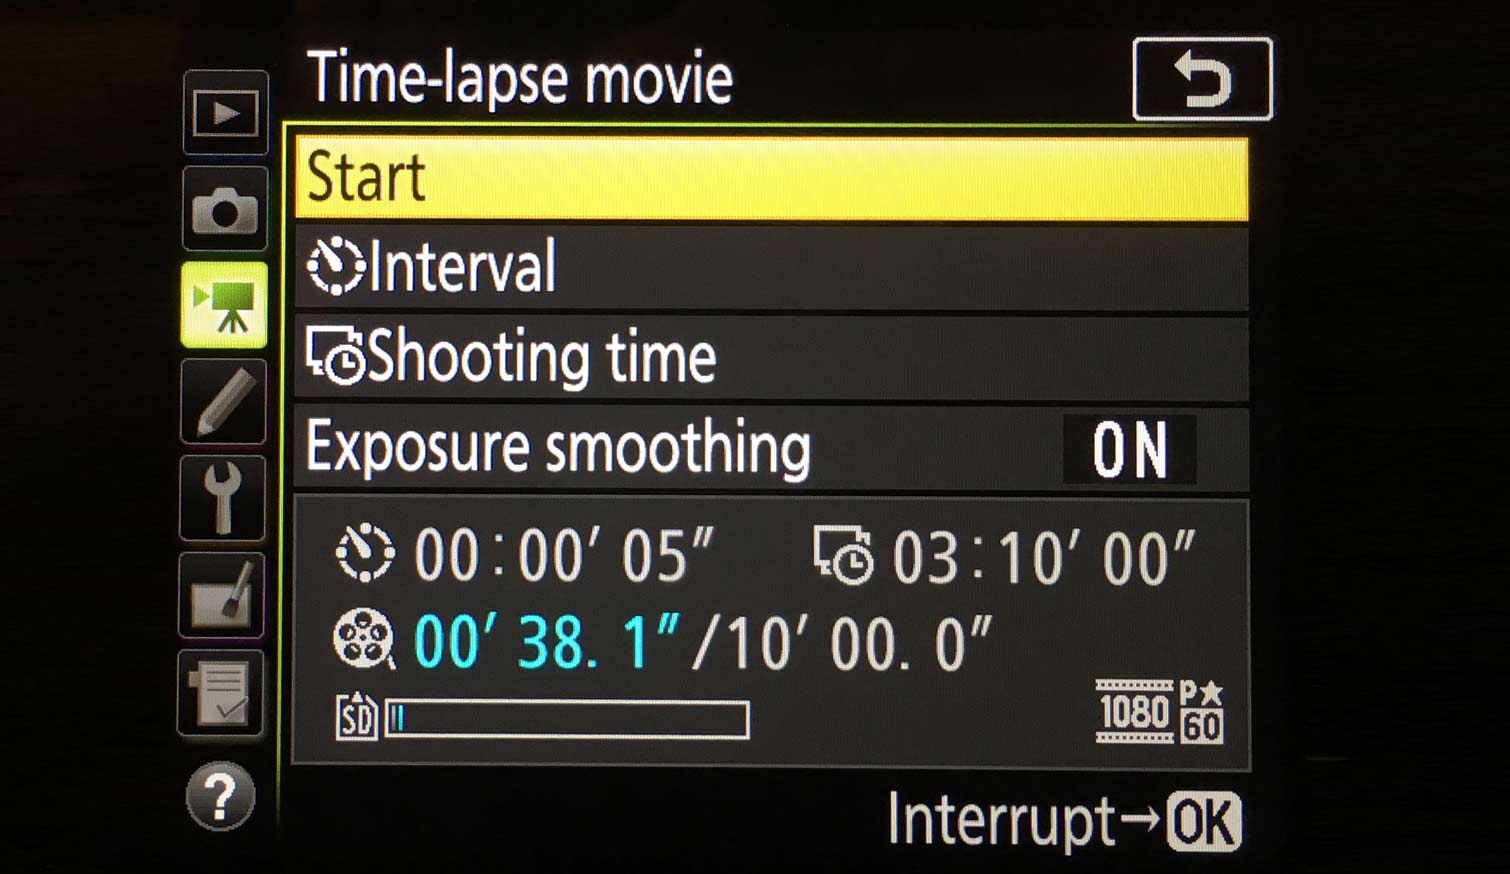
Scroll to the next and final page and press the OK button to open Time-lapse movie settings. First, turn on Exposure Smoothing; this helps adjust the exposure between shots. Choose the Interval between frames. I chose 5 seconds (the default), but you can set the interval from 1 second to 10 minutes for a maximum recording time of 7 hours and 59 minutes (with a maximum movie length of 20 minutes). The shorter the time between image capture, the slower the movement. If I wanted the clouds to appear to move more slowly, for example, I would choose 3-second intervals. For faster movement, choose longer intervals between shots. Once you dial in your settings, the bottom line on the menu shows you how long your movie will be.
Once everything is set and the camera is mounted on the tripod, click Start on the Time-lapse movie menu; shooting will start in 3 seconds and continue until the set time has elapsed. You can manually stop the time lapse in the same menu by selecting Off and then pressing OK. You can either view the movie on the camera or transfer it to your computer.
Credit: Theano Nikitas/Tom's Guide
Theano Nikitas is a freelance journalist and photographer. She's been writing about photography for more than 20 years, contributing countless reviews of cameras, lenses, accessories and software packages to Tom's Guide. Her work has also appeared in dozens of other magazines and websites, including CNET, DPreview, PopPhoto, Professional Photographer and Shutterbug.
