How to Take Great Photos with the Nikon D5600
Whether you're new to DSLRs or have some experience, the following guide will help you get the most out of your D5600 quickly and easily.
Use the Nikon D5600 like a pro
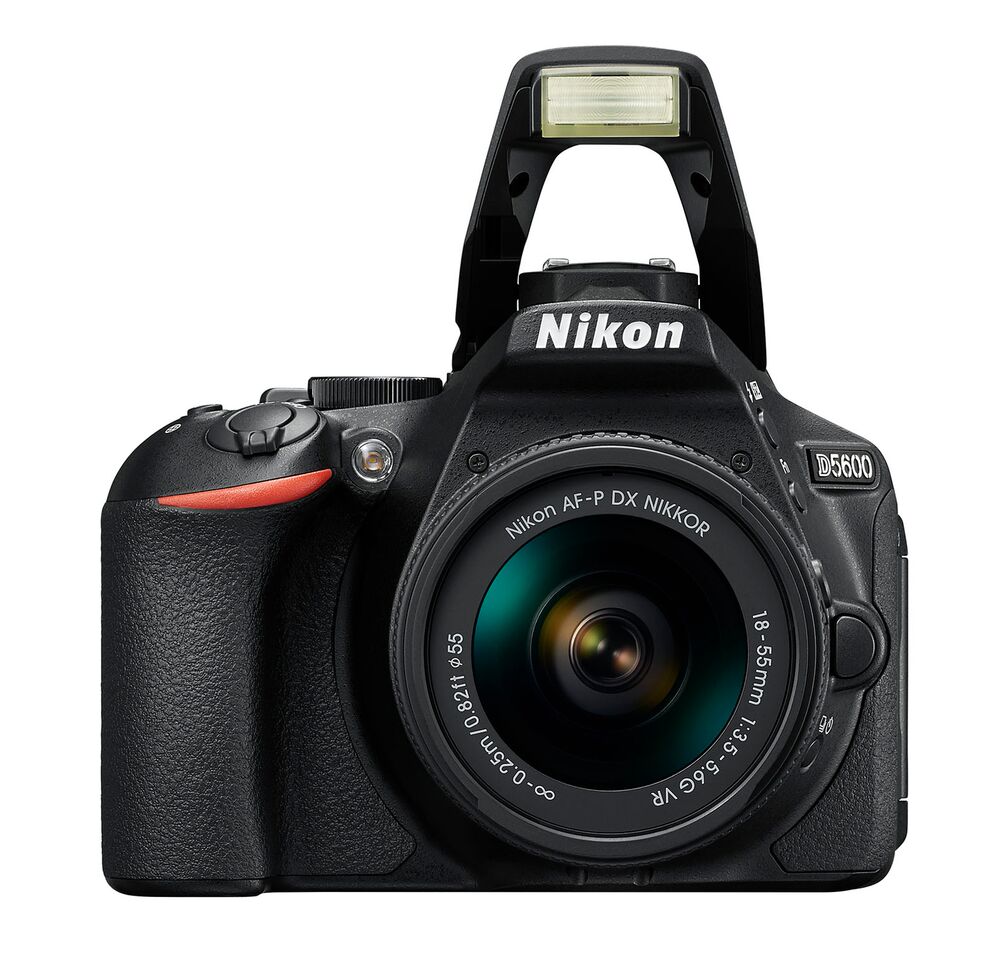
The 24-megapixel Nikon D5600 is our favorite DSLR camera under $1,000, thanks to its excellent image quality and speedy performance. It's perfect for photographers who are stepping up from an entry-level model like the Nikon D3400 or those who want to hone their photography skills.
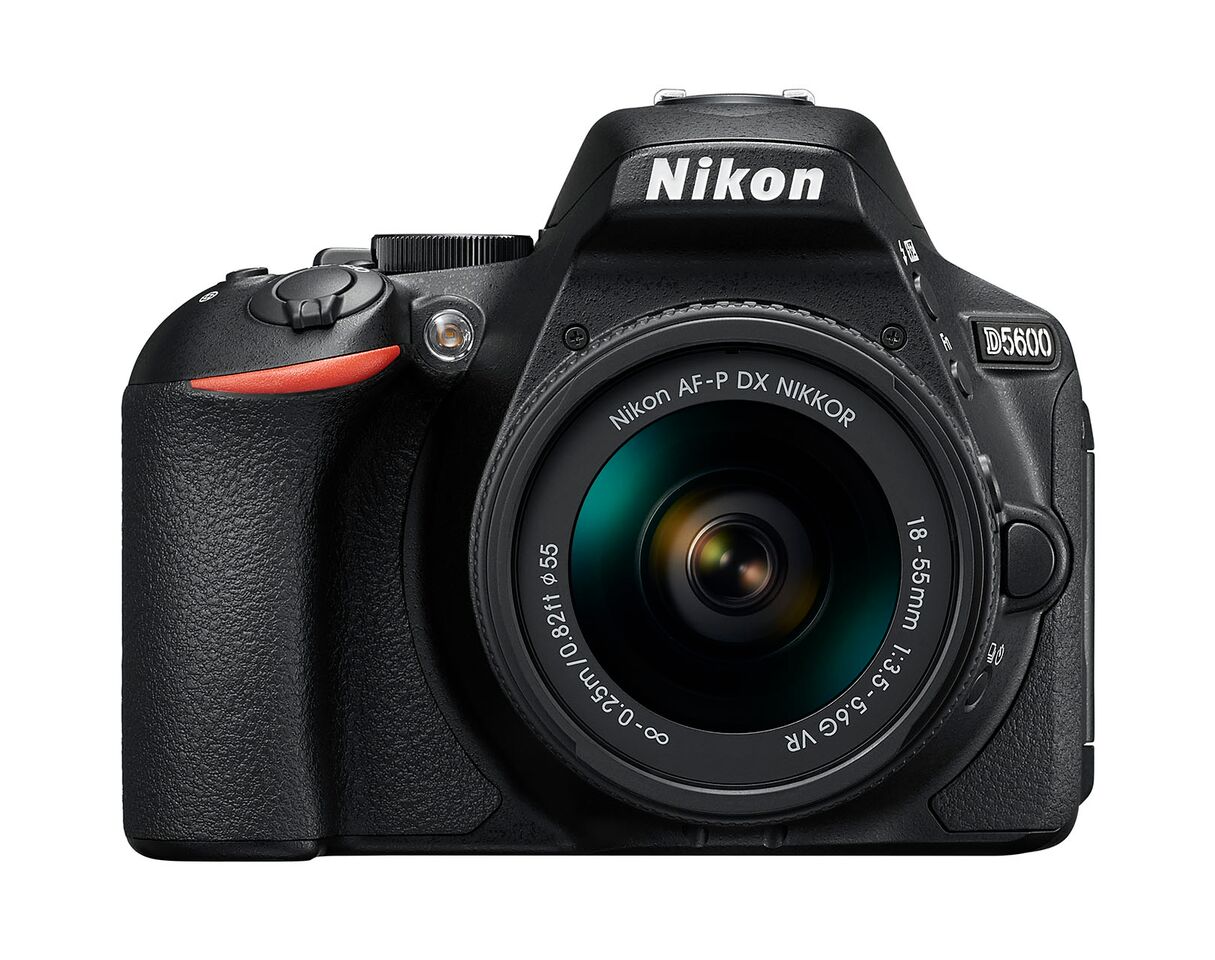
Whether you're new to DSLRs or have some experience, the following guide will help you get the most out of your D5600 quickly and easily.
Quick tips
1. Start with the Program auto mode (P), and gradually work your way into the semiautomatic Shutter-priority (S) and Aperture-priority (A) modes before moving into the Manual (M) exposure mode. See below for descriptions of the D5600's exposure modes and advice on when and how to use the different options.
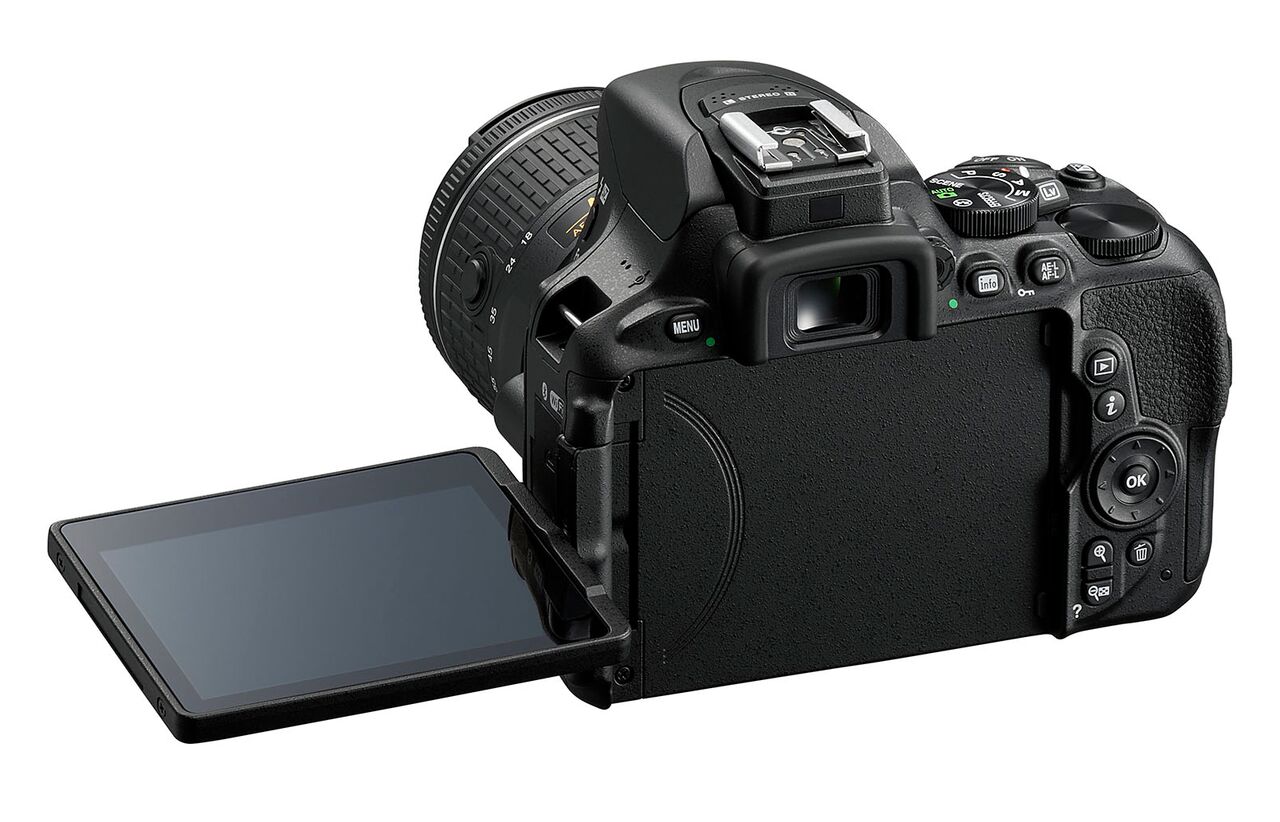
2. Get to know the "i" button, located to the right of the LCD panel (and on the LCD touch screen). Pressing this button (or tapping the on-screen icon) gives you quick access to all of the major shooting settings. This lets you change settings on the fly without going into the full menu system. The Info button, to the right of the viewfinder, gives you an overview of your current settings, but it's for viewing only.
3. Unsure of what a particular feature does or how to use it? If there's a "?" on the screen, you can press the little zoom-out/metering/question-mark button next to the lower-right corner of the LCD, and a description of the feature will appear on the screen.
4. Check out the different Information-screen options for Auto/Scene/Effects modes and for the P/S/A/M modes. Press the Menu button (to the left of the viewfinder, select Setup (the wrench icon) and head over to the top of the second page: Info display format and press the right arrow key. The information displayed is the same, but it's presented in different graphical layouts and colors. Pick the one you like best.
5. While you're there, scroll to the bottom of the second page. Make sure that "Slot empty release lock" is set to Lock. This prevents you from taking a picture without a memory card installed. (Lock is the default setting.)
Sign up to get the BEST of Tom's Guide direct to your inbox.
Get instant access to breaking news, the hottest reviews, great deals and helpful tips.
Getting to know the Nikon D5600's controls
The mode dial
One of the most important decisions you make when taking pictures is selecting an exposure mode. This choice not only determines how exposure is calculated but also how other features behave and what other options are available to you. While the Auto mode is good for novices and those getting used to a new camera, this option (along with Effects and Scene modes) pretty much turns the control over to the camera and limits your ability to change parameters such as white balance. Semiautomatic and Manual controls (P/S/A/M) allow you to access and adjust the camera's full complement of settings.
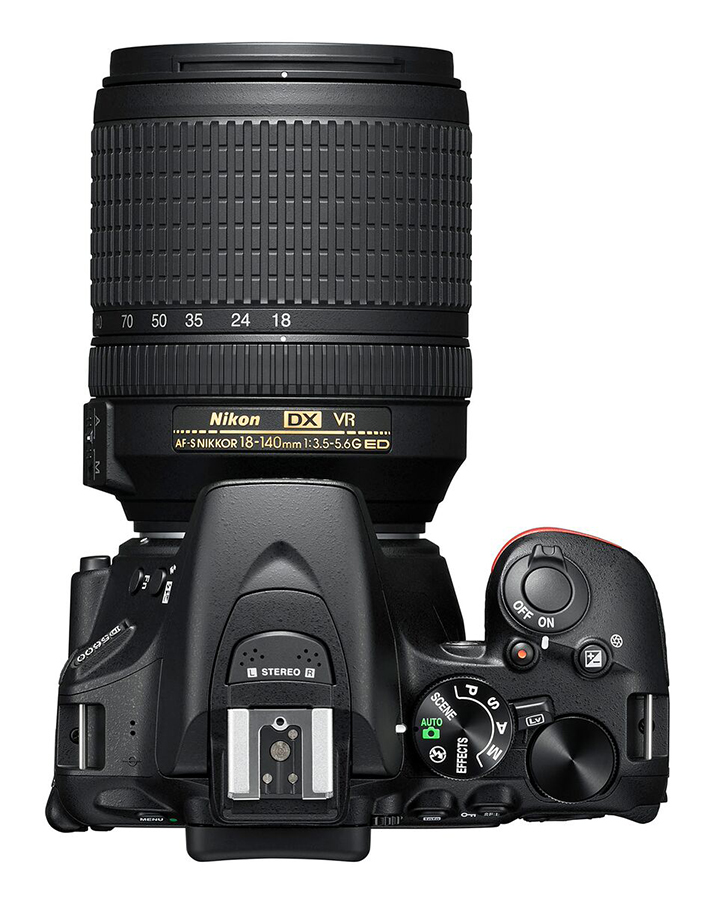
Program, Shutter-priority, Aperture-priority and Manual (P/S/A/M) exposure modes each play a specific role in picture taking. Here's how they work.
P= program auto exposure: Although we suggest you stay away from the Auto mode (it's the green icon on the dial), a good "automatic" starting point is the Program mode. While the camera still decides what shutter speed/aperture combination to use, you still have plenty of options to manipulate the camera's decisions. To control the shutter speed to avoid camera blur, for example, turn the command dial to the left. (The aperture will change in tandem to keep the same exposure.) Turn the command dial to the right to change the aperture. (The camera will adjust the shutter speed to ensure a good exposure.) You can also change the ISO to get different settings or use Exposure Compensation (the black/white button near the camera's on/off switch) to help tweak the exposure.
S = Shutter-priority: In this mode, you choose the shutter speed, and the camera selects the aperture. Unless you have very steady hands or you are using a tripod, aim for a shutter speed of 1/125 of a second or faster to avoid blurry pictures from minor camera or subject movement. (Adjust the ISO up if there's not enough light to achieve the desired shutter speed.)
If you want to freeze movement, set the shutter speed to at least 1/200 of a second, or higher for fast-moving subjects. On the other hand, if you want a photo to show motion, set the shutter speed down to 1/60 of a second or slower to capture the flow of a waterfall, for example. Use a tripod to ensure that the rest of the image isn't blurry.
A = Aperture-priority: You choose the aperture (f-stop), while the camera selects a shutter speed that will, in combination, deliver a good exposure. The main benefit of shooting in Aperture-priority mode is that it gives you control over the depth of field, or how sharp the image appears from near to far.
The numbering or f-stop system for aperture settings can be a little confusing. For example, the smaller the number — like f/2.0 — the larger the aperture opening, which allows more light to hit the sensor. Set the aperture to a smaller f-stop number in low light.
Another time to use a larger aperture opening (small f-stop number) is when you're taking a portrait. The large (also called fast) aperture decreases the depth of field. That means that the background and foreground will be slightly blurred, placing the emphasis on your subject.
On the other hand, if you want more of the image to be in focus (let's say you're shooting a cityscape), then you want to use a higher f-stop number, such as f/8, f/11, f/16, etc. This increases the depth of field, so that the image appears sharp throughout the scene. But when you use a smaller aperture (a higher f-stop number), less light hits the sensor. Increase the ISO if you need to set a faster shutter speed to avoid blur from camera shake.
M = Manual: This mode allows you to choose both the shutter speed and the aperture. Shooting in manual-exposure mode is not as difficult as it might seem, because there's an exposure gauge in the viewfinder and in Live View to help you know when you've hit the right combination. Just adjust one or both settings until the mark is near the center of the gauge. If the picture is too light or too dark for your liking, just adjust the shutter speed or aperture (or both) until you see markers to the right (for a lighter exposure) or to the left (for a darker exposure) of the midpoint on the gauge.
The Nikon D5600's Auto mode is marked as a green square on the mode dial. Forget it exists. If you want point-and-shoot simplicity, go with the Program auto mode; if and when you decide you want to explore further options, this mode allows you to tweak many parameters, whereas the Auto mode does not.
On the mode dial, you'll also see a flash-off mode to use if or when you can't or don't want the flash to automatically pop up if there's not enough light.
The D5600 also has some fun Effects modes, including Super Vivid, Photo Illustration, Toy Camera effect, selective color and more to enhance your creative endeavors. Scene modes are easy to use, but they limit your manual adjustments and access to other controls. The D5600's Scene modes include Portrait, Landscape, Sports, Child, Beach/Snow, Party/Indoors and more. Feel free to experiment with these automatic scene modes, but your best bet is to use one of the P/S/A/M modes to control how your image looks.
How to take a great portrait
When taking a portrait, you want the emphasis to be on your subject and not on surrounding elements. To do this, set the D5600's mode dial to P (Program Auto) or A (Aperture-priority) or M (Manual). Open up the aperture (use a low f-stop number) to get a shallow depth of field; the maximum aperture setting will depend on your lens and where you set the zoom. This softens the background and foreground, so your subject will be the main focus — literally and visually. Be sure to check your shutter speed; it should be around 1/125 of a second or faster to prevent blur from minor camera (or subject) movement.
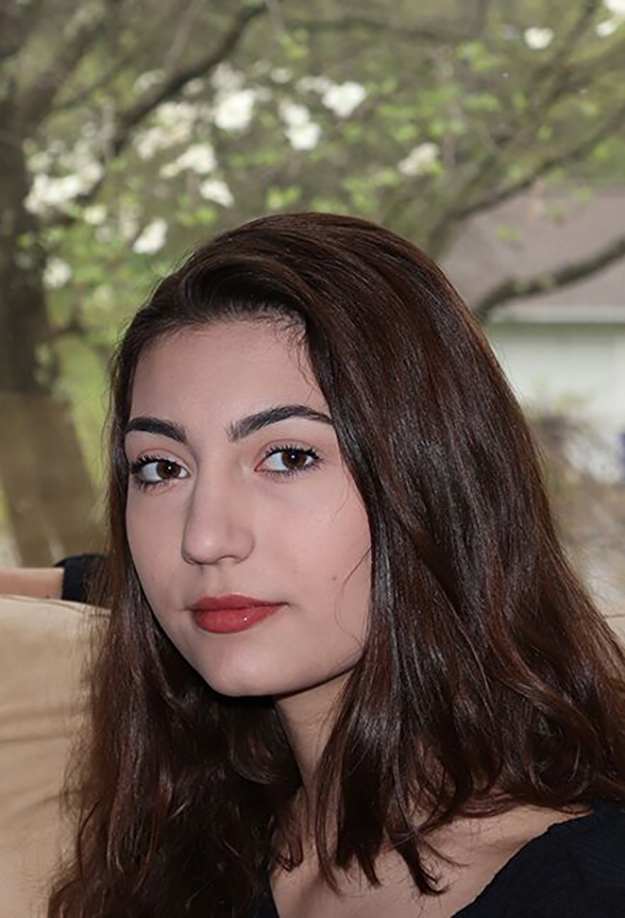
If you're using the 18-140mm f/3.5-5.6 zoom lens, set the lens to 70mm (which is the 35mm equivalent of 105mm, which is great for portraits). Zoom all the way in to 55mm on the 18-55mm kit lens; this gives you a 35mm equivalent focal length of about 82.5mm, which is also good for portraits.
Forget about that old "rule" of keeping the sun at your back when you're shooting. That puts the sun in your subject's eyes and makes them squint — not a good look for a portrait. Try to find a slightly shaded area to position your subject. Or, place your subject near a window, and use the daylight to illuminate the scene or combine it with the flash, as seen below.

If you need to use the built-in flash, turn on red-eye reduction via the "i" button, and make sure your subject is not standing up against a wall; move him or her a few feet in front of the background, if necessary. Otherwise, you'll end up with nasty shadows, as in the second photo below.

MORE: 12 Tips for Stunning Portrait Photography
How do I take an action shot?
There are three main elements to consider when shooting action shots, like those of sports, children, dancers and other fast-moving subjects. First, set your shutter speed so that it's fast enough to freeze movement. The exact shutter speed depends on how quickly your subject is moving, but for most fast-moving subjects, start with 1/500 of a second.
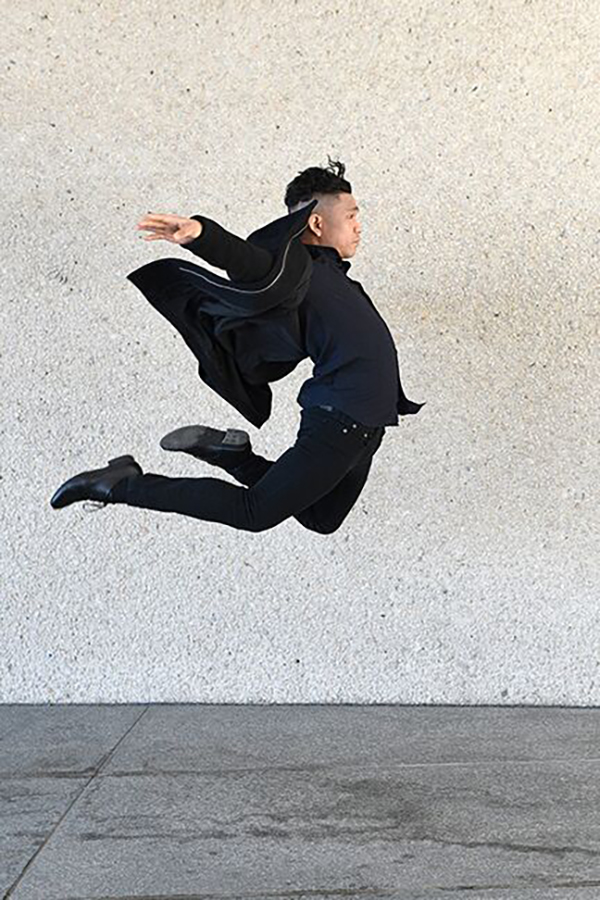
Then, set the release mode (Menu > Shooting Menu > Release mode on page two) to Continuous High for up to 5 frames-per-second continuous shooting. For the final step, push the "i" button, and change the AF mode to AF-C (Continuous-servo AF) so the autofocus tracks your subject once you half-press the shutter button to tell the D5600 what you want to focus on.
If you're shooting an activity that can be repeated, like this dancer's movements in the image below, have your subject repeat the movement so you get an idea of how to time your shot. Even if you don't have the luxury of having the subject repeat the movement, anticipate when the peak moment will be, and time your shot accordingly. With continuous shooting, you have a better chance of capturing that peak moment in time and getting some before-and-after shots.
MORE: 12 Tips for Taking Killer Sports Photos
How do I shoot a landscape?
Landscapes are easy to shoot. Just find a scene that pleases your eye, zoom your lens to wide-angle and stop down the aperture (set to a high number f-stop, such as f/11 or higher) in the P, A or M modes. Check your shutter speed to make sure you can hold the camera steady, or place it on a tripod. Press the "i" button, and set the Metering mode to Matrix (it's the rectangle with a center circle, with two perpendicular lines on each side). This takes a reading from the entire scene and averages out the exposure.
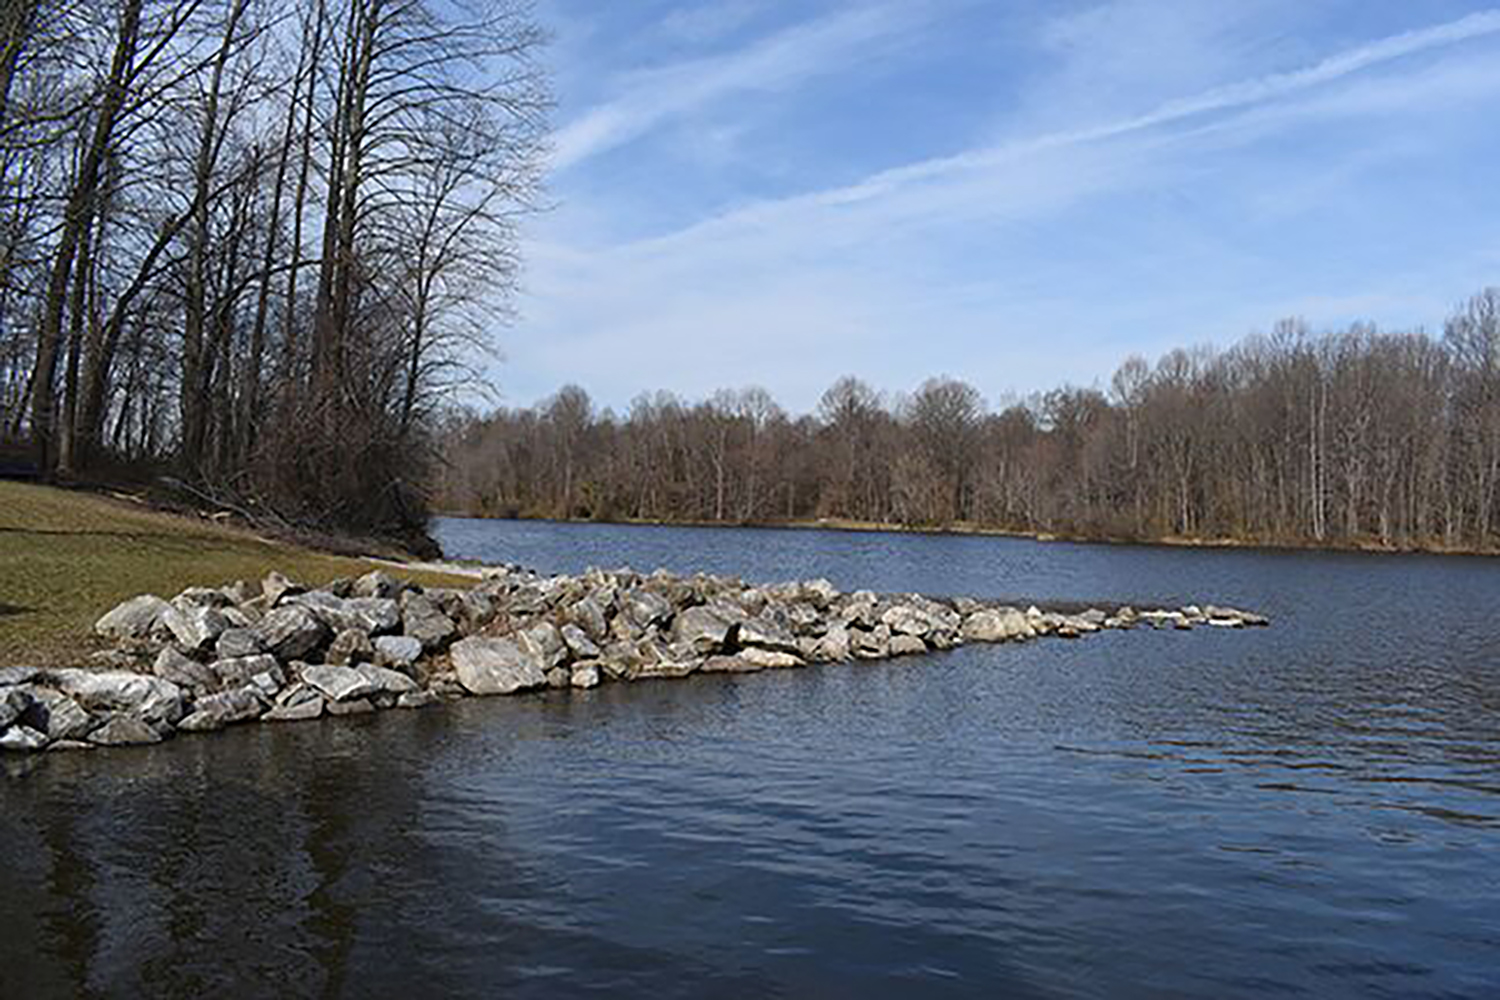
Use single-shot AF (AF-S), and snap away. Be sure to try different angles to see which best draws a viewer's eye into the scene, such as the rock jetty in the image below.
MORE: 12 Tips for Taking Amazing Landscape Photos
How do I transfer images to my mobile device?
First, download the Nikon SnapBridge app for iOS or Android. Then, go to Menu > Setup Menu > Connect to smart device (third page of the Setup menu), and follow the directions on the camera screen and on the SnapBridge app. The process is pretty straightforward, but if you run into issues, check out the Help section and the tutorials within the app.
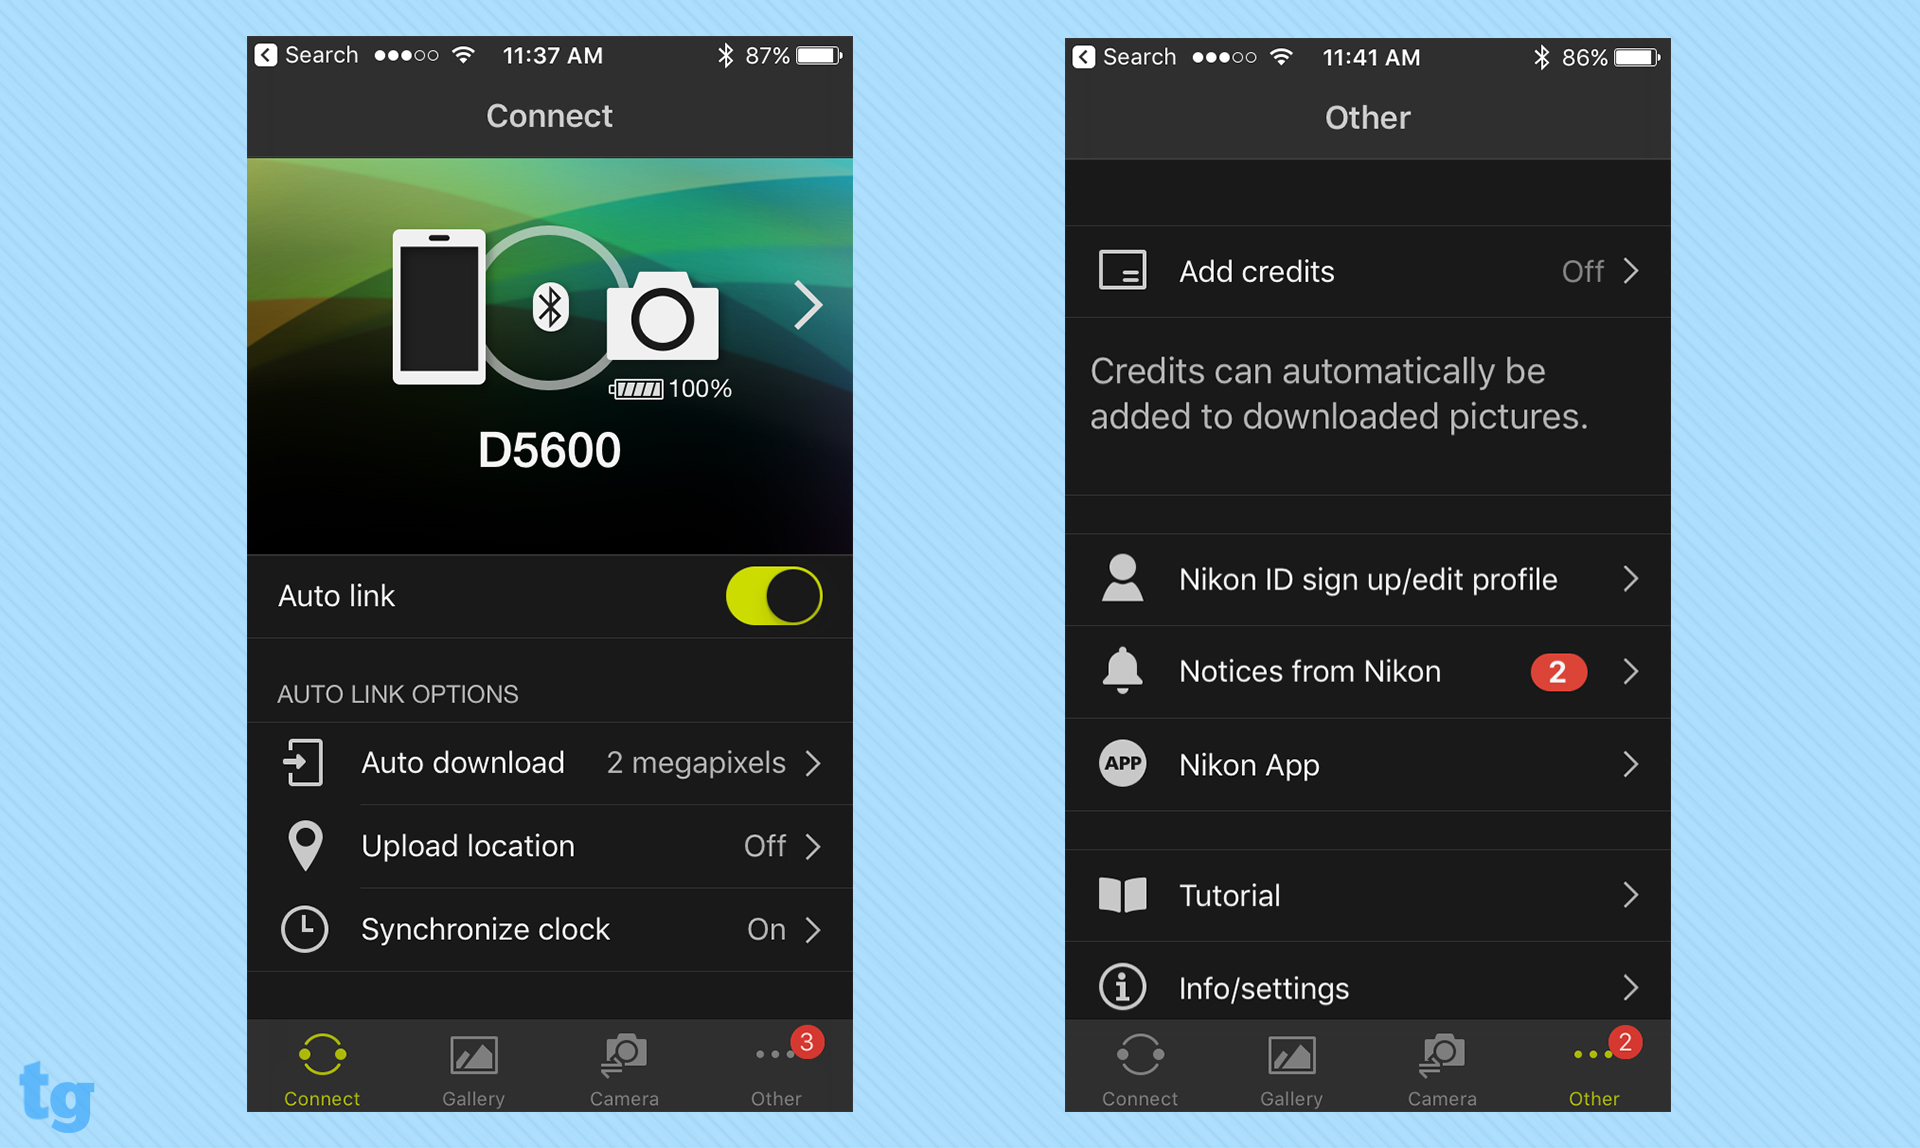
Once the two devices are paired, you can view images on your smart device, transfer them from your camera to another device and set it up so that all images you shoot on the D5600 are automatically uploaded to your phone or tablet, even when the camera is off. (Just know that this will affect the battery life of both your phone and your camera.)) The app also allows you to add comments to images, and you can even trigger the camera remotely via the app — which is great for shooting long exposures, for example.
Theano Nikitas is a freelance journalist and photographer. She's been writing about photography for more than 20 years, contributing countless reviews of cameras, lenses, accessories and software packages to Tom's Guide. Her work has also appeared in dozens of other magazines and websites, including CNET, DPreview, PopPhoto, Professional Photographer and Shutterbug.
