12 Tips for Taking Gorgeous Nighttime Photos
Start capturing the unique beauty of the world after dark with our 12 tips for nightscape photography.
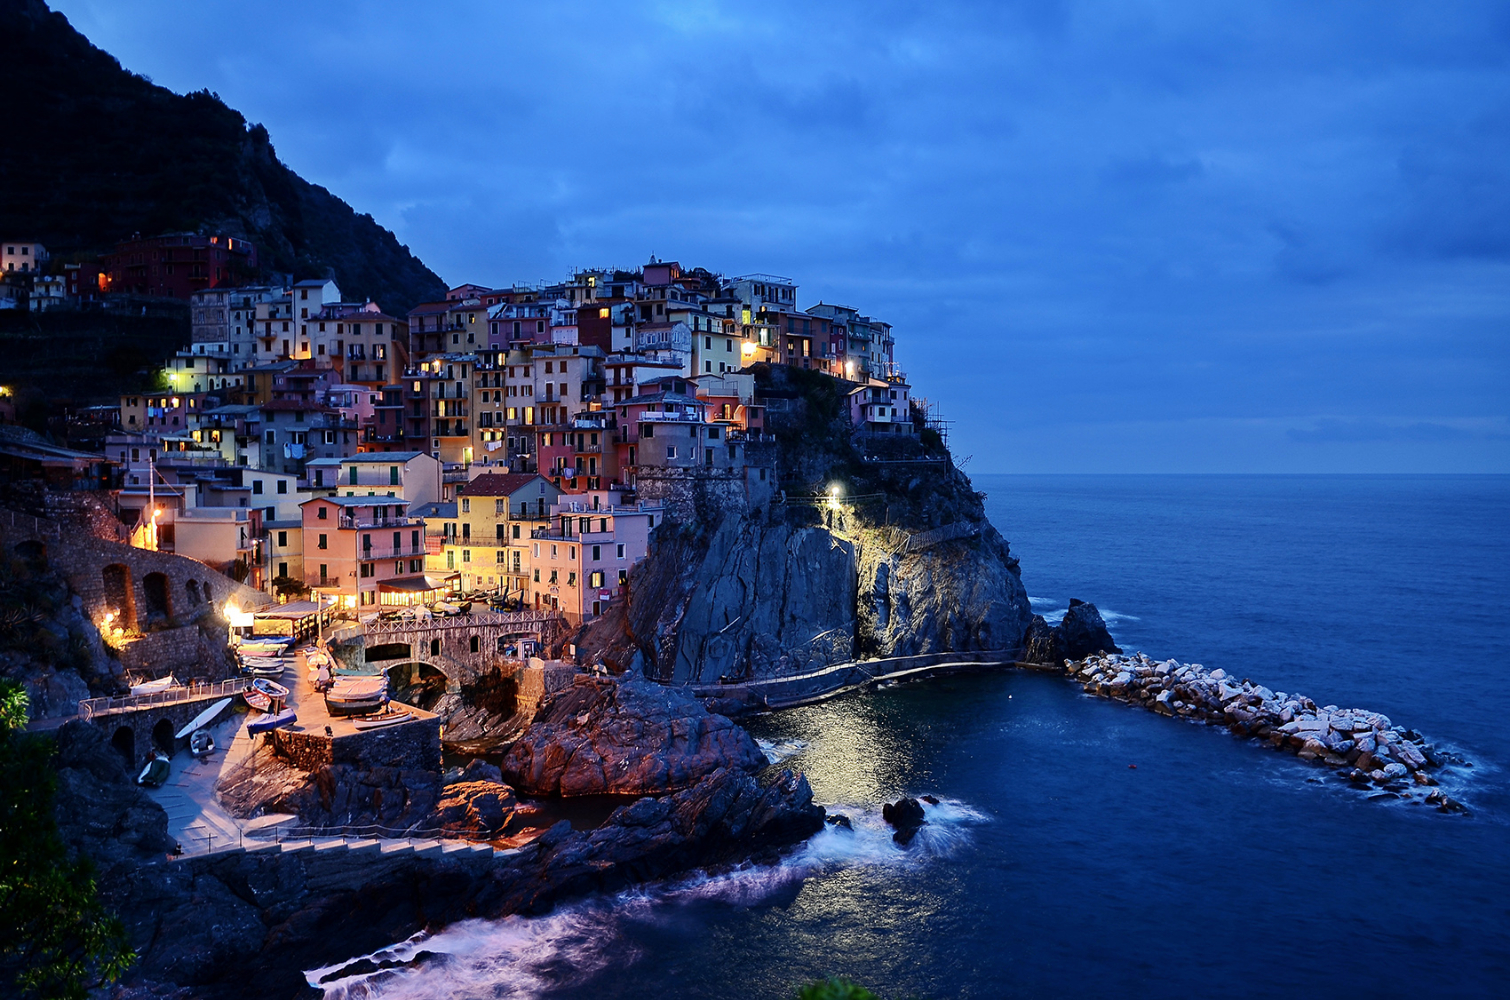
Take Beautiful, One-of-a-Kind Night Shots
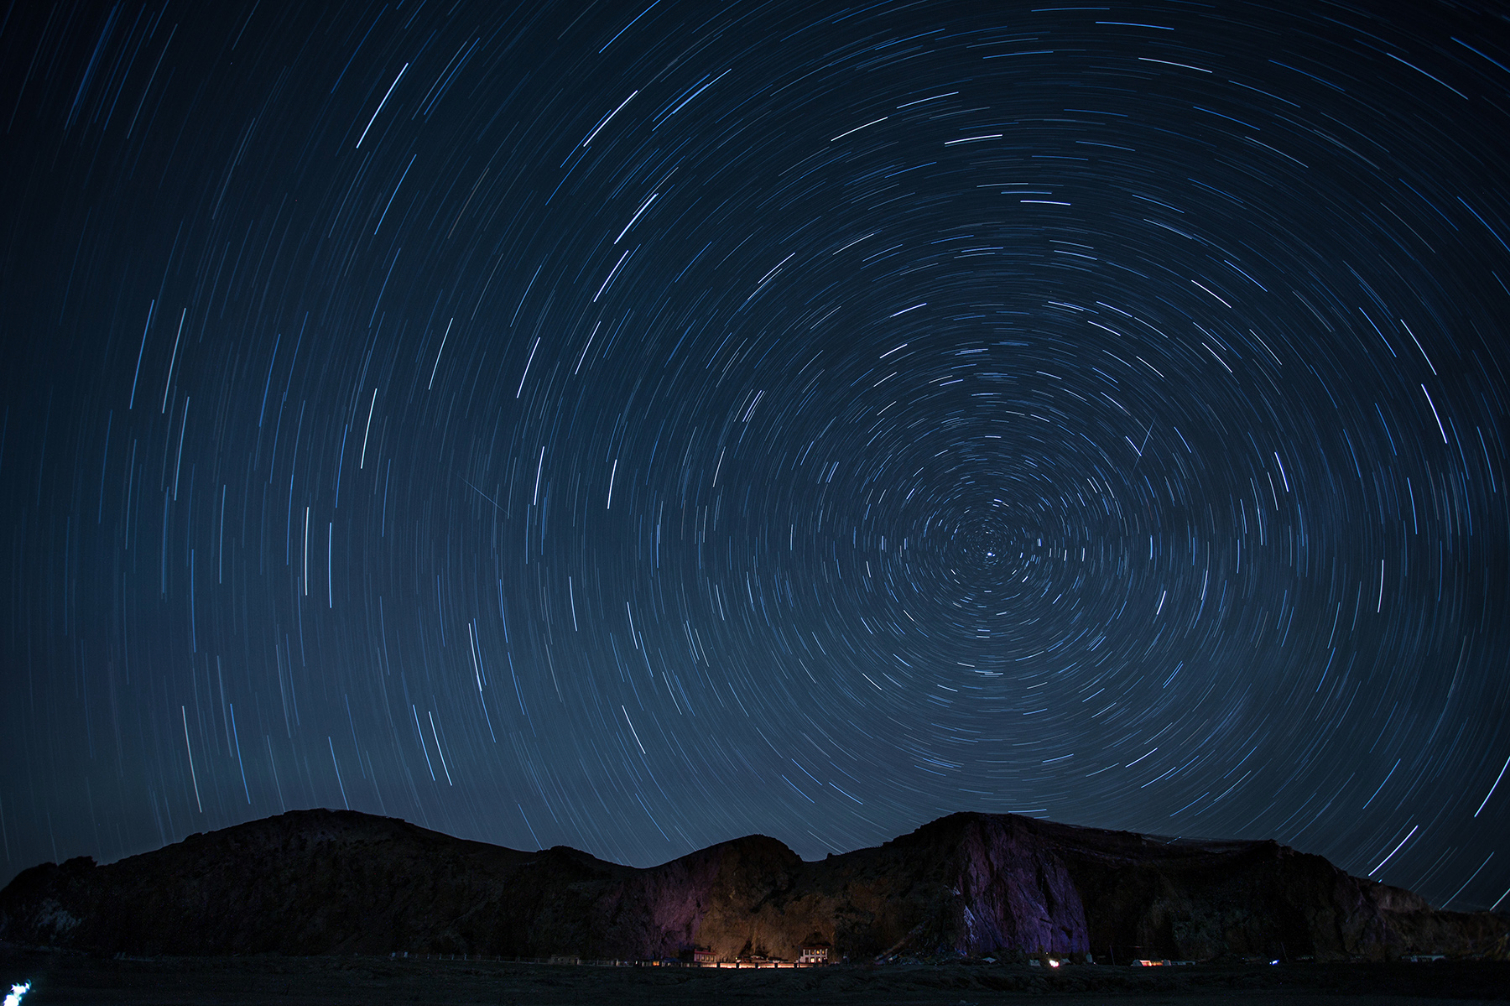
Taking pictures at night can be an intimidating prospect, but there's no need to pack up your camera when the sun goes down. Follow our 12 tips to learn how to shoot dazzling nightscapes like a pro.
Credit: Pexels.com
Bring a tripod.
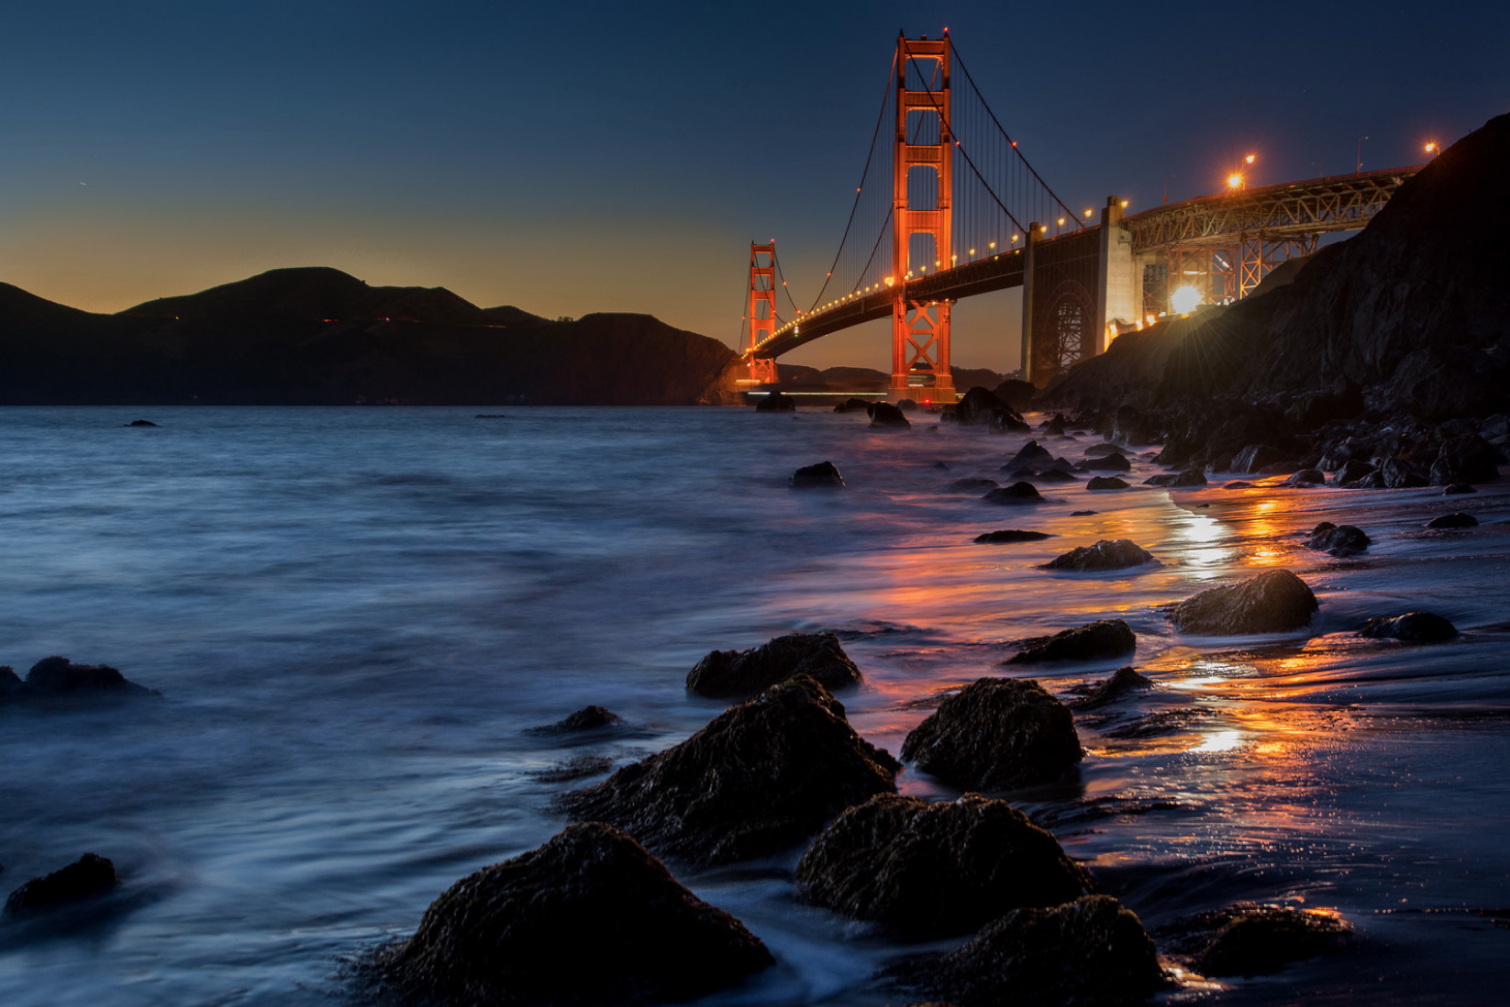
A tripod is a must for night photography because low-light scenes require slow shutter speeds. As a general rule, any shutter speed below 1/60 of a second can produce a blurry image if you're holding the camera in your hands. Most nightscapes are shot at between 1/10 of a second and 3 minutes, depending on whether you're shooting a bright city scene or a starry sky. For maximum versatility, we recommend a lightweight tripod with a ball head, such as the Zomei Q555, which is portable yet sturdy enough to support a DSLR camera. It's also good practice to use a cable release, a wireless remote or your camera's self-timer to avoid vibrations caused by pressing the shutter.
If you plan to shoot with a smartphone, be sure to pick up a universal adapter that attaches to your tripod. Most smartphones require an additional app to shoot long exposures, such as Camera FV-5 for Android or Slow Shutter Cam for the iPhone.
MORE: Best iPhone Camera Apps
Credit: Howard Wilson
Shoot in RAW.
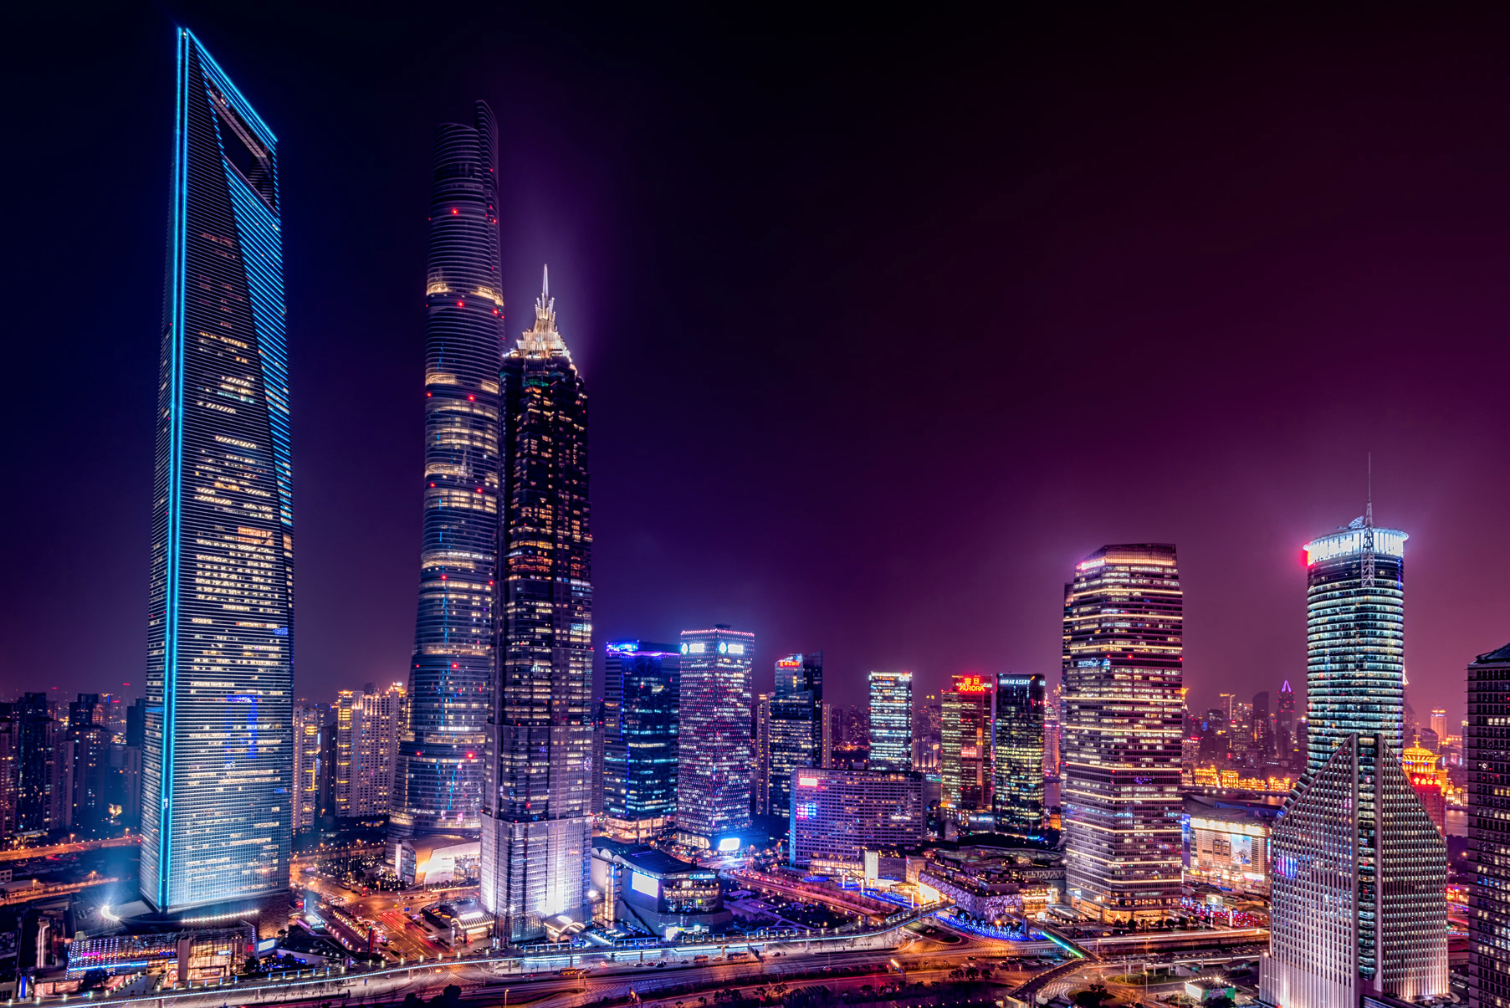
Ideally, you should shoot nightscapes in RAW format using a DSLR or mirrorless camera. Not only will your images be higher-quality, but you can easily enhance RAW files to bring out more detail in the highlights and shadows using software such as Adobe Camera Raw (built into Photoshop) or Lightroom. This is especially important for nightscapes, because they tend to have deep shadows and blown-out points of light.
Sign up to get the BEST of Tom's Guide direct to your inbox.
Get instant access to breaking news, the hottest reviews, great deals and helpful tips.
MORE: Best Photo Editing Software and Apps
Credit: Pexels.com
Adjust your white balance.
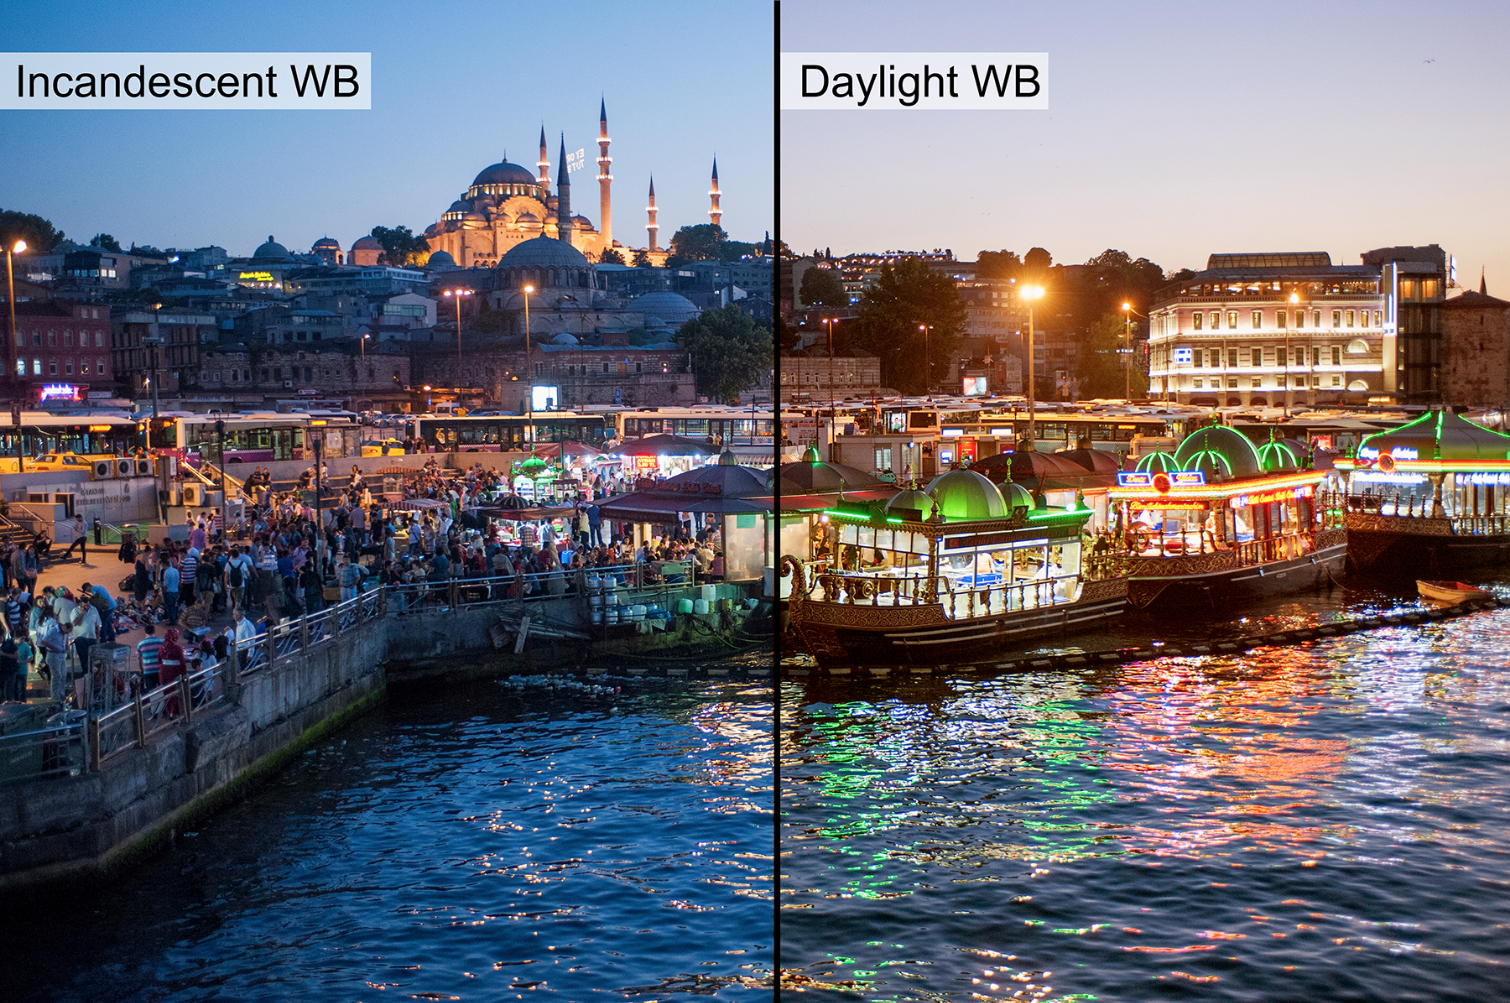
The white balance you choose — or the one your camera chooses, if you're using auto white balance — can significantly change the look of your nightscape. City scenes usually contain a mix of warm and cool lighting from sources such as headlights, neon signs and lampposts. Take the time to manually cycle through your white-balance settings to see which option best suits the scene you're photographing.
Credit: Lacey Johnson
Experiment with exposure times.
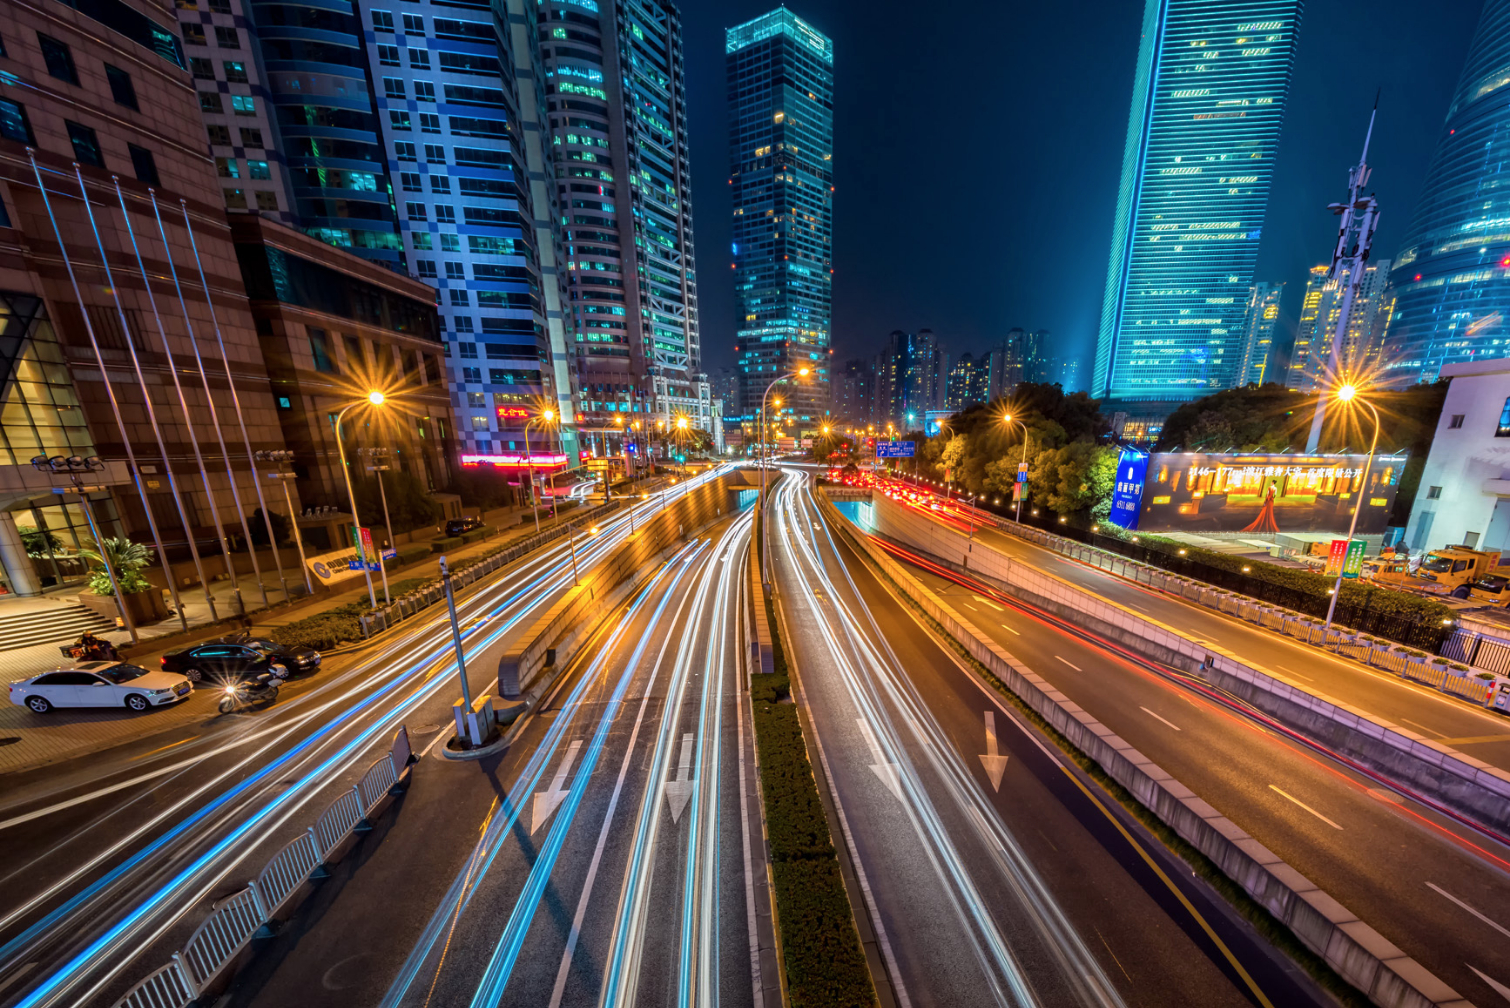
The exposure time you choose can dramatically change the look of your nightscape. When you set the shutter speed to 3 seconds or longer, lights from moving objects such as cars, boats or Ferris wheels will begin to form streaks and patterns. Even longer exposures can completely erase pedestrians and bystanders from your image (as long as they're in motion).
As you lengthen your shutter speed, remember to turn up your f/stop accordingly (or set your camera to shutter priority mode) so that your exposure stays consistent. For exposures over 30 seconds, you may need to use your camera's "bulb" mode, which lets you keep the shutter open until you manually close it.
Credit: Pexels.com
Capture moving water.
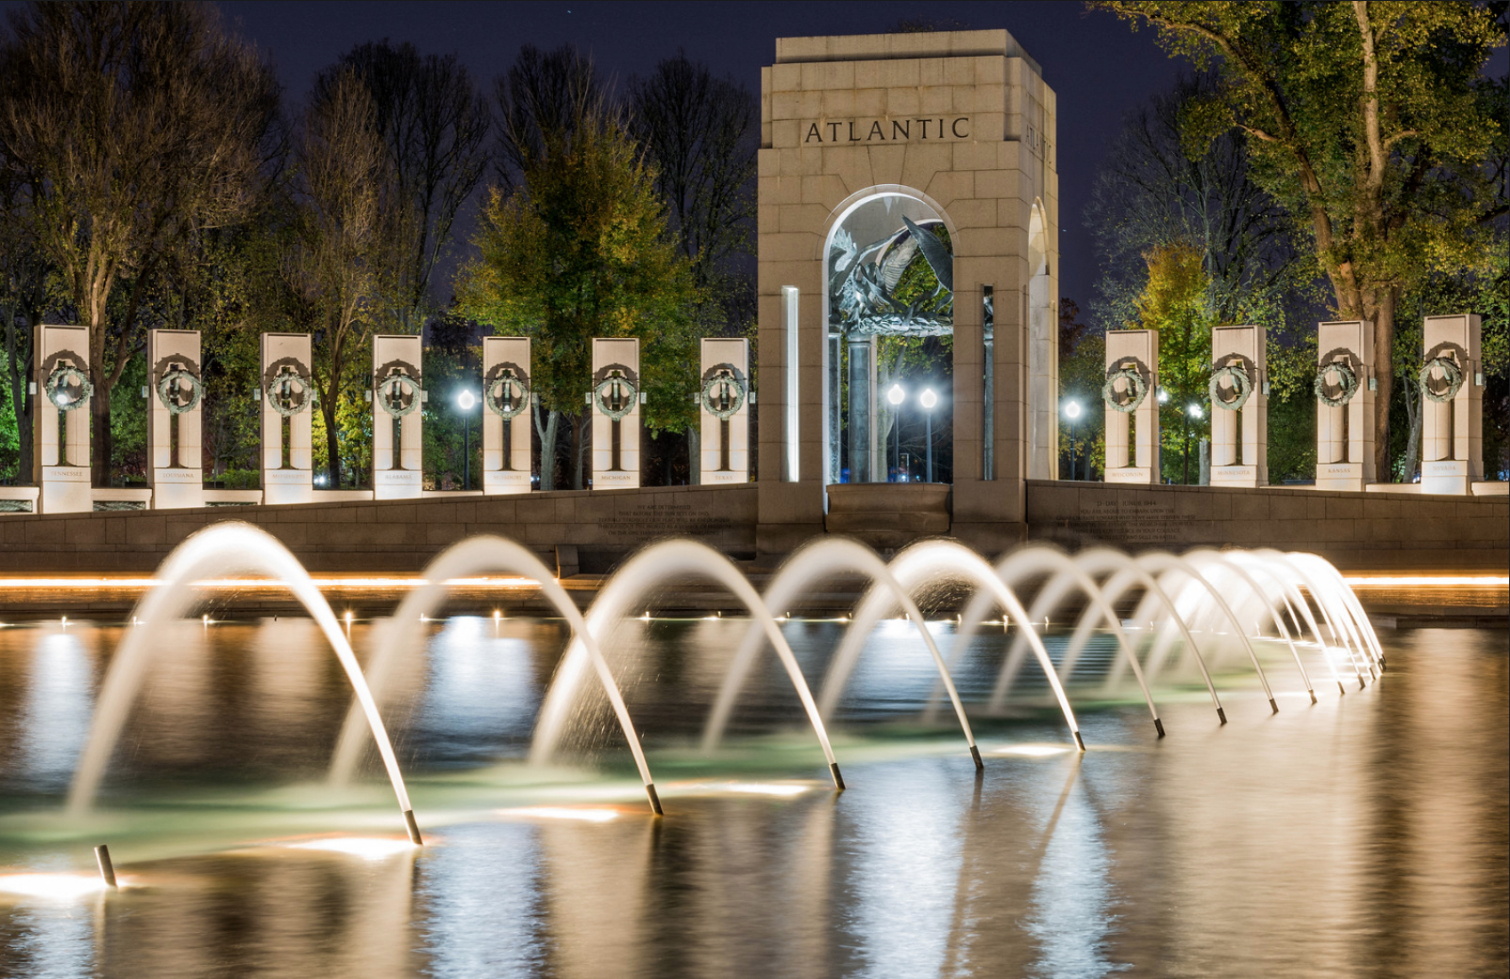
Long exposures work especially well in scenes with moving water because they transform the water's texture in different ways depending on how long you keep the shutter open. The resulting misty or glassy effect is almost always more attractive than what would result from freezing the water with a normal shutter speed. At night, you can also capture colorful lights reflecting off of the water's surface.
Credit: Howard Wilson
Head into nature.
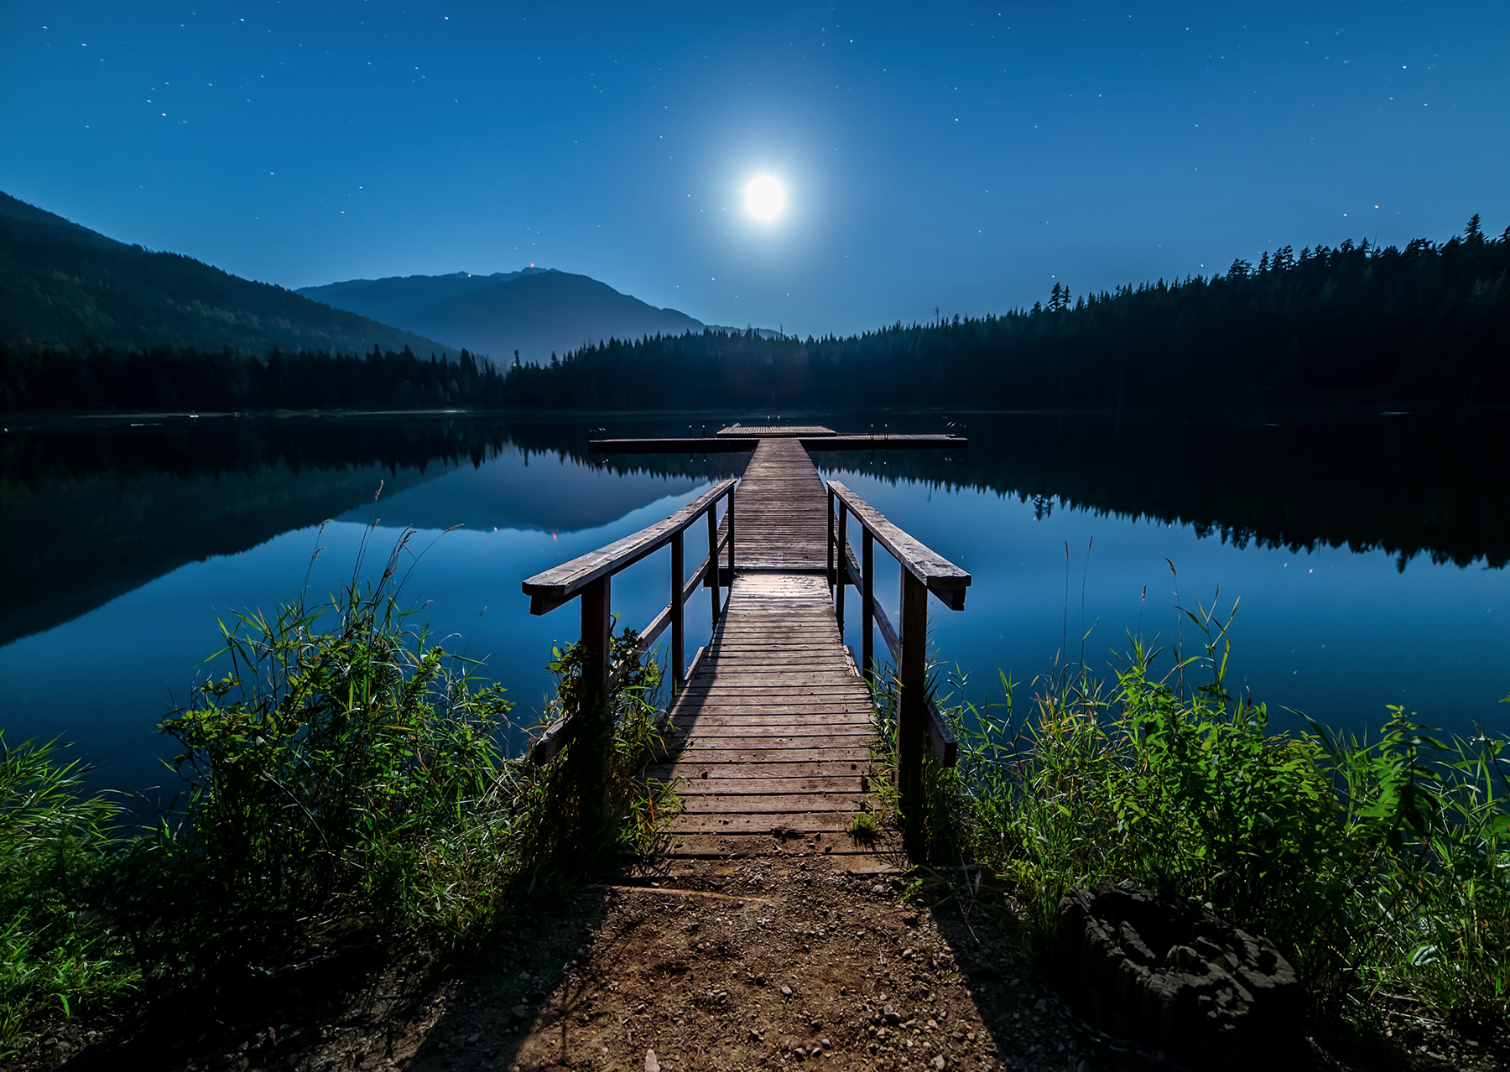
Most nightscapes feature illuminated cities, but natural scenes are also great for nighttime photography. Capturing starry skies and soft, moonlit landscapes is easier in remote areas because there is little light pollution. Most cameras have a hard time focusing in such low light, so you may need to focus manually and take test shots to ensure your images are coming out sharp.
Credit: Pexels.com
Light the foreground.
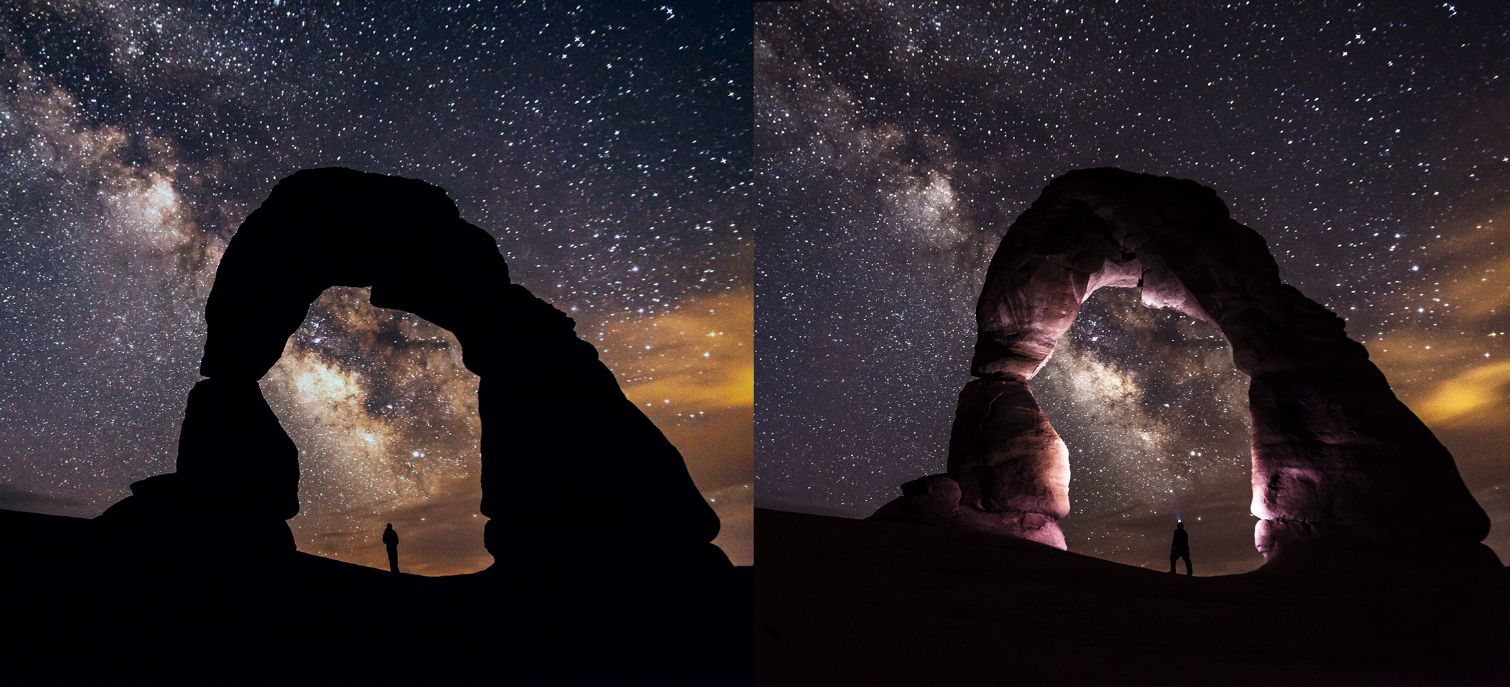
Most nightscapes feature illuminated cities, but natural scenes are also great for nighttime photography. Capturing starry skies and soft, moonlit landscapes is easier in remote areas because there is little light pollution. Most cameras have a hard time focusing in such low light, so you may need to focus manually and take test shots to ensure your images are coming out sharp.
Credit: Pexels.com
Shoot the night sky.
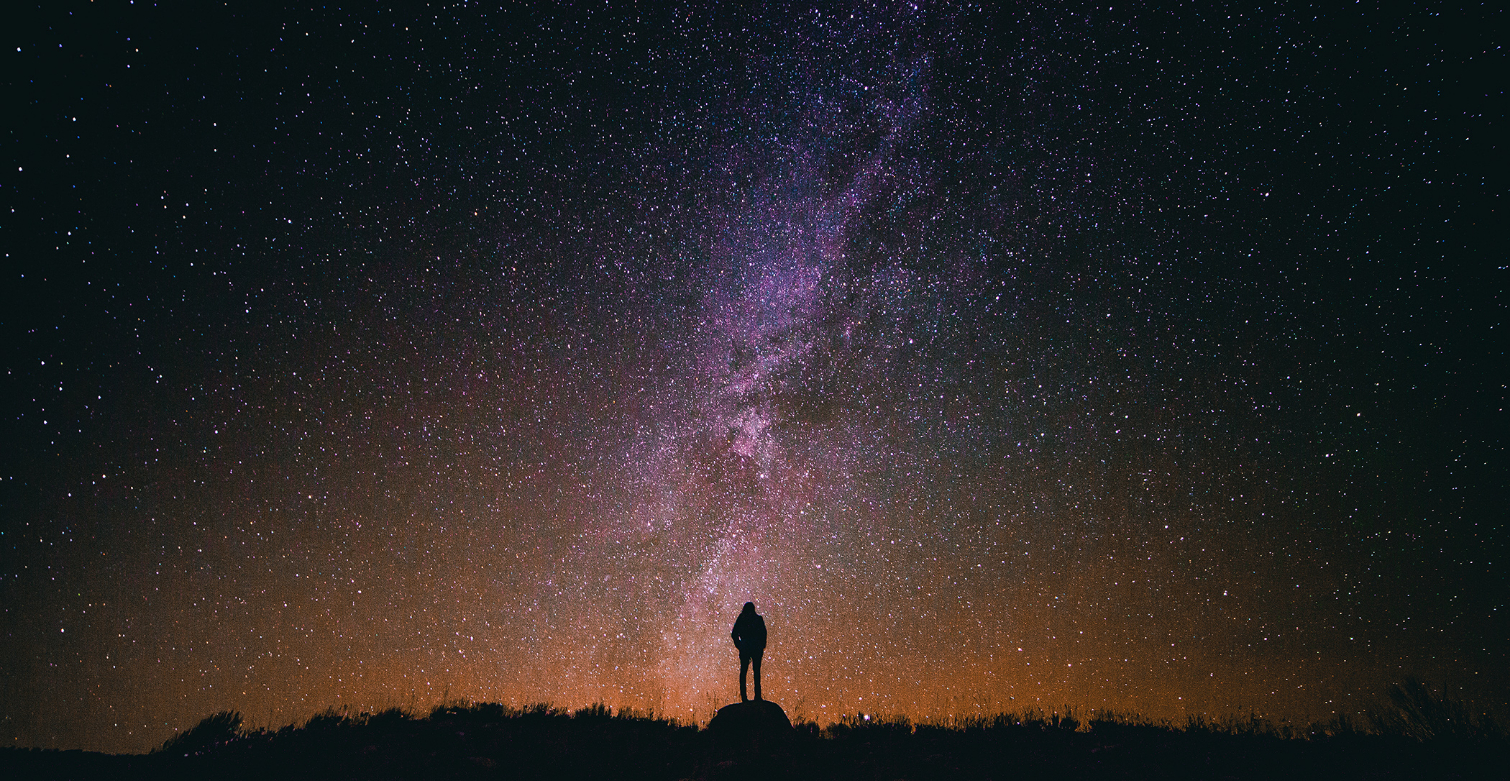
Most nightscapes feature illuminated cities, but natural scenes are also great for nighttime photography. Capturing starry skies and soft, moonlit landscapes is easier in remote areas because there is little light pollution. Most cameras have a hard time focusing in such low light, so you may need to focus manually and take test shots to ensure your images are coming out sharp.
Credit: Pexels.com
Use a low ISO.
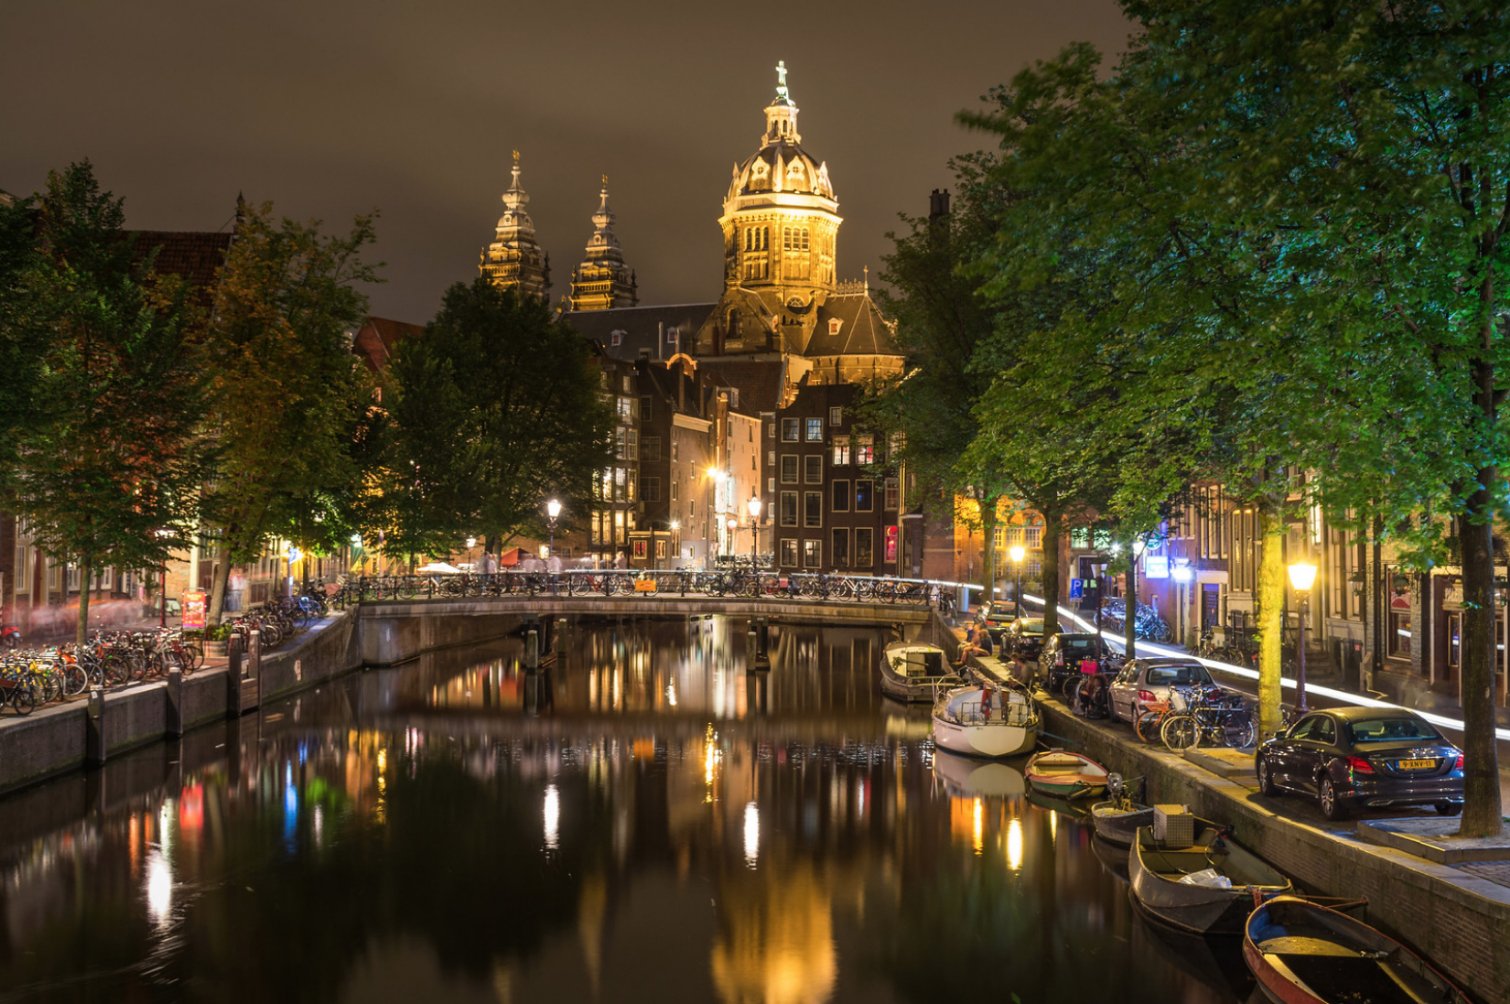
Unless you need a shutter speed that's fast enough to "freeze" stars, you should avoid using a high ISO because it can create noise and graininess in the shadows of your image. For optimal clarity, keep your ISO setting under 400 when shooting nightscapes.
Credit: Howard Wilson
Create starbursts.
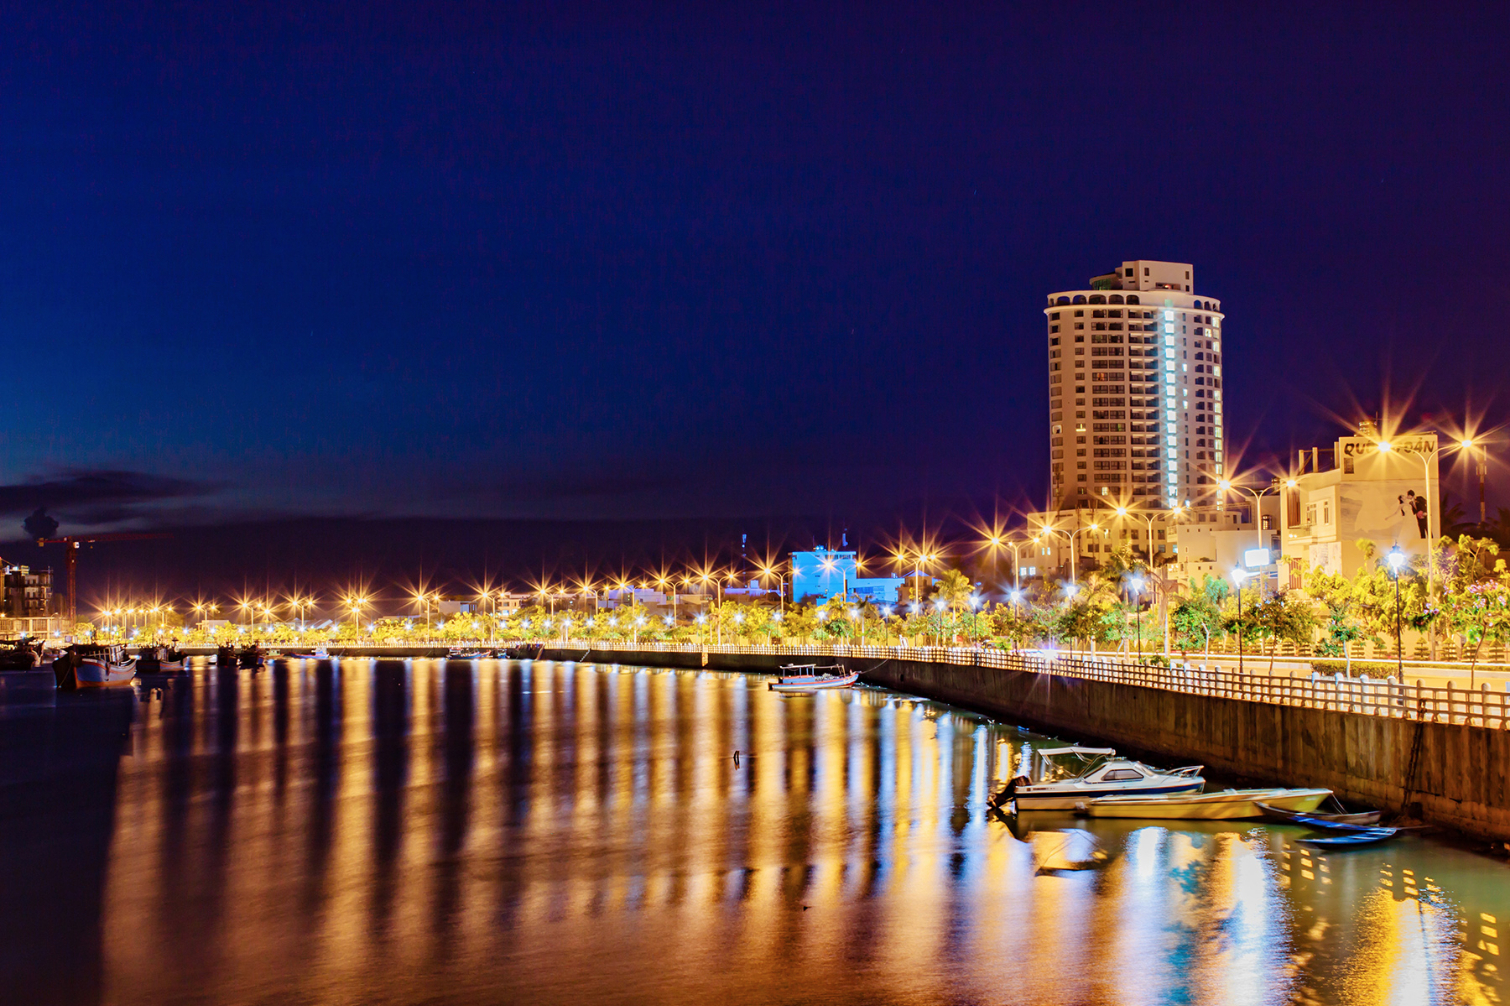
Cityscapes are often filled with blown-out points of light from streetlamps and similar sources. One way to make the bright blobs more attractive is by turning them into starbursts. To achieve this effect, simply set your aperture above f/11. If you need to shoot at a lower f-stop, you can also attach a starburst filter to your lens.
Credit: Pexels.com
Try light painting.
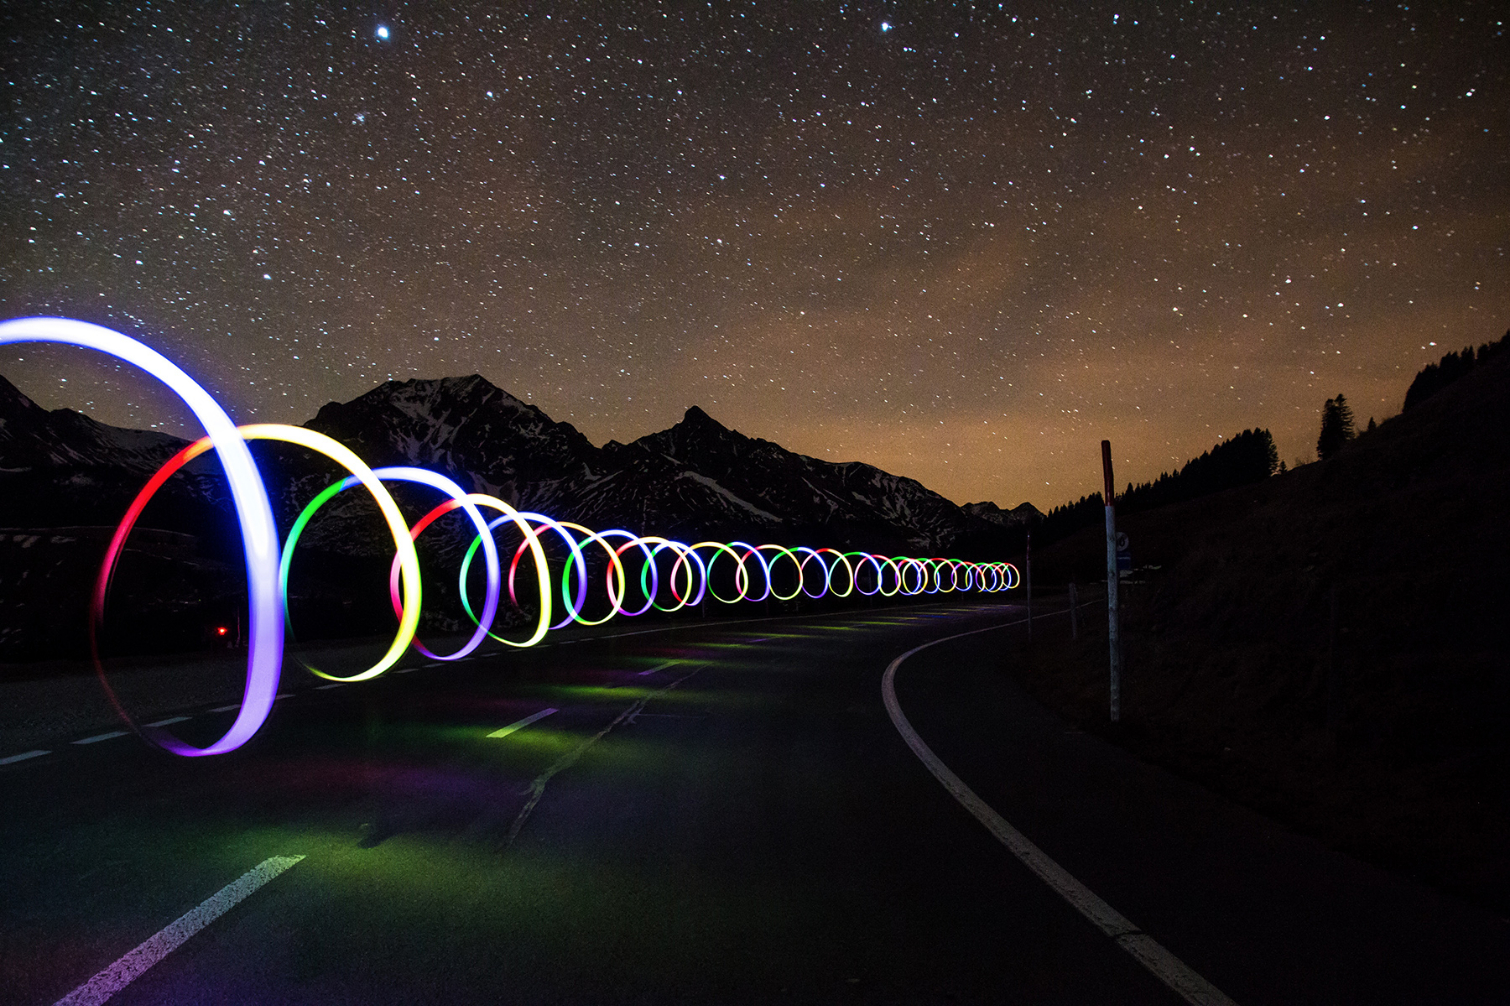
Light painting is a fun and easy way to spice up your nightscapes. You can either illuminate specific objects (see tip No. 7) or make your own creative light trails by running through your scene with a flashlight during a long exposure. To ensure you stay invisible, keep moving, and try not to illuminate yourself with the flashlight. You can also tape photography gels over your light for different color effects or invest in light painting brushes.
Credit: Pexels.com
Take advantage of unusual weather.
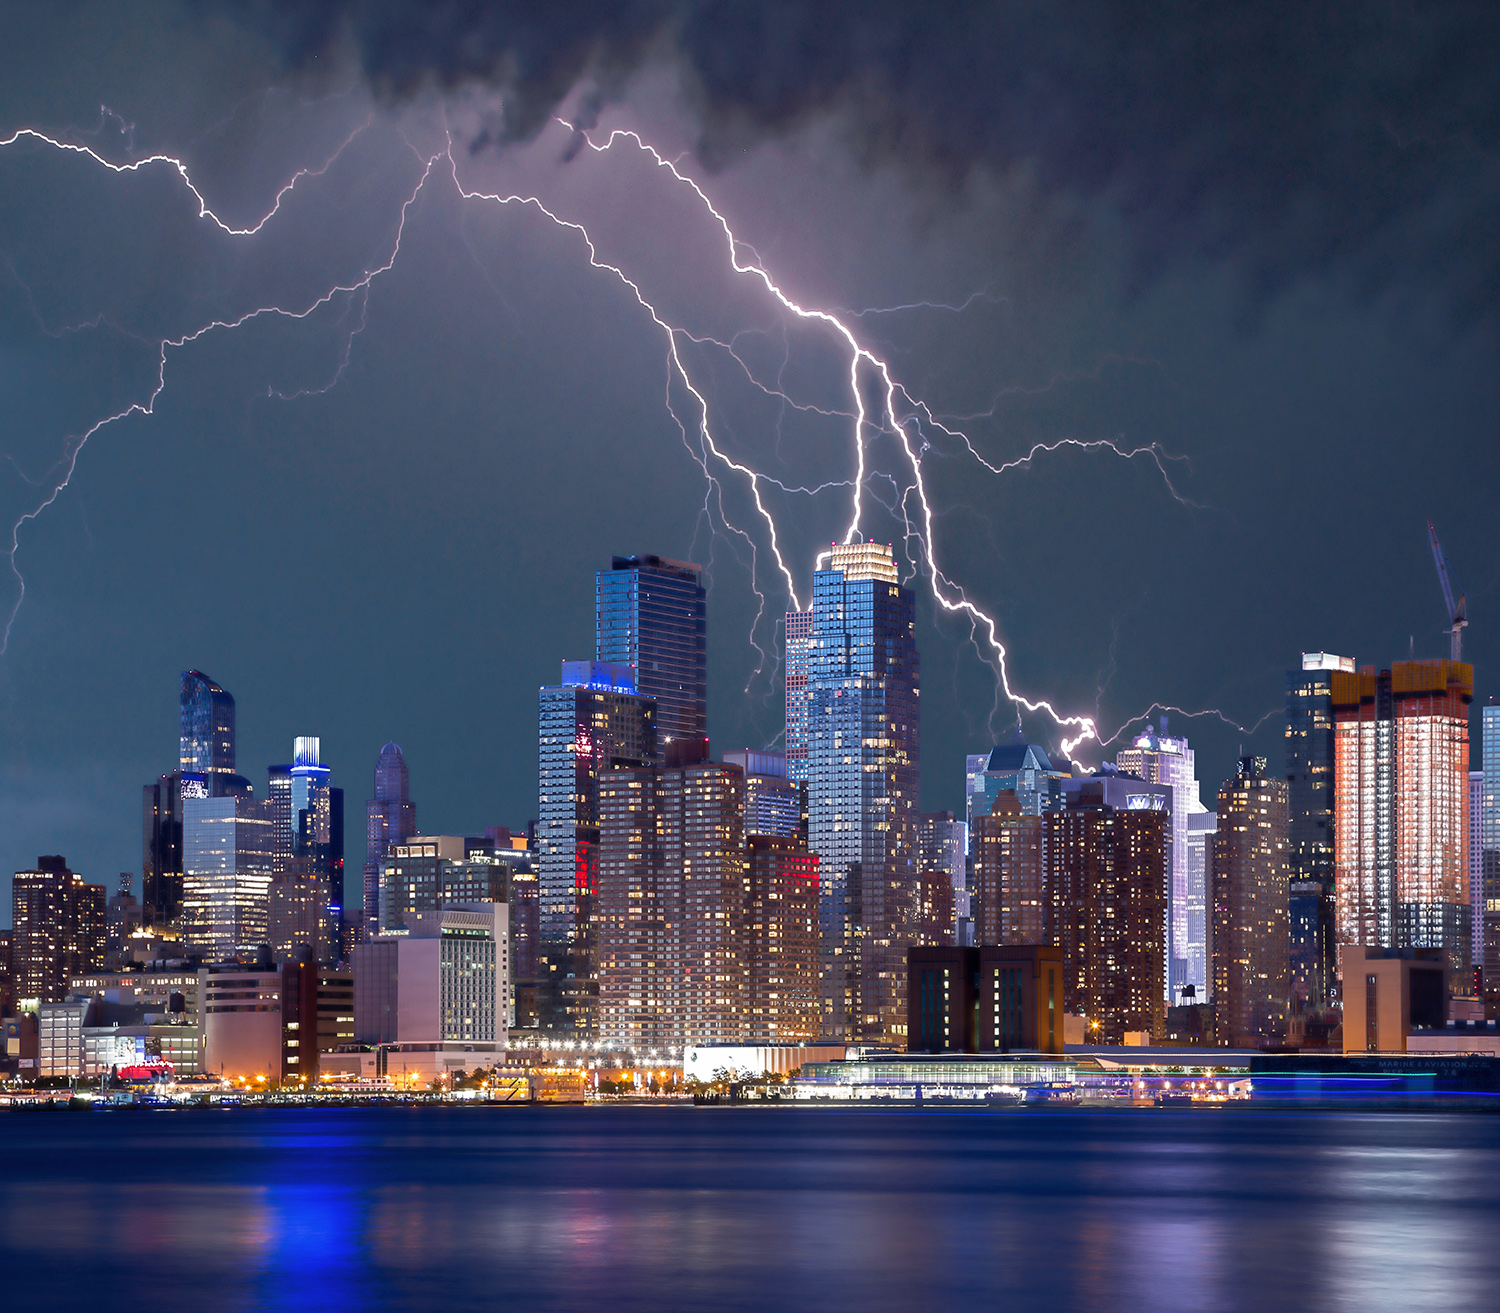
Fog and lightning can make for spectacular nightscapes. Depending on its density, fog can create dramatic light beams, add depth to your photo or help obscure distracting objects from view. Fog usually occurs shortly before sunrise, so you should plan to wake up early — or stay up very late — if you want to catch it.
Ideally, you should photograph lightning at a distance or from inside a building so you don't risk getting your camera wet or getting struck by lightning. Start by setting up your shot and exposing for the scene without lightning, and then keep taking long exposures as you wait for lightning to strike.
Credit: Pexels.com

Lacey is a freelance journalist and photographer based in Washington, D.C. with a specific interest in a variety of scientific topics including climate change, health, and renewable energy. She is also a keen photographer and her work has appeared in numerous national and international publications. Many of her articles on Tom's Guide are geared towards helping you take better pictures.
