Monster Hunter World Guide: 14 Essential Tips
From combat to crafting, here are 14 tips for getting started in Monster Hunter: World.
Monster Hunter: World just landed on PS4 and Xbox One in a big way, giving many people who are new to the series the opportunity to play one of Japan's most infamously complex action games for the first time. But while several changes have been made to Monster Hunter: World to help newcomers to the series, it can still be intimidating to jump in and grapple with the game's many systems.
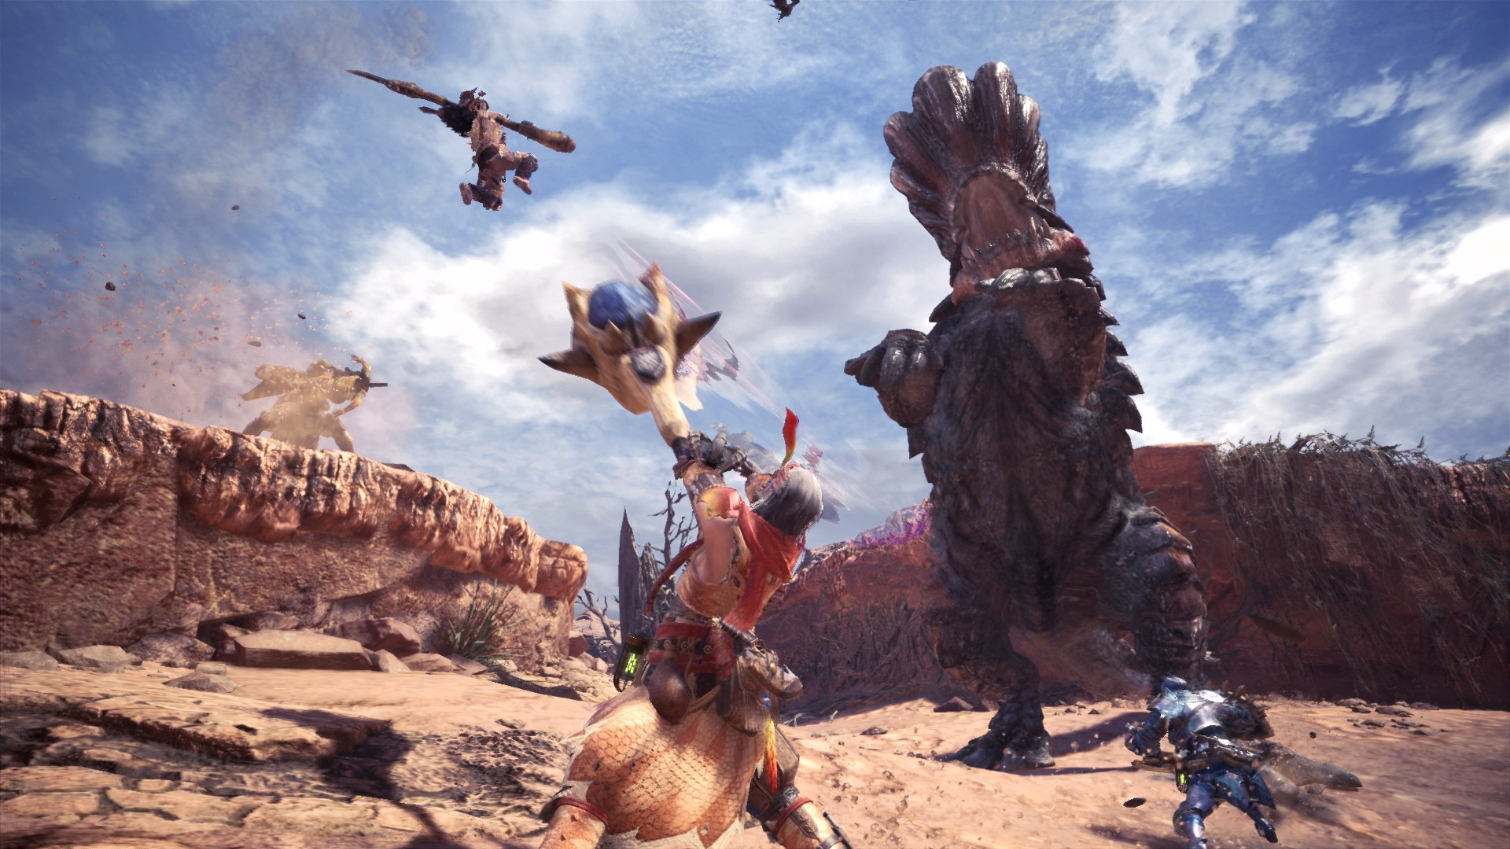
If you're on the fence or think the game is too complicated, the following tips are for you. The action and satisfaction in Monster Hunter: World are hard to beat, and the sheer number of ways to play is sure to appeal to most fans of action games, so long as they're able to scale the learning curve. So whether you plan to play with friends or just solo, here are some essential tips for starting your Monster Hunter: World journey.
1. Start with a simple weapon
You get your pick of all 14 weapons right out of the gate in Monster Hunter: World, but most of them revolve around managing resources and switching between different modes or stances. If that sounds overwhelming, note that the three simplest weapons for beginners are the hammer, the sword and shield, and the light bowgun.
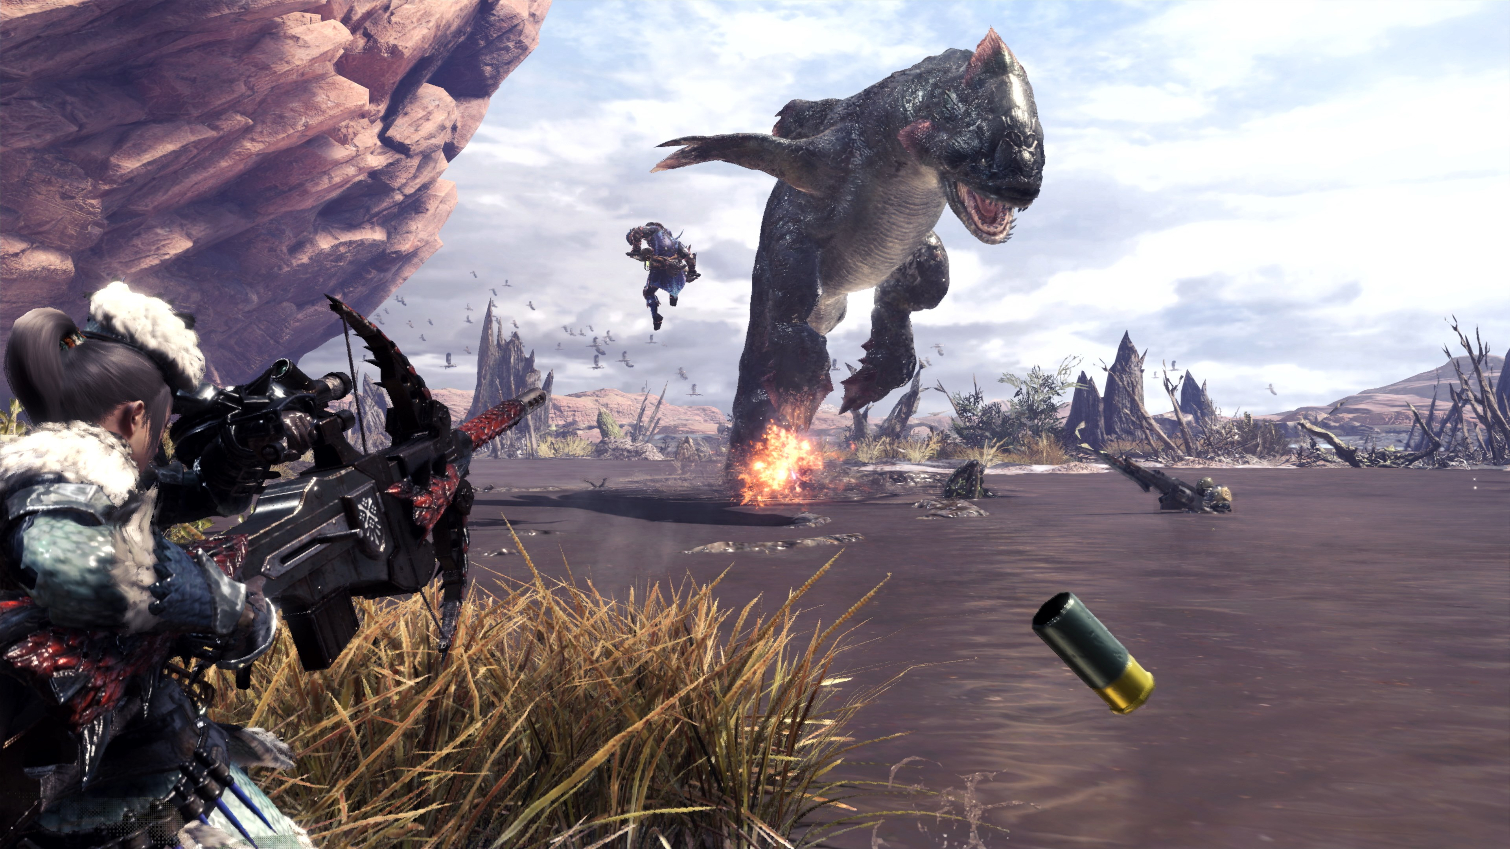
The hammer is a simple and damage-dealer weapon that lets you knock out monsters by hitting them in the head and provides quick attack speed and moderate dodge speed. The sword and shield is faster, with greater defense and more flexibility. You can stun enemies with a shield bash and follow up with simple combos and charge attacks. The light bowgun uses multiple ammo types, which are finite and require crafting to replenish, but otherwise simplifies the game into a third-person shooter.
2. Mind your stamina and sharpness
The two basics to keep in mind when playing with a beginner-friendly weapon like the hammer are your stamina meter and your sharpness meter. Unless you're using the light bowgun, these two meters are very important.
Stamina works much like it does in games like Dark Souls. Your attacking, rolling and sprinting abilities are tied to this meter. Sharpness decreases with each attack you land, and there's a lot of complexity to exactly how this meter works with each weapon. But at the beginning, all you need to worry about is keeping the meter from being fully drained. When it's low, find a moment to step away from whatever you're fighting, and press left or right on the D-pad to cycle through your items and find your whetstone.
3. Remember to eat
Eating at the canteen before going into the field can give bonuses to your max stamina and keep your meter from slowly depleting when you're out on a quest for a long time. Losing all of your hit points and fainting also reduces your max stamina, but this can easily be fixed by paying for a meal at the canteen at your campsite.
Sign up to get the BEST of Tom's Guide direct to your inbox.
Get instant access to breaking news, the hottest reviews, great deals and helpful tips.
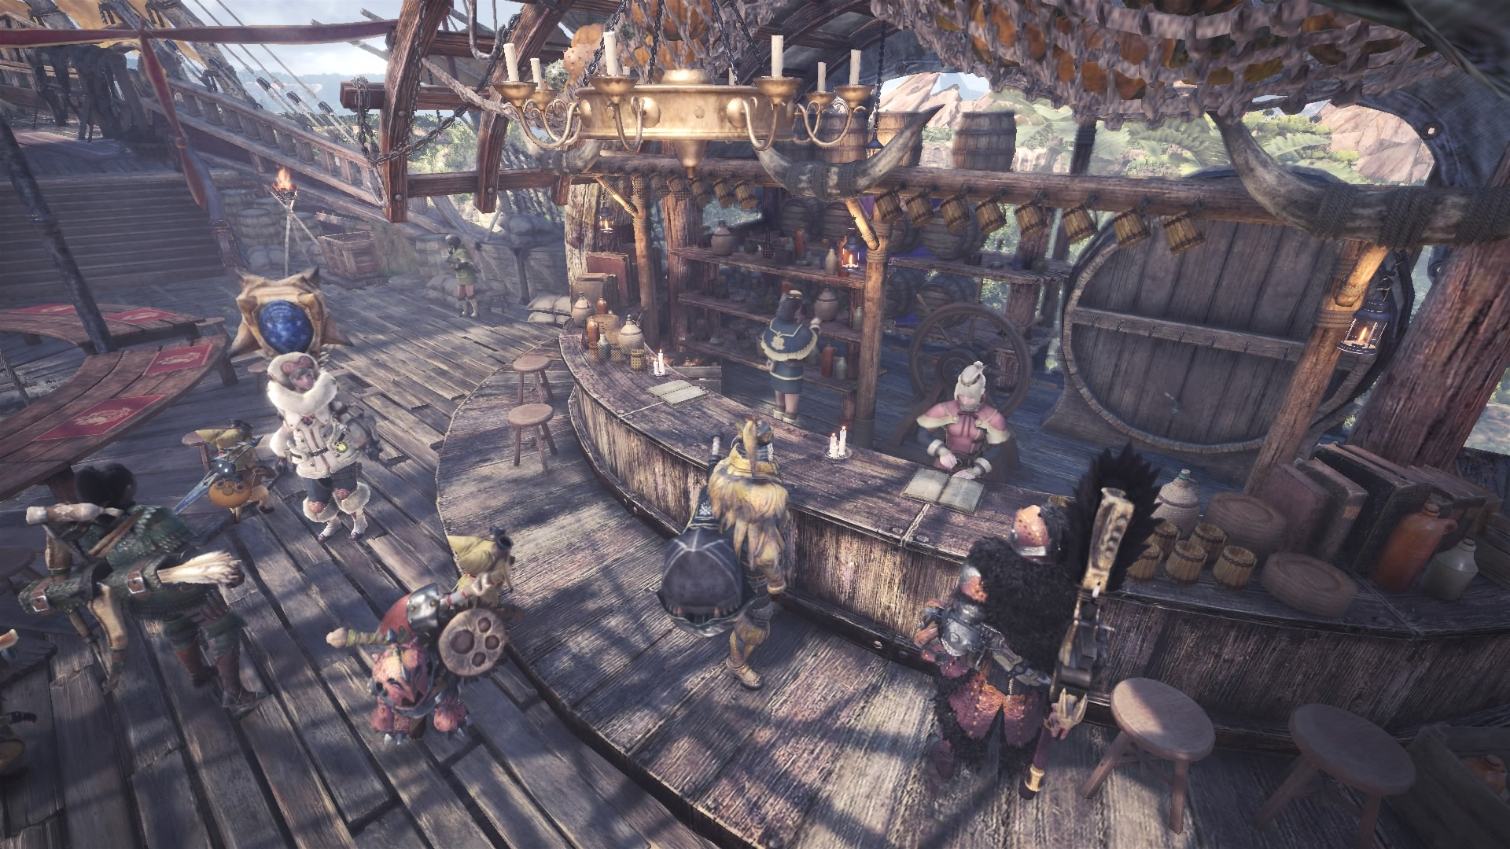
You can choose from several meal options, each of which provides different buffs to you and your Palico.The important thing is that they keep your stamina gauge at max, so don't worry too much about which meal you pick. Oven roasting is an option that lets your handler cook some food items you can use while running around. These food items can also replenish your stamina or give you other benefits. But you'll have to check back with the handler later, as roasting takes time.
4. Use the campsites
You always start at a campsite when you begin a quest or expedition, and you can unlock more as you progress. Much of the same prep work you do in town can also be done here, except for crafting new equipment, accepting new quests, turning in quests or buying items from vendors. Otherwise, you have access to a canteen just like the one in Astera, and your tent lets you change your load-out and manage your inventory just like the item boxes in town. There's also a supply box outside the tent that will contain a few items usually associated with your current quest.
Another important feature is the ability to travel quickly between campsites that you've found. The establishment of a campsite is usually tied to a quest, but once you have more than one, you can warp between them freely while out questing.
5. Keep your inventory pouch free of junk
You don't have unlimited inventory space in this game, so you'll have to choose which things you're going to bring. Your item box can hold a whole bunch of stuff, but your item pouch that you have access to while running around is fairly small. Don't let it get stuffed up with plant gatherings and other crafting ingredients. Plop those into your item box, or else you'll have to pass up stuff you find.
6. Focus on your objectives
The game attempts to show you its many different points of interest in the hub town of Astera, and a lot of those things can come at you pretty fast. Don't worry about remembering everything the game throws at you; just let things naturally become relevant as you discover you need them. You'll learn the difference between replaying an optional quest and going on a research investigation in due time. And don't worry about falling behind or being undergeared; Monster Hunter: World gives you ample opportunity to get the resources required to craft the gear you'll need. Just take things in at your own pace, and follow the primary missions the game sets up for you.
7. Use your Scoutflies
Scoutflies are one of the best ease-of-use additions to Monster Hunter. These are the little green, glowing flies you see when you're out of town and in the field. They do most of their work automatically, and their job is to guide you around the map. You'll come across monster tracks or droppings that, when examined, will pop up a meter showing that your Scoutflies have learned more about that monster's location.
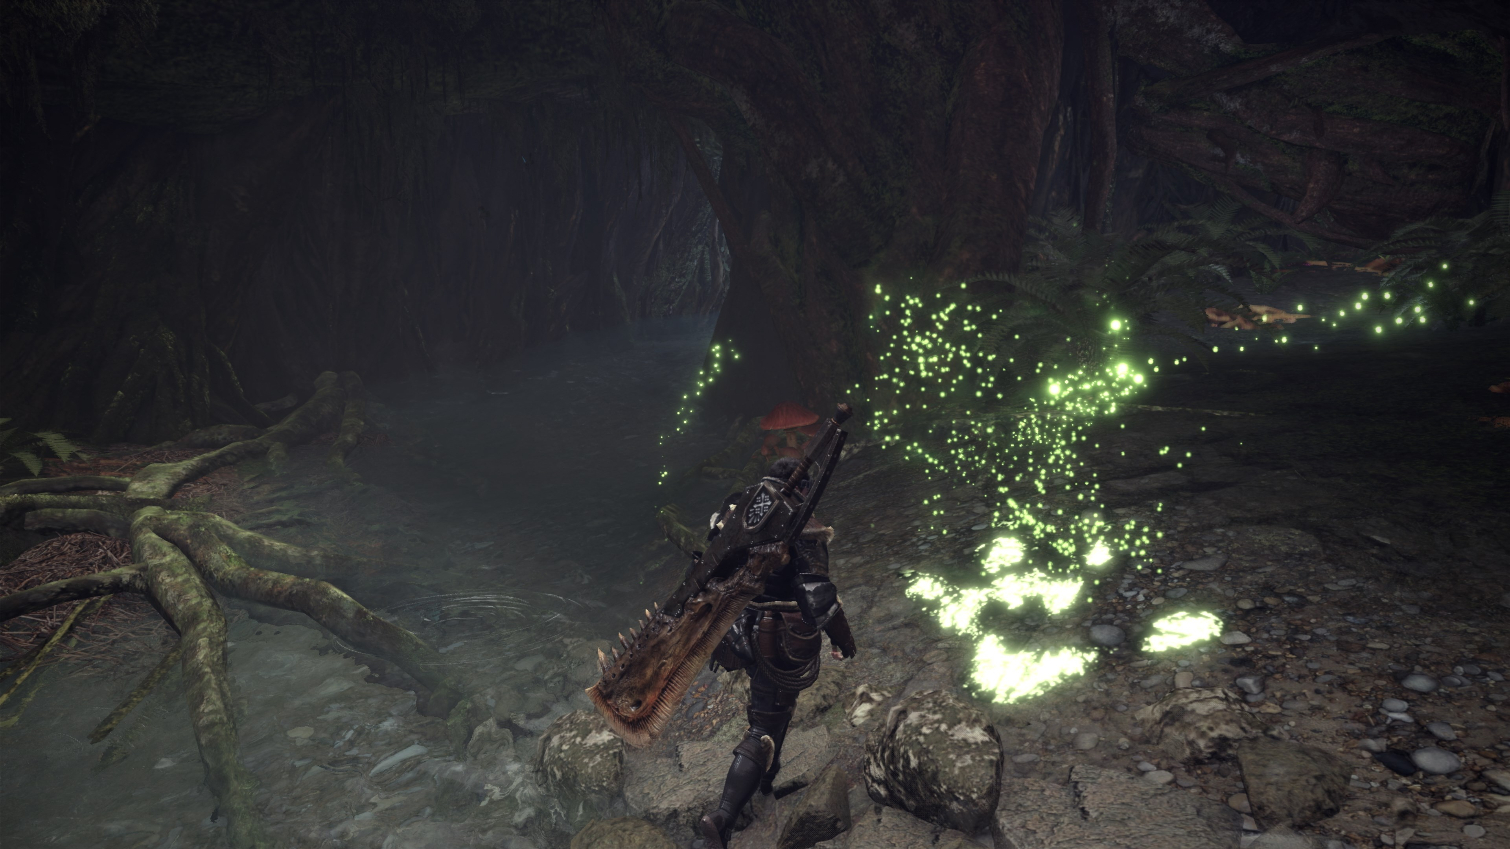
Keep finding footprints and leavings, and you'll eventually get led by the nose to the monster's exact location at all times. Scoutflies also highlight harvestable items on the map, like herbs, bugs and ore deposits, and they can be told to lead you to those. Or, you can open your map and press R3 over the appropriate icon. These icons permanently populate your map once you've run past them at least once, which makes our next tip extra important.
8. Don't forget to carve your monsters
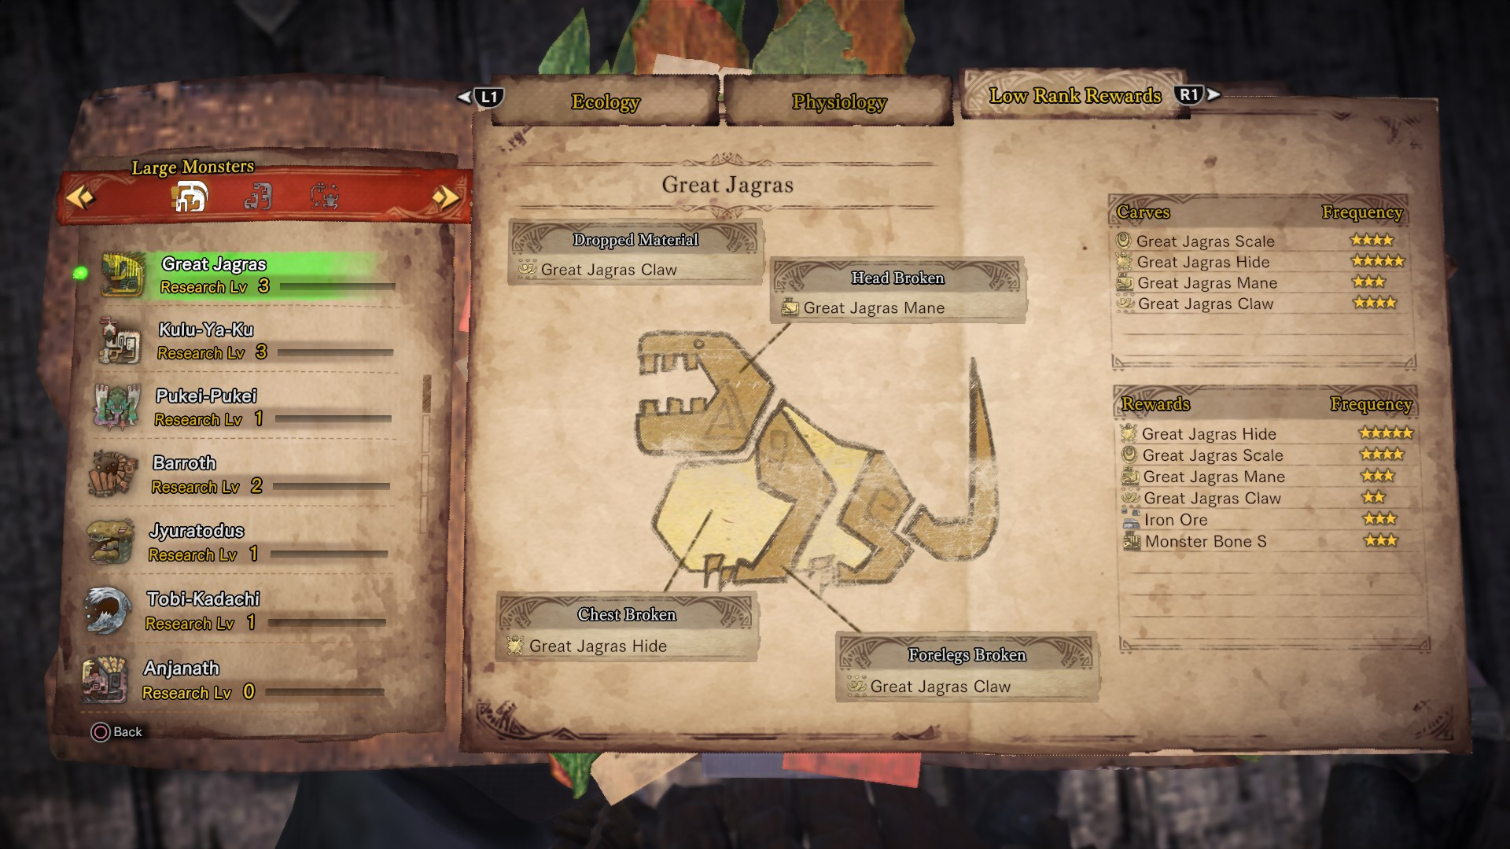
Once you've defeated the primary mark of a quest, you're given only 60 seconds before you're automatically whisked back to Astera. It's entirely possible to forget to carve the monster you just took time killing and miss out on valuable crafting materials. So when that countdown timer shows up, make sure you walk up to the body and press circle or B to carve off your well-earned rewards. Big monsters usually yield more than one item, so hold down that button until you stop getting spoils.
9. Upgrade your gear
This one might seem simple, but the workshop in Astera is easily the most important location in town. Here, you can upgrade your weapons and armor, including the armor of your Palico companion, and make modifications to certain weapons. You generally won't be buying new equipment in this game; you'll be crafting and upgrading them using parts you carve off of slain monsters. The stats of your equipment include a lot of information, but for now, just focus on your weapon's attack rating and your armor's primary defense rating. The rest isn't too important until you begin fighting much tougher enemies.
10. Take time to explore
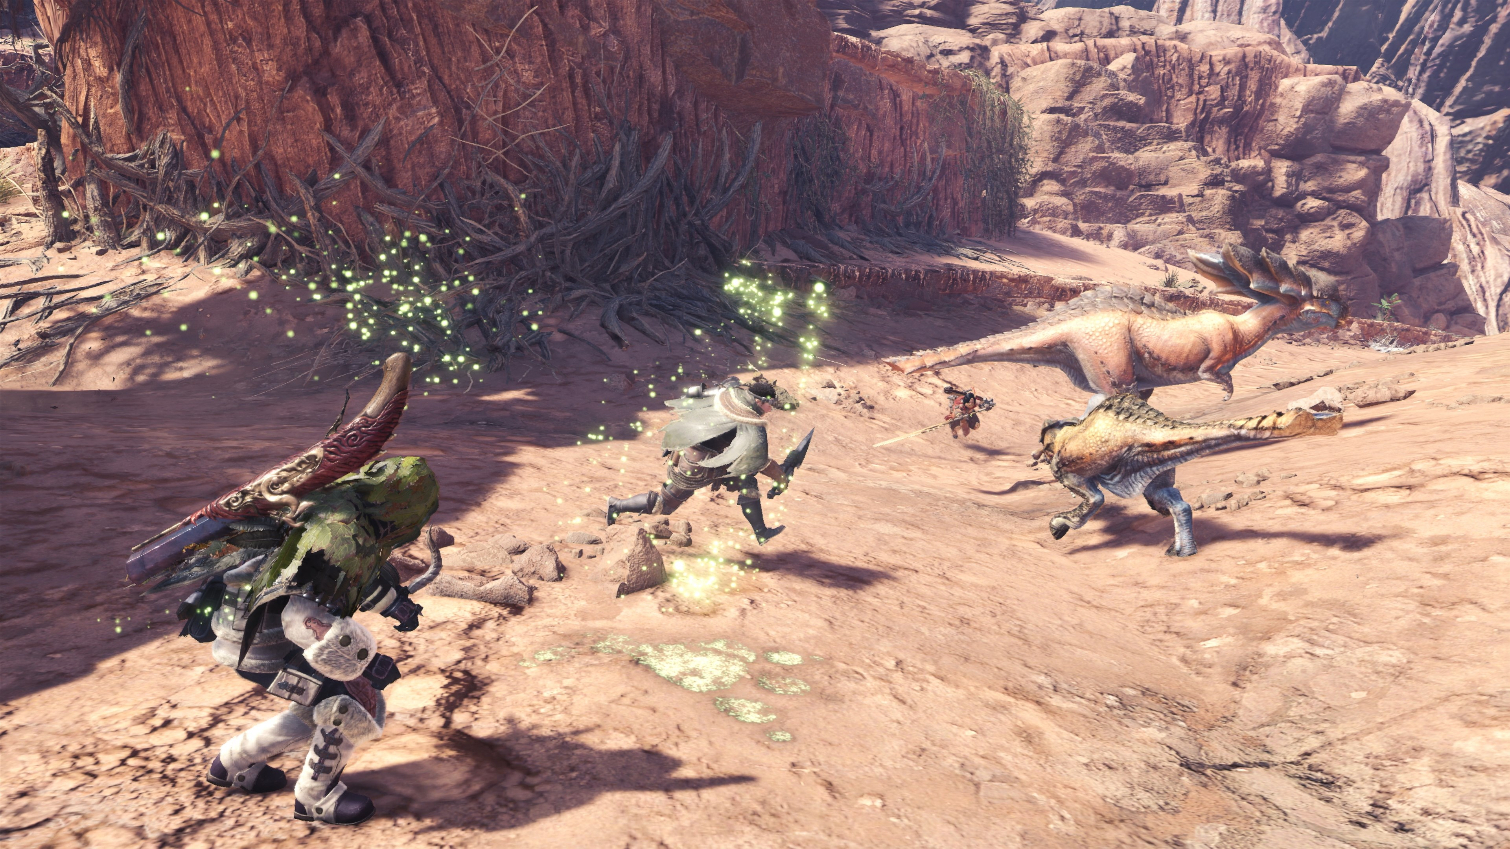
Each main hunting quest has a time limit, as well as a limit to how many times you can faint before you fail the quest. But if you just walk out of the front gates of Astera, you can enter a free roaming mode called Expedition. Expeditions have some other uses, but for now, they're best used for getting comfortable with the map and finding a bunch of resource locations with your Scoutflies. With no pressure and no time limits to keep track of, expeditions are ideal for getting familiar with an area and filling out your map with as many collectible resource locations as possible.
11. Earn money and research points
In Monster Hunter: World, there are two forms of currency used to buy things or pay for services: zenny and research points. Zenny is usually earned by completing quests and selling unneeded items or equipment. Research points are earned by doing all sorts of incidental things in the field, like collecting animals, tracking monsters, harvesting certain items and slaying monsters for the first time. You'll earn both forms of currency at a good pace if you just follow the main quest line, so don't worry too much about how much you have. Things don't start getting expensive until later on, when you'll need multiple sets of high-level gear.
12. Use the slinger
You always have a small rock slinger on your wrist that can be fitted with normal rocks or other throwables found in the field. Unless you're using a ranged weapon, this slinger is perfect for drawing out certain enemies without getting too close. When your weapon is sheathed, press L2 or LT to aim and R2 or RT to fire.
13. Craft wisely
Throughout the world, you'll find things to harvest, like ore and herbs, and these are used to craft consumable items and wearable equipment. By default, certain items are set to auto-craft until you have a maximum number of them, but I find it's easier to grasp what you have and what you need if you just craft things up yourself. The crafting menu checks off which items are being auto-crafted. I have only the healing potions set to auto-craft, since I know I'll always want the maximum number of them at all times, but more complex items should be crafted manually. Ammo is a good example; ammo ingredients are often shared, and you'll want full control over what's being crafted and which ingredients are being consumed. Thankfully, your Scoutflies make finding these items a breeze, so long as you took the time to explore the map beforehand.
14. Play with friends
Monster Hunter: World starts by putting you in a public session with a group of other players. Players in your session can join quests that you take on from the quest board, but you can control how many people can join before departing. You can make your own private session for a single-player experience on the main menu of the game, or search for sessions to join.
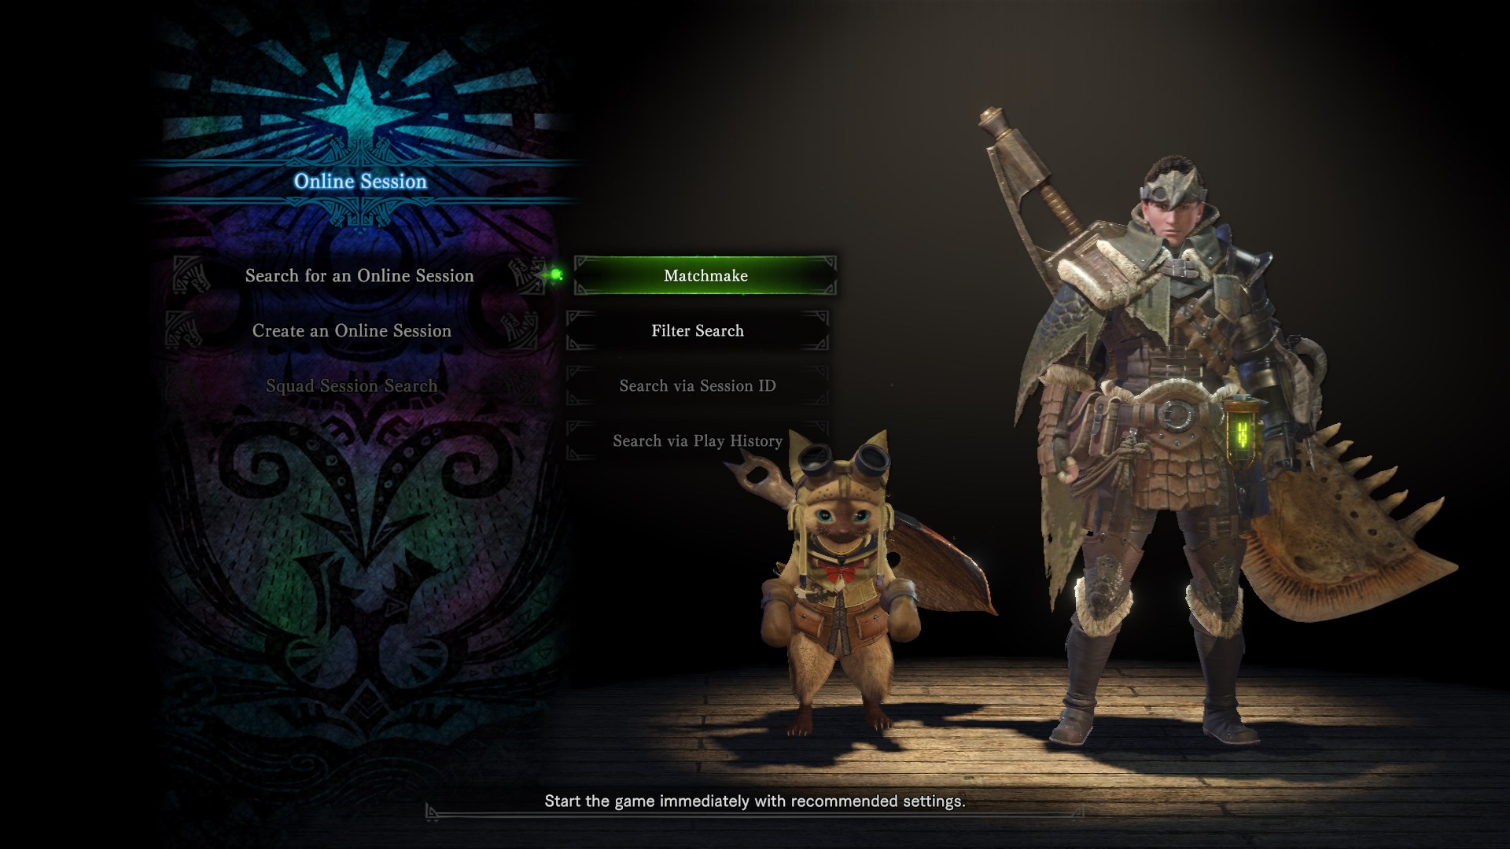
Playing with friends is done mostly during quests while everyone is in the same session. You won't see anyone else running around town, but from the quest board, you can join quests about to depart. Another option is to pop an SOS flare while on a quest to call for help in case things get too tough. Anyone looking at the quest board can then respond and show up to assist. You can also set up large groups, called squads, that make it easier to find people on your console friends lists and join their sessions. It's worth noting that you need either PlayStation Plus or Xbox Live Gold to play with others and that the game can be played offline.
Credit: Capcom
Andrew Melcon is a freelance writer who specializes in covering games and gaming hardware. He's tackled everything from PC game controllers to Pokémon and PUBG and his work has appeared on sites including Tom's Guide, Tom's Hardware, Laptop Mag, and more.
