12 Tips for Taking Amazing Landscape Photos
There's no simple formula for shooting a gorgeous landscape, but these tips will increase your odds of getting that perfect shot.
Bring the right gear
Wait for the best light
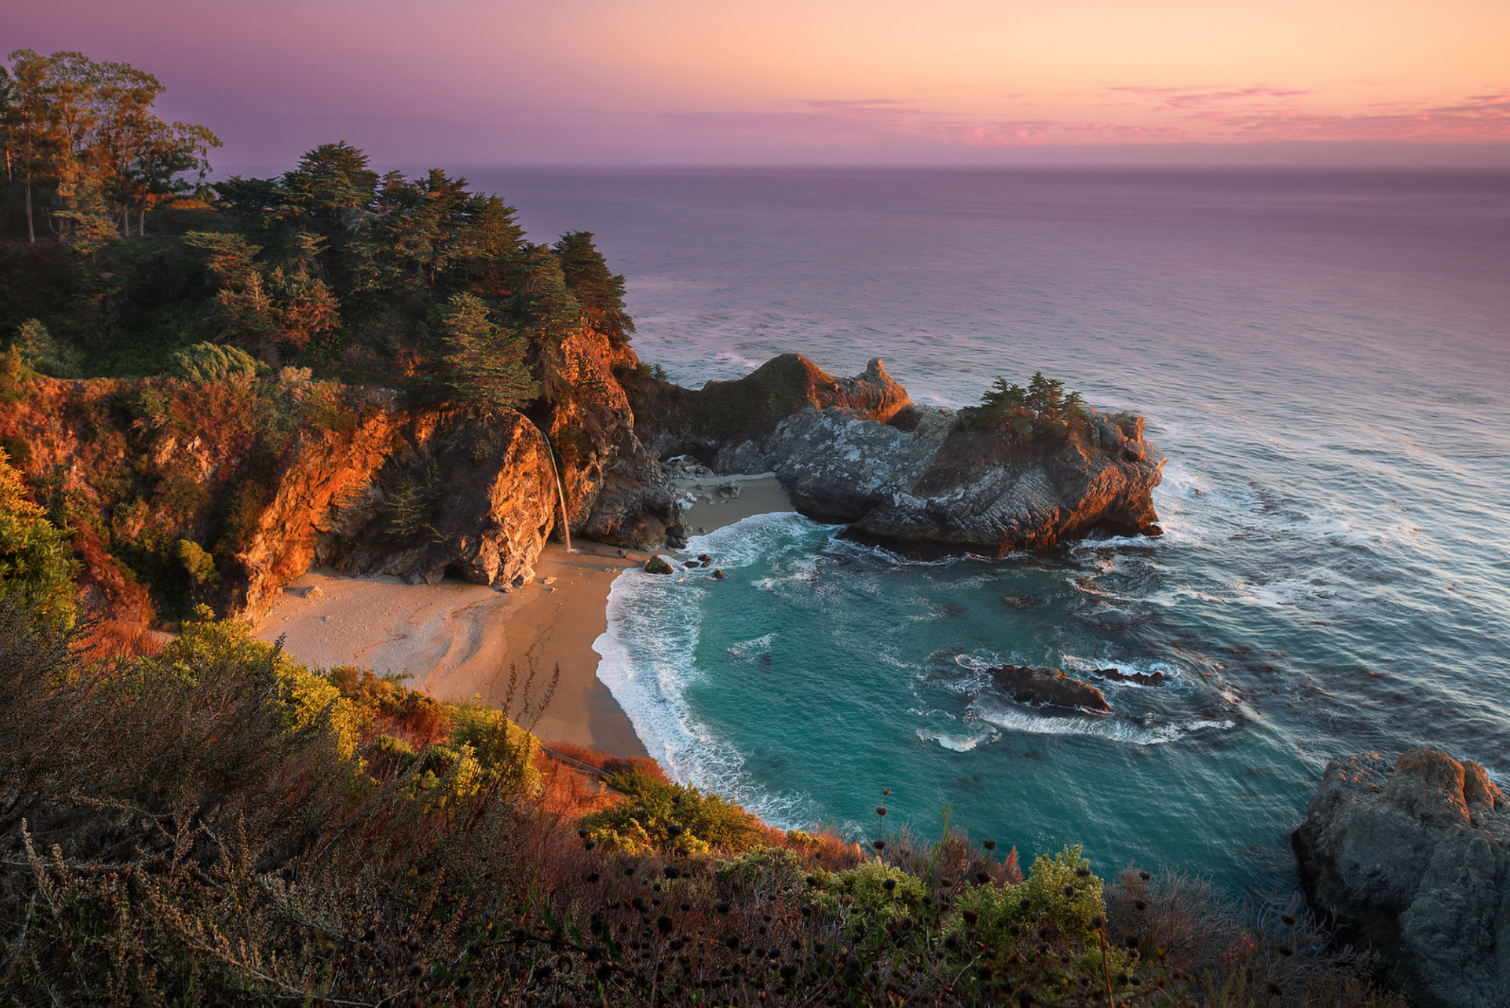
Landscapes shot when the sun is high in the sky tend to have harsh shadows, especially when there are no clouds to diffuse the light. The best time to shoot is typically around sunrise and sunset, when the sun's rays are shining at a steep angle. Photographers refer to this time of day as the "magic hour" or "golden hour," because the light is softer and has a pleasant warm hue.
Another popular time of day for landscape photography is the "blue hour," which refers to the twilight period when the sun is just below the horizon. On a clear day, the sky should display a rich blue gradient during this time. The evening blue hour is ideal for shooting cityscapes because there's still enough natural light to see the outlines of buildings, and the city lights are just coming on.
Photo credit: Kevin Young
Take advantage of unusual weather
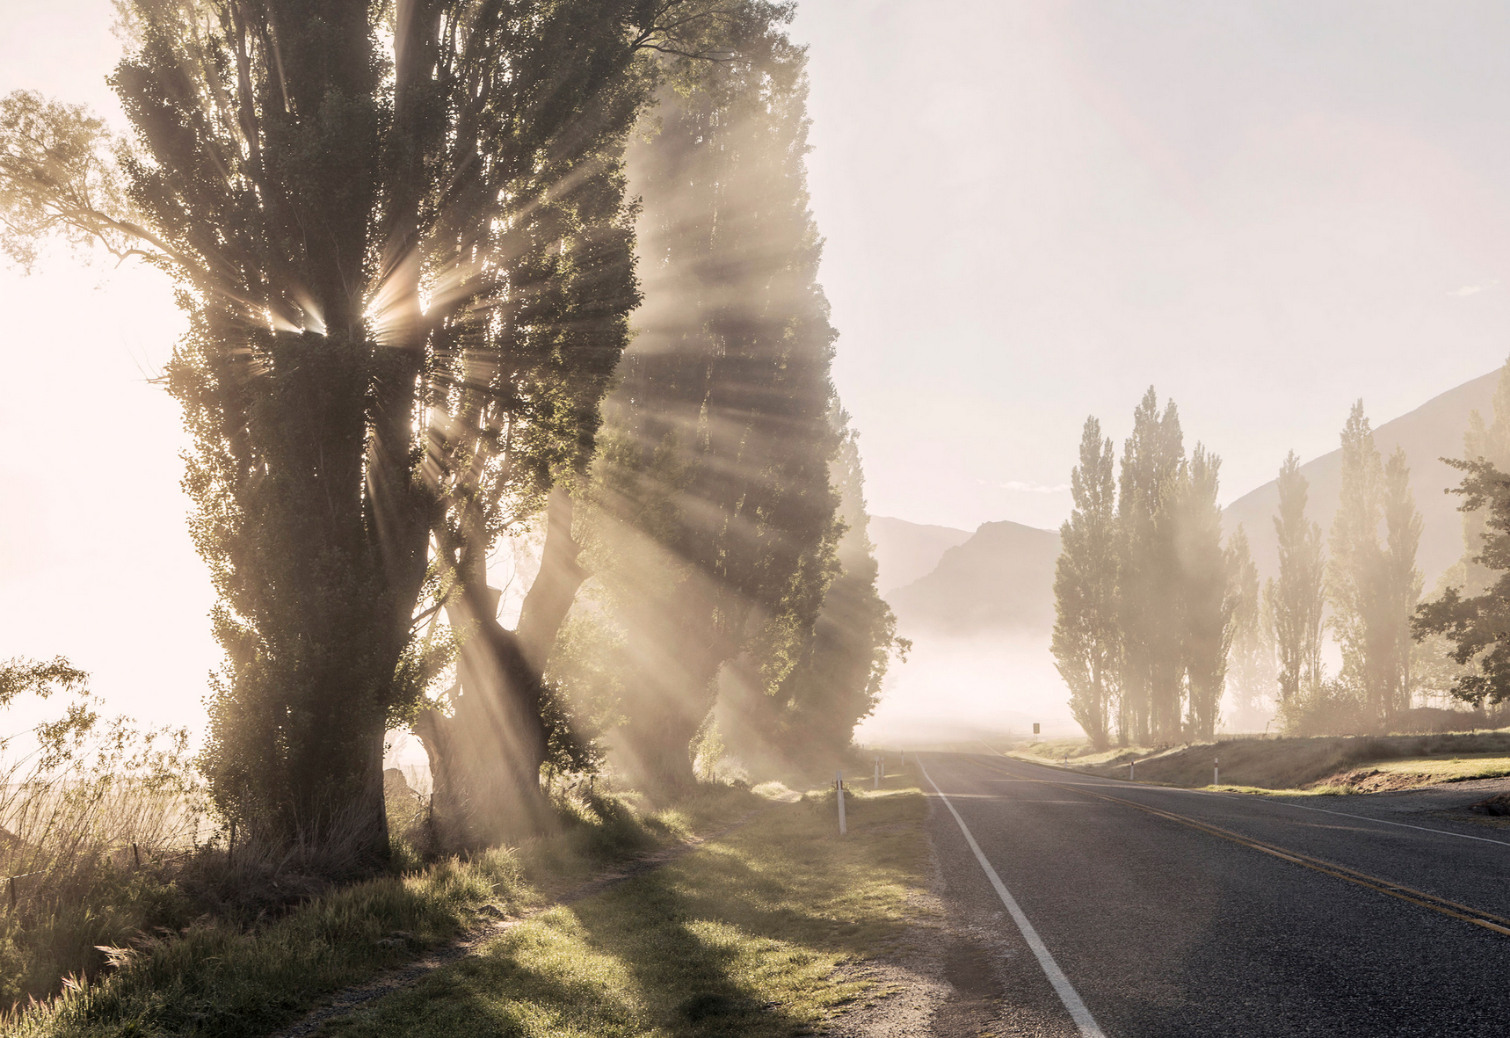
Ominous storm clouds, fog, rainbows, freshly fallen snow and lightning are pure gold for landscape photography, but you won't find them if you don't venture out in bad weather. When things start to look interesting outside, we recommend grabbing your gear and hopping in the car to search for that perfect shot (while keeping your camera dry, of course).
Fog presents one of the best opportunities for landscape photography because of its versatility. Depending on the light, it can create dramatic sunbeams, add depth to your photo or help obscure distracting objects from view. Fog usually occurs late at night and early in the morning, so plan on losing sleep if you want to catch it.
Photo credit: Chris Bennett
Make long exposures
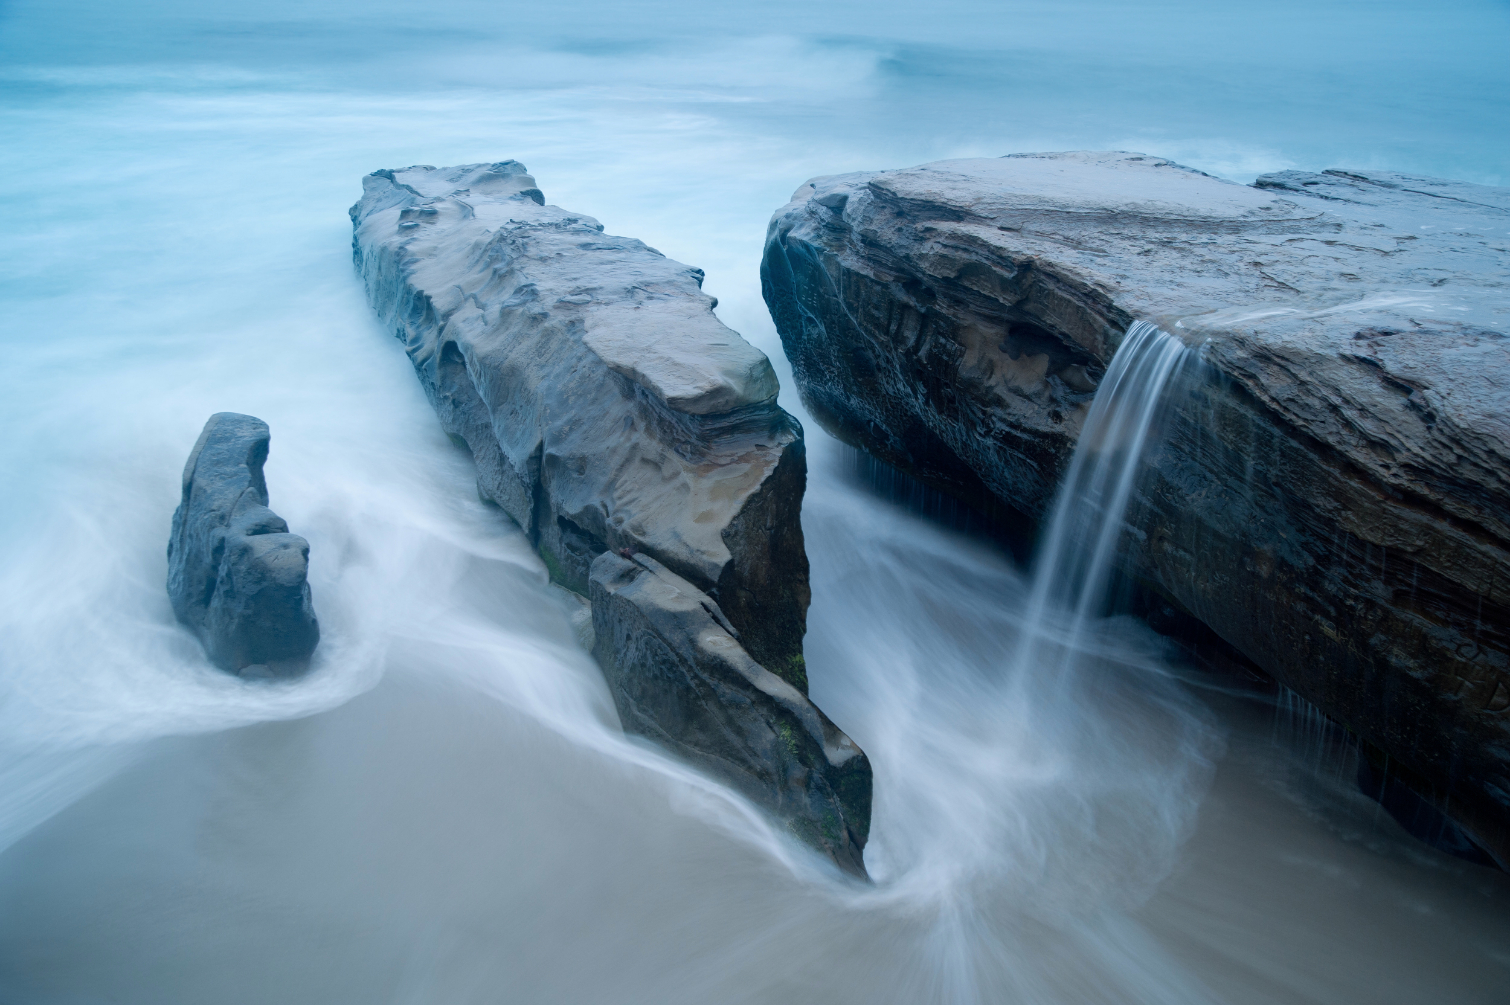
If you want to take your landscape photography to the next level, start shooting long exposures. This technique works best in scenes with moving water because it transforms the water's texture in different ways, depending on how long you keep the shutter open. The resulting misty or glassy effect is almost always more attractive than freezing the water with a normal shutter speed.
Sign up to get the BEST of Tom's Guide direct to your inbox.
Get instant access to breaking news, the hottest reviews, great deals and helpful tips.
Night cityscapes are also prime opportunities for long-exposure photography because of the streaks that appear from the lights of passing cars. You can even erase people from your shots entirely (as long as they're moving) if you leave the shutter open long enough. This is a perfect technique to use when shooting landmarks that are consistently overrun with tourists.
When making a long exposure on a bright day, there may be too much light to leave your shutter open for an extended period without overexposing your shot (meaning your photos will be blown out). To correct for this, landscape photographers use neutral density filters, which are essentially sunglasses that screw onto the front of the lens and block out some of the light.
Of course, it's impossible to create a sharp long exposure when handholding the camera, so be sure to bring a sturdy tripod.
Photo credit: Kevin Young
Follow the rule of thirds
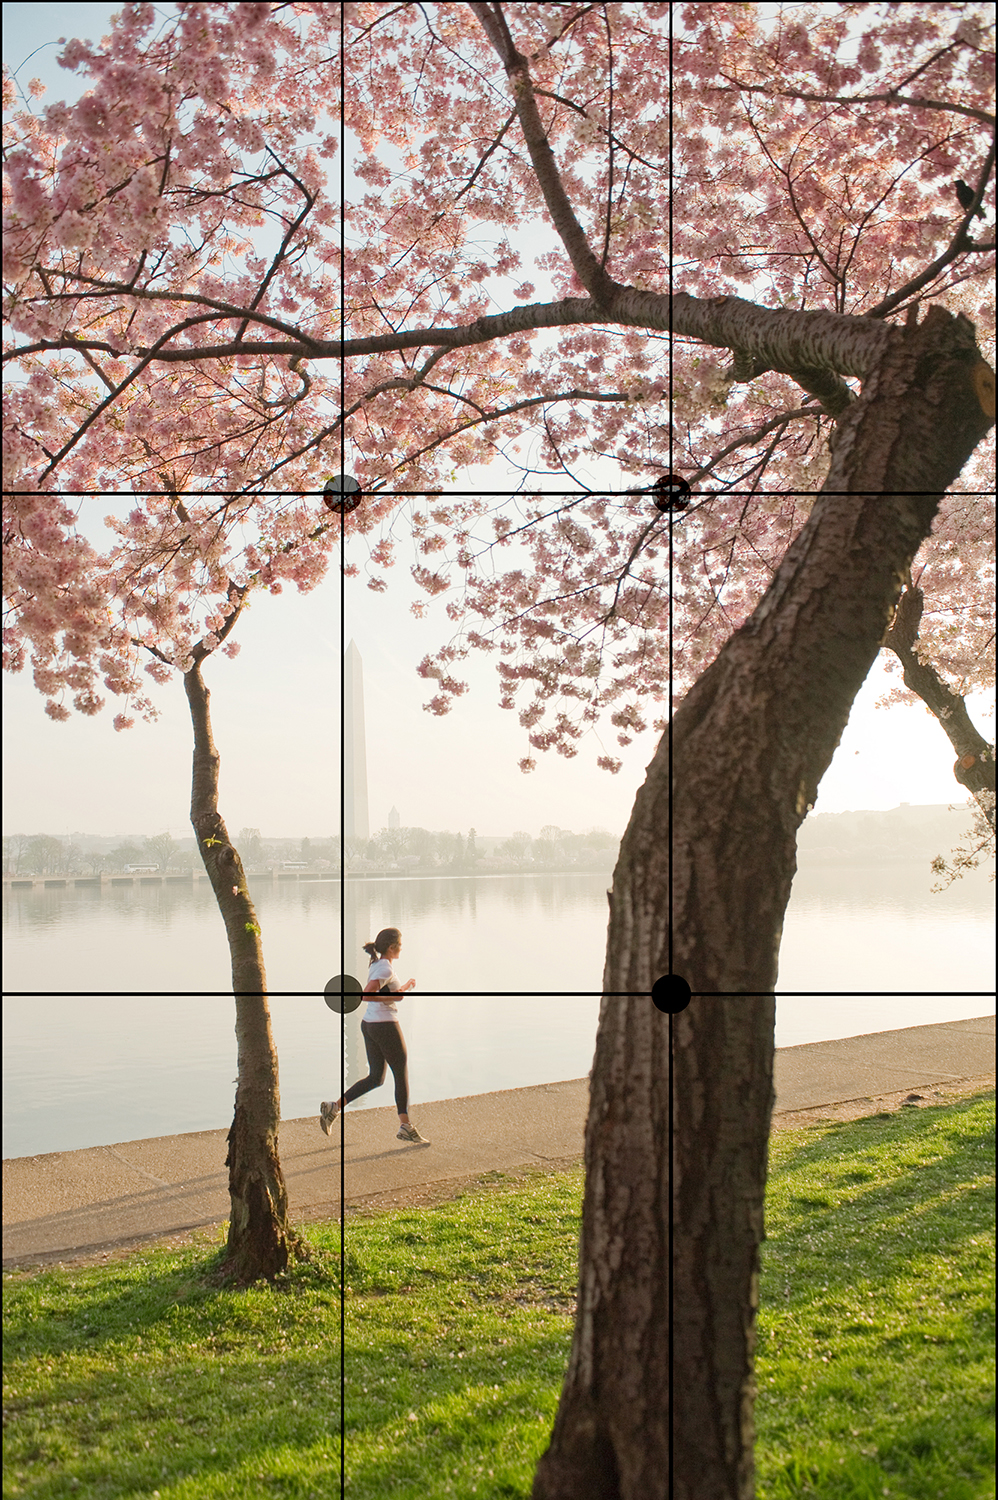
One of the best-known rules of composition is called the "rule of thirds." To follow it, the photographer should place the subject – which in landscape photography could be a tree or prominent landmark – about a third of the way in from any edge of the frame. In other words, imagine a tic-tac-toe board over your image, and try to place the focal point along one of the lines or at one of the four places where the lines intersect. Studies have shown that viewers are naturally drawn to look at these areas rather than the center of the shot.
When composing a landscape without an obvious focal point, it's good practice to position your horizon along the upper or lower line – not through the dead center of your frame. There are plenty of great landscape shots that don't follow this rule, but as the pros say, you need to know the rules before you can break them.
Photo credit: Lacey Johnson
Find patterns
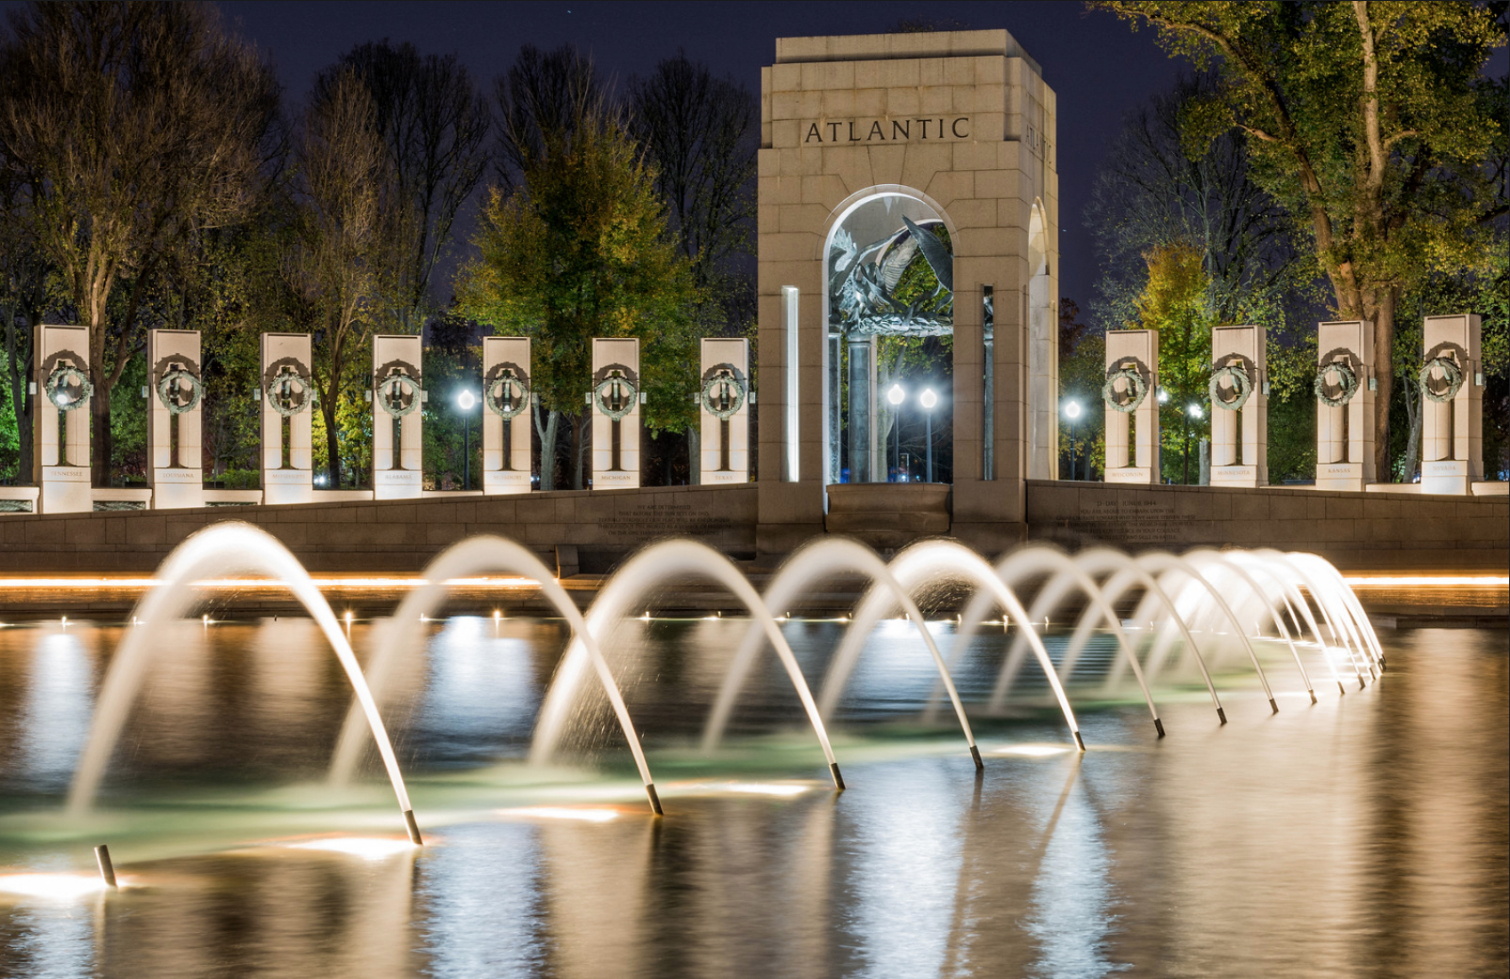
The human eye is drawn to repeating patterns and shapes, and as a photographer it's your job to discover them in your environment. Everything from ripples in a lake to rows of colorful houses can be used to make an eye-catching composition. The trick is to isolate the patterns by cropping out distractions that may lead the viewer's eye elsewhere.
Photo credit: Howard Wilson
Look for symmetry

People are also drawn to symmetrical images because of their sense of precision and equilibrium. When a composition relies heavily on symmetry, it's usually a good idea to break the rule of thirds by placing the line of symmetry through the middle of your frame. This tends to work well because symmetry is all about balance. The most common places to find symmetry when shooting landscapes are in reflections, walkways and roads that recede into the distance.
Photo credit: Lacey Johnson
Add the human element
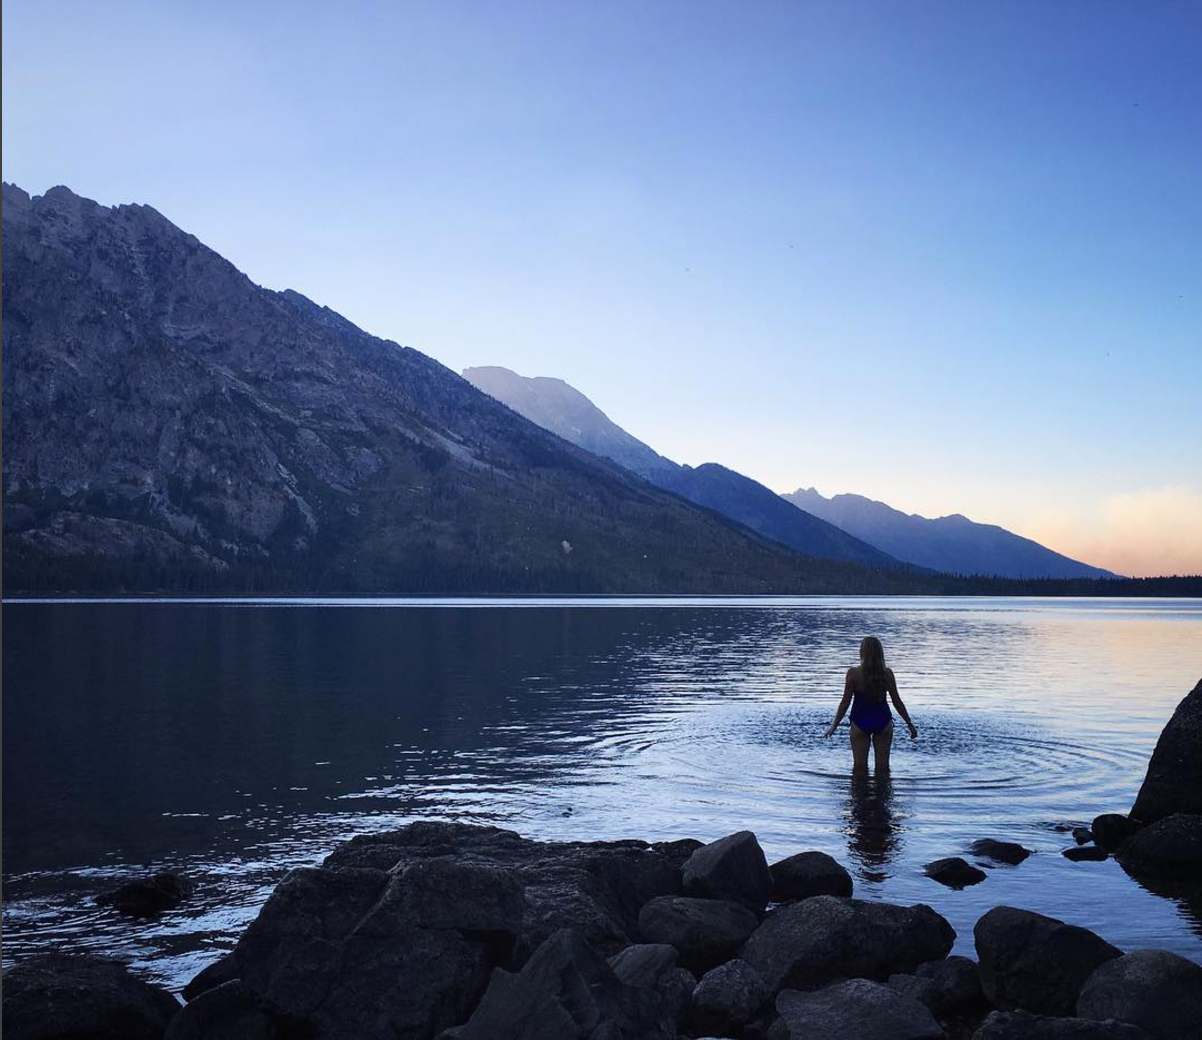
One of Ansel Adams' trademarks was shooting all natural landscapes with no sign of human life, but that may not always be the best strategy. According to researchers at the Massachusetts Institute of Technology, viewers are more likely to remember photos with people in them.
While composing your landscape, ask yourself if there's a natural way to add a person to the scene. Placing a hiker, kayaker or simply an onlooker in your image invites viewers to imagine themselves within your landscape. Including a human form will also establish a sense of scale, which is especially helpful when shooting something with unclear dimensions, such as a waterfall, giant redwood tree or sand dune. If you don't have a person with you, an inanimate object like a bicycle or tent will work as well.
Photo credit: Molly Moker
Maximize sharpness by using a high f-stop
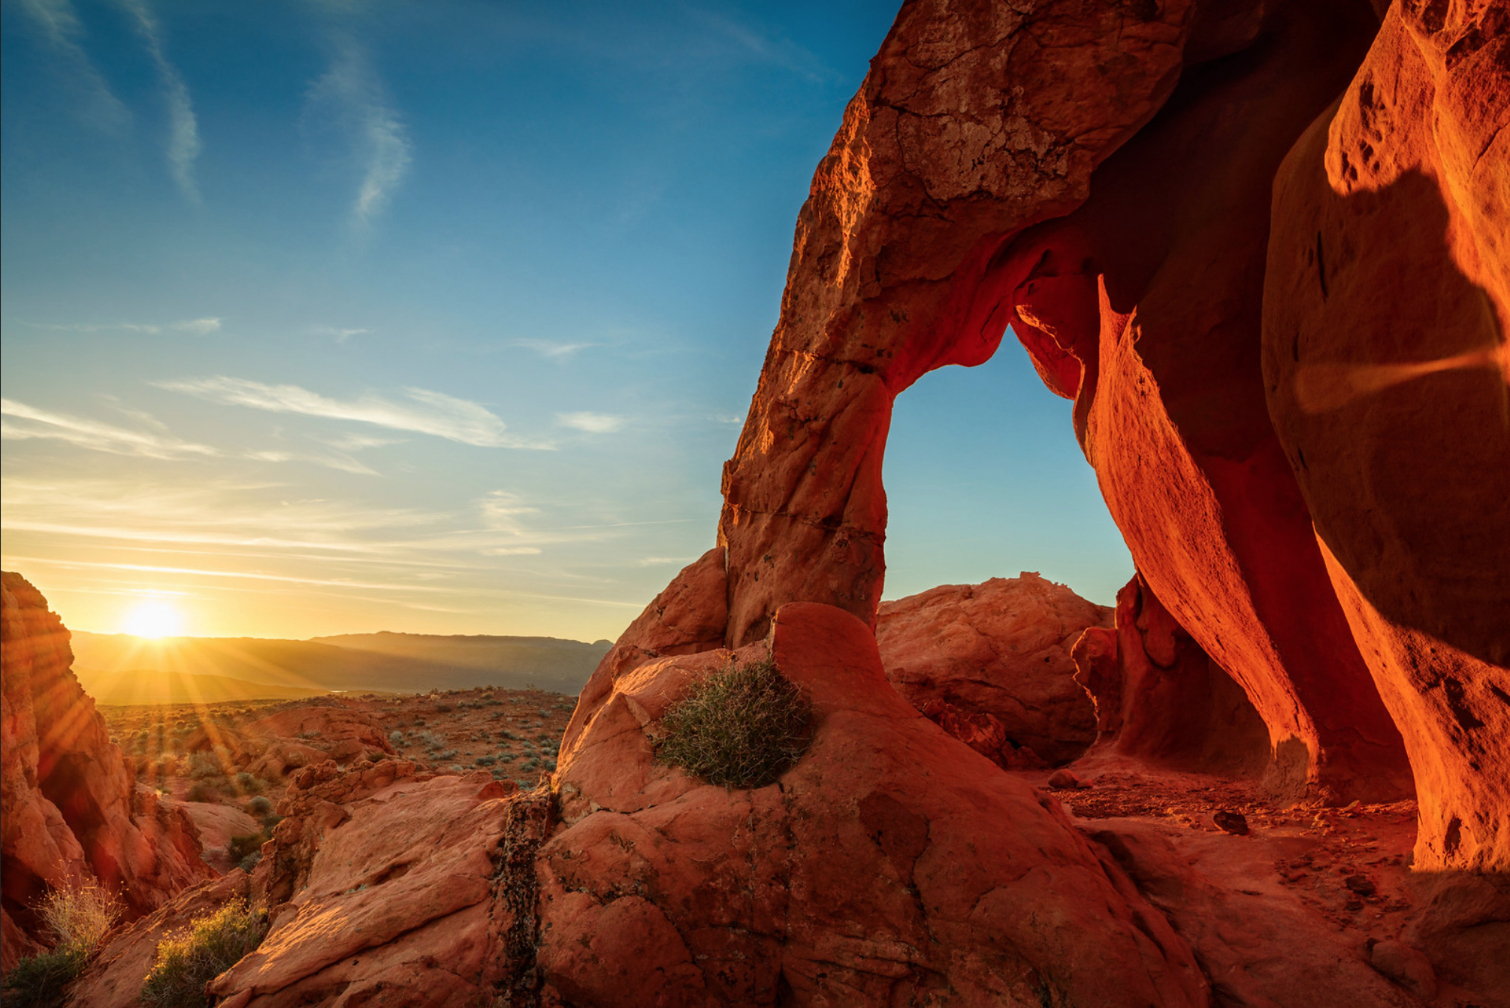
Generally speaking, landscape images should be crisp and sharp throughout (unless you're purposefully blurring part of the scene using a long exposure). To keep elements in the foreground and background in focus, we recommend setting your aperture to at least f/8. The higher your f-stop number, the more depth of field your image will have and the sharper it will be. An added benefit to shooting above f/11 is that points of light in your scene, such as streetlights or the sun, will take on an eye-catching starburst shape.
The downside to shooting at high f-stops is that less light will be entering the camera through the lens, meaning you will need to compensate by using slower shutter speeds. We recommend a minimum handheld shutter speed of 1/125 to avoid camera shake. If you need to make a longer exposure, be sure to place the camera on a sturdy tripod to ensure your image stays sharp.
Photo credit: Kevin Young
Use a polarizing filter
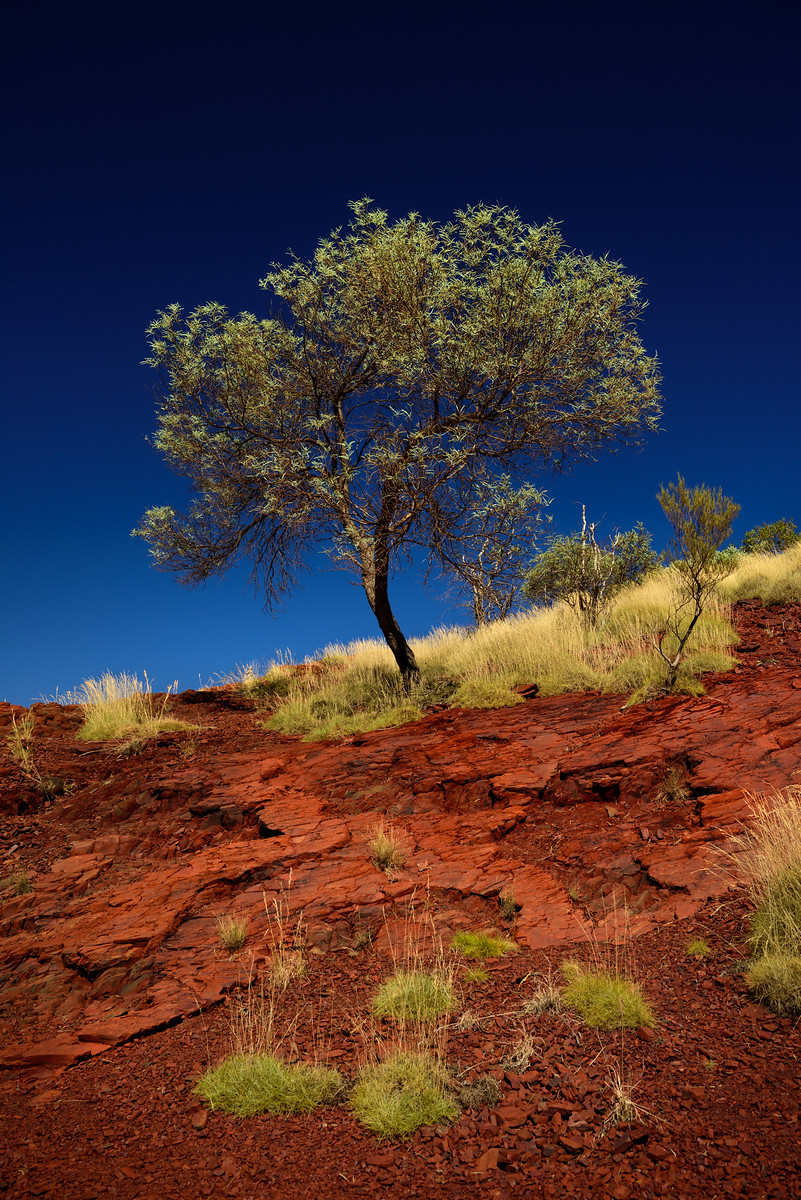
If you've ever worn polarizing sunglasses, you know they cut down on glare and improve contrast. When used in landscape photography, polarizing filters can deepen the colors in the sky and make water appear clearer by lessening the reflections on the surface.
These filters used to be an essential part of every landscape photographer's toolkit, but many people bypass this step today by using Photoshop. The benefits of using Photoshop versus a filter are up for debate, but if you want to test the effect without dropping the cash, you can actually place polarizing sunglasses in front of your lens and see similar results.
Photo credit: Kevin Young
Use Photoshop (but don't overdo it)
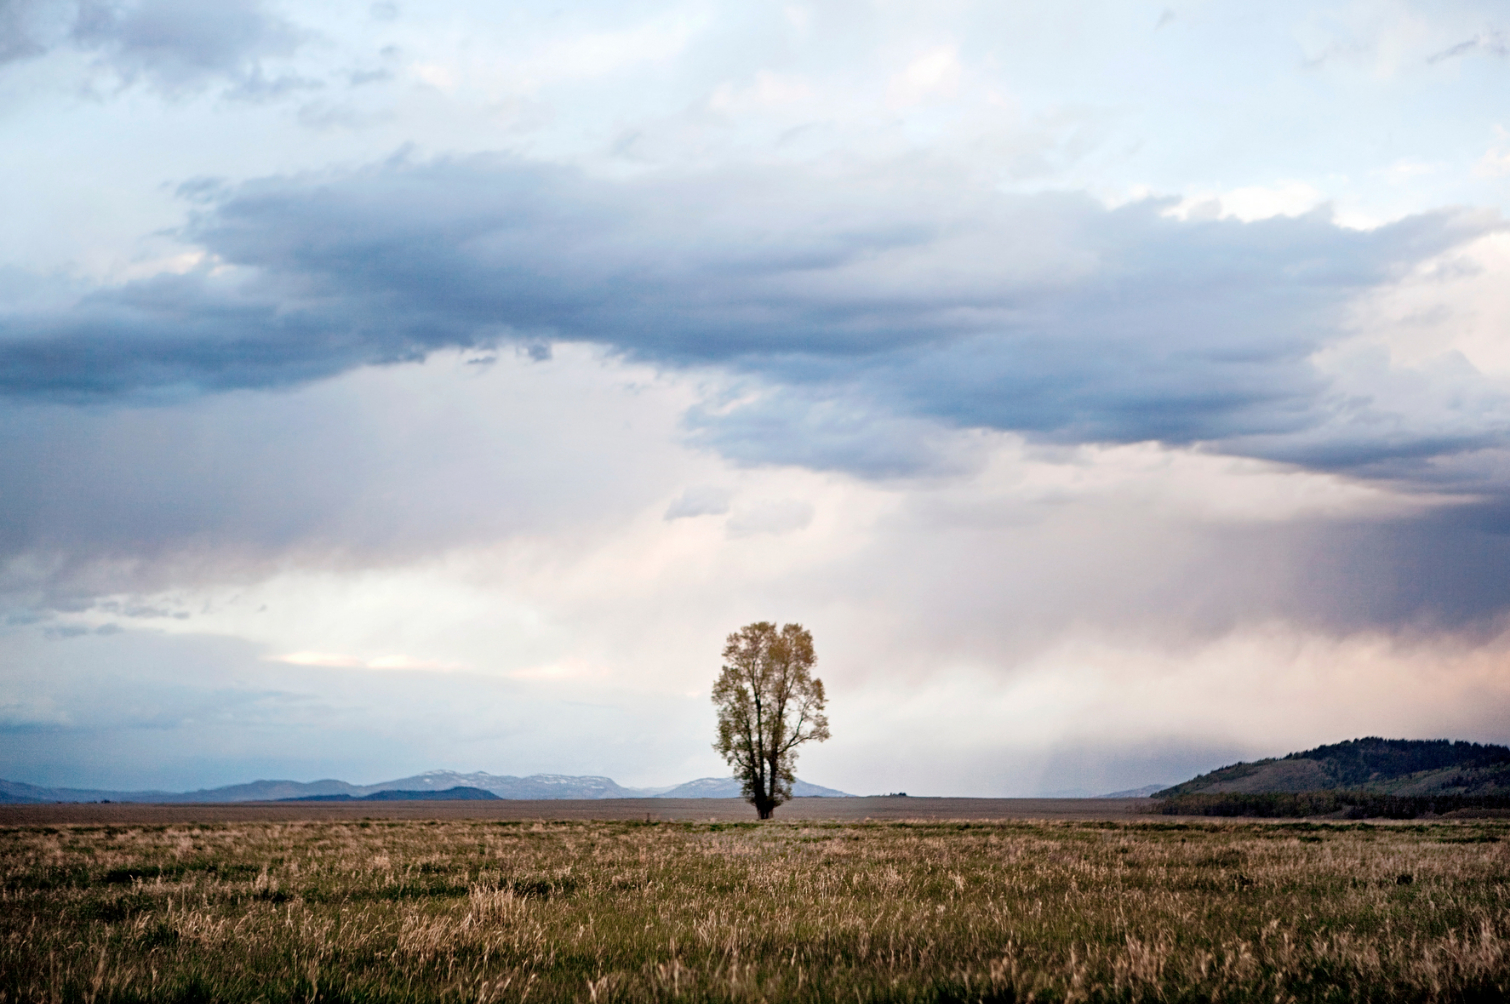
Even the most perfectly executed landscapes can benefit from Photoshop, or some other photo editor (check out our favorite paid and free photo-editing suites). Images straight out of the camera tend to look a little flat, so we recommend increasing the contrast and saturation as part of your regular workflow – just don't go overboard. Too much editing is easy to spot and will reduce the overall quality of your image.
A common landscape photography problem is having a sky that's too bright, coupled with land that's too dark. Before the days of computer editing, photographers used to solve this issue by using graduated filters to dim the exposure in the upper half of the frame, effectively balancing the brightness of the land and sky. A quick way to get similar results in Photoshop is by adjusting the "Exposure," "Highlights" and "Shadows" levels in your RAW-image processor, which should pop-up automatically when you try to open your RAW-camera file.
For more sophisticated Photoshop users, we recommend adding extra contrast to your skies only, in order to make the clouds pop.
Photo credit: Chris Bennett
Get creative with your compositions
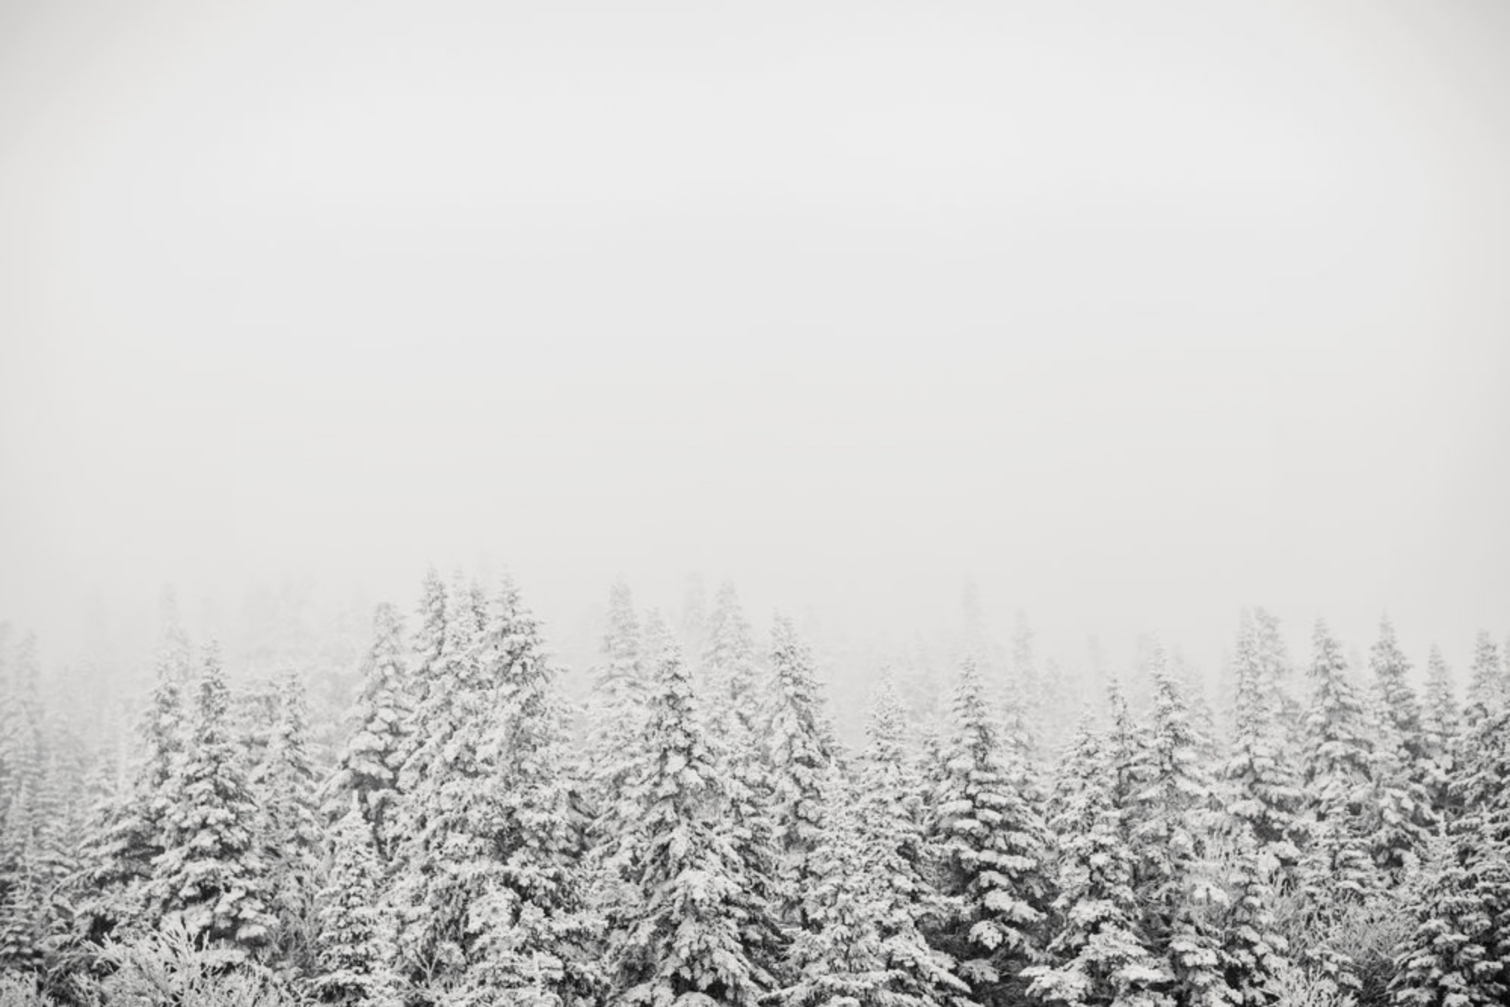
After making the obvious landscape shot, slow down and take time to get creative with your compositions. Place the horizon at the very bottom of your frame to create a vast sky, or zoom in on an interesting rock formation. Shoot straight up to capture a canopy of leaves overhead, or pull back to include a colorful umbrella in your beach scene. The beauty of digital photography is you can experiment endlessly and simply delete the bad shots later.
Photo credit: Chris Bennett

Lacey is a freelance journalist and photographer based in Washington, D.C. with a specific interest in a variety of scientific topics including climate change, health, and renewable energy. She is also a keen photographer and her work has appeared in numerous national and international publications. Many of her articles on Tom's Guide are geared towards helping you take better pictures.
