How to Store and Stream Movies with Plex
Plex can help you access your music, movies and photos on all of your devices, from laptops to desktops to phones.
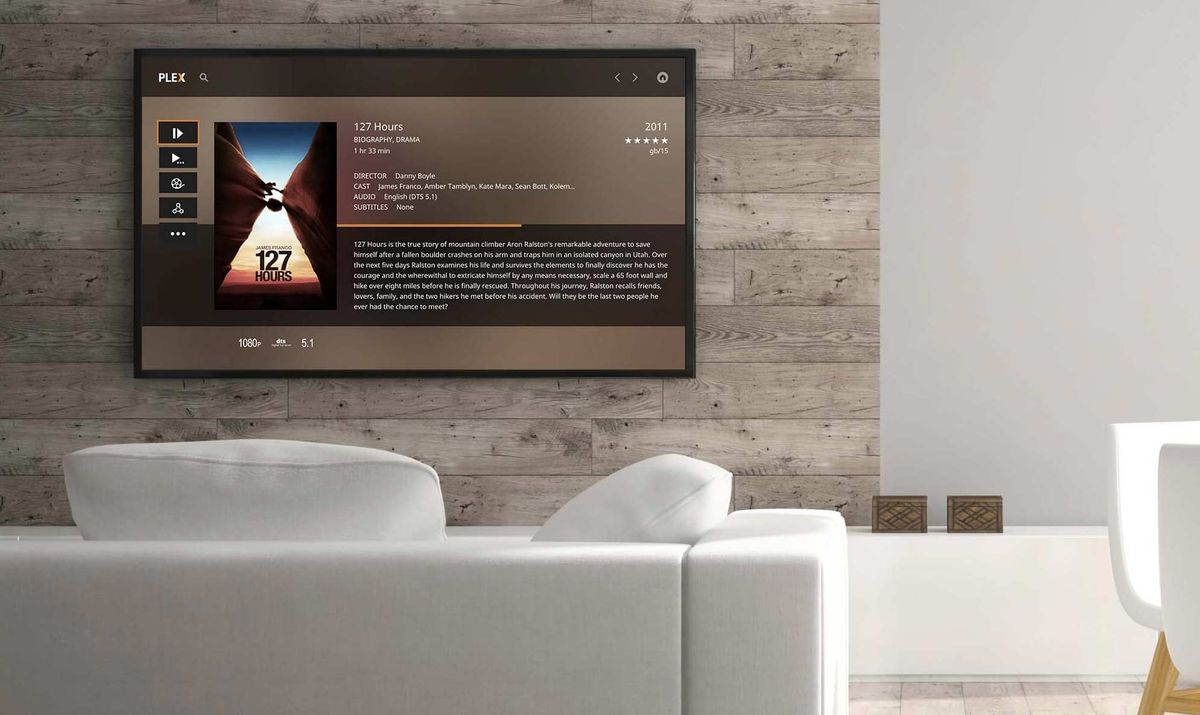
If you have more streaming subscriptions than you can count and need to access them all at once, Plex Media Server is your new best friend. It’s a clean, simple tool for bringing your different media into one place, and the setup couldn’t be easier. Whether you’re a podcast fiend or like to watch artsy Vimeo videos on the go, Plex can help you get what you need on all of your devices, from laptops to desktops to phones.
Here are seven steps to get Plex up and running in the platform of your choice.
1. Install the app
Head to the official Plex website and download the version you want. Plex allows you to choose from several different platforms, including Windows, Mac, Linux and FreeBSD, as well as network-attached storage platforms like Netgear and Western Digital. You should download the app for every device you want to use, but it’s good to start with your primary computer first.
The program is free, and installation is super-straightforward.

2. Run the program and start your Plex account
After installation is complete, click "launch" and the Plex software will direct you to a new browser window to create your account. You can actually run Plex with "limited functionality" by foregoing this step, but, as the site says, you won’t have all the same features and your streaming could be less secure.
MORE: Best Streaming Players: Chromecast, Roku, Apple TV & More
The sign-up is extremely quick: Just enter an email, username and password. Since your account will have multiple libraries in it, think of it as a master account that saves you time.
Sign up to get the BEST of Tom's Guide direct to your inbox.
Get instant access to breaking news, the hottest reviews, great deals and helpful tips.
3. Add your libraries
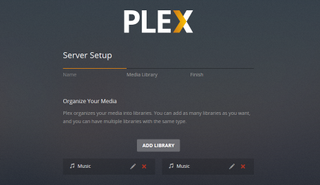
The Plex site will walk you through the process of adding media. Just click Add Library to import whatever files you like, from movies to music to photos. The syncing process might take a little bit, but you can click Next and continue using the program while it works. Then you can choose whether or not to send usage data to Plex. You can also get the apps for your other devices, if you haven’t already.
4. Identify your servers and enable remote access
Once you’re logged in, you may notice an alert in the left-hand menu asking you to claim your current network. Click on it to save the network and identify it.
You’ll also see an alert next to the Remote Access tab. Click this and then click on the orange Enable Remote Access button. Now you can use Plex to access the server from other devices, and you can disable it at any time.
5. Install your channels
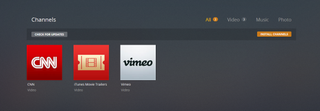
You should now see your beautiful home page with the menu on the side. Click on the Channels section and you can add media sources, simply by clicking Install Channels. Click a channel you want and choose Install. Once it’s ready, you’ll see some new buttons under the selected channel, which enable you to Browse, Update or Uninstall it as you please. Browsing a channel will let you see its content.
6. Go to your next device
Now comes the fun part. When you’ve set up the app on your primary device, you’re ready to go to the second one. Download and install the corresponding app.
The setup guide will walk you through the controls and show you how to cast media onto other devices. The channels you added from the first device should appear here, too. You can check to see how many devices are in your account by clicking Settings and Devices. The Status tab will show you what media you’ve been viewing.
7. Customize!
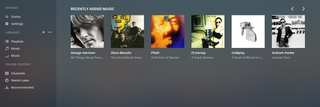
From here, it’s up to you! You can tinker with the settings, create your own playlists and add channels to your heart’s content. There’s even an option to play theme music from whatever show you’re browsing in the background. Dive in and have fun!

Tom's Guide upgrades your life by helping you decide what products to buy, finding the best deals and showing you how to get the most out of them and solving problems as they arise. Tom's Guide is here to help you accomplish your goals, find great products without the hassle, get the best deals, discover things others don’t want you to know and save time when problems arise. Visit the About Tom's Guide page for more information and to find out how we test products.
-
bucknutty I never heard of plex. I think this article is great. Question can I use it to add permissions? I don't want the kids watching the R movies on their iPods.Reply -
Ashafiq3 Plex is simply amazing, it's pretty self explanatory in terms of setting it up. Only problems I ever ran into were if I had some port issues. I've been using plex media server since november 2012 and it just keeps getting better. Even worth to get the PLex PassReply -
SirGCal PLEX is nice, I use it on my 36TB server, but there are a lot of limitations. It was made from XBMC which alone still has a few issues but other things are fixed. PLEX fell off this. One example is .ISO files, XBMC can handle them nicely. Still need to work on forced subtitles but other then that they play well. PLEX, no. Videos need to be in the acceptable formats of which there are many, but no .ISO support. My one big complaint.Reply
Other gotcha, if you want to do stuff within your network, XBMC is all you really need. To stream it outside your network, that's where PLEX comes in. And the only big kid filter would be the parental setup of which I haven't messed with yet (will be soon and have been looking deeper into this, but that seems the only solution which isn't a great one but...). You also need to check your ISP's upload speed. If you want to stream HD out through your cheap ISP, it's not likely going to happen. Even my TWC 30/5M connection really can only do so-so transcoding. But that's also TWC... However, 1M/sec is great for most phones for example and can be handled even through 3G (though make sure you have an unlimited or big data plan).
For music though, I prefer Subsonic. That's just me. -
Techguru99 I've been using StoAmigo for this exact same thing, it's just as good as Plex but it offers a lot of permission controls...they even have this device called CloudLocker which sorta works like an NAS/Cloud hybrid. I haven't used it yet but my friend swears by it.Reply -
jiBYoNZ Definitely worth it, I have it setup on a server in my house and all the smart tvs have the app on them, all the Xbox's and PlayStations have the app, all the cellphones and tablets have the app... It is too easy. I bought into the life time Plex pass early cause as far as I'm concerned it is worth more and would not be surprised if it went up in the future.Reply
Also sync is awesome for me, I can sync stuff to my devices (laptop, cell phone, tablet) to take to work with me to watch. Once it is back on the wifi it will delete what episodes you have watched and download the next ones you haven't. You can setup how much space you will allow plex to use and how many episodes of what series to sync.
It also remembers exactly where every user left off on anything :)


