How to Use the Galaxy Note 8 Camera’s Dual Capture Mode
Thanks to the two rear cameras on the Galaxy Note 8, you can snap two pictures at once. Here's how to use the Dual Capture feature on Samsung's phone.
As Samsung’s first smartphone to offer dual cameras, the Galaxy Note 8 carries more than a few neat photography tricks up its sleeve. One of those features is Dual Capture mode, which allows you to take two pictures at the same time — a standard wide angle shot, and another Live Focus version, which zooms in on the subject while applying a bokeh effect to the background, similar to the Portrait Mode in the iPhone 8 Plus and iPhone X.
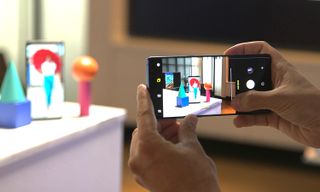
Shooting in Dual Capture modes is pretty simple, once you know how to access the feature. Here’s how to get started.
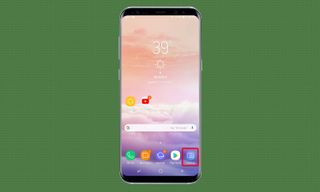
1. Open the Camera app.
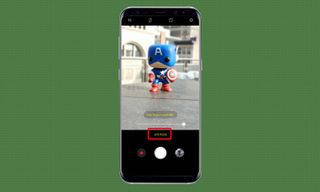
2. Tap the Live Focus option centered just above the shutter button. This puts you in Live Focus mode, where you’ll be presented with a slider to control the strength of the depth-of-field effect. You’ll be able to see the background blur applied in the viewfinder in real time before you take the shot, but the Note 8 also allows you to manipulate the bokeh in the Gallery later on if you want.
Take the picture now, and you’d only get the Live Focus photo — but we want to capture both the Live Focus and regular exposures together.
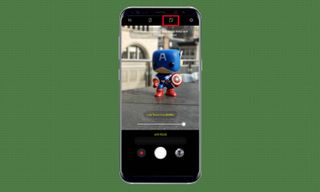
3. Tap the Dual Capture icon up top, which should appear as a square with a dotted square behind it.
Tapping Dual Capture turns the icon yellow and informs you that the phone will save both images simultaneously. Now you’ll receive two versions of every picture you take.
Sign up to get the BEST of Tom's Guide direct to your inbox.
Get instant access to breaking news, the hottest reviews, great deals and helpful tips.
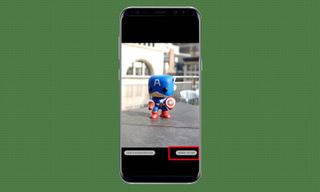
But what about when you want to view them later? The Note 8 won’t save Dual Capture photos as two separate files side-by-side; instead, it places a toggle below the photo in the Gallery, allowing you to go back and forth between the Live Focus and normal versions with just a tap.
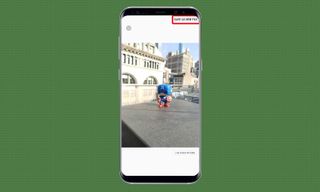
This works well in the Gallery, but if you want to export the normal exposure specifically to a photo editing or library app, you’ll need to save it separately. To that, select the Save As New File option in the top right corner. When you tap it while looking at the standard image, that photo becomes its own file, which you can edit and share to your heart’s content.
Adam Ismail is a staff writer at Jalopnik and previously worked on Tom's Guide covering smartphones, car tech and gaming. His love for all things mobile began with the original Motorola Droid; since then he’s owned a variety of Android and iOS-powered handsets, refusing to stay loyal to one platform. His work has also appeared on Digital Trends and GTPlanet. When he’s not fiddling with the latest devices, he’s at an indie pop show, recording a podcast or playing Sega Dreamcast.
