How to Run Android Apps on a PC Using Bluestacks
You can run your favorite Android apps on your desktop with the BlueStacks App Player. Here's a step by step tutorial.
BlueStacks is one of the most popular Android emulators out there, bridging the gap between desktop and mobile ecosystems by allowing users to run their favorite Android apps and games from the comfort of their desktop or laptop. Doing so lets you take advantage of the more powerful resources available to PCs or Macs, not to mention the benefits of using a mouse and keyboard.
First released in 2011, BlueStacks has continued to grow along with the Android ecosystem, garnering investment partners from tech giants like Intel, AMD, Samsung and Qualcomm. The emulator is free to use and ad-supported, with a premium subscription tier that removes advertising and provides extra customization options and priority tech support.
Want to get a taste of Android on your desktop? Here's how to set up BlueStacks, along with a rundown of some of its controls and interesting features.
Installing BlueStacks
BlueStacks is available to download for Windows and for Mac machines and you can get the 466 MB installer download here. The program installs on your boot drive (with no option for changing the install directory, only the Program Data location), and is an otherwise hassle-free installation, without any bundled software or extras.
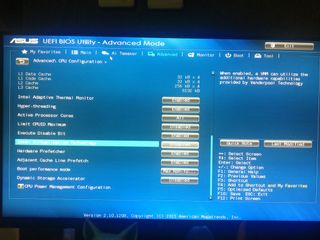
One more thing you might need to do is to turn on Virtualization in the settings of your UEFI at startup. BlueStacks, like many of the newer Android emulators, takes advantage of hardware virtualization technology built into modern PC to help with emulation tasks, but this setting usually defaults to off in your PC or laptop's UEFI or BIOS. The process to turn this setting on varies from device to device naturally, but will usually involve checking to see if virtualization is supported by your CPU through the manual, and then restarting your machine to flip the toggle in the UEFI menu. Without turning on virtualization, you're likely to experience major performance bottlenecks.
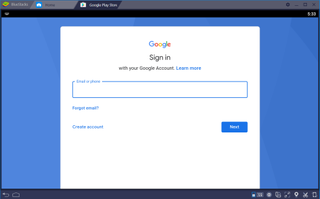
Once you've installed BlueStacks, the next step is logging in with your Google account, just like you're setting up any other Android smartphone or tablet. This also allows you to access your Google Play account from BlueStacks, so that you can install your purchased apps with no fuss.
Sign up to get the BEST of Tom's Guide direct to your inbox.
Get instant access to breaking news, the hottest reviews, great deals and helpful tips.
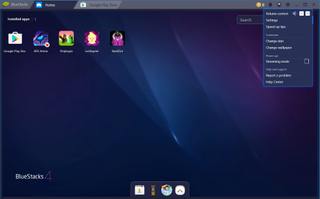
The BlueStacks home screen
The latest version (Bluestacks 4) emulates Android Nougat (7.x.x) and the home screen lets you quickly access the Google Play store, installed apps, recommended apps (aka ads) and a number of Bluestacks specific settings in the menu bar.
In-app controls
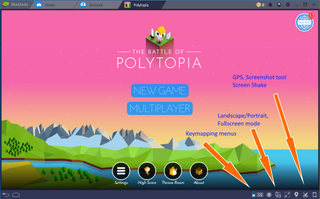
Once you're in the app, more controls will pop up, allowing you to configure the device's orientation, mimic tilt controls, and map keybindings and the mouse to elements of the touch screen. A handy control mapping system helps you out here, allowing you to create virtual buttons and lay down control overlays for easy mapping.

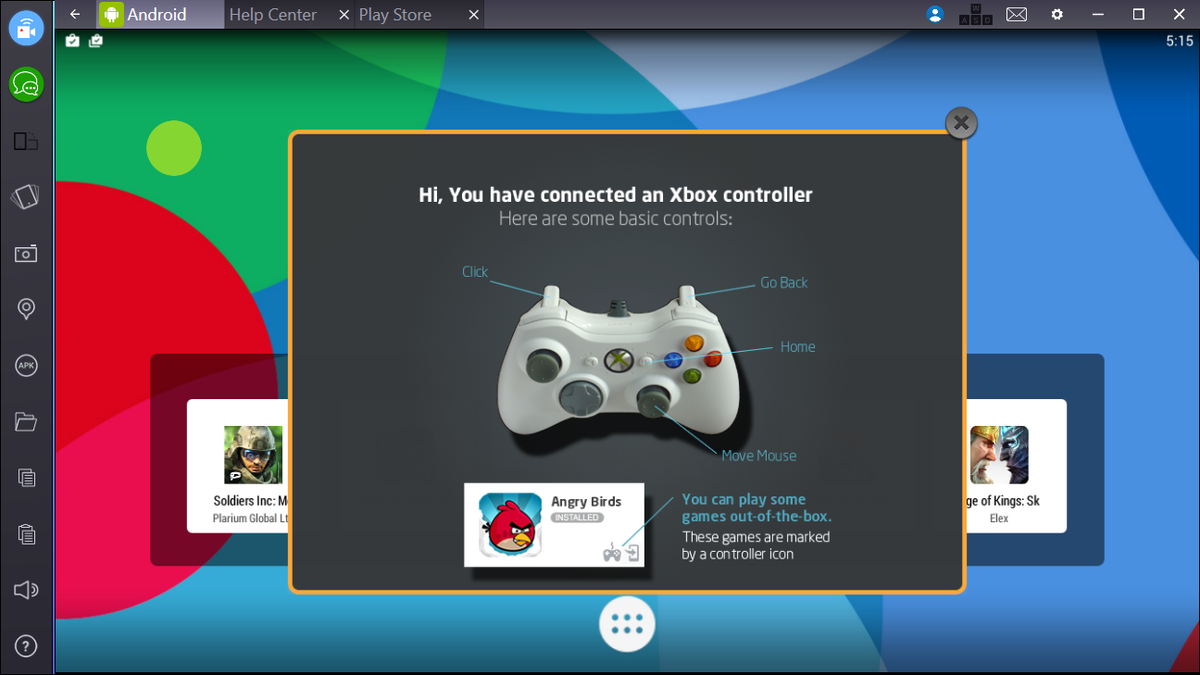
The most popular Android games out there like Fortnite and PUBG Mobile, even come with dedicated presets for one-stop setup of your favorite games. You can also set Bluestacks to accept input from a variety of controllers, such as say the Xbox 360 or Xbox One controllers.
Media manager

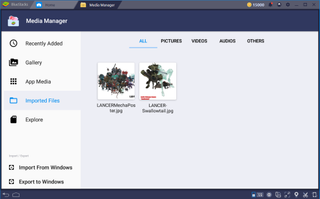
Another tool that you might find handy is Bluestacks' Media Manager, which allows you to import files from your Windows system into the BlueStacks emulator and vice versa. You can access the Media Manager through the Home Screen, and from there, move your files, photos and documents to and from the system.
BlueStacks extras
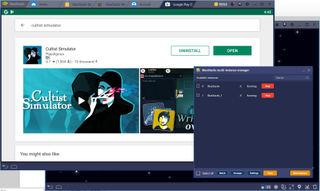
While that covers the basics, Bluestacks also includes handy extra features like a Multi-Instance manager that allows you to run multiple instances of the emulator. That means you can run multiple games simultaneously, or even play the same game from multiple Google accounts, allowing you to be your own multiplayer party, or to farm coins or resources using multiple accounts.
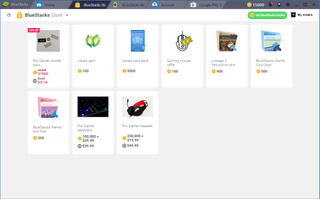
The app also includes a rewards system that provides BlueStacks users with virtual currency whenever they play games or undertake tasks like streaming or sharing video from BlueStacks; you can then trade that in for rewards such as custom themes, cards, Premium subscription time, or even discounts on peripherals like mice, mechanical keyboards, and headsets.
There's your quick visual tool of the BlueStacks App Player, which has grown into a capable and feature-packed Android emulator for your desktop or laptop, putting thousands of mobile apps and games right to your big screen.
-
Nemanja_8 Hello there,i have a problem when i done installing bluestack and when it is open i am abble to click just on "watch videos" and "chat" i cant log in or something like that pleasse help me...Reply

