How to Edit Your Facebook Pictures Snapchat-Style
Here's our step-by-step guide on how to use Facebook's new uploader to add Snapchat style stickers and text to your pics.

One of the most fun things about Snapchat is its creative editing tools that let you add text, stickers and doodles on your pictures before sending them. Now, you can do the same to your Facebook photos, thanks to a new feature the social network added to its photo uploader (in iOS only). The tool is being rolled out, and those who have the new uploader will see a vertical line sweep across their image after it's uploaded, informing them that filters are available if they swipe sideways.
If you already have the new Facebook uploader, here's how to add Snapchat-esque text and stickers to your photos.
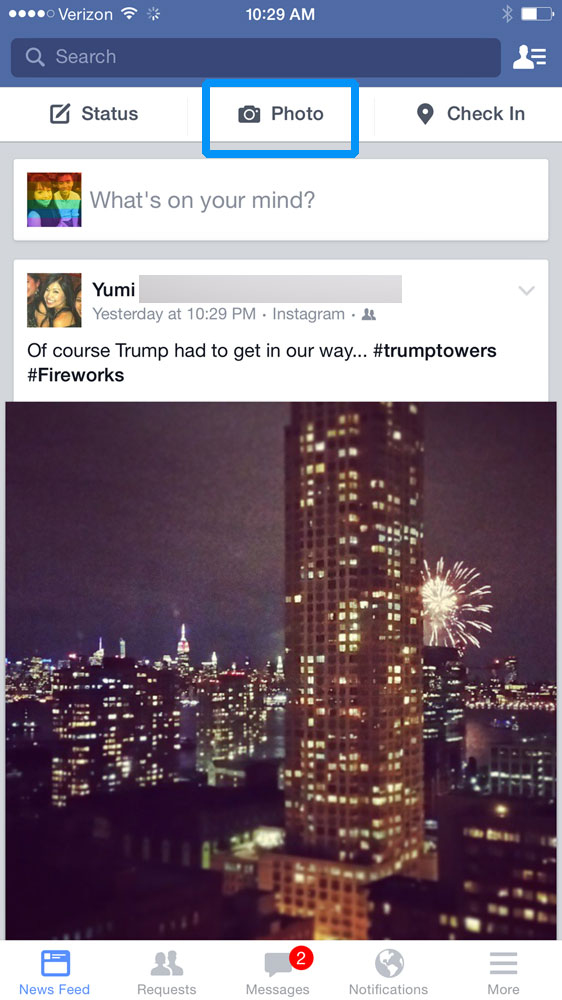
1) Open Facebook.

There's no need to update the app if you're on iOS 7 and up, since those systems automatically update apps. It's not clear which versions of iOS can run this new version of Facebook, but those on iOS 6 and prior may want to try to update their app via the App Store.
2) Upload a photo.
MORE: How to Take Better Photos With Your iPhone
If you have the new uploader, you'll see a note that says, "Swipe for more"
Sign up to get the BEST of Tom's Guide direct to your inbox.
Get instant access to breaking news, the hottest reviews, great deals and helpful tips.
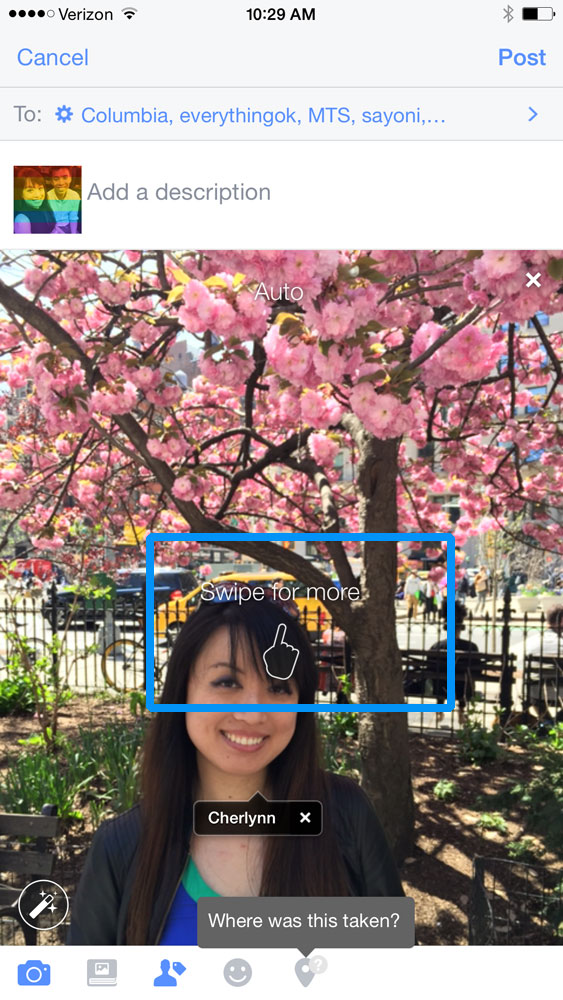
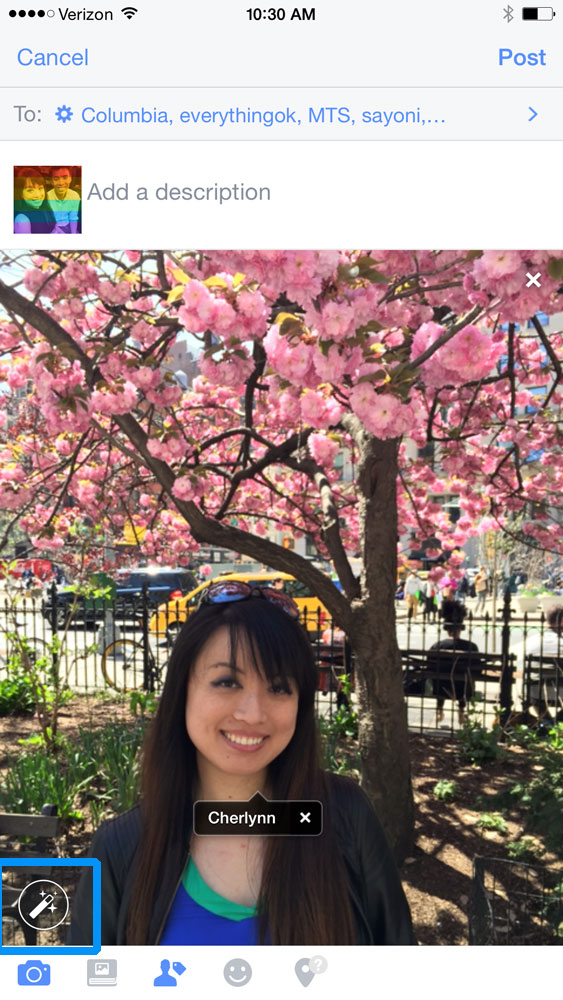
3) Tap the magic wand icon at the bottom left of your picture.
4) Press the sticker symbol at the extreme right on the row of buttons at the bottom.
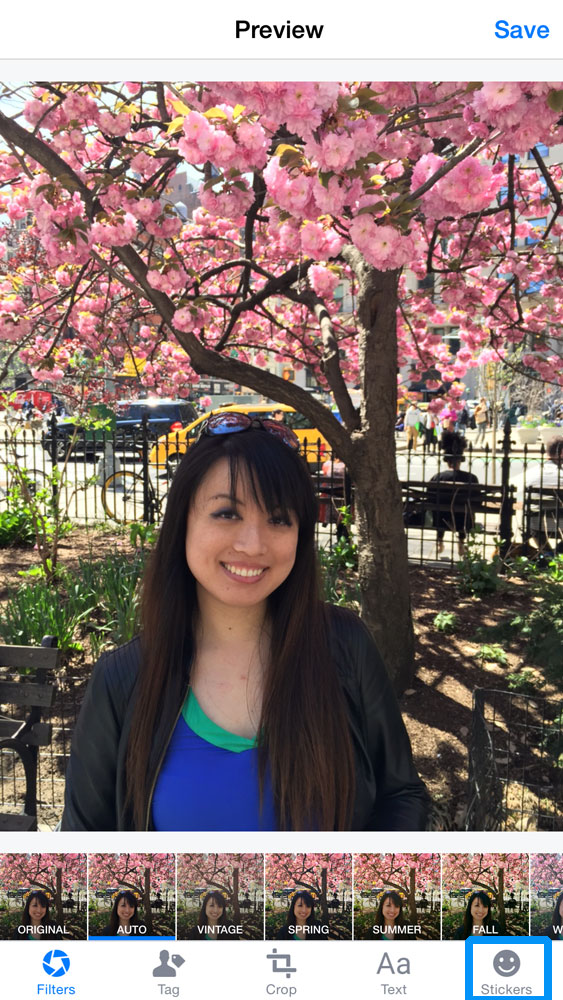
5) Select the group of stickers you want to choose from. If you need more stickers, tap the Plus icon.
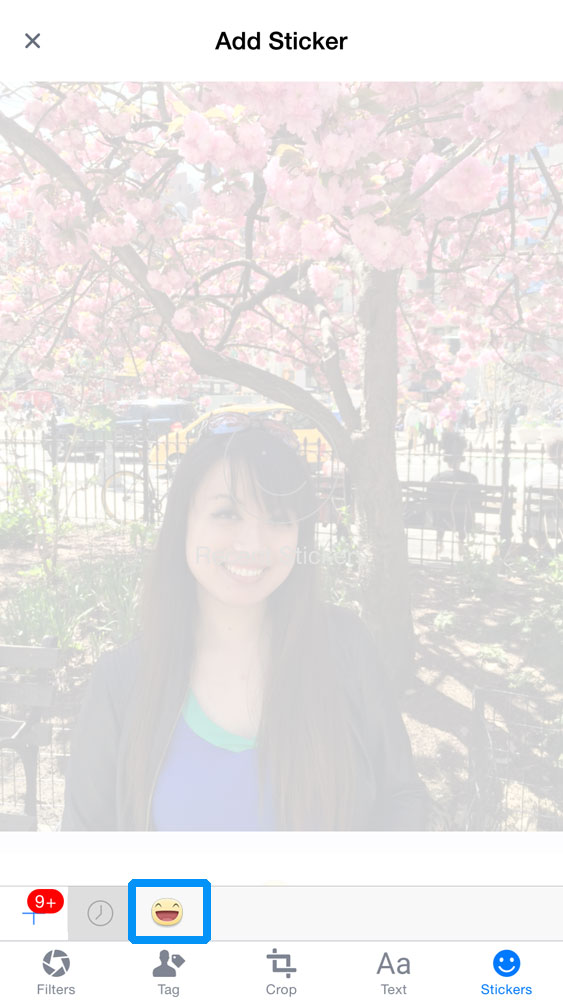
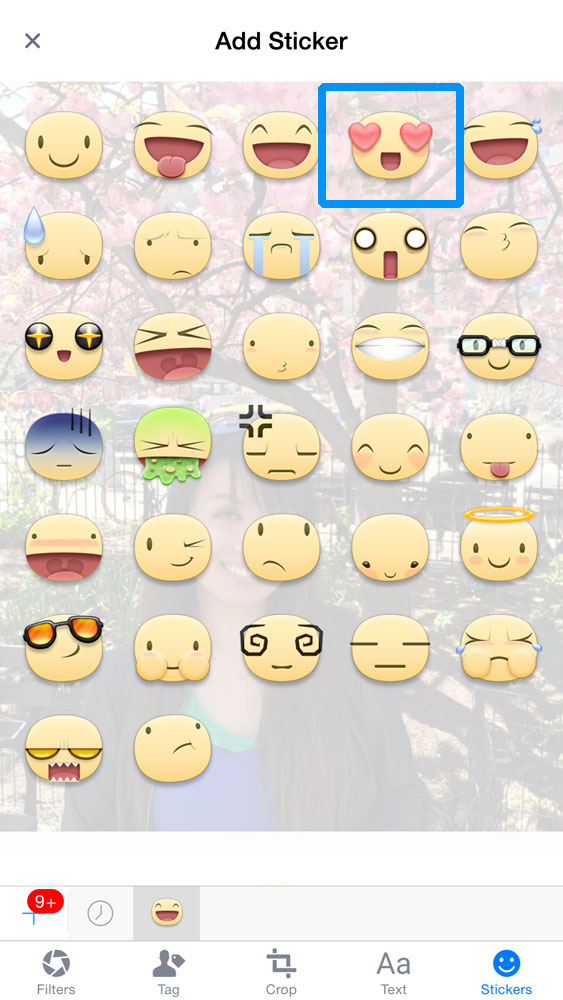
6) Pick the sticker you want to add.
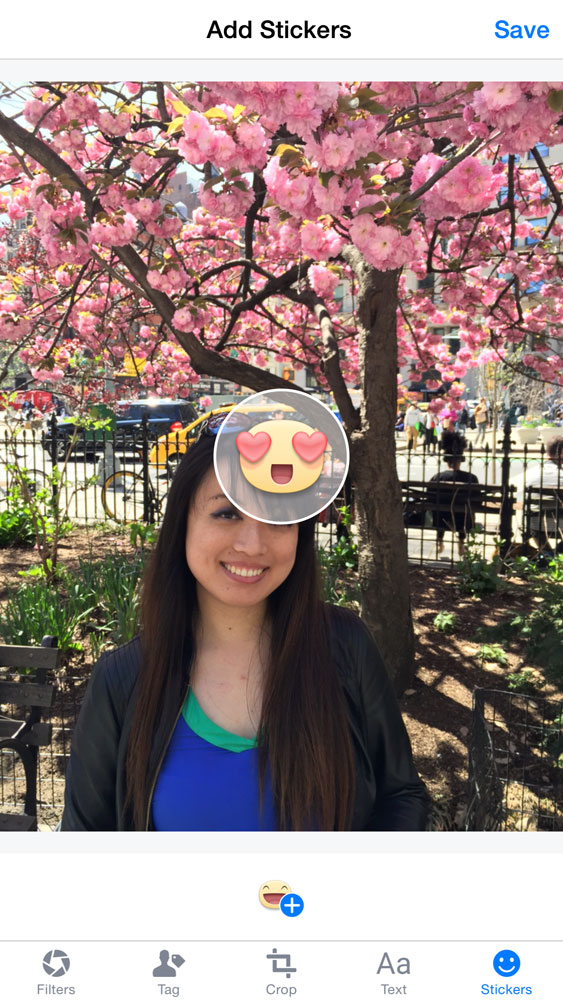
7) Move the sticker by dragging it around.
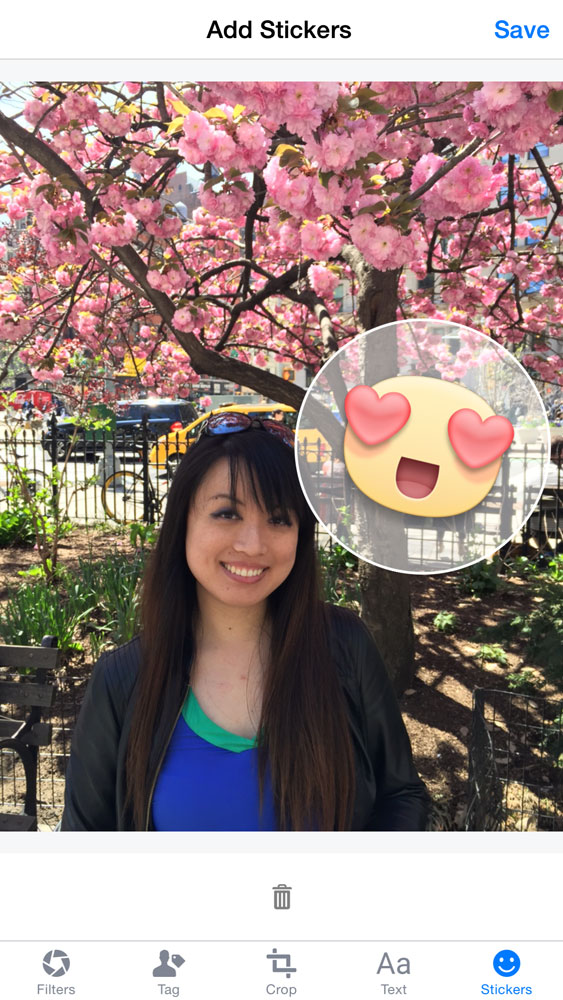
8) Resize your sticker by pinching to expand or contract.
9) Tap the Text icon at the bottom, next to the Stickers symbol, to add words.
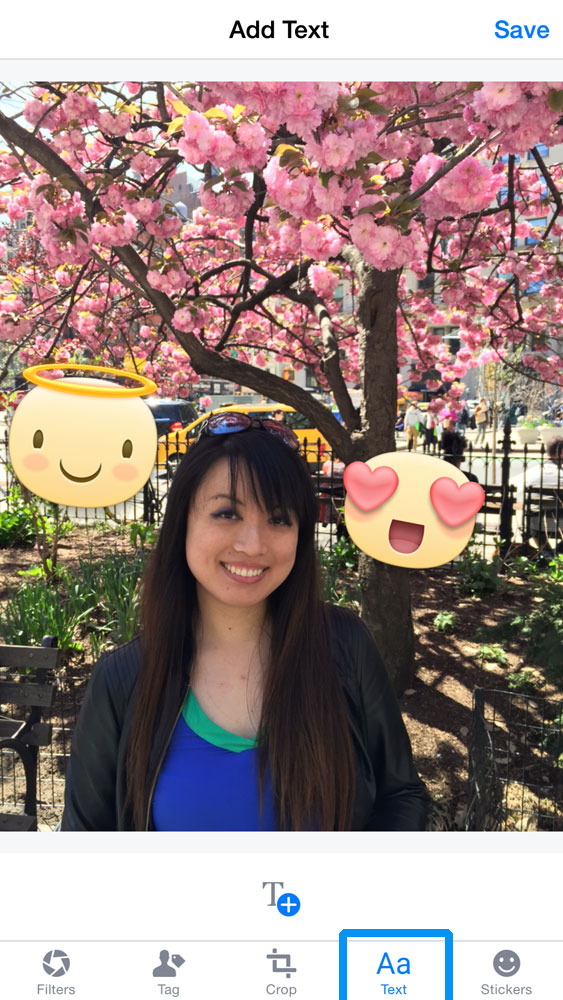
10) Type your funny, ironic or painfully truthful caption.
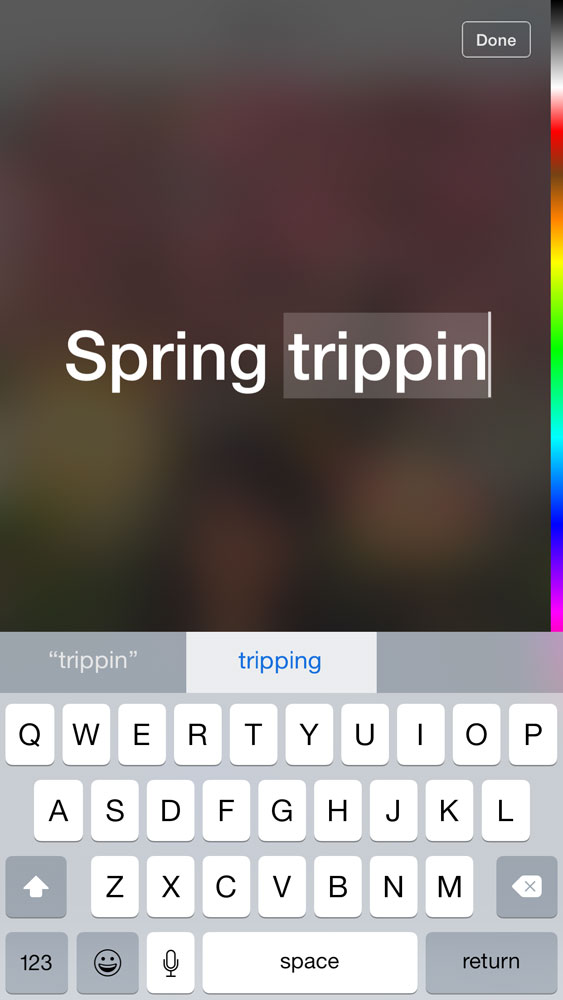
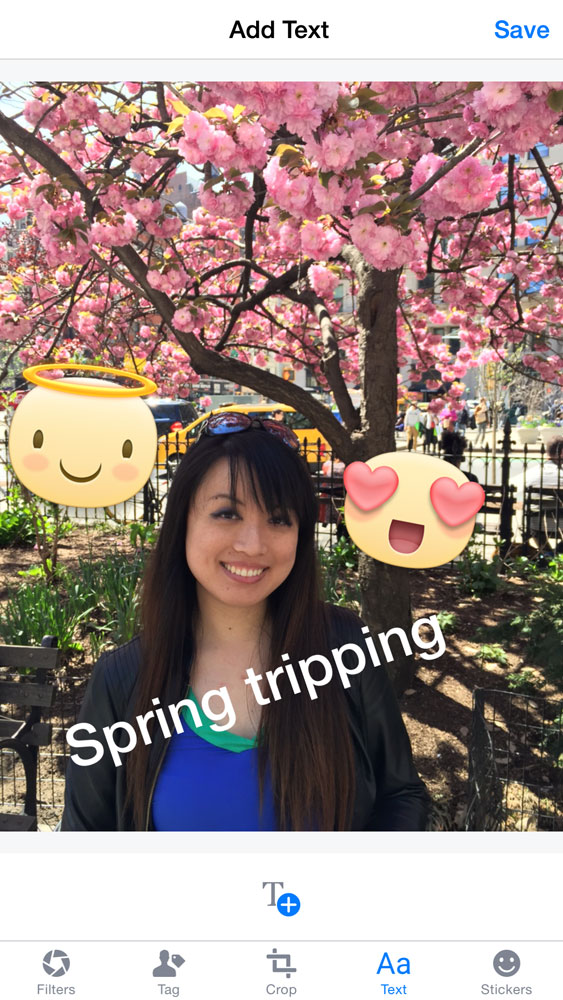
11) Change the orientation of the text by twisting it with two fingers.
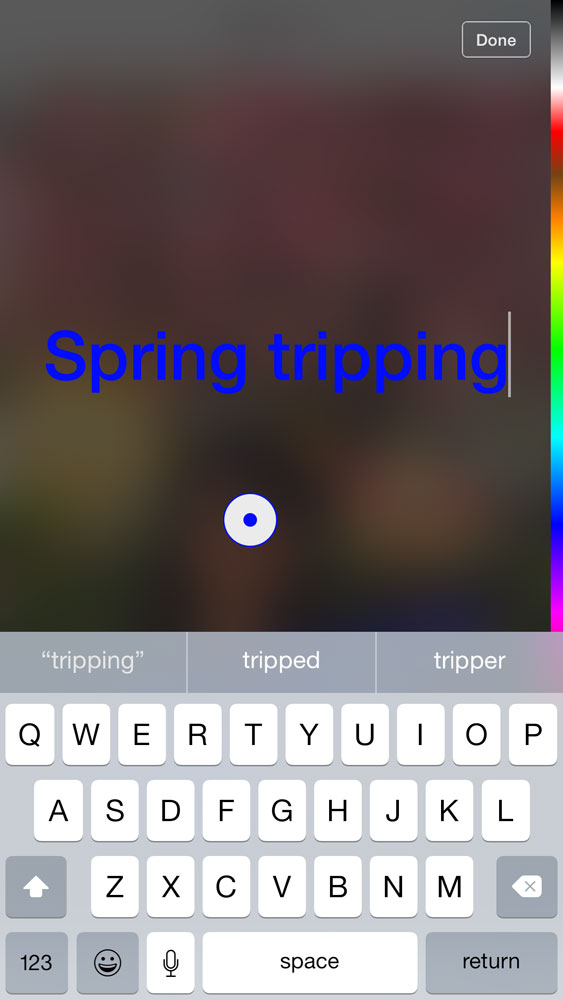
12) Choose a color for your text by swiping in from the right of the screen where the color bar is, and dragging the pointer up or down to pick a hue that corresponds with the bar.
13) Hit Save at the top right when you're satisfied with your image.
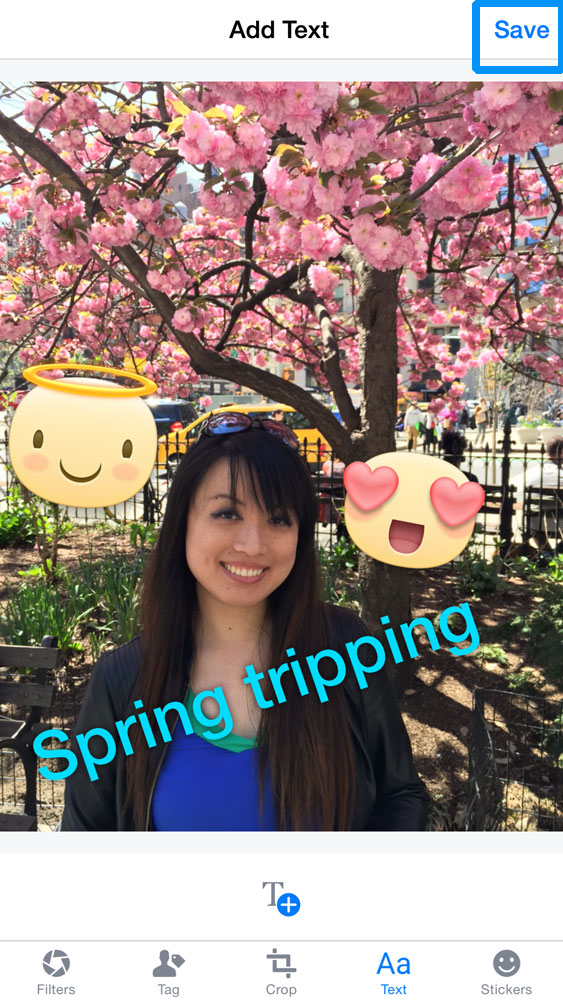
14) Enter a cool, funny caption that shows off your creative genius. Then hit Post on the top right.
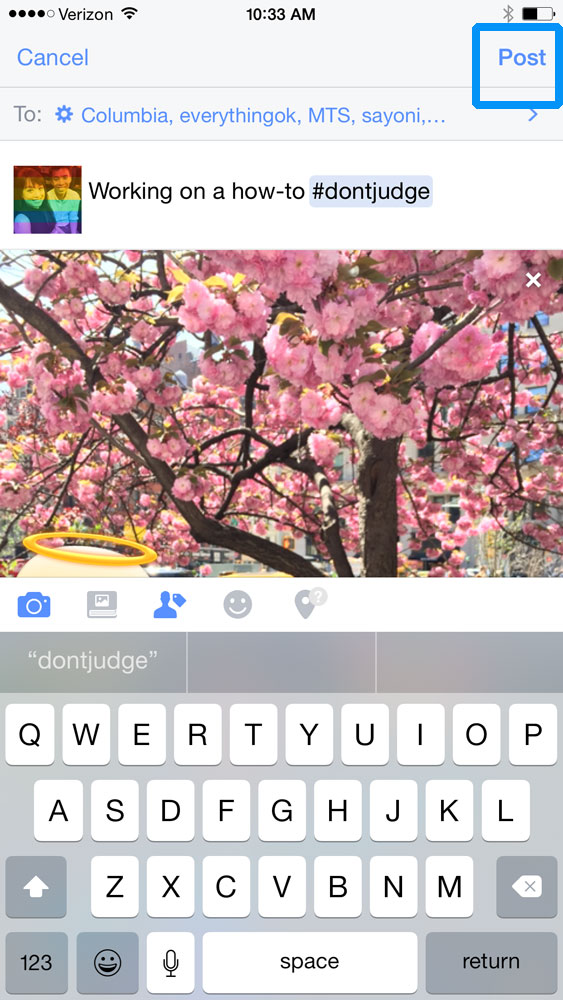
Your masterpiece will then be published for the world (or your Facebook audience) to see.
- Best Smartphone Cameras for the Money
- 12 Best iOS Apps You're Not Using (But Should Be)
- Best Free Photo Management Tools
Staff writer Cherlynn Low loves taking pictures and doodling on them. Follow her @cherlynnlow. Follow Tom's Guide at @tomsguide and on Facebook.
Cherlynn is Deputy Editor, Reviews at Engadget and also leads the site's Google reporting. She graduated with a Master’s in Journalism from Columbia University before joining Tom's Guide and its sister site LaptopMag as a staff writer, where she covered wearables, cameras, laptops, computers and smartphones, among many other subjects.

