How to Encrypt Files on Mac OS X
Mac OS X computers have some built-in encryption features. Here's a step-by-step tutorial on how to encrypt files and folders.

If you want to add an extra layer of security to files and folders on your Apple computer, Mac OS X comes with several preloaded options right in front of you.
OS X's preloaded encryption services are convenient, but they aren't your only options for protecting your files.
MORE: 13 Security and Privacy Tips for the Truly Paranoid
How to use OS X's FileVault 2 to encrypt files and folders
FileVault 2 is a built-in encryption feature first introduced in OS X Lion. Unlike Microsoft's EFS, which encrypts via the file system, FileVault 2 turns your hard drive into an encrypted volume. Anything stored on your hard drive (or at least the partition of your hard drive running Mac OS X) will then be encrypted.
Don't confuse FileVault 2 with "Legacy FileVault," or simply "FileVault," the earlier version of the feature first introduced in Mac OS X Panther (10.3).
1. Verify that your computer is running Mac OS X Lion (version 10.7) or higher. You can do so by clicking the Apple icon at the upper left of your screen and selecting "About This Mac."
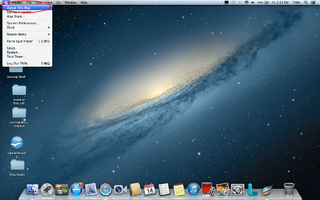
1a. Check the version number in the "About this Mac" window. Beneath the letters "OS X" you should see your version number in gray font. If the number is less than 10.7, then you'll need to update your operating system.
Sign up to get the BEST of Tom's Guide direct to your inbox.
Get instant access to breaking news, the hottest reviews, great deals and helpful tips.
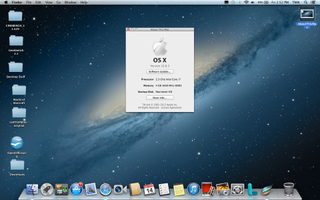
1b. Update your operating system by clicking on the "Software Update button." For more help upgrading to the latest Mac OS X, see our sister site Laptop Magazine's article "How to Download and Install macOS Sierra."
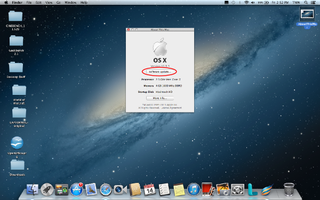
2. Make sure you have OS X Recovery downloaded. This is another Mac app that comes with OS X Lion, Mountain Lion and Mavericks, so if you're running one of these operating systems you should be all set.
For more help running apps, check out "How to Install Apps in Mac OS X" on Laptop Magazine.
Now to start using FileVault 2!
3. On the desktop, click the Apple icon in the upper lefthand corner.
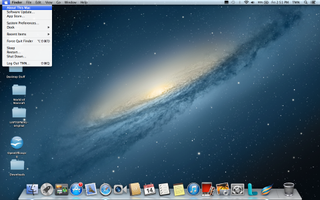
4. Click on "System Preferences…" from the drop-down menu.
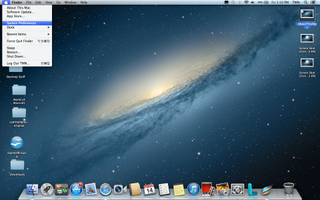
5. From the "System Preferences" window, select the "Security and Privacy" icon in the first row.
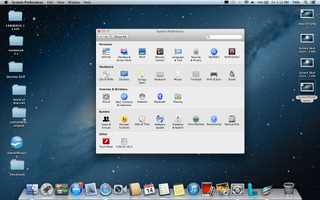
6. Select the "FileVault" tab from the "Security & Privacy" window.
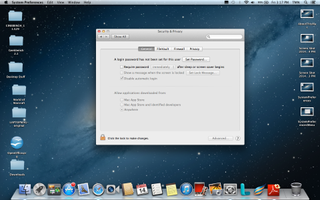
7. Under "FileVault," click on the "Turn On FileVault..." button.
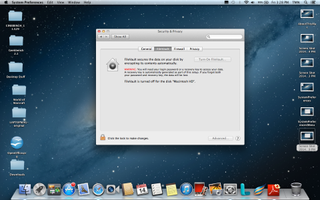
You'll then see a new window asking you to choose which user accounts on the computer will be able to access the encrypted volume you're about to create.
If that button is grayed out, it means FileVault is turned off in your system settings. To turn it on, follow these steps:
8. Click on the gold-colored padlock icon in the lower left corner of the "Security and Privacy" window. You'll be asked to enter the username and password for the administrator account on the computer. Once you do so the gold padlock will switch to look unlocked instead of locked.
9. Choose which user accounts can access the encrypted volume you're about to make. The account from which you're making the volume will be checked by default. If you want any other accounts to have access, manually select them. Make sure these accounts have passwords set before you choose them. When you're done, click "Continue."
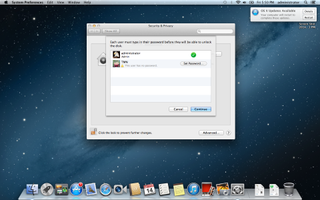
8. Write down your recovery key. You should now see a window displaying a "recovery key" which acts as a backup password for your encrypted volume if you ever forget your account password. The key should be twenty-four characters long. The only way to change it is to re-encrypt the FileVault volume.
Write this key down somewhere and secure it in a safe place. Press "Continue" once you've secured your recovery key.
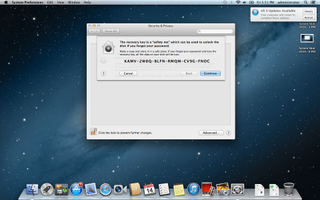
9. Choose whether you want Apple to store your recovery key or not. You should now have the option to let Apple store your recovery key for you.
First, make sure you have an Internet connection, then check the box next to either "Store the recovery key with Apple" or "Do not store the recovery key with Apple." If you choose to store your key with Apple, be aware that, as we learned from the top-secret documents leaked by former National Security Agency contractor Edward Snowden, the U.S. government can force tech companies to turn over data on their users.
MORE: Should You Trust US Companies with Your Data?
10. Restart the Mac. You'll be prompted to do so by a new window. Click the "Restart" button.
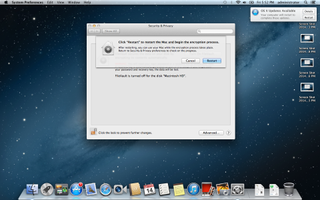
When you next log into your user account, the computer will begin encrypting all of the files on your hard drive. You can create, save and access files just as you used to; the encryption is unlocked when you log into your account at sign-in.
How good is Apple's FileVault 2 encryption?
Apple's FileVault 2 uses an encryption method called XTS-AES 128-bit, which means it encrypts using a string of random characters 128 bits in length. This is a strong, trustworthy method, but there are some high-level workarounds that a security expert could exploit.
For the average user, the most important thing is choosing a strong user account password that isn't easily guessable.
If you're very serious about security and privacy, you might not trust an Apple solution. The FBI and NSA can require U.S. companies to hand over data or encryption keys. For those reasons, we suggest using a free third-party service, such as TrueCrypt or 7-Zip.
Email jscharr@techmedianetwork.com or follow her @JillScharr and Google+. Follow us @TomsGuide, on Facebook and on Google+.
Jill Scharr is a creative writer and narrative designer in the videogame industry. She's currently Project Lead Writer at the games studio Harebrained Schemes, and has also worked at Bungie. Prior to that she worked as a Staff Writer for Tom's Guide, covering video games, online security, 3D printing and tech innovation among many subjects.
-
rinapu By some (business, not paranoid) considerations, I do not use FileVault2 anyway. Instead, as recommended in this article, I use 7-Zip. The key fature is the compatibility in the heterogenyc network, and others are some matters of business not to be discussed here.But if I can say my opinion, the FileVault2 is an excellent integrated product. And the issues of privacy must be regulated politically, not by just using "right" programs.Reply
