12 Tips for Taking Beautiful Food Pictures
Whether you’re interested in documenting your kitchen creations or simply love Instagramming in restaurants, these quick tips will help transform your food photography from mediocre to mouth-watering.
How to Take Beautiful Food Pictures
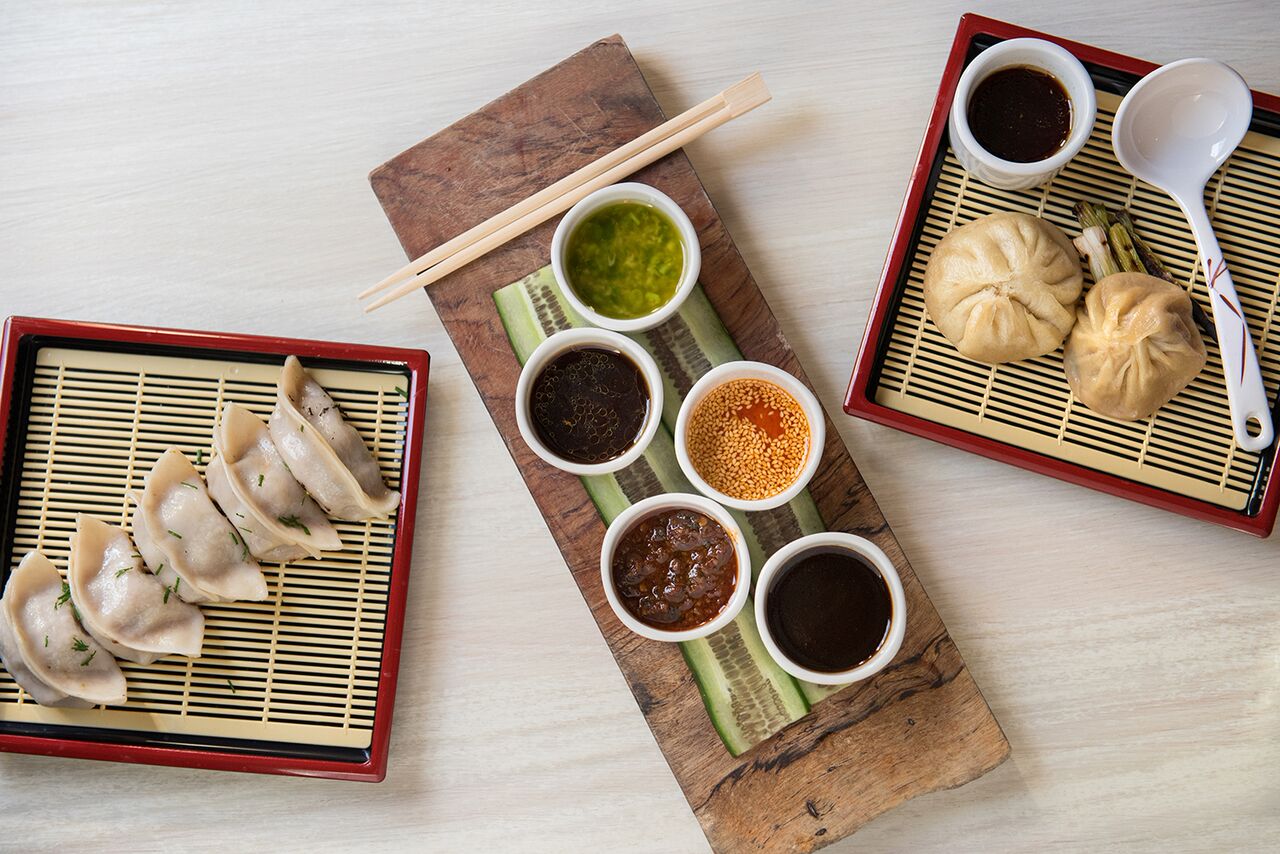
After kids and pets, photos of food dominate Instagram, Facebook and other social media. But how do you get that plate of pierogi to look not just palatable, but perfect? Here are 12 tips that will make your photos of food truly drool-worthy.
Use window light
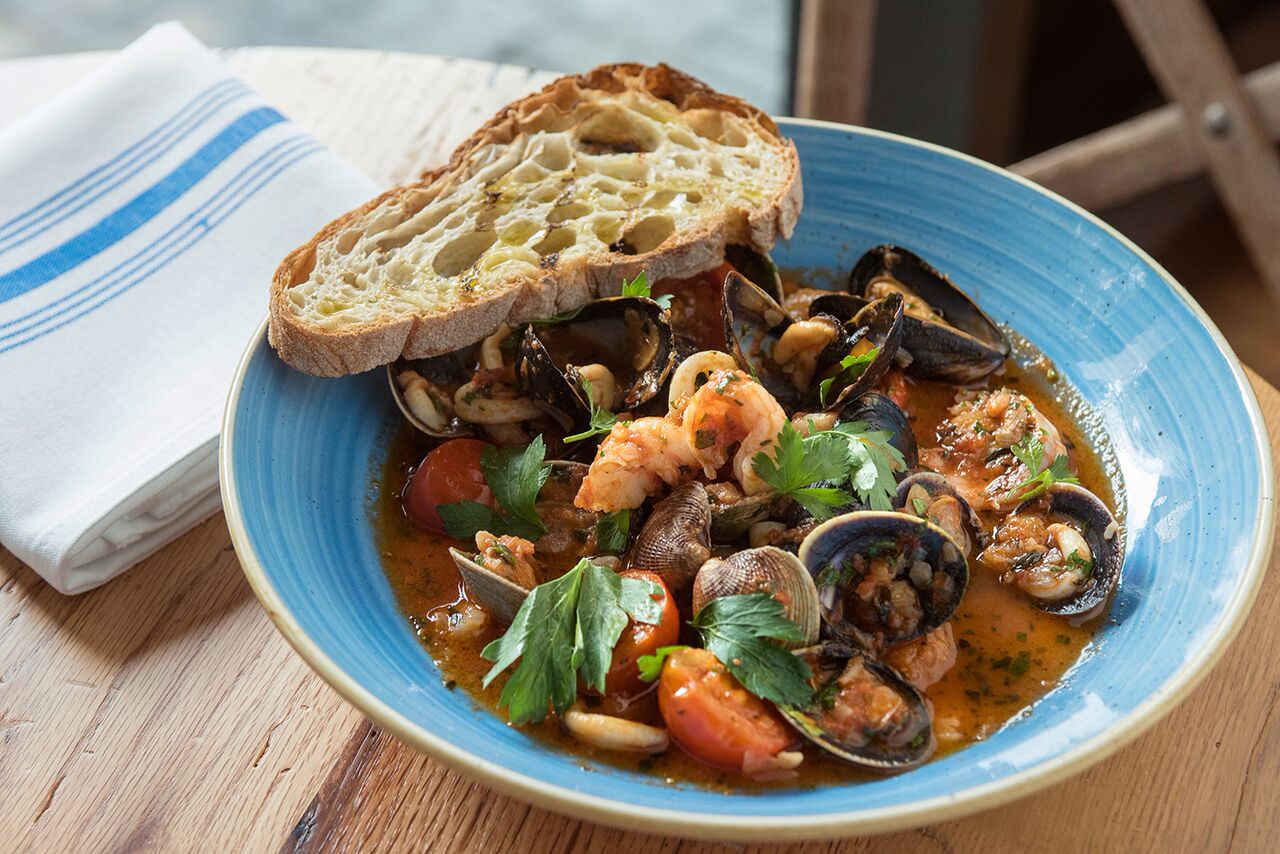
Creating the perfect lighting for food photography requires little more than a window. The soft natural light will minimize harsh shadows and give your dish a fresh, airy quality (as long as the sun isn’t shining directly in). Remember to turn off any indoor lights, which may give your food a yellow cast.
If you don’t have access to natural light, you can always mimic window light by using a single, diffused light source. We recommend a $106 Lowel Ego tabletop light or an off-camera flash attached to a softbox.
Use a reflector or white card
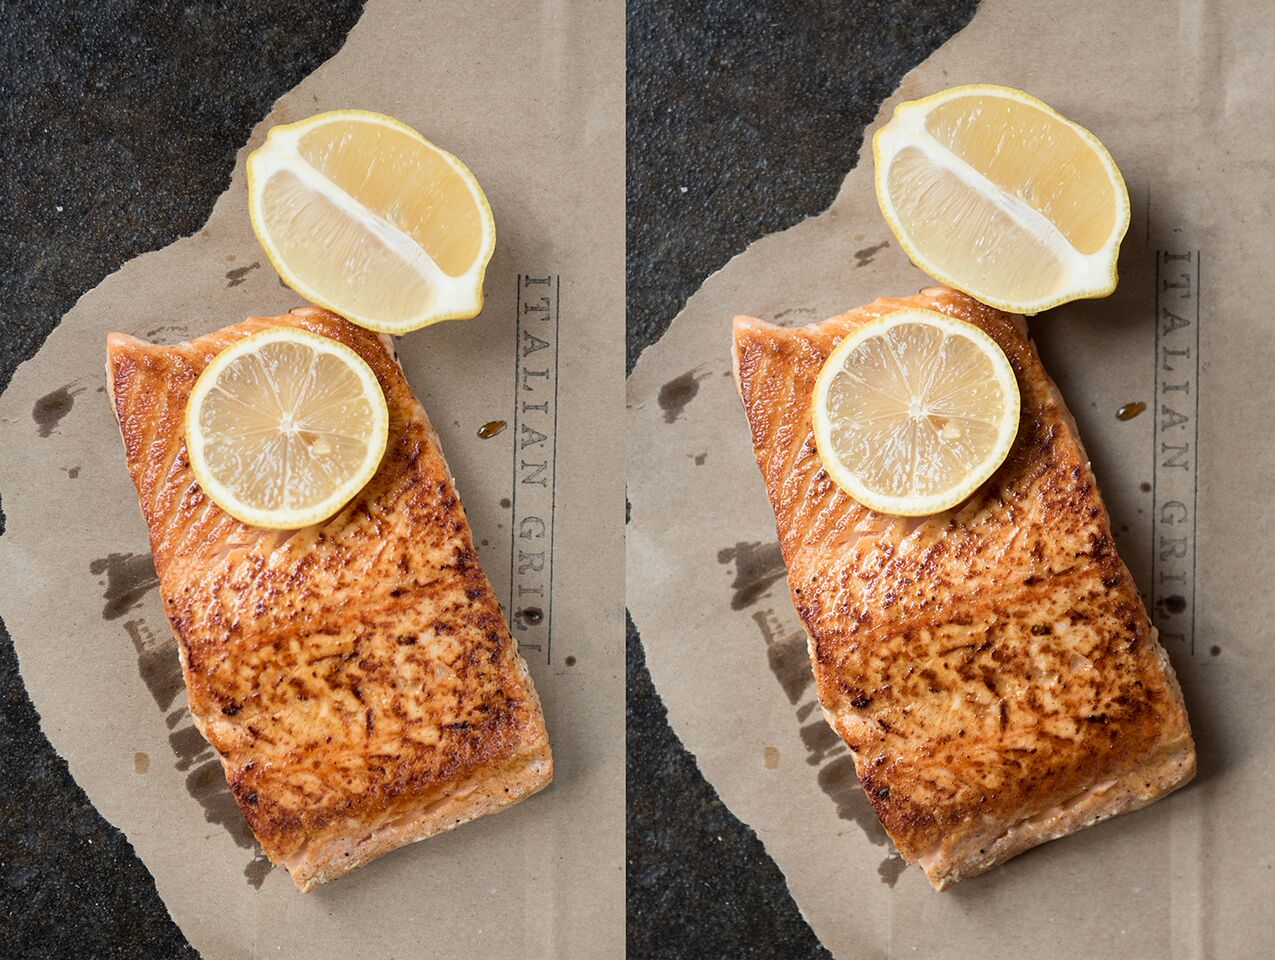
Shooting with a single diffused light source will result in a soft shadow to one side of your food. To brighten up the dark areas, place a reflector or white card on the shaded side of your dish. This will bounce the light back into the shadows and give your lighting a more even appearance.
MORE: Best Lens Kits for iPhone Photographers
In the left image, the photographer used a silver reflector to soften the shadows created by the salmon. (The image on the right was taken without a reflector, and the shadows are more prominent.) If you don’t have a reflector or white card handy, you can improvise with aluminum foil, sheets of paper or even a white napkin.
Backlight your food
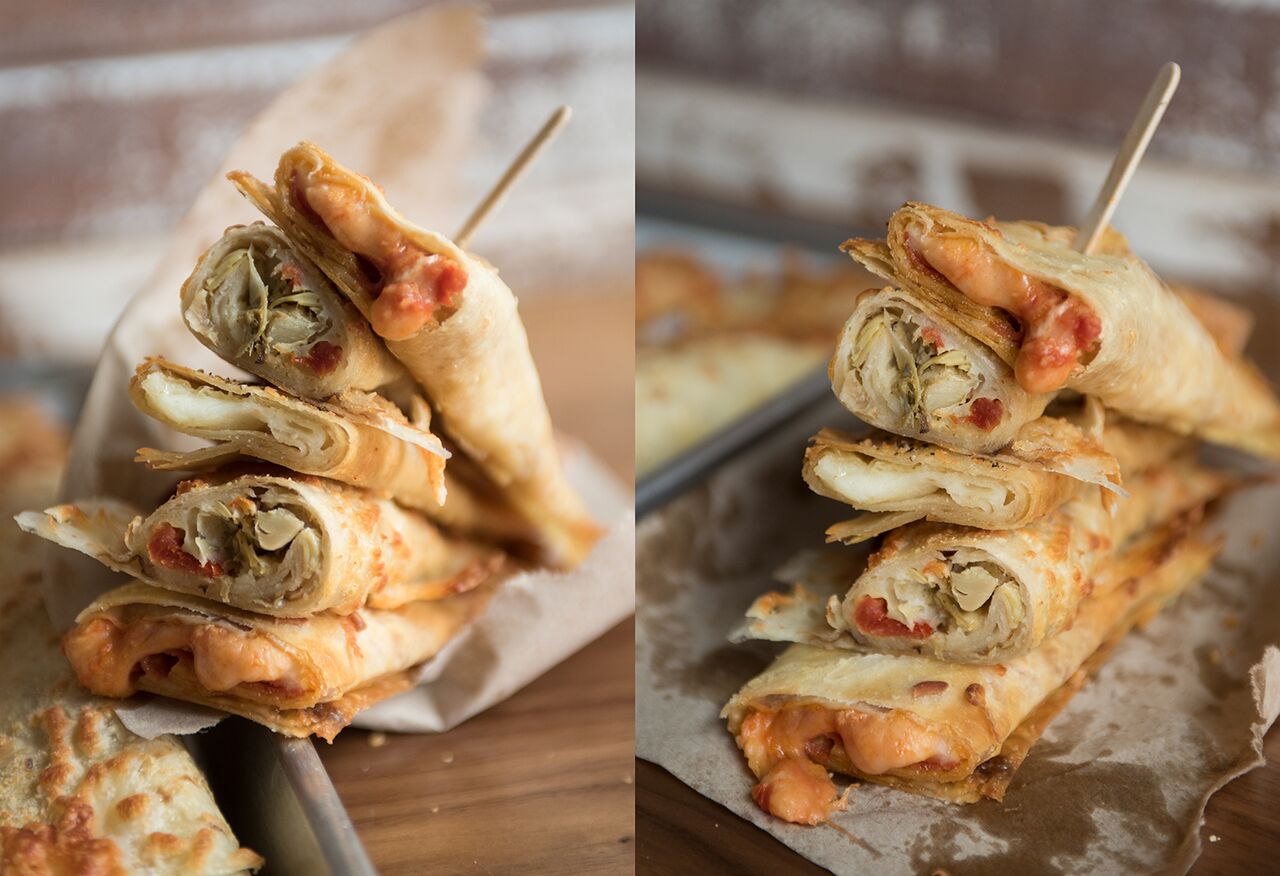
As a general rule, avoid placing yourself directly between the light source and your subject. Shooting with the light at your back will make the food look flat and less interesting. Instead, place the light behind your dish to create drama and texture, as seen in the shot of these Italian wraps on the left.
Sign up to get the BEST of Tom's Guide direct to your inbox.
Get instant access to breaking news, the hottest reviews, great deals and helpful tips.
Shoot from various angles
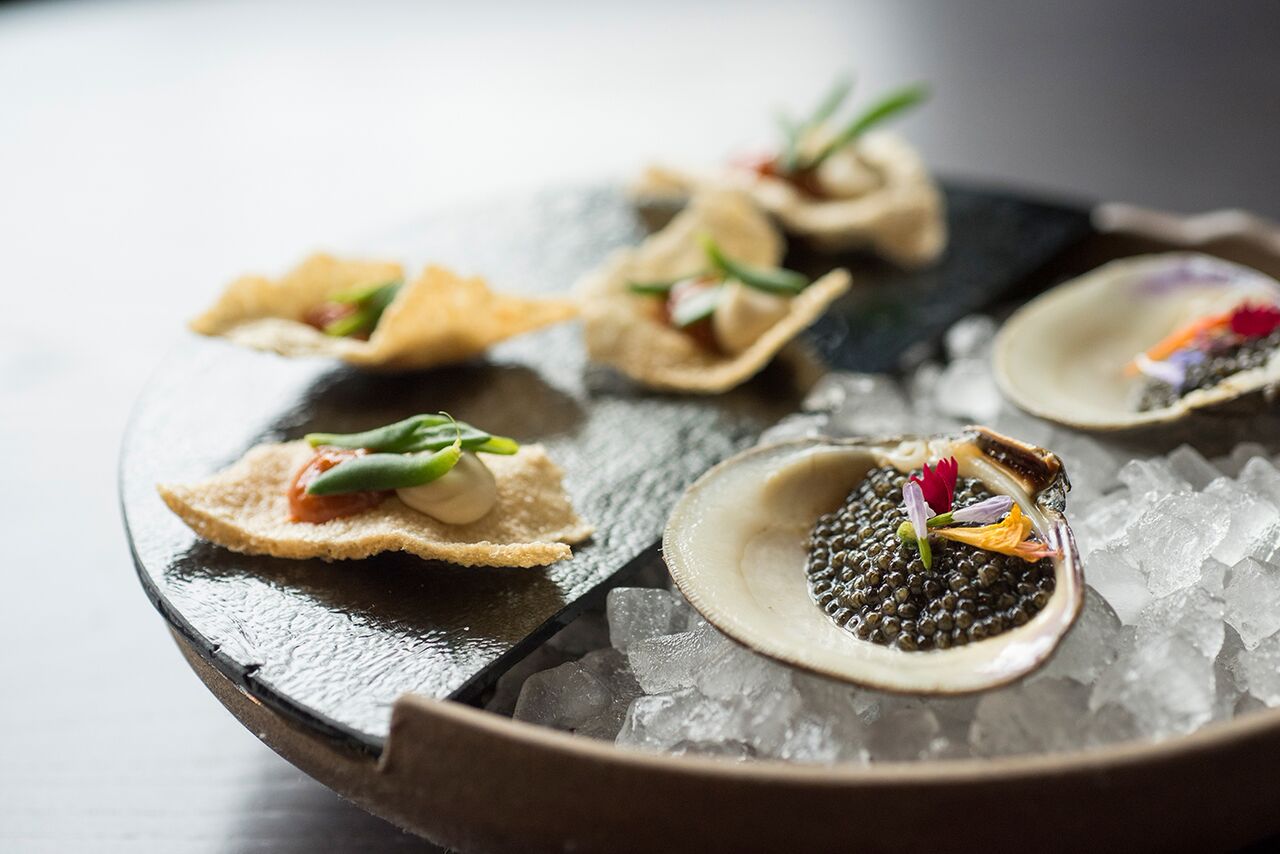
Different dishes look good from different angles. Burgers photograph best from the side, so you can see the condiments, while pizzas tend to look better when shot from above. Most dishes have multiple flattering angles, so the more you experiment, the better your chances of nailing the shot will be.
Add pops of color
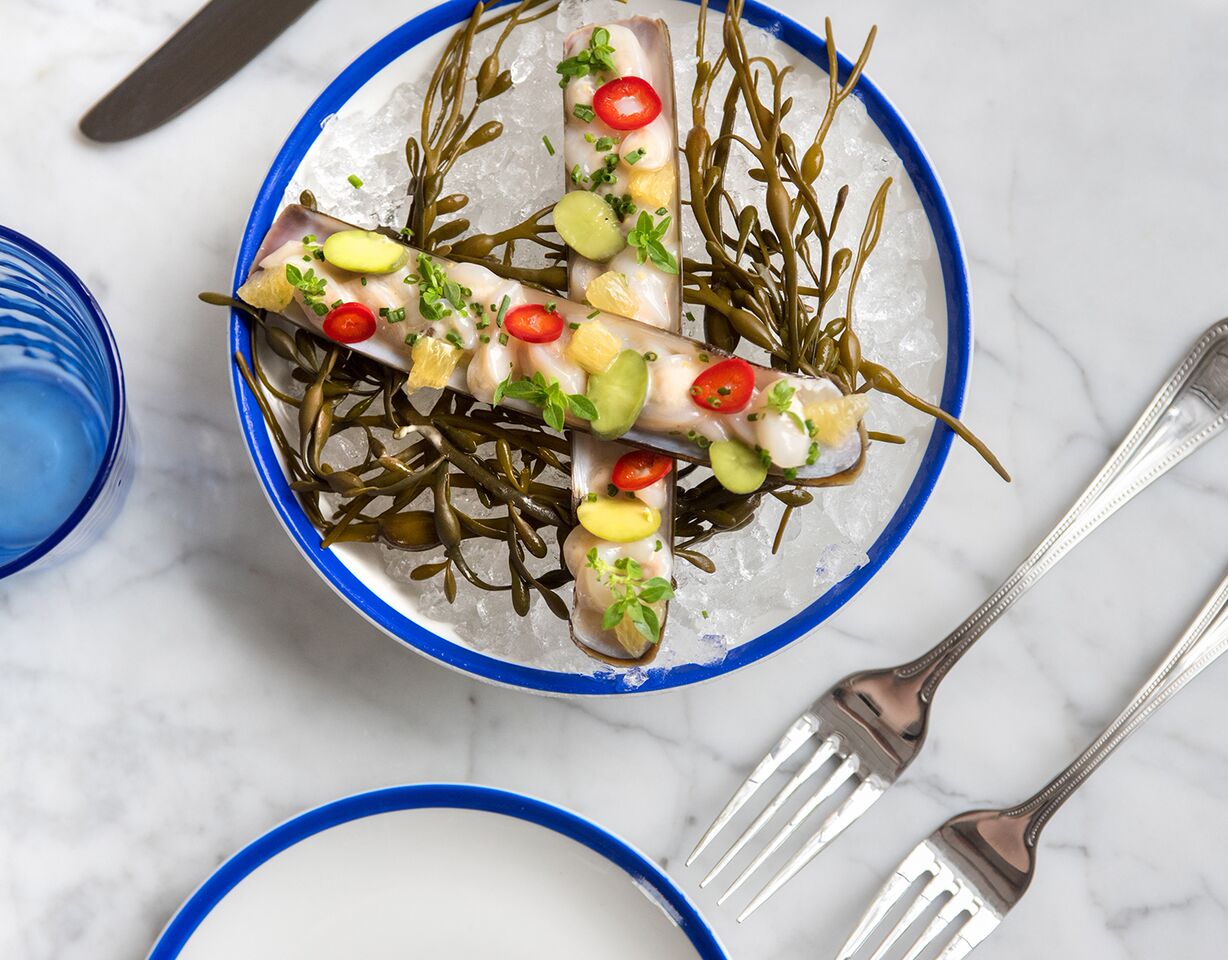
Much of the food we eat is pretty bland, color-wise – just think of fish, pasta, chicken and bread. To make your images more eye-catching, try adding colorful elements, like bright plates, napkins, glassware and garnishes.
Experiment with depth of field
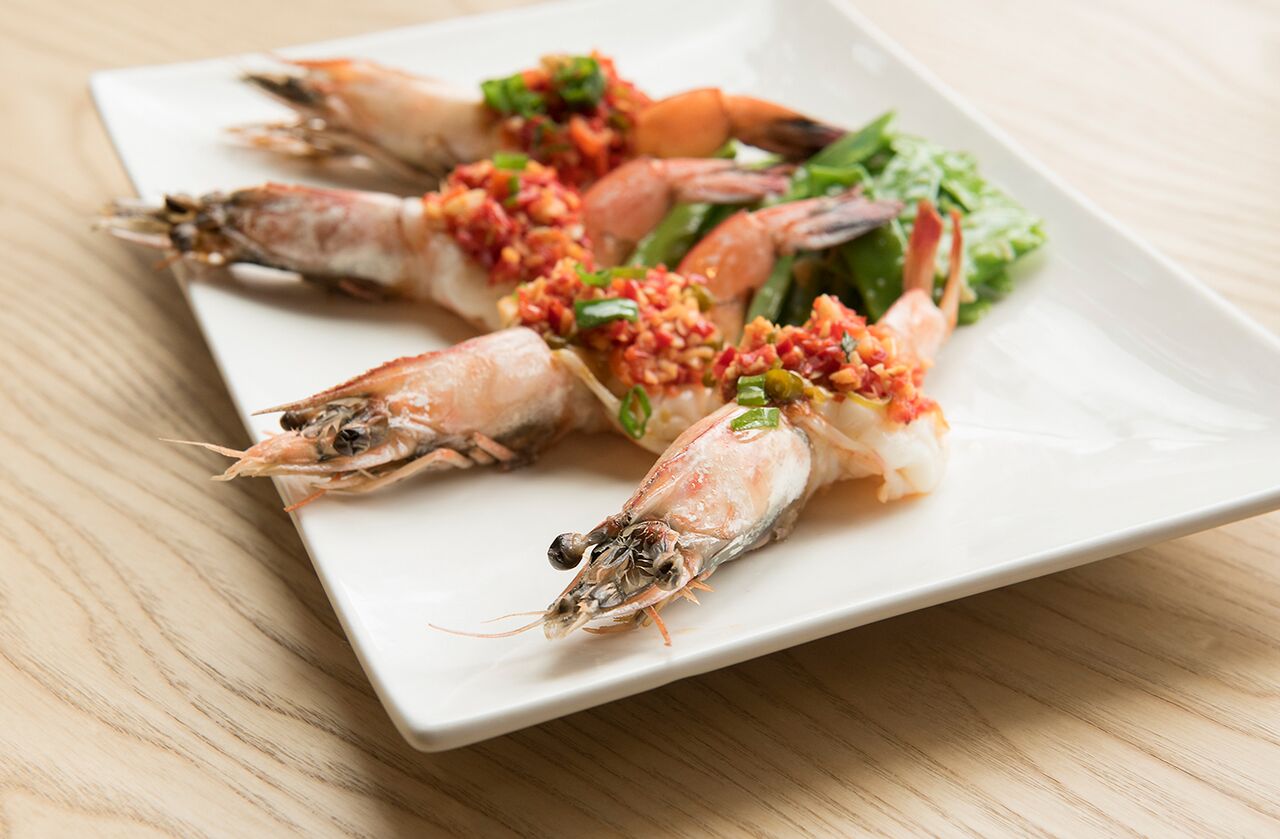
Try shooting with a variety of f/stops to see how it affects the depth of field in your photo. A low f/stop will help blur the background and make the dish pop, but it’s also important to keep key elements in focus. Depth of field becomes shallower as you move closer to your subject, so it’s easy to overdo the blurred effect when shooting food. In this image, the photographer focused on the face of the prawn in front and used an aperture of f/8 to preserve some detail in the red garnish on its back.
You can get a similar effect using Portrait mode on the iPhone 7, which uses both lenses to create the same blurred-background effect. If you’re using a smartphone, look for camera apps that let you change the f/stop.
Remove distractions
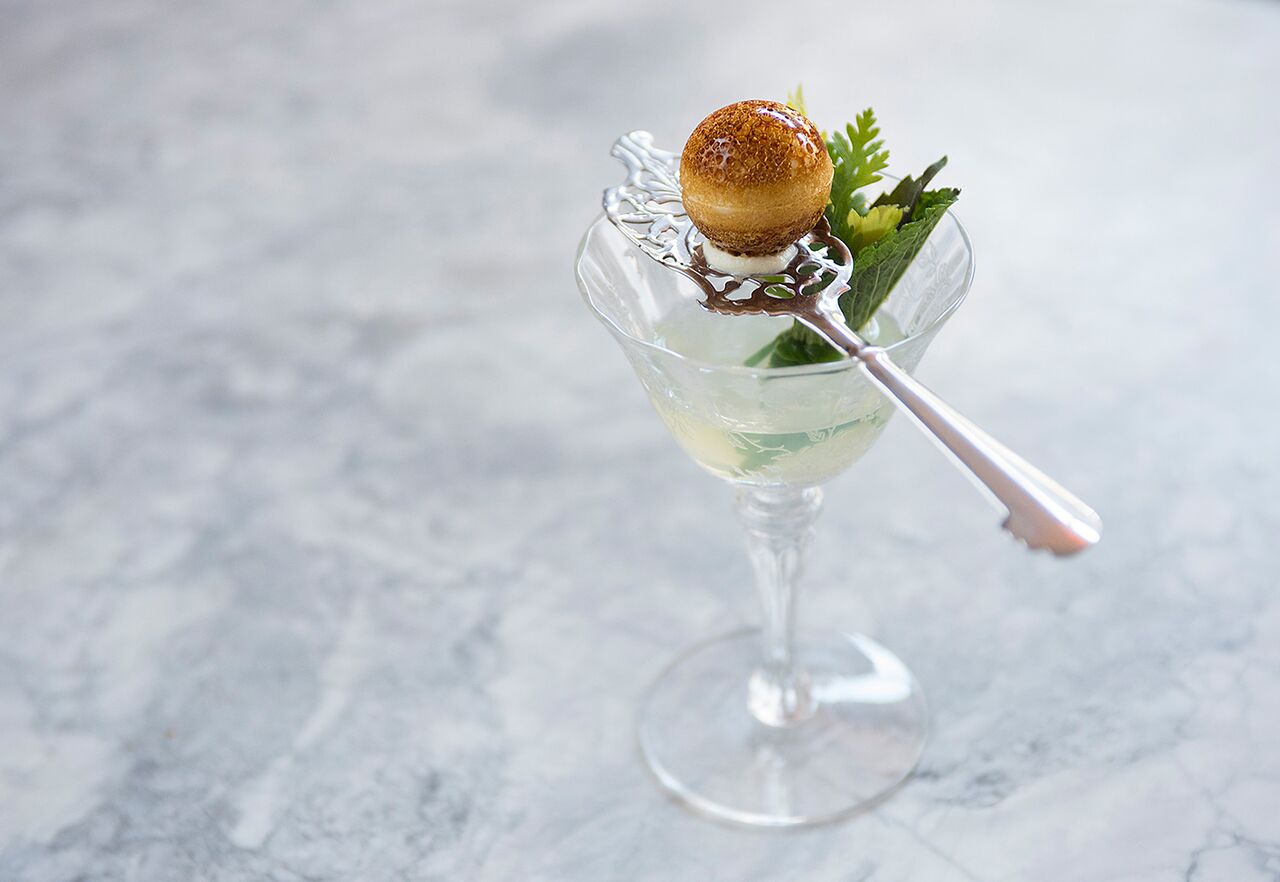
Nothing shows off a beautiful dish like a clean, uncluttered composition. Take some extra time when setting up your shot to remove any distracting background elements.
Set the table

Want to photograph multiple dishes at once? Place all of the entrees on a tabletop, and stand on a chair to get a bird’s-eye view. You will probably need to rearrange the setting a few times to find a balanced composition. Try experimenting with colorful plates, matching napkins, silverware, glassware and condiments to get the look you want.
Get close

Don’t be shy about getting close to your subject. Food is all about color and texture, so the clearer the details, the easier it will be for viewers to imagine the taste. If you have a DSLR, consider purchasing a macro lens to take your food photography to the next level. Some smartphones and point-and-shoot cameras also have built-in macro settings that allow you to focus at close range.
Keep it clean
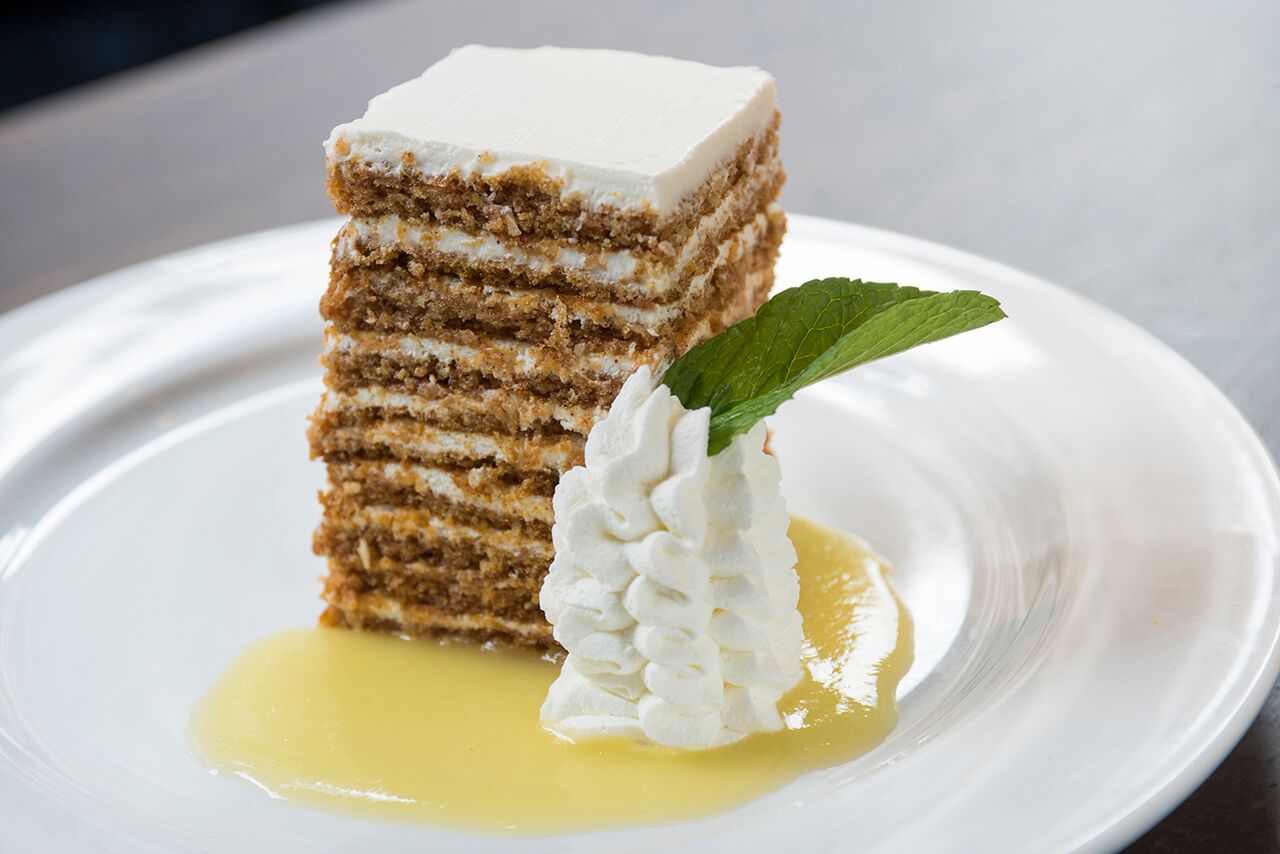
Nothing detracts from a food photo quite like smudged silverware or crumbs on a tablecloth. Unless you’re intentionally shooting a half-eaten pastry or a messy baking scene, make sure everything in your shot looks nice and tidy.
Add the human element
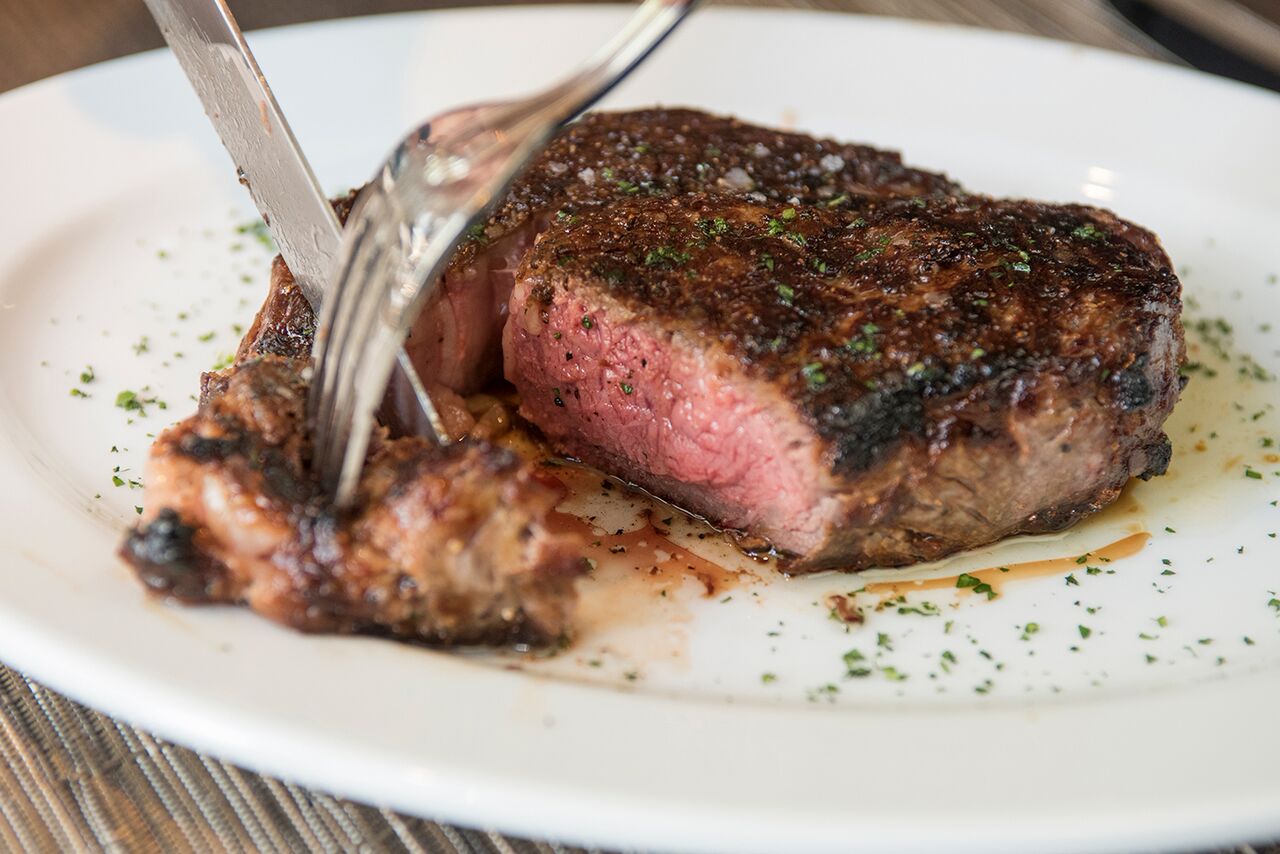
Recruit a friend to help bring your food photos to life. A hand drizzling maple syrup or pouring a cocktail is usually more engaging than a lifeless dish sitting on a table. In this image, the photographer asked an assistant to cut the steak so she could capture the pink interior.
Get creative
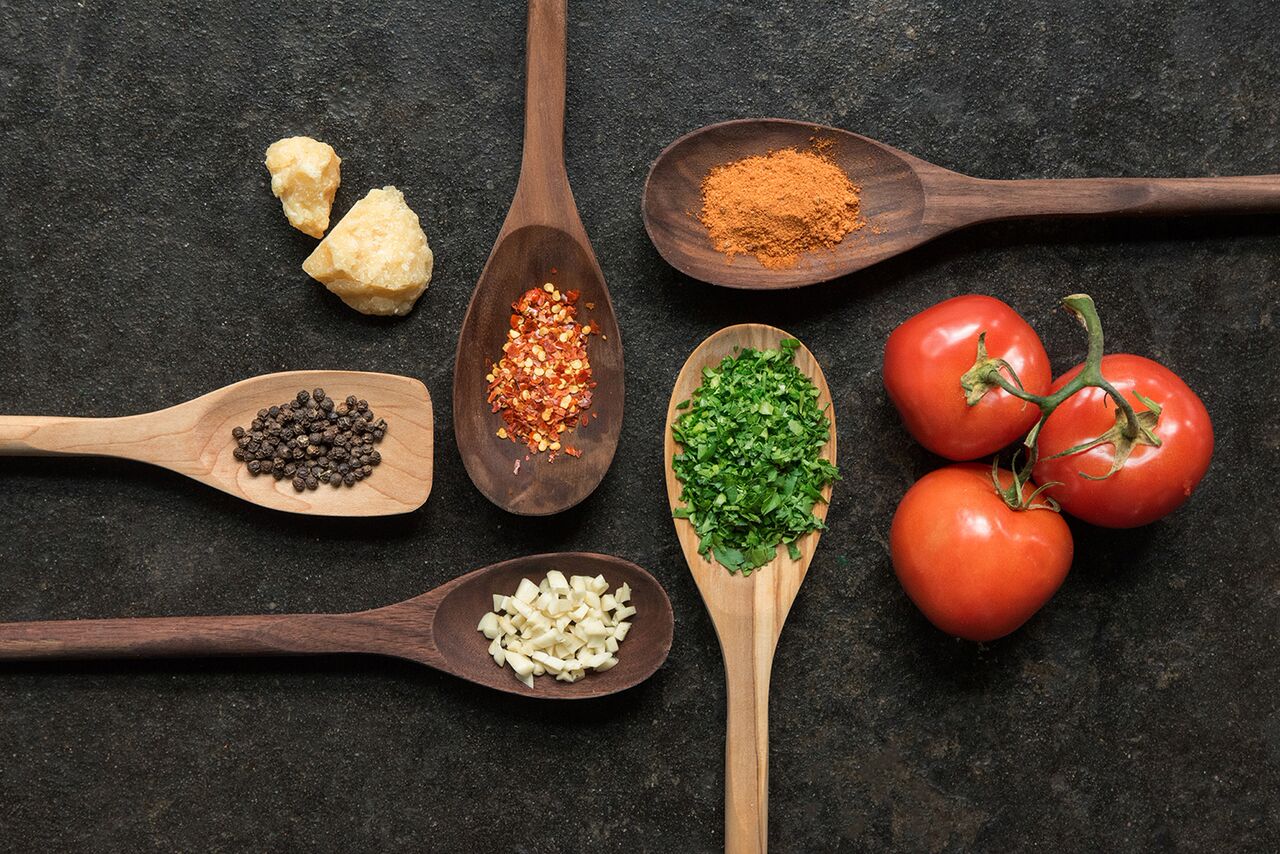
Have fun with your food photography by coming up with creative concepts. Instead of shooting a finished dish, try capturing individual ingredients, or create a still life showing part of the cooking process. Everything from colorful berries to alphabet soup could be inspiration for a unique food photo.
Image Credit: Lacey Johnson

Lacey is a freelance journalist and photographer based in Washington, D.C. with a specific interest in a variety of scientific topics including climate change, health, and renewable energy. She is also a keen photographer and her work has appeared in numerous national and international publications. Many of her articles on Tom's Guide are geared towards helping you take better pictures.
-
Stevie Wilson I wish you would reference more than iPhones in how to shoot food photos (or any photos to be honest). There are many phones out there and I have used several to shoot various food photos and had amazing results-- NONE were iPhonesReply
