How to Change Your Wi-Fi Network on Chromecast
Change Wi-Fi networks for your Chromecast with this step-by-step guide.
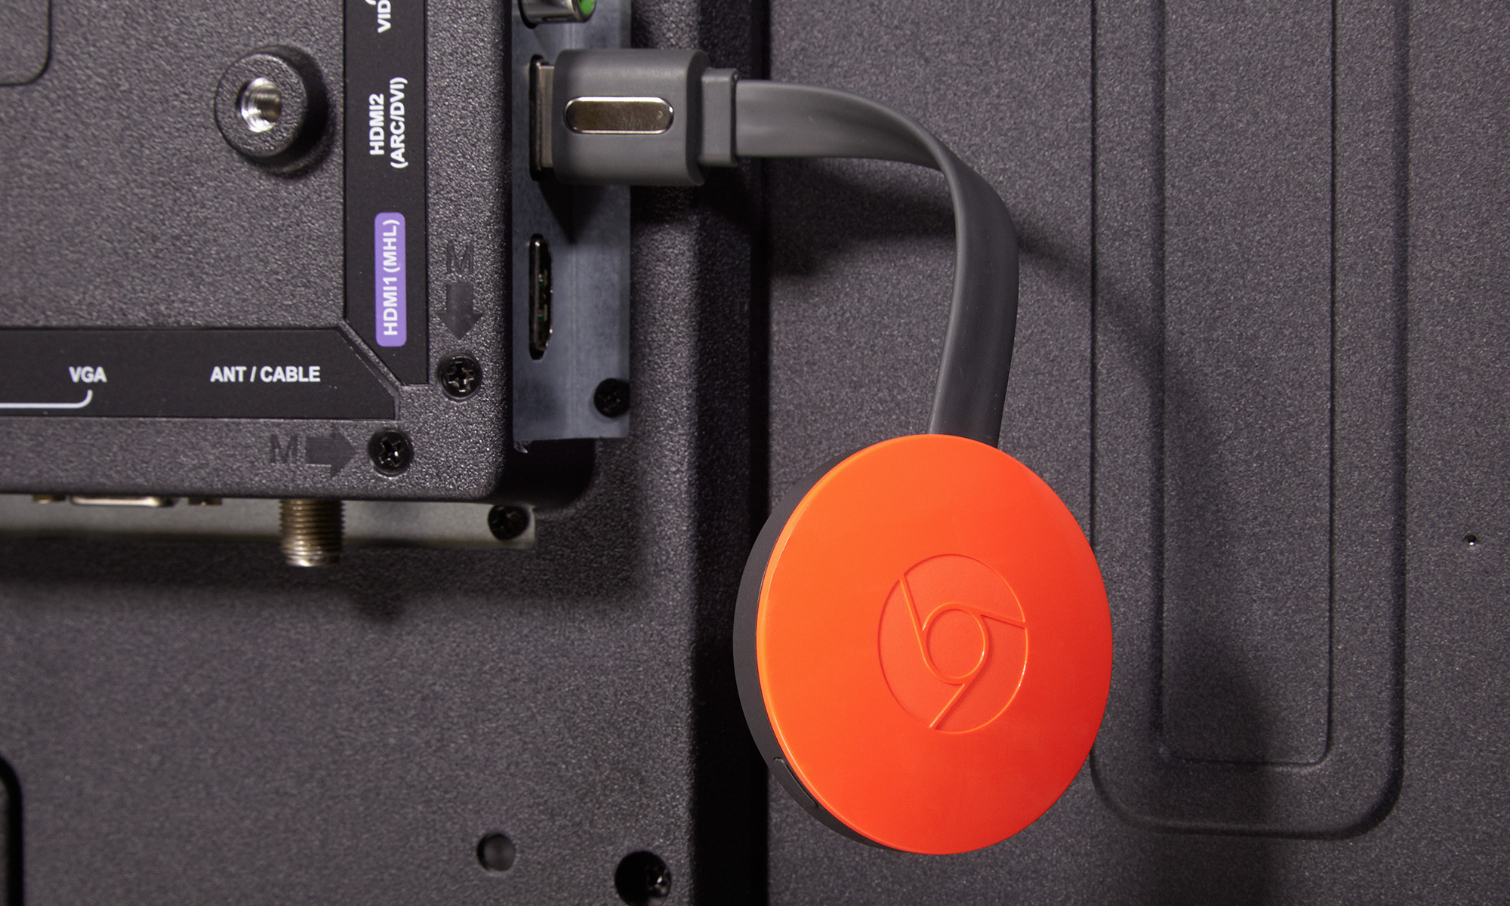
One of the advantages of the Google Chromecast over more intricate streaming players is its portability. If you take the Chromecast with you everywhere you go, you’ll need to change its Wi-Fi network on a fairly regular basis. It’s not hard; all you need is a mobile device in proximity to the streaming device itself.
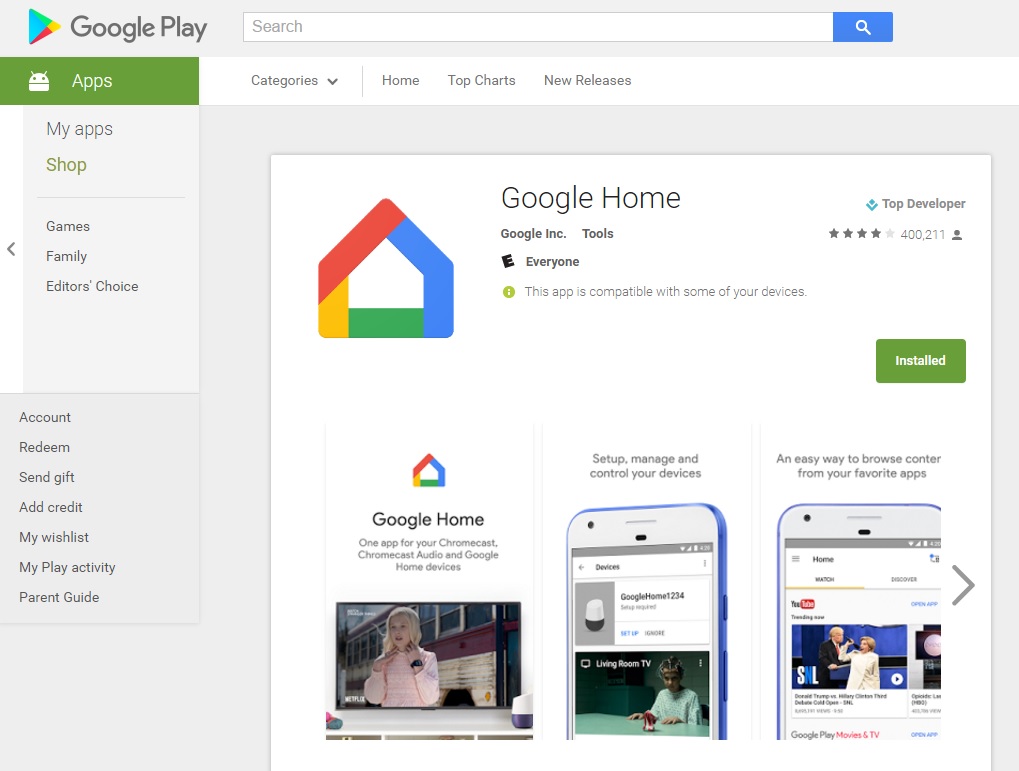
1. Open the Google Home app.
If you don’t have it, it’s easy to acquire through the Google Play Store or the Apple App Store.
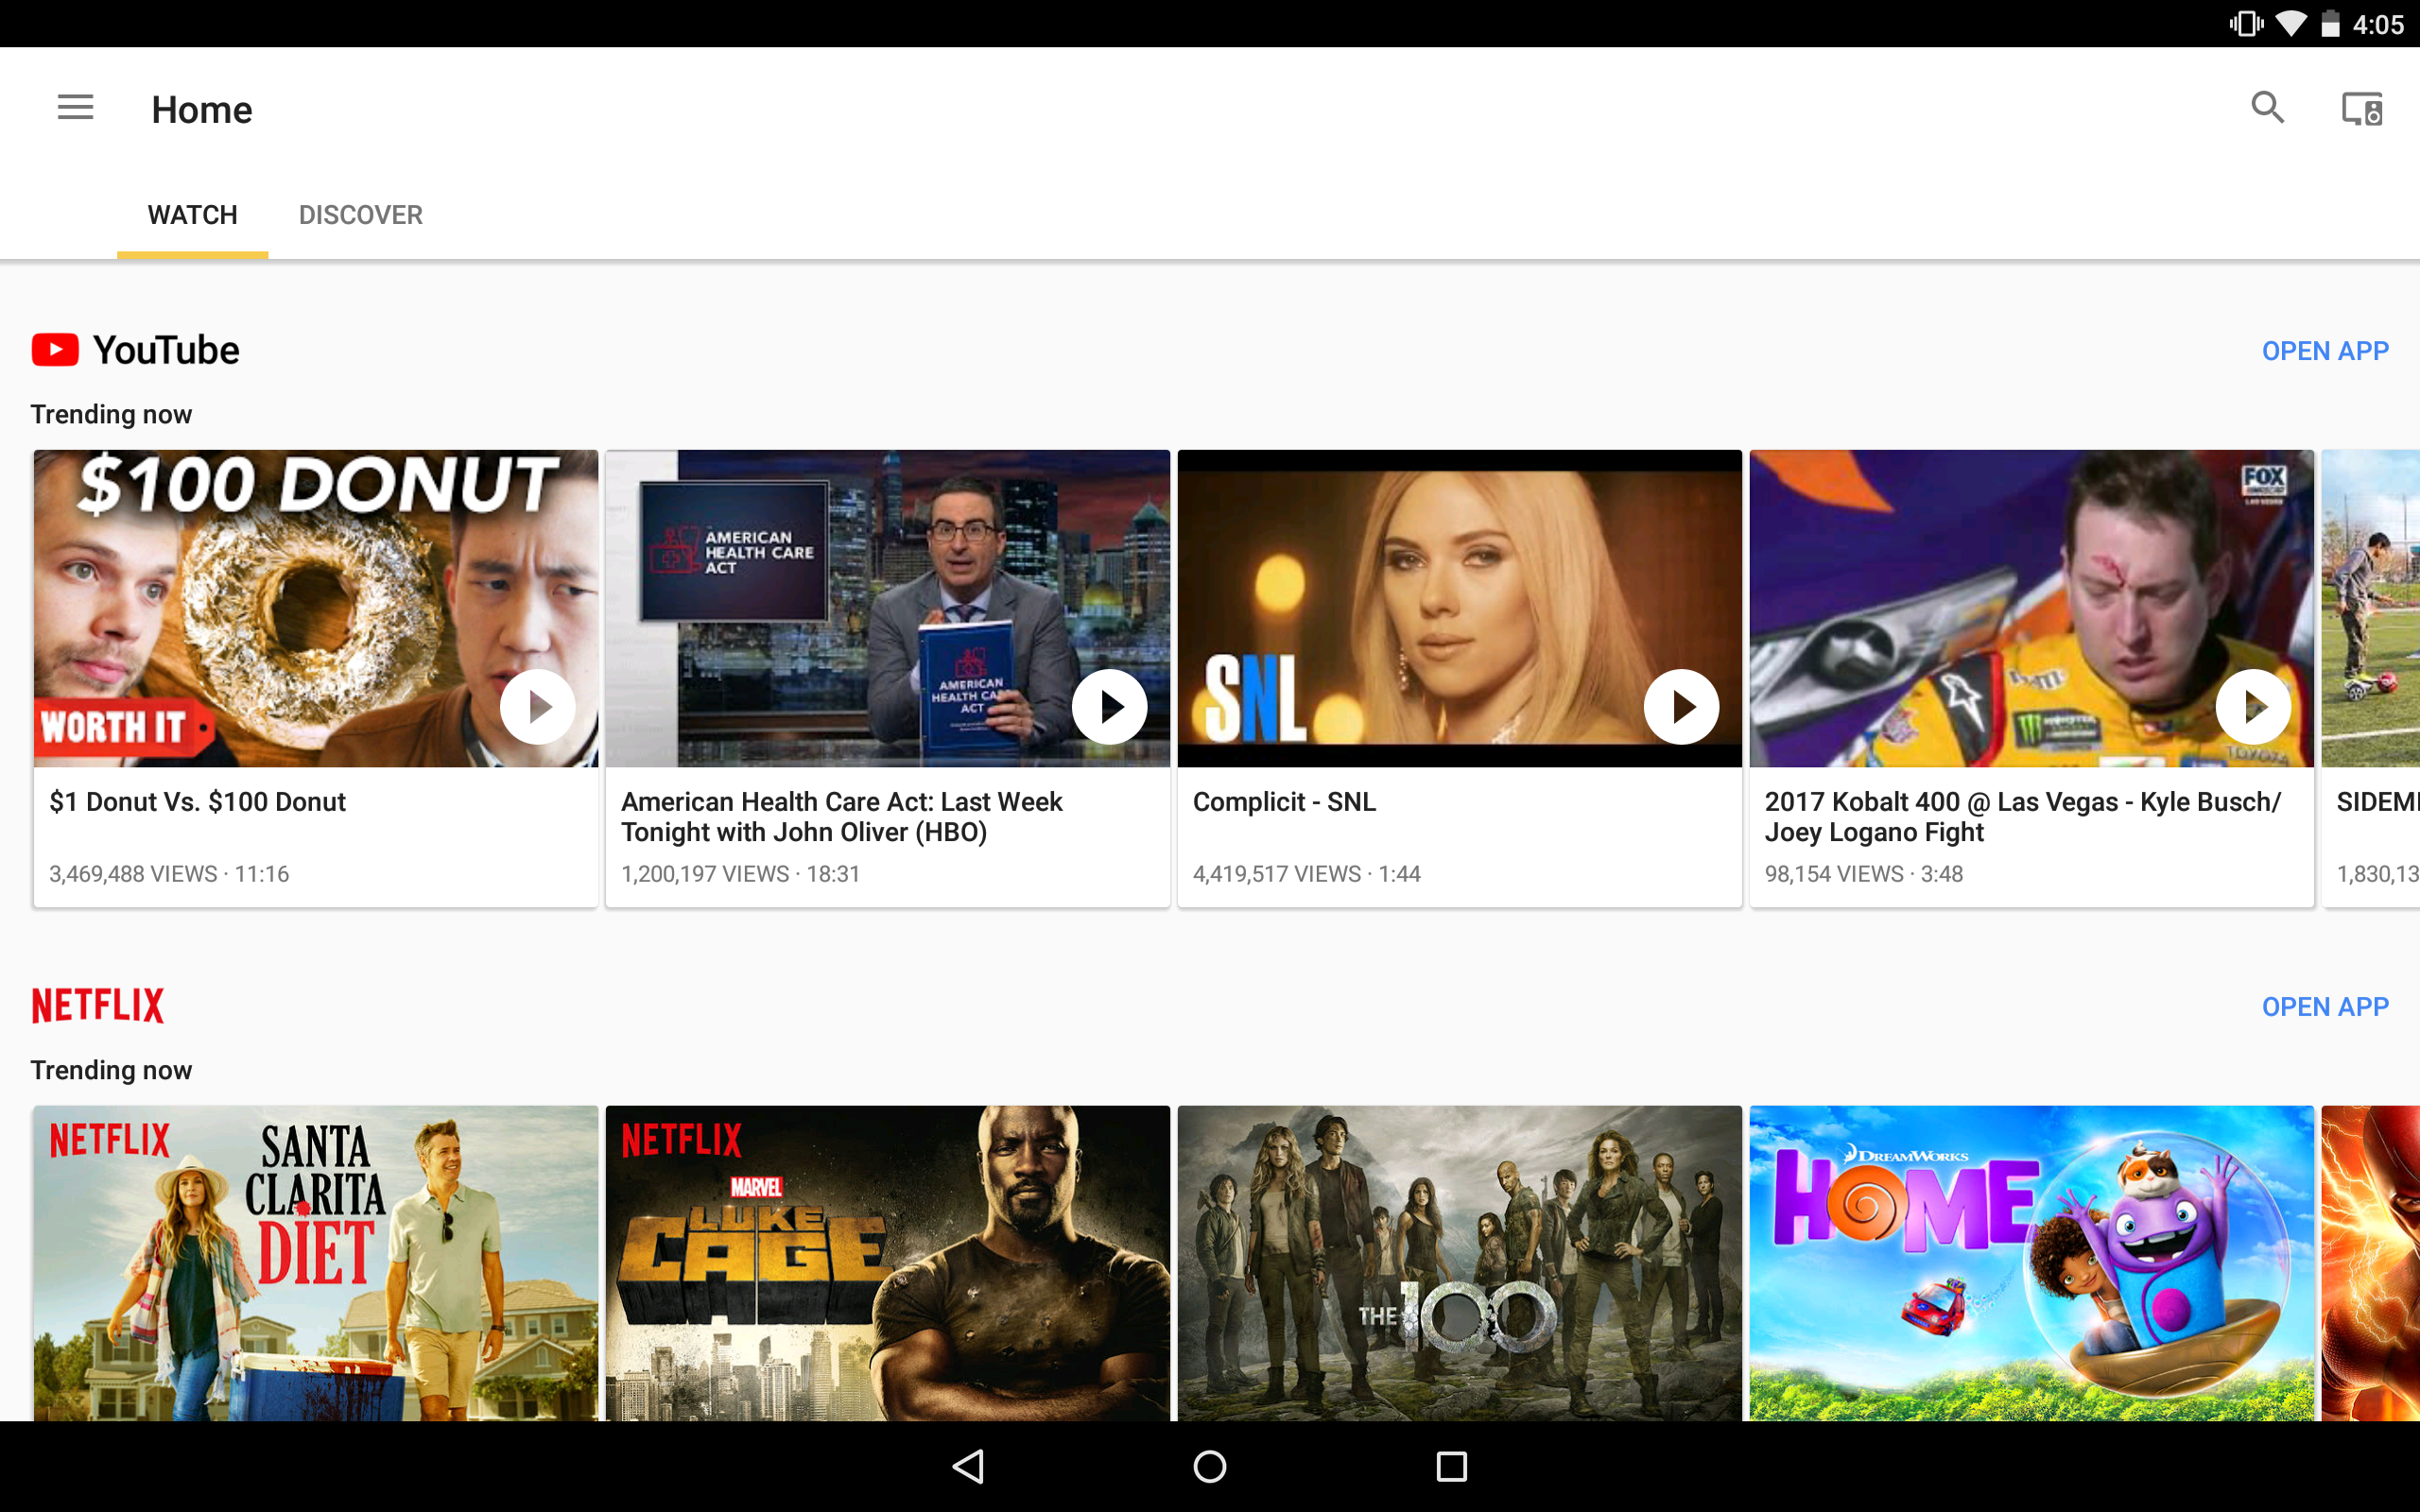
2. Select the Devices option.
It’s in the upper right corner.
MORE: Best Streaming Services
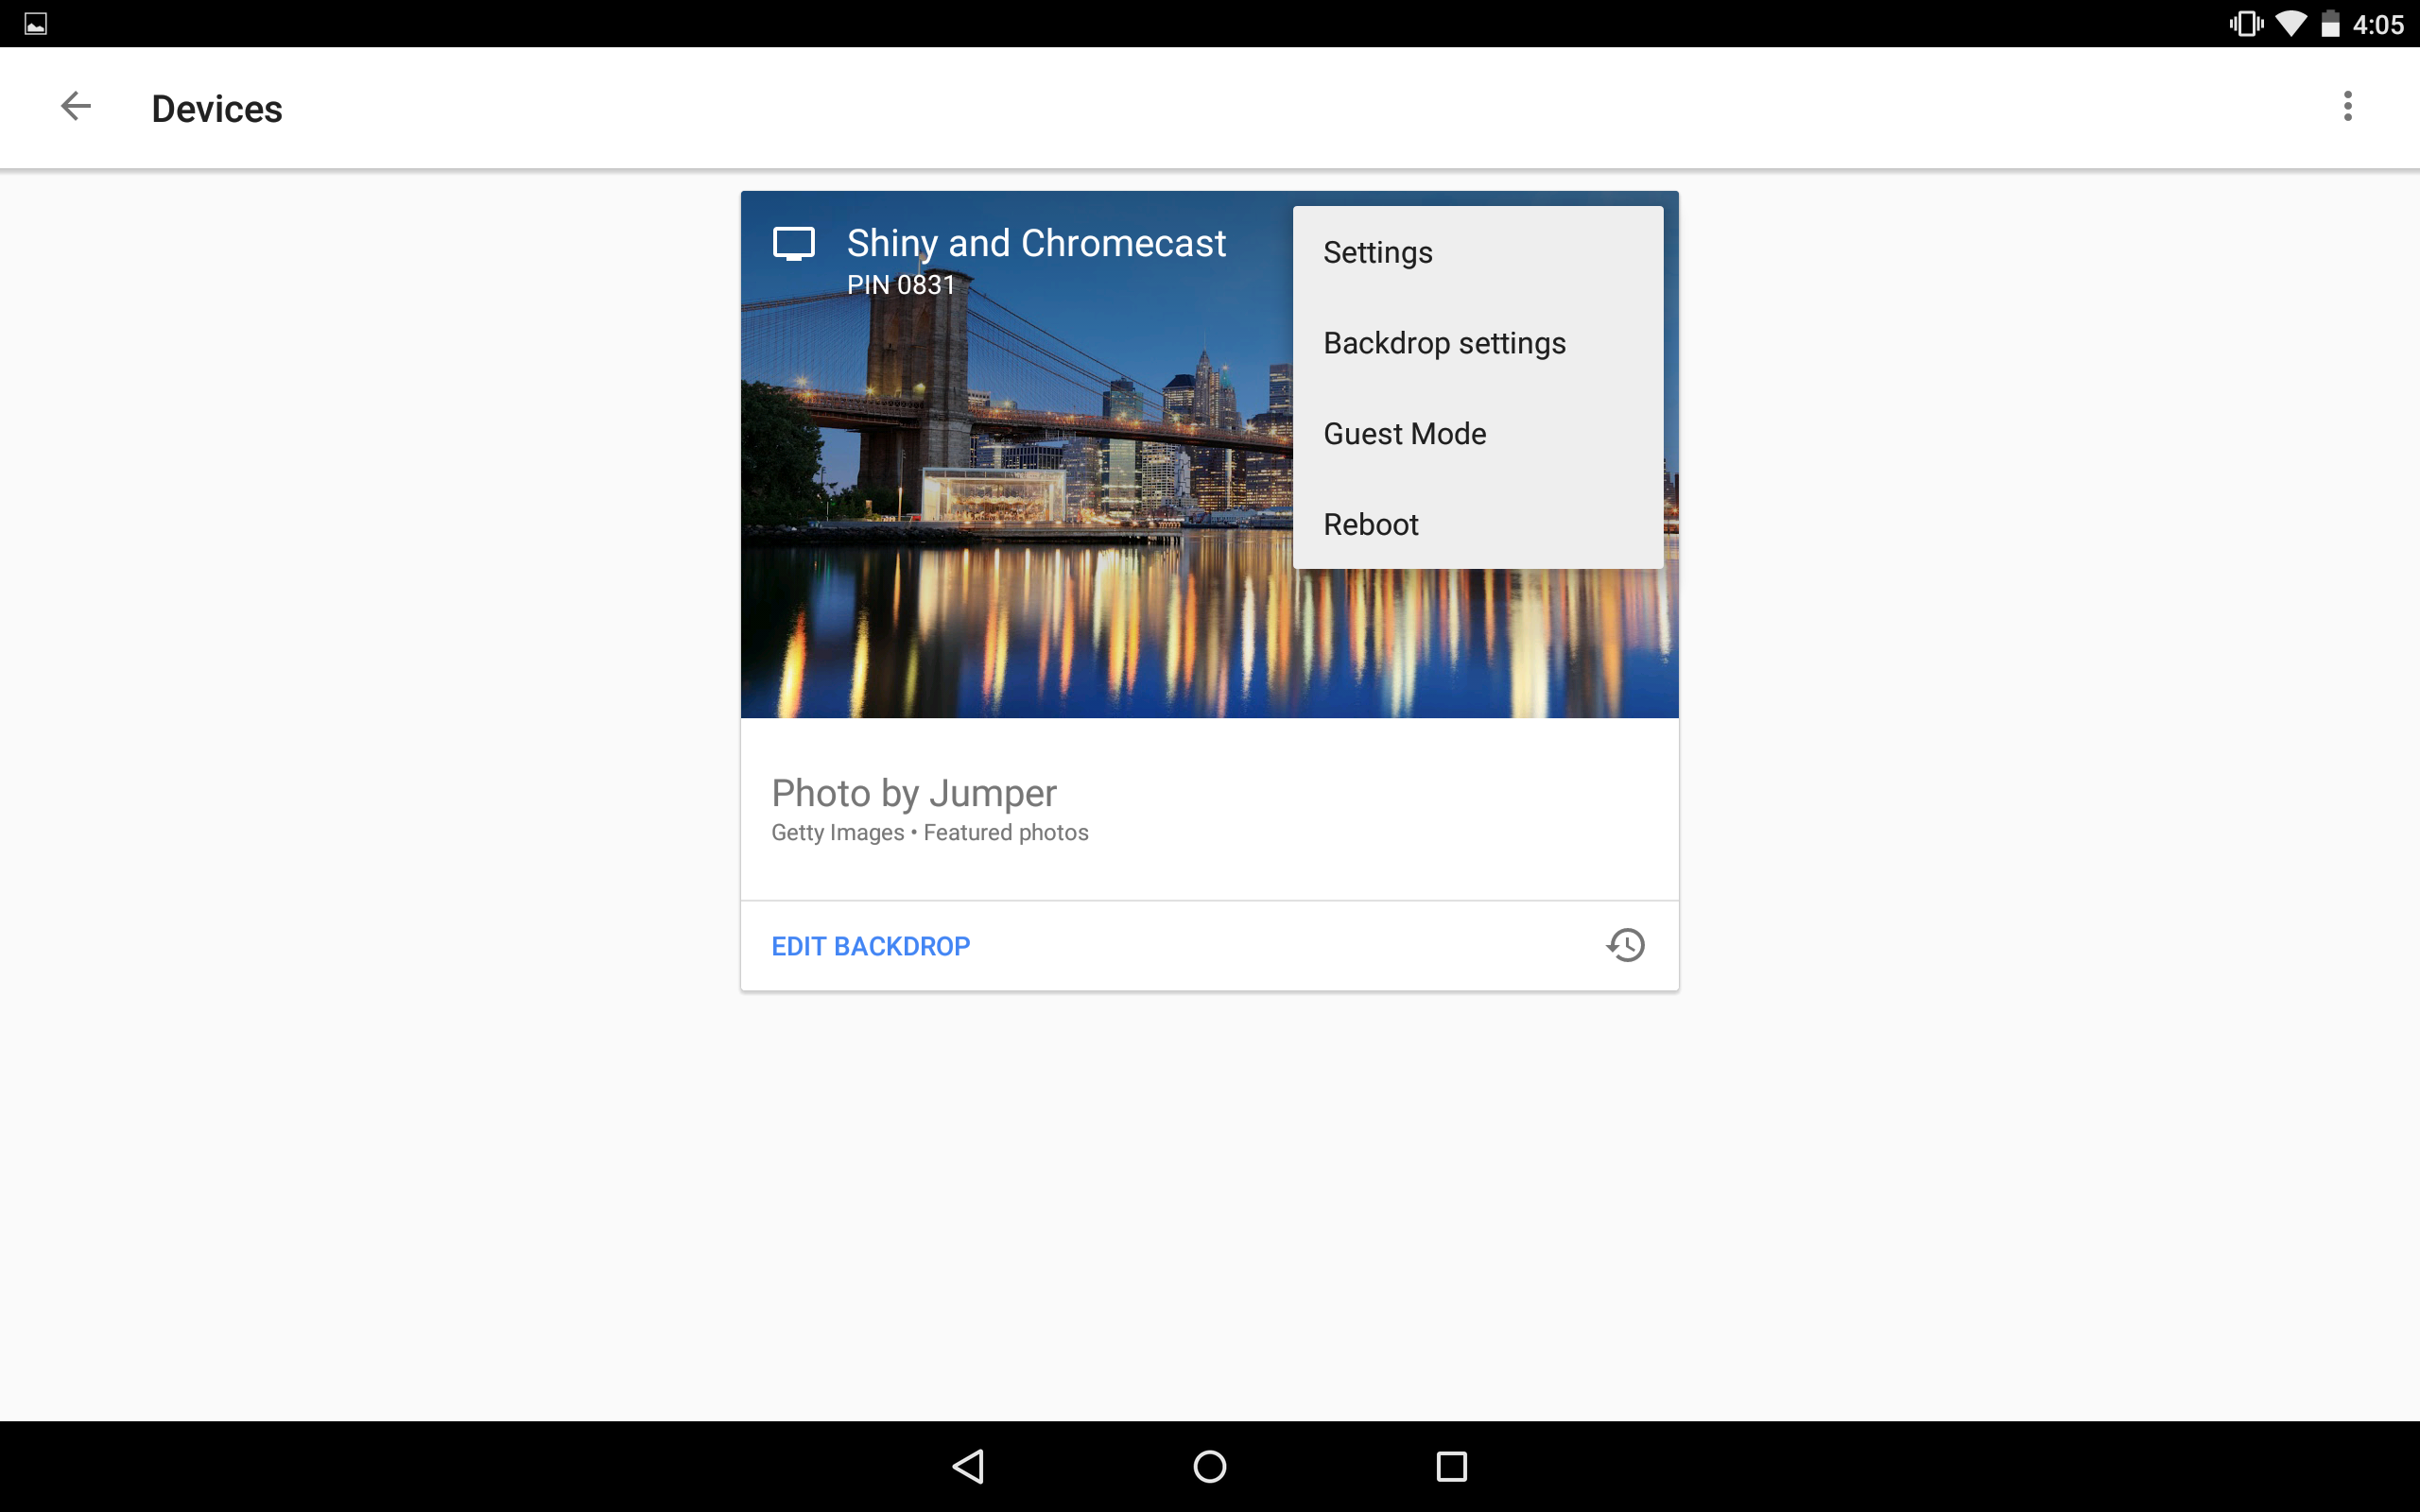
3. Open the Settings menu.
You can do this by locating your Chromecast, then tapping the vertical ellipses in the upper-right corner.
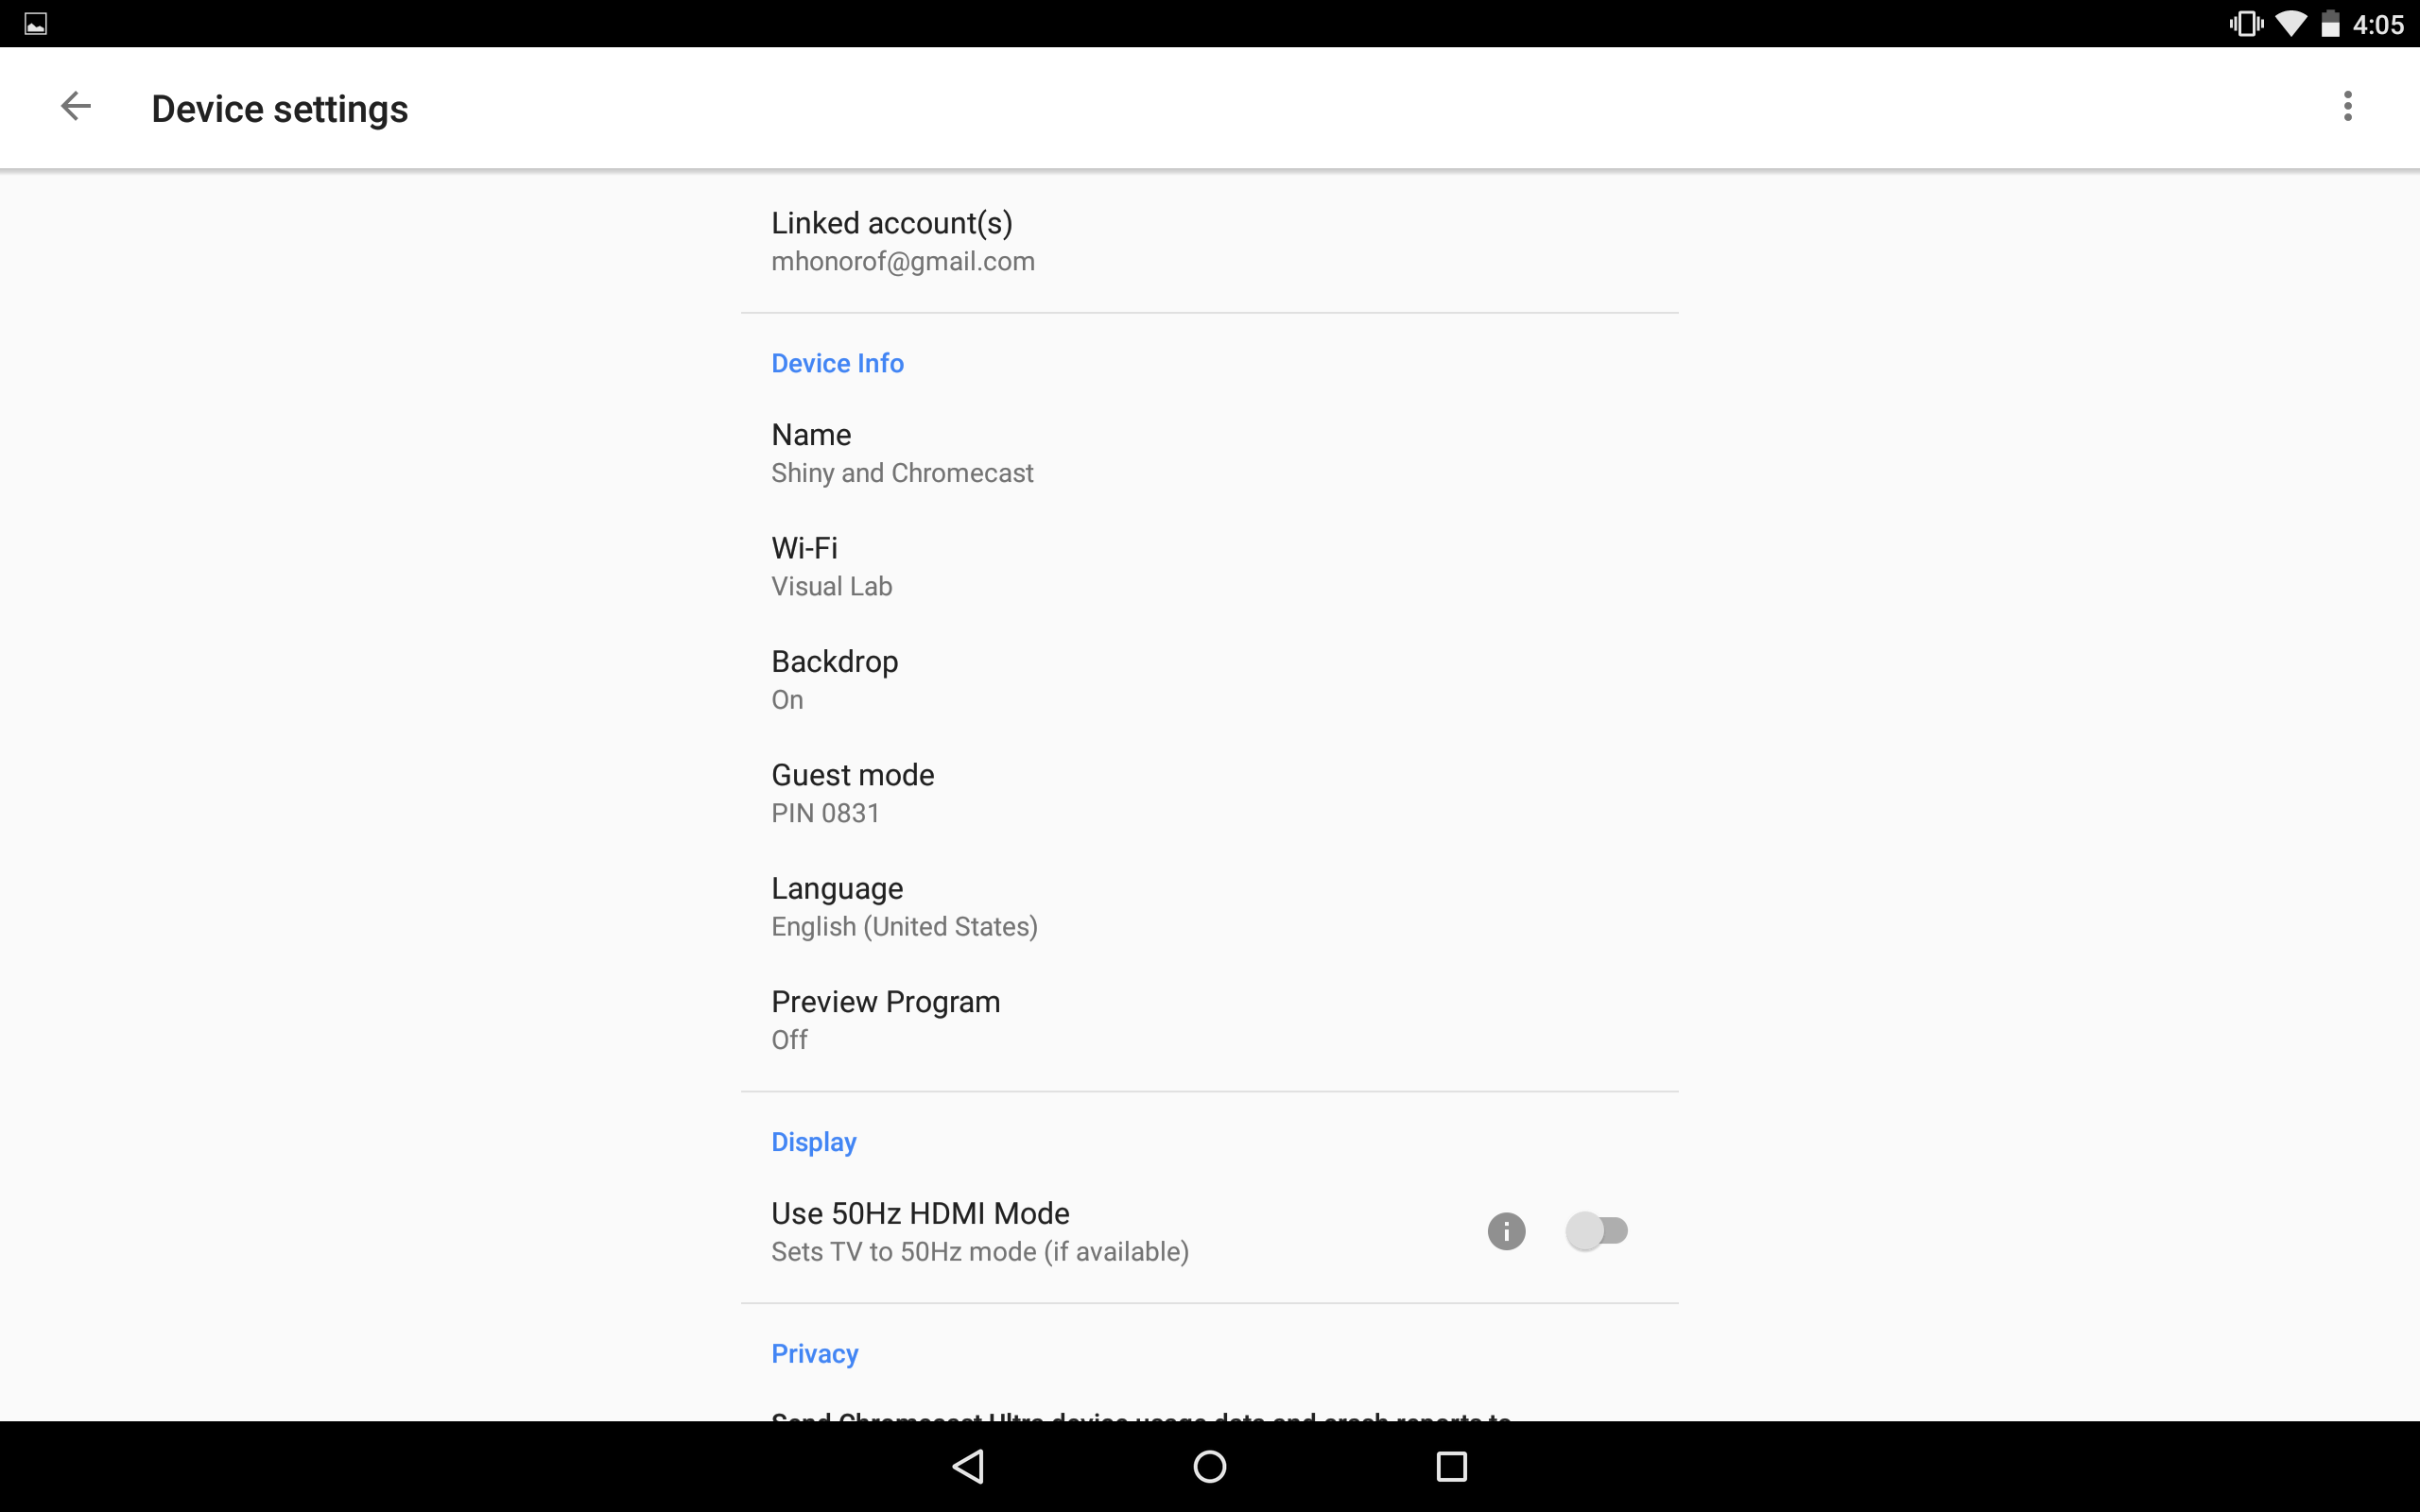
4. Select Wi-Fi from the menu.
You can tap on it, even though it doesn’t look like it’s interactive.
Sign up to get the BEST of Tom's Guide direct to your inbox.
Get instant access to breaking news, the hottest reviews, great deals and helpful tips.

5. Choose a new Wi-Fi network.
Input a password, wait for the Chromecast to connect, and you’re ready to go. You can now control your Chromecast as normal. Be aware that if you’re traveling, some hotels have an extra login screen, which the Chromecast is not equipped to handle. On the bright side, most hotel Wi-Fi isn’t fast enough to support video streaming anyway, so maybe record some stuff before you leave.
Marshall Honorof is a senior editor for Tom's Guide, overseeing the site's coverage of gaming hardware and software. He comes from a science writing background, having studied paleomammalogy, biological anthropology, and the history of science and technology. After hours, you can find him practicing taekwondo or doing deep dives on classic sci-fi.


