How to Take Great Photos with the Canon EOS 80D
Tips and tricks for getting the most out of the Canon EOS 80D.
The 24-megapixel EOS 80D continues Canon's line of excellent midrange DSLRs. This $1,099 model produces great images and offers fast autofocus, improved dynamic range and high ISO performance.
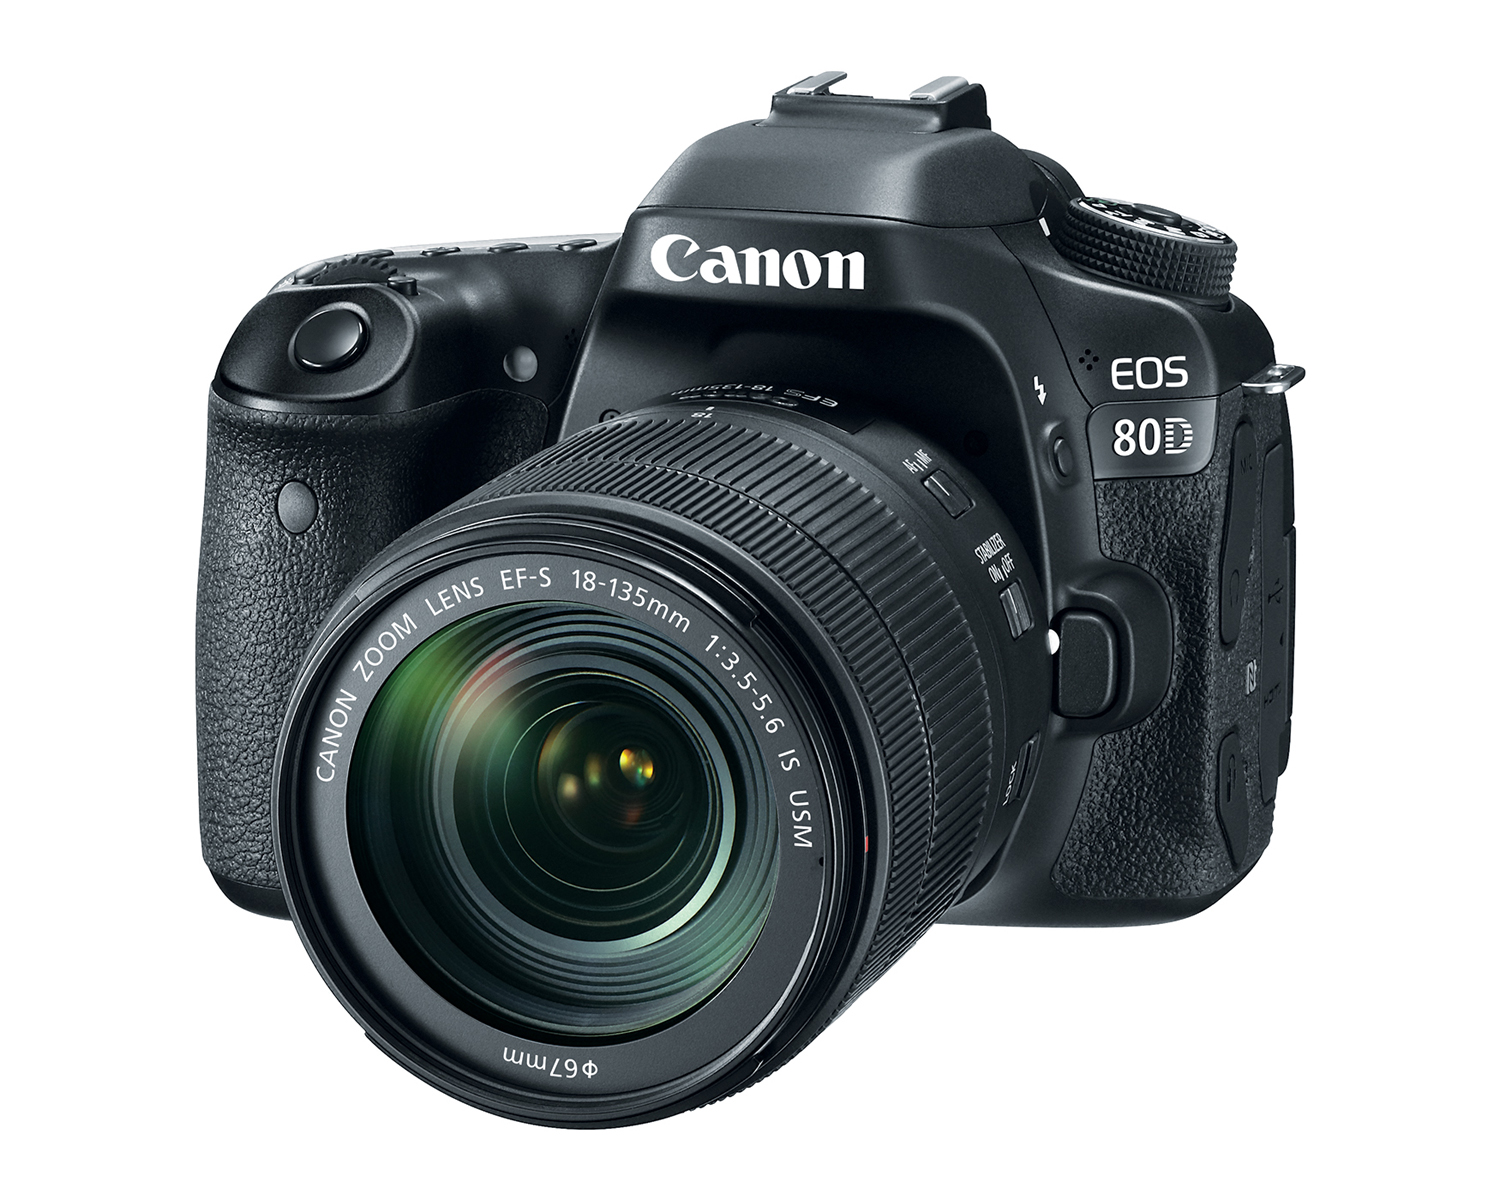
The EOS 80D is a great camera for videographers, enthusiasts and those who want to grow their skills. Here are some quick and easy tips and tricks to help you make the most of this DSLR.
Quick Tips
1. If you're new to the 80D (or relatively new to DSLRs in general), first check out the Program auto mode (P). Once you're comfortable with the concept of controlling shutter speed and aperture, then move on to the Tv (shutter-priority auto) mode and Av (aperture-priority) mode. From there, it's much easier to move into M (manual) mode. See below for more information on the 80D's exposure modes and suggestions on how and when to use each one.
2. Although the 80D is equipped with multiple direct-control buttons for metering, ISO, drive mode, AF and more, it's a good idea to become familiar with the Q (Quick Control) button.
Located on the rear of the camera (to the upper right of the LCD screen), the Q button provides quick access to the major shooting settings and information. You can view the current settings and adjust everything from the ISO to the exposure mode. Since everything's in one place on this feature, it's sometimes easier to use the Q button when changing multiple settings at the same time.
3. Before you start taking photos, double-check all your settings to make sure you're ready for the day's shoot. For example, make sure that the ISO isn't set to 1600 from your last shoot in low-light conditions.
4. Go to the Shooting Menu, page one and set (or disable) Image Review to however long you want the image to appear on the LCD right after you shoot it. On the same page, scroll down to Release Shutter Without Card and turn it to Off. Otherwise, you may start shooting without having a card in the camera to record the images.
Sign up to get the BEST of Tom's Guide direct to your inbox.
Get instant access to breaking news, the hottest reviews, great deals and helpful tips.
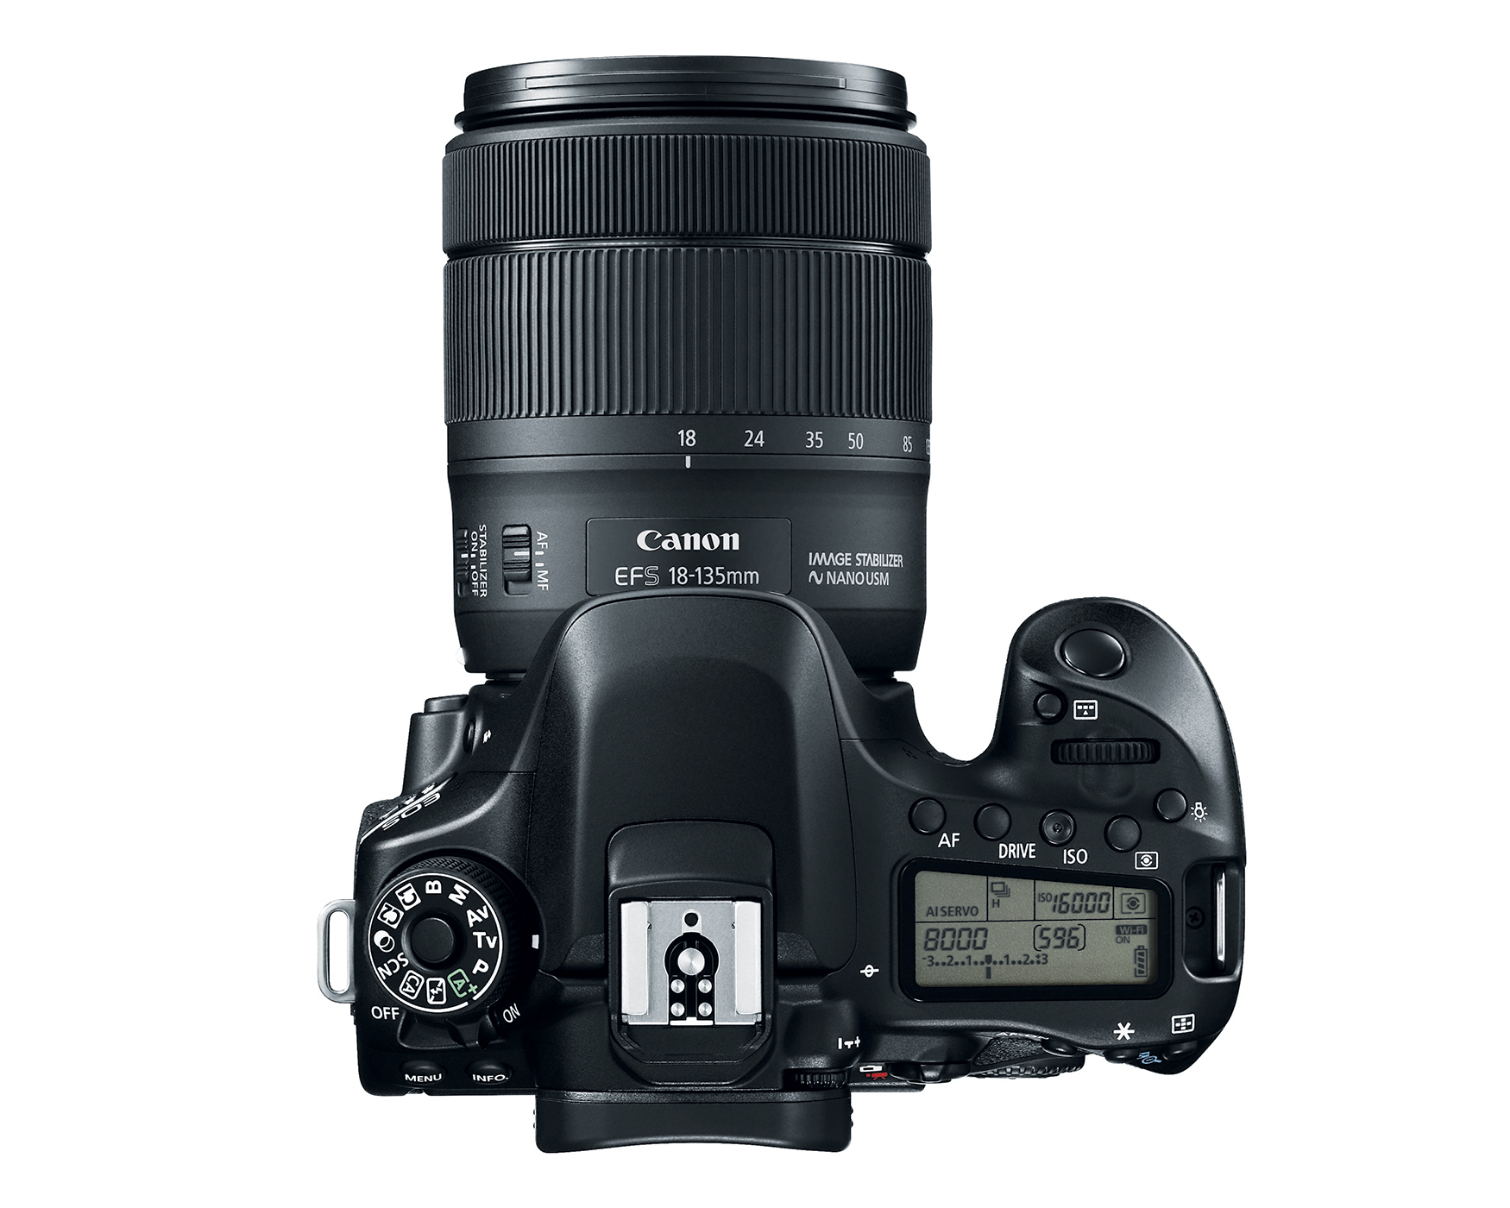
Getting to know the Canon EOS 80D's Controls
The mode dial
Canon segments its mode dial into two zones: the Basic Zone and the Creative Zone. Basic encompasses all the automatic point-and-shoot modes, while Creative includes all the manual and semimanual exposure modes.
The Basic Zone
Canon has simplified the shooting options in this Zone and limited access to more-advanced settings to keep these modes, well, basic. While you can get some good results using these automatic modes, it's best to use the Creative Zone modes. You'll learn faster, and your pictures will be more fine-tuned to your aesthetic.
A+ = Scene Intelligent Auto: This is a fully automatic shooting mode that takes all the work (and all the control) out of your hands. The camera chooses settings by analyzing the scene and deciding what it thinks is best.
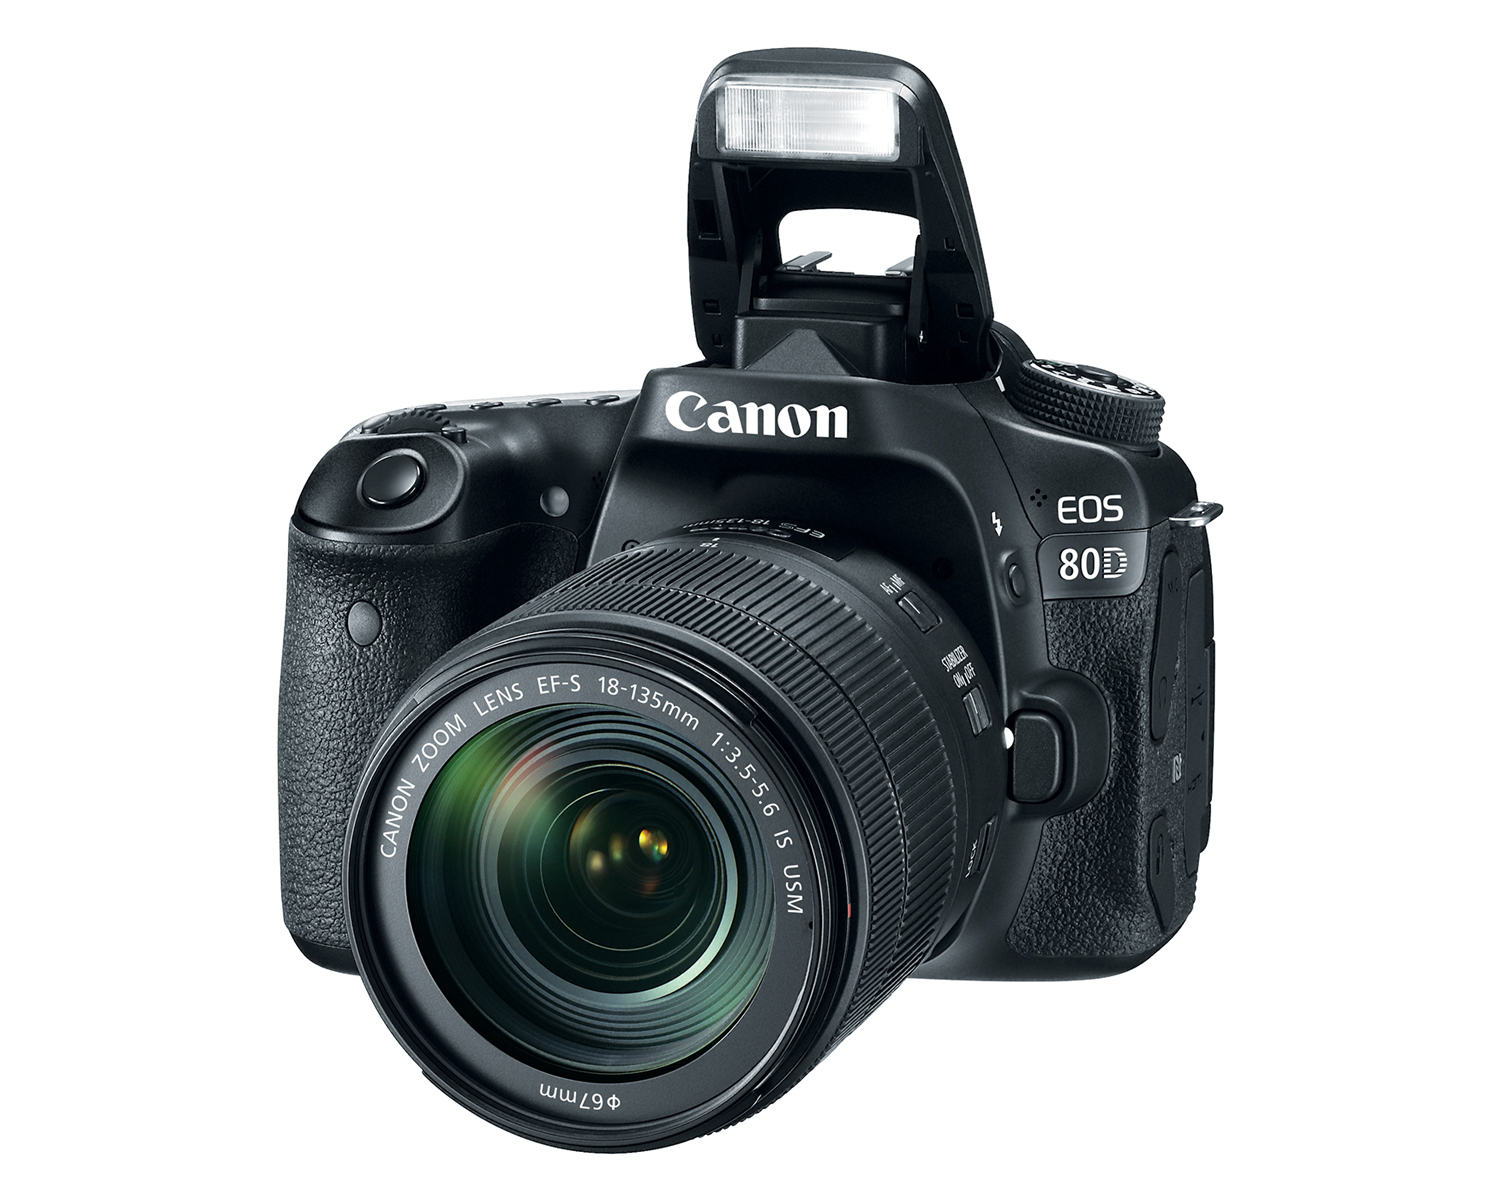
Flash Off: This is essentially the Automatic mode but with the flash disabled. (If you're shooting in P/S/A/M, just keep the flash closed and it won't pop up.)
CA = Creative Auto: This is the same as Scene Intelligent Auto, but it allows you to tweak a few parameters such as background blur.
SCN = Special Scene mode: Like other scene modes, this setting provides a list of possible scenes (portrait, landscape, food, etc.) to choose from. Just pair up your subject and the scene mode, and the camera will take it from there.
Creative Filters: The final option in the Basic Zone (represented by two overlapping circles on the mode dial), this is where you'll find a series of 10 filters to add to your creative arsenal. They include Grainy B/W, Soft Focus, Fish-Eye and four HDR options.
The Creative Zone
As part of the Creative Zone, you have access to Program AE, Shutter-priority (Tv for Time value), Aperture-priority (Av for Aperture value), Manual (M) and Bulb (B).
P = Program AE (auto exposure): As mentioned before, P is a good place to start unless or until you're comfortable with the other exposure modes in the Creative Zone. Although the camera sets the shutter speed and aperture, you can use the Program Shift feature to adjust the shutter speed or aperture by pressing the shutter button halfway and turning the main command dial (the dial on the top front of the camera) until you get the shutter speed or aperture you want. This allows you to maintain a fast enough shutter speed to avoid blur or choose the aperture that will deliver a shallow or broad depth of field.
Tv = shutter-priority (Time value): In this mode, you select the shutter speed and the camera chooses the appropriate aperture for the lighting conditions. Although some people have rock-steady hands, most of us need a shutter speed of 1/125th of a second or faster to avoid blurry pictures of even static subjects. Use a tripod if you need to shoot a nonmoving subject at a slower shutter speed.
To capture action, set the shutter speed to a minimum of 1/200th of a second or higher if your subject is fast-moving. Increase the ISO if you need to do so. Alternatively, put the camera on a tripod and slow the shutter speed to 1/60th of a second or slower to intentionally blur movement, such as that of a waterfall. The tripod ensures that the rest of the scene will remain in focus.
Av = Aperture-priority (Aperture value): You choose the aperture, and the camera selects the shutter speed for what the device considers the right exposure. The benefit of shooting in aperture-priority is that it gives you control over depth of field, or how sharp (or blurred) the image appears from near to far.
Although the f/stop numbering system seems a little backwards, consider that the smaller number, such as f/2.0, opens up the aperture and lets more light in. The smaller numbers decrease the depth of field, keeping your main subject sharp while softening the foreground and background. Stop down the aperture (use a higher f/stop number, like f/11, f/16, etc.), and depth of field increases so that a broader area of the image appears in focus.
M = Manual: In this mode, you control the aperture and shutter-speed settings. Check the exposure-level indicator in the viewfinder and adjust the settings until the marker is in the middle. Then, adjust the settings to get the exposure you want; feel free to overexpose (adjust the mark to the right) or underexpose (adjust the mark to the left) if you're not happy with the camera's assessment.
B = Bulb: If you want to do long exposures at night, the Bulb mode is your ticket. It's perfect for light painting, for example, or getting those cool shots of car tail lights streaking by. In Bulb mode, you set the aperture and ISO, then press and hold down the shutter button for as long as you want the exposure to last. It's best to use a physical remote or the Canon Camera Connect app, and you'll definitely want to use a tripod, to minimize camera shake.
Other Important Controls
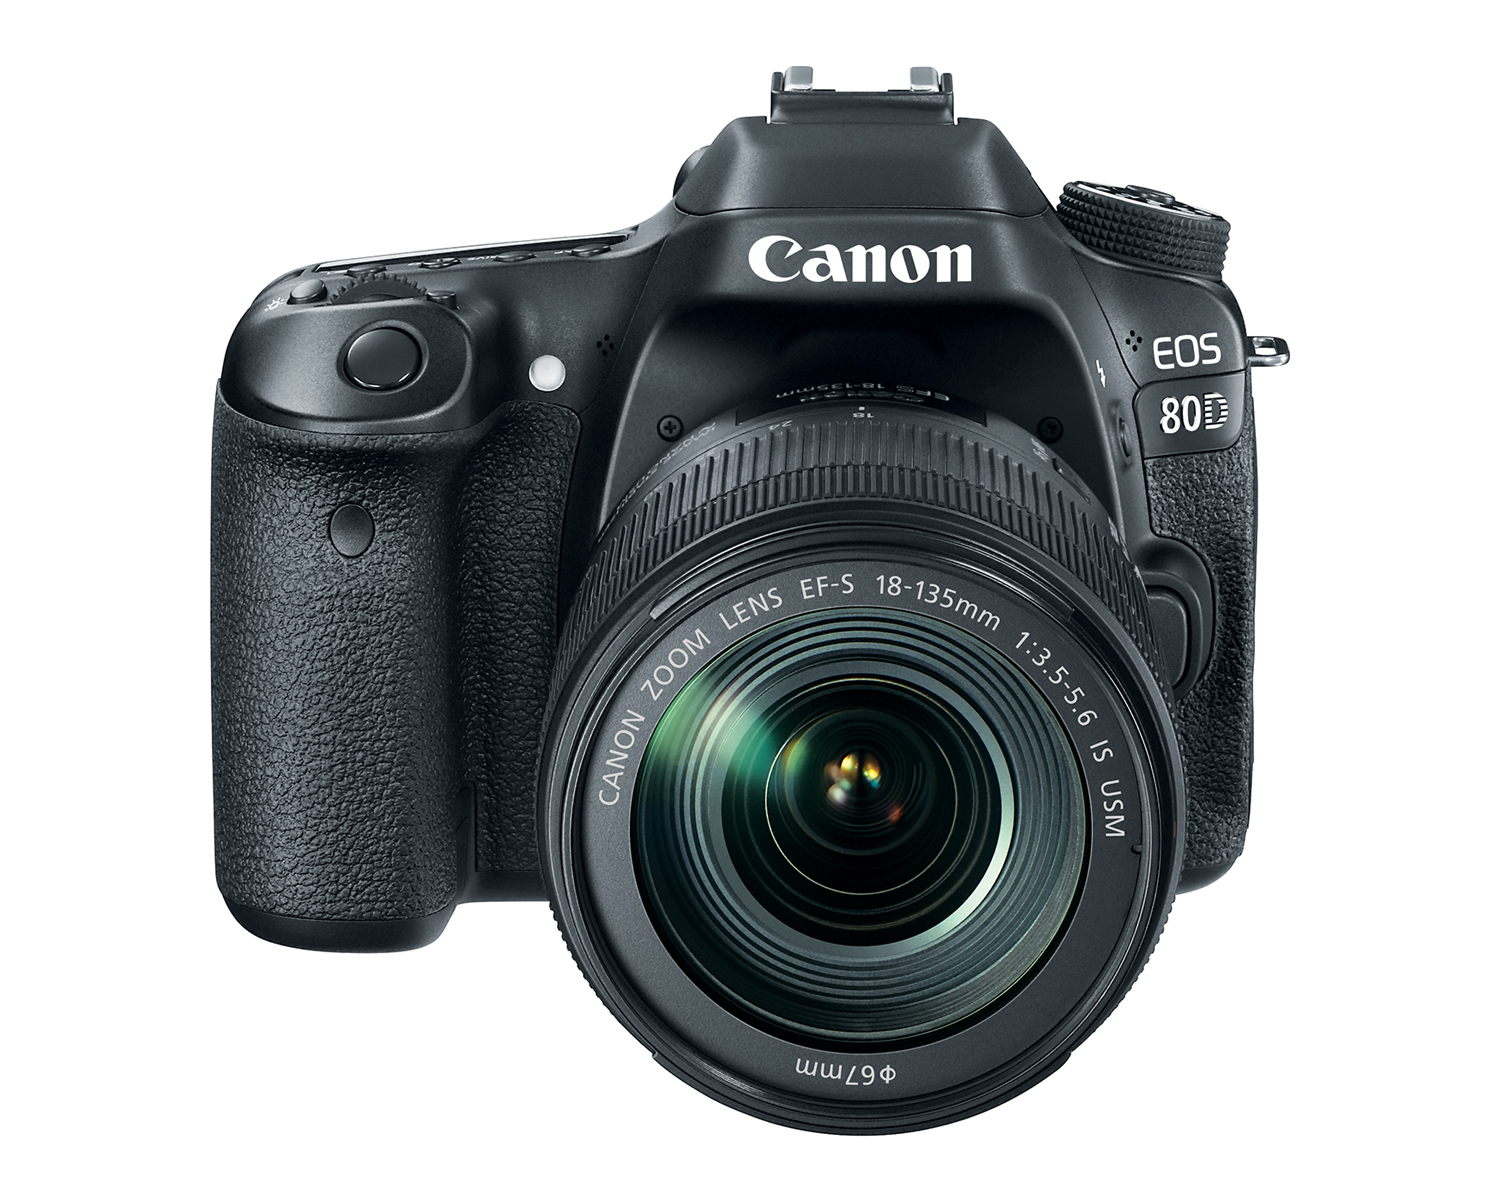
Because the Canon EOS 80D is equipped with so many dedicated external buttons and dials, there's not enough room to go over them here. But beyond the Q button, mentioned earlier, and the Mode dial, be sure to pay close attention to the functions of the Main Dial atop the camera as well as the Quick Control Dial on the rear of the body, because you will be using them frequently to change settings. The user manual has good descriptions of each button and dial.
How to freeze an action shot
The best way to capture action with the Canon 80D is to shoot in Shutter-priority, choose a fast shutter speed, and set the camera's release mode to continuous shooting and autofocus to AI Servo.
Start off with a shutter speed between 1/250th of a second and 1/500th of a second. If there's enough light, go for the latter; if the action is really fast — like in a car race — bump up the shutter speed even further. Set the appropriate aperture for the shutter speed and ISO (always keep ISO as low as possible).
MORE: How to Shoot Killer Sports Photos
Press the Drive Mode button (in front of the top LED Panel) and turn the Command or Quick Control Dial to High-speed continuous shooting (7fps). Then, press the AF button in front of the top LCD panel. Rotate the Command or Quick Control Dial and choose AI Servo AF. Focus and keep the shutter button pressed halfway to track your subject; press and hold the shutter button down fully when you're ready. The camera will continue shooting until you release the shutter button (or the buffer — where the images are stored before being written to the card — is full). Then, repeat the process for the next series of shots.
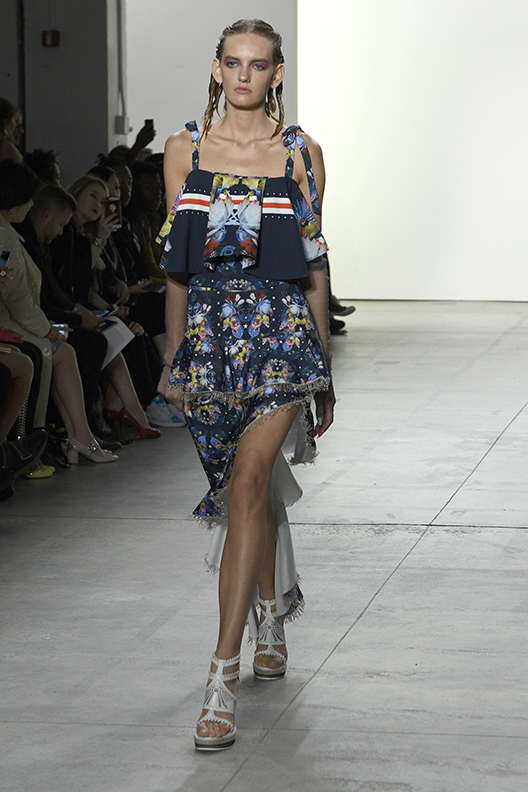
Beyond getting the right settings, it's up to you to time the shot to get the image you want. Be sure to anticipate the subject's movements. At a runway show, for example, you need to anticipate when the model's front foot will be flat on the ground, so it's important to, essentially, feel the beat of the model's walk, as I did in the image below.
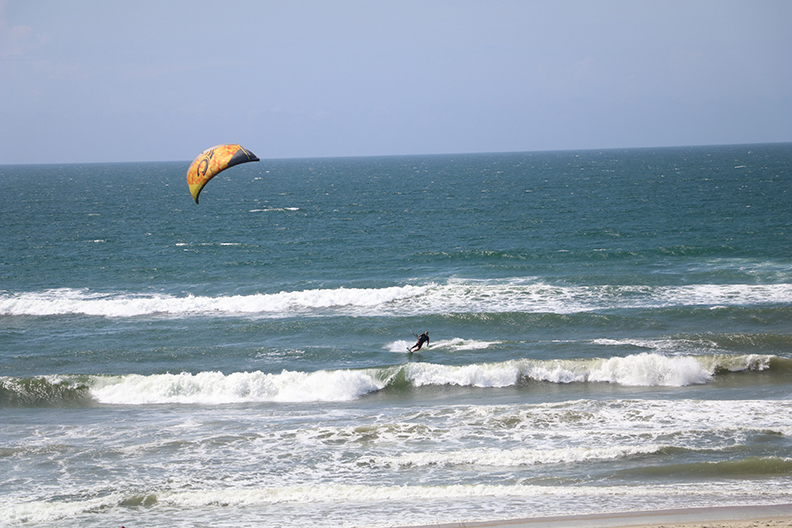
Kite surfers move faster than models, but because they generally move in one direction, parallel to shore, their track is easy to follow.
How to take pictures in low — or no — light
Given that a flash can sometimes ruin the ambience of a scene and that the use of flash may be restricted (during a wedding ceremony or in a museum), you may need to turn to the 80D's ISO for help. Ideally, keep the ISO under 3200 whenever possible, but more importantly, adjust the ISO so that the shutter speed and aperture setting meet your criteria. For example, be sure that the shutter speed is fast enough to avoid blur if you're holding the camera in your hands. This speed differs for everyone, but I prefer at least 1/125th of a second.
Alternatively, you can set the ISO to Auto. The camera will then automatically adjust the light sensitivity (ISO) according to the shutter speed and aperture that you select. Don't be afraid to let most of the image go dark, like this shot of the Empire State Building (below).
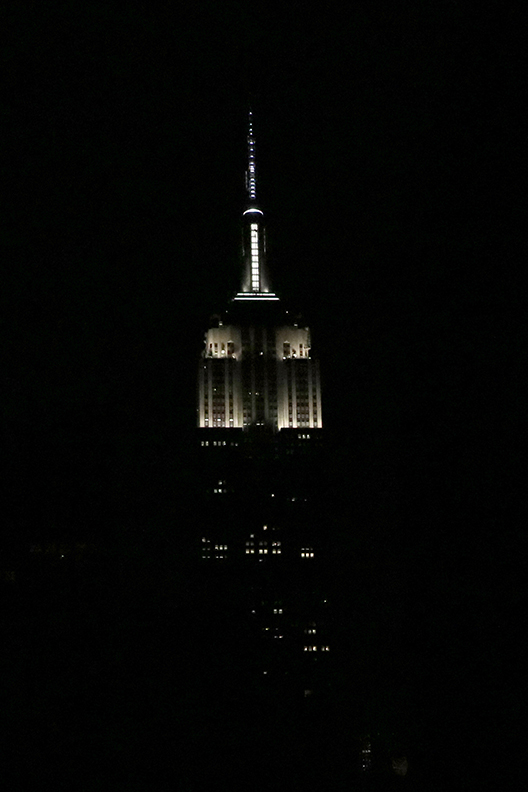
To get this effect, choose Partial or Spot metering (press the Metering button, located farthest to the right in front of the top LCD panel), and turn the front command dial to select one or the other.
MORE: Tips for Taking Gorgeous Nighttime Photos
For a more evenly lit scene, like the museum shot below, set the metering mode to Evaluative (the icon looks like an eye with a dot in the center). This takes the entire scene into consideration when determining exposure.
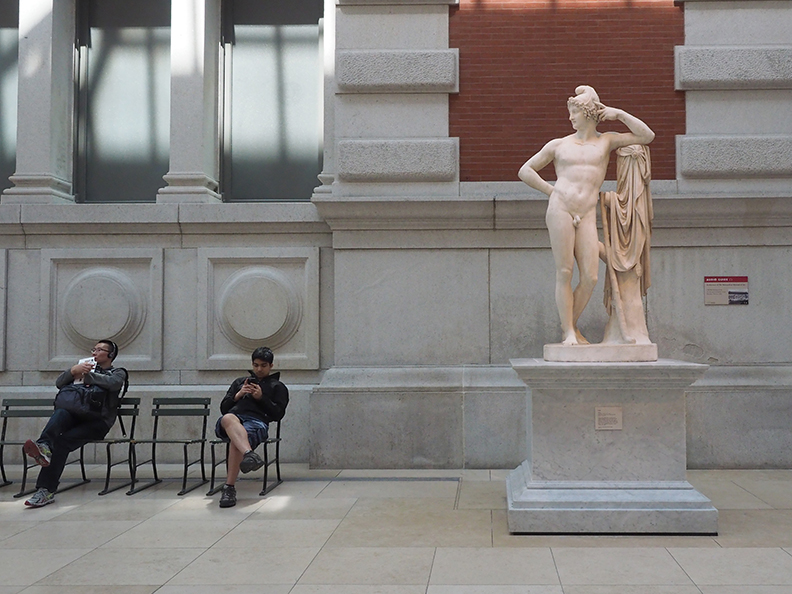
When shooting in low light, the 80D's AF points light up red when focus is achieved (the focus points don't light up when you're shooting in bright light). If there's not enough light and contrast for autofocus to lock in on your subject, switch to manual focus.
How to take a great portrait
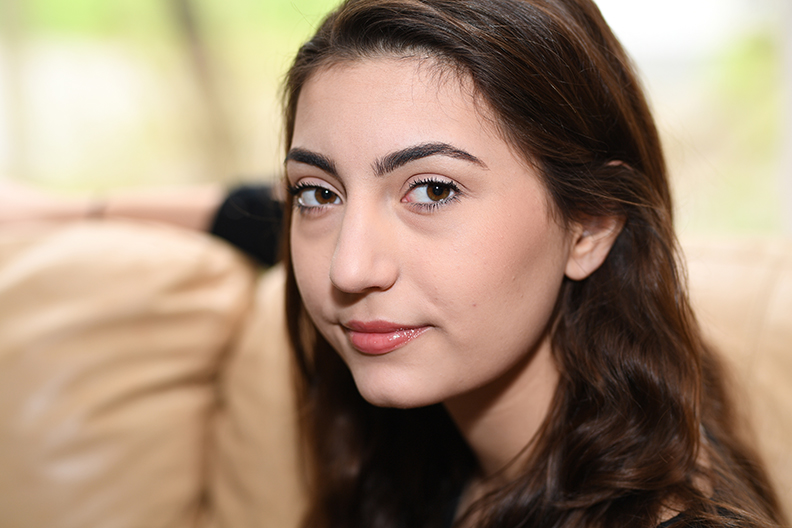
To ensure that the emphasis is on your subject and not the surrounding scene, use either P (Program AE) or Av (Aperture-priority) exposure modes so you control the aperture. Choose a fairly wide (low f-stop number) aperture setting to create a shallow depth of field and focus on your subject's eye (the one closest to the camera). Shallow depth of field will soften the scene surrounding the subject but keep the subject sharply focused.
MORE: How to Take Stunning Portraits
Zoom your lens to at least 55mm (which is the 35mm equivalent of about 88mm); if you have a longer lens, zoom in to about 70mm (the 35mm equivalent of approximately 112mm). If you need to use the built-in flash, make sure red-eye reduction is enabled. Also, be aware that shutter-speed options max out at 1/250th of a second when using flash so that the shutter and flash can sync properly.
How to shoot video
Video capture using a DSLR can be intimidating, but it doesn't have to be. First, make sure you have a high-speed SD card with plenty of capacity. You can find details in the manual, but aim for an absolute minimum of 8GB capacity and a Class 10 speed.
If you're new to video or just want to go the quick and easy route, set the mode dial to A+ and check the ISO to ensure that it's as low as possible. Move the Live View switch (to the right of the viewfinder) to the red camcorder icon. The mirror will flip up, and you'll see the scene on the LCD. Then press the start/stop button that is encircled by the Live View switch, and you'll be good to go — the camera will take care of focus and exposure.
For more control, set the mode dial to M (manual); use the ISO button to set your ISO (the lower, the better but be sure it's less than ISO 3200). Then move the Live View switch to the red camcorder icon. Press the Menu button, and in Shooting Menu 3, choose the Neutral (N) picture style. In Shooting Menu 4, set Movie Servo AF to Enable, and choose the Face detection + Tracking AF method. For Movie record quality, start with FHD 29.97 (30fps) and choose MP4/Standard IPB. Leave Sound recording to Auto for now. You can always explore the other options later on.
Since you're in Manual exposure mode, it's up to you to set the shutter speed and aperture. The general rule of thumb is that your shutter speed should be double the frames-per-second rate. At 30 fps, set your shutter speed to 1/60th of a second; then adjust the aperture (and ISO, if necessary) to get the proper exposure. When holding the camera by hand, be sure to set the lens's image stabilization (if available) to on; otherwise, leave the IS off and use a tripod. Press the start/stop button when you're ready to start shooting.
The 80D shoots excellent video, and with the proper settings, you're sure to get some great footage that you'll want to share with family and friends.
Before you buy, check our Canon promo codes for ways to save on your order.
Theano Nikitas is a freelance journalist and photographer. She's been writing about photography for more than 20 years, contributing countless reviews of cameras, lenses, accessories and software packages to Tom's Guide. Her work has also appeared in dozens of other magazines and websites, including CNET, DPreview, PopPhoto, Professional Photographer and Shutterbug.
