How to Use Android Pay for In-App Purchases
It's easier to authorize payments in your smartphone now, thanks to Android Pay within apps. Here's how to set it up and use it.
Shopping on your Android phone just got much easier. Google activated Android Pay within apps this week, meaning you no longer have to enter and re-enter your credit card information whenever you want to buy something from within an app on your smartphone.
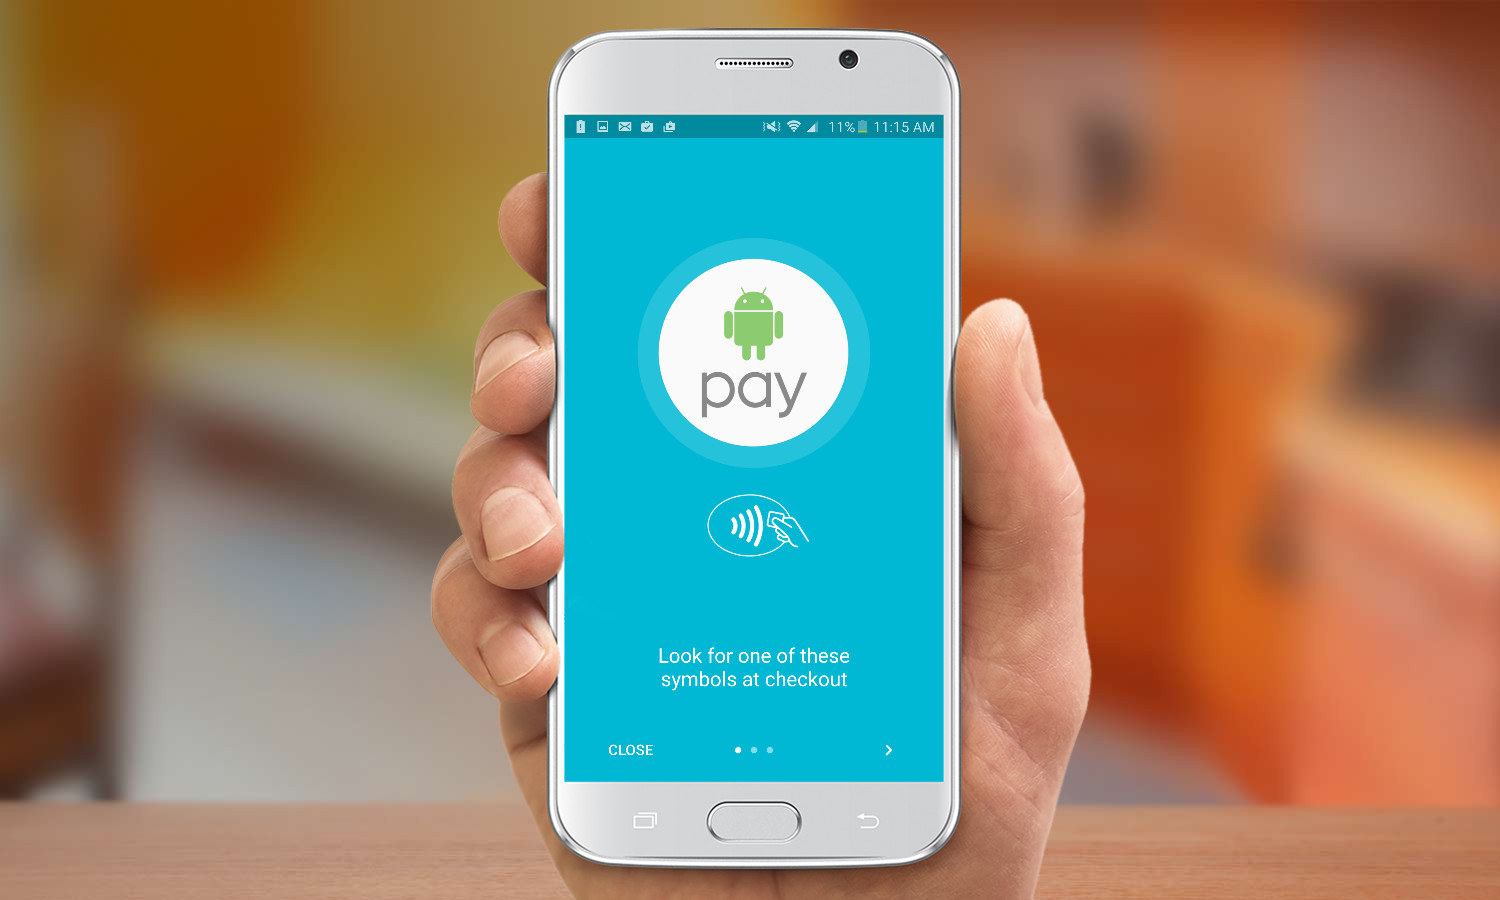
Using Android Pay provides better security than handing over your credit card information to dozens of different merchants you're shopping with. Under Google's mobile payment service, only Google will have your real credit card information, and it sends a virtual account number during the payment process to protect your details.
MORE: Mobile Wallets: Apple Pay vs Samsung Pay vs Android Pay
Android Pay also sends you a heads up whenever you've made a transaction, along with the location and the merchant's name and number, so you can catch any suspicious activity. And if you ever lose your device, you can lock down your information remotely via Android Device Manager, so no thief can go on a shopping spree with your saved card.
For a limited time, some of Android Pay's partners are offering discounts and credits for enabling Android Pay within their apps, including a $10 credit on taxi app Lyft and a $10 credit on grocery delivery app Instacart. Here's how to use Android Pay within apps.
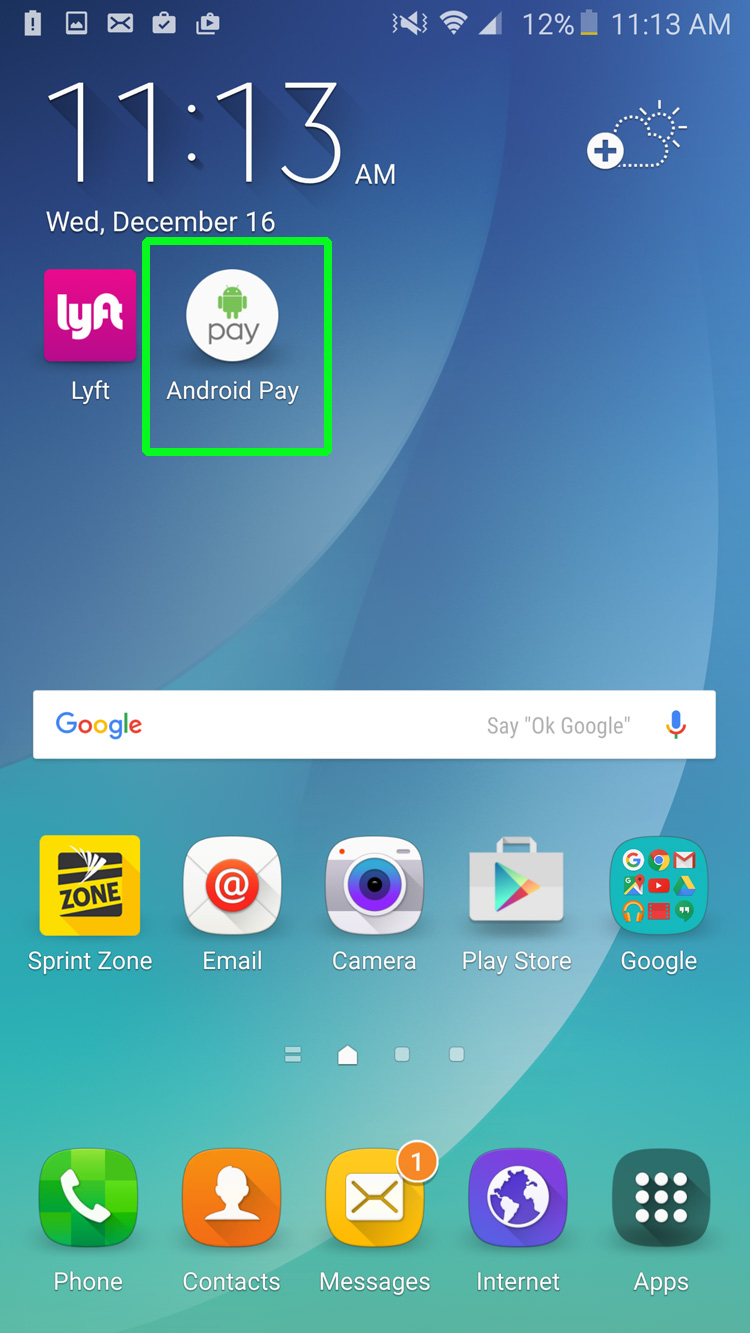
1. Download and install the Android Pay app, if you don't already have it.
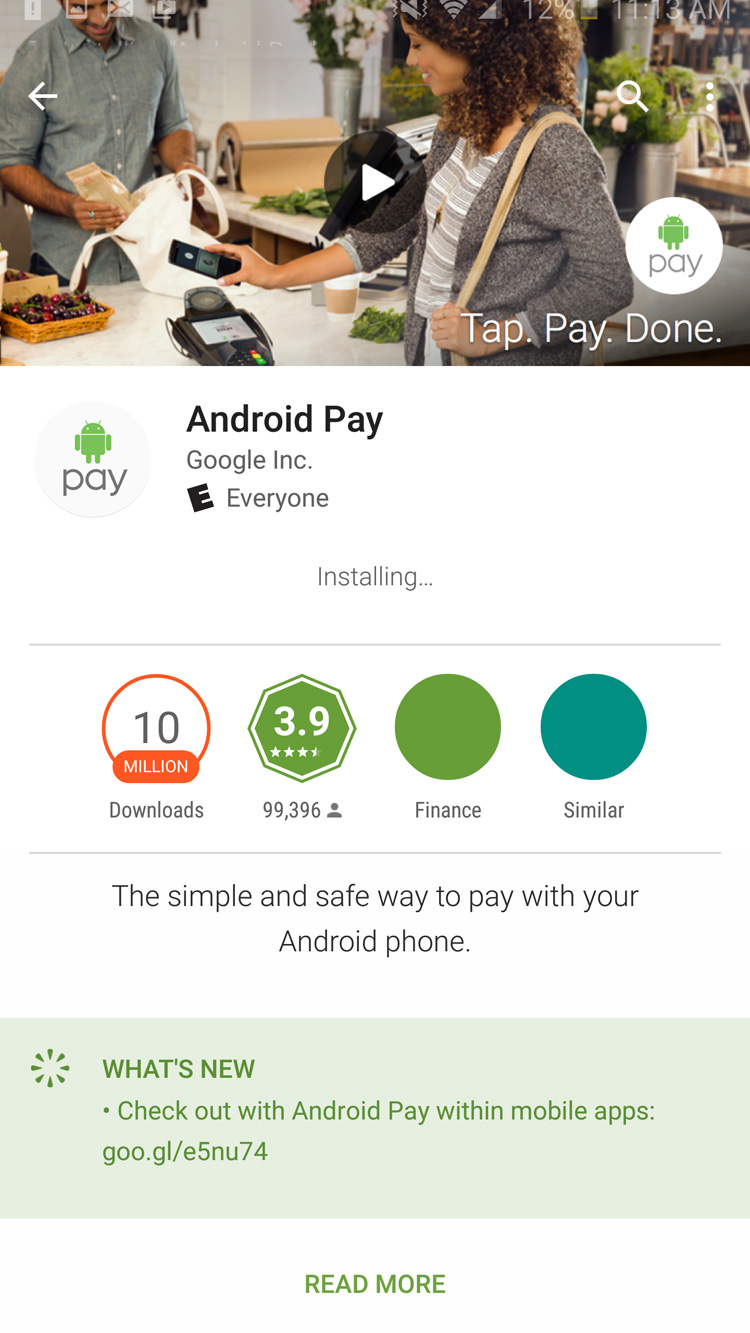
2. Open the Android Pay app.
Sign up to get the BEST of Tom's Guide direct to your inbox.
Get instant access to breaking news, the hottest reviews, great deals and helpful tips.
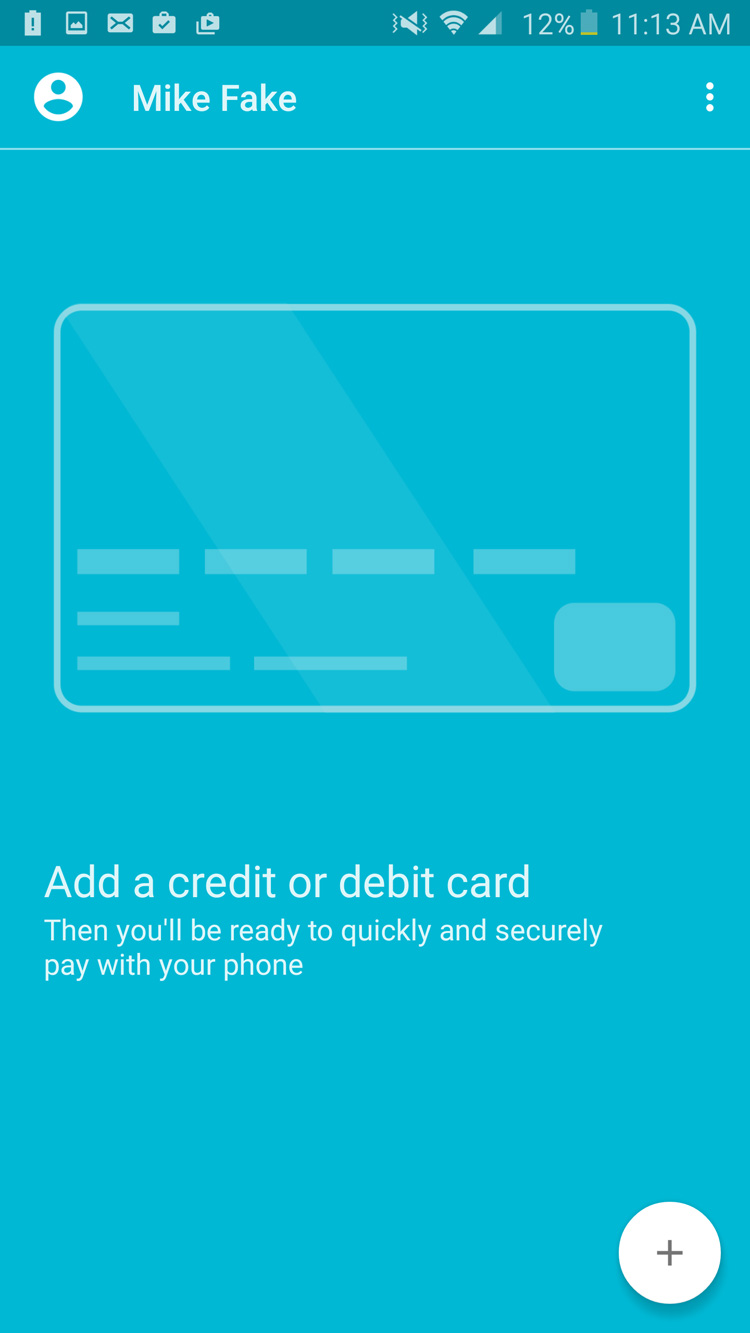
3. Set up your credit card. You can either take a picture of it or manually enter your payment info in the available fields.
4. Launch one of the apps that support Android Pay and make a purchase. (As of this writing, about two dozen apps support Android Pay, though Google promises that more are on the way.)
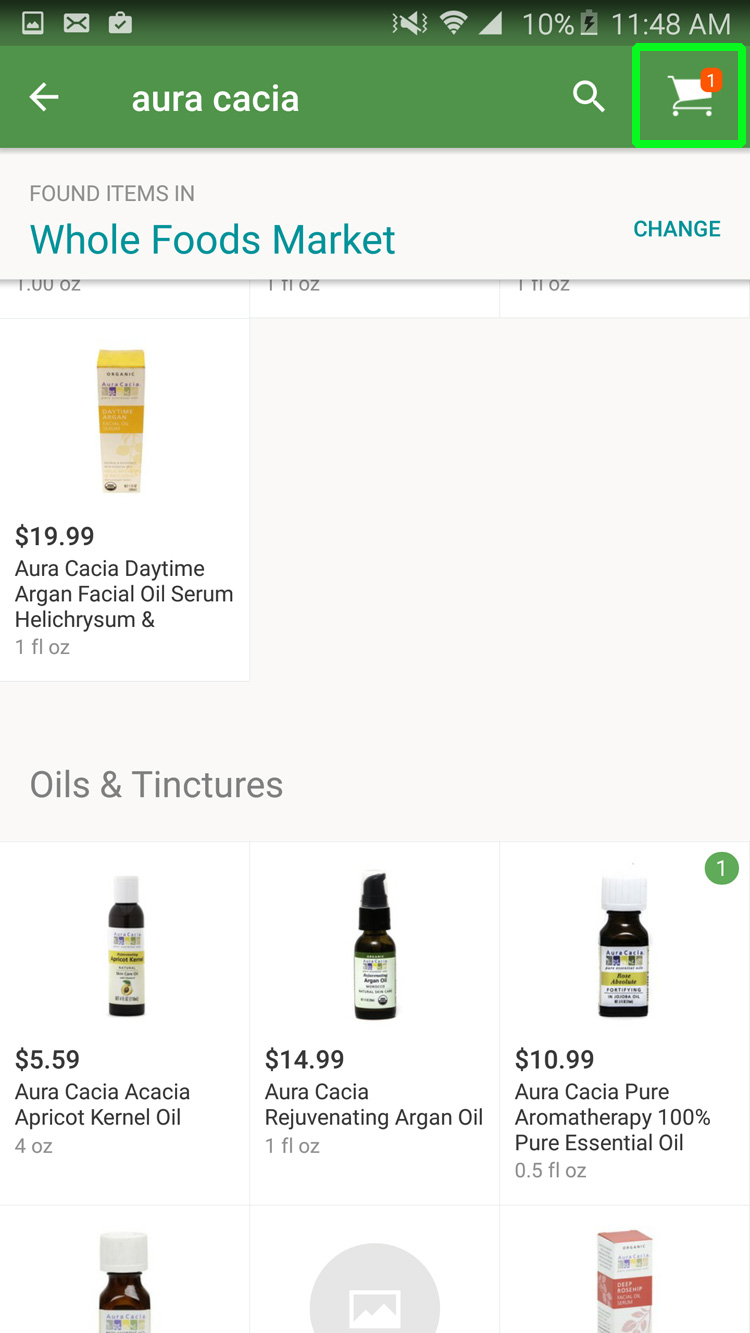
5. Checkout after you're done shopping. Some apps let you select Android Pay as the payment method at checkout, while others require you to first set it up as the payment method under Payment.

6. Tap Continue after selecting Android Pay as your method, then finish your transaction.

Cherlynn is Deputy Editor, Reviews at Engadget and also leads the site's Google reporting. She graduated with a Master’s in Journalism from Columbia University before joining Tom's Guide and its sister site LaptopMag as a staff writer, where she covered wearables, cameras, laptops, computers and smartphones, among many other subjects.

