How to use the Apple Watch Blood Oxygen app
Unsuccessful measurements? Here are tips for getting accurate readings with the Apple Watch Blood Oxygen app
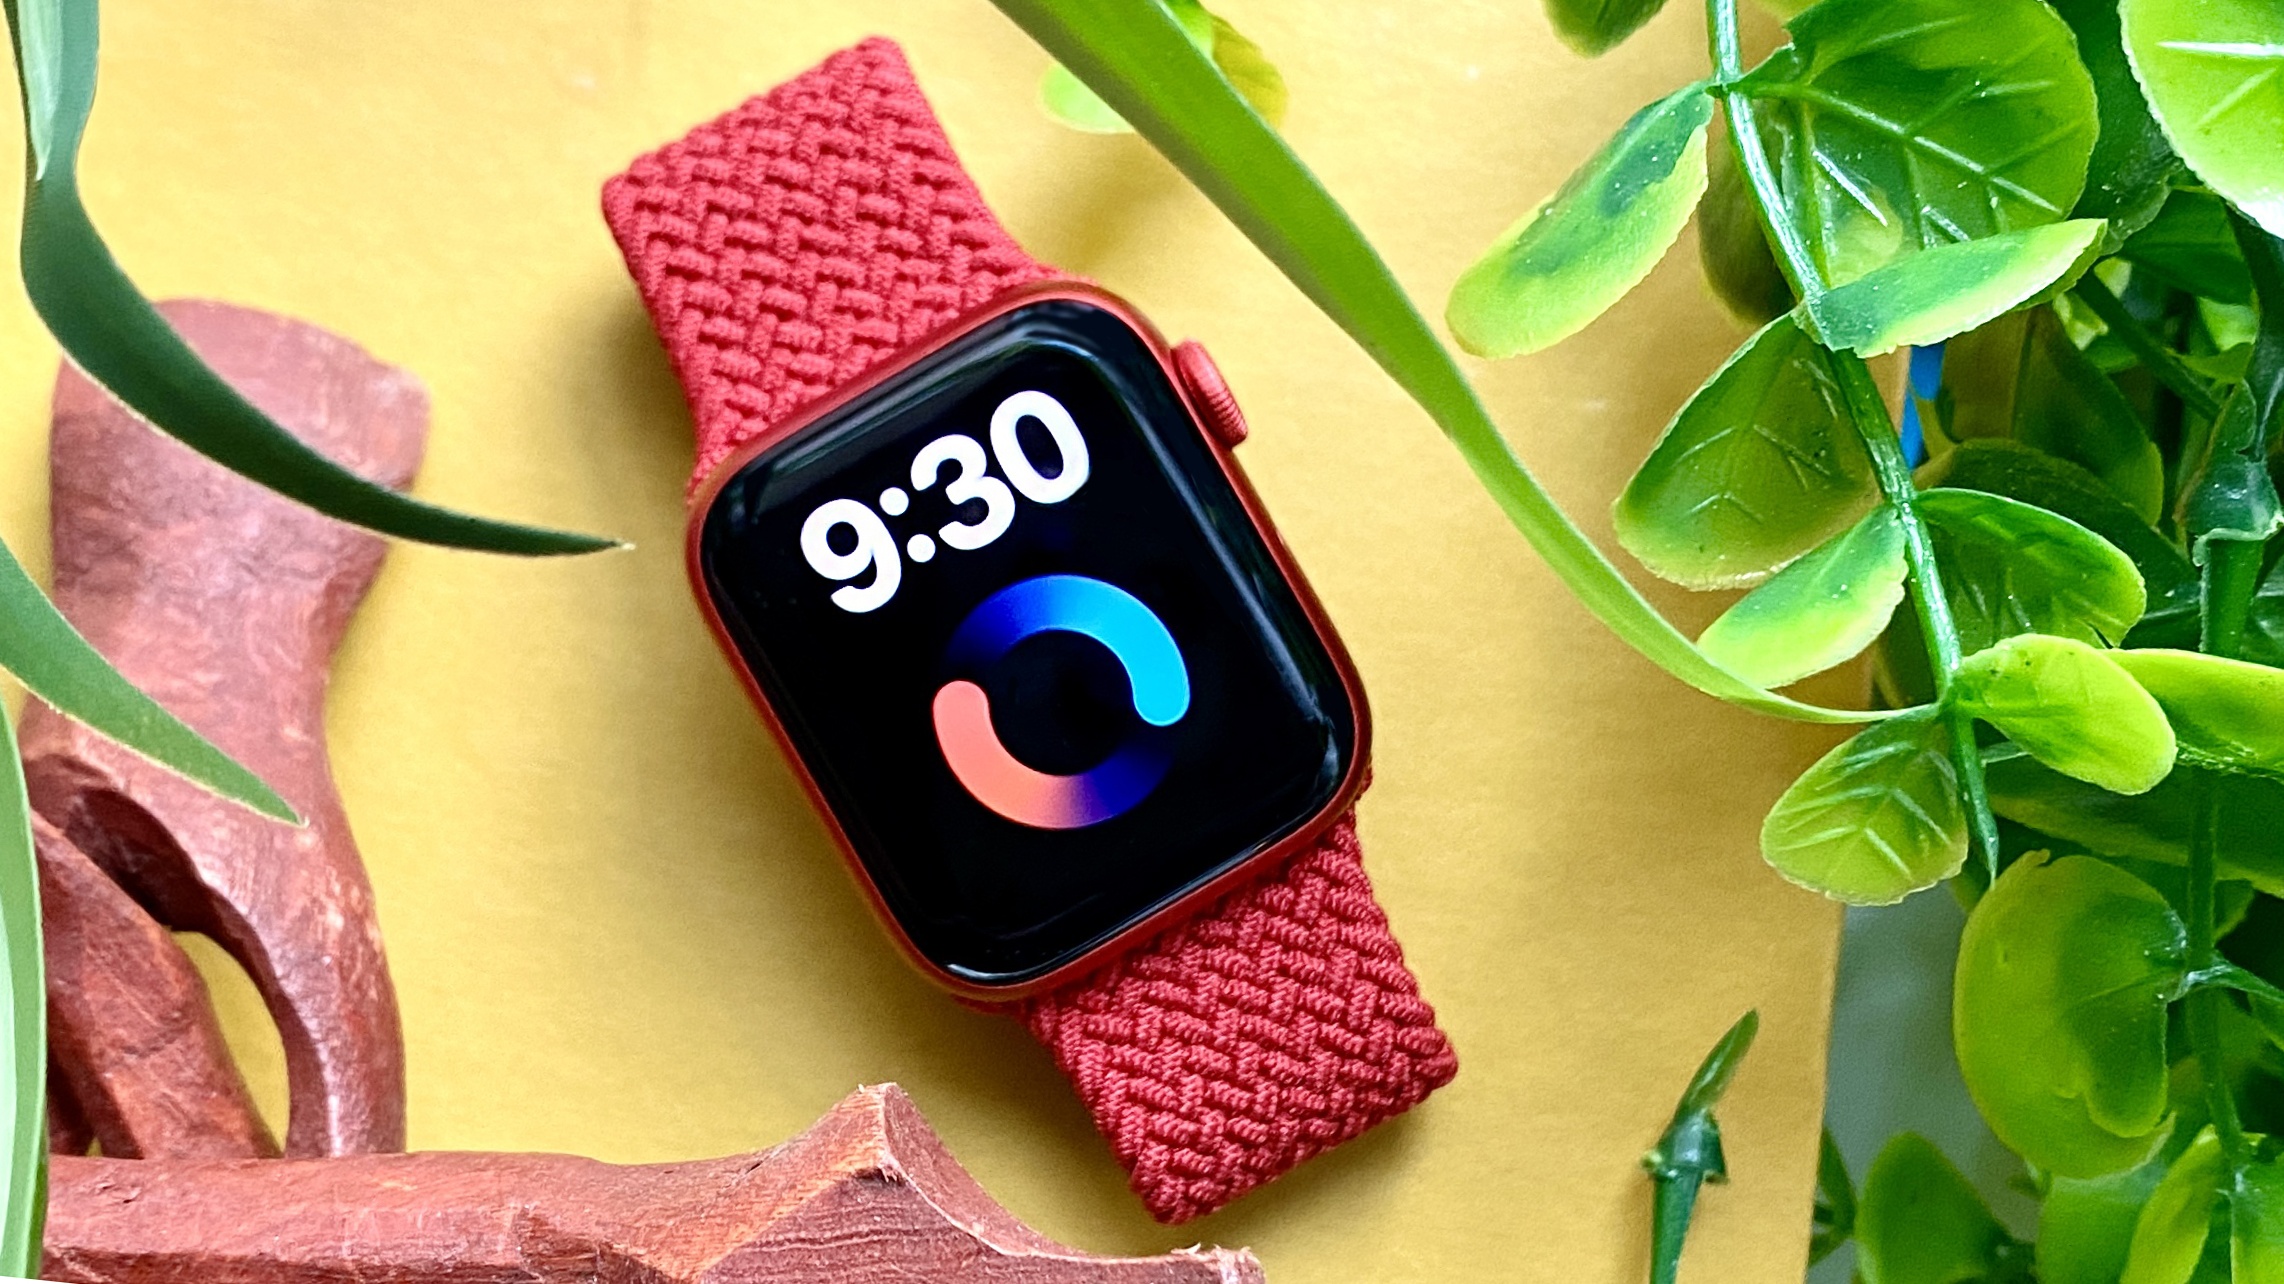
The Apple Watch blood oxygen app, available to those with the Apple Watch 6 and Apple Watch 7, can be used to administer at-home SpO2 readings. Similar to finger-based pulse oximeters, Apple's flagship smartwatches can give you a sense of your body's oxygen saturation without you needing to get your blood drawn in a lab.
Many of the best smartwatches also offer blood oxygen readings, but the Apple Watch is the most popular of the bunch. As such, you might be wondering how to use the Apple Watch Blood Oxygen app if you've recently acquired Apple's latest flagship.
Although the Apple Watch earned its category-leading reputation by making things easy, reviewers and users alike have run into some issues with fielding accurate blood oxygen readings. We've had more success, but we've also spent several weeks now brushing on Apple's blood oxygen app guidance and understanding which variables impact our readings.
Here's our guide on how to use the Apple Watch Blood Oxygen app, including what we know about the reading accuracy and tips on what do if you're experiencing unsuccessful measurements.
Is the Apple Watch Blood Oxygen app accurate?
First thing's first: The Apple Watch Blood Oxygen app is NOT approved by the FDA. Unlike the Apple Watch's electrocardiogram (ECG) reader, the Blood Oxygen app doesn't have the public health stamp of approval, meaning it cannot diagnose you based on your readings. Apple even provides a disclaimer within the app that its Blood Oxygen measurements are not intended for medical use.
The Apple Watch Blood Oxygen app offers a brief blood oxygen synopsis and explains how readings of 95%-100% are considered average, although factors like high altitude and non-life-threatening sleep conditions could result in abnormal readings.
Below-average readings can also be a symptom of a lung condition such as silent hypoxia, a life-threatening condition that can escalate the effects of respiratory illness.
Sign up to get the BEST of Tom's Guide direct to your inbox.
Get instant access to breaking news, the hottest reviews, great deals and helpful tips.
If you field a low blood oxygen reading, but have no irregular respiratory symptoms, your reading might not be accurate. We explain some factors that could be causing that below. That said, if you're experiencing shortness of breath, coughing or wheezing and are concerned about your blood oxygen reading, you should reach out to your doctor.
How to use the Apple Watch Blood Oxygen app
In order to use the Apple Watch Blood Oxygen app, you must have the Apple Watch Series 6 or Series 7. Neither the Apple Watch SE nor Apple Watch Series 3 support SpO2 readings.
1. Open the Blood Oxygen app on your Apple Watch. If you plan to take readings regularly, it could make things easier for you to place the Blood Oxygen app complication on your watch face.
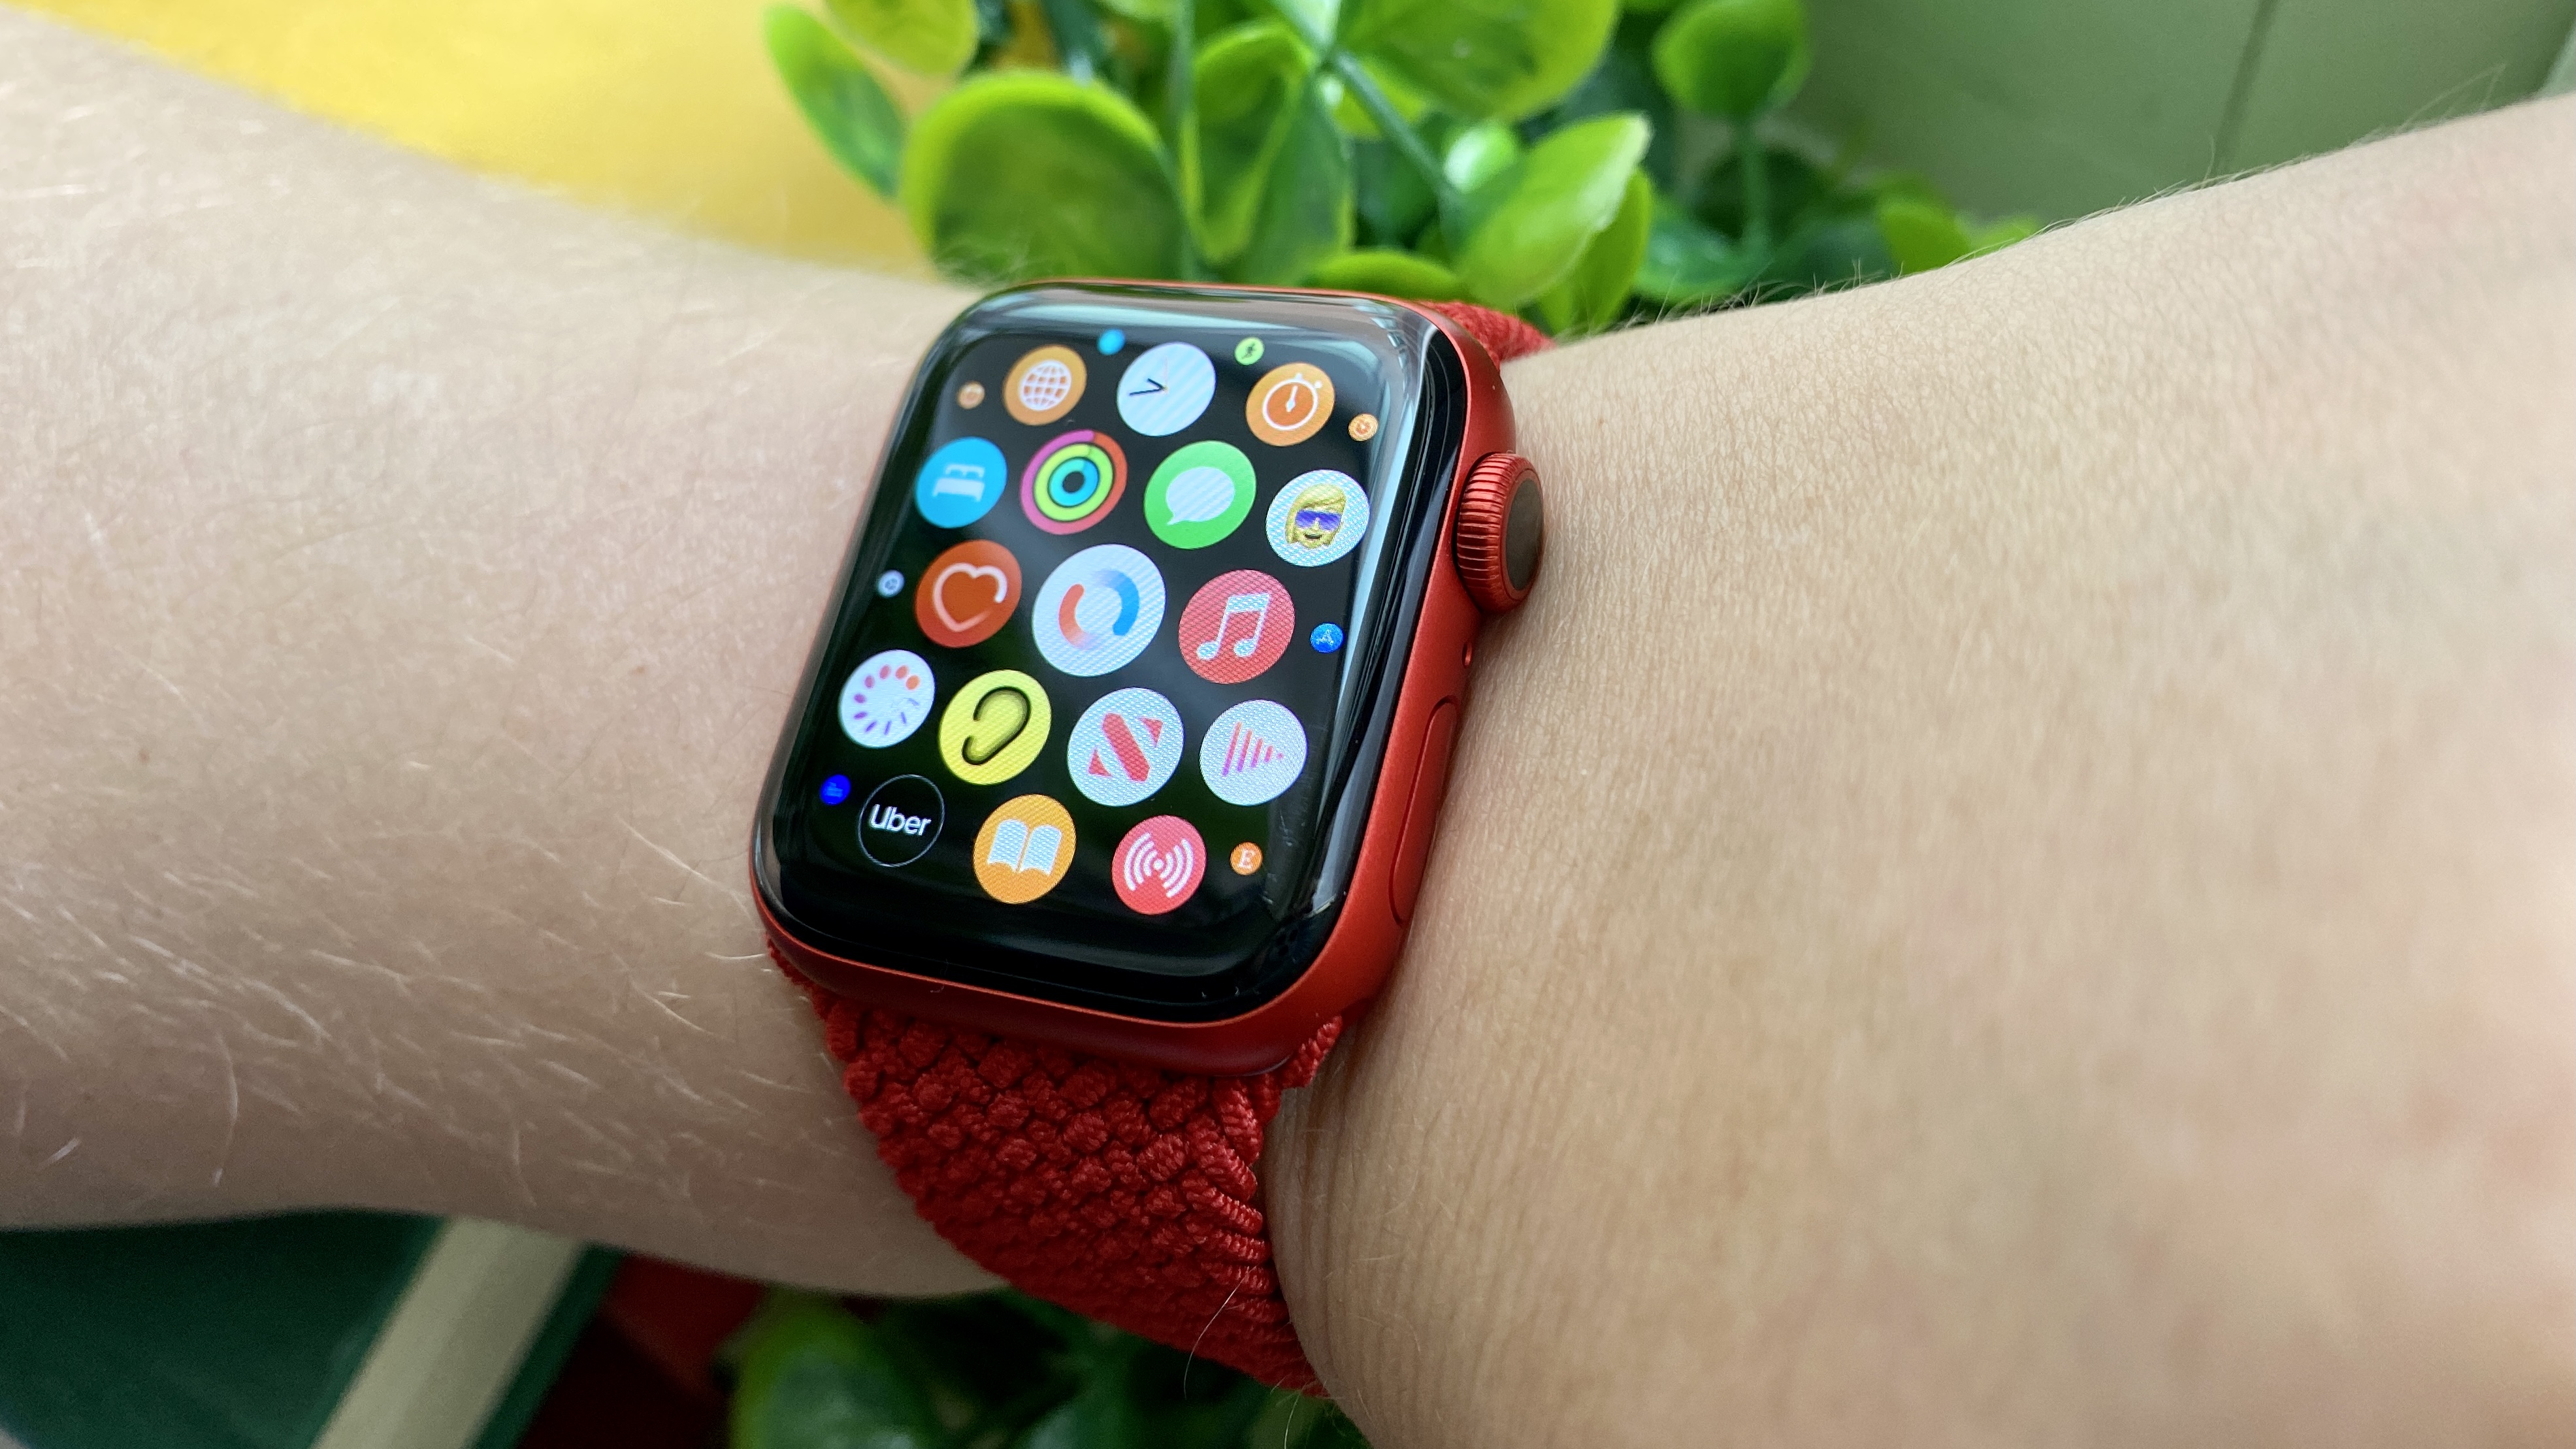
2. Rest your arm and wrist on a flat surface, and make sure your Apple Watch is facing up. Apple says you can rest your arm on your lap, too, but we've found more success by using a flat surface. Prepare to keep your arm still.
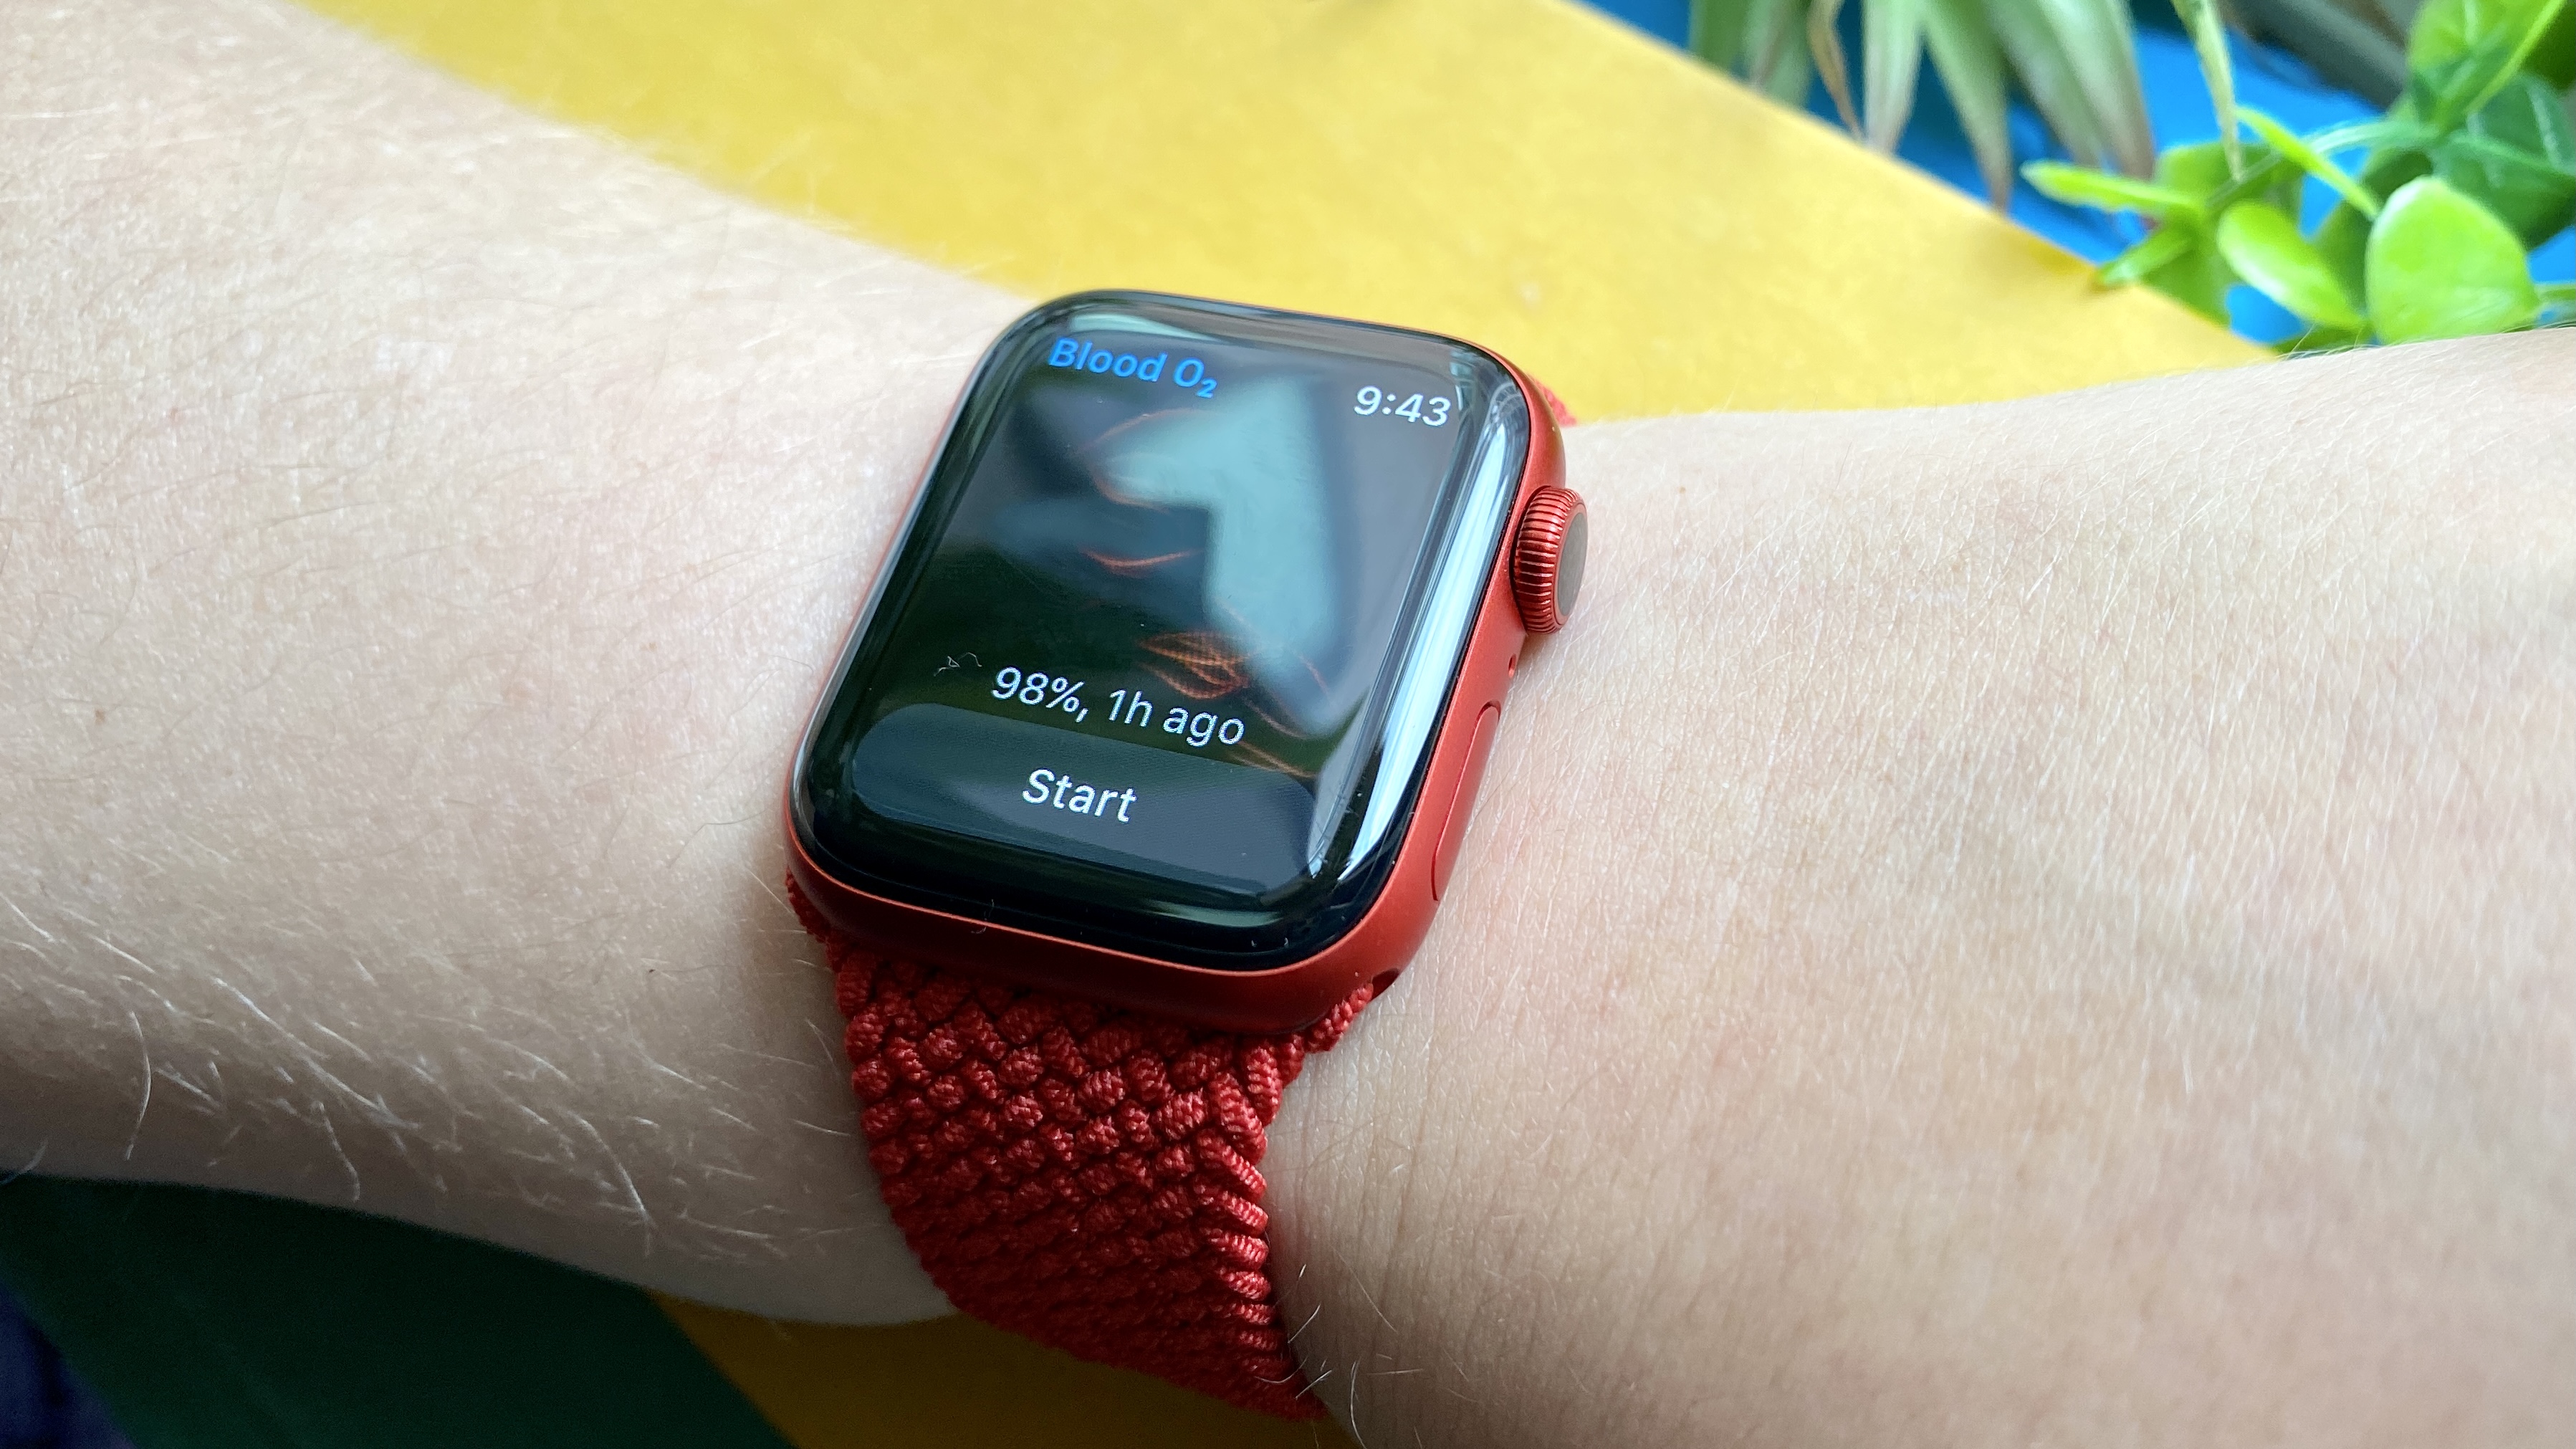
3. Click start measurement. Keep your arm steady for 15 seconds.
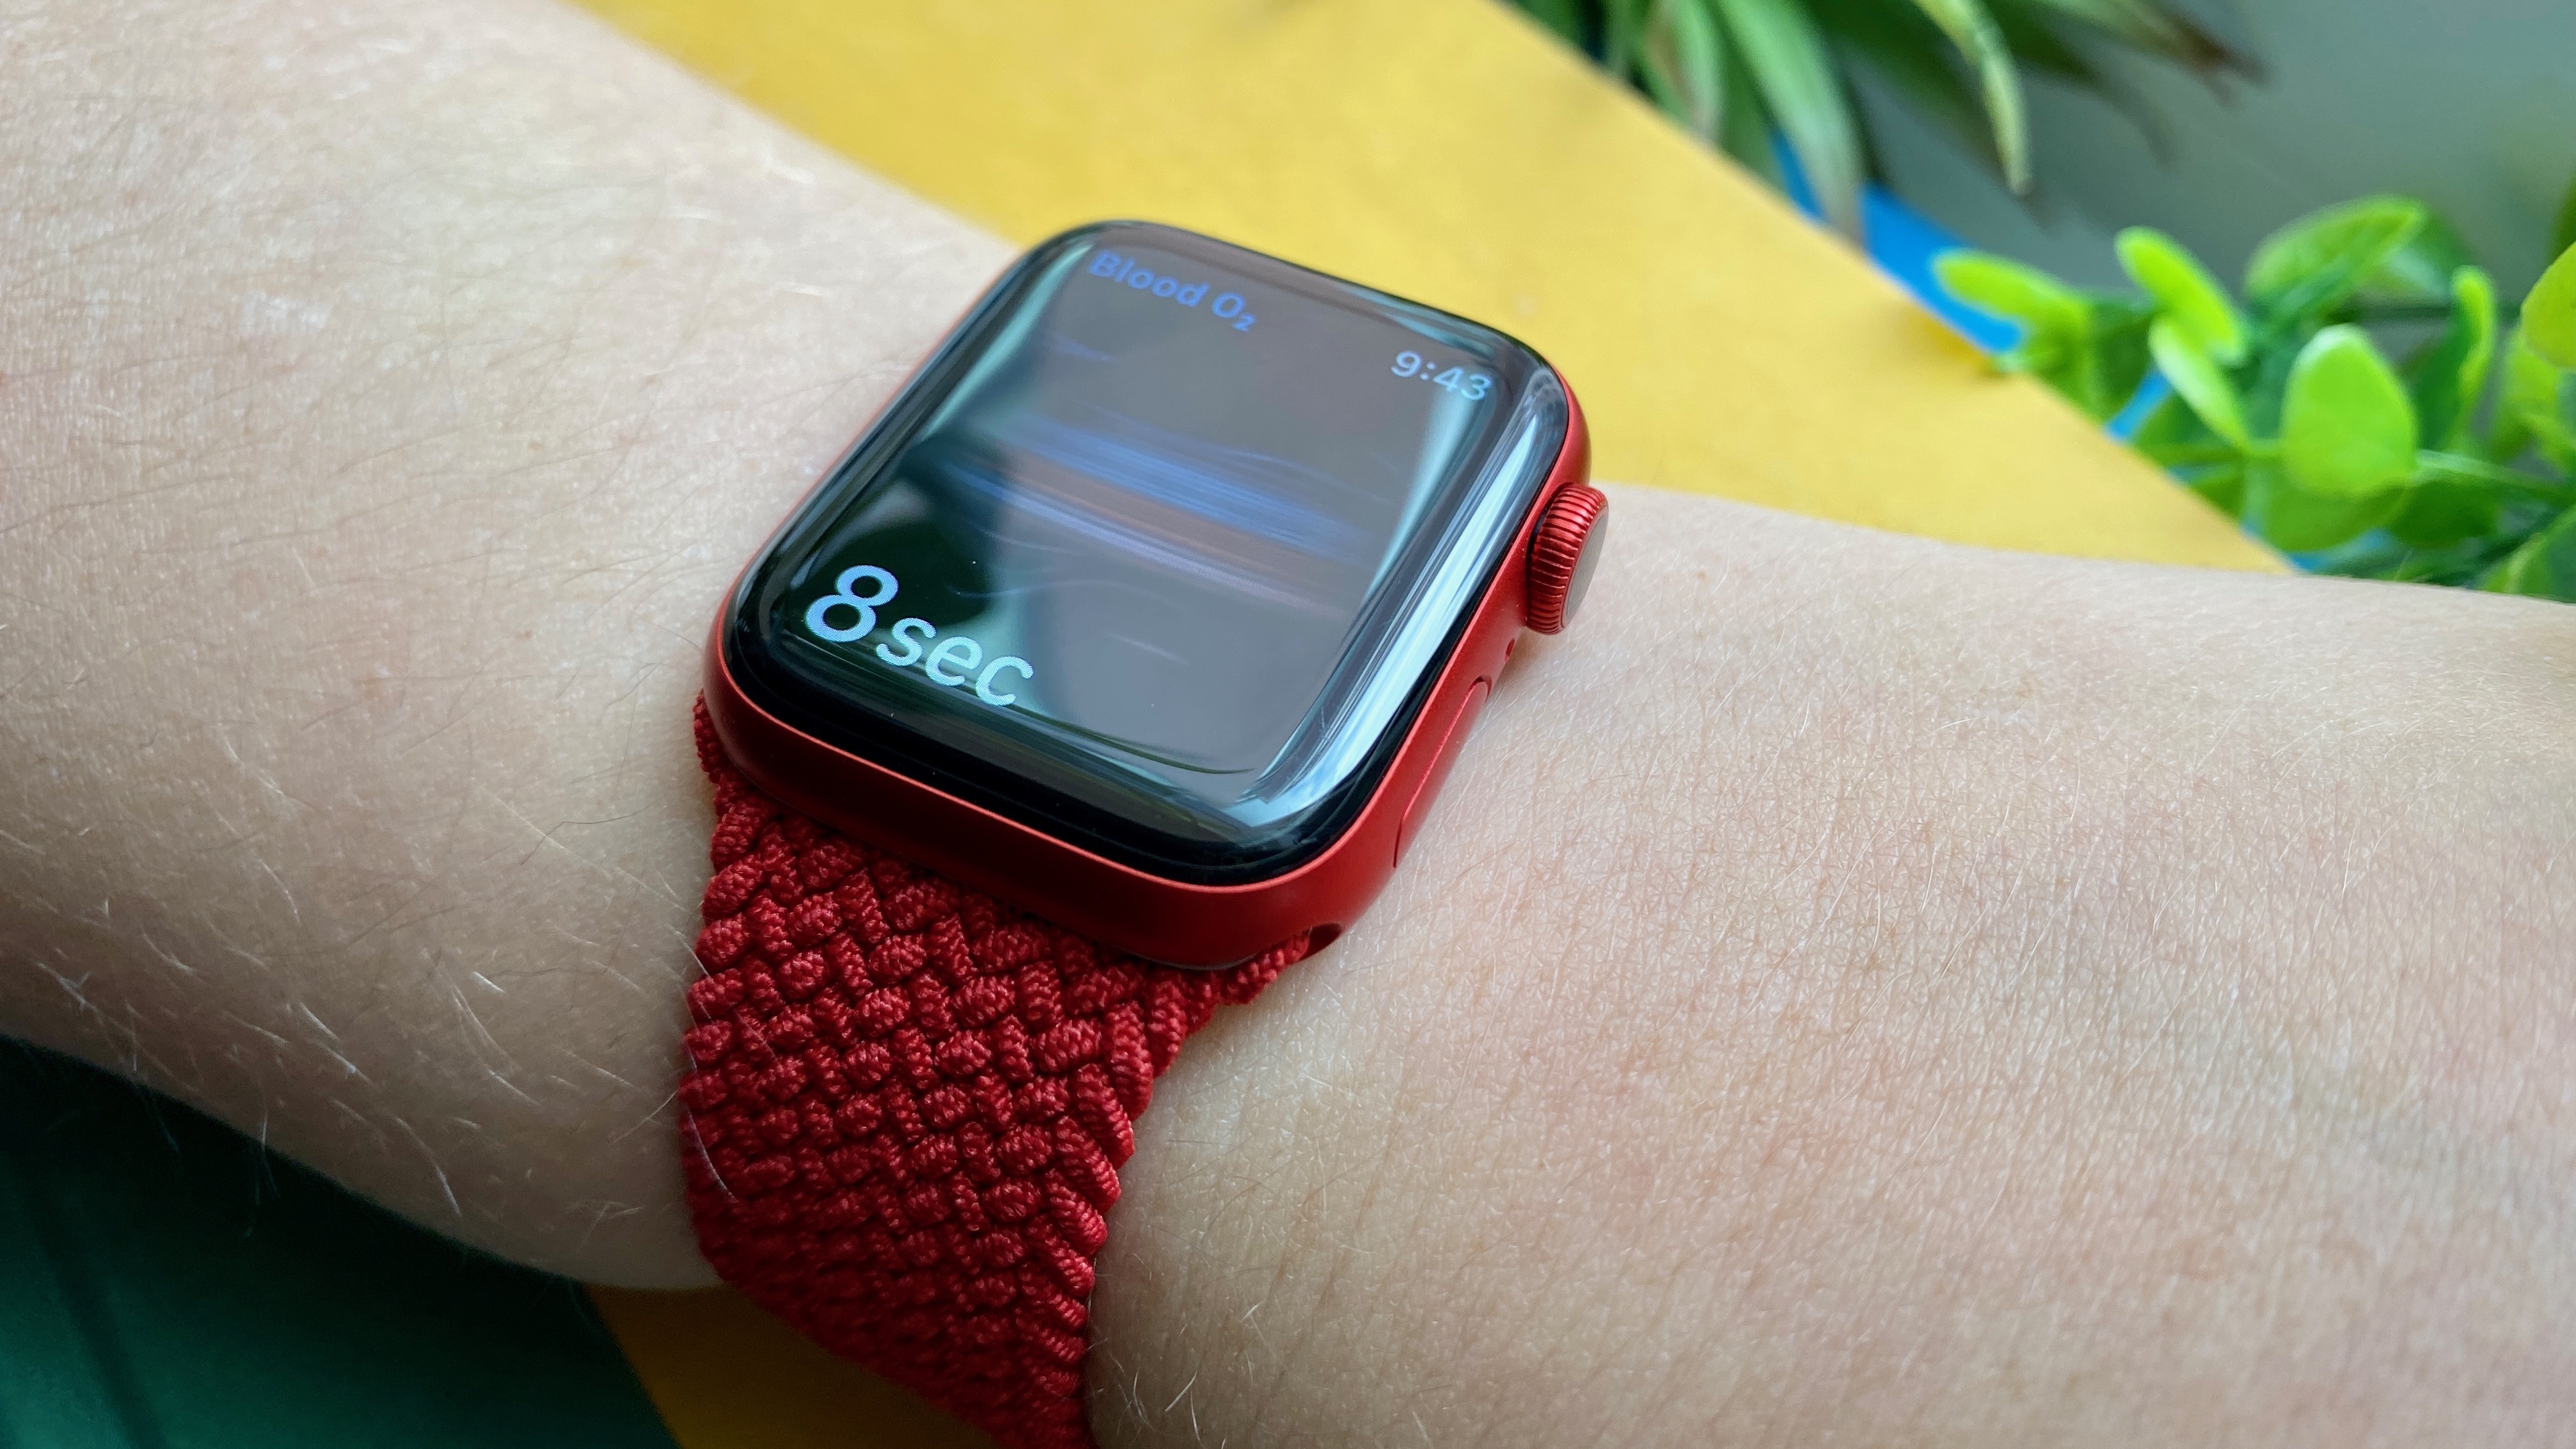
4. Wait 15 seconds. If your Apple Watch was able to get a reading, you should see your blood oxygen level. Hit the information icon next to your reading to learn more about the Apple Watch blood oxygen app, or hit done to finish.
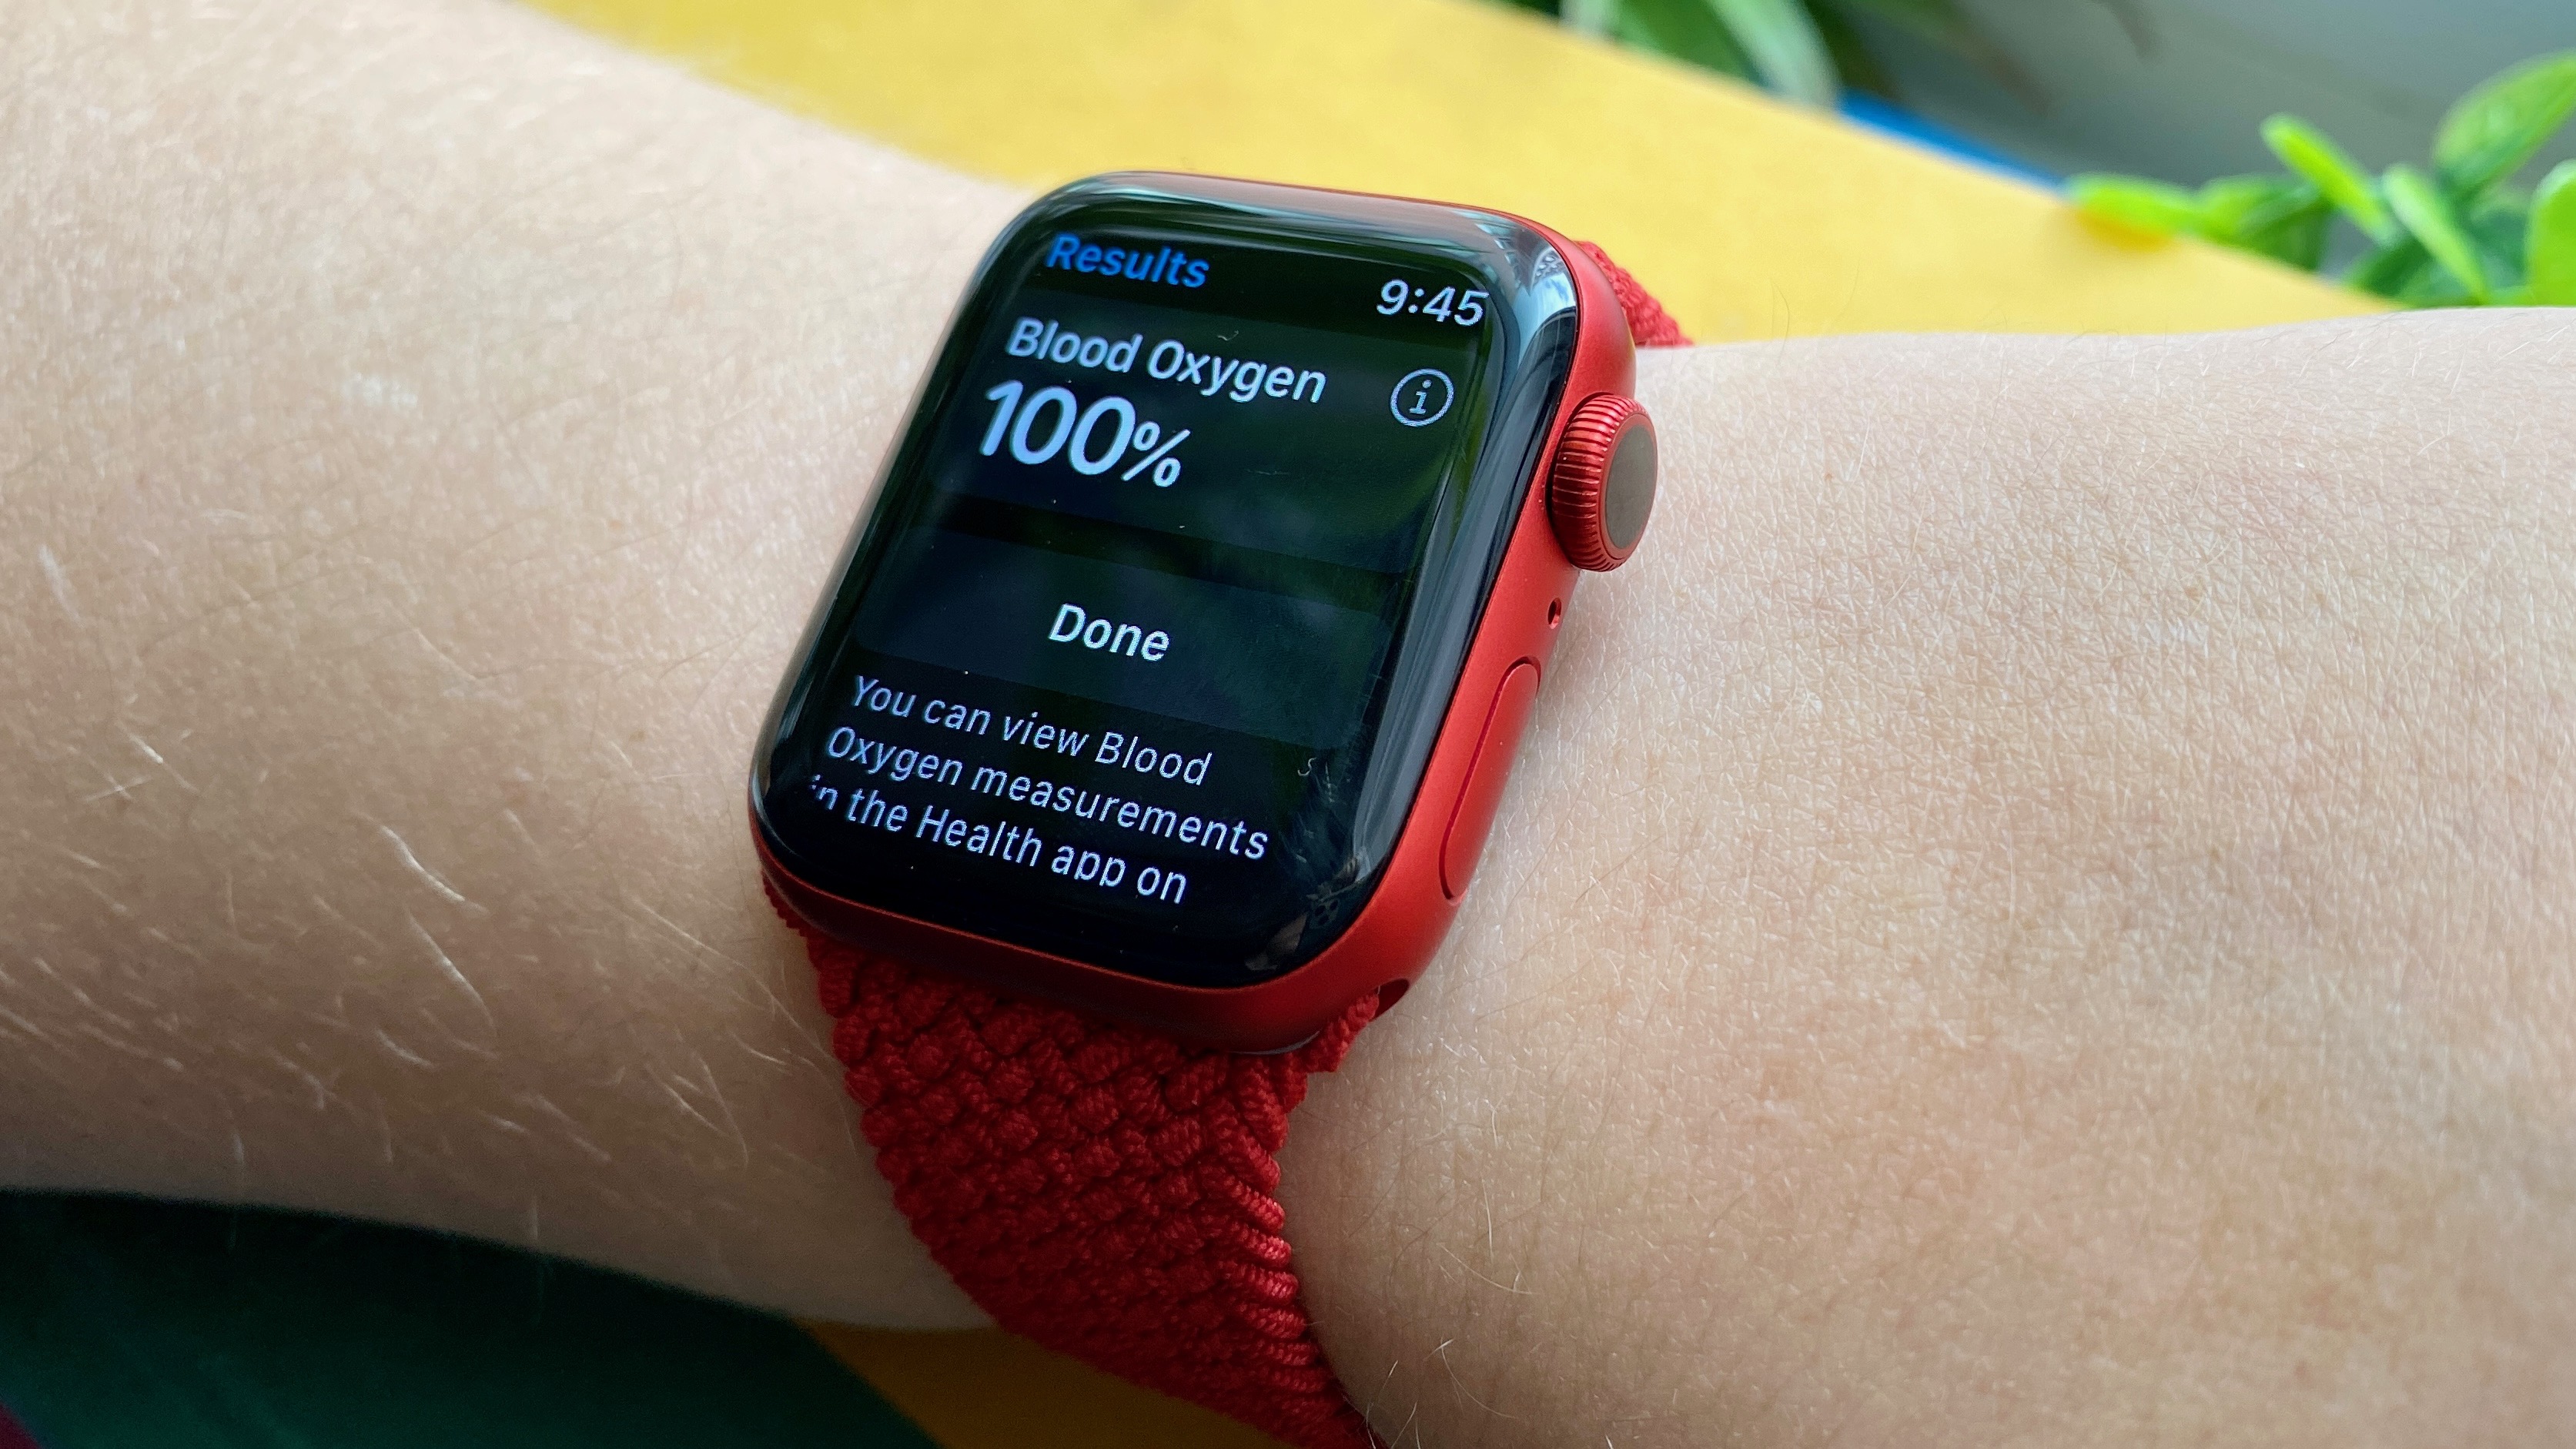
Apple Watch Blood Oxygen app not working? What to do about unsuccessful measurements
There are a couple of factors that may cause the Apple Watch Blood Oxygen app to read, "Unsuccessful Measurement," when you take a reading. Although your Apple Watch won't tell you which of those factors you need to adjust, here are some tips for getting the app to work properly.
1. Don't move during the reading. Even if you wiggle your fingers or adjust your arm, you could experience an unsuccessful reading. Be sure to get your arm and wrist into position prior to pressing start.
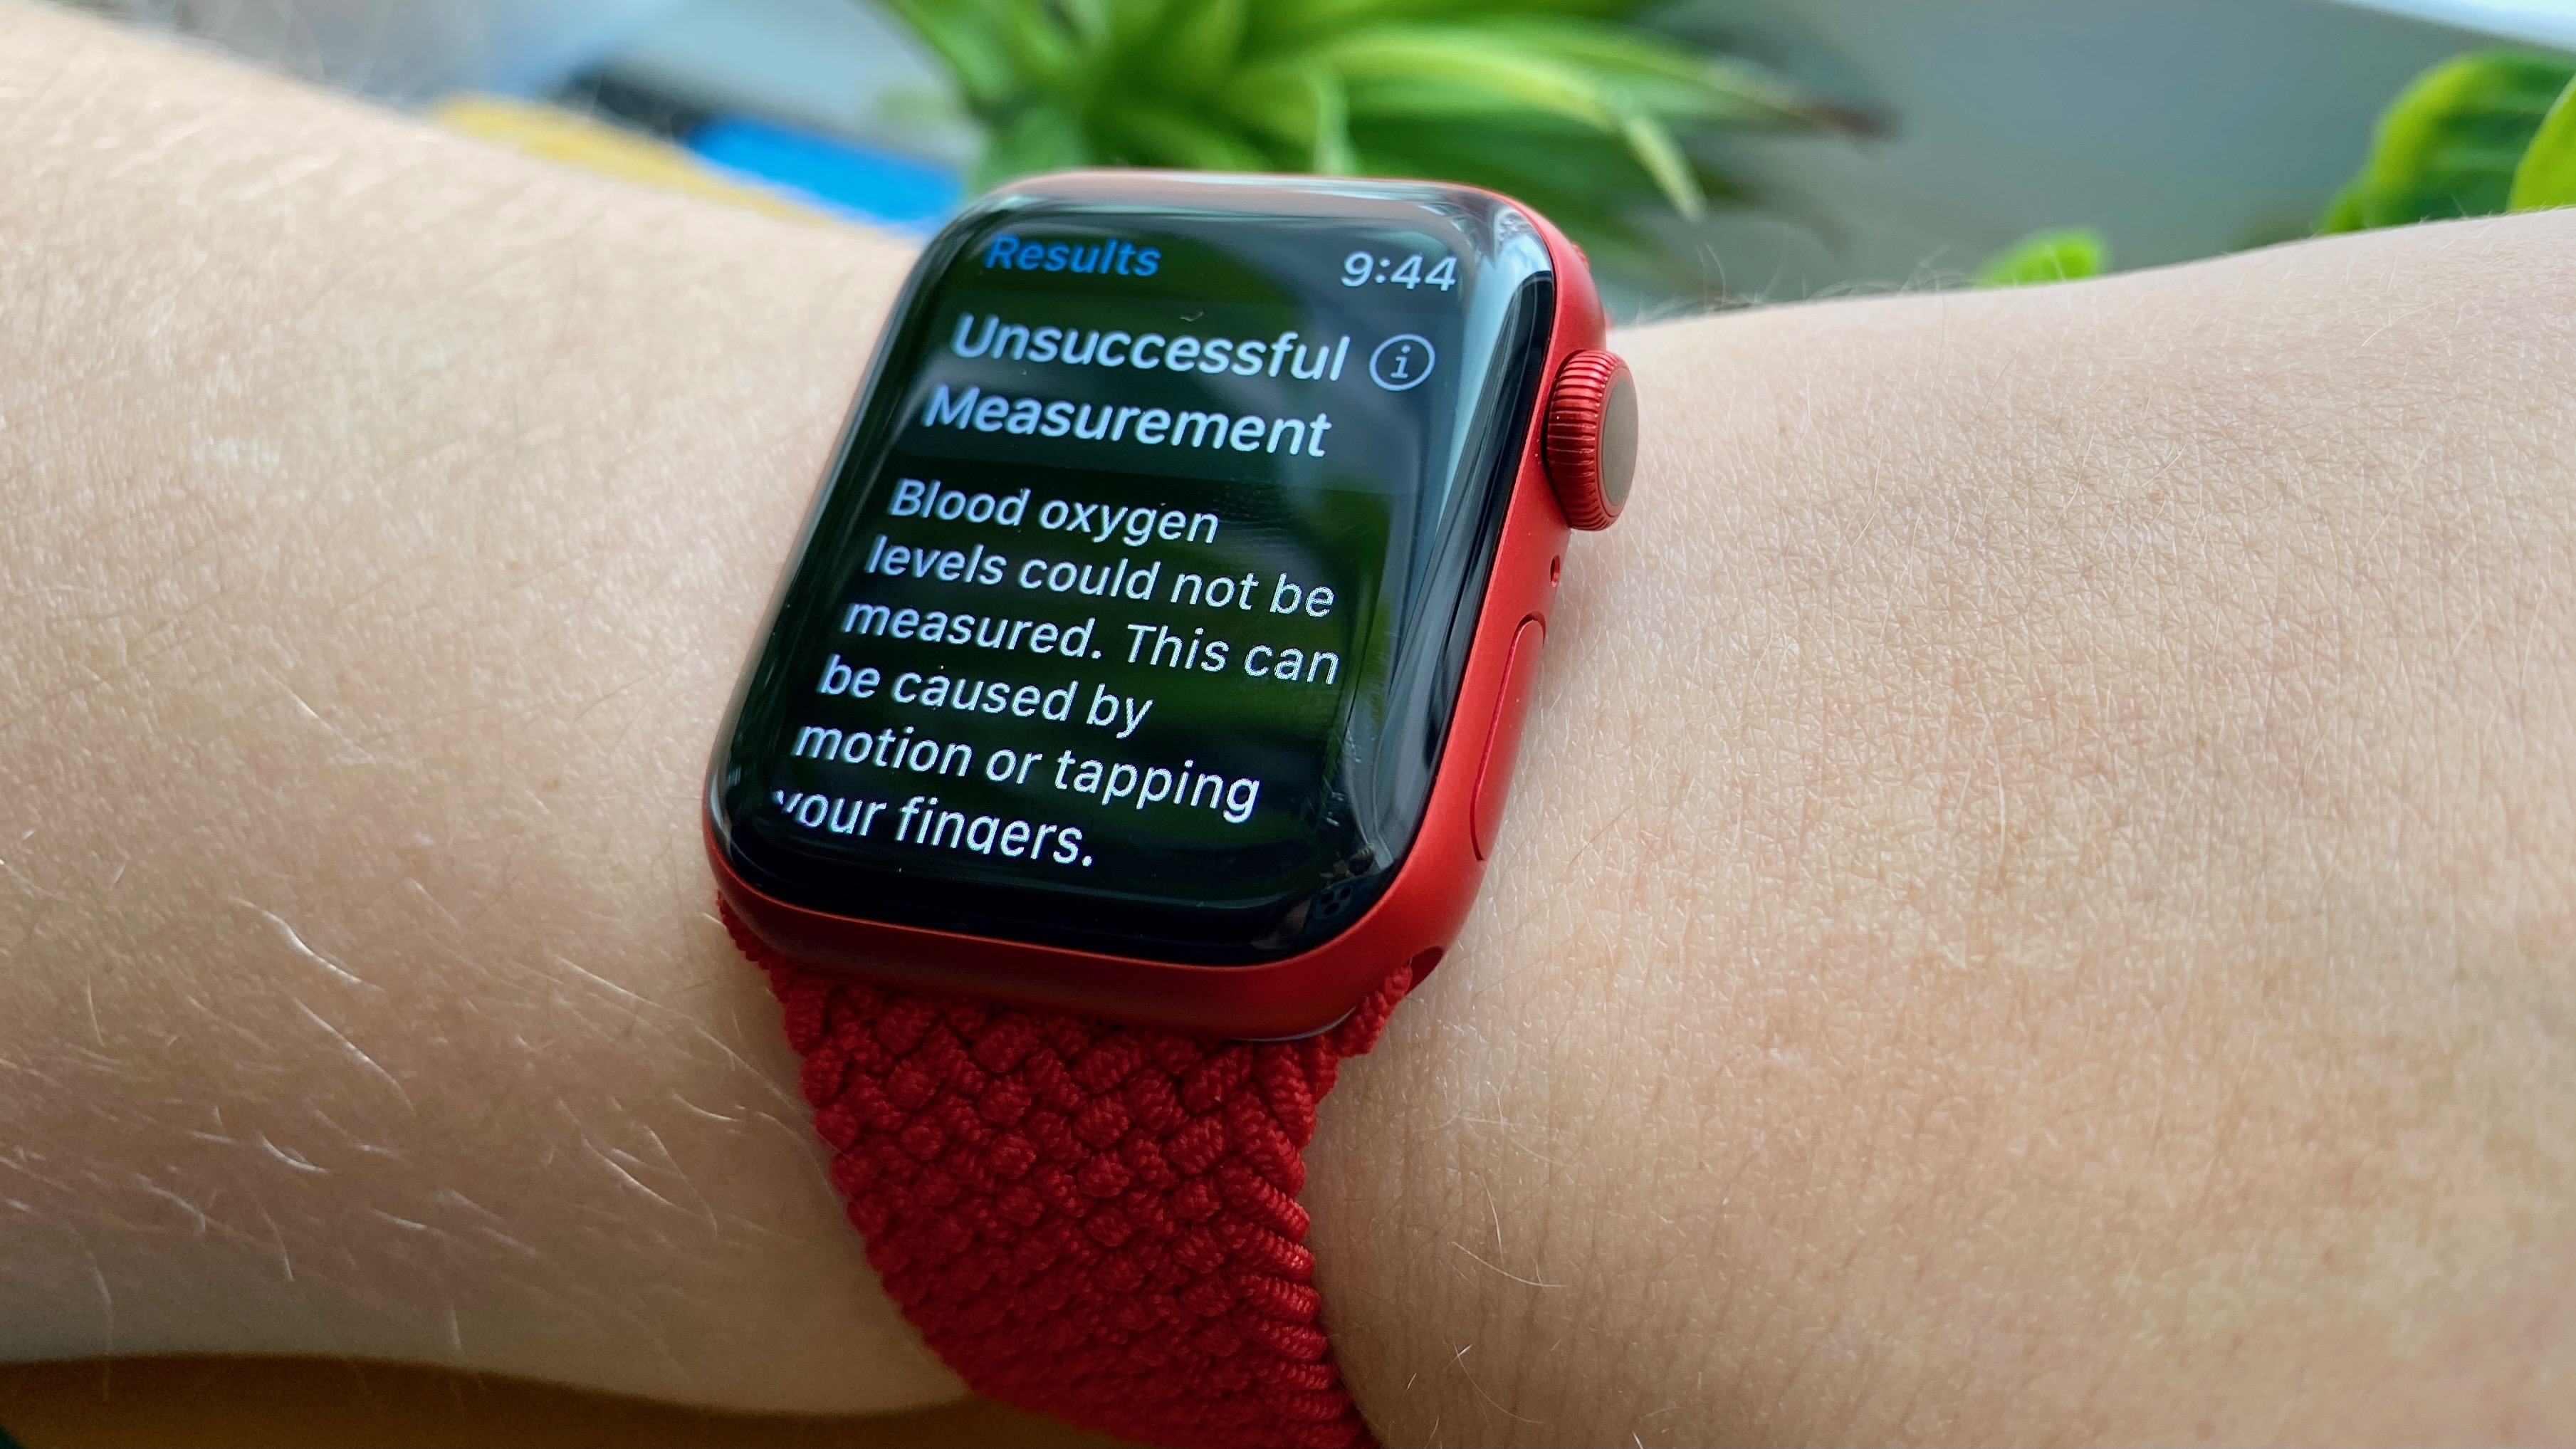
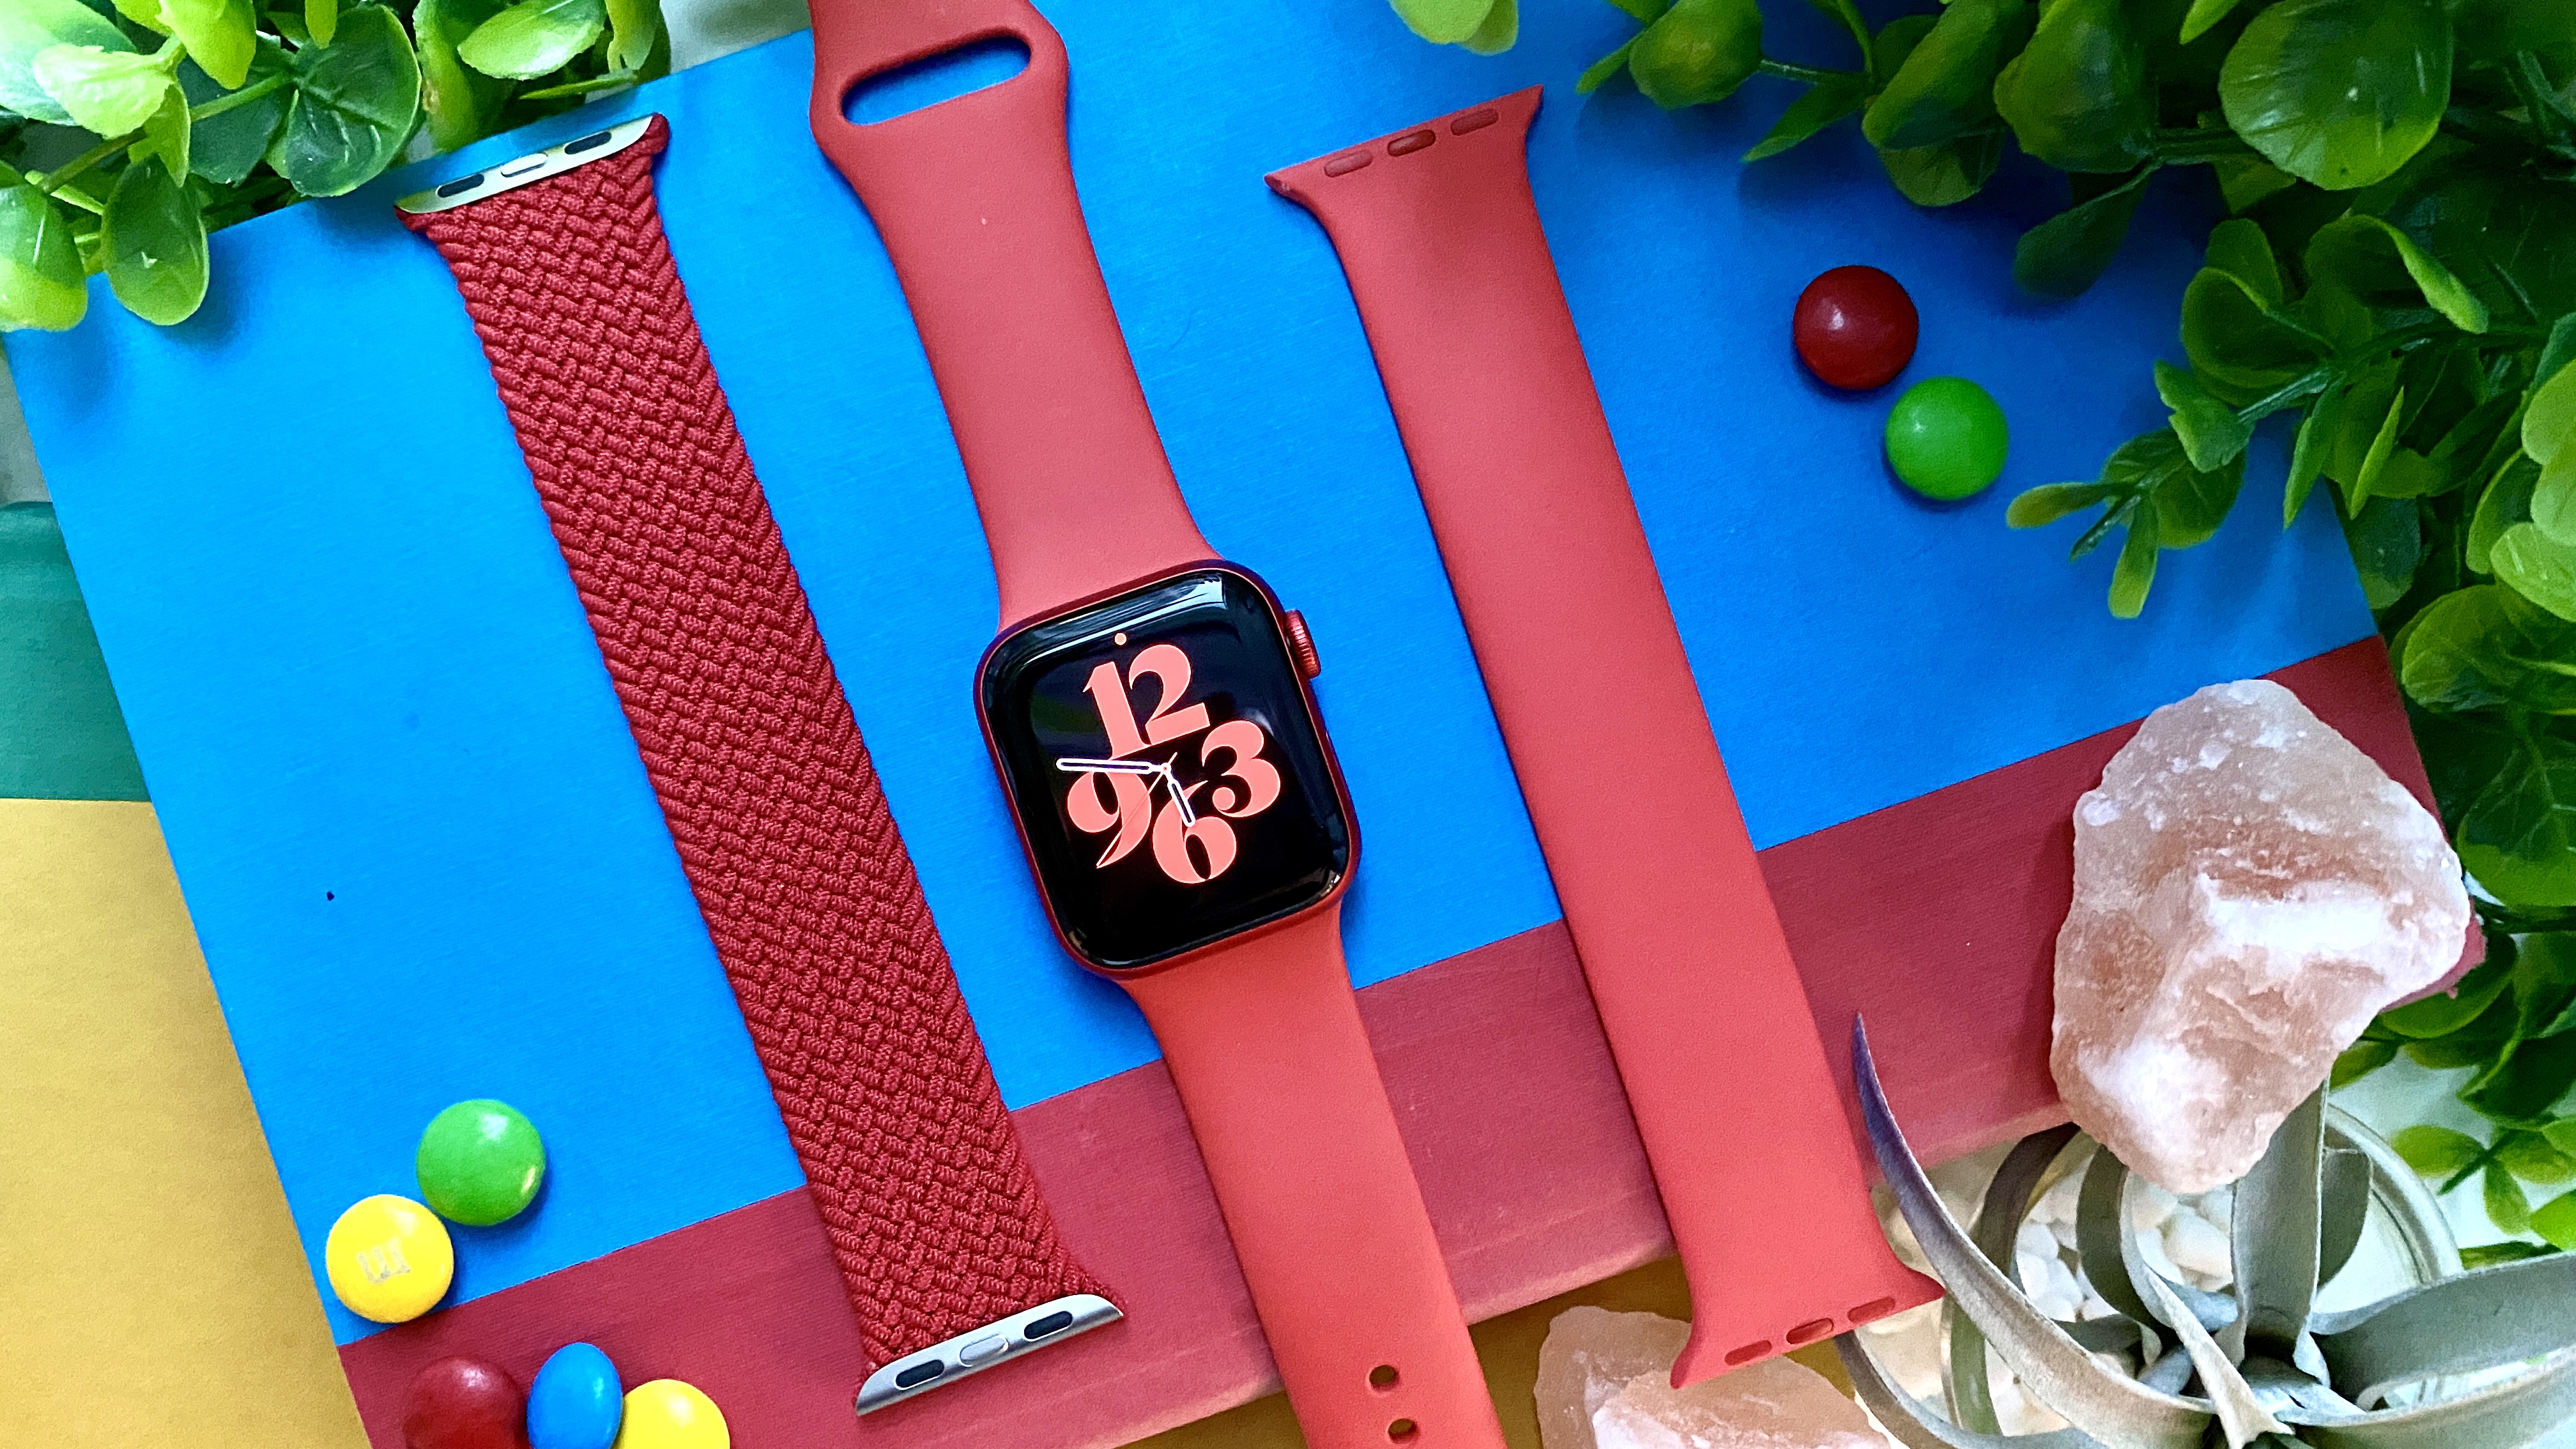
2. Make sure your Apple Watch is snug on your wrist. The back of your Apple Watch should be touching your wrist. If your Apple Watch is loose on your wrist, tighten your Apple Watch band. Apple's stretchy Braided Solo Loop and standard Solo Loop are great for a secure fit, so long as you have the right size.
Even under the right conditions, your Apple Watch may not be able to get a reliable blood oxygen measurement every time. Tattoos, high heart rate and skin perfusion could also result in unsuccessful readings. Experiment with different factors and placements on your wrist to find what works for you.
Check out our guide on how to use the Apple Watch for more tips and tricks on making the most of your smartwatch.
Kate Kozuch is the managing editor of social and video at Tom’s Guide. She writes about smartwatches, TVs, audio devices, and some cooking appliances, too. Kate appears on Fox News to talk tech trends and runs the Tom's Guide TikTok account, which you should be following if you don't already. When she’s not filming tech videos, you can find her taking up a new sport, mastering the NYT Crossword or channeling her inner celebrity chef.

