iOS 18 Notes just got a major overhaul — here's how to use it
Next-level Notes with iOS 18

With iOS 18, you can change the color of your app icons, quickly sort photos by category, and even access some hidden features that will make your life easier. One of these game-changing updates is in the Notes app, which now offers powerful new organization tools.
If you have written a text-heavy note, you may find it difficult to find the information you need. Even if you've broken down the lengthy note using headings and subheadings, you might scroll for some time before you find the relevant section. With the updated Notes app, those headings and subheadings are now collapsible.
When a section is collapsed, everything within it is hidden. Once you've set up a section to be collapsible, it's merely a matter of selecting an arrow to collapse and expand. It's truly effective and makes a huge difference to your workflow.
With all of that in mind, let's learn how to create neater Notes in iOS 18 and macOS Sequoia!
1. Launch Notes app
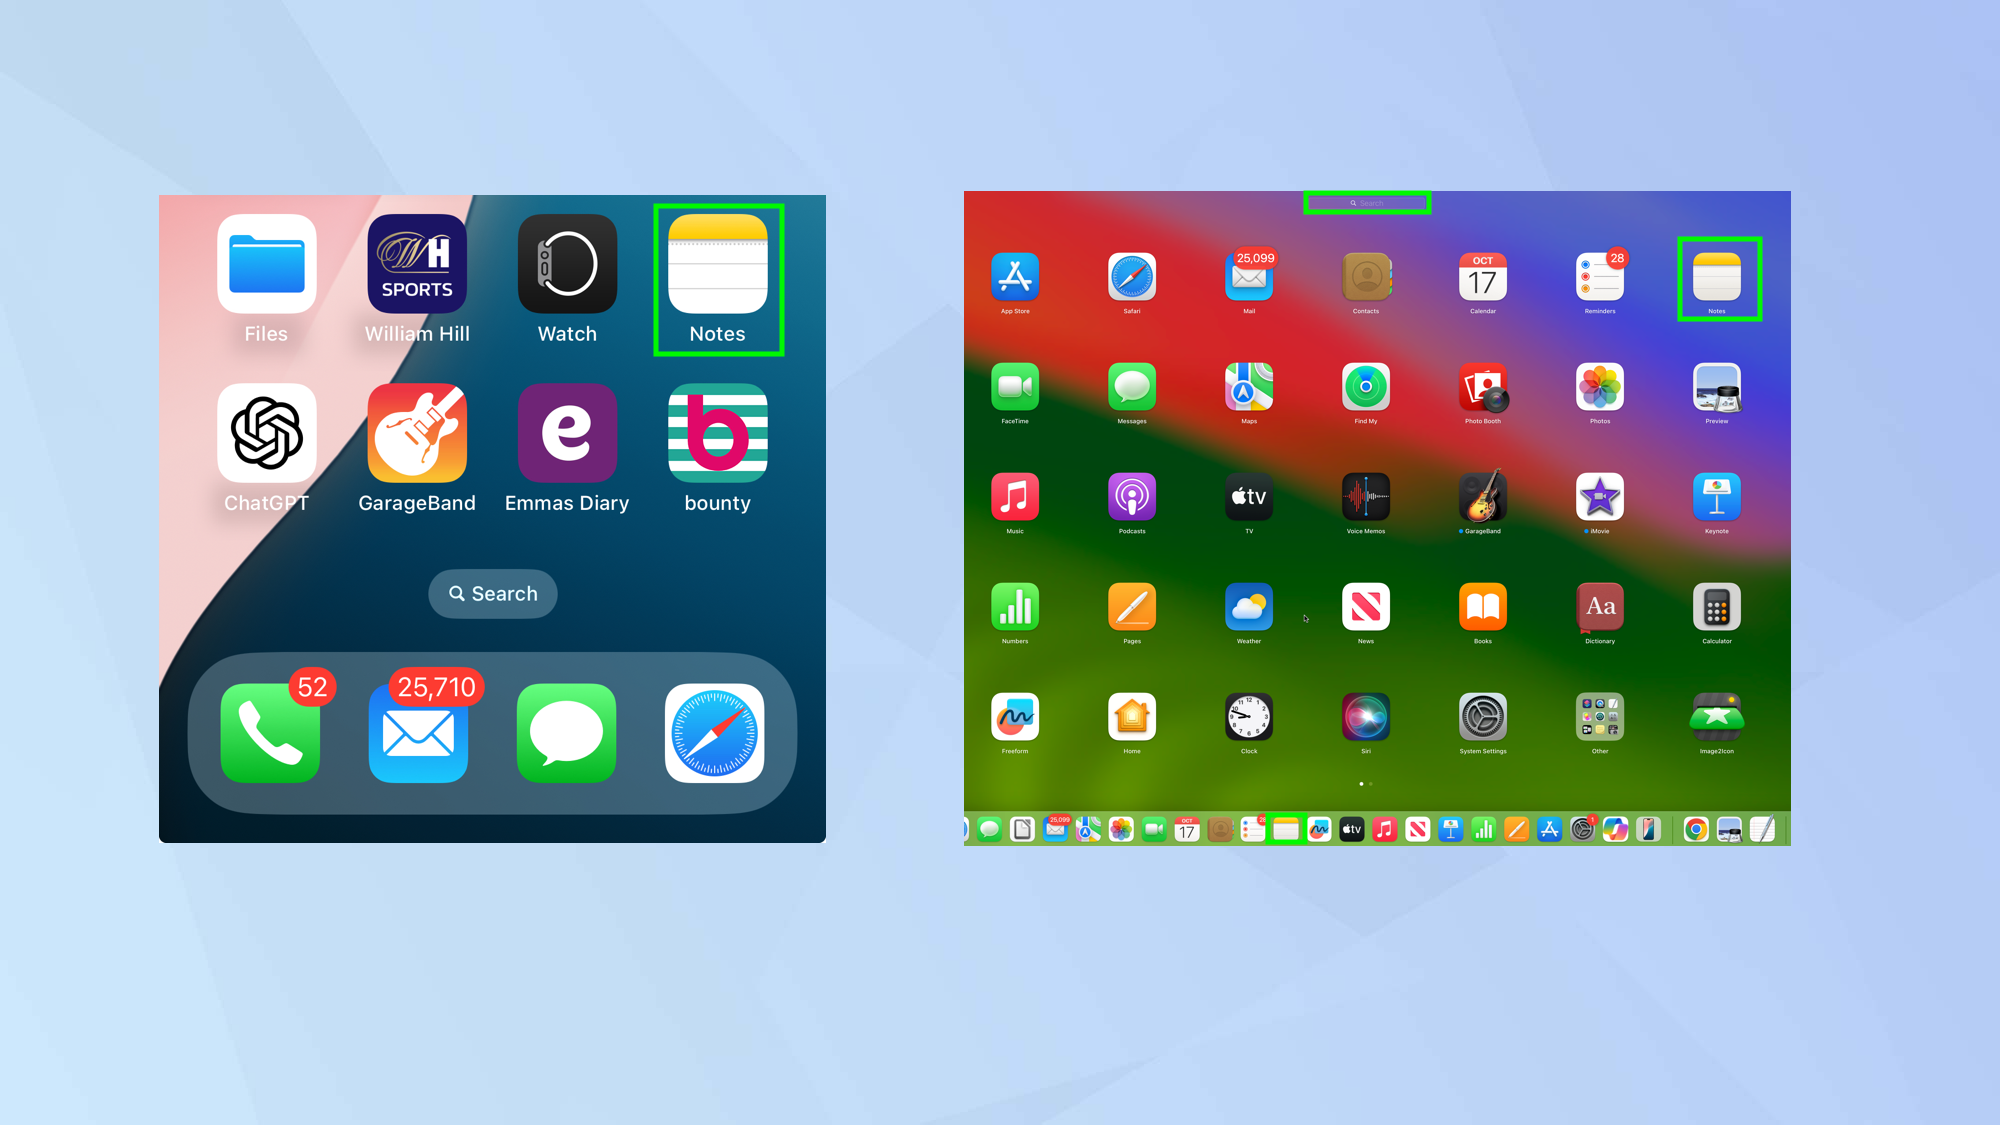
First open the Notes app. This is as simple as tapping the icon on an iPhone or iPad. On your Mac, you may find it in the Dock — if it’s not there, there are some options to find it.
To find Notes in MacOS, you can look in Launchpad, ask Siri, click the magnifying glass in the menu bar, or in Finder under Applications.
2. Open a note
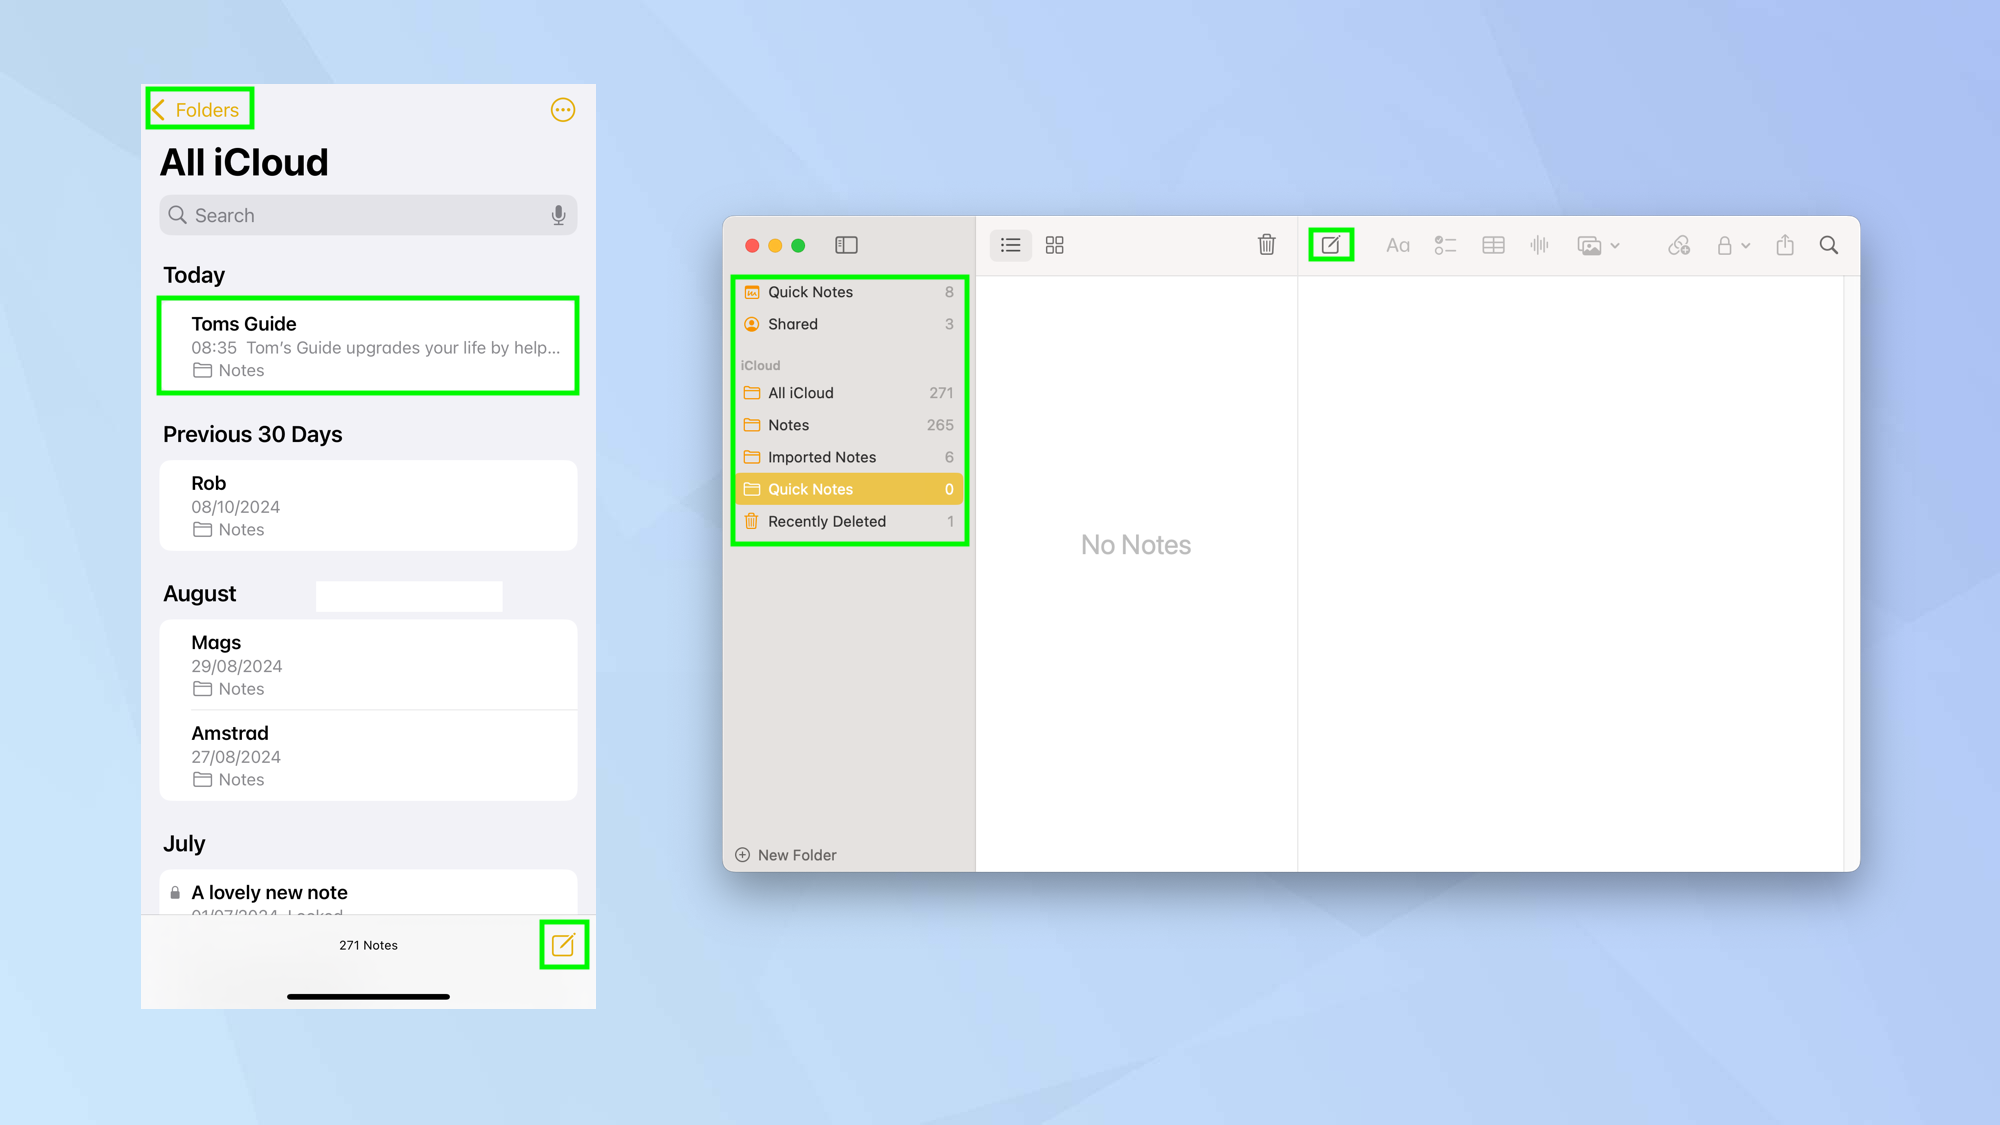
Either tap the note icon to start a new note or select a note you have already created. You can find previous notes by looking within the different folders.
These are displayed on the Folders screen on the iPhone and in the sidebar on an iPad or Mac.
3. Use headings and subheadings
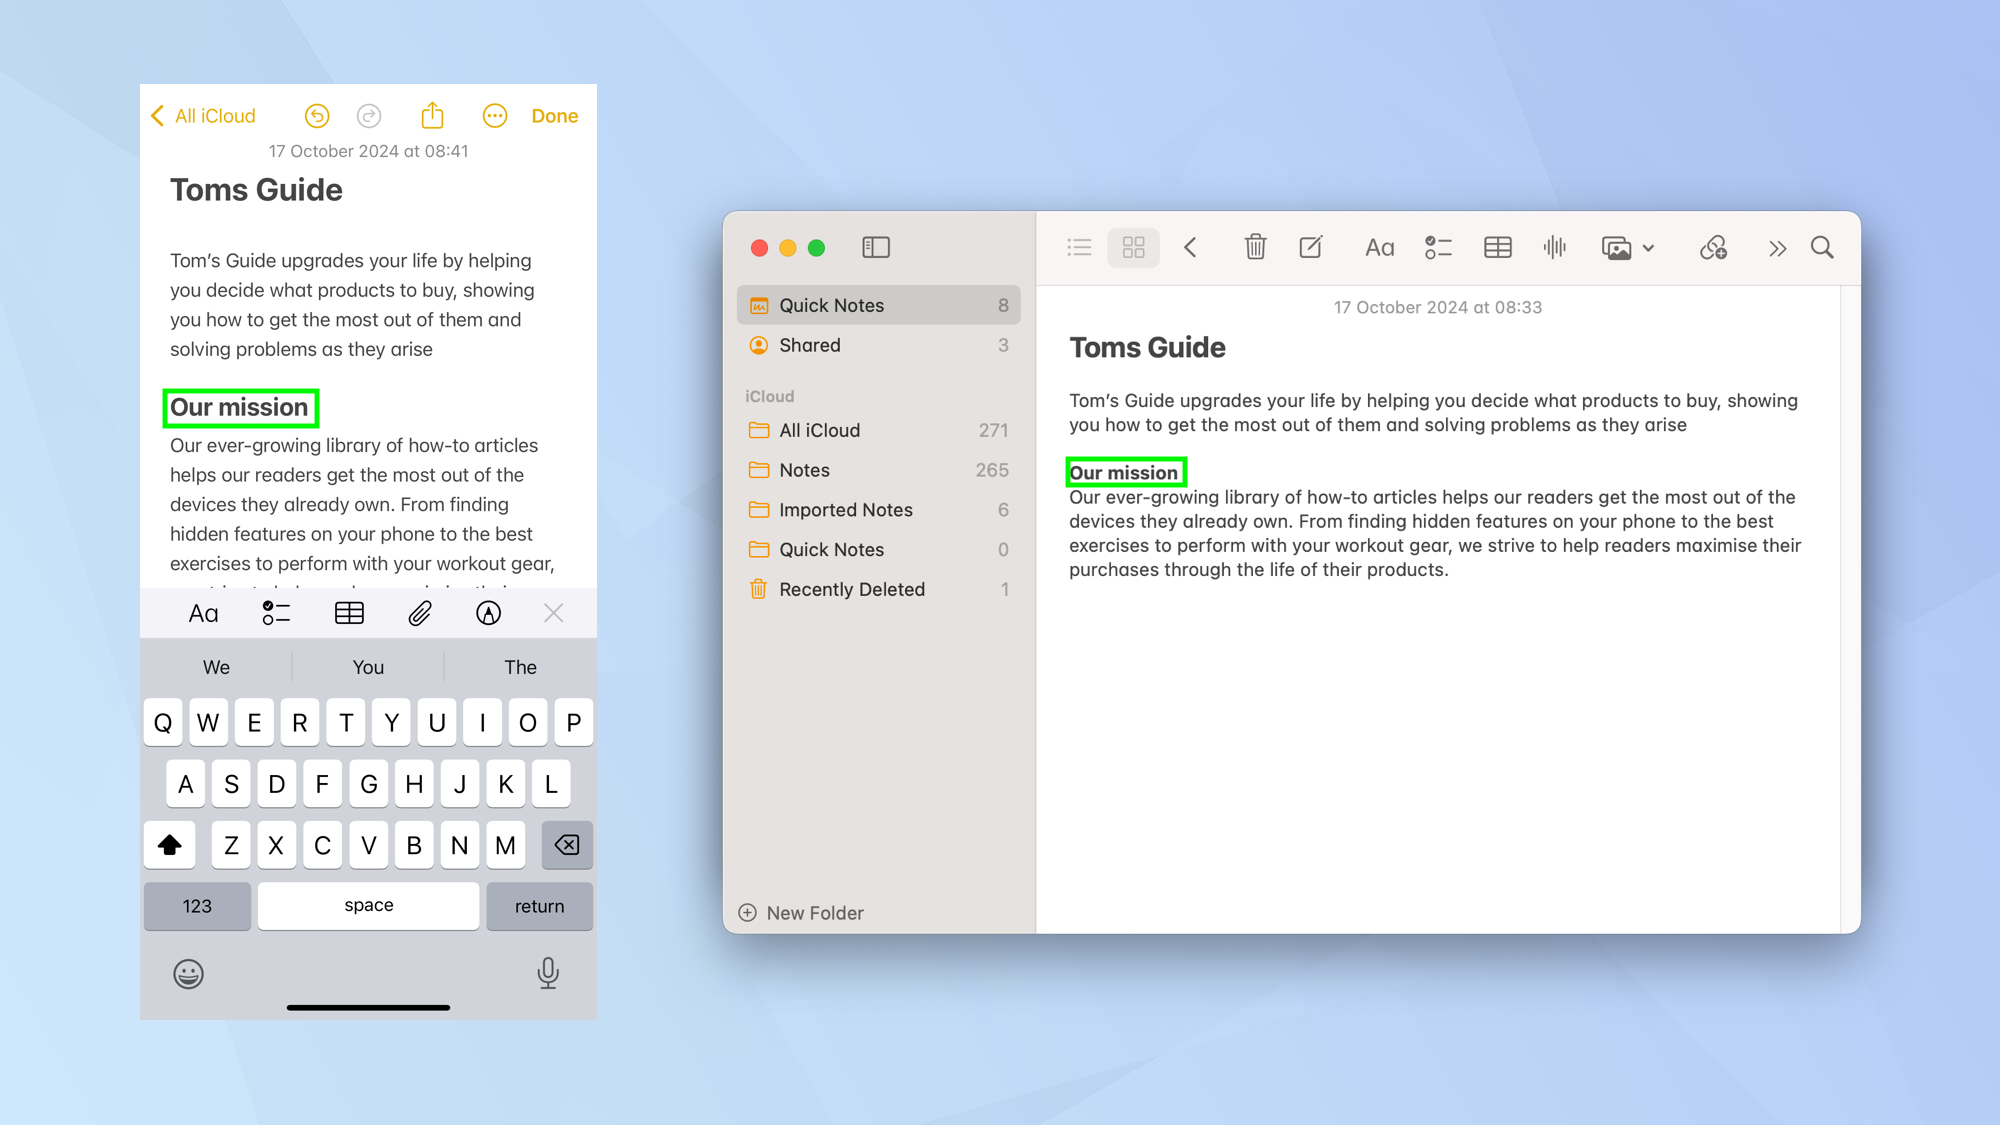
Write a note as normal but use headings and subheadings to break it up into manageable chunks.
4. Highlight the heading
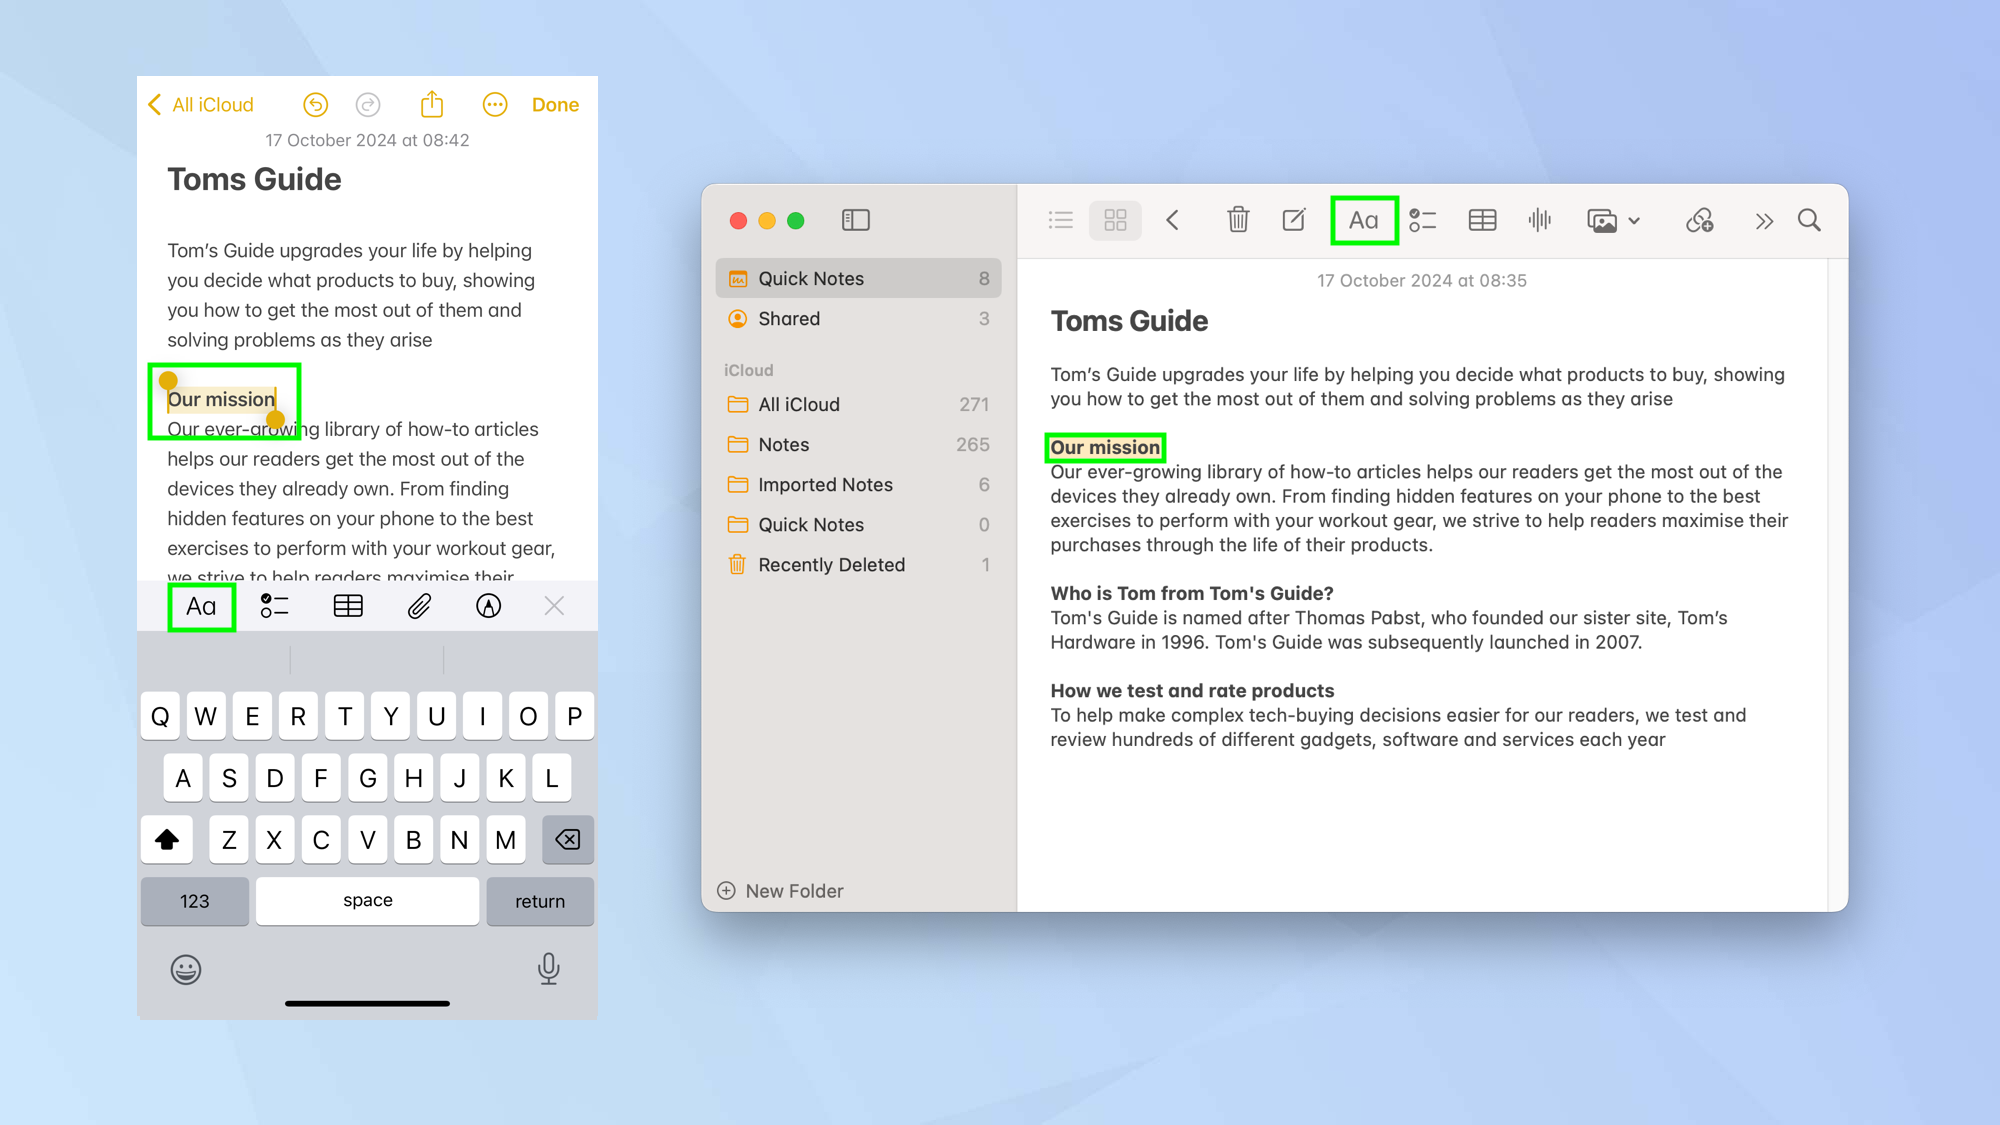
Now, highlight one of the headings or subheadings and select Aa.
5. Make it collapsible
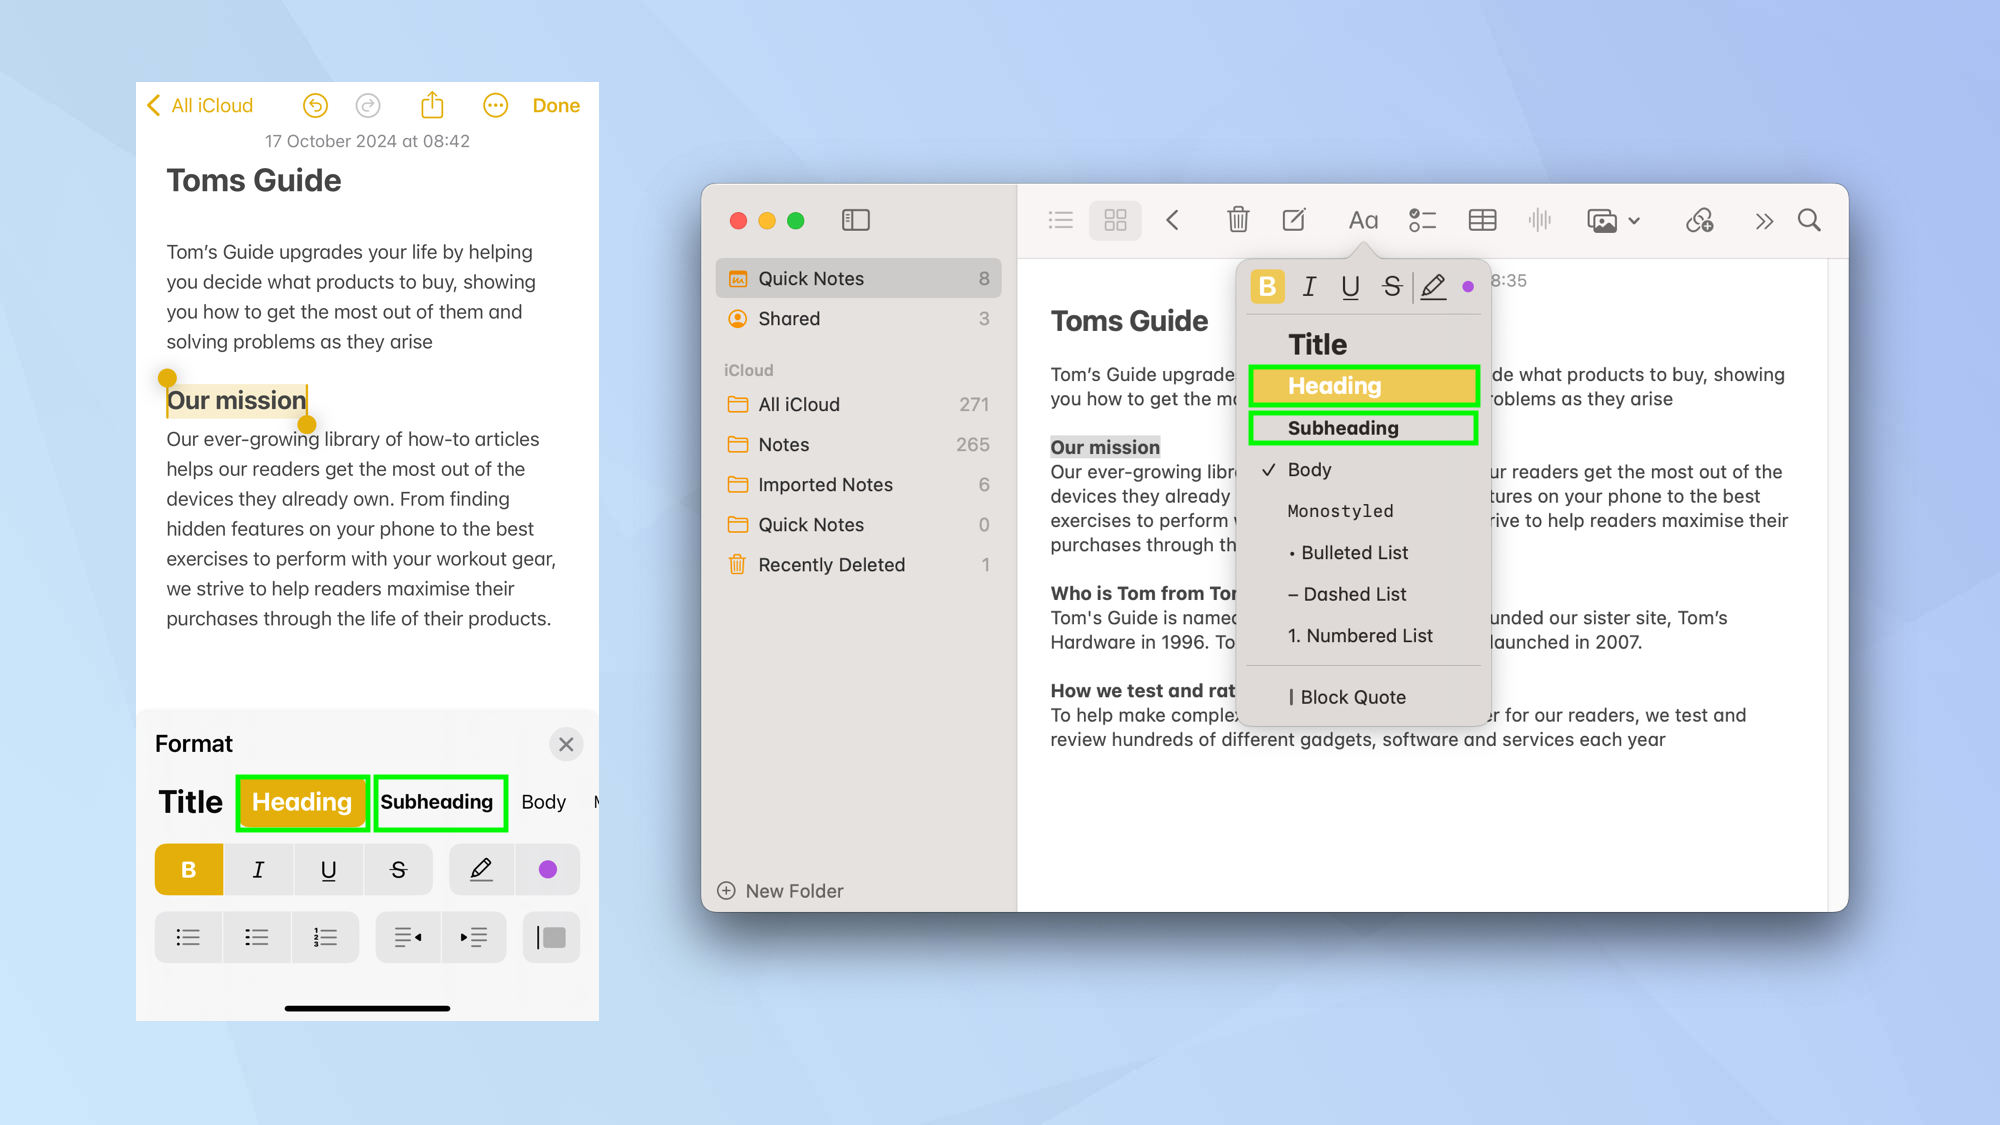
Simply select Heading or Subheading from the menu. Choosing subheading means that particular section will form part of the previous section.
6. Use the collapsible feature
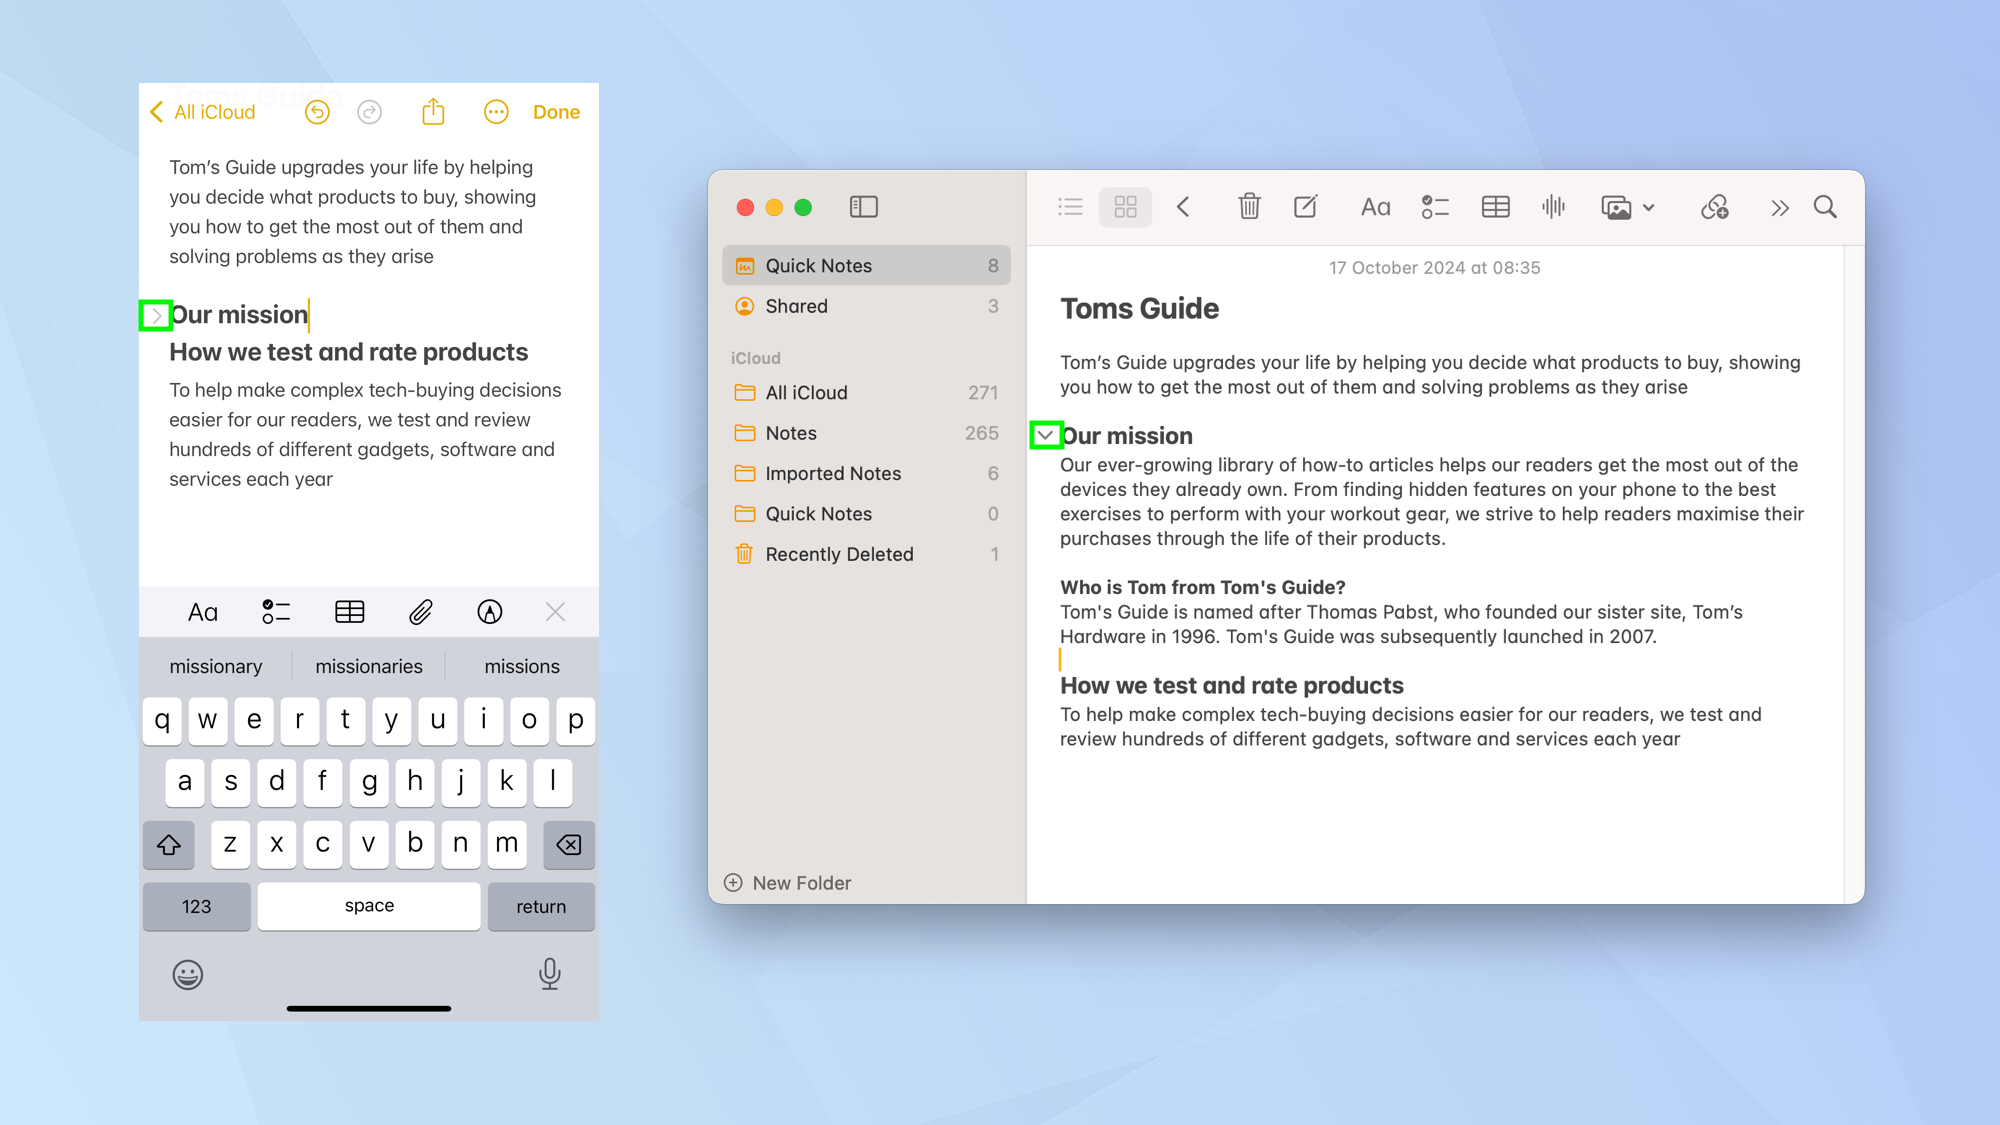
You will now be able to select the arrow that has appeared to the left of the heading or subheading. This can be used to collapse or expand the section.
7. Add color to text
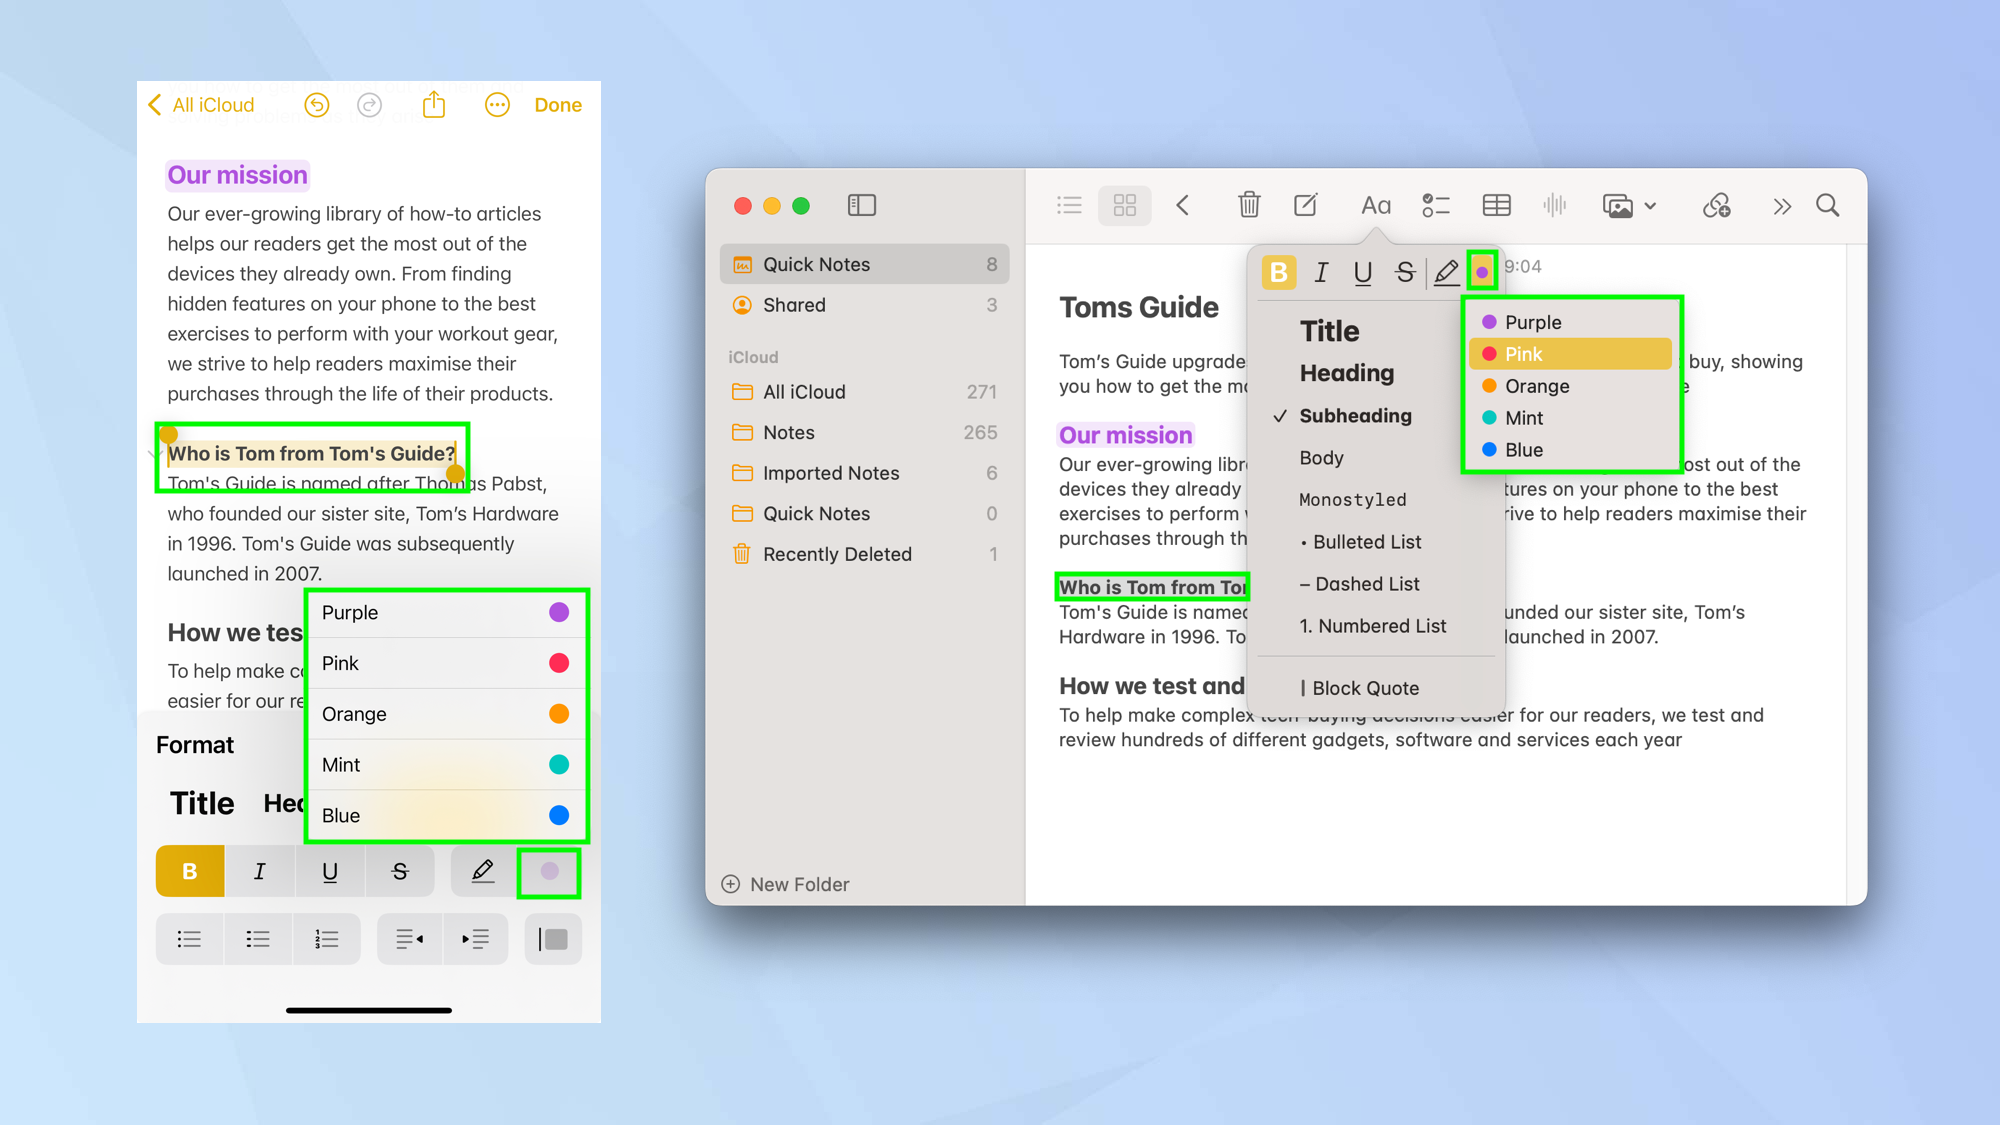
You can also make headings, subheading and any other text stand out by adding color.
Again, highlight the text and click Aa. Select the colour icon and choose from one of five colors (purple, pink, orange, mint or blue).
And there you go. You now know How to create neater Notes in iOS 18 and MacOS Sequoia. You can also learn how to add audio recordings in iOS 18 Notes and discover how to record audio in MacOS Sequoia notes. It is also possible to lock your notes securely.
Sign up to get the BEST of Tom's Guide direct to your inbox.
Get instant access to breaking news, the hottest reviews, great deals and helpful tips.

David Crookes is a freelance writer, reporter, editor and author. He has written for technology and gaming magazines including Retro Gamer, Web User, Micro Mart, MagPi, Android, iCreate, Total PC Gaming, T3 and Macworld. He has also covered crime, history, politics, education, health, sport, film, music and more, and been a producer for BBC Radio 5 Live.
