iOS 18 lets you protect your apps with Face ID — here's how
Secure individual apps with Face ID on iOS 18
Know how to protect your apps with Face ID is a game-changer. Even with the best iPhones, accidentally leaving your device unlocked and in view of others can be a privacy concern. But iOS 18 introduces a feature that puts you in greater control: app locking.
This means you won't need to fret about someone meddling with your social media or photos if they get hold of your phone. Locking apps is easy and can be done individually, or you can go further and hide apps entirely. What’s more, when you lock an app, its content won’t appear in Spotlight searches, your call history, notifications or Siri suggestions which adds an extra layer of protection.
However, some essential apps like Calculator and Camera will always remain unlocked, and children under 13 in Family Sharing can't use this feature. Remember, locking an app on your iPhone doesn't automatically lock it on other iCloud-connected devices. Let's dive into how to protect your apps with Face ID.
1. Find an app you wish to lock
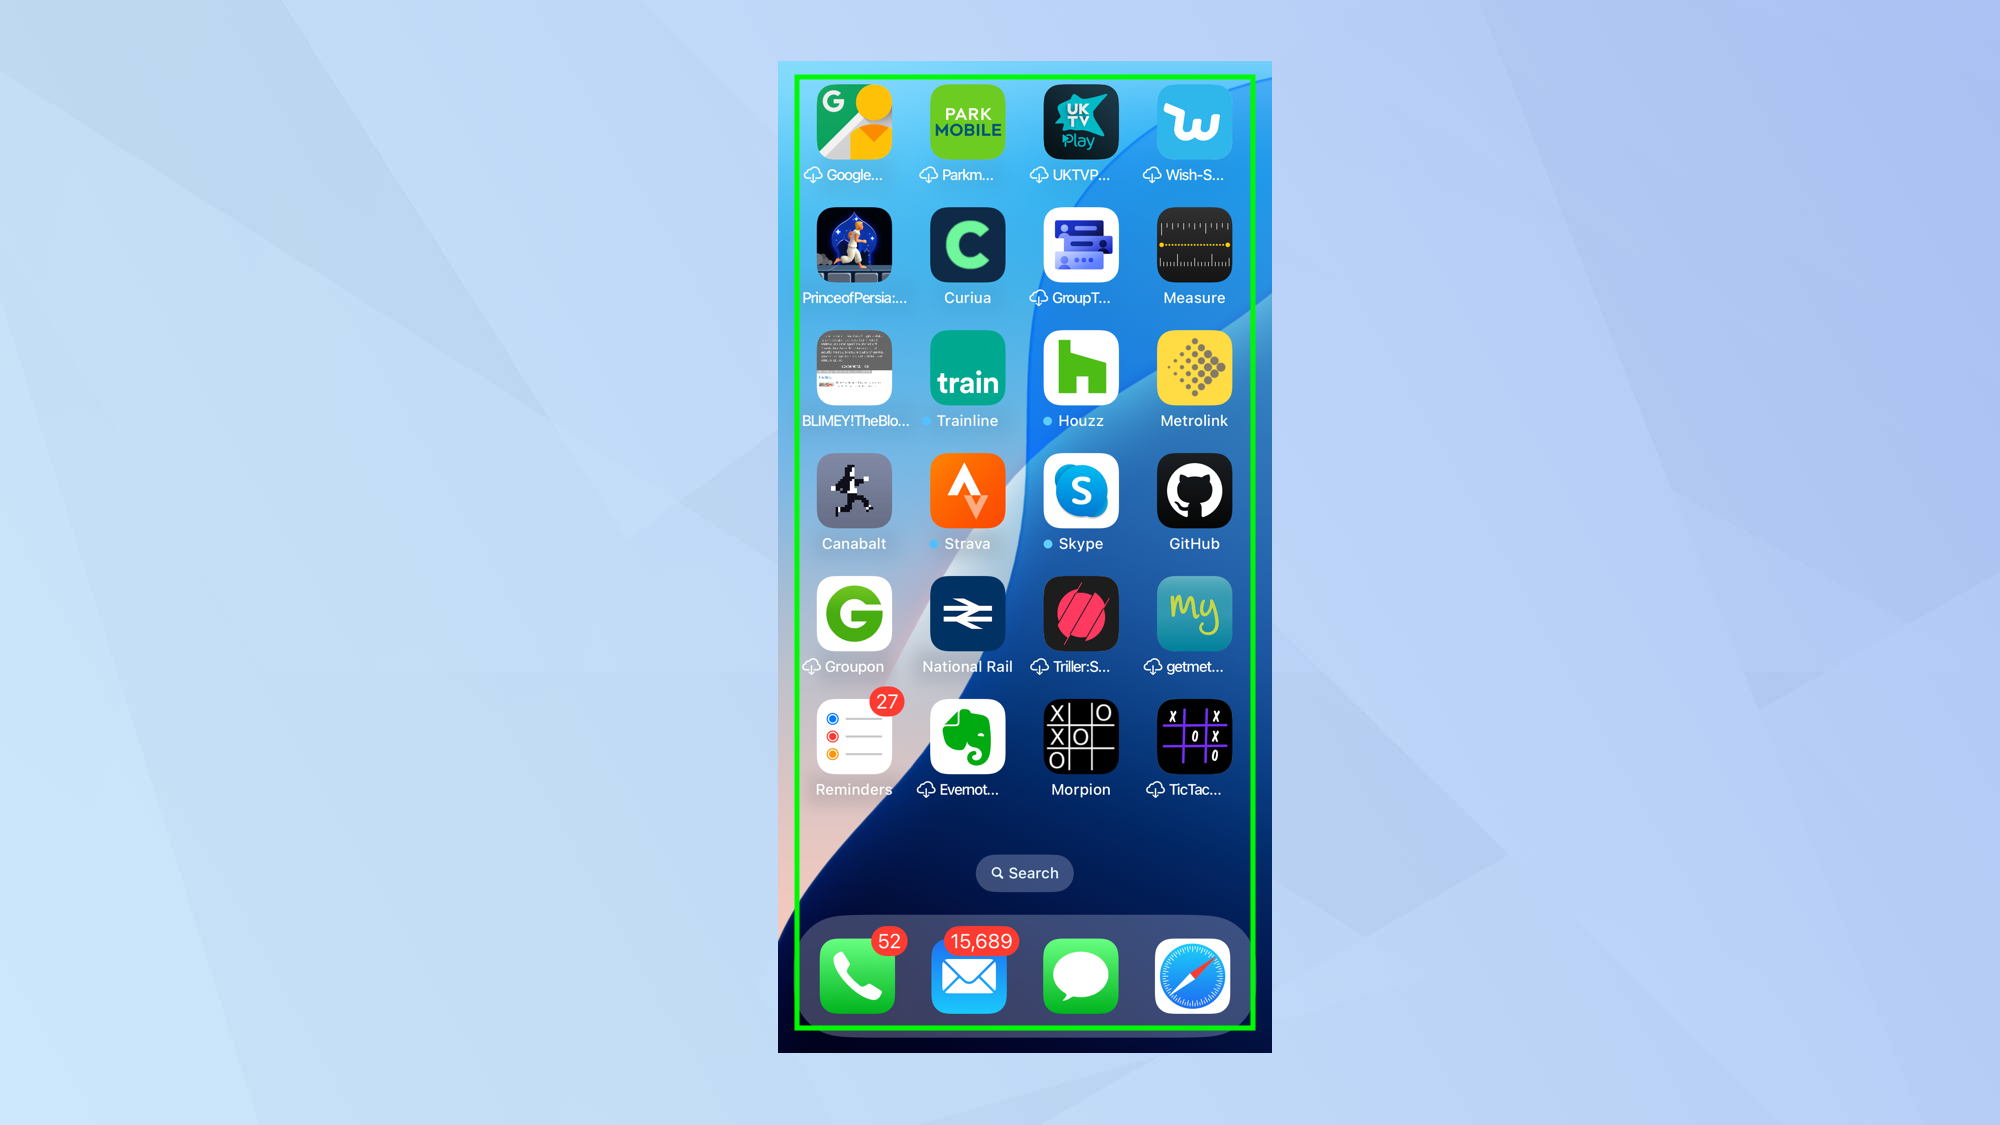
Look on your Home Screen and identify an app that you want to lock.
2. Press down on the icon
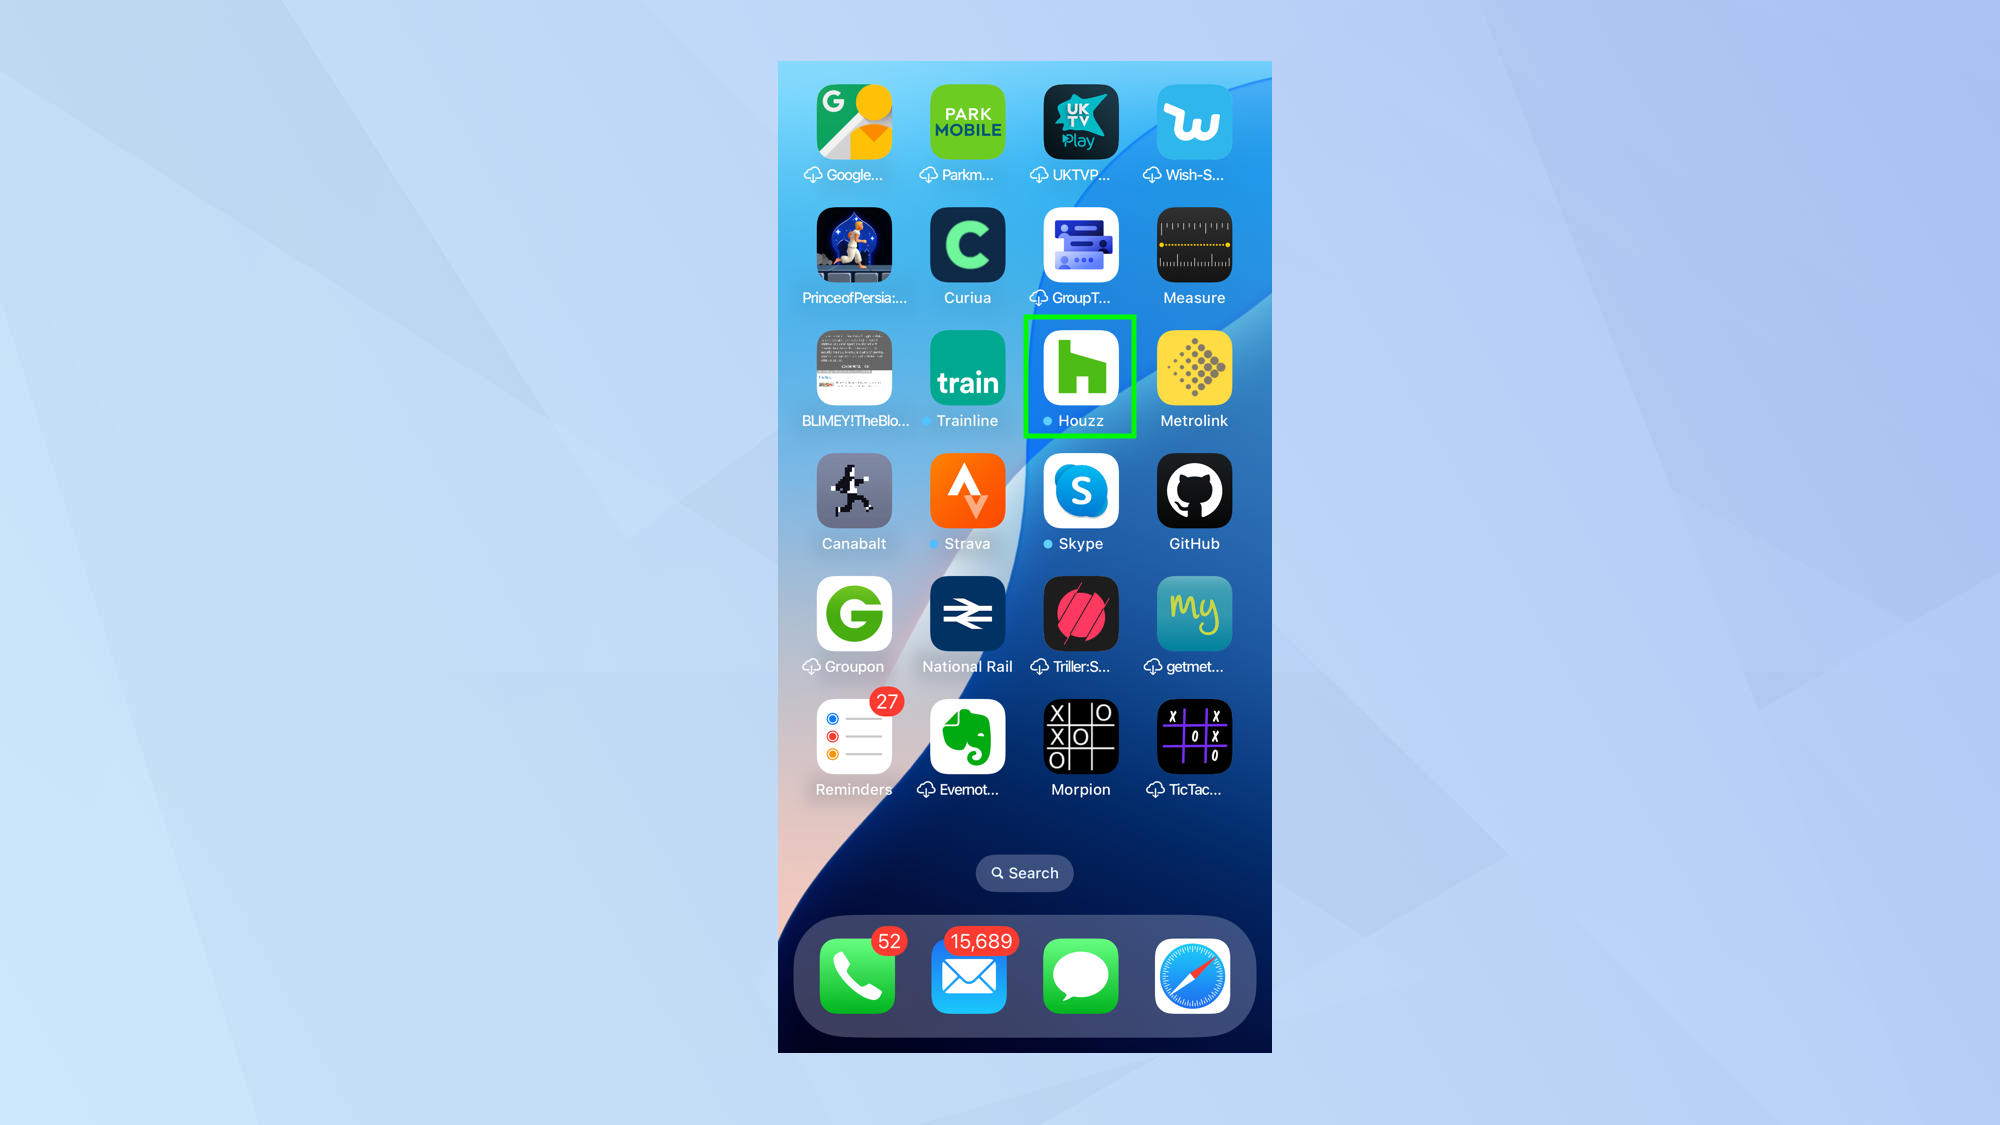
Now touch and hold on the app icon. This will show the quick actions menu.
3. Select Require Face ID
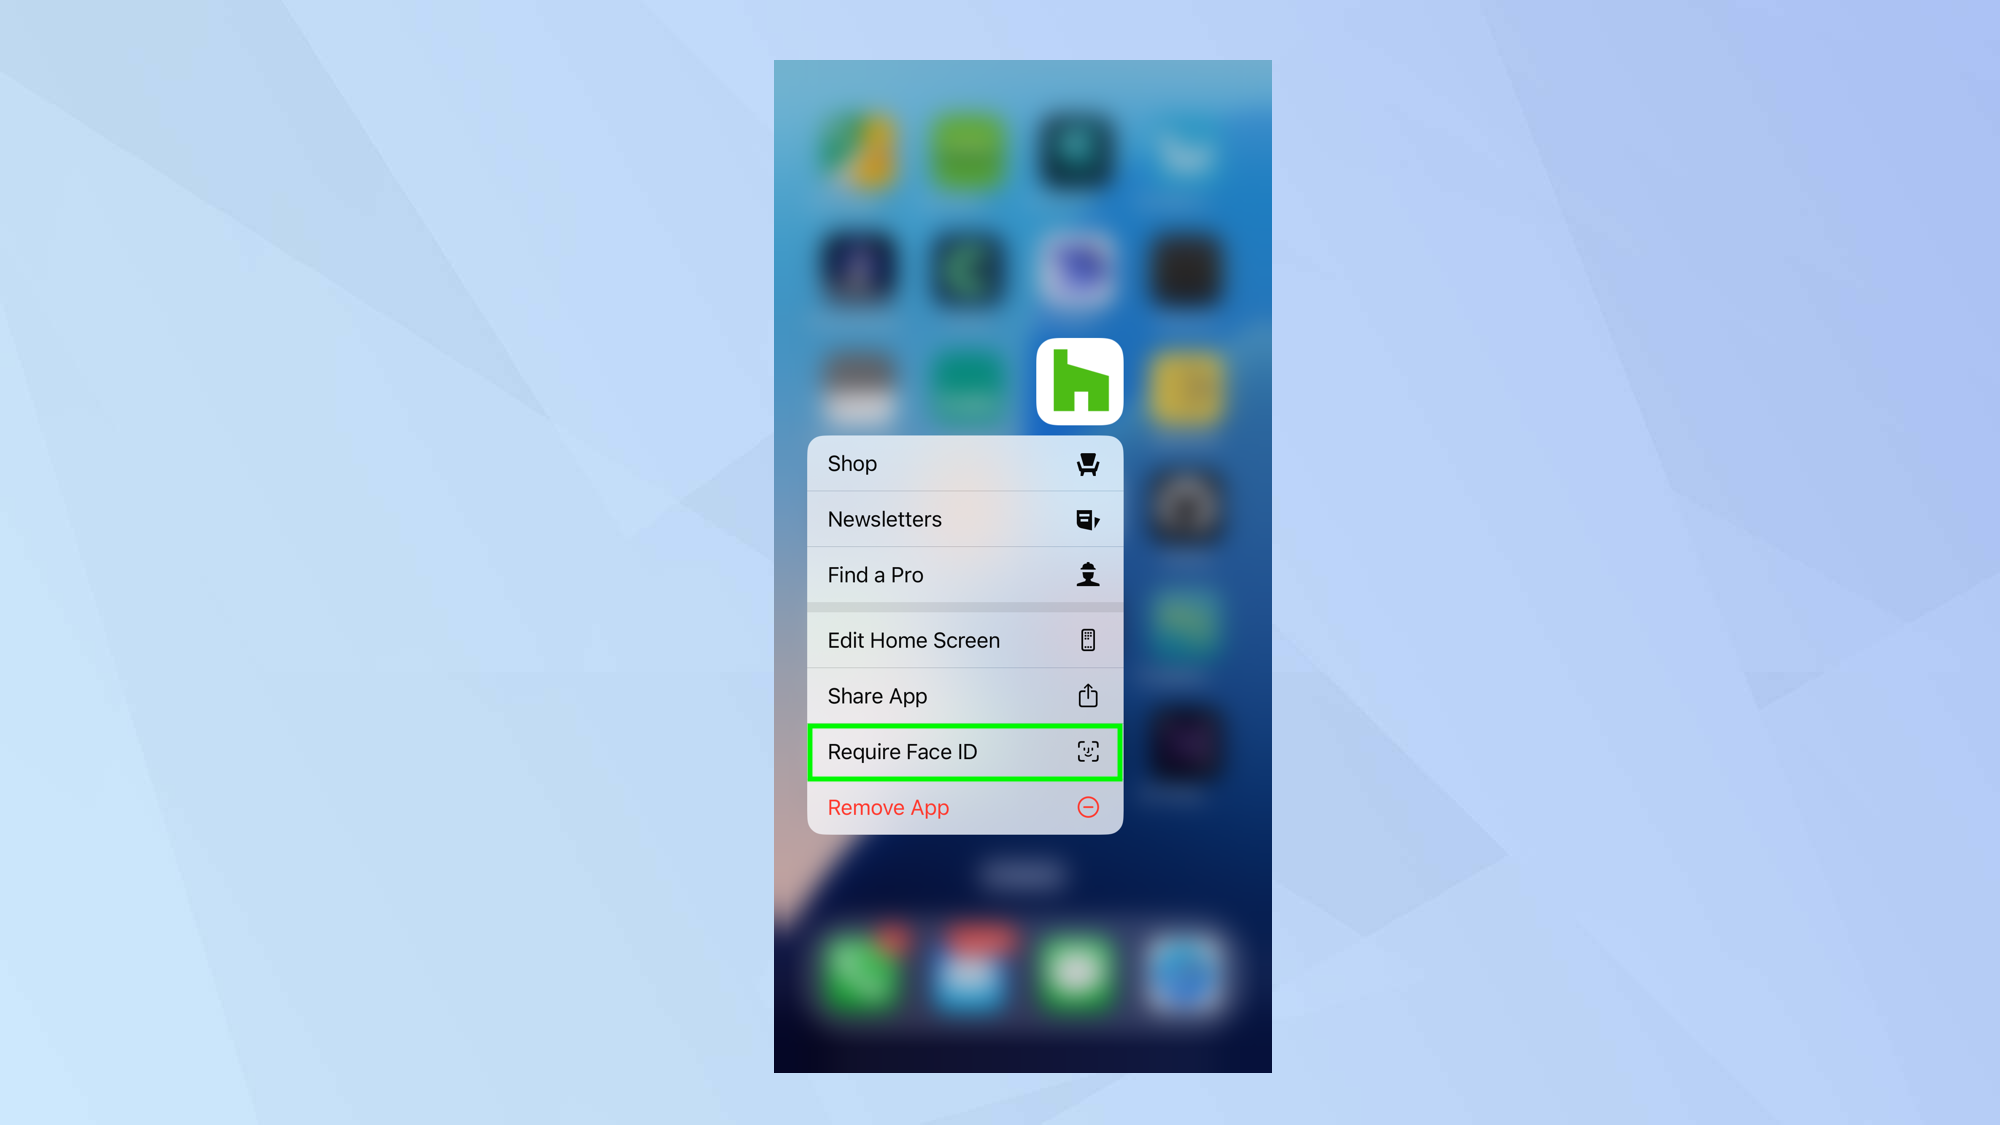
Simply tap Require Face ID (this may display Touch ID or Passcode depending on your device).
4. Confirm your choice
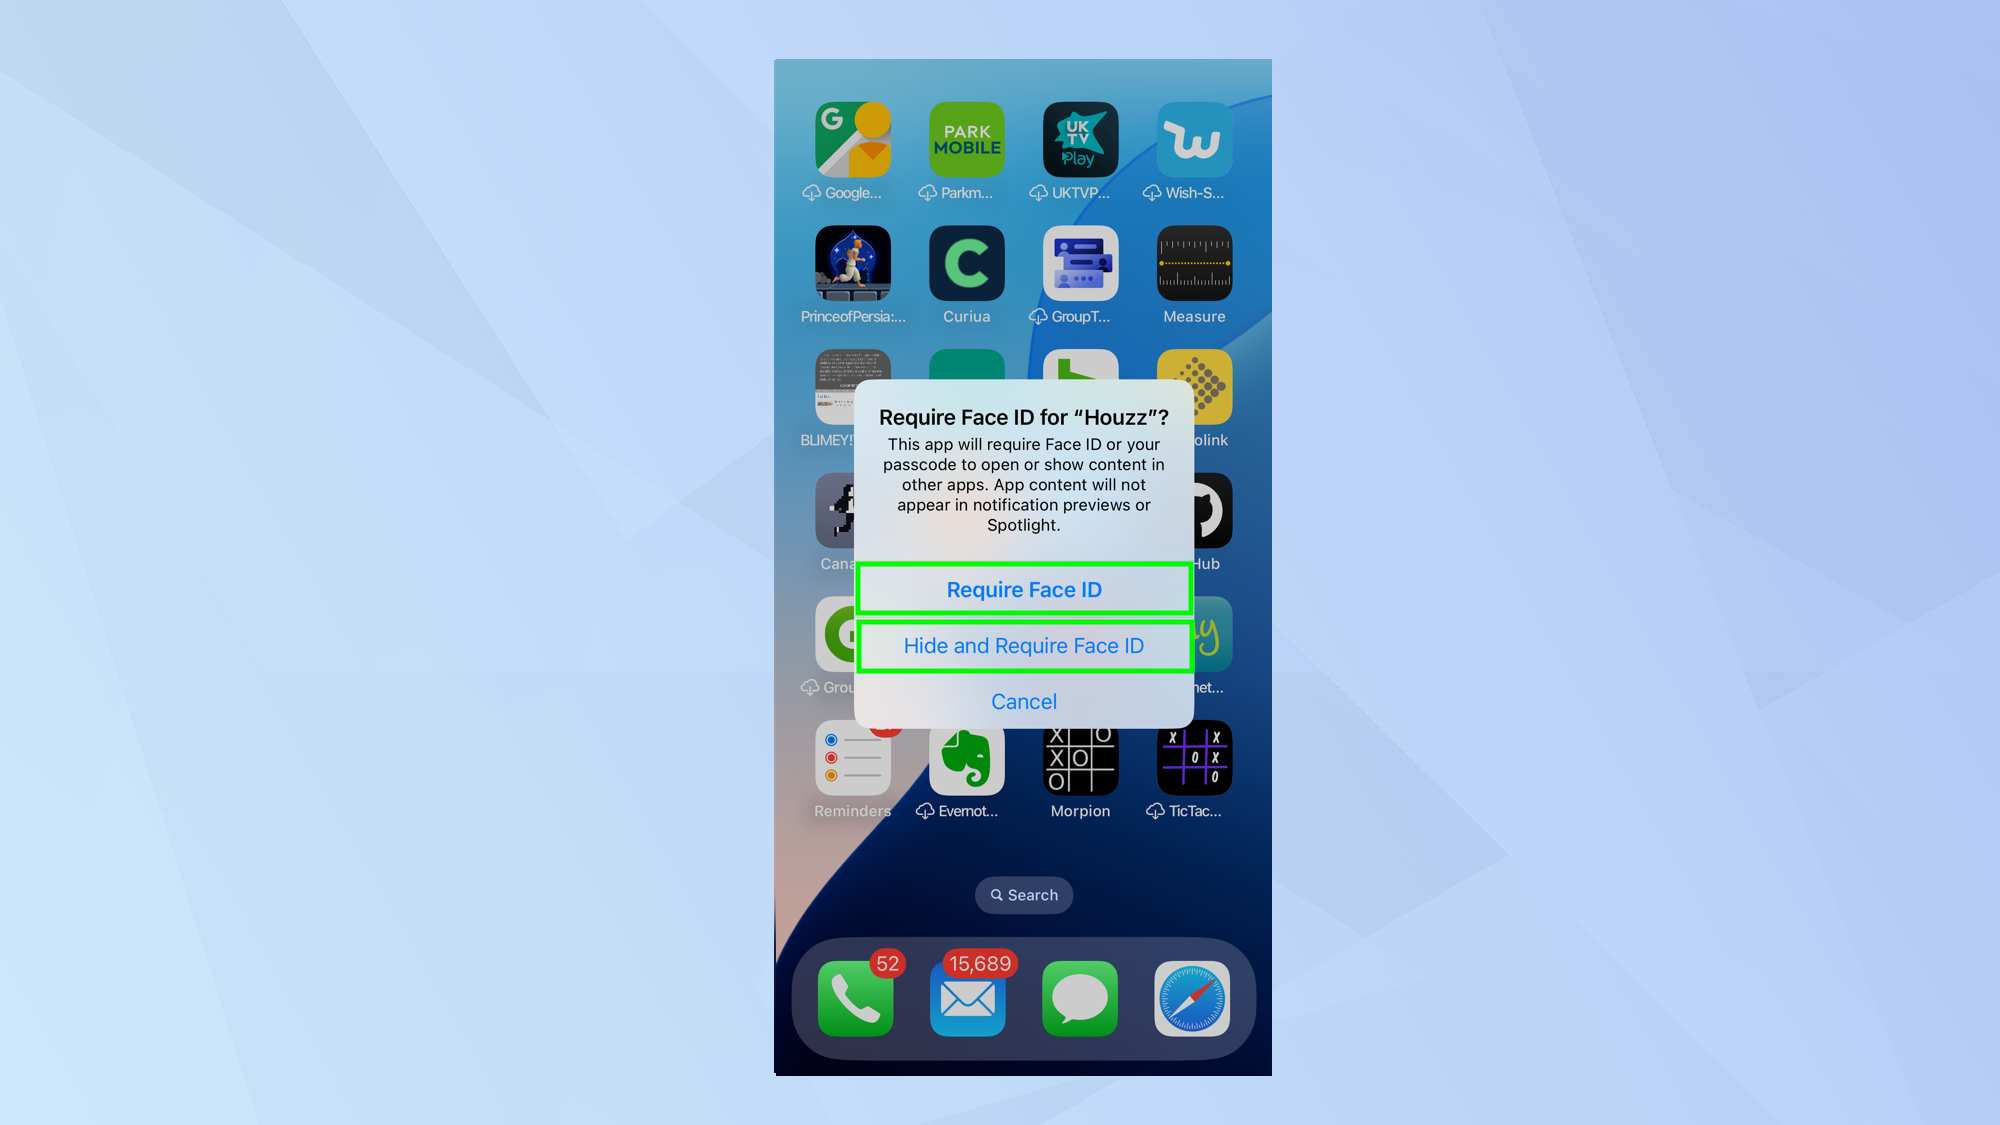
You will be asked to confirm if you want to use Face ID so just tap Require Face ID again.
Before you do, consider whether you also want to hide the app from your Home Screen for double security – if so, tap Hide and Require Face ID.
In either case, you will be able to authenticate your choice using Face ID, Touch ID or a passcode depending on the method used.
5. Open the app
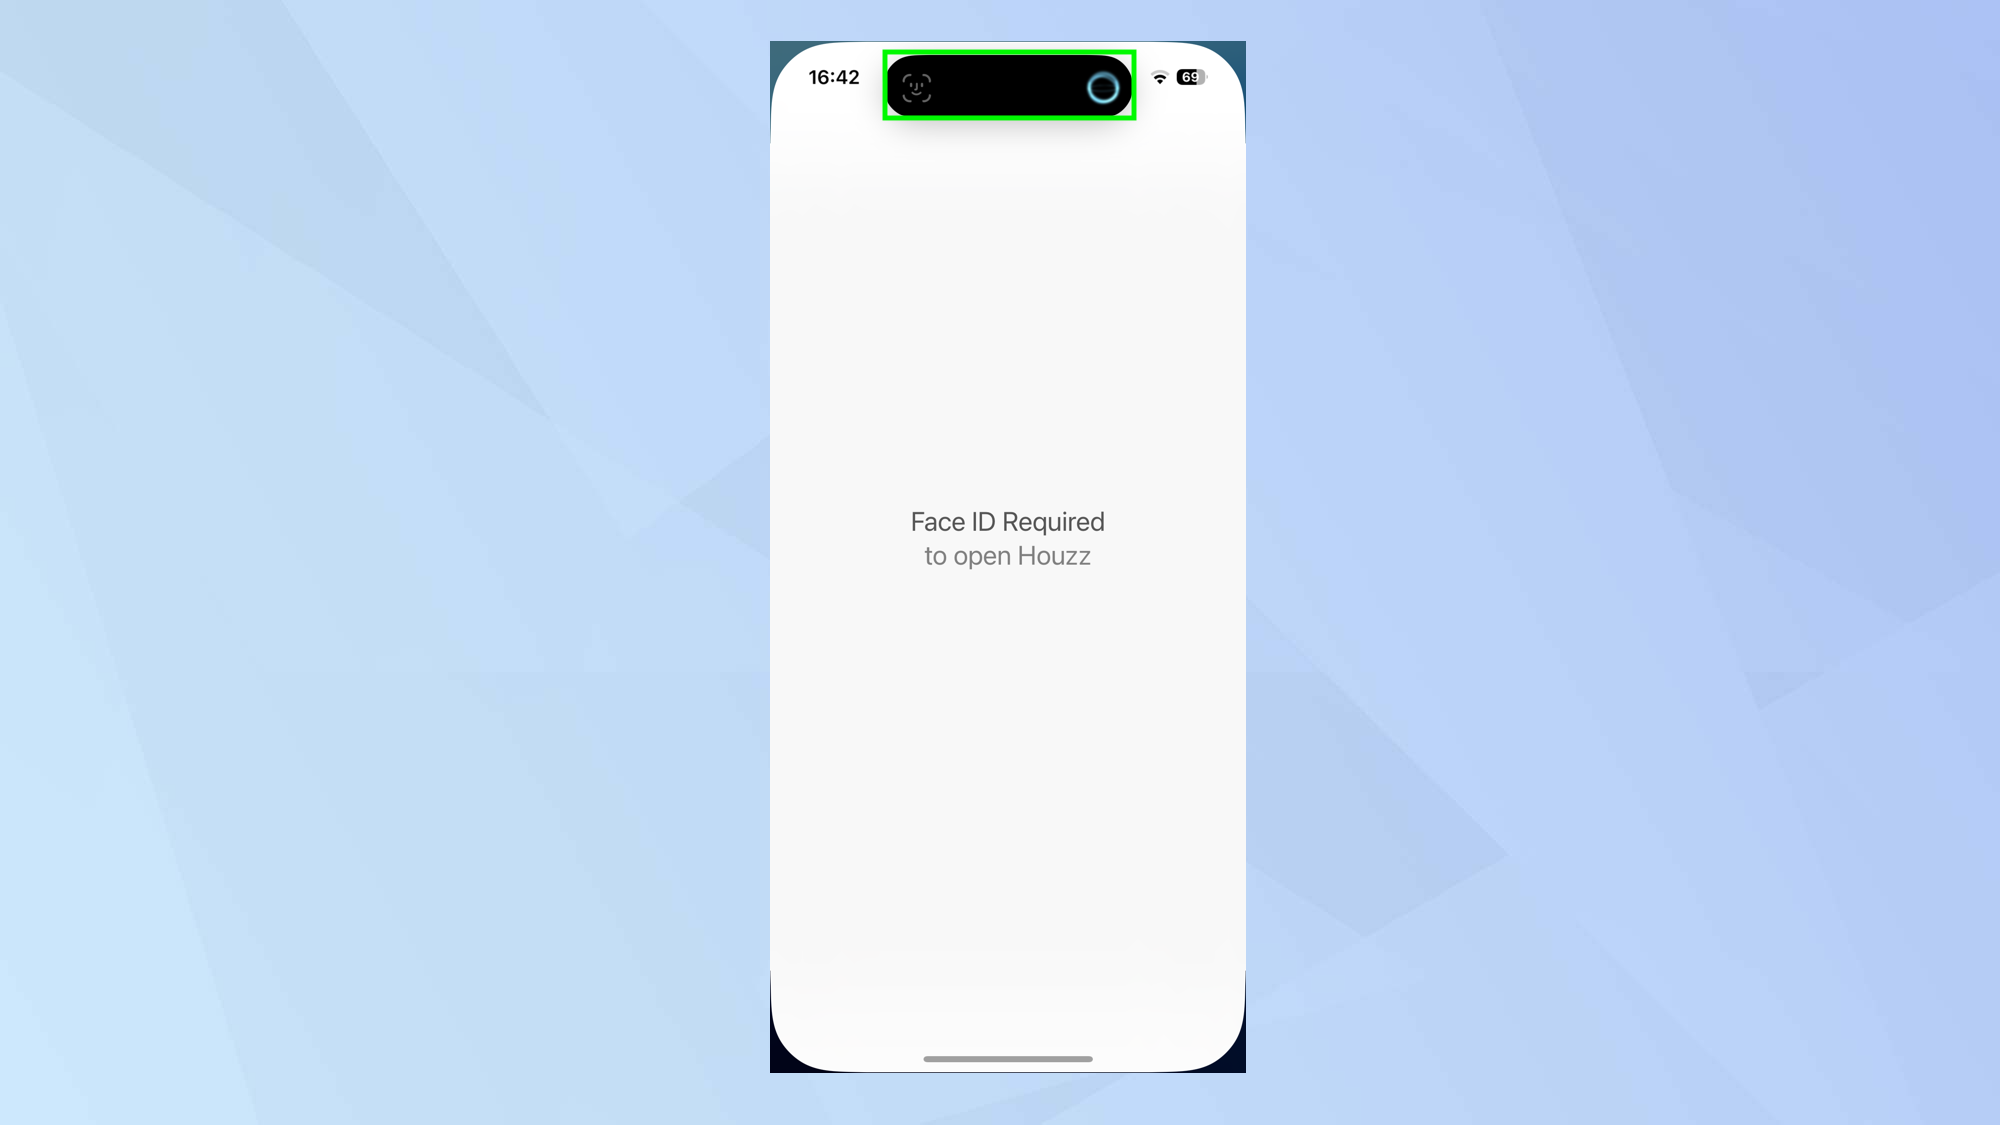
When you want to open an app, just tap the app from the Home Screen (or tap the app via the Hidden folder at the bottom of your App Library which you will find if you continue to swipe left on the Home Screen).
Either keep looking at the screen for Face ID authentication or use Touch ID or a passcode if that was your locking method.
6. Unlock the app
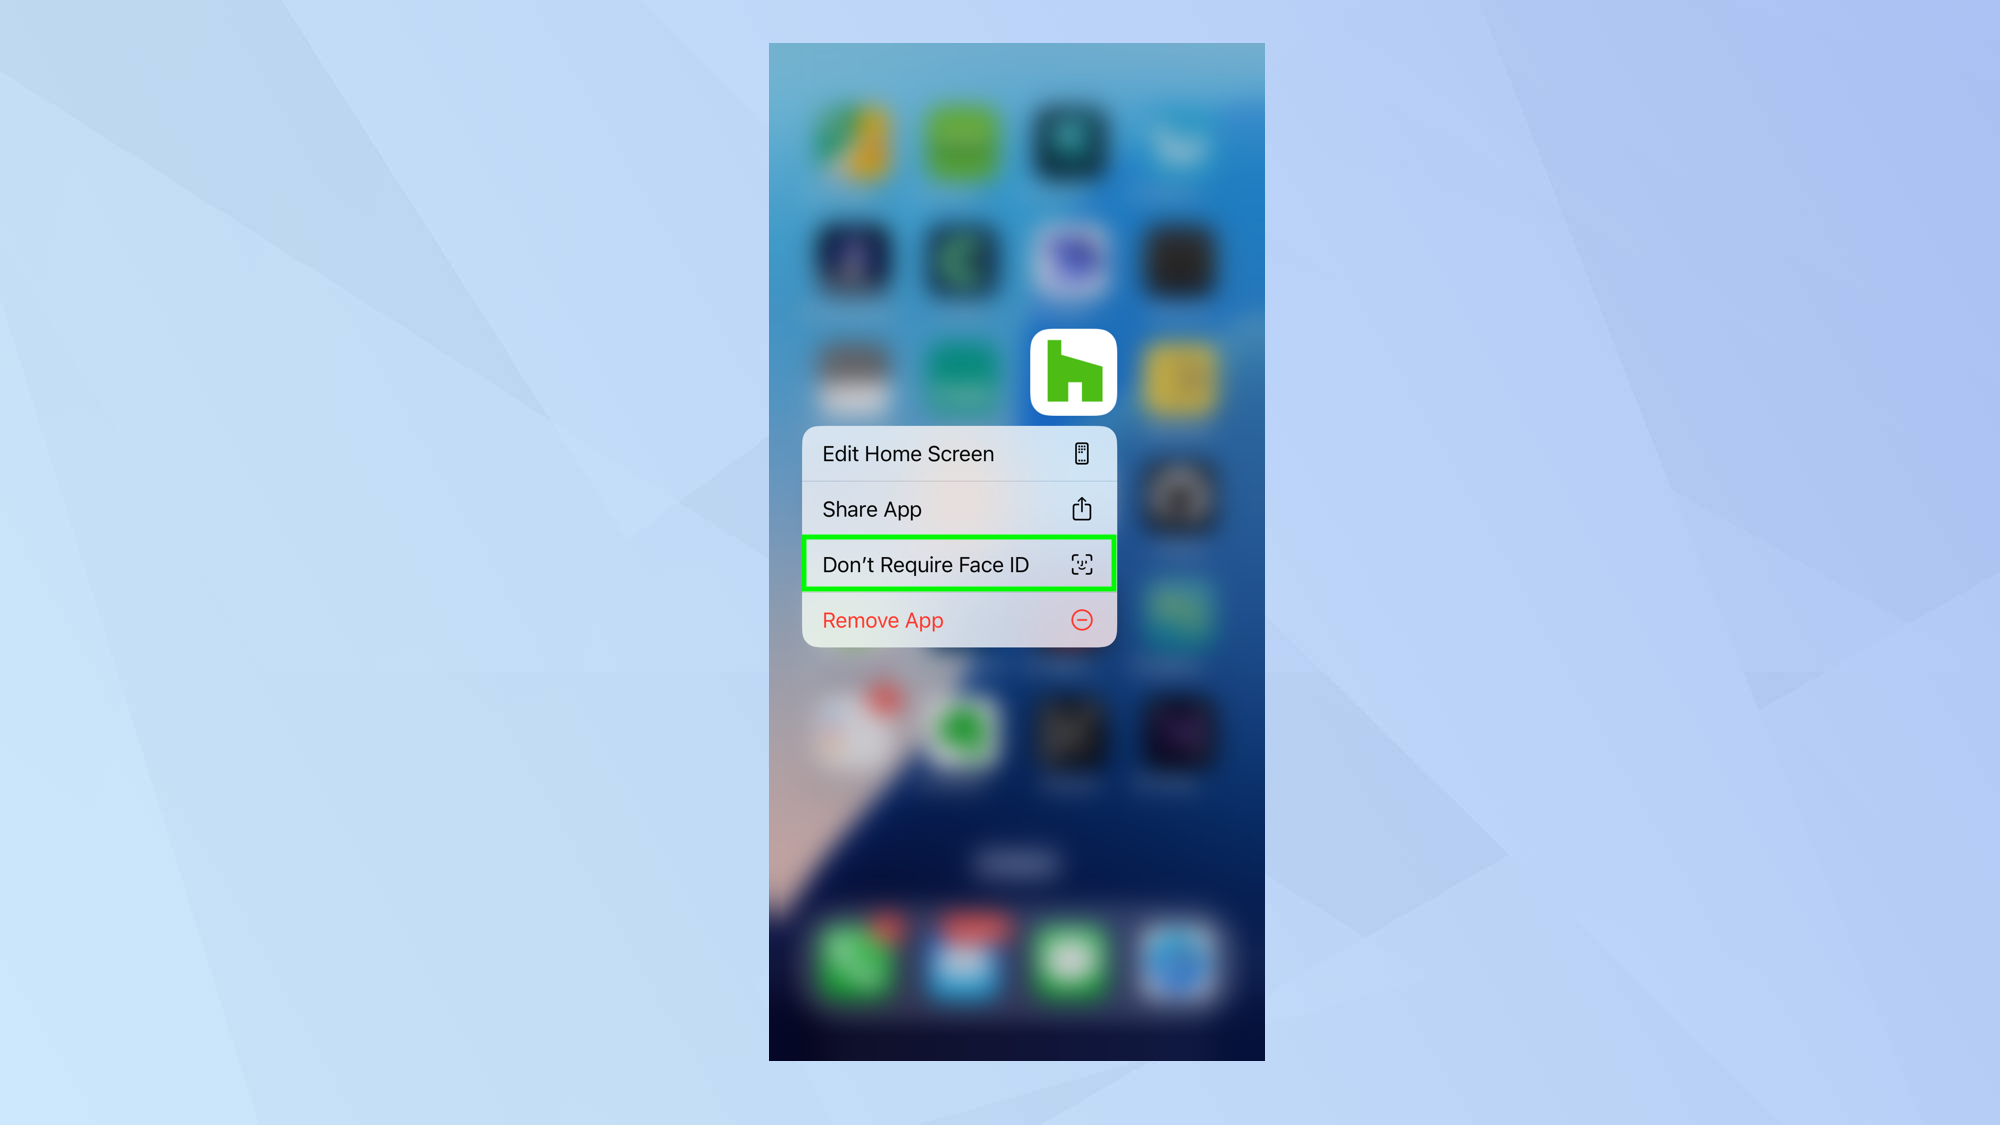
If you decide you don’t want to lock an app any more, then follow steps one and two above but this time select Don’t Require Face ID (or Touch ID or Passcode).
You now know how to protect your apps with Face ID (or with Touch ID or a passcode). It’s also possible to make your device more secure by learning how to change passcode on iPhone and how to lock notes with Face ID on iPhone. Why not also discover how to set up parental controls on an iPhone and find out how to hide apps on Android?
Sign up to get the BEST of Tom's Guide direct to your inbox.
Get instant access to breaking news, the hottest reviews, great deals and helpful tips.

David Crookes is a freelance writer, reporter, editor and author. He has written for technology and gaming magazines including Retro Gamer, Web User, Micro Mart, MagPi, Android, iCreate, Total PC Gaming, T3 and Macworld. He has also covered crime, history, politics, education, health, sport, film, music and more, and been a producer for BBC Radio 5 Live.
