How to use Apple Invites to plan your next event — and it works on Android too
Getting started with Apple Invites
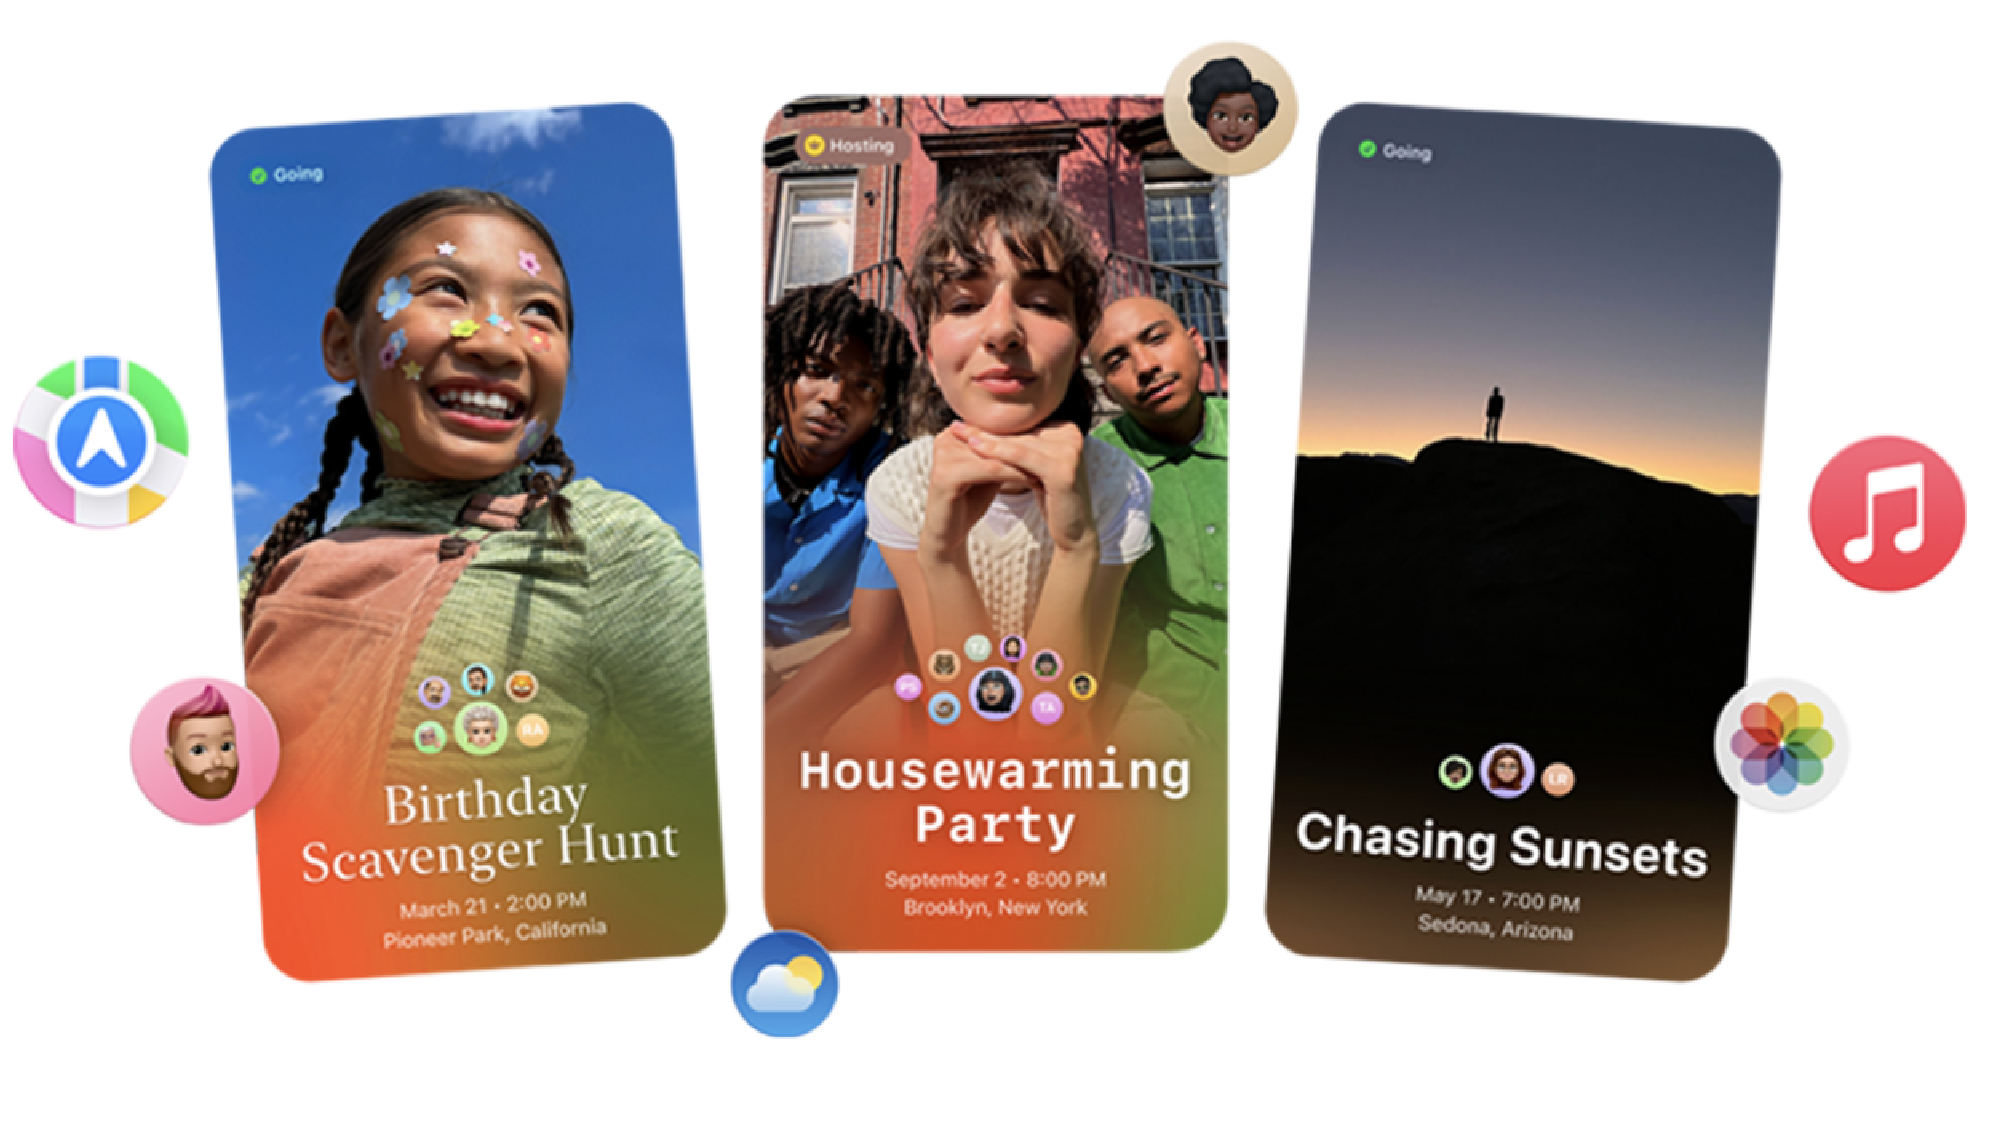
Apple’s new Invites app makes event planning easier by allowing you to create, customize, and share invitations directly from your iPhone or web browser. Whether you’re organizing a party, a work event, or a casual get-together, Apple Invites offers a seamless way to manage RSVPs and keep guests updated.
The app integrates with Apple’s ecosystem, letting you add collaborative playlists from Apple Music and shared photo albums from your Photos. You can even use Image Playground to create AI-generated invite designs.
Sending invitations is simple — share a public link or send one-time invites to specific contacts. Plus, if you need to update guests, you can send event reminders or notes directly through the app. Here’s how to use Apple Invites.
1. Open Apple Invites
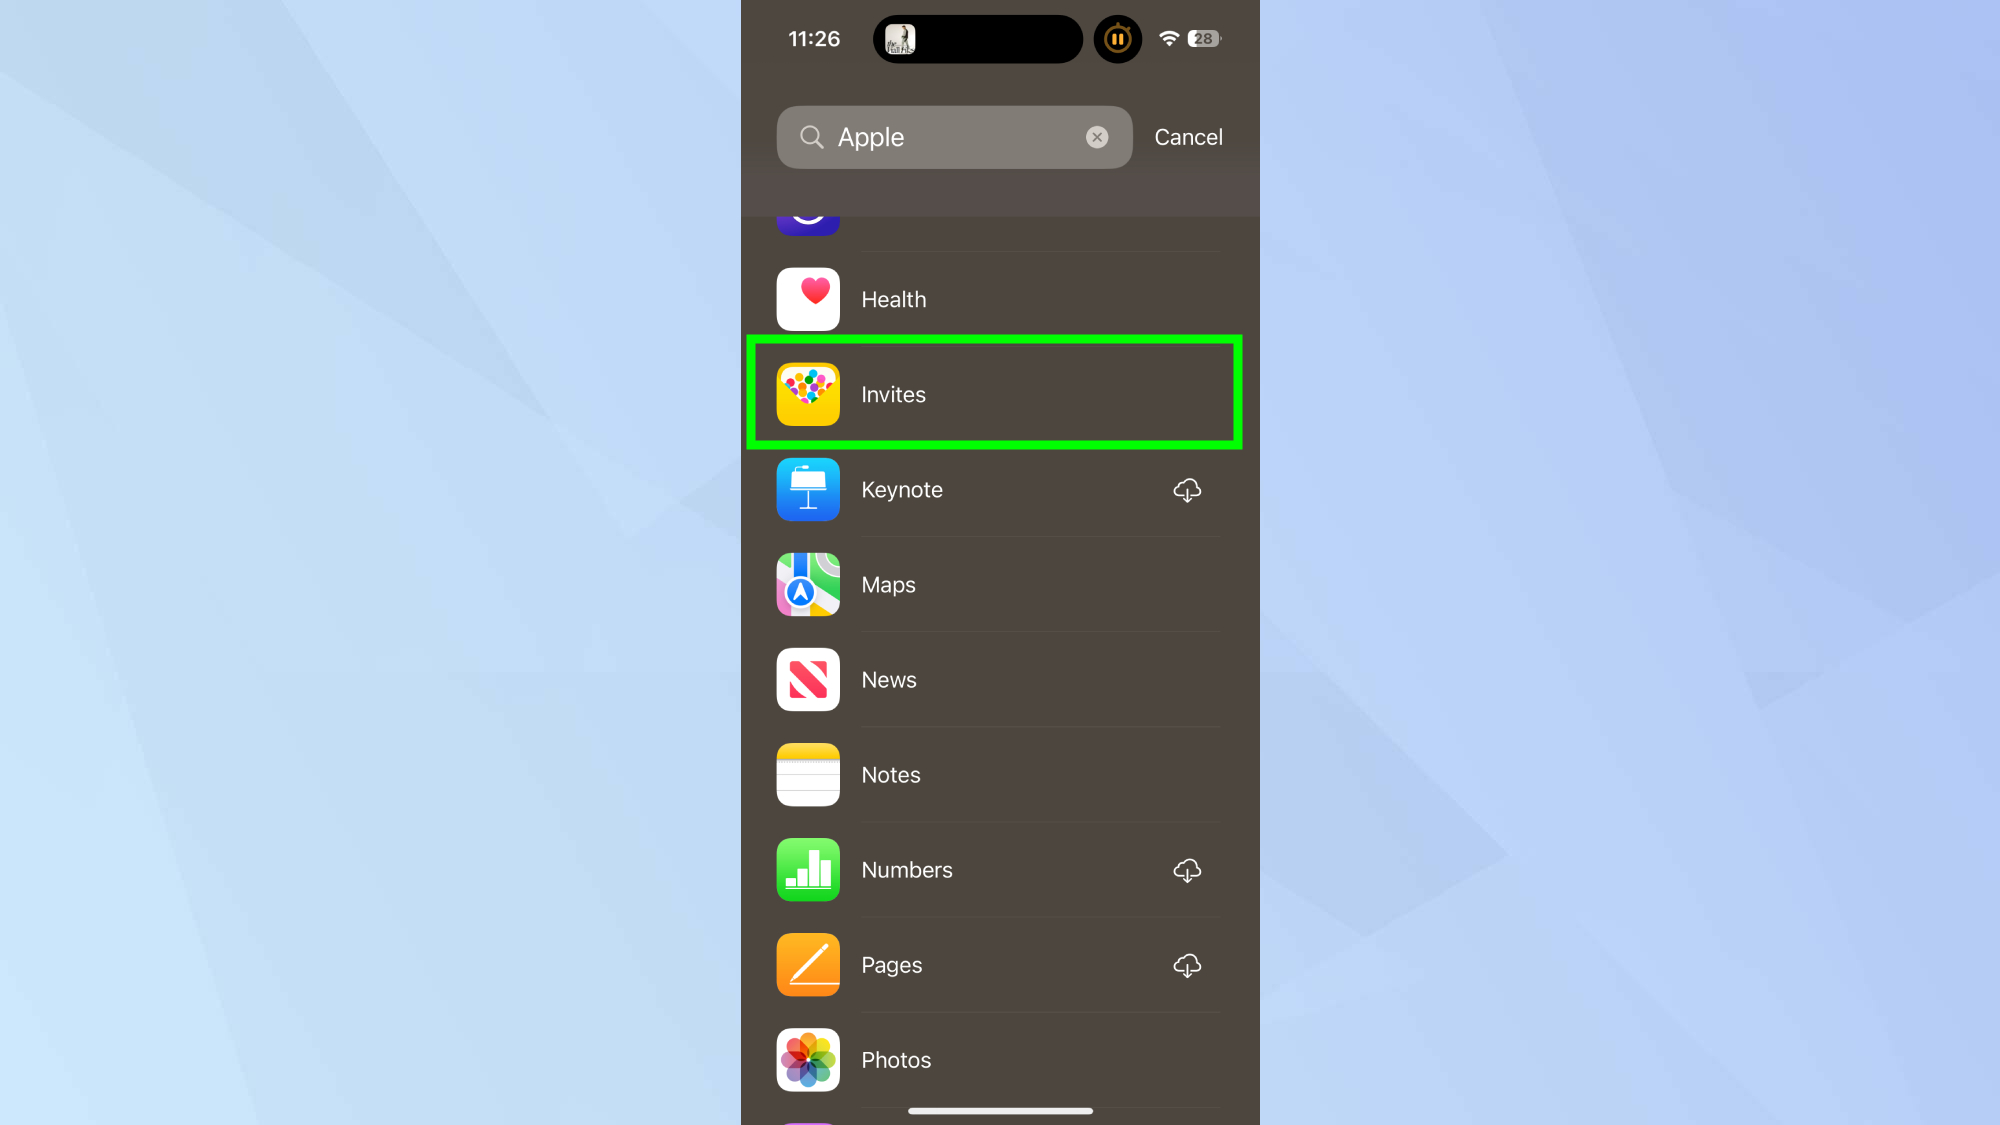
Open the Apple Invites app on your iPhone (iOS 18 or later) or visit the iCloud website if you're on Android.
2. Create an event
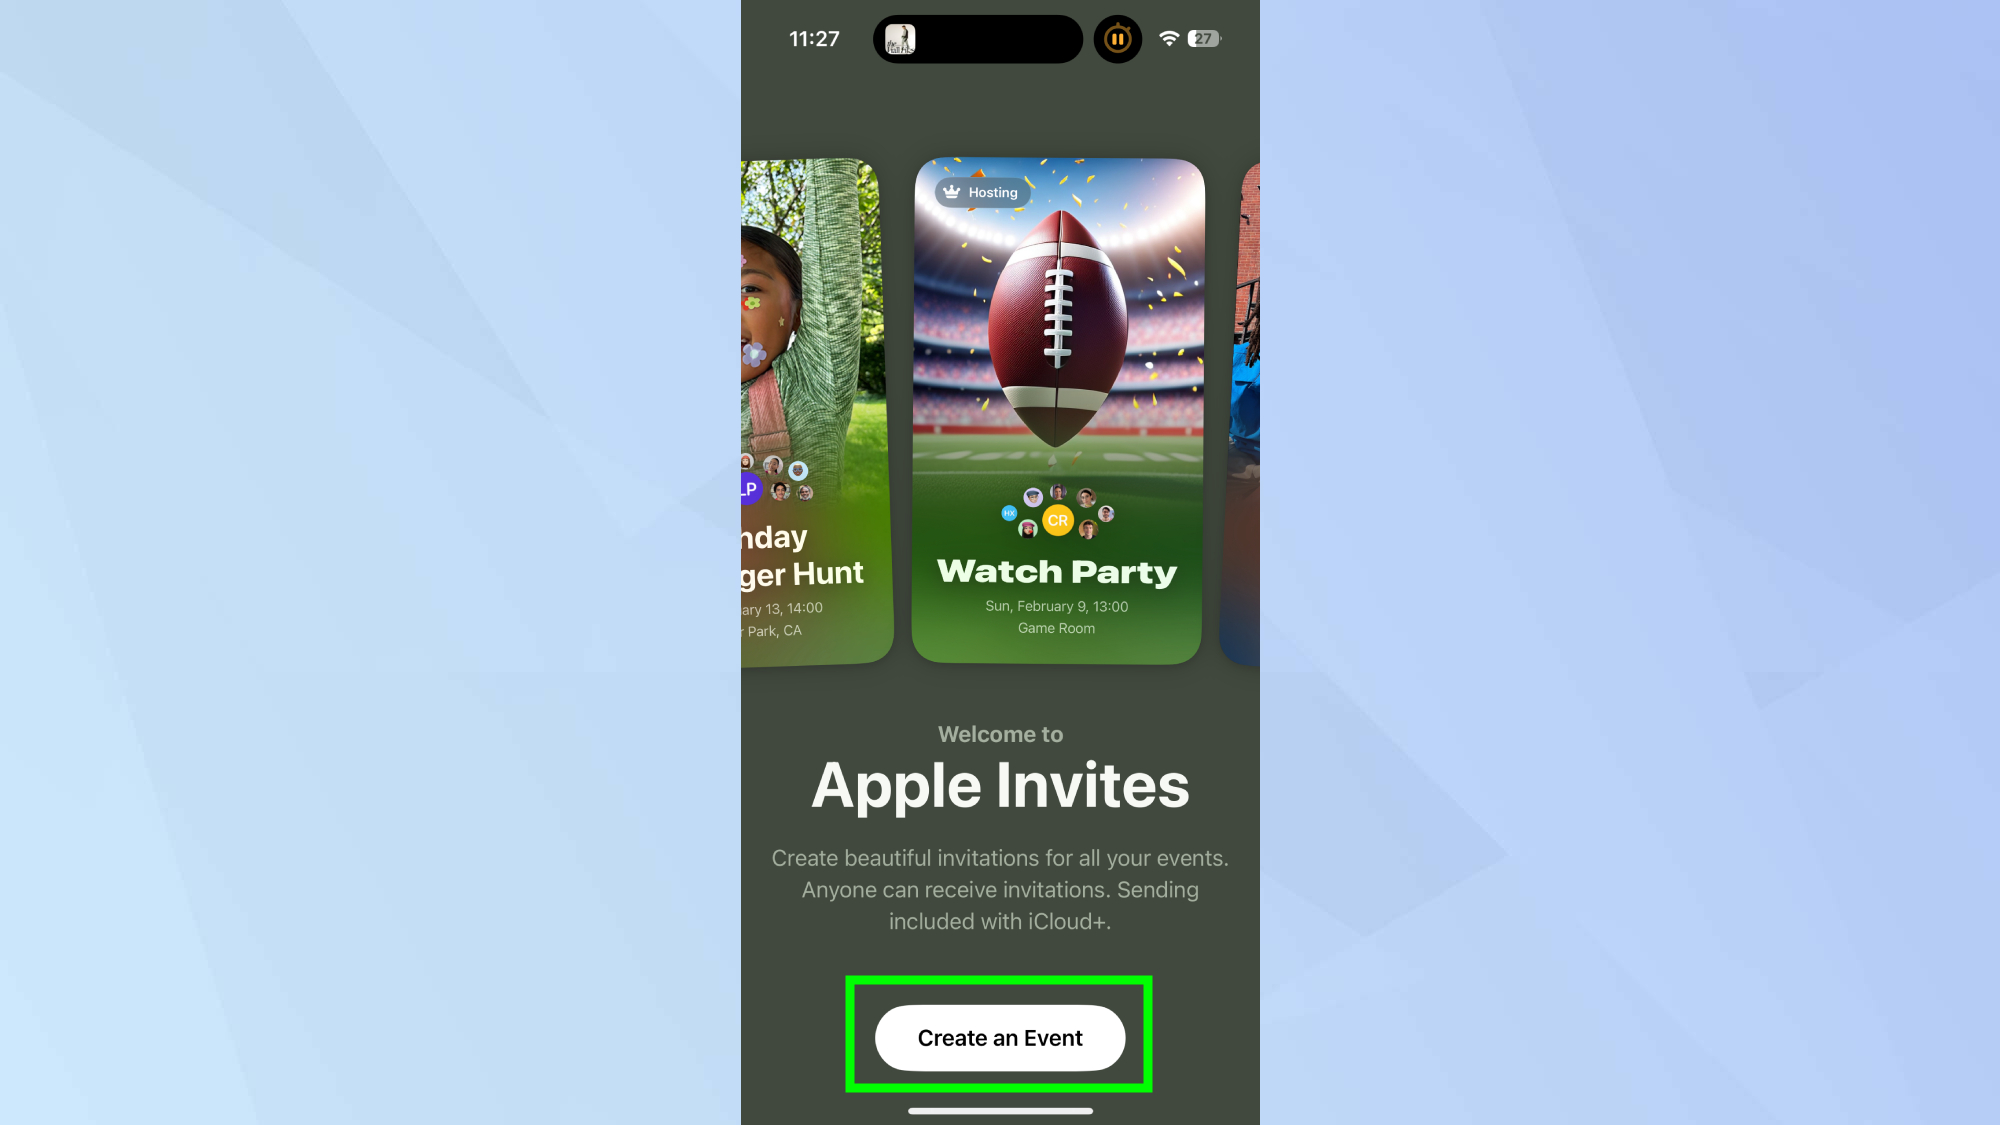
Tap Create an Event (or the "+" icon in the top right corner if you have existing invites).
3. Customize your invite
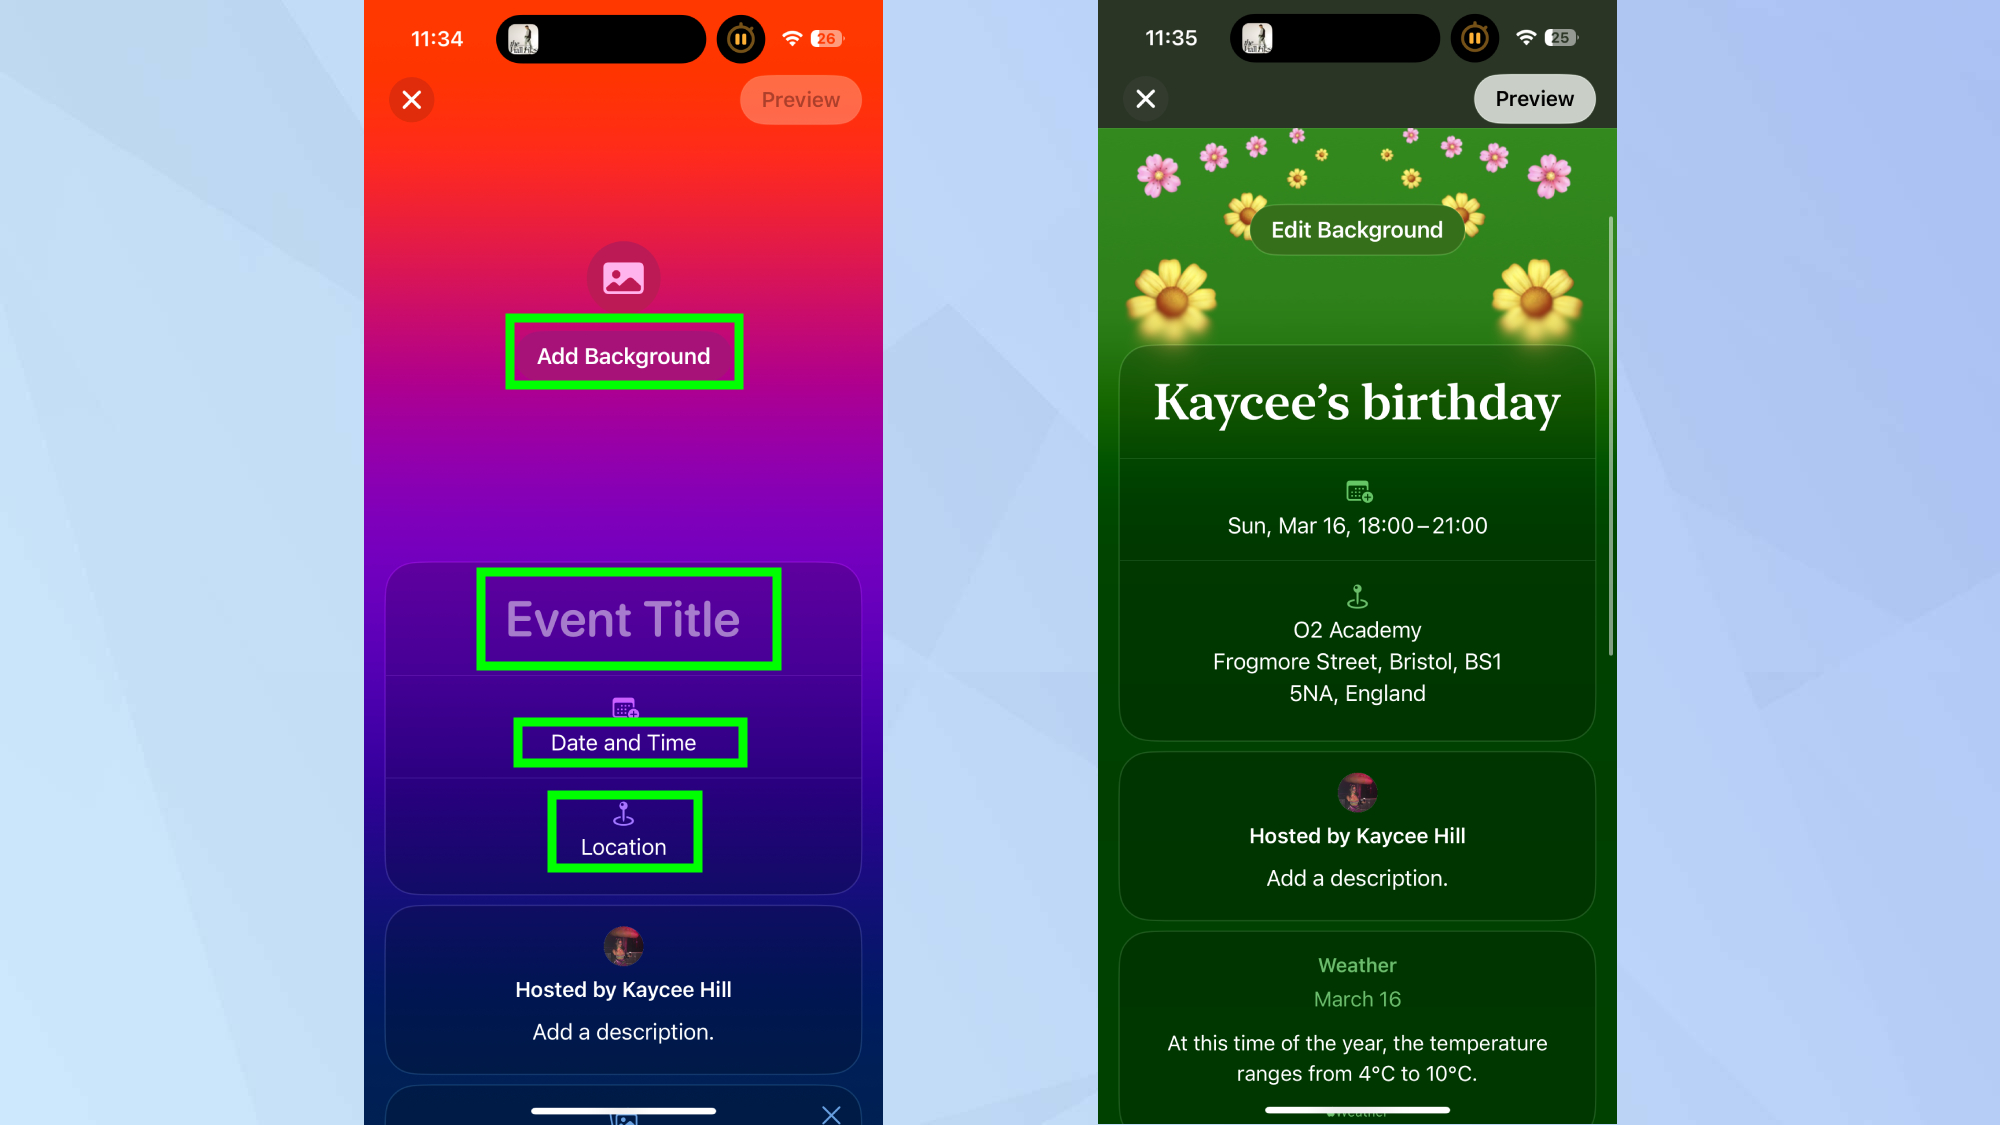
To customize your invitation, start by adding a background—choose from Apple’s preset designs, upload your own photo, or create an image using Image Playground.
Next, title your event by tapping Event Title, entering a name, and selecting a font style. Set the date and time by choosing when your event starts and ends, then add a location by searching for a venue and assigning a custom name if needed.
A cool thing about creating these invitations, is it pulls through information from the Weather app, so your guests can be even more prepared.
4. Enhance with Apple features
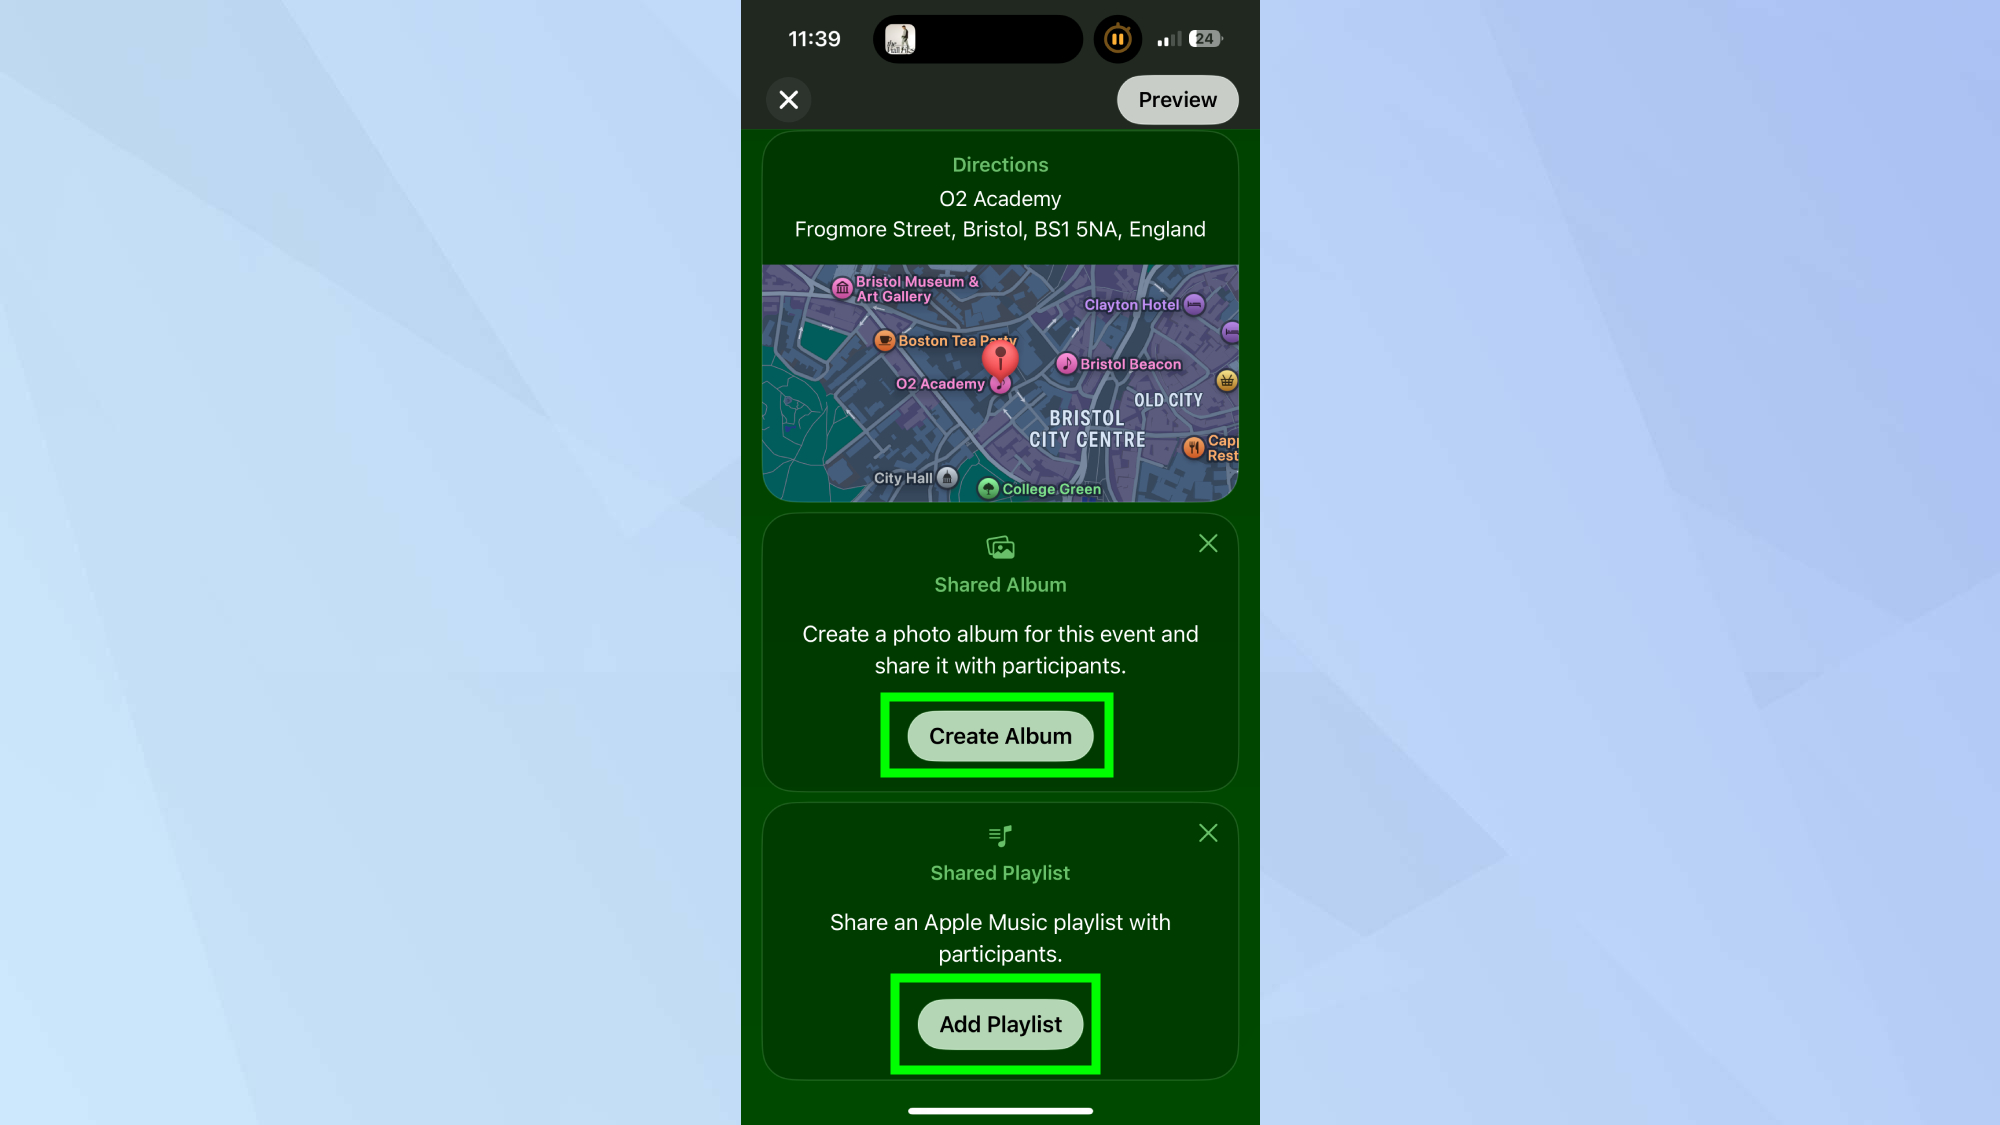
You can enhance your invitation even more by creating a shared photo album, allowing guests to upload photos during and after the event. To do this, tap Create Album.
There's also an option to let guests contribute songs before and during the event by tapping Add Playlist.
5. Preview and send your invite
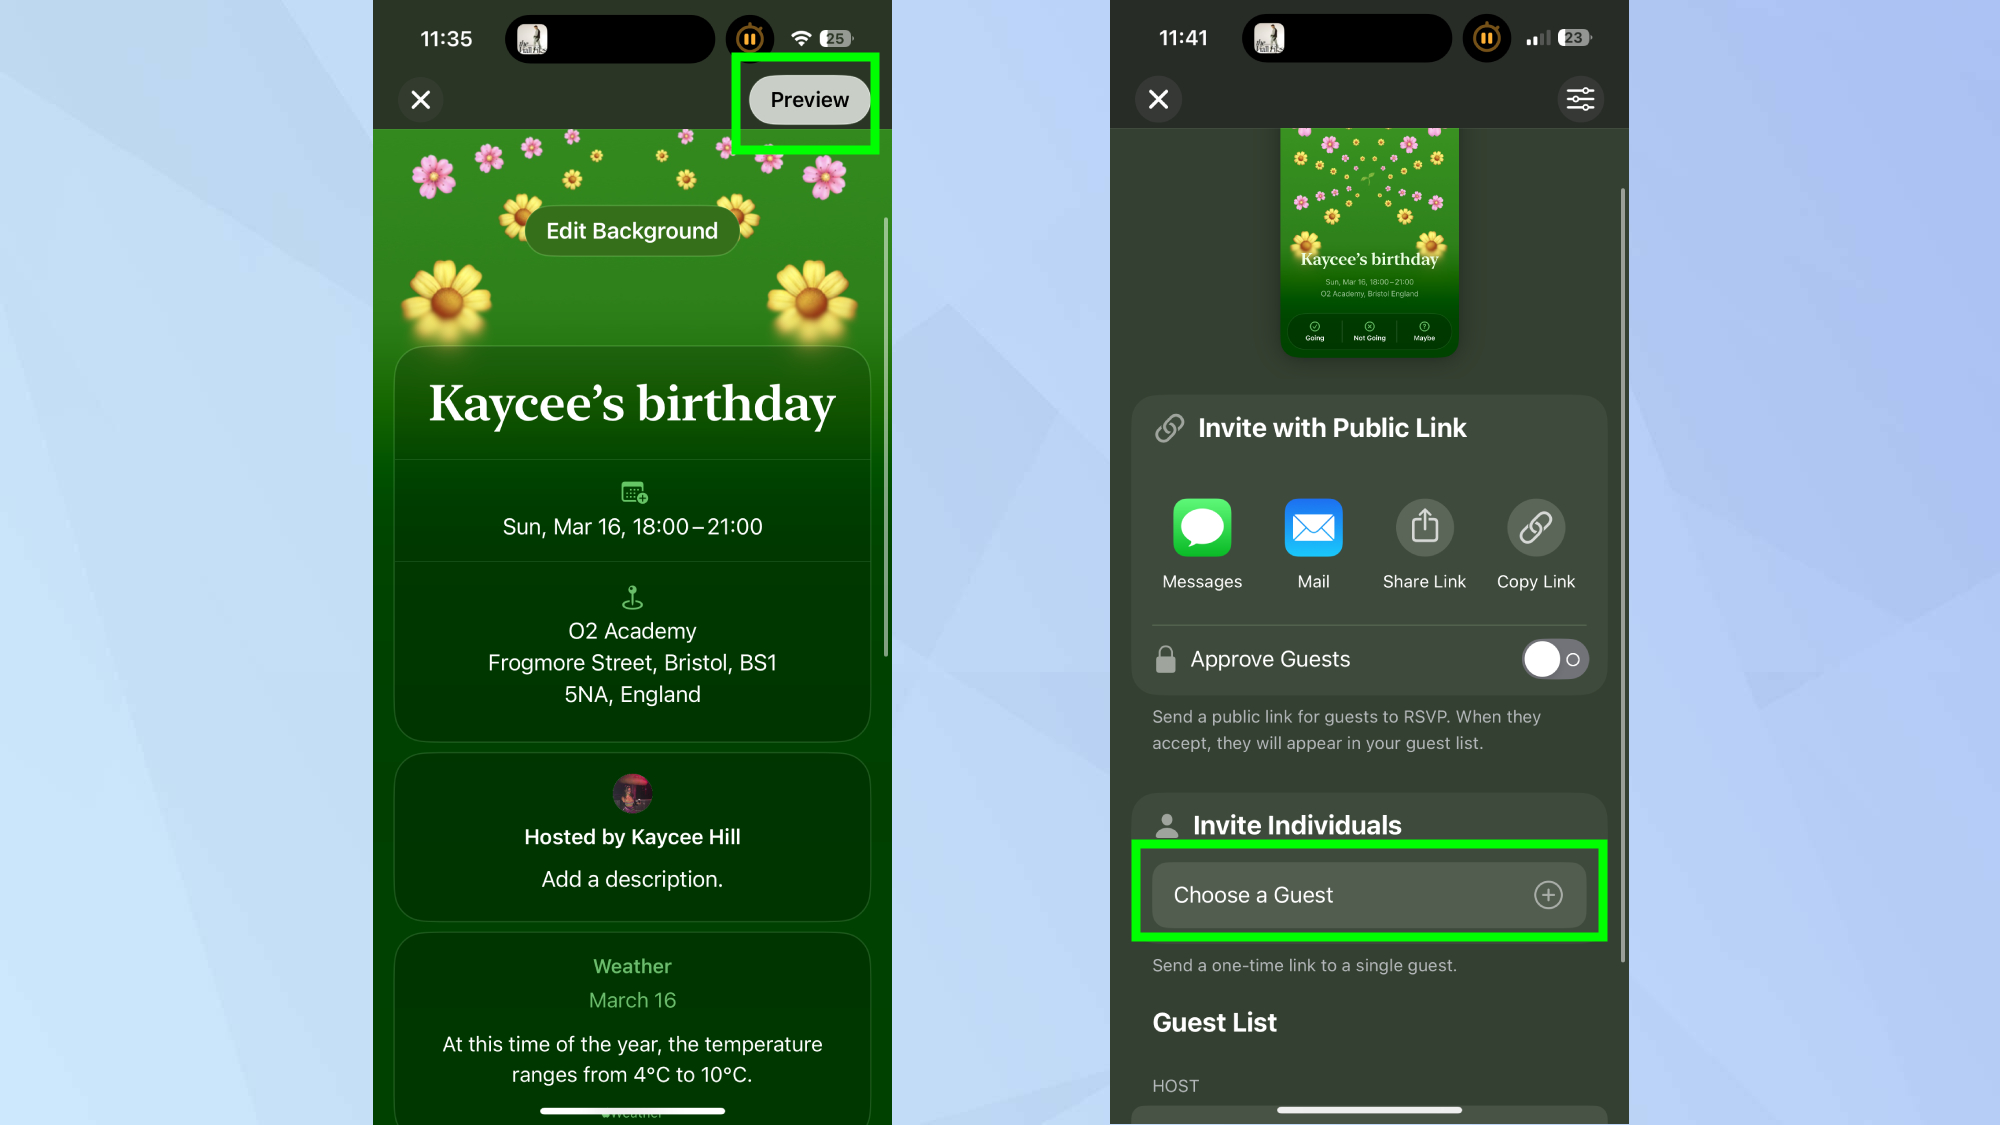
To see how your invite will appear, tap Preview in the top right corner. Then simply tap Next to start inviting your guests.
Now you know how to plan your next event with Apple Invites, why not check out some of our other useful guides. iPhone users might find how to enable cookies on iPhone and how to cancel subscriptions on your iPhone. And for those on Mac, you can customize your Mac pointer — here's how.
Sign up to get the BEST of Tom's Guide direct to your inbox.
Get instant access to breaking news, the hottest reviews, great deals and helpful tips.

Kaycee is an Editor at Tom’s Guide and has been writing for as long as she can remember. Her journey into the tech world began as Cazoo's Knowledge Content Specialist, igniting her enthusiasm for technology. When she’s not exploring the latest gadgets and innovations, Kaycee can be found immersed in her favorite video games, or penning her second poetry collection.
