I test appliances for a living — here are 9 oven tips you need to know
Here are our Homes Editor’s top tips when it comes to ovens
I’ve been testing appliances for more than six years now. In that time, I’ve seen and used all kinds of products, from some of the best air fryers, to some of the best washing machines. And with each category, I’ve learned tips and tricks I would never have known otherwise. Hacks which can save you money, improve the performance and also help your appliance last longer.
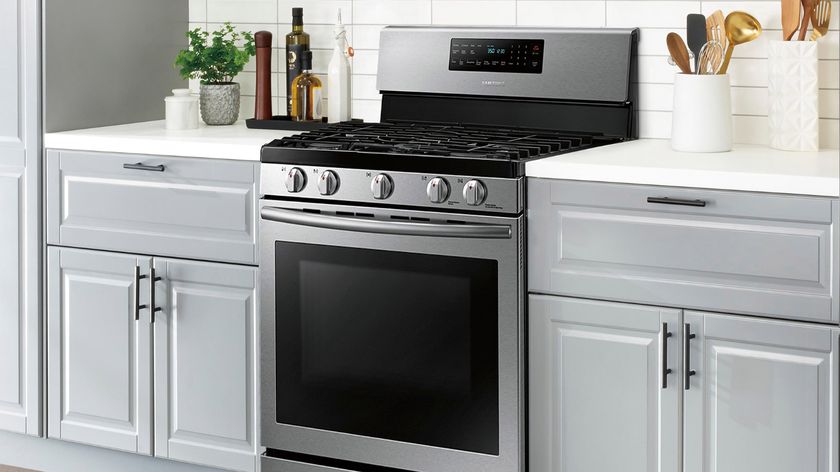
Ovens are no exception to this. In fact, I’ve discovered several tips and tricks with ovens which can do all of the above and more. If you want to take advantage, here are my top 9 oven tips. Follow these and you will only get more out of your appliance.
1. Remember to clean it
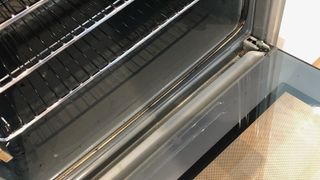
I can’t stress this point enough — you must take time to learn how to clean an oven. With every meal you cook, grease will drip and spit from your food, burning to the walls as well as the glass door. As this builds up and burns, it will produce a toxic smoke whenever you use your oven — containing carbon monoxide as well as other harmful gases. Eventually it will impact the smell of the dishes you cook, and in extreme situations, this residue can even cause a fire hazard.
That’s why you must take the time to clean your oven. We recommend lightly cleaning it once a month, and deep cleaning it once every 2-3 months. The more often you clean it, the less effort will be required next time. You can always hire a professional to clean the oven if you really can’t stand the chore. There's also the option of using your oven's self-clean settings, if it has them. Your oven can clean itself with this underrated setting. The important thing is: your oven is routinely cleaned. Once you've done that, here are 7 tips to keep your oven cleaner for longer.
If your oven was recently cleaned and yet it’s still producing a smell, be sure to check out the state of your baking sheets. These can hold burnt residue just as easily. Here’s how to clean a baking sheet if you need to renew your cookware.
2. Swap out your oven for an air fryer

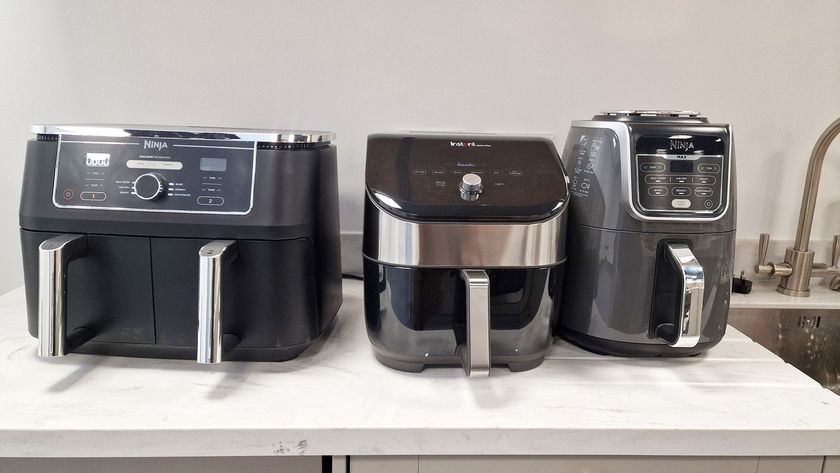
If you’re using your oven to cook small portions or single meals, you’re likely wasting a lot of energy. In such cases, you’d be better off using one of the best air fryers. As a mini-convection oven, this will cook your food at a faster rate and use less energy in the process. It can do this because it’s only having to heat a smaller space. Check out air fryer vs oven for more details on this.
Of course, if you’re filling your oven when you use it, this is naturally the more efficient method versus repeated batch cooking in an air fryer. It all comes down to how much you’re cooking. If you want more space than an air fryer has to offer, there’s always the option of investing in one of the best toaster ovens as well. This appliance gives you a greater capacity as well as access to more settings, which lets you bake, broil, toast and roast as well as air fry. Whatever you use, make sure you’re getting the most value from the energy required.
3. Make the best use of the space
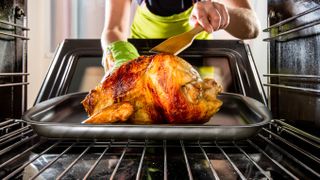
This brings me onto my next point — make sure you’re making the best use of the space in your oven. For instance, if you need to cook food for your packed lunches next week, throw them in alongside your evening meals. Anything which isn’t timely can be cooked in tandem with your regular use. That way, you save money because you use the oven less often. This means your appliance will have to work less often too, helping it last longer.
You should consider if you’re using the correct rack positions in your oven on top of this — not everything belongs on the middle shelf! The highest level will naturally be the hottest, due to heat rising, making it ideal for toasting and grilling. While the lower levels are better suited to dishes which require more heat from beneath, such as roasts or large joints of meat. Everyday meals can sit on the middle shelf in-between. In using the most suitable shelf, your food will be cooked more appropriately, improving the overall finish.
4. Check the accuracy of the temperature
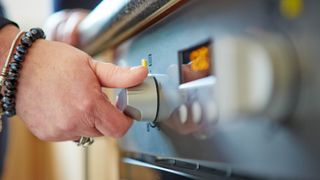
One thing that surprised me when I first started testing ovens, was how inaccurate the thermostat can actually be. For instance, you could set the oven to run at 350°F, but in reality, it might be running closer to 360°F. This doesn’t sound a big difference, but whether your oven is running slightly cooler or hotter than specified will impact your cooking results. Dishes can end up more dried out than necessary, or less browned than we would like.
I recommend confirming the actual temperature of your oven, using an oven thermometer, such as the Taylor Large Dial Kitchen Cooking Oven Thermometer ($6.24, Amazon). You can then keep a note of this to consider when setting it in the future. In time, you will learn what slight adjustments are necessary to get that perfect temperature. If your thermostat is way off what it should be, contact the manufacturer as it will likely need repairs.
5. Use a meat thermometer

While your oven is an amazing appliance, it can be difficult to tell how well items have cooked in there, particularly if you’re dealing with a large joint of meat. Rather than judging the food on its exterior alone, I recommend you give your oven a helping hand by investing in one of the best meat thermometers. With one of these, you can take the internal temperature of the food, and assess how well-cooked it is without cutting into it and losing excess moisture. You then know if it needs longer in the oven or if it’s ready to serve.
Some meat probes are advanced enough that they offer smart connectivity and can send live temperature feedback from the oven itself. Others offer multiple probes, so you can measure several dishes at once. Whatever your preference, even a basic meat thermometer can improve the performance of your oven.
6. Use an oven liner
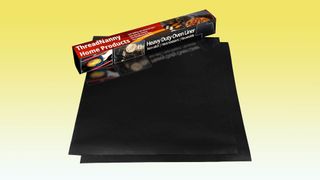
If you’re guilty of forgetting to clean your oven, an oven liner can make the task a little easier. These line the base of your oven, catching drips and spills and stopping them from burning to the floor. Being reusable and often dishwasher safe, you can refresh your oven much more quickly with an oven liner — simply remove, wash and replace. An example would be the ThreadNanny 2 Pack Large Thick Heavy Duty Non Stick Teflon Oven Liners ($10.99, Amazon).
Splashes and spills will continue to show on the oven walls and door, so cleaning the oven will still be necessary. However, with some of the worst and most stubborn residue usually burning to the base, a liner will definitely make the process easier.
7. Don’t open the door
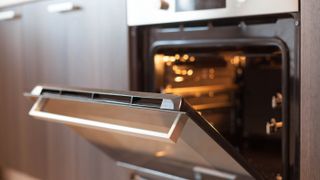
As tempting as it is to take a peek at the progress of your meal, don’t do it. Every time you open the oven door, you release all of the heat your oven has built up. This not only costs you money in terms of energy to reheat it again, you’re also adding to the time necessary to cook the item. Use the internal light and the glass door to inspect your meals — if you can’t see through the glass door, that’s an obvious sign that it needs cleaning.
If it’s absolutely essential to take the food out, potentially to shake or rotate the ingredients, make sure the oven door is shut once the food is removed. While efficiency is important, always take care when handling food — do not rush to shut the oven door if you’re handling cookware with two hands, otherwise you risk burning yourself. Take your time and shut the door once your hands are free.
8. Don’t forget about it
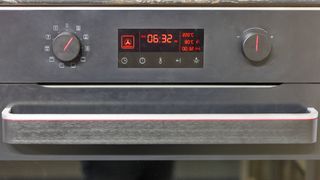
Many of us will preheat the oven as soon as we’re home from work. Only then are we free to take our coats off and settle down. The problem with doing this is that the oven often goes forgotten about for some time. It can end up running far longer than necessary to reach the desired temperature, wasting energy in the process.
Avoiding this problem is simple: set an alarm on your phone for the time needed for your oven to actually reach temperature. As soon as the alarm rings, get cooking. That way you’re not wasting any energy.
Technically speaking, you can even use the preheat time to help cook your dishes, although you need to consider that the oven isn’t fully up to temperature at this stage, and factor that into your total cooking time. Ultimately, your food will need to be in the oven for longer if you take advantage of the preheat time, but you will save energy because the preheat time is contributing to the cooking. Always check the temperature of the food before serving if you're unsure of the timings.
9. Upgrade when necessary
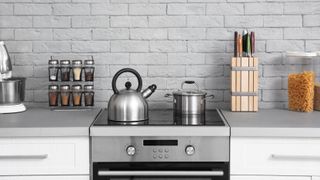
If your oven has seen better days, and the results just aren’t what they used to be, it might be time for an upgrade. This can help reduce your energy consumption and it can give you access to modern useful settings as well, such as pyrolytic cleaning or air fryer functionality. Need a hand picking out a replacement? Check out our guides on the best electric ranges and the best gas ranges.
For more tips, tricks and how tos, check out how to clean a dishwasher, how to clean a glass stove and electric vs gas stoves and everything you need to know.
Sign up to get the BEST of Tom's Guide direct to your inbox.
Get instant access to breaking news, the hottest reviews, great deals and helpful tips.

Katie Mortram used to be a Homes Editor for Tom's Guide, where she oversaw everything from kitchen appliances to gardening tools, as well as smart home tech. Specializing in providing expert advice for cleaning and home manintenance, she now works as Household Advice Editor for Good Housekeeping.
