I helped my uncle upgrade to a mesh Wi-Fi system — here’s how I did it
This quick upgrade eliminated both Wi-Fi dead zones and ISP rental fees

If you’re the kind of person who’s good with computers and other tech like I am, then you’ve likely been asked by a family member for help at some point. Maybe they need a hand setting up one of the best laptops or figuring out how to disable motion smoothing on their new TV.
As I cover the best Wi-Fi routers and the best mesh Wi-Fi systems for Tom’s Guide, I get a lot of internet questions from my relatives. This year was no different and after my aunt explained what I do for a living to my uncle, he reached out to me after the holidays.
You see, he and his family live in California and while their home was initially a one-story house, they added a granny flat or small apartment above the garage for when my grandparents used to come visit. Due to permit restrictions though, they also had to add a second floor. As their home got bigger, the Wi-Fi router from their internet service provider (ISP) just didn’t cut it anymore and Wi-Fi dead zones started popping up everywhere. To make matters worse, you couldn’t even maintain a connection with their Wi-Fi router from the granny flat.
My uncle asked me if one of the best Wi-Fi extenders would be a good fix for the problem. As there were Wi-Fi dead zones in other parts of the house as well, though, I knew that the only real long-term solution would be having them upgrade to a mesh router instead. So that’s what we did.
As my aunt and uncle live on the other side of the country from me, I managed to walk my uncle through the entire installation process over the phone. Here’s how it went.
Finding the right mesh Wi-Fi system for my uncle
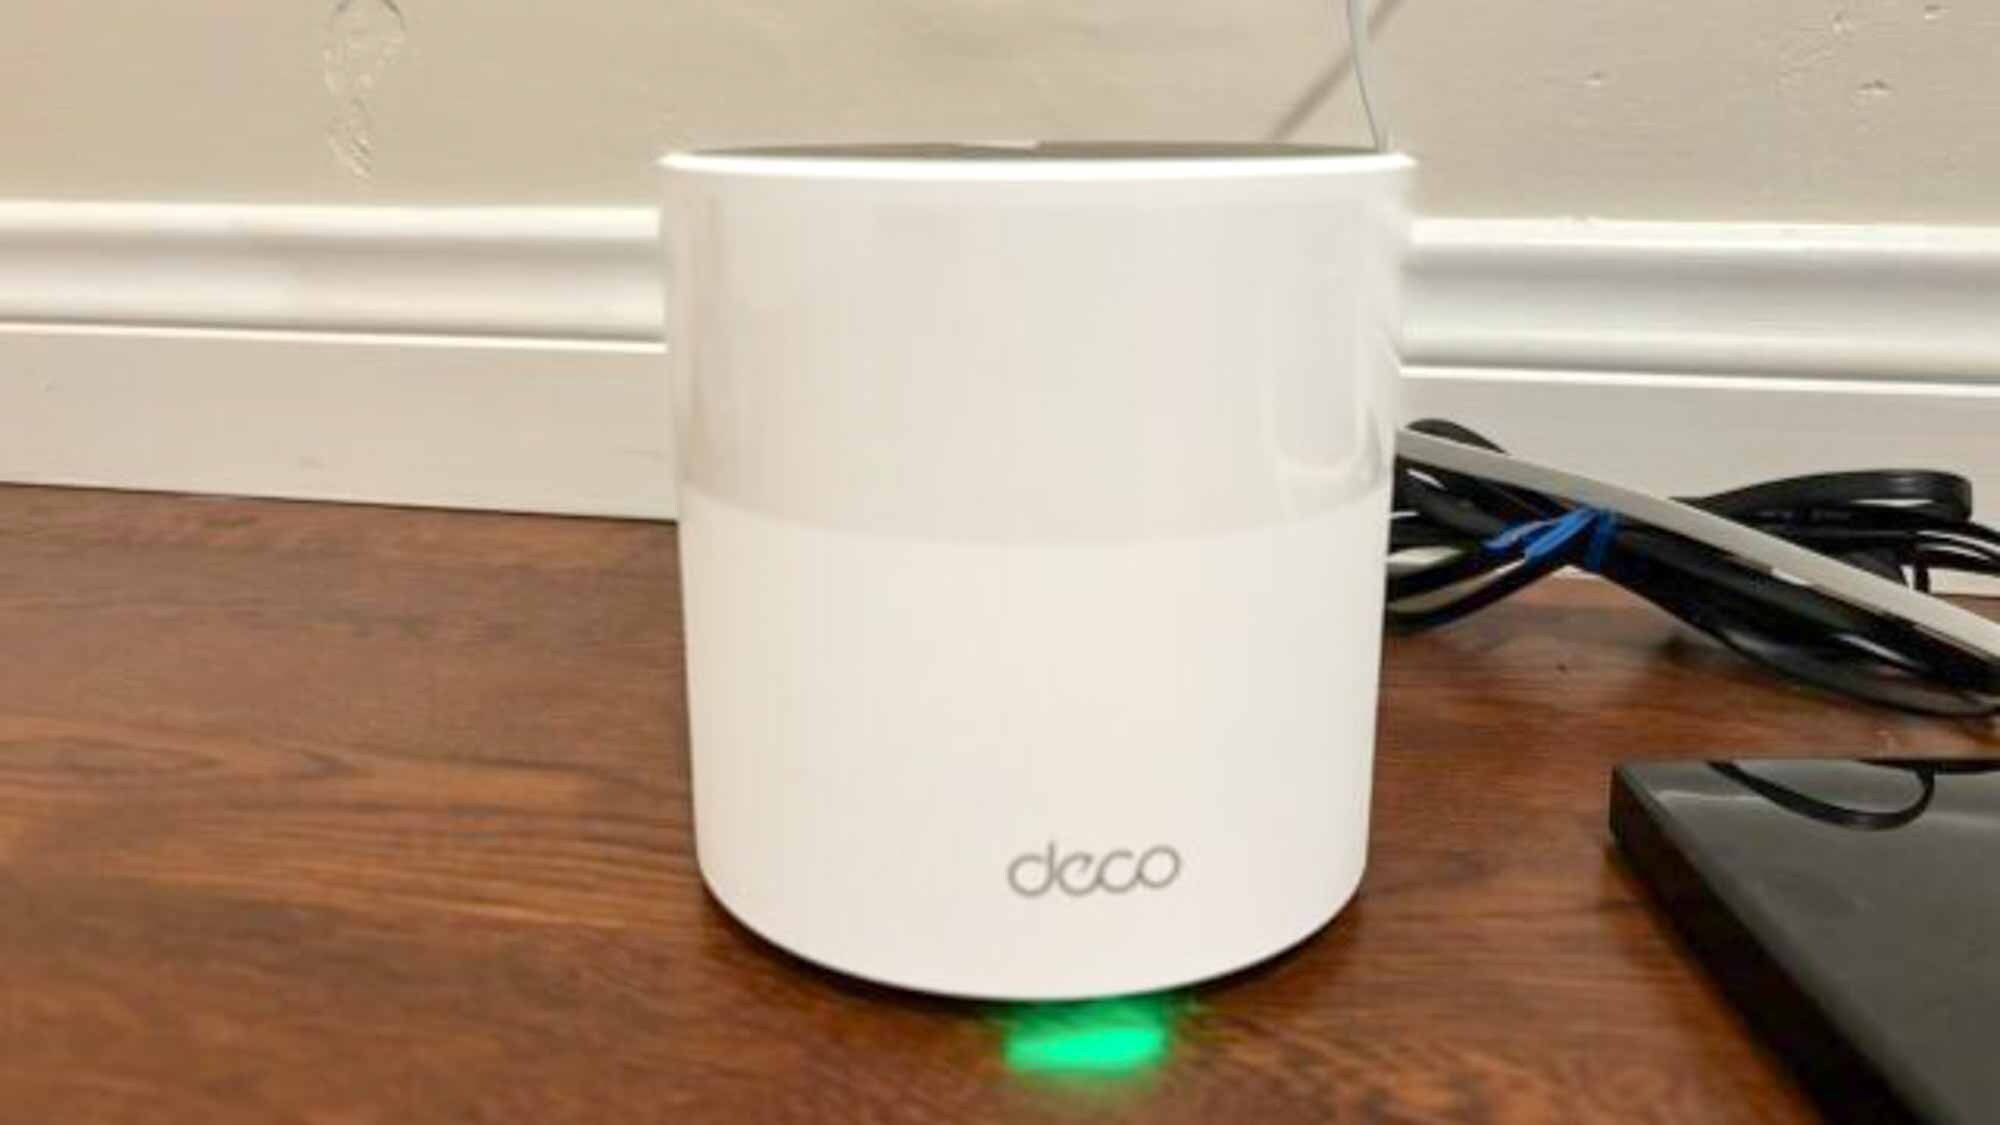
Deciding to ditch your old ISP-supplied router opens up a whole world of Wi-Fi possibilities with the biggest one being that you can upgrade to a mesh router instead. Unlike with a Wi-Fi extender, where you need to manually switch networks as you move throughout your home, a mesh Wi-Fi system creates a single network with a whole lot more range.
Likewise, instead of being stuck with what Xfinity, Verizon, Spectrum or (in my uncle’s case) Cox decides to give you, there’s a wide range of home networking brands to choose from.
I normally recommend different mesh Wi-Fi systems based on the other smart devices in someone’s house. For instance, if you have several of the best Alexa speakers spread out throughout your home, then I’d suggest you get a mesh router from eero; this way, you can use your newer Echo Dots as mesh extenders. If you prefer the best Google Home speakers though, I’d suggest going with the Nest Wifi Pro instead so that you can keep all of your devices in the same ecosystem.
Unlike me, my uncle isn’t a smart home guy, so I figured it would be better for him to go with a mesh Wi-Fi system from Netgear or TP-Link instead. When he told me his budget though, I knew TP-Link was the better option as the company has a wide range of more affordable mesh routers.
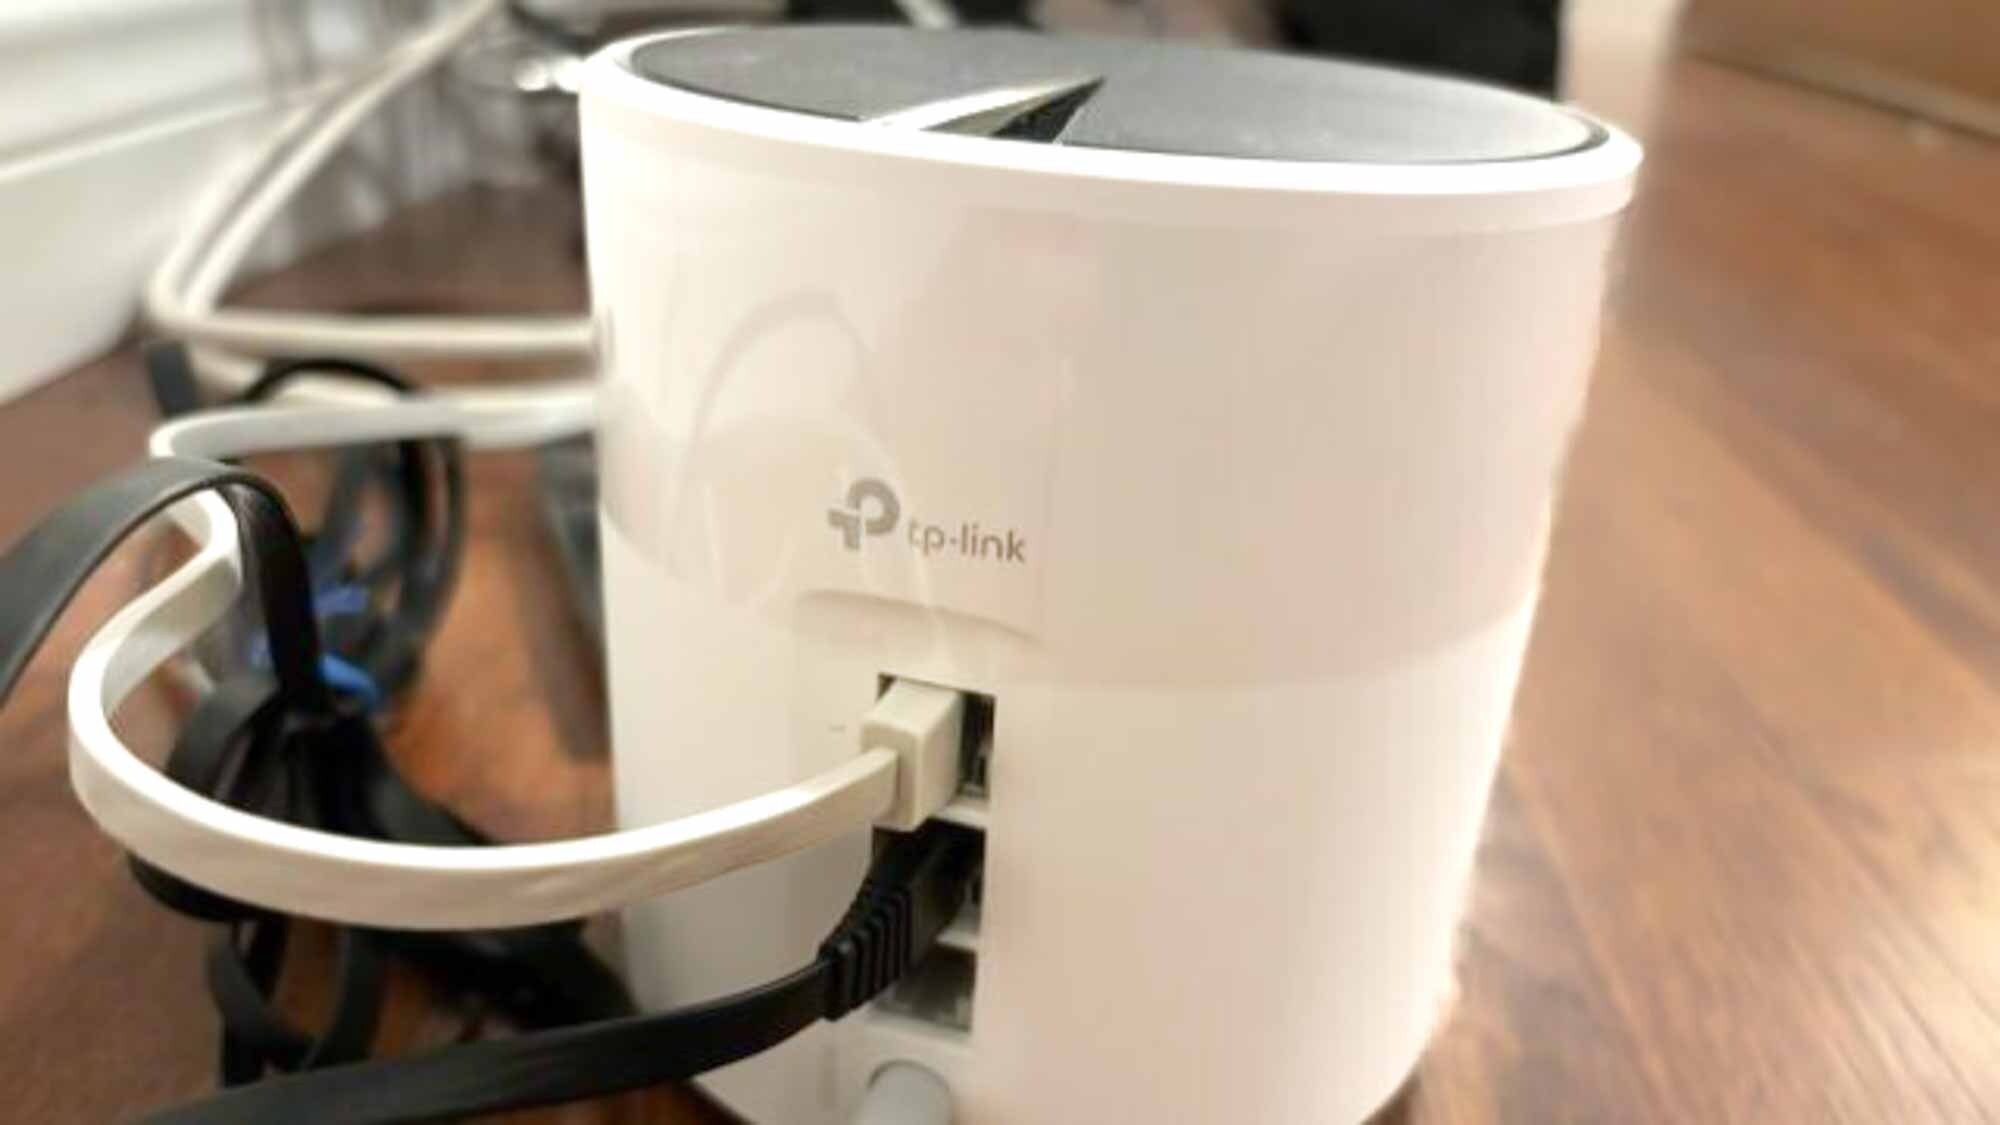
After a quick trip to the store, he called me back and told me that he had picked up the TP-Link Deco X55 in a three-pack ($279, Amazon). With a combined range of 6,500 square feet, this mesh Wi-Fi system is powerful enough that my uncle’s whole house will be covered in a strong Wi-Fi signal, even out in the backyard. If he does decide to build a smart home in the future, each Deco X55 device supports up to 150 connected devices, which you can control using Alexa if you want to. There are also three gigabit Ethernet ports at the back of the Deco X55 which can be useful for connecting smart home hubs or other devices you want to have hardwired like your TV or game consoles.
As I use a TP-Link Deco XE75 mesh Wi-Fi system in my own home, I knew it would be easy enough for me to walk my uncle through the setup process, even if I couldn’t be there in person to help him get everything configured. With a new mesh router in hand, I thought we were ready to go but then we hit another snag — my uncle’s cable modem.
Getting rid of rental fees altogether with a new cable modem
If you want to stop paying extra money to your ISP every month, then purchasing your own Wi-Fi router is only half the battle. You also need one of the best cable modems if you want to eliminate those pesky equipment rental fees altogether.
Likewise, if you’re not quite ready to get your own modem, you can continue using the ISP-provided one with your new router without any problems. However, as my uncle is a Cox subscriber, he was given a modem/router combo unit when he signed up. These types of dual-mode devices can be reconfigured to only act as a modem. However, an online search couldn't uncover simple instructions my uncle could easily follow on how to do so with one of Cox’s Panoramic Wi-Fi routers.
I did a bit more digging, and it was then that I learned that Cox doesn’t actually make its own networking equipment. Instead, the company has a licensing agreement with Xfinity and it uses their gear instead. So my uncle’s Panoramic Wi-F router is actually just a rebranded XB7 gateway from Xfinity. I thought this might make things easier but I saw on a Reddit post that people who tried to make this modem/router combo only act as a modem ran into a lot of problems.
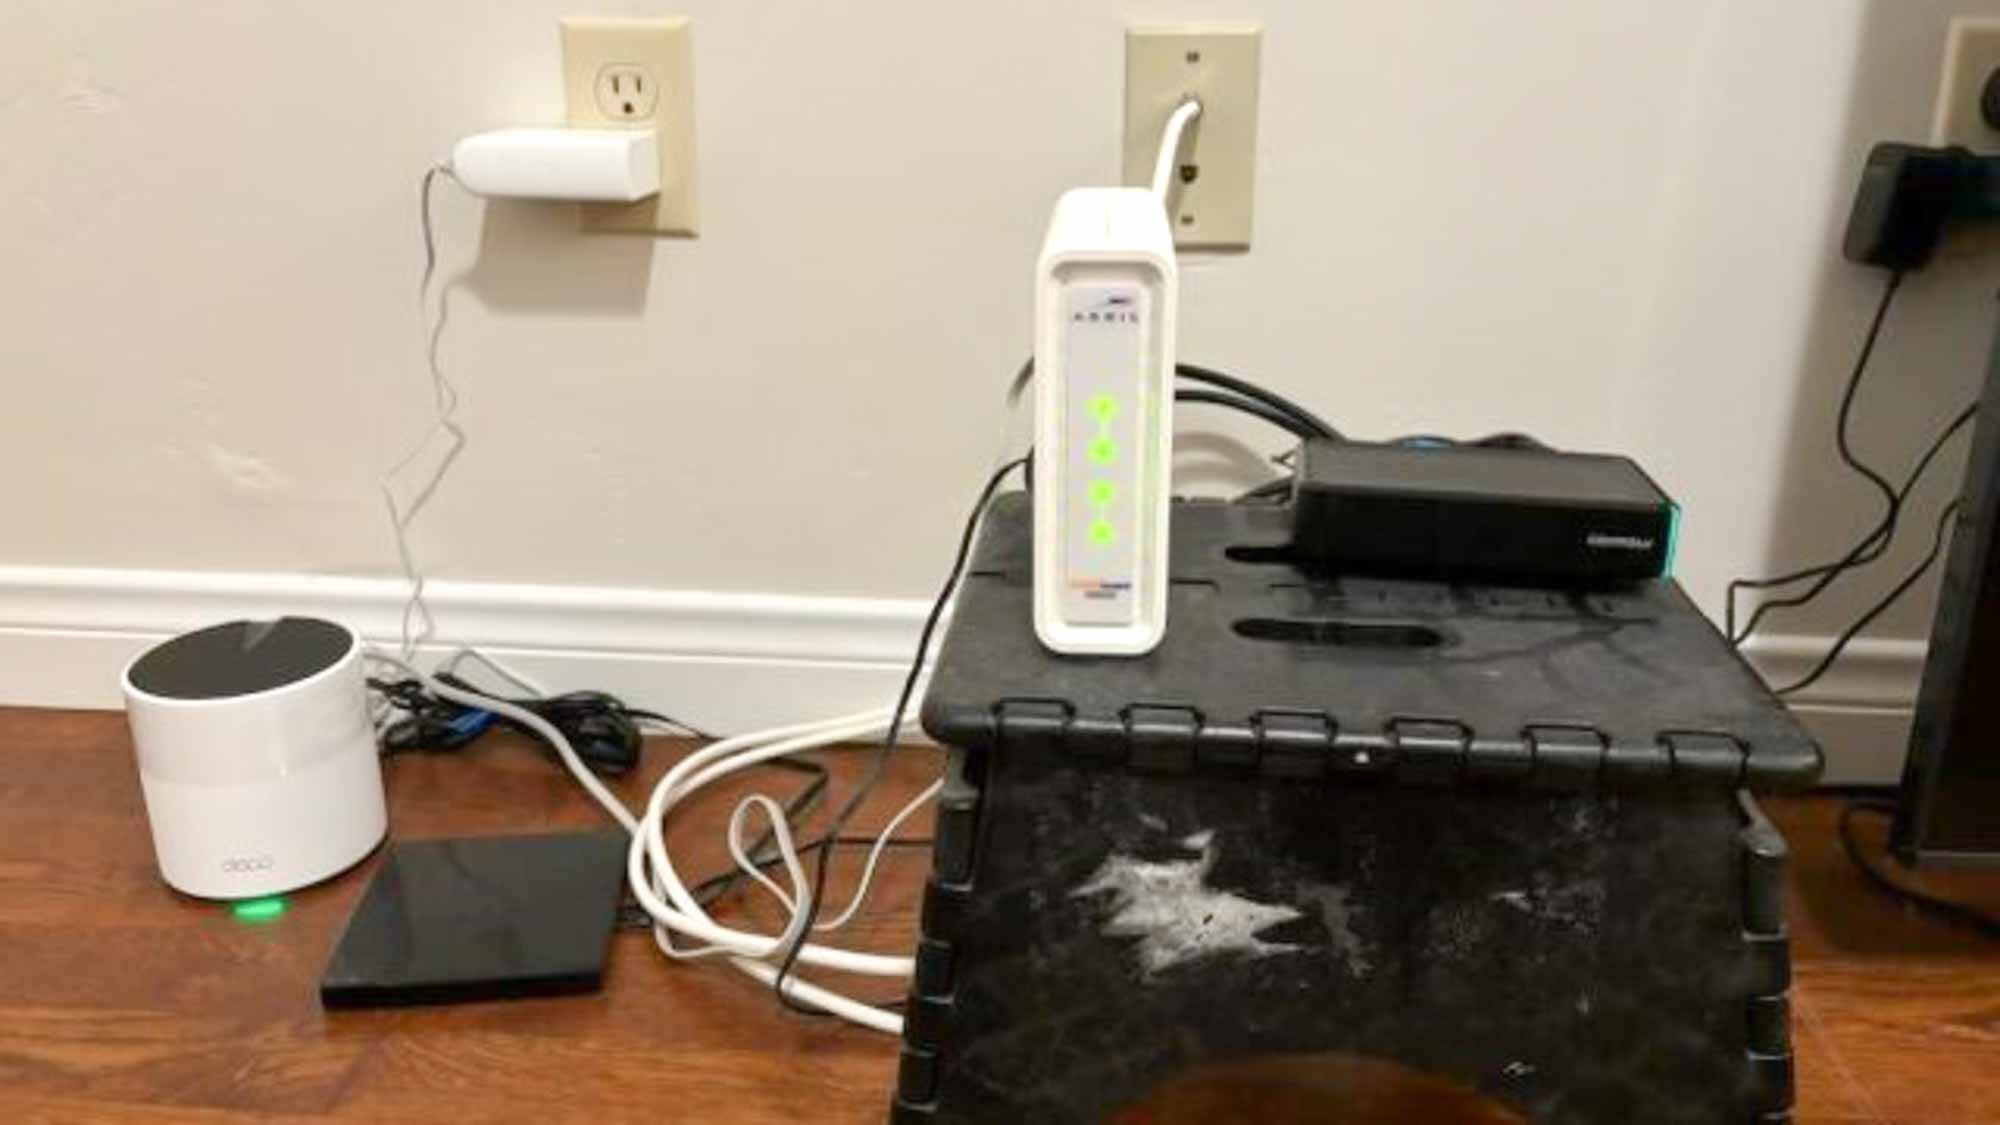
As my uncle had already picked up a mesh router, it wasn’t that hard to convince him that he needed his own cable modem to go along with it. Another trip to the story later and he came back with an Arris SURFboard SB8200 ($189, Amazon). Since my uncle doesn’t have multi-gig internet, this cable modem is perfect for his current plan and in addition to being certified to work with Cox, it’s also DOCSIS 3.1 compatible.
Ignore the cable management above as I just had my uncle snap a quick picture after everything was working. Ideally, you want to have both your router and cable modem a few feet off the ground to avoid any physical obstructions that can lead to wireless interference. Still though, I was quite proud of my uncle for taking a chance and getting everything set up on his own with minimal help from me over the phone.
Easy to hide with room to grow

What I really like about the Deco X55 mesh Wi-Fi system that my uncle picked out is that the units themselves are rather small and can easily be tucked away on a bookshelf or even behind a photo frame like he did here.
If you’re after a mesh router that’s even smaller though, both the eero 6+ and Wyze Mesh Router feature a puck-shaped design instead of a cylindrical one. Meanwhile, if you want a mesh router that stands out, the Nest Wifi Pro is available in yellow, turquoise and a few other colors besides your typical white.
Another great thing about TP-Link’s Deco mesh routers is that they all work together. This way, you don’t have to get rid of your new gear when you upgrade. For instance, let’s say my uncle wants to upgrade from his Wi-Fi 6-based system down the road, he could get a Deco system with Wi-Fi 7 instead and still use his old devices to further build out the range of his mesh network. It’s worth noting that all of Amazon’s eero devices also work together in the same way.
An easy upgrade that’s already paying off
Once the cable modem and mesh Wi-Fi system were installed, my uncle gave me a final follow-up call and I could tell just how big of an upgrade they were for his home network from the sound of his voice.
Although many people are perfectly content using the router and modem from their ISP, having your own equipment opens up a lot more possibilities and gives you greater control over your home network. For instance, using the Deco app, my uncle can now set parental controls, create a guest network, scan for security risks and even analyze the internet usage of every device connected to his network.
As for the Wi-Fi dead zones, they’re all gone and the internet signal is just as strong in the granny flat as it is upstairs and even outside by the pool. If you’re after an upgrade that everyone in your household can benefit from, swapping out that old Wi-Fi router for a mesh one is one of the best things you can do. Plus, as you can see here, it’s not nearly as hard as you might think once you get started.
More from Tom's Guide
Sign up to get the BEST of Tom's Guide direct to your inbox.
Get instant access to breaking news, the hottest reviews, great deals and helpful tips.

Anthony Spadafora is the managing editor for security and home office furniture at Tom’s Guide where he covers everything from data breaches to password managers and the best way to cover your whole home or business with Wi-Fi. He also reviews standing desks, office chairs and other home office accessories with a penchant for building desk setups. Before joining the team, Anthony wrote for ITProPortal while living in Korea and later for TechRadar Pro after moving back to the US. Based in Houston, Texas, when he’s not writing Anthony can be found tinkering with PCs and game consoles, managing cables and upgrading his smart home.
