5 bathroom cleaning hacks that will save you time and effort — use them right now
Get you bathroom sparkling with these cleaning tricks
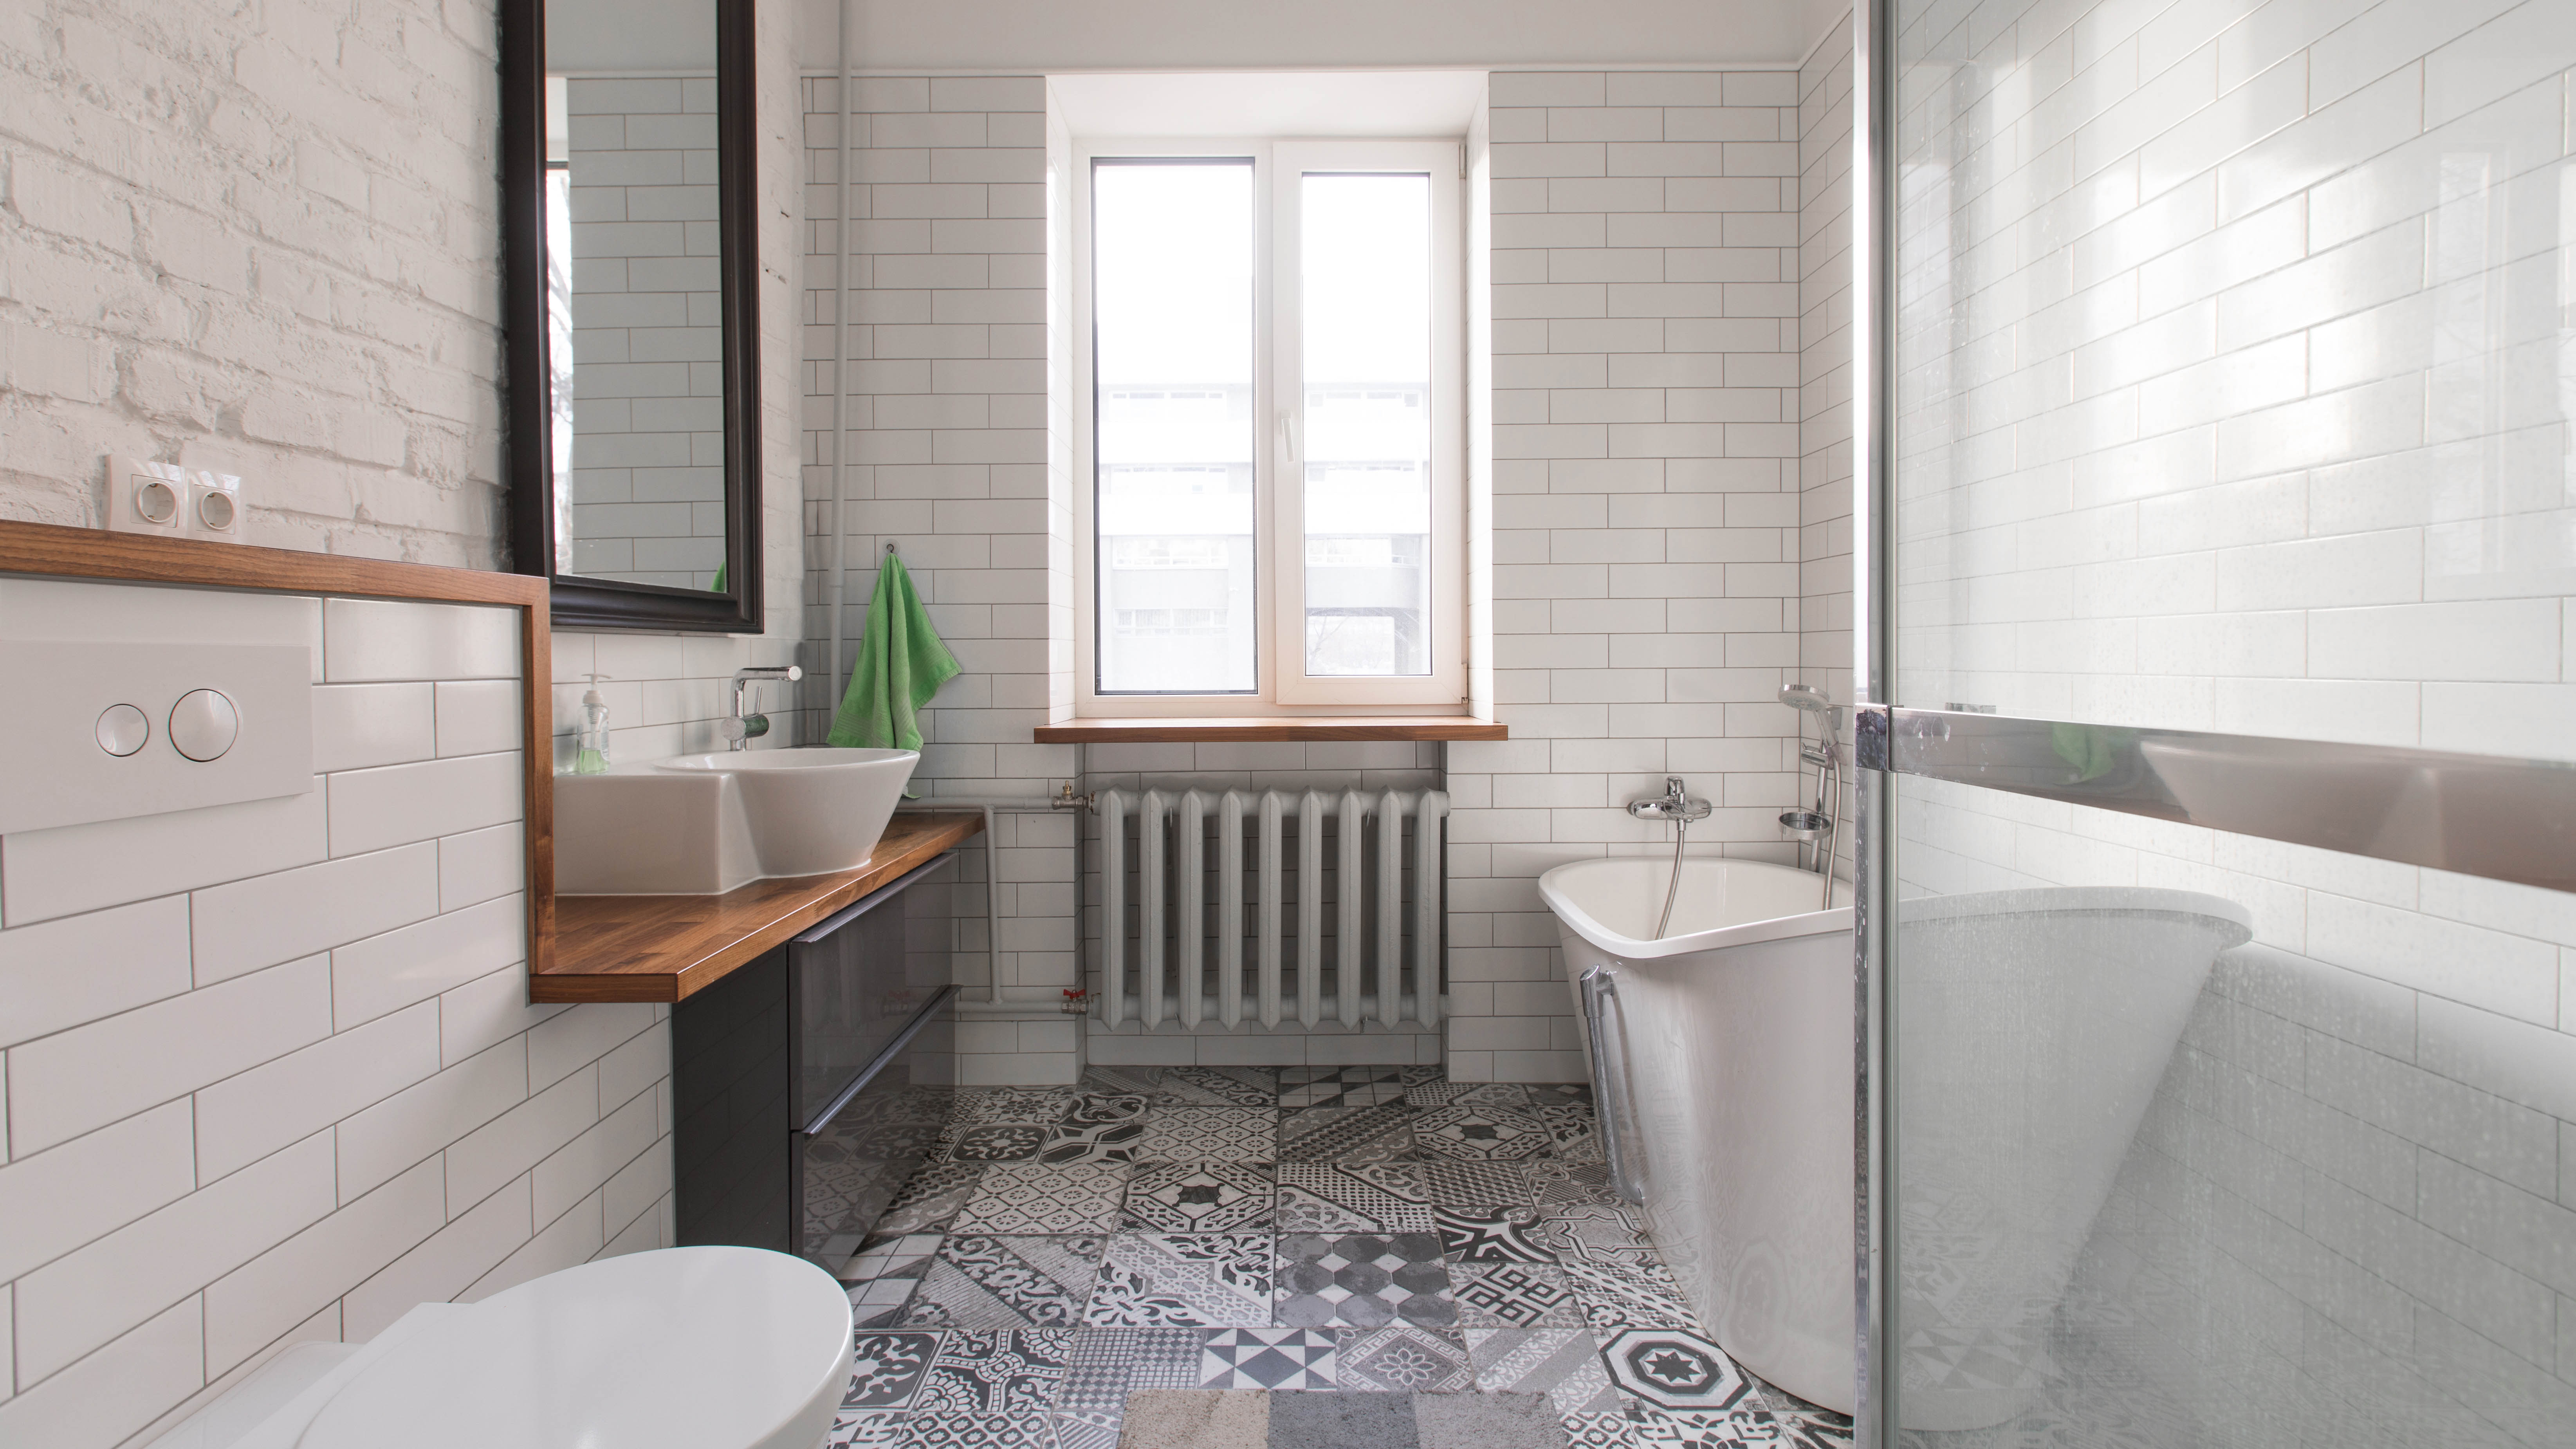
The bathroom is one of the most used rooms in the home that’s used throughout the day. And as it faces a punishing routine, coping with water, humidity, dirt and grime, it’s a challenge to keep it clean and germ-free. As soon as you’ve given it a blitz, it’s not long before it looks lackluster once again.
As a working mom, I’m always looking for quick cleaning tips to make my life easier, especially in the bathroom, where I’m constantly confronted with the build-up of limescale, not to mention stinky damp towels and a grimy bathtub!
So, to help lighten your household tasks and give you back some much-needed time, I’ve gathered 5 of my top bathroom cleaning hacks to make your life easier. You can look forward to a sparkling clean bathroom without the elbow grease.
Here are 4 products you should avoid using when cleaning your bathtub, and you may be surprised that the germiest places in your home aren't where you'd think. Plus, I found 3 bathroom cleaning gadgets that make you home feel like a spa.
1. Let your bathroom breathe
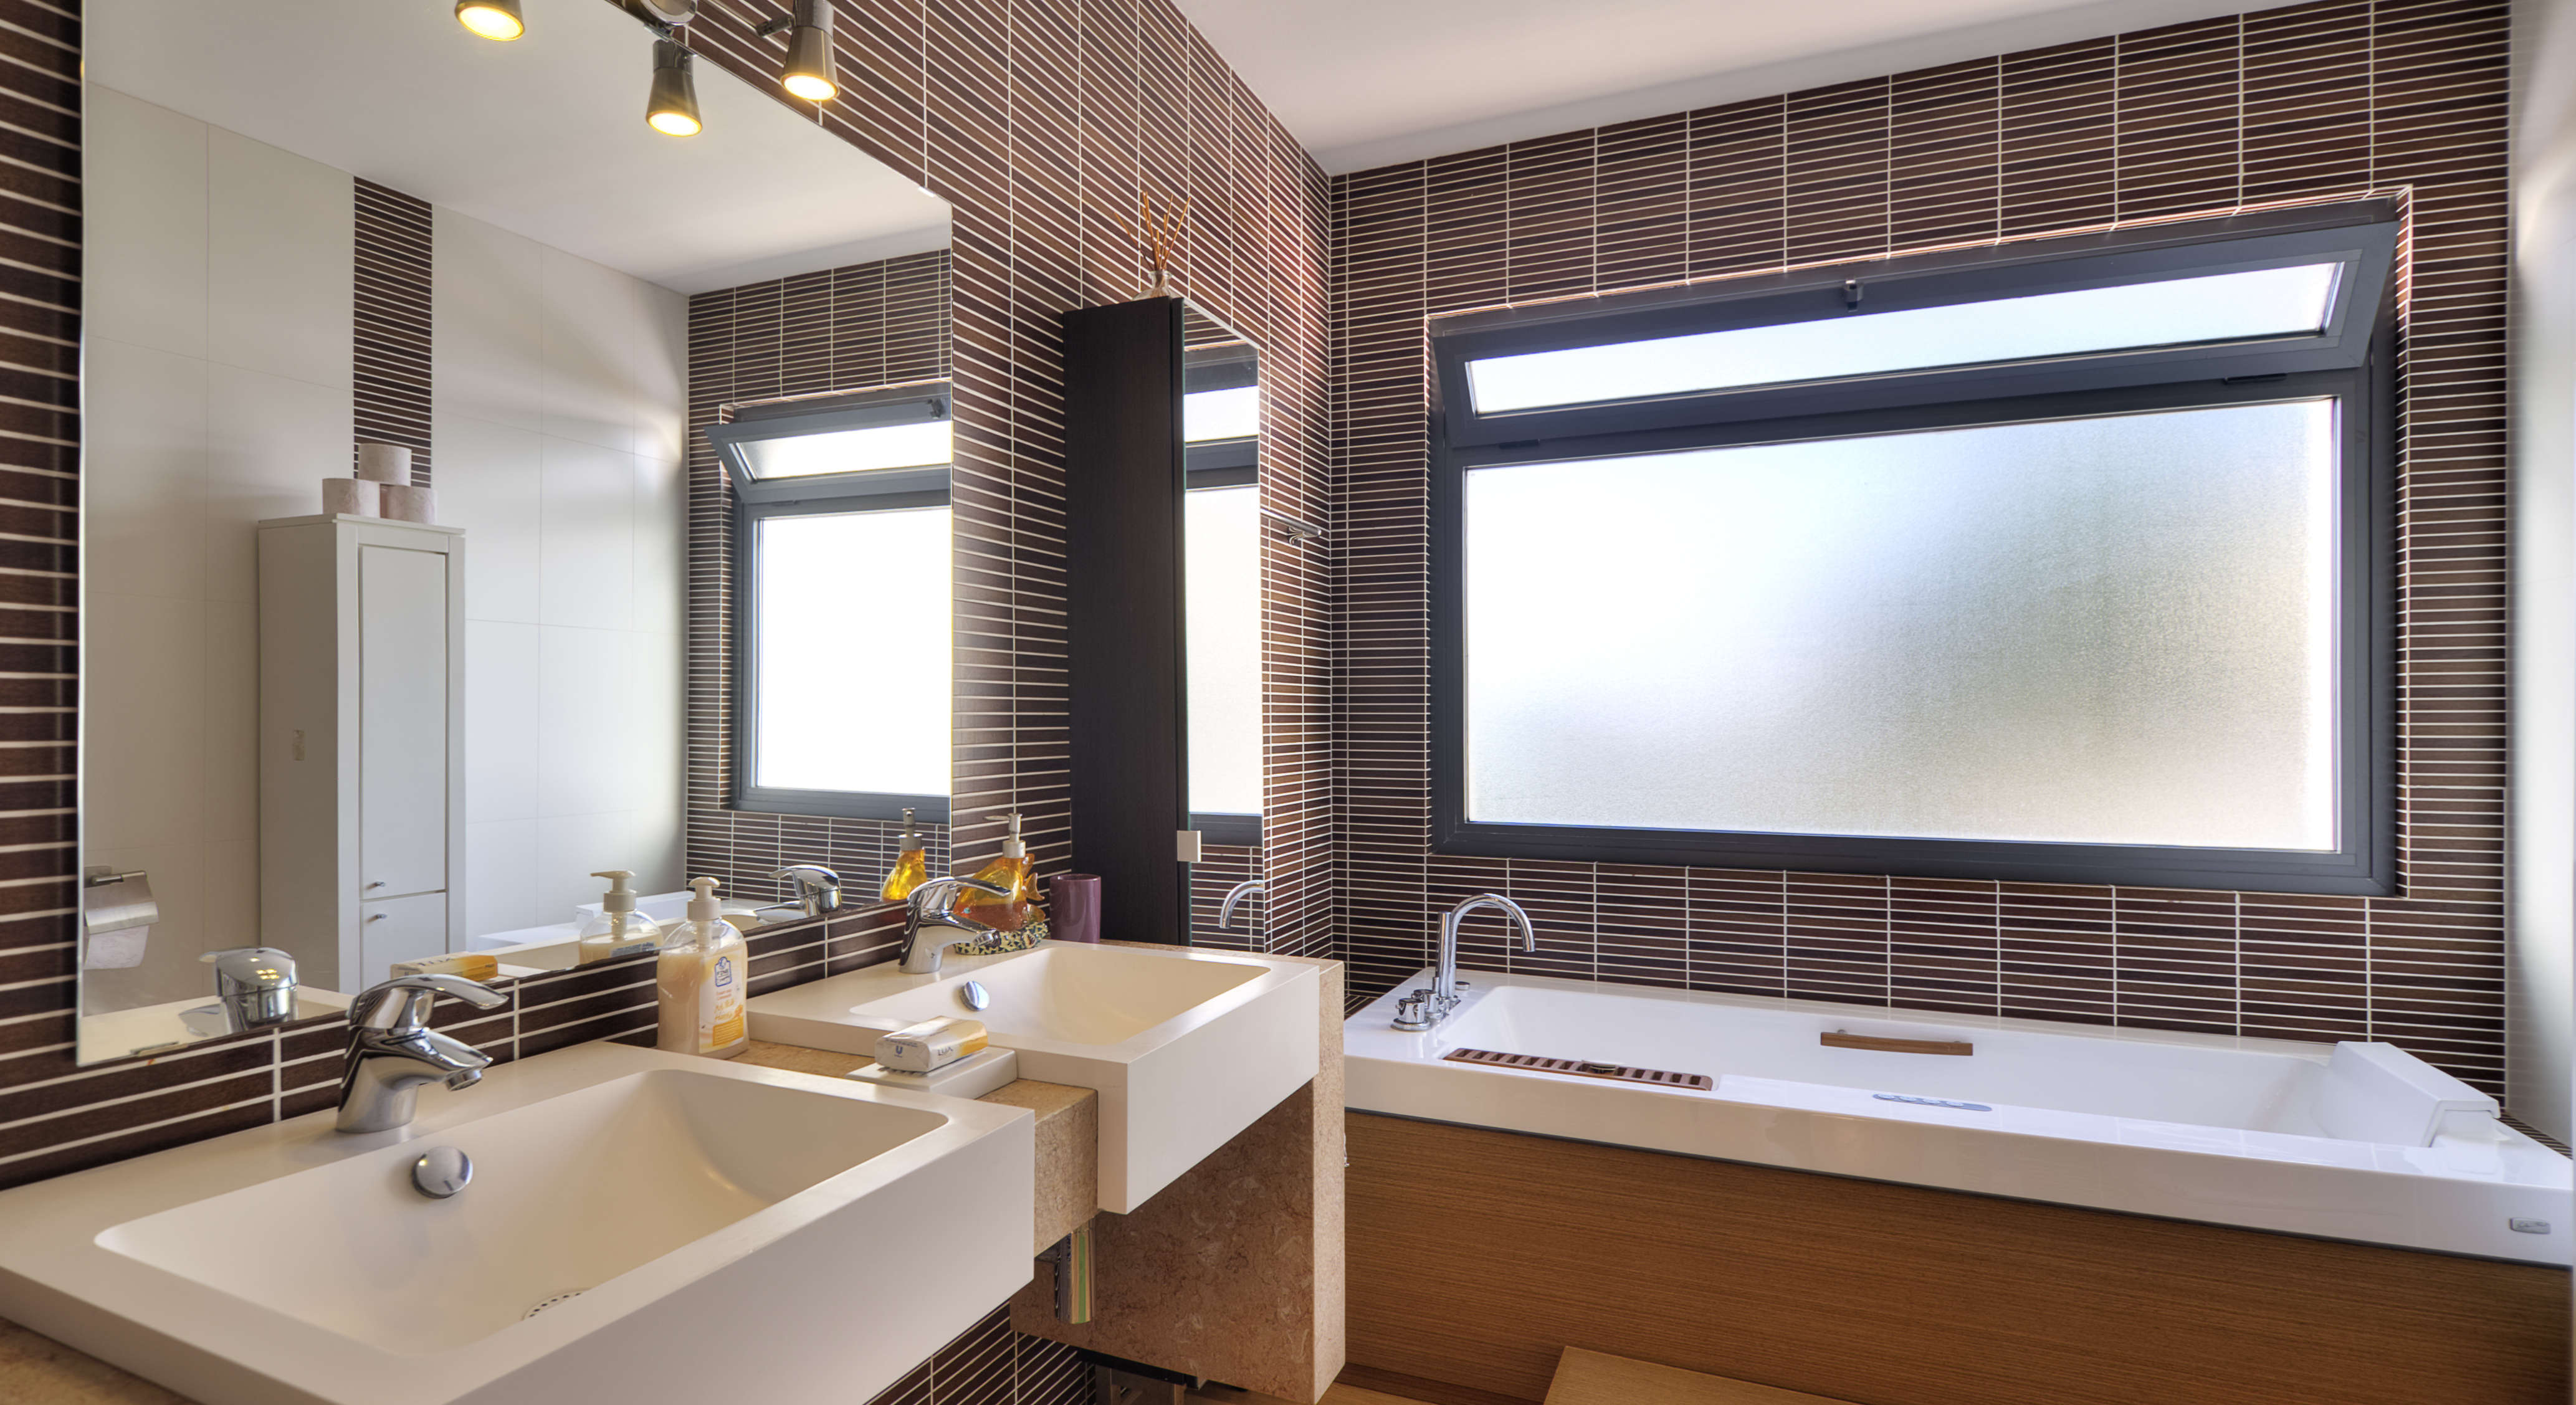
Without any doubt, this bathroom cleaning hack is at the top of my list. Your bathroom comes in for a real hammering. Long hot, steamy showers, relaxing bathtub soaks — it’s water, water everywhere!
A large amount of moisture is produced when taking a shower or bath, increasing the humidity in the room. If your bathroom is poorly ventilated, the humid air condenses onto surfaces, leading to mold growth, and mold loves warm and wet conditions. If repeated, the mold continues to develop and can be tough to budge.
Apart from looking unpleasant and turning a relaxing soak into an annoyance while you stare ahead at unsightly mold, it can be a health hazard, causing skin and respiratory conditions to worsen.
Prevention is better than cure
Condensation forms on windows, cold walls and ceiling, and in my bathroom, it also likes tile grout and sealant. However, rather than only tackling the side-effect of condensation, which is mold, the best approach is prevention.
You can take some simple steps to reduce condensation and the likelihood of mold forming. The simplest one is to open a window to allow air to circulate while bathing or showering. However, in the winter I open it a fraction, and then open it fully once I’ve finished. I also close the door, so that the moist air doesn’t escape to other parts of the house.
Apart from opening a window, if you have one in your bathroom, a bathroom exhaust fan will dispose of excess moisture, with the benefit of getting rid of nasty odors too! The Home Ventilation Institution advises that fans should be installed as near to the shower as possible and should run for at least 20 to 30 minutes after each shower to ensure moisture levels are reduced. It also has a guide on ventilation rates to see what you need depending on whether your bathroom is small or large.
2. Clean up as you go
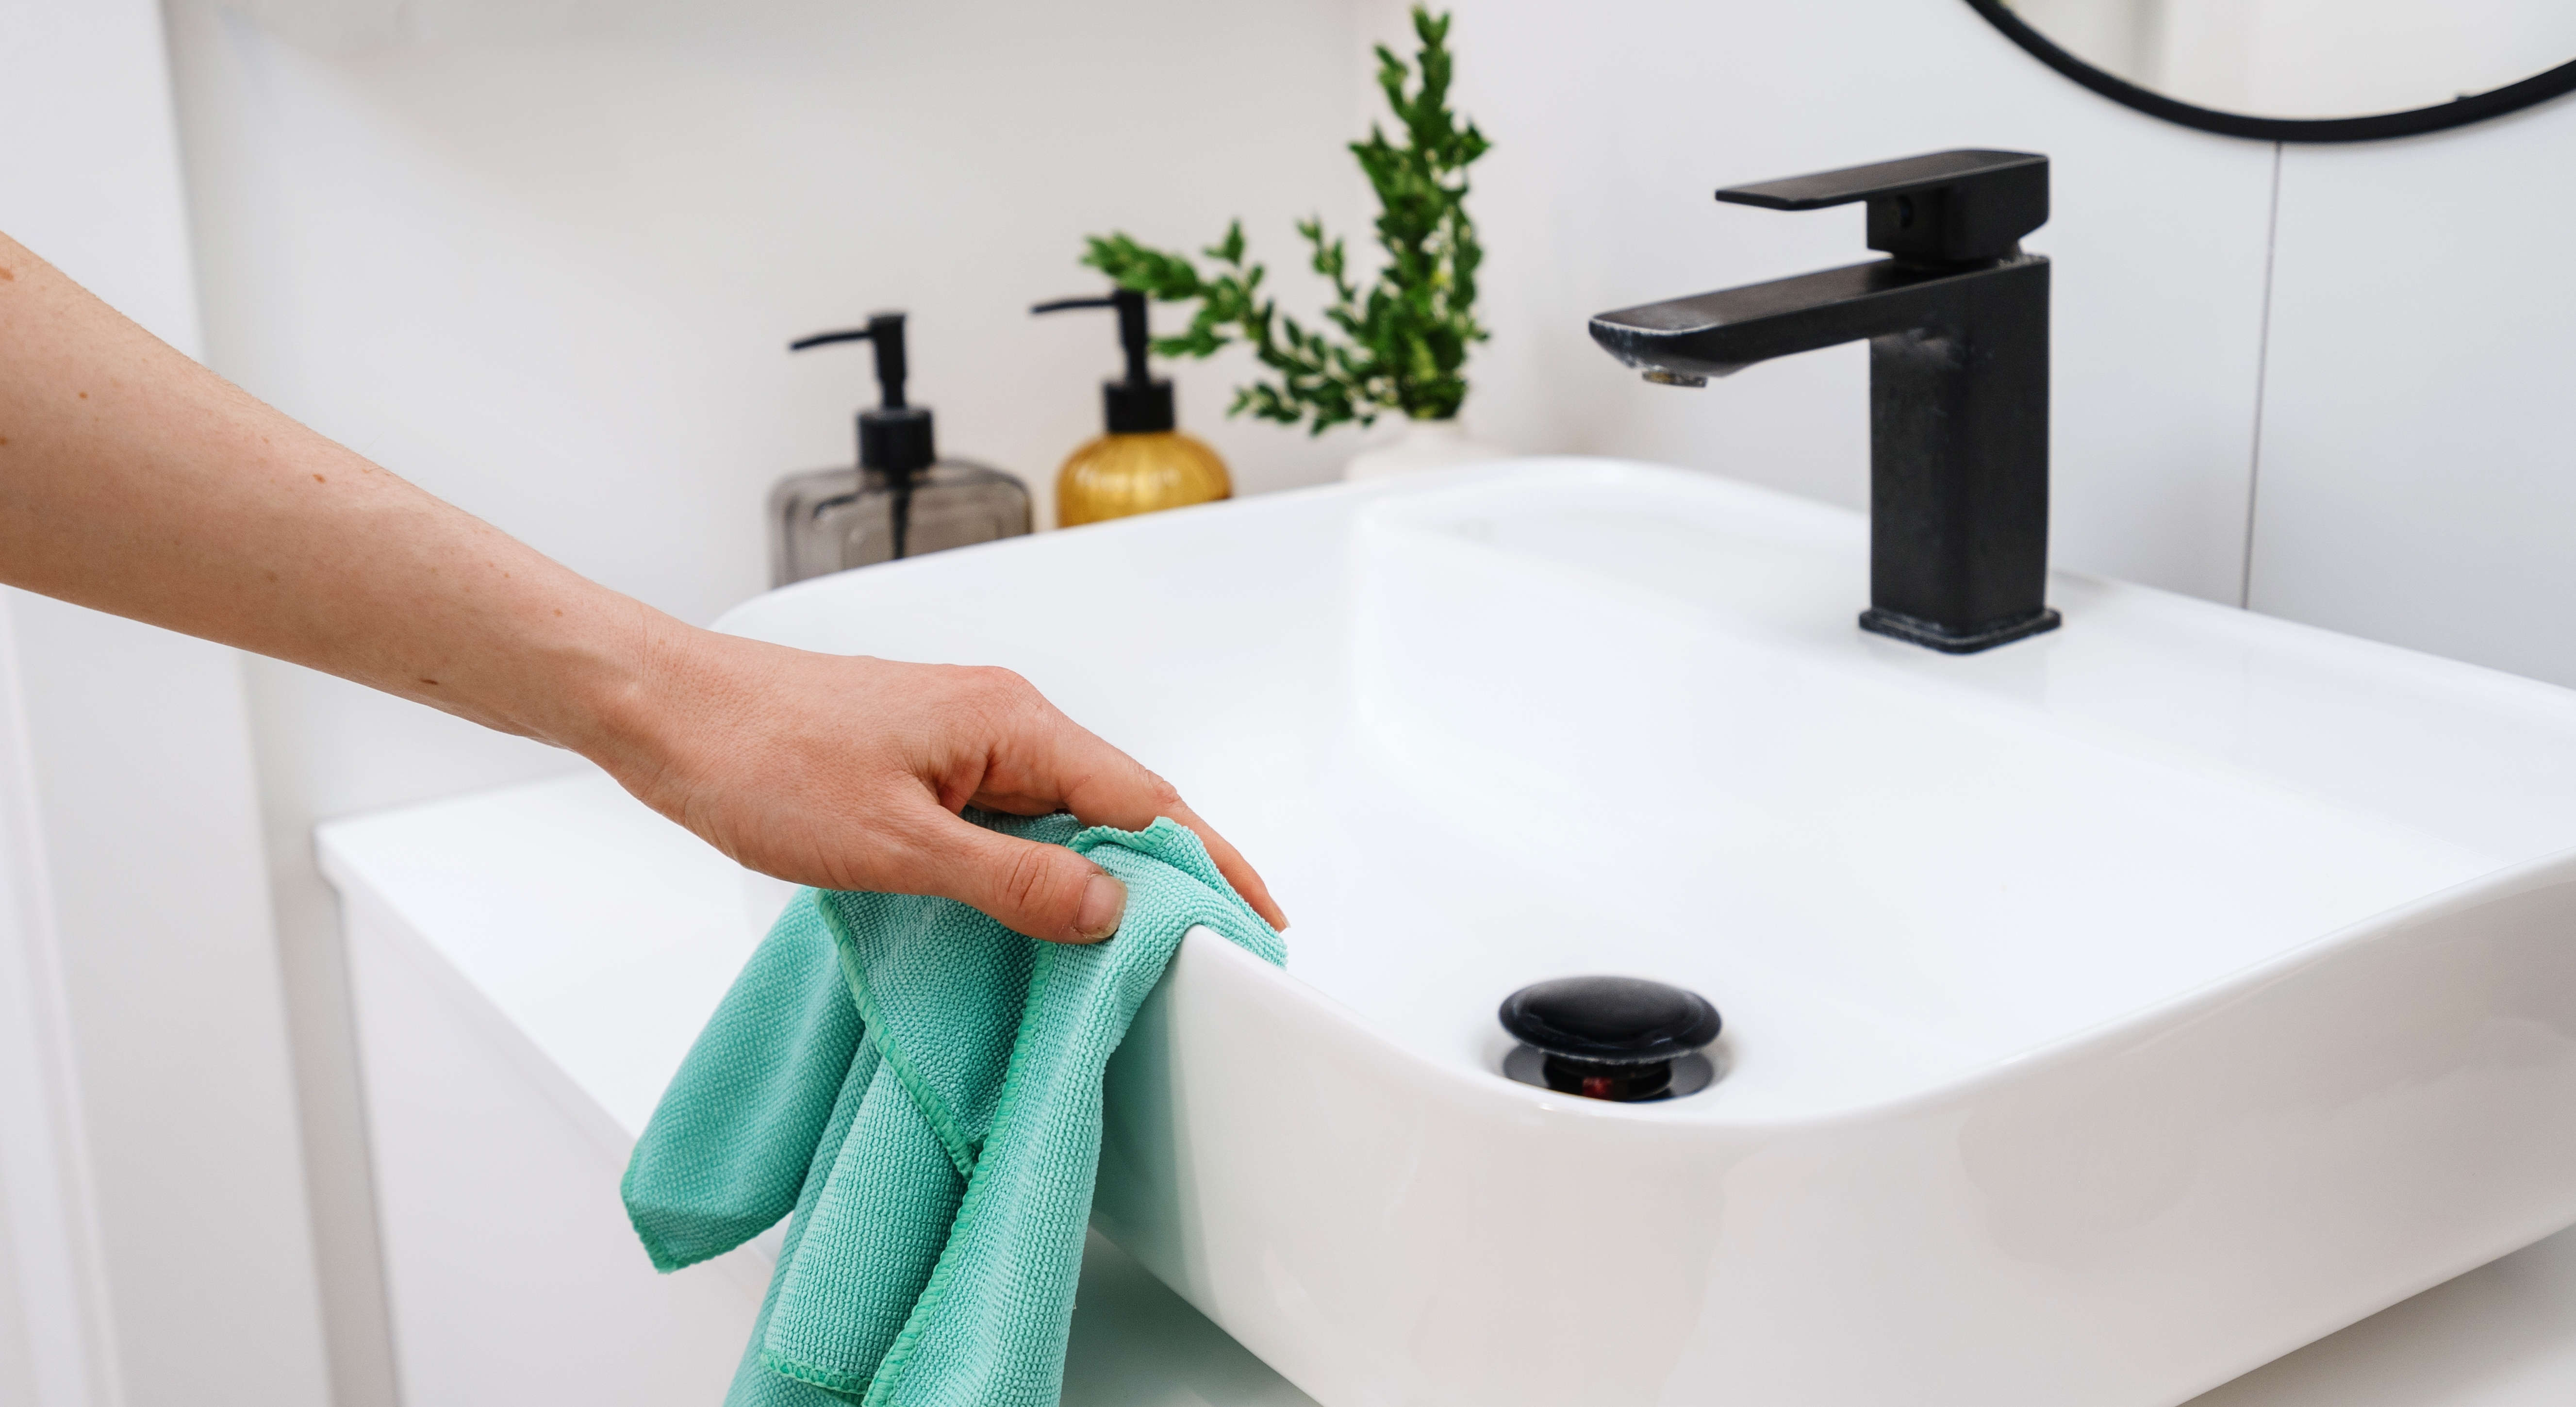
When you’re rushing to get to work in the morning, the kids to school, or make a gym class on time, the last thing on your mind is cleaning the bathroom. But, if you allow yourself a few moments to have a quick wipe around, it will save you time in the long run. These quick tricks will help reduce condensation, mold and limescale, resulting in less build-up to remove in the future.
After showering, grab a squeegee and remove all the excess water. Or, rather than taking on the task yourself, make it the responsibility of the last person in the bathroom. That’s one way of getting any teenagers up! Then, dry the shower head and taps — a microfibre cloth works well.
Remove any damp towels off the floor and hang them up to dry, or put them straight into the wash to keep your towels smelling fresh. This will help reduce any excess moisture in the bathroom.
3. Grab that toothbrush
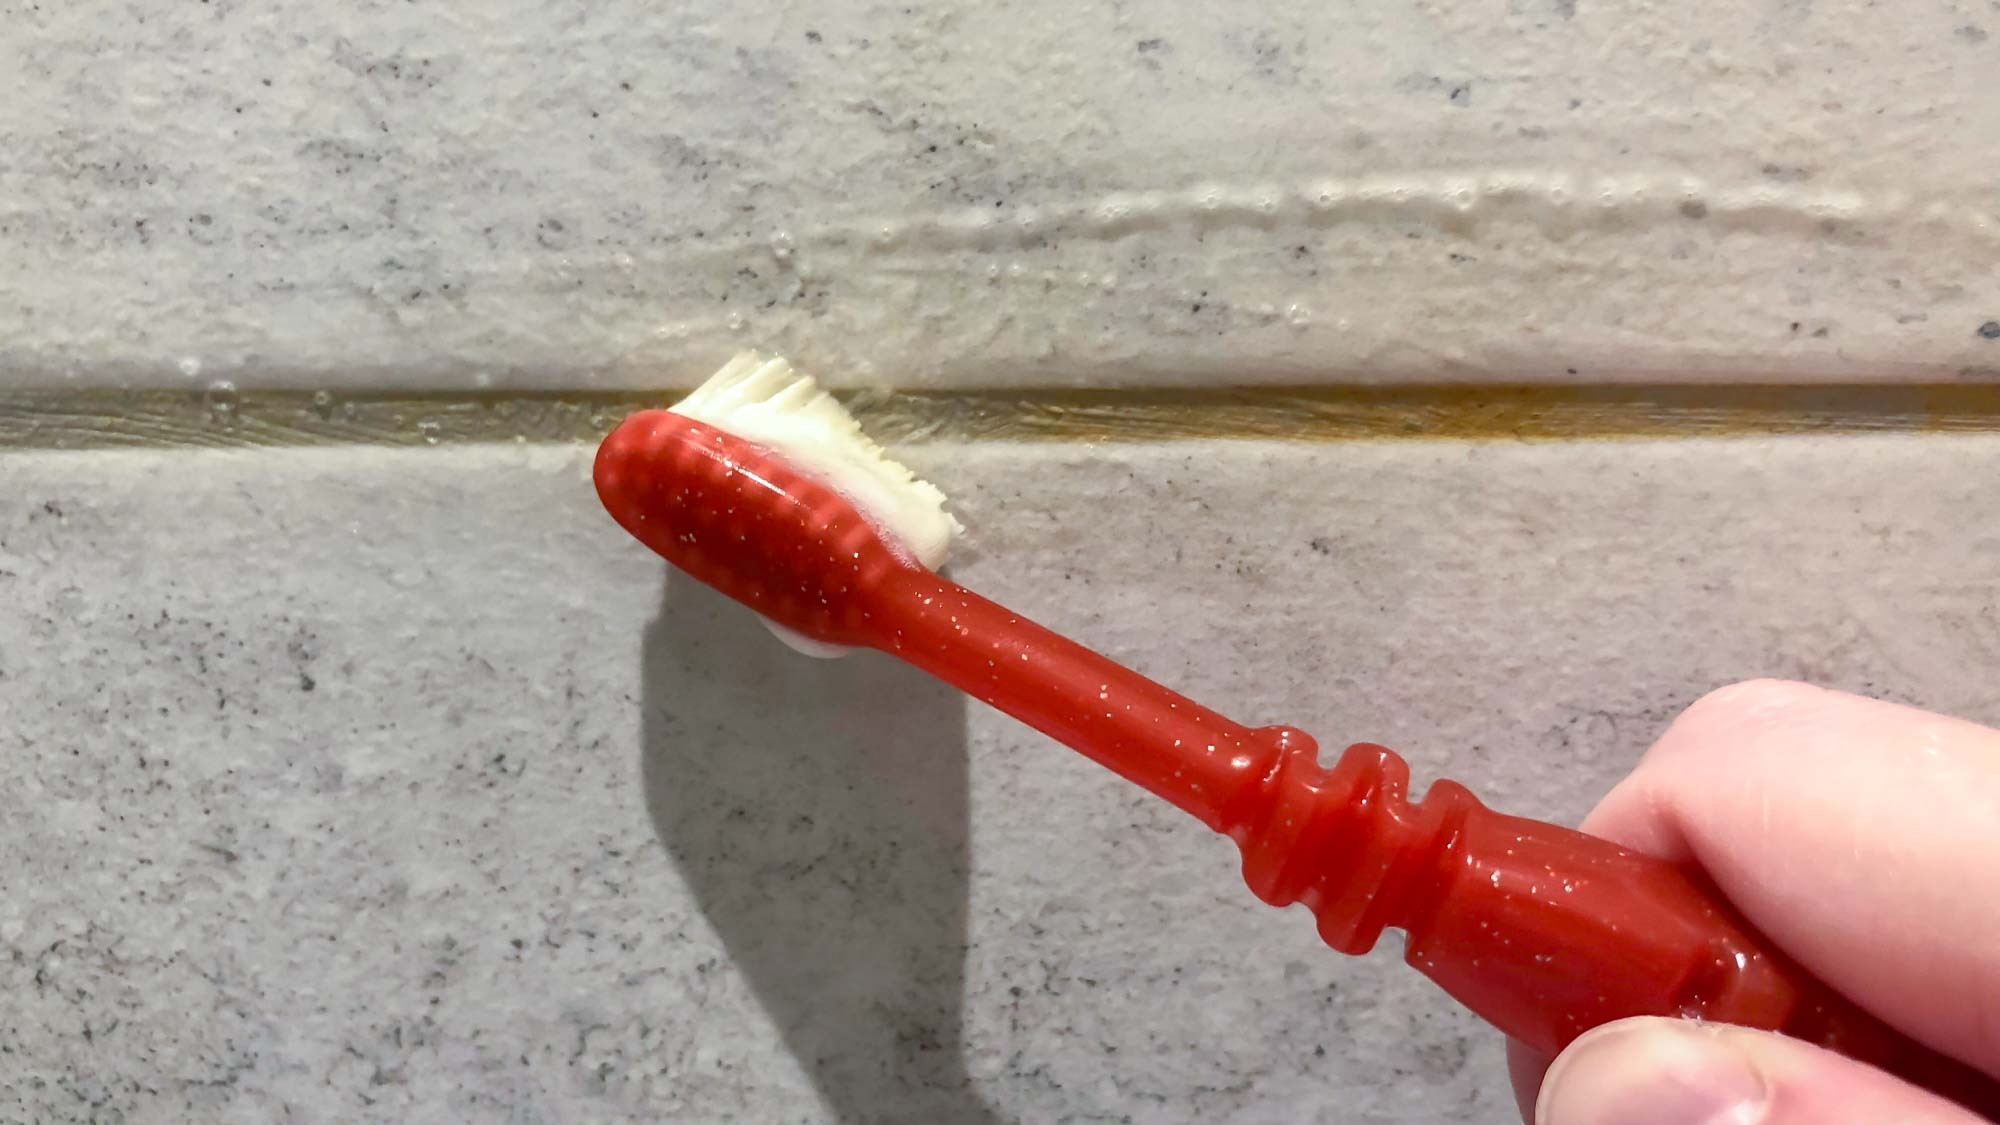
One of my go-to cleaning tools in the bathroom is a toothbrush. Yep! That’s right. It’s probably one of the cheapest cleaning tools in my bathroom, but I wouldn’t be without it.
But, one word of warning, for those of you who are still fans of manual rather than electric toothbrushes, choose one in a bright, funky colour so it stands out, and don’t store it in your toothbrush holder.
A toothbrush is the ideal size to get into lots of nooks and crannies in the bathroom. I use it to remove limescale off my shower hose and faucets, clean the muck from the shower screen’s water seal strip, and scrub the tile grout. It’s a little tool with a lot of clout.
Cynthia Lawrence, my colleague on the Homes team, has her personal favorite. She loves the Scotch-Brite Dishwand, designed for washing the dishes.
4. Shiny and bright
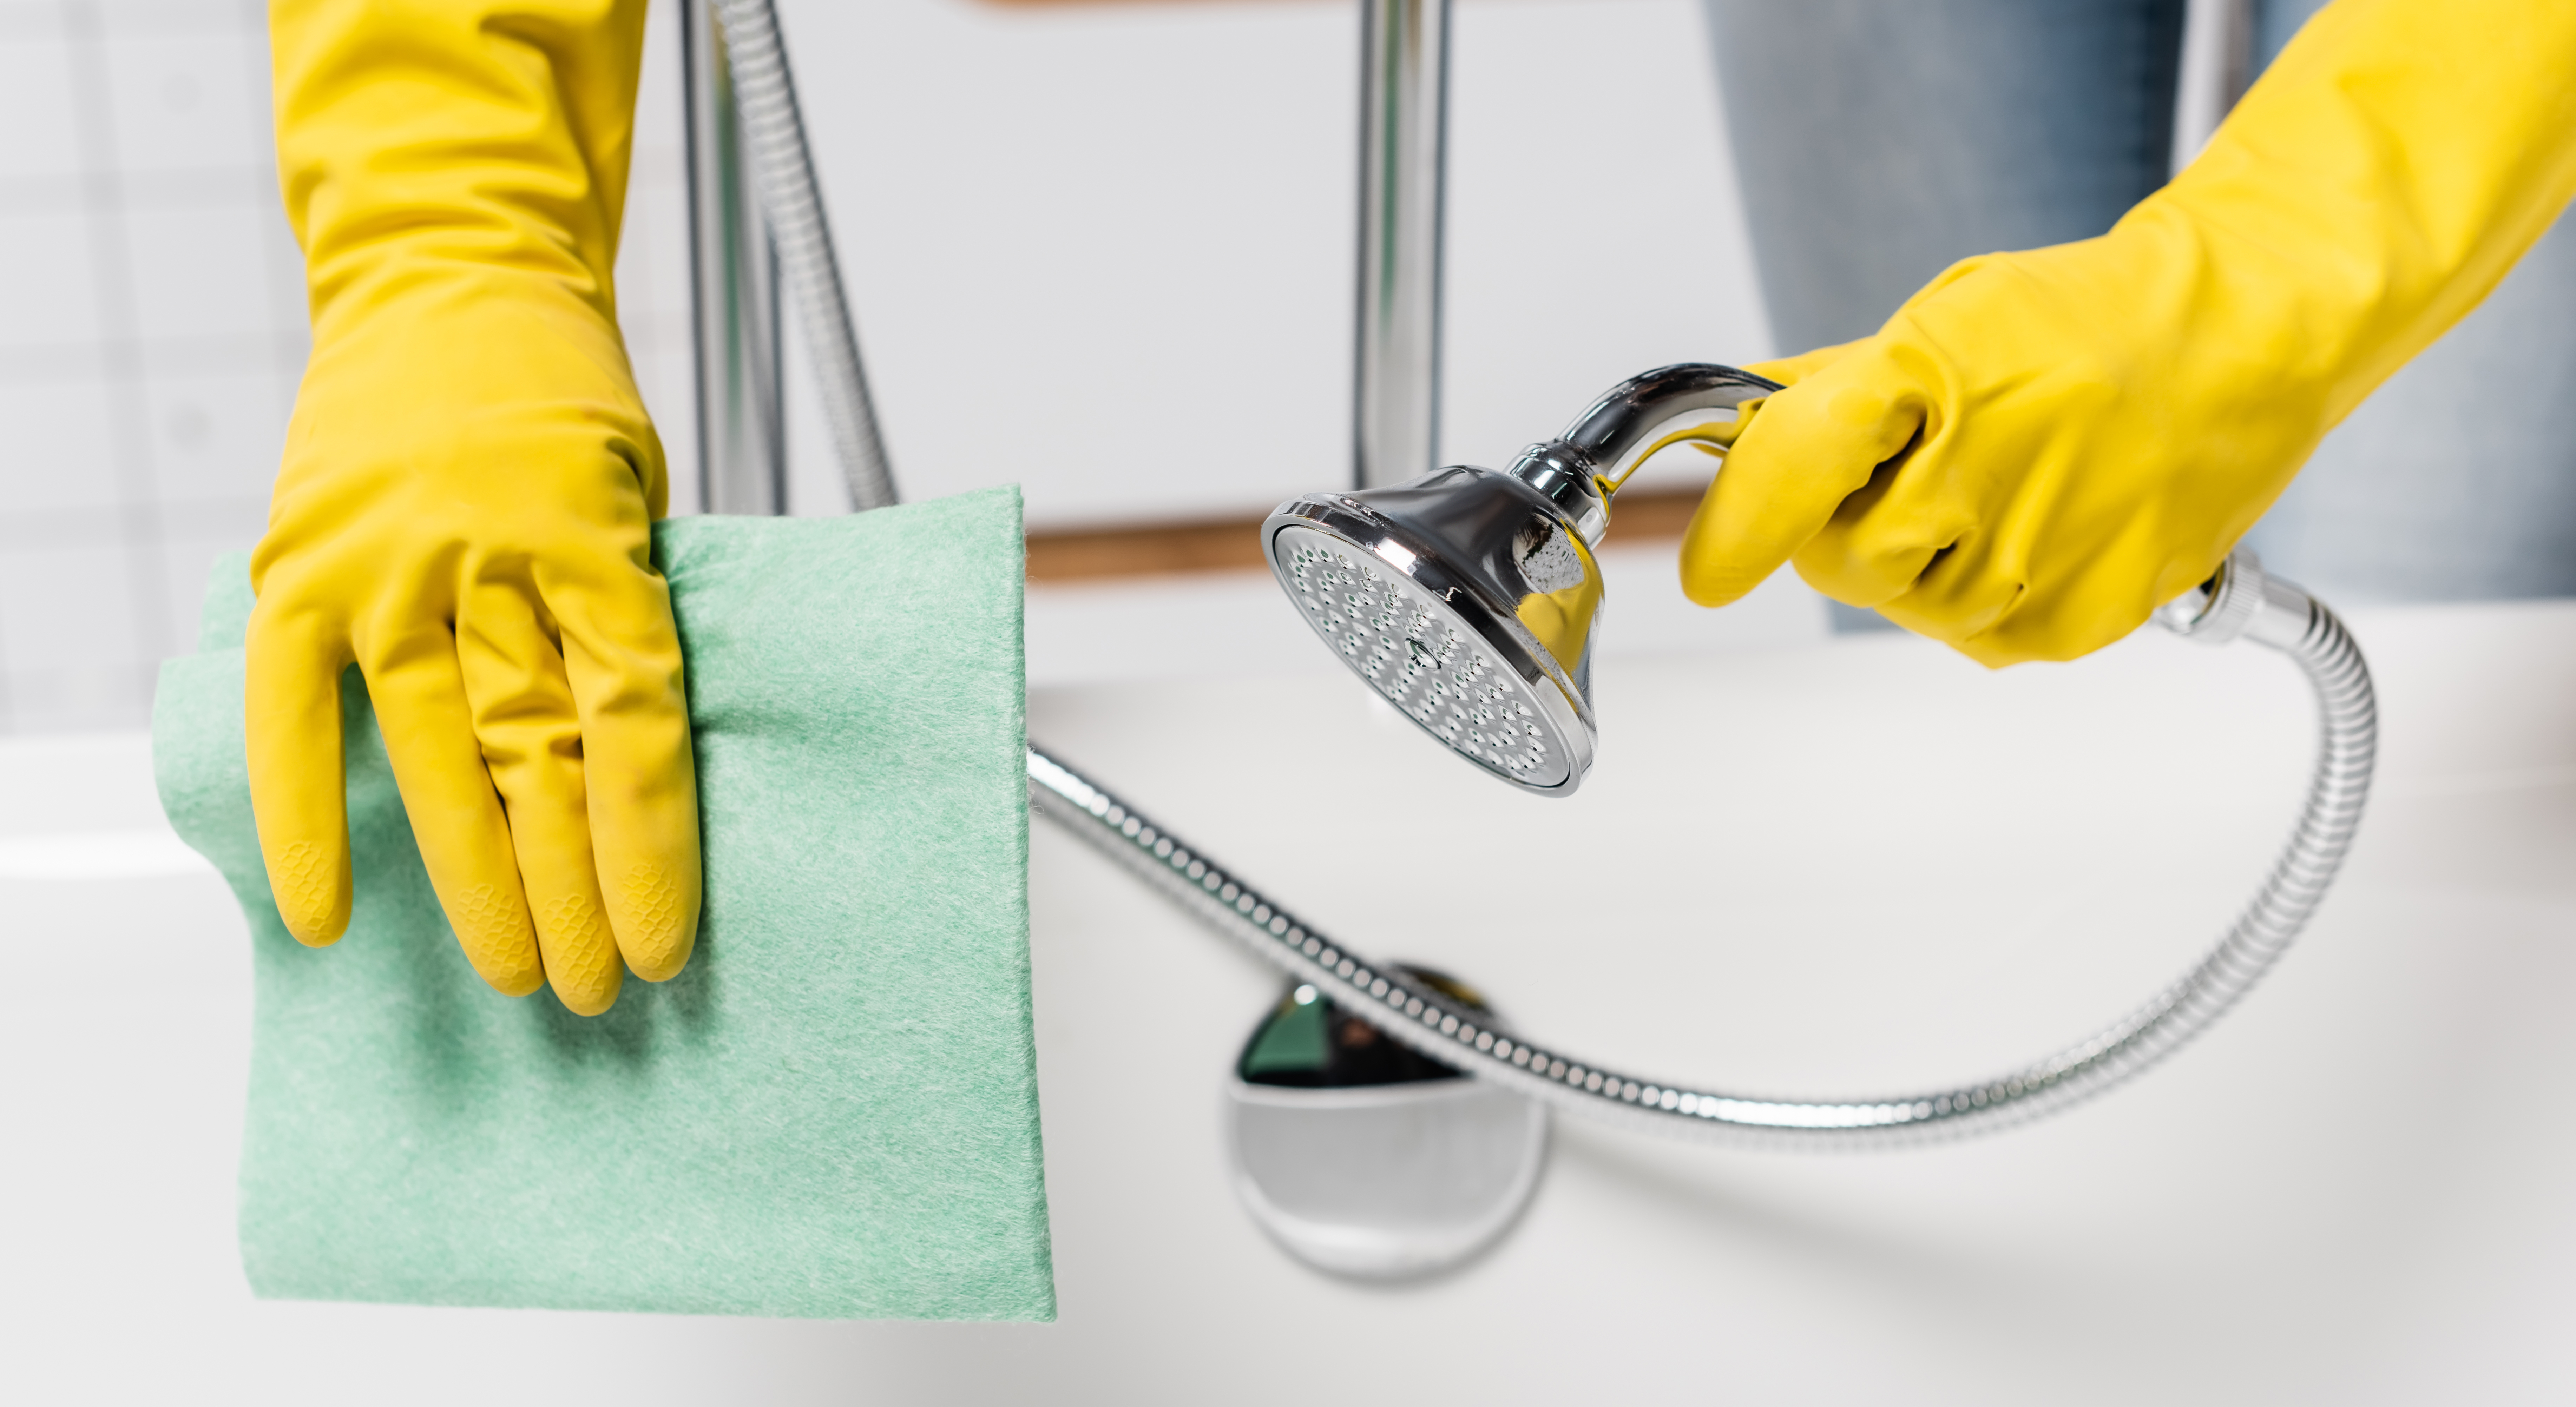
The bathroom is the one room in the house with the most challenges in terms of a streak-free shine. Faucets, shower heads and rails, shower screens and mirrors, there’s lots of glass and metal surfaces to keep shiny and bright.
Microfiber clothes are a real godsend in achieving a sparkle. They are highly absorbent, and are perfect for cleaning windows and leaving a streak-free finish. I also use one in my bathroom to clean my chrome towel warmer, and it’s super quick. And the added beauty of using a microfiber cloth is that you can dampen them with water before cleaning, there’s no need to add any cleaning product. Plus, unlike paper towels, they can be put in the wash and reused.
5. Remove mold naturally
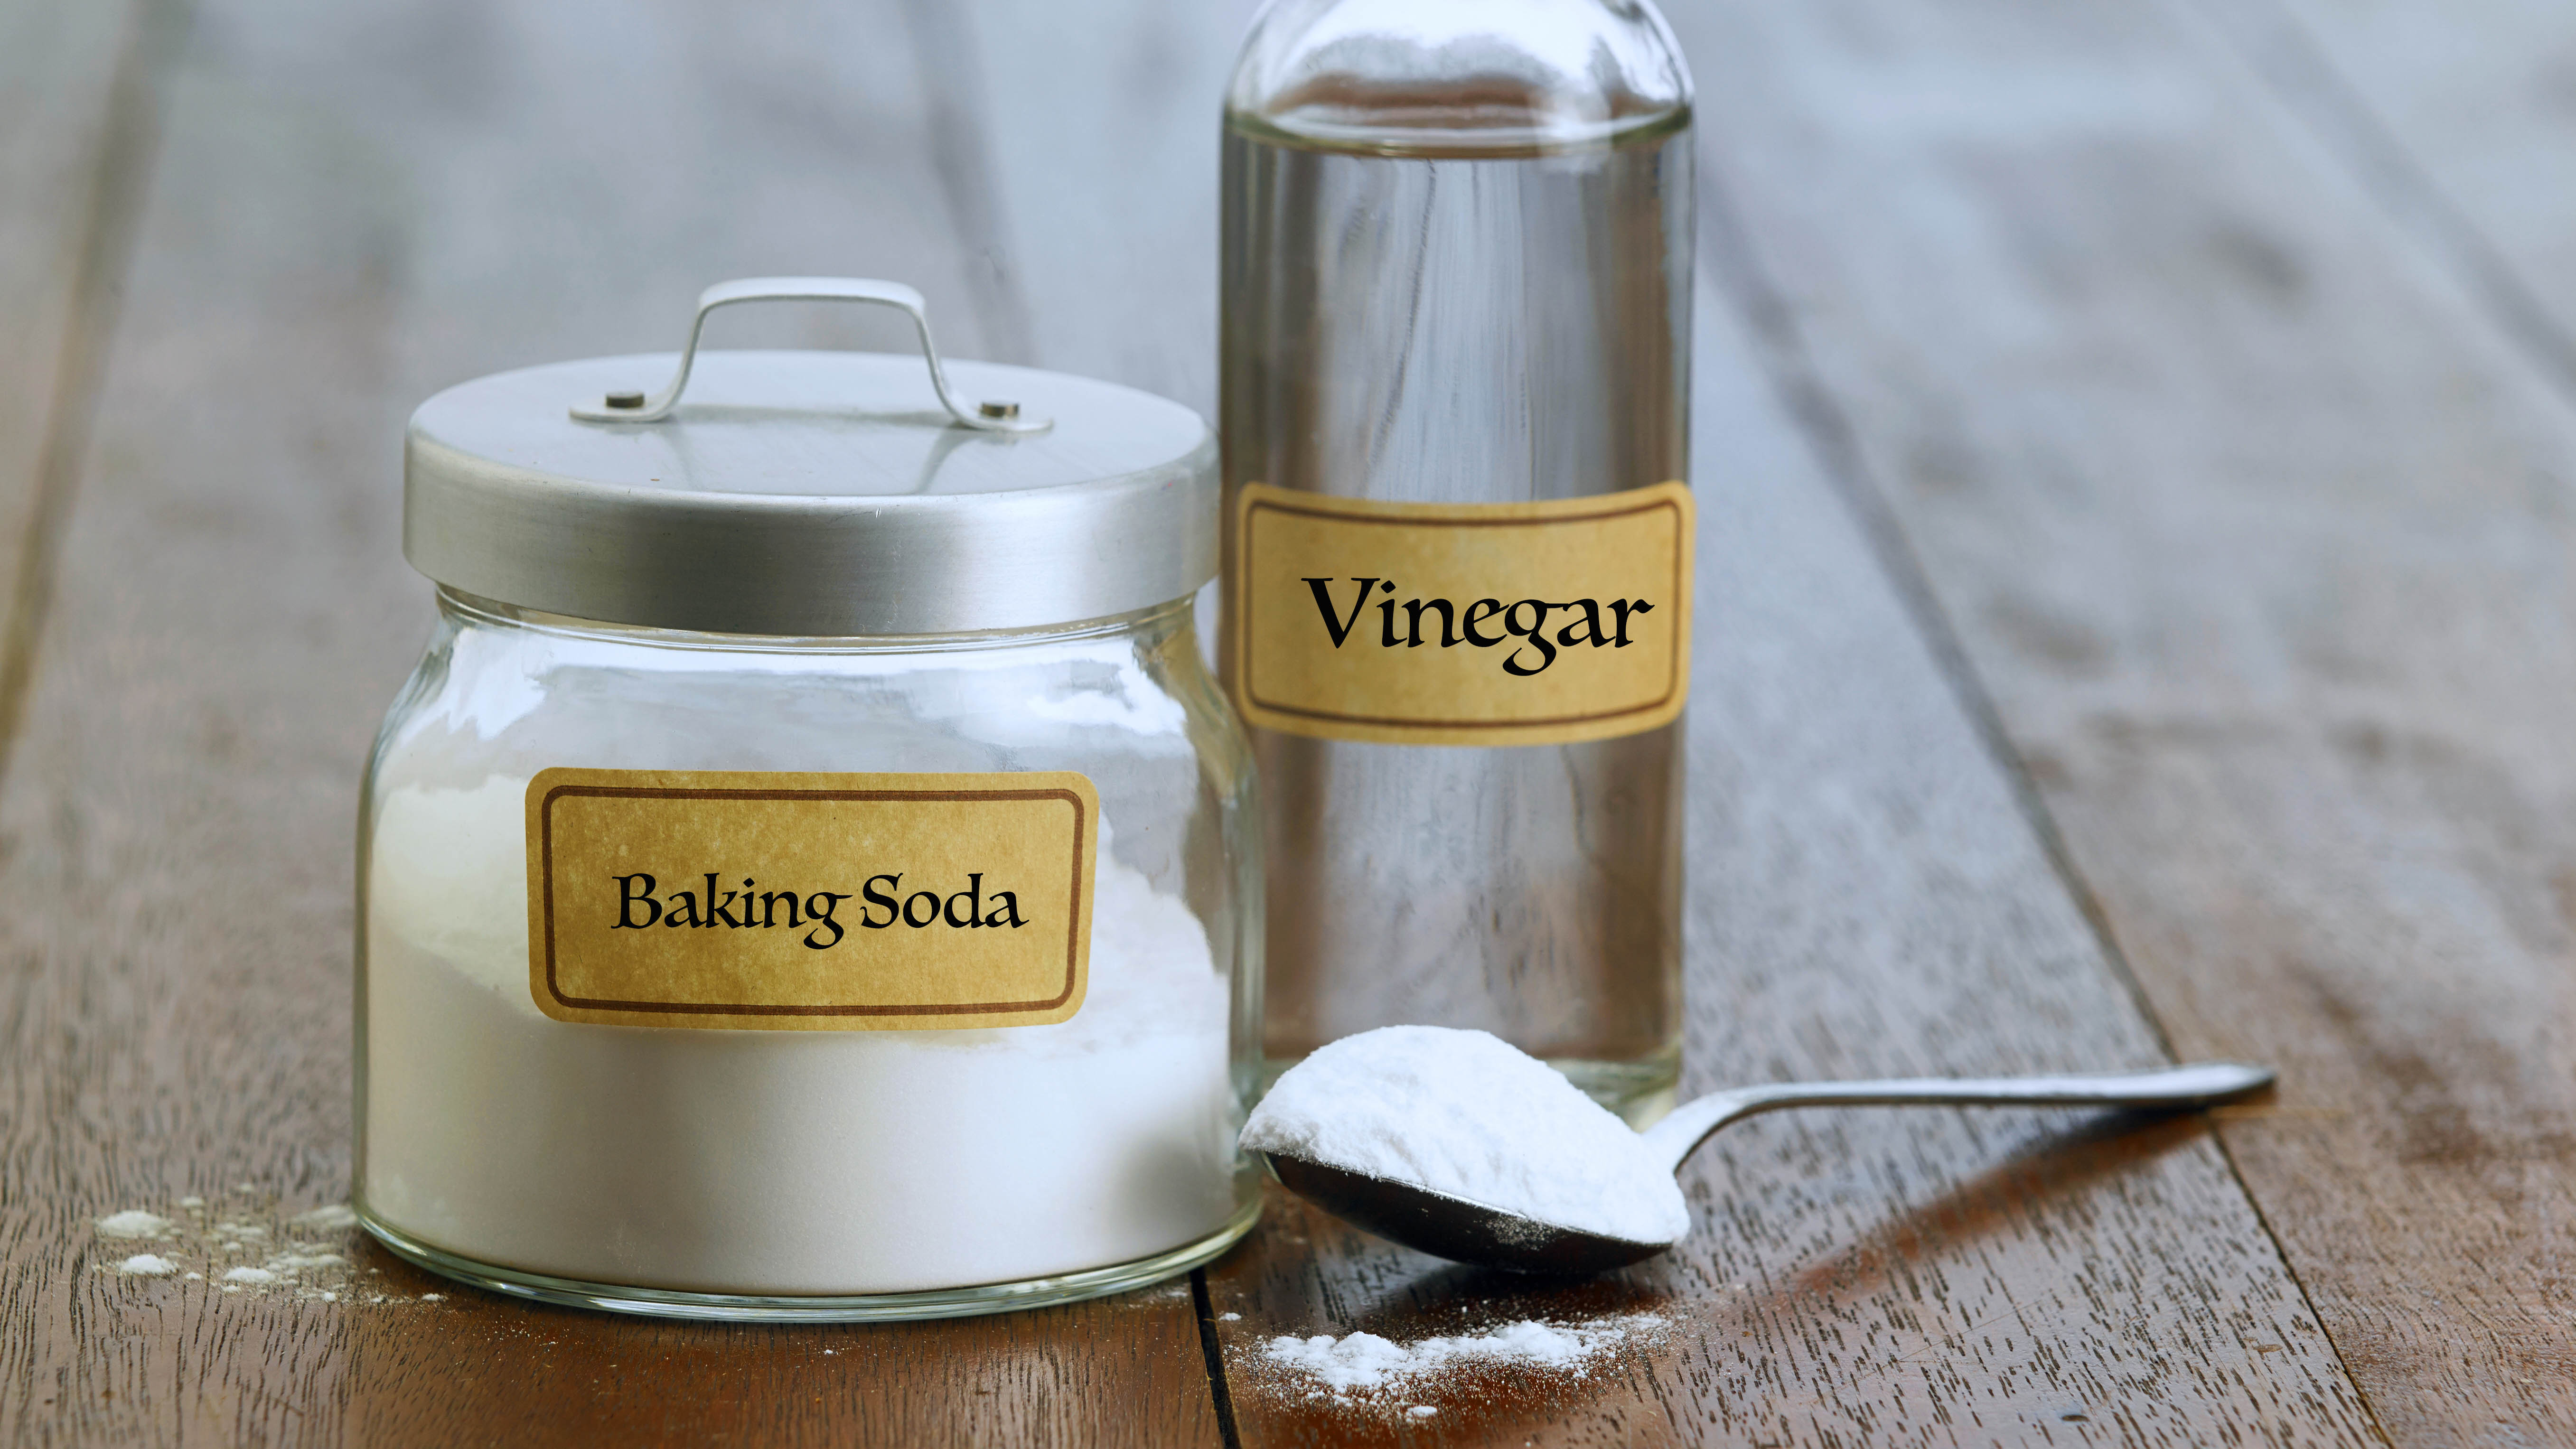
As I’ve spoken about mold above, it seems only fair to include my favorite hacks on how to get rid of mold naturally.
Dish soap and warm water — mix the detergent and warm water, then apply with a scrubbing brush, then rinse and dry with a microfiber cloth.
Baking soda and water – dilute the baking soda with the water and apply to the mold, allowing it to sit for a few minutes before giving it a shrub. Then, rinse and dry as above.
White vinegar — spray white vinegar directly onto the surface and leave for one hour. Then rinse with water and dry with a microfiber cloth.
If the mold is particularly stubborn, try this method:
Baking soda, white vinegar and water — mix two parts baking soda with one part white vinegar and one part water. Mix into a thick paste and spread over the surface, and allow it to dry. Next, scrub at the mold, then rinse with water and dry.
More from Tom's Guide
Sign up to get the BEST of Tom's Guide direct to your inbox.
Get instant access to breaking news, the hottest reviews, great deals and helpful tips.

Camilla Sharman has worked in publishing and marketing for over 30 years and has covered a wide range of sectors within the business and consumer industries both as a feature, content, and freelance writer.
As a business journalist, Camilla has researched articles for many different sectors from the jewellery industry to finance and tech, charities, and the arts. Whatever she’s covered, she enjoys delving deep and learning the ins and out of different topics, then conveying her research within engaging content that informs the reader. In her spare time, when she’s not in her kitchen experimenting with a new recipe, you’ll find her keeping fit at the gym. In the pool, stretching at a yoga class, or on a spin bike, exercise is her escape time. She also loves the great outdoors and if she’s not pottering about in her garden, she’ll be jumping on her bike for a gentle cycle ride.
