How to build a gaming PC for beginners: What to do if it all goes wrong
When your PC build doesn’t come together properly, you’ll need to troubleshoot it

We’ve come to the final part of our “how to build a gaming PC for beginners” series on Tom’s Guide. In the past two articles, we discussed how to select the right parts, and how to put everything together. If you’re lucky, that’s all you’ll need to do, and your PC will boot up perfectly the very first time, then go on to serve you well for many years.
Of course, we live in the real world, and Murphy’s Law is just as relevant as Moore’s Law. Given my past experiences with PC parts, I was not at all surprised when a seemingly simple issue cropped up on the Tom’s Guide test rig – and it took a team of experts two months to crack the solution.
The PC that I worked so hard to build came within a minute of getting shipped off to our lab manager, and possibly dissected for parts. I don’t want to frighten anyone, but the truth is that this could happen to just about any inexperienced PC builder. While it’s unlikely that anyone else will run into my exact issue, here’s how you can keep your cool, leverage your resources and save an expensive PC from an early disassembly.

How to build a gaming PC: A tale of two boots
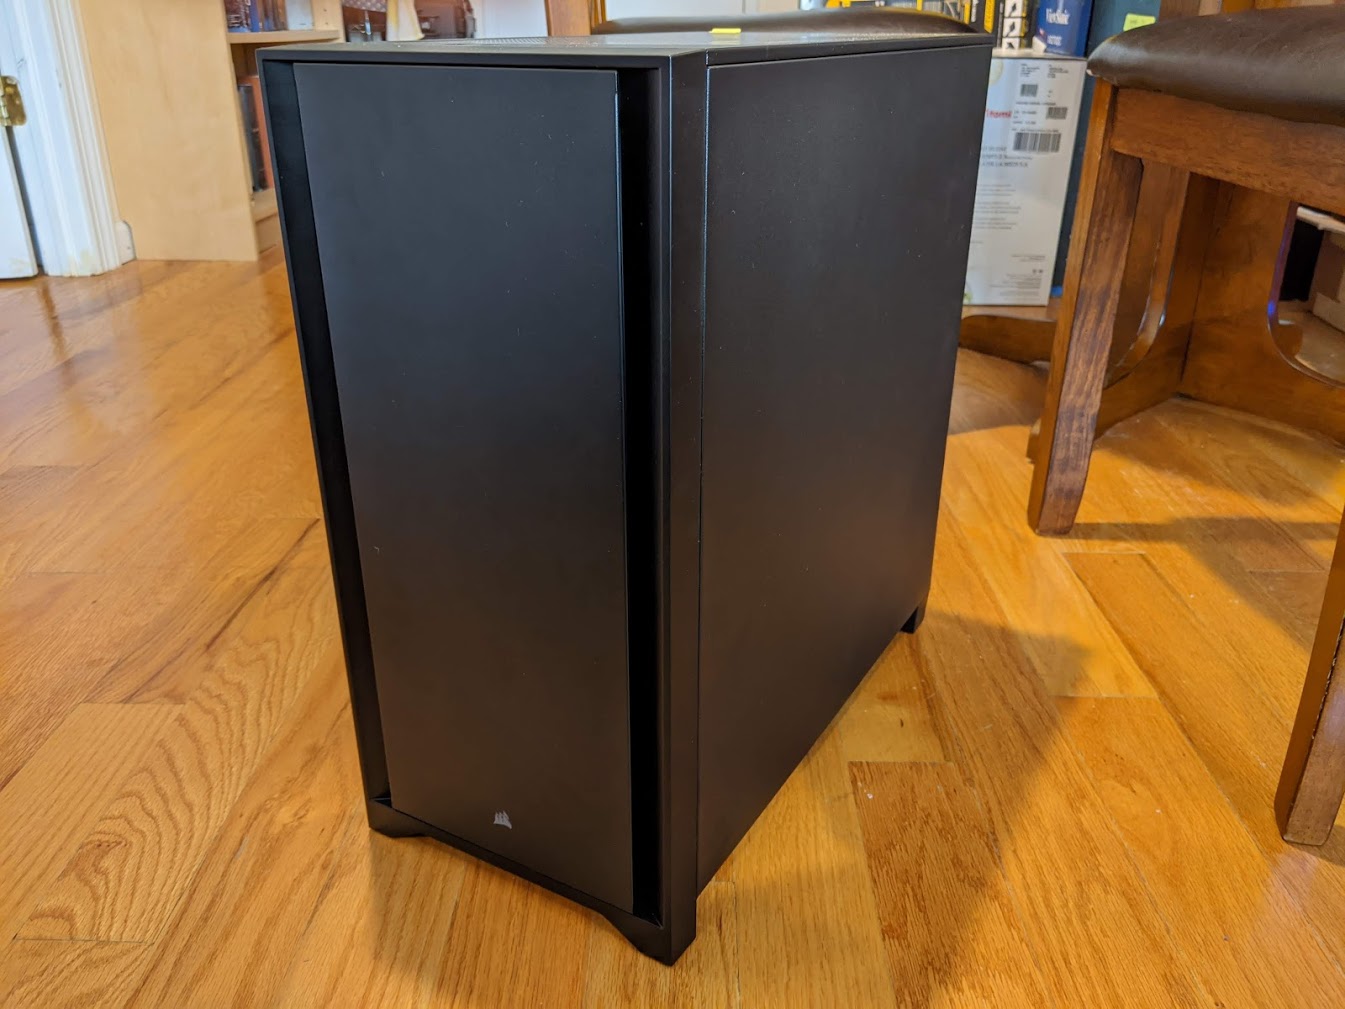
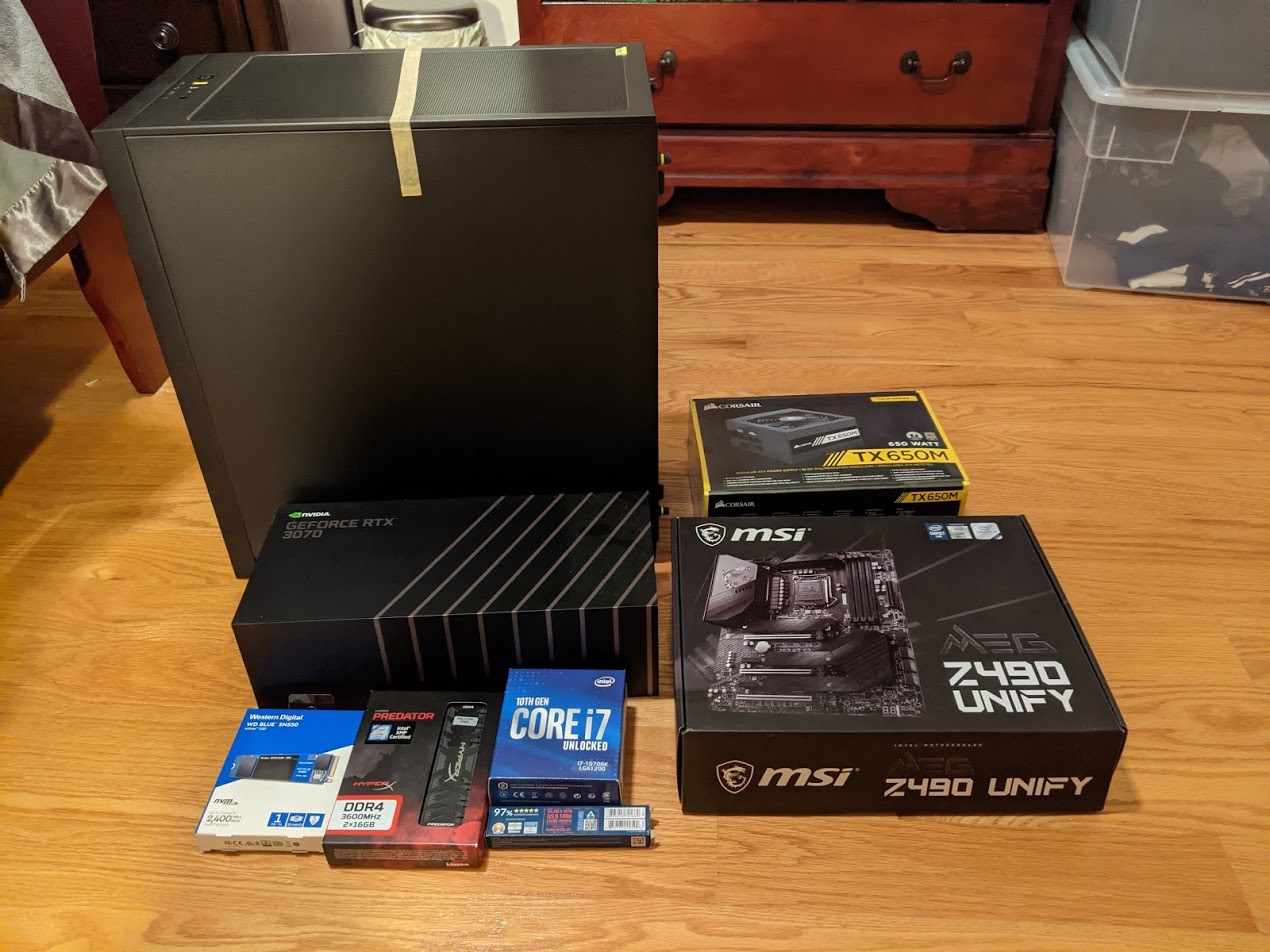
To recap the story so far: It was time to build a new gaming PC to test peripherals and software for Tom’s Guide. I put together a list of parts, requisitioned them from various companies, and assembled them all into a fully functional PC. There was only one problem: The PC didn’t work properly.
Usually, it’ll be crystal clear if there’s something wrong with a custom-built PC. If it turns on, great! if it doesn’t turn on, it’s probably due to something being wired incorrectly. Or, if it turns on but shuts down after an hour or two of heavy use, it’s probably due to something overheating. There are other things that can go wrong, but generally speaking, if all of your parts are compatible (ours were) and you’ve put them all in the right places (we did), your PC should run like a metaphorical greased pig.
As such, I couldn’t understand why the Tom’s Guide test rig would start up just long enough for the fans to start spinning, then shut down, start up again, and go to Windows normally. From there, I could use Windows for as long as I wanted, up to and including running demanding games for hours on end. I tried different power cords, different surge protectors and even different power buttons (there’s one on our case, and one on our motherboard), but the problem persisted every time.
After a little research, I discovered that this issue is called “double-booting” — not to be confused with the much more innocuous process of “dual-booting,” where you run both Linux and Windows on the same machine. And, after a lot of research, I discovered that double-booting doesn’t spring from a single, identifiable cause. It could be from mismanaged overclock settings; it could be from improper electrical contact on the motherboard; it could be from a faulty piece of hardware.
Get instant access to breaking news, the hottest reviews, great deals and helpful tips.
What I did know, though, was that double-booting is not great for hardware in the long haul. Suddenly halting hardware without proper shutdown procedures is generally very bad for a machine — doubly so if your hardware hasn’t even had a chance to fully initialize. (Newer computers are generally better about this than older machines, but cutting the power short is still not a great idea.)
If the Tom’s Guide test rig was going to stand the test of time, I had to nip the double-booting issue in the bud.

How to build a gaming PC: How to be your own tech support
As I’ve pointed out in previous articles, the worst part of building a PC is having to be your own tech support. You can call a manufacturer if you know that your issue is specifically related to a motherboard, or RAM, or a GPU, but that’s often hard to pinpoint. Furthermore, it’s not a question of if something will go wrong with your home-built machine; it’s a question of when.
The first thing I did was scour the PC-building forums at Reddit, Tom’s Hardware, Linus Tech Tips and similar sites, using keywords such as “PC shuts down during boot, then starts up normally.” Believe it or not, this actually got me a lot farther than the more general “double-booting” term, partially because Google is pretty good at parsing natural language searches, and partially because some Linux fans use “double-booting” and “dual-booting” interchangeably. The point is, the PC enthusiast crowd can be a little prickly around the edges, but generally, they’re here to help.
One of the things that experienced PC builders recommend is trying to isolate which piece of hardware is giving you trouble. If the RAM isn’t working right, for example, you can test that easily enough by inserting only a single stick, or swapping it out with another set. Since I still had my old PC handy, I was able to swap out the RAM, the power supply and the GPU on the new test rig. However, the double-booting issue persisted.
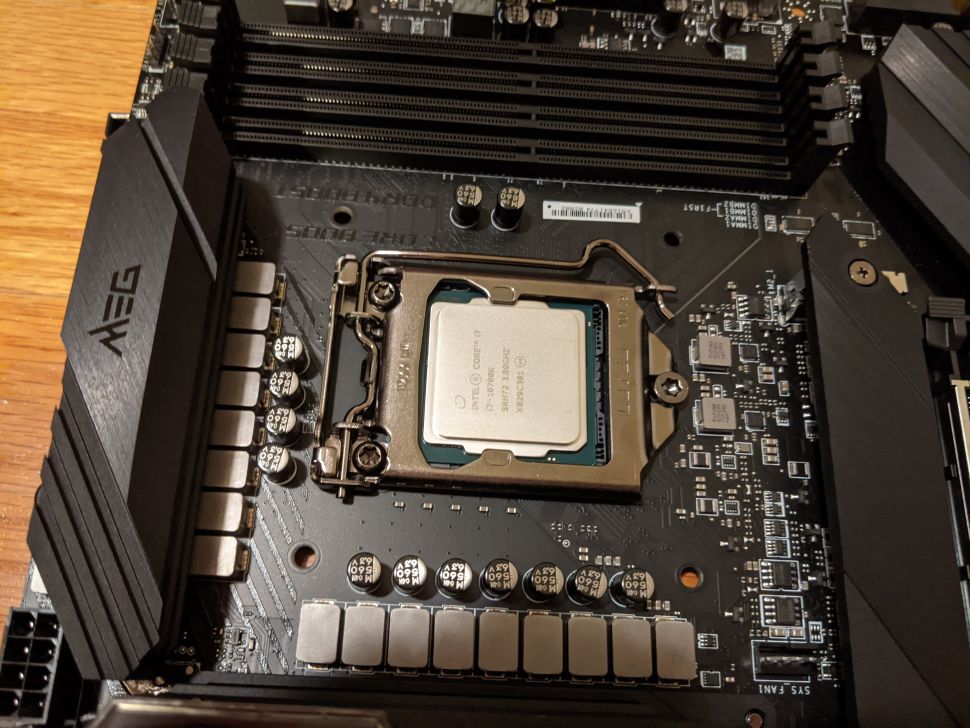
Now, at least, I knew that the problem wasn’t with those three components. A malfunctioning CPU would probably tank the whole system, not just delay its startup process. After conferring with some of the experts at Tom’s Hardware, PC Gamer and TechRadar (it helps that they’re all sister sites of Tom’s Guide), we determined that perhaps there was a hardware issue with the motherboard. If you don’t have friends at major tech sites, ask around your social circle anyway. There’s a good chance that someone’s built a computer, and might know what to do!
I also got in touch with MSI, and had a new motherboard in my hands a few days later. Generally speaking, you really, really do not want your motherboard to malfunction, because if it does, you have to essentially rebuild your PC from scratch. But if it would stop the double-booting issue, I was willing to take my chances.
That’s why I felt utterly devastated when, hours later, I plugged in my newly rebuilt PC and watched it double-boot, just as it had before.
I was at the end of my rope, and there was only one solution left: Ship the PC out to our lab manager, who would either fix the problem, or see if we could repurpose the parts. Had I been building the PC without the aid of the Tom’s Guide staff, the situation would have been even bleaker: Find a PC repair shop and shell out hundreds of dollars, on top of what I’d spent to build the thing, to get a professional diagnosis.

The unexpected solution
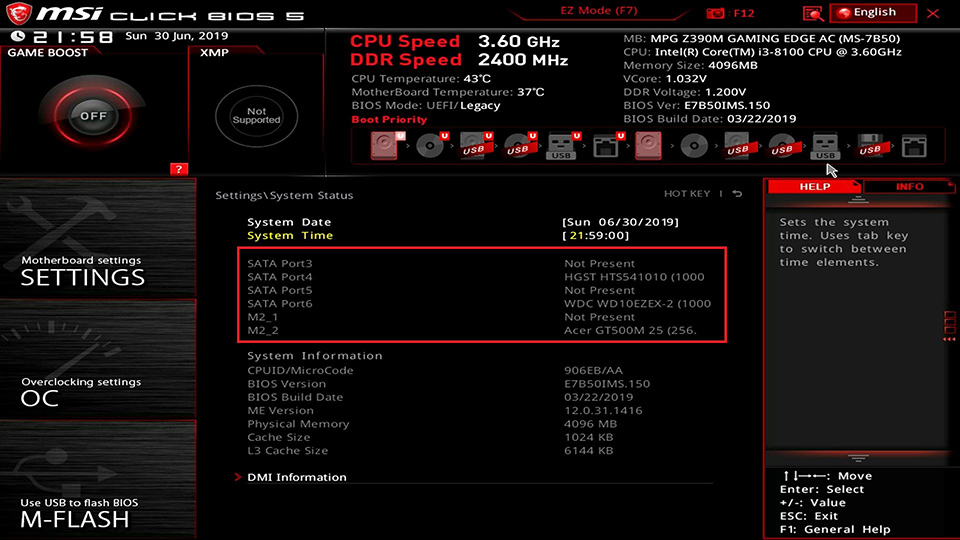
I’d done pretty much all I could do, from swapping out components, to using better-fitting screws on the motherboard, to adjusting voltages for individual parts in the BIOS. (That’s the Basic Input/Output System — essentially, the motherboard’s OS before you install Windows or Linux.) I had exactly three things left to do: Update the BIOS (I’d done this on the first motherboard, but not the second), wipe the SSD and ship the PC out.
After I updated the BIOS, I found myself checking its settings one last time. Was there something I’d missed? As I mentioned above, double-booting is a common problem for overclockers. Essentially, if you push a system past safe operating parameters, the BIOS will usually stop the startup process, revert to factory settings, then restart normally. It sounded so similar to my double-booting issues, but I’d already reset the BIOS to factory settings a dozen times over; there was no way it could still be attempting to overclock hardware.
That was when my mouse hovered over the Game Boost buttons.
In the MSI BIOS, right above the main menu, there are three “Game Boost” buttons: one for the CPU, and two for RAM. I had assumed that these were places where you could customize and save overclocking profiles for future use. What I hadn’t realized was that their red coloration wasn’t just for show. It’s a way of showing that they’re turned on.
In other words: I didn’t have one overclocking profile active. I had three. No wonder the PC had to shut down and restart every time I booted it up. If it hadn’t, something probably would have caught fire.
I deactivated the Game Boost profiles, and watched in awe as the Tom’s Guide test rig flowed gently from a black screen to my Windows desktop, with absolutely no stutters or shutdowns along the way.
The last few days with this new gaming PC have been an absolute joy. Not only is it a powerful rig for both work and play, but I also feel an incredible sense of satisfaction from solving a seemingly insoluble riddle. While I leaned on the PC-building community for plenty of support, ultimately I was the only one who could solve my issue. I met a challenge that seemed impossible, and my reward was a perfectly functional device that I built with my own two hands. If you’ve ever put together a piece of furniture, repaired a household fixture or even just tinkered with a machine, you don’t need me to tell you how satisfying that is.
For first-time PC builders, I can’t promise that the process will go smoothly, and I can’t promise that you’ll find an obvious solution to the problems you encounter along the way. But I can promise that if you apply reason, creativity and persistence to the situation, you’ll wind up with a much more rewarding machine than a faceless corporation can put together — not to mention, a better tech support team.
Marshall Honorof was a senior editor for Tom's Guide, overseeing the site's coverage of gaming hardware and software. He comes from a science writing background, having studied paleomammalogy, biological anthropology, and the history of science and technology. After hours, you can find him practicing taekwondo or doing deep dives on classic sci-fi.

