Fortnite Chapter 2 Map Guide: The Best and Worst Landing Spots
All the new locations

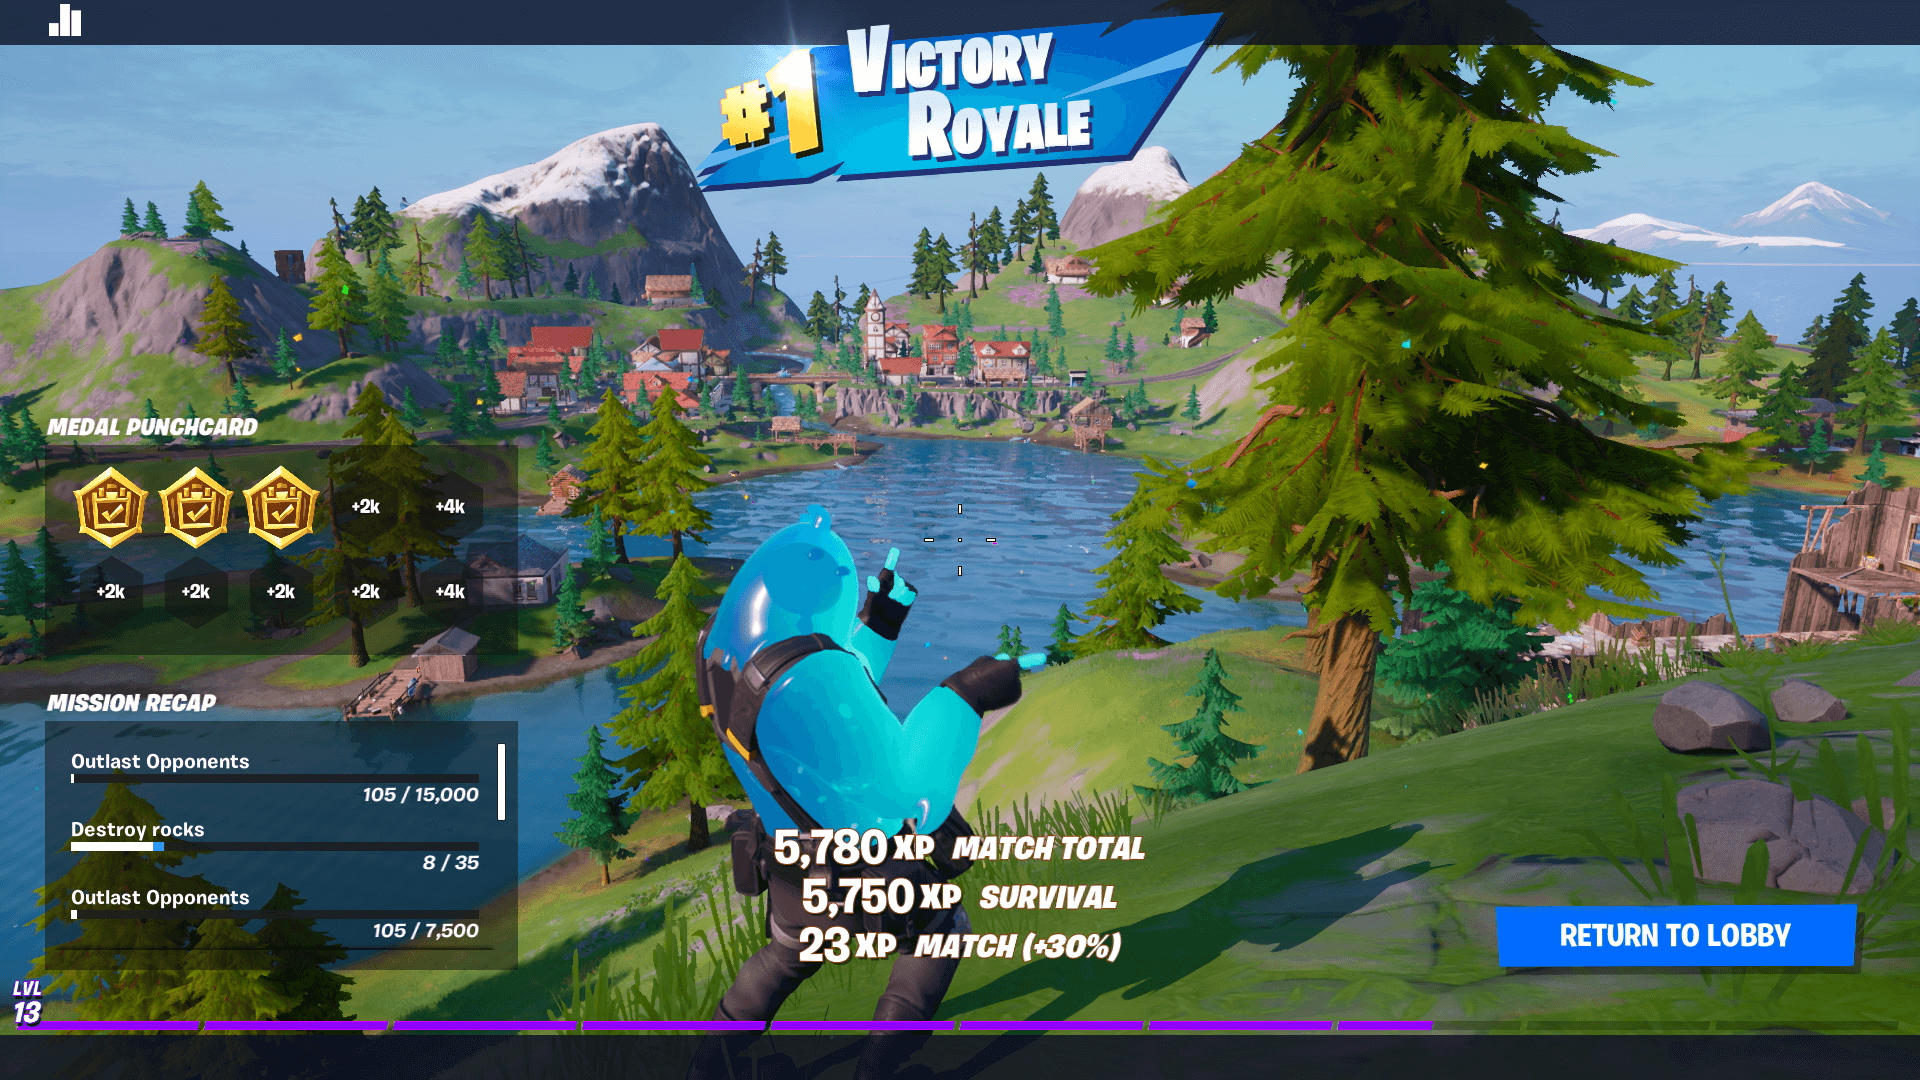
Goodbye, black hole. Fortnite is back with Fortnite Chapter 2, and with it comes a brand new map. Some of the main locations on this new island will look familiar but most are brand new. Of course, if you want to go back to your Victory Royale-winning ways, then you'll need to determine your go-to drop spots.
Don't worry, we've done the hard work for you. Here is a description of every major location in Fortnite Chapter 2 and advice on whether or not you should drop there.

Slurpy Swamp
The newest swampland in Fortnite is one of the best places to land. And even though it's a relatively popular spot, Slurpy Swamp isn't a bad choice for newer players wanting to take things to the next level. That's because this unpleasant marsh offers tons of opportunities to gain health and shield, from the vats, tankers and barrels that dump blue shield fluid onto you to a nearby field of radioactive mushrooms. Better yet, there are nearby motorboats at Slurpy Swamp for quickly escaping an enemy or the storm.
Advice: A great place to drop if you're a beginner or an expert, Slurpy Swamp gives you tons of opportunity to regain health+shield and is close to boat dock when you need to escape the storm. For these reasons, Slurpy can be a popular drop spot.
Dirty Docks
On the far east side of the Fortnite Chapter 2 map is Dirt Docks. Similar to Dusty Depot, Dirty Docks has a couple of large, open hangers where you'll find a decent amount of loot. Dirty Docks is a pretty large manufacturing campus, filled with trucks, cranes and a large shipping container area (a nod to the cargo area that was just north of Retail Row in Chapter 1).
Advice: There's a lot of potential at Dirty Docks to get good loot and leave unscathed. Dirty Docks isn't the sexiest place to land, but it contains a bunch of chests. This makes it one of the best places to land in Fortnite Chapter 2.
Craggy Cliffs
Another coastal town, Craggy Cliffs is the northernmost POI on the Chapter 2 map. It's not a particularly large locale, so don't expect a ton of people to drop here. If you can take the town for yourself, Craggy Cliffs gives you enough changes to score good loot.
Sign up to get the BEST of Tom's Guide direct to your inbox.
Get instant access to breaking news, the hottest reviews, great deals and helpful tips.
Other interesting features at Craggy Cliffs are the Sticks fish stick restaurant and a weapon upgrade bench that lets you spend materials to bring your gun up to the next level (green>blue, blue>purple, etc).
Advice: I like this spot. It's out of the way, never too crowded, and there are typically enough chests to get you a good weapon inventory. Alternatively, you can post up at a nearby hill and snipe down onto Craggy Cliffs to score some cheap kills.

Lazy Lake
Hey, look: another town. This one, a lakefront neighborhood, has more elevation than others so you can get the high ground and shoot down at enemies. And there will be enemies: Lazy Lake is a popular POI in the early stages of Chapter 2. If you get overwhelmed, don't worry, there are two motorboat docks nearby for you to make a quick escape.
Advice: Lazy Lake is a decent, if unremarkable, spot to drop. There are enough houses to gather some good loot and a nearby lake for fishing or escaping by boat. Nearby hills and tall apartments offer high ground.
Steamy Stacks
Positioned in the northeast corner of the new map, Steamy Stacks is an industrial zone with two large plants being powered by Kevin The Cube. Steamy Stacks essentially replaces the Pressure Plant and features the same flying mechanic within its two large towers. This gives you a ton of mobility to quickly move across the factory.
Advice: If you're good with a shotgun, consider landing here: there is a lot of opportunity for close-range combat in all the cramped building. At the same time, Steamy Stacks is a pretty large drop spot, so you can get a decent inventory and walk out without being engaged.
Sweaty Sands
Located on the west side of the map, Sweaty Sands is a small beach town with a large boardwalk that extends out to an ice cream shop. Sweaty Sands has more chests than almost every other town on the new map, which means you should walk out of here with plenty of good weapons. It is a large town, though, so looting it all can take some time.
Advice: Sweaty Sands is one of the best places to drop of the new locations. There are a ton of chests, it's large enough for multiple teams to flourish and it's typically not as dangerous as some of the other landlocked towns.

Misty Meadows
Across the lake from Lazy Lake is Misty Meadows, a small northern European-style town with timber-framed houses (similar to Happy Hamlet). Nearby mountains offer elevation and a large lake with plenty of boat locations gives you options to quickly move across the map. There are plenty of chests in Misty Meadows so don't rule it out as a go-to place to drop.
Advice: Drop here if you don't want too much opposition and are worried about escaping from the storm.
Holly Hedges
Does this look familiar? Yes, Holly Hedges is almost a spitting image of Greasy Grove (with different style houses), the fast-food spot known for tacos that are so good they make you want to dance. Another residential area, Holly Hedges is a densely-packed neighborhood with a garden center in the middle.
Advice: This is a great place to land for more experienced players. There is a lot of loot here and tons of materials to gather. It's a popular landing spot, so expect some resistance.
Weeping Woods
This forested areas replace Greasy Grove in the west-central part of the map but is more similar to Wailing Woods. It's a large plot of land with tons of trees (perfect for gathering materials) nestled in a shallow canyon. A few wooden buildings in the center of the POI give you a place to bunker down and collect chests (just don't expect to find a lot of loot).
Advice: If you prefer to hunt down your prey and sneakily take people out, then drop at Weeping Woods. At this location, you can easily avoid head-on conflict and slowly work your way into the game.
Frenzy Farms
Don't be fooled, the farms are still fatal, even if they don't carry the name. Frenzy Farms borrows a lot from Fatal Fields, including large barns that look nearly identical to those in Chapter 1. The black hole didn't disrupt any of the corn growing in the farm and some large neighboring farm houses offer good odds of getting powerful weapons.
Advice: Wide open fields like those in Frenzy Farms can be tricky for novices who haven't mastered building. For that reason, Frenzy Farms is best left to pros who are comfortable taking people out without much cover.
Retail Row
Yes, the shopping mall somehow survived a black hole and even cleansed itself of zombies. Retail Row returns in Chapter 2 complete with the Noms supermarket and a taco shop (RIP Greasy Grove). Retail Row isn't a huge town but there are enough buildings for you to walk out with a good set of weapons. Just be careful with the wide-open areas where one sniper shot could end your round early.
Advice: Retail Row continues to be a great place to drop for those who want an early skirmish or two and a ton of loot if they come out on top. And in Chapter 2, it provides a familiar landing zone if you don't want to risk dropping in a new location.
Salty Springs
Salty Springs also survived the black hole to the relief of some and the annoyance of others. Like Pleasant Park, Salt Springs is a residential area where most of the loot you'll find are in the attics of houses. The town is almost identical to how it looked in Chapter 1, apart from its new location and a few cosmetic changes.Salty Springs' new placement on the map means you shouldn't ever have to go too far to escape the storm.
Advice: Salty Springs isn't the best place for newcomers to drop. Lots of people land here and there just isn't a ton of loot (but enough for duos if your team takes the entire town). Because there's some elevation and a lot of distance between the houses, you can sneak in to Salty Spring and scurry away if you get overwhelmed.
Pleasant Park
Another location returning in Chapter 2, Pleasant Park isn't so pleasant if you want an easygoing opening to a round. Pleasant Park was always a popular place to land in season 1 and that continues to be the case on this new map. Here, you'll find large suburban houses, a soccer field and plenty of parking, all of which give you opportunities to find good loot.
Advice: Consistently a place for early action, Pleasant Park offers a high reward but at a high risk. There are a lot more open spaces in Pleasant Park than in other towns, so be extra careful landing here.
Phillip Tracy is the assistant managing editor at Laptop Mag where he reviews laptops, phones and other gadgets while covering the latest industry news. Previously, he was a Senior Writer at Tom's Guide and has also been a tech reporter at the Daily Dot. There, he wrote reviews for a range of gadgets and covered everything from social media trends to cybersecurity. Prior to that, he wrote for RCR Wireless News covering 5G and IoT. When he's not tinkering with devices, you can find Phillip playing video games, reading, traveling or watching soccer.
