7 ways to make an air fryer last longer and keep it like new
Here’s 7 ways to make an air fryer last longer, so you can get the most out of your machine
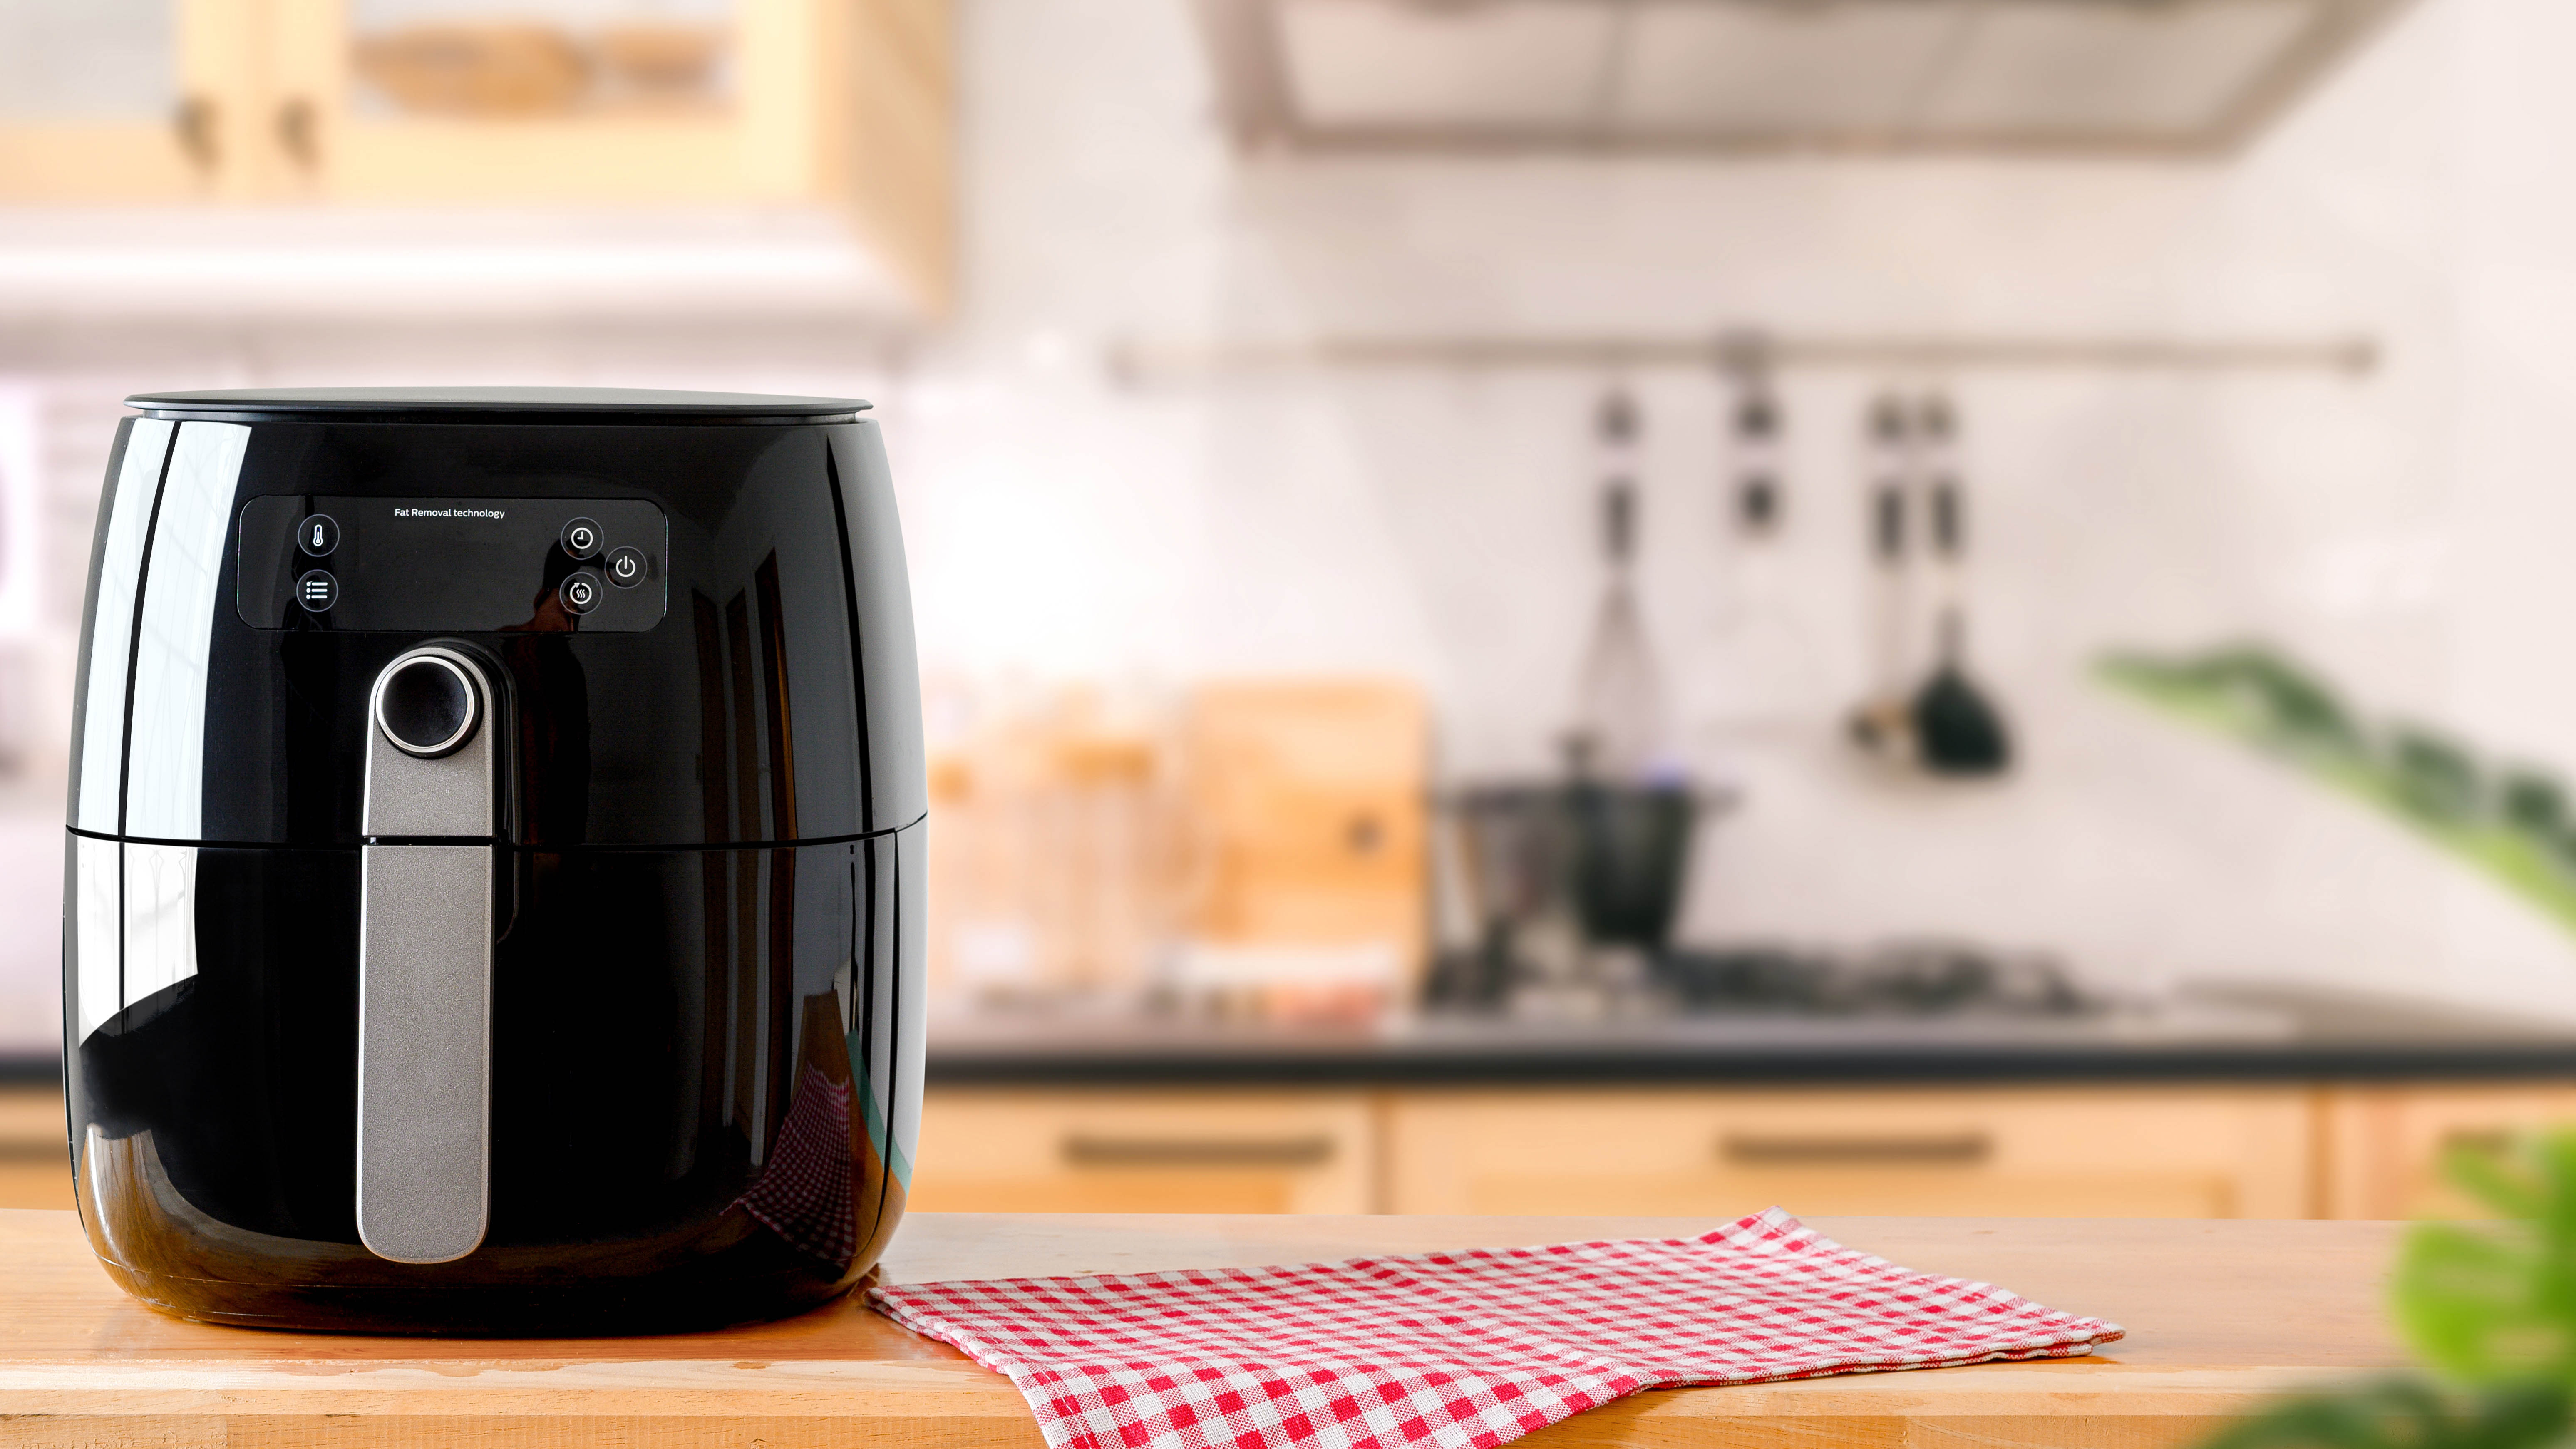
Knowing how to make an air fryer last longer can add precious years of service to your favorite appliance. The best air fryers will produce delicious results dish after dish, but with constant use, they will inevitably show signs of wear and tear, struggle to function, or stop working altogether.
The good news is there are steps you can take to help improve the lifespan of your air fryer, so you can keep making some of the best air fryer recipes. Some of these changes take little effort and every air fryer owner should be aware of them. Here’s 7 ways you can make your air fryer last longer.
Also, did you know there is a global, cooking oil shortage? Find out why you should cook with less oil.
7 ways to make an air fryer last longer
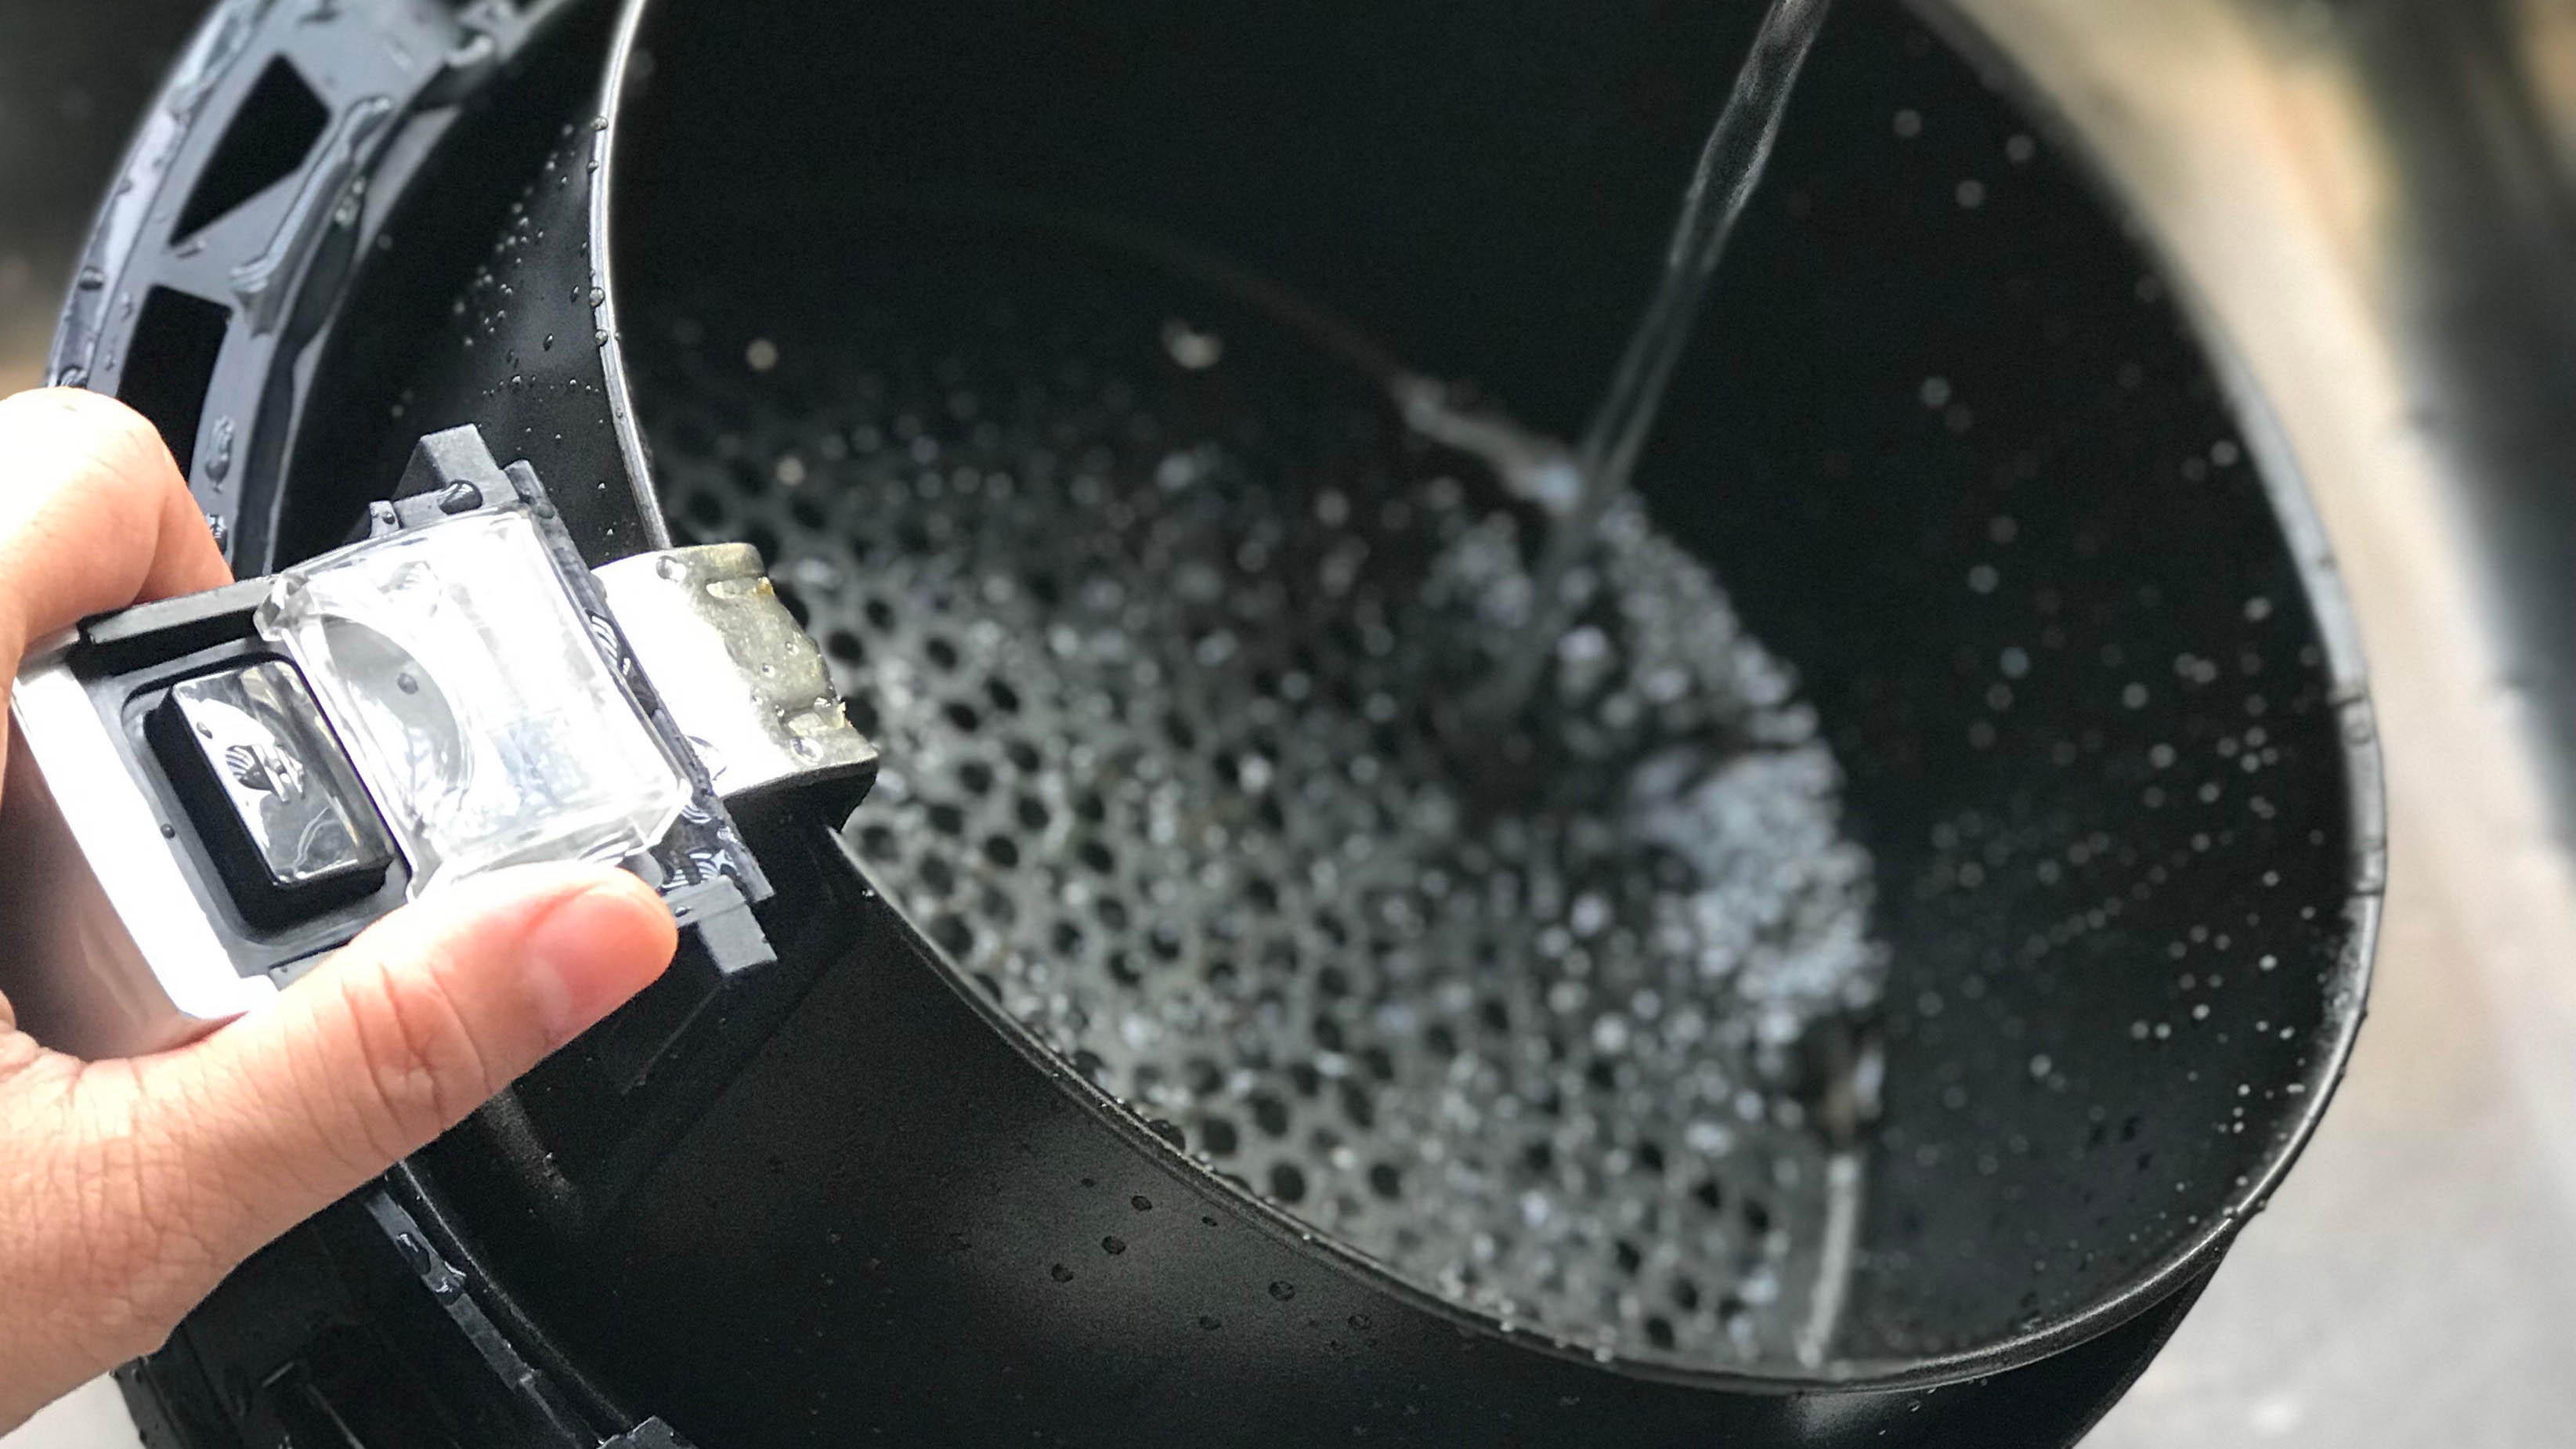
1. Keep it clean — This is much more than just washing the basket. Every air fryer will need a thorough clean with regular use to keep it looking pristine. If not, grease and residue will build up within, leading to unwanted smells and burning hazards.
Knowing how to clean an air fryer properly may sound daunting, but it’s pretty straightforward once you know what you’re doing and it just takes a few household products and some TLC. Remember, never put the main housing of your air fryer in the dishwasher and don’t use metal scouring pads as you clean the parts — this will damage the non-stick.
2. Don’t cook anything you shouldn’t — While air fryers are versatile machines there are things you should never put in an air fryer. This can range from melting cheese, which can cause all sorts of clean-up problems, to loose seasoning, which can be blown into the heating element.
By making sure you’re cooking the right ingredients and filling the basket to the correct level, you can help your air fryer last longer. Overloading the basket will result in uneven cooking as the air can’t circulate — you’re better off cooking smaller batches in an air fryer to get the best results.
Sign up to get the BEST of Tom's Guide direct to your inbox.
Get instant access to breaking news, the hottest reviews, great deals and helpful tips.

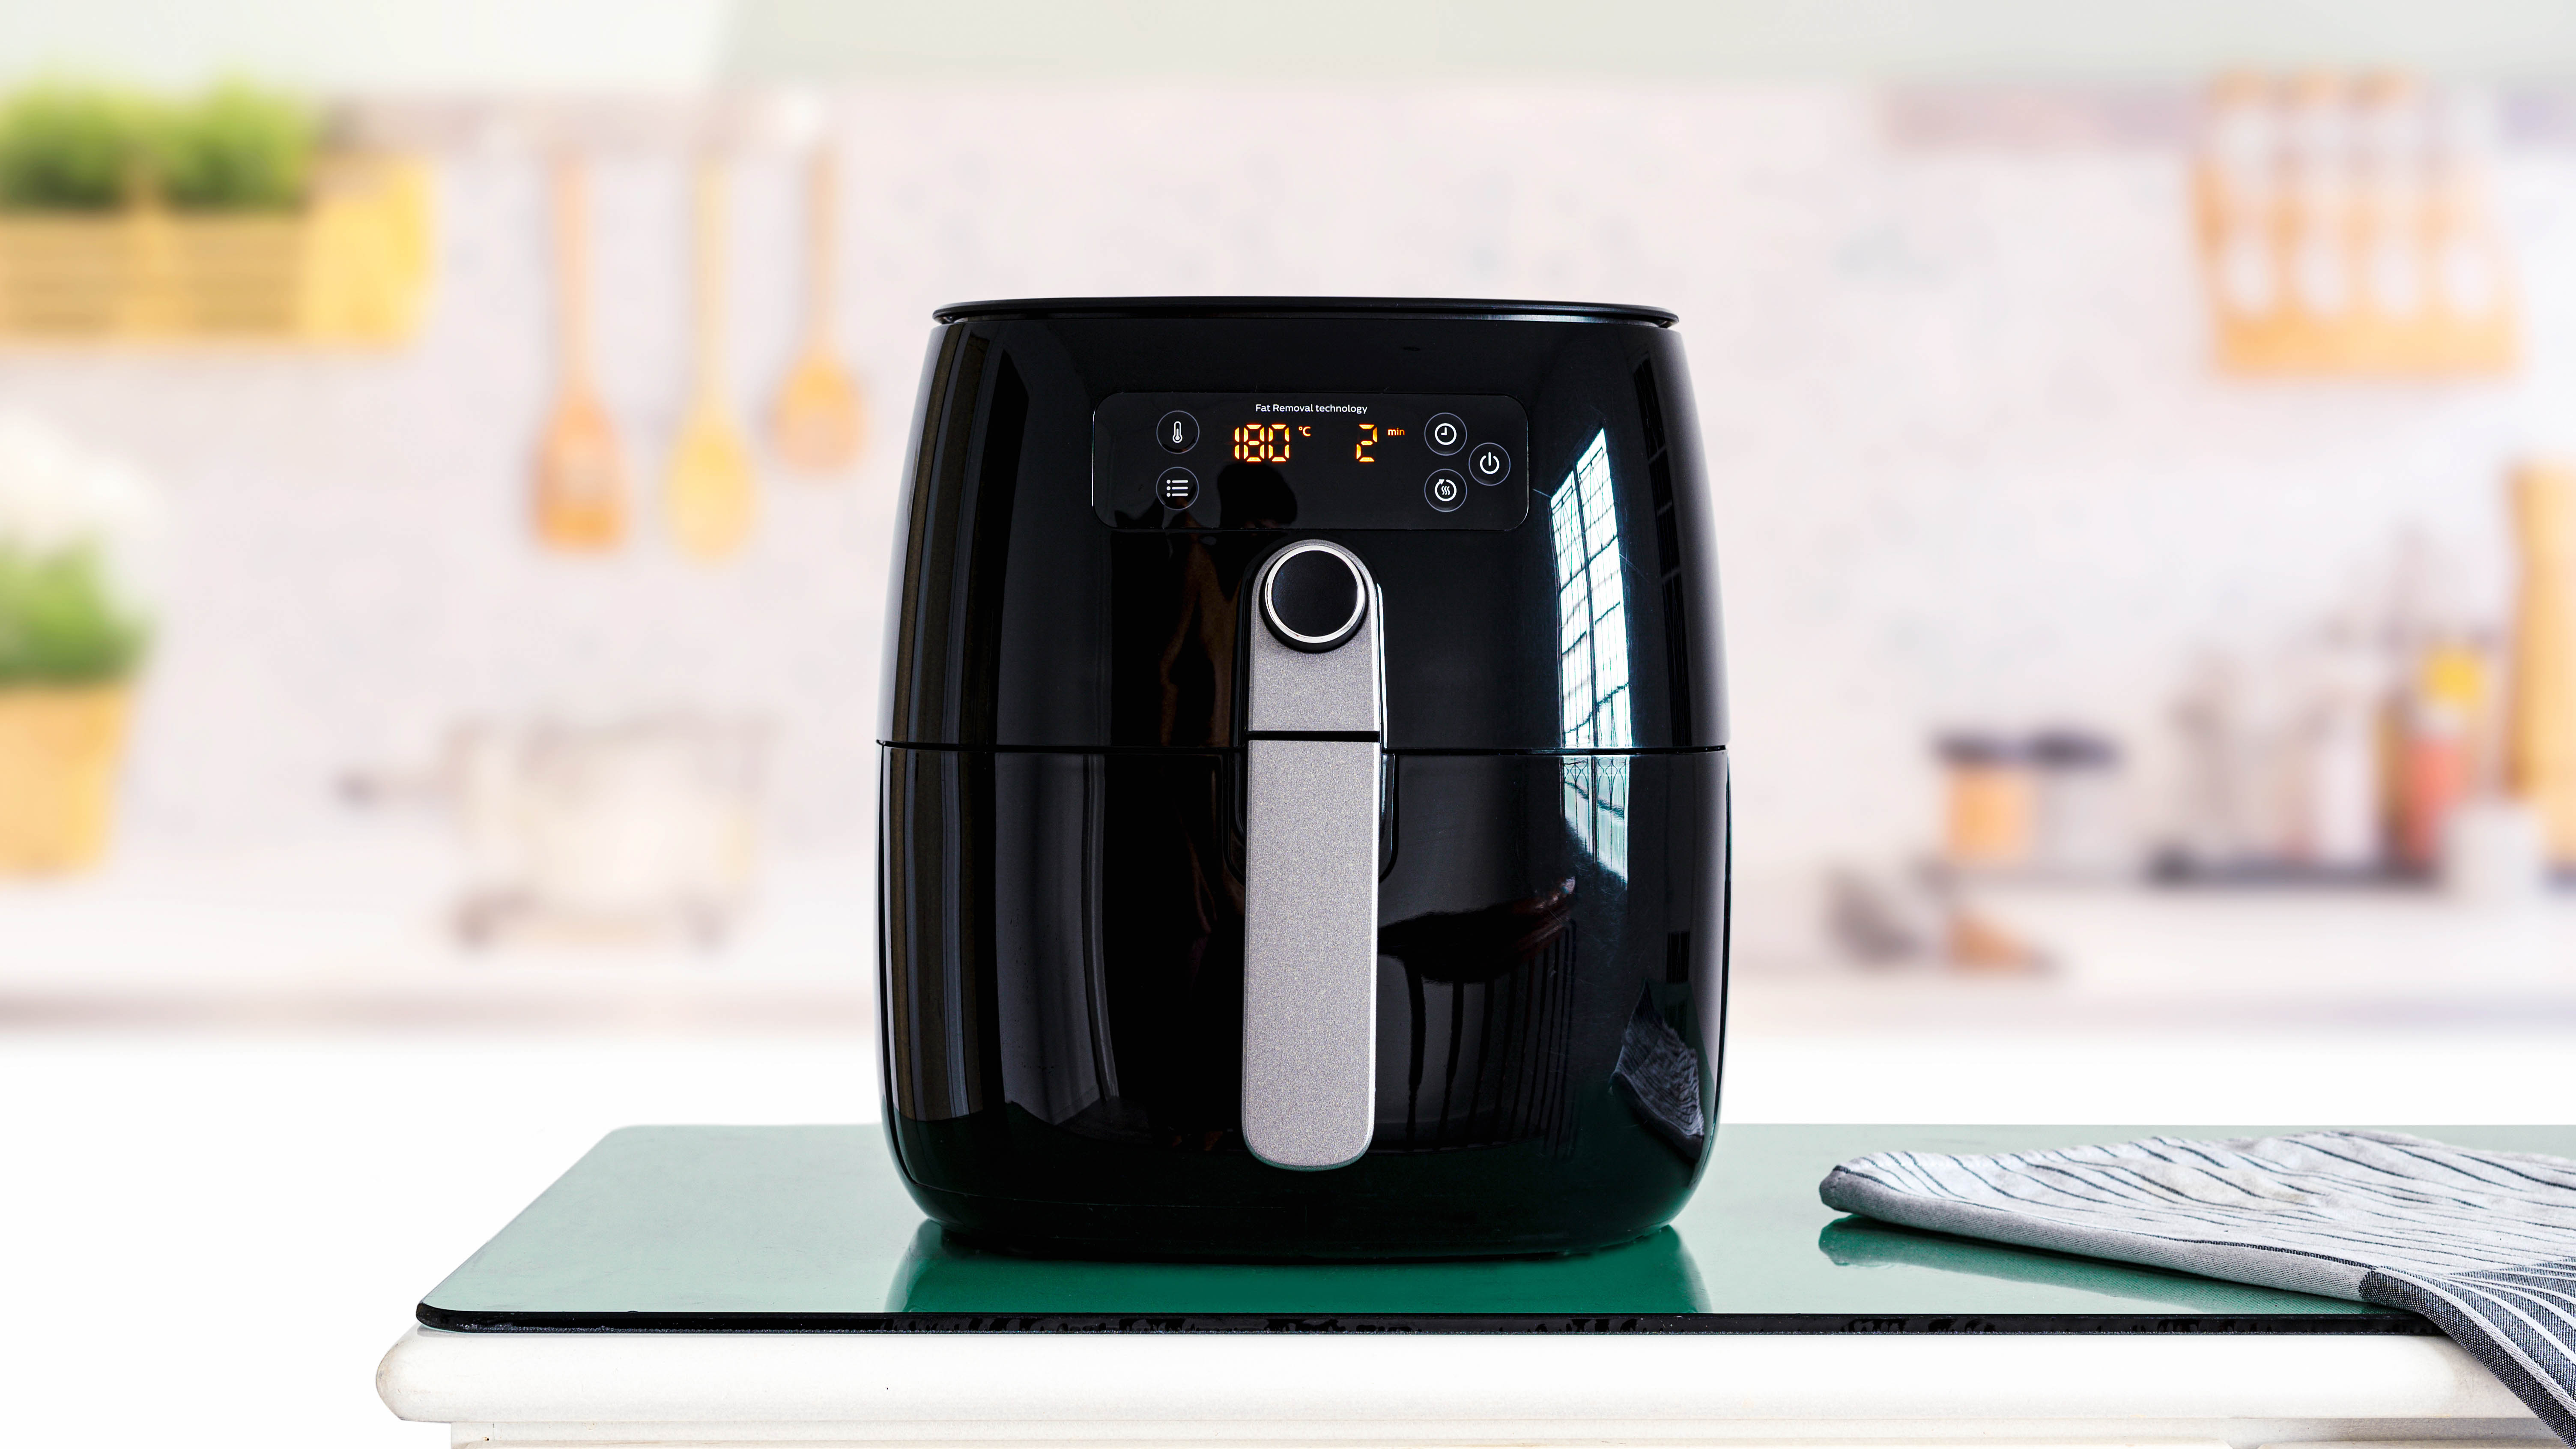
3. Give it space to vent — Consider where you’ve placed your air fryer on your countertop and make sure it has room to breathe. Every air fryer will have vents to help cool the unit, and if it doesn’t have sufficient space it will overheat as it cooks.
Refer to your manual for guidance on how much space to give your air fryer and remember that there should be room on every side. The surface it cooks on should also be flat, even and stable.
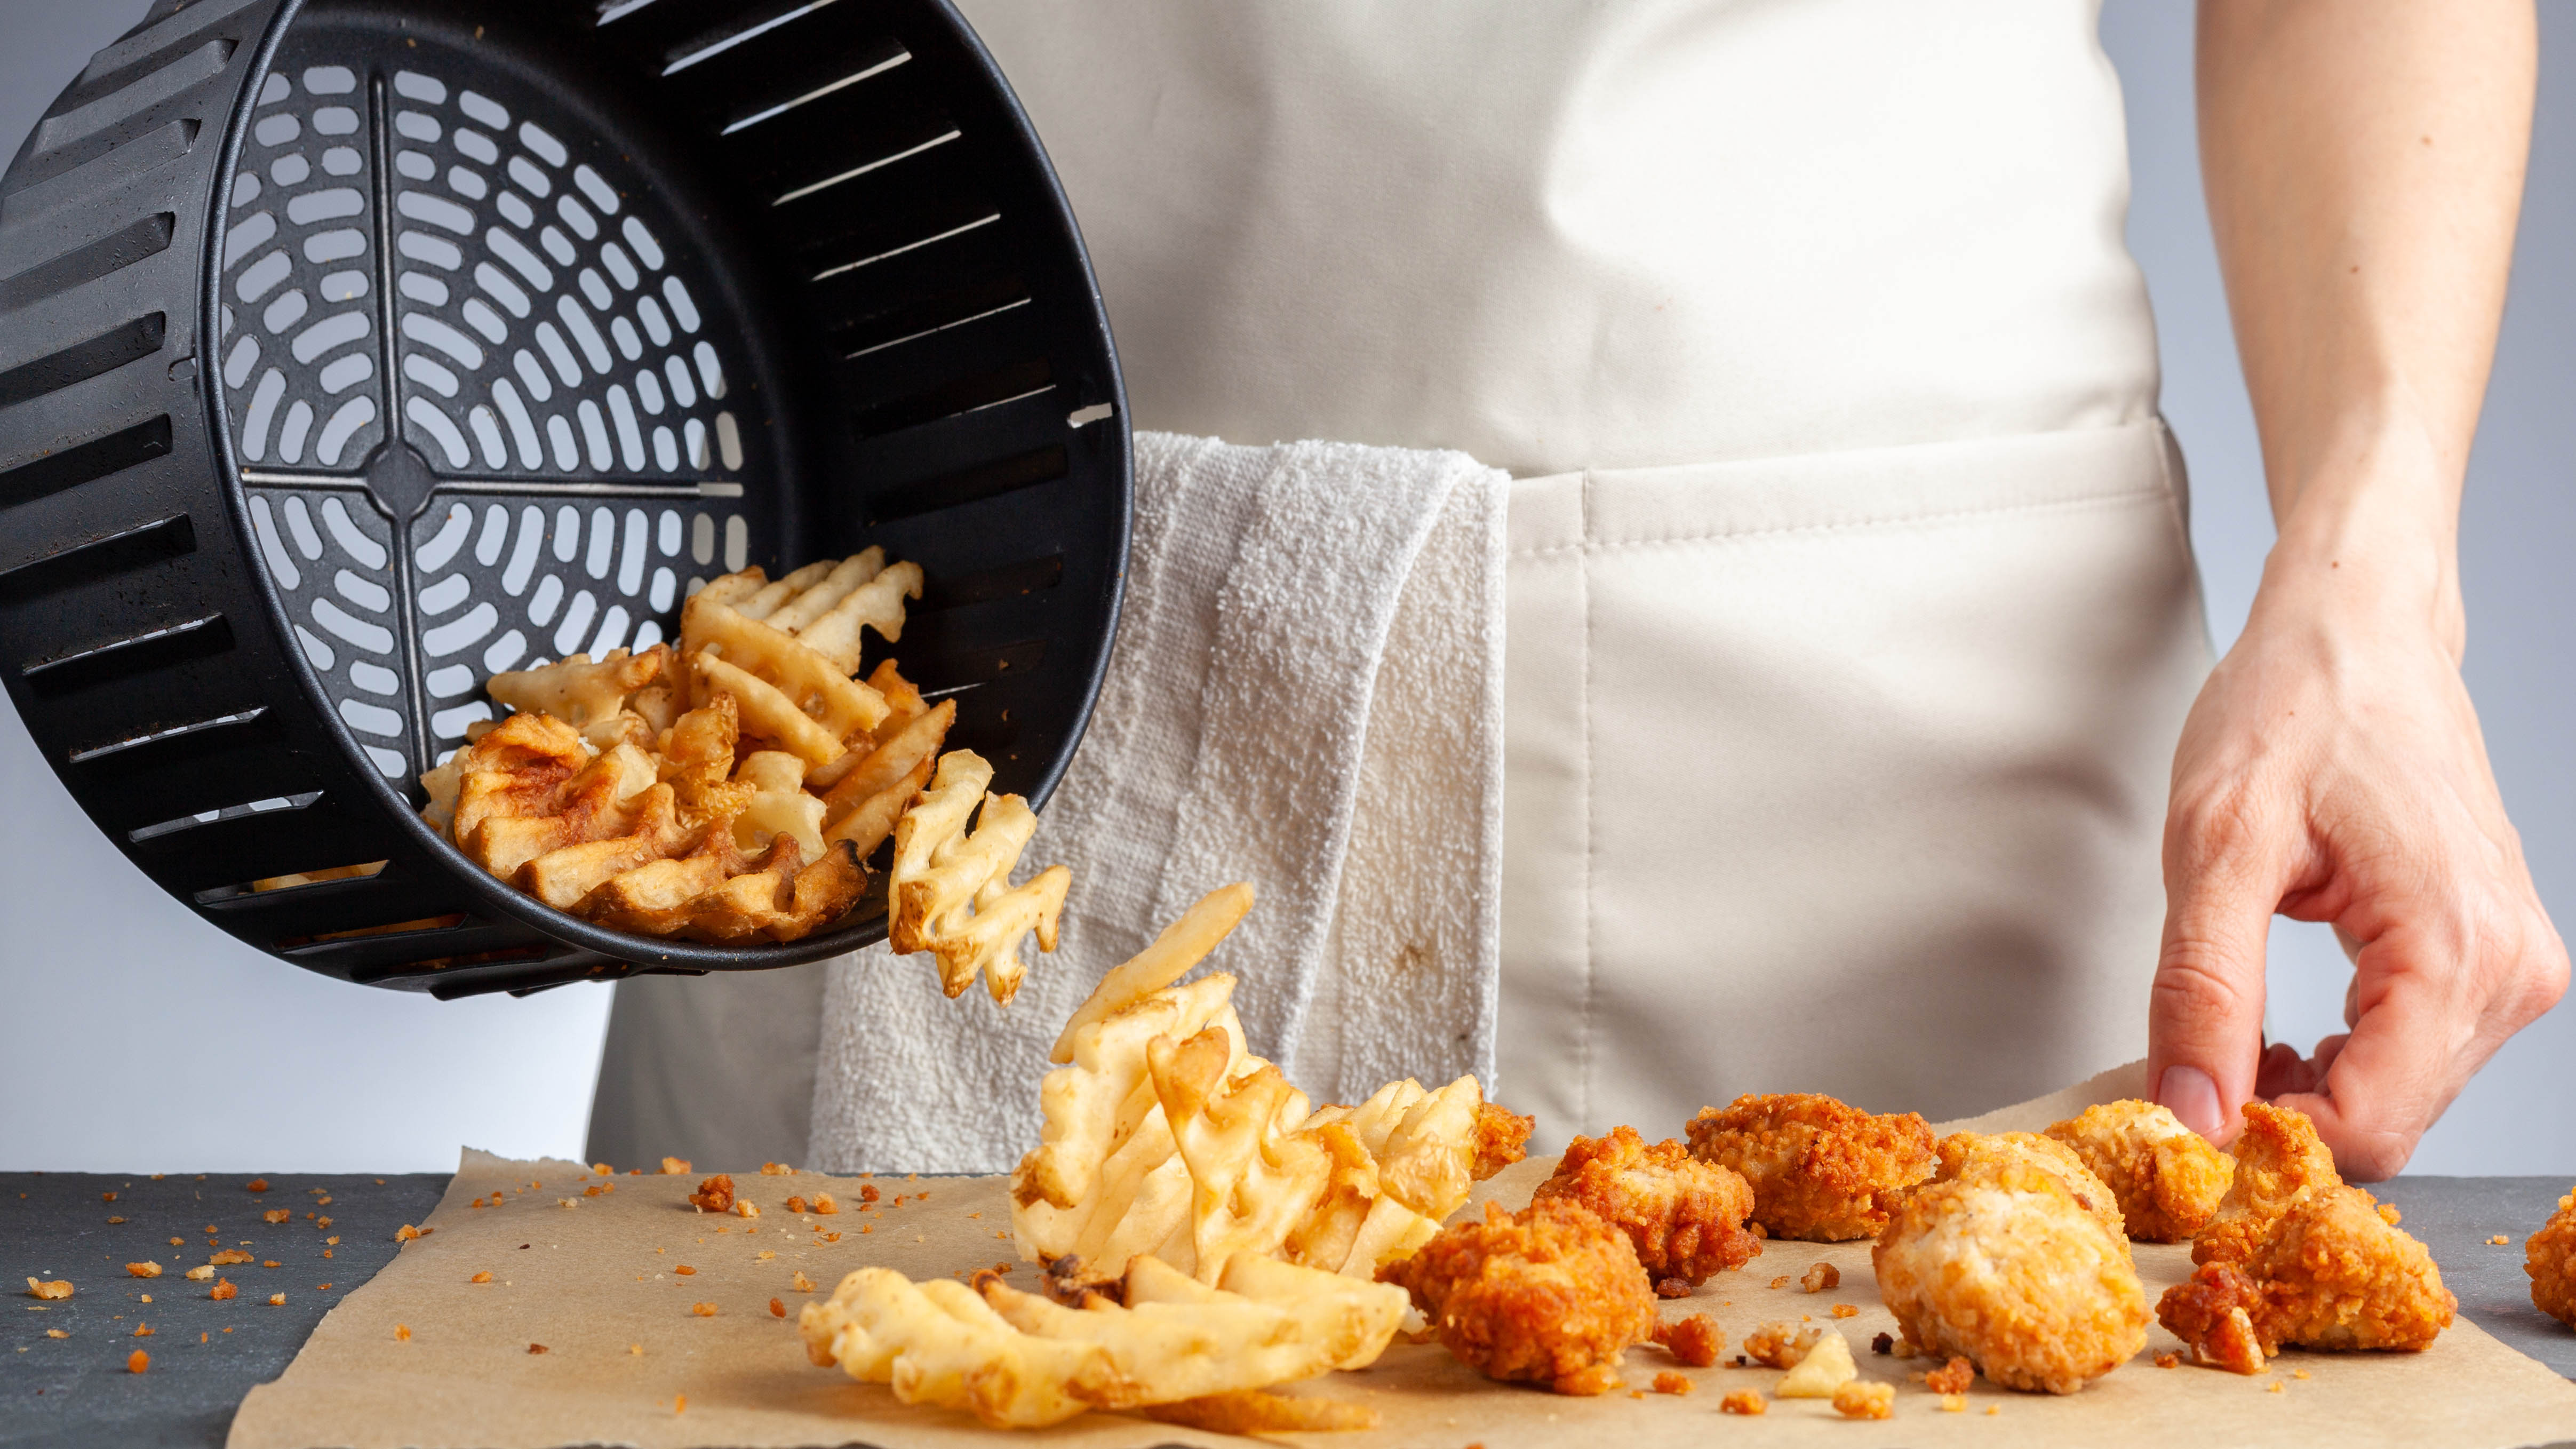
4. Replace the accessories rather than the whole thing — If you’ve damaged your air fryer basket, or you’ve just lost it, remember that the accessories are sometimes replaceable. Rather than throwing the whole thing away, first check if the brand offers a replacement you can purchase to save some money.
In addition to baskets, brands can offer replacement racks and other accessories as well, so be sure to check what’s available.
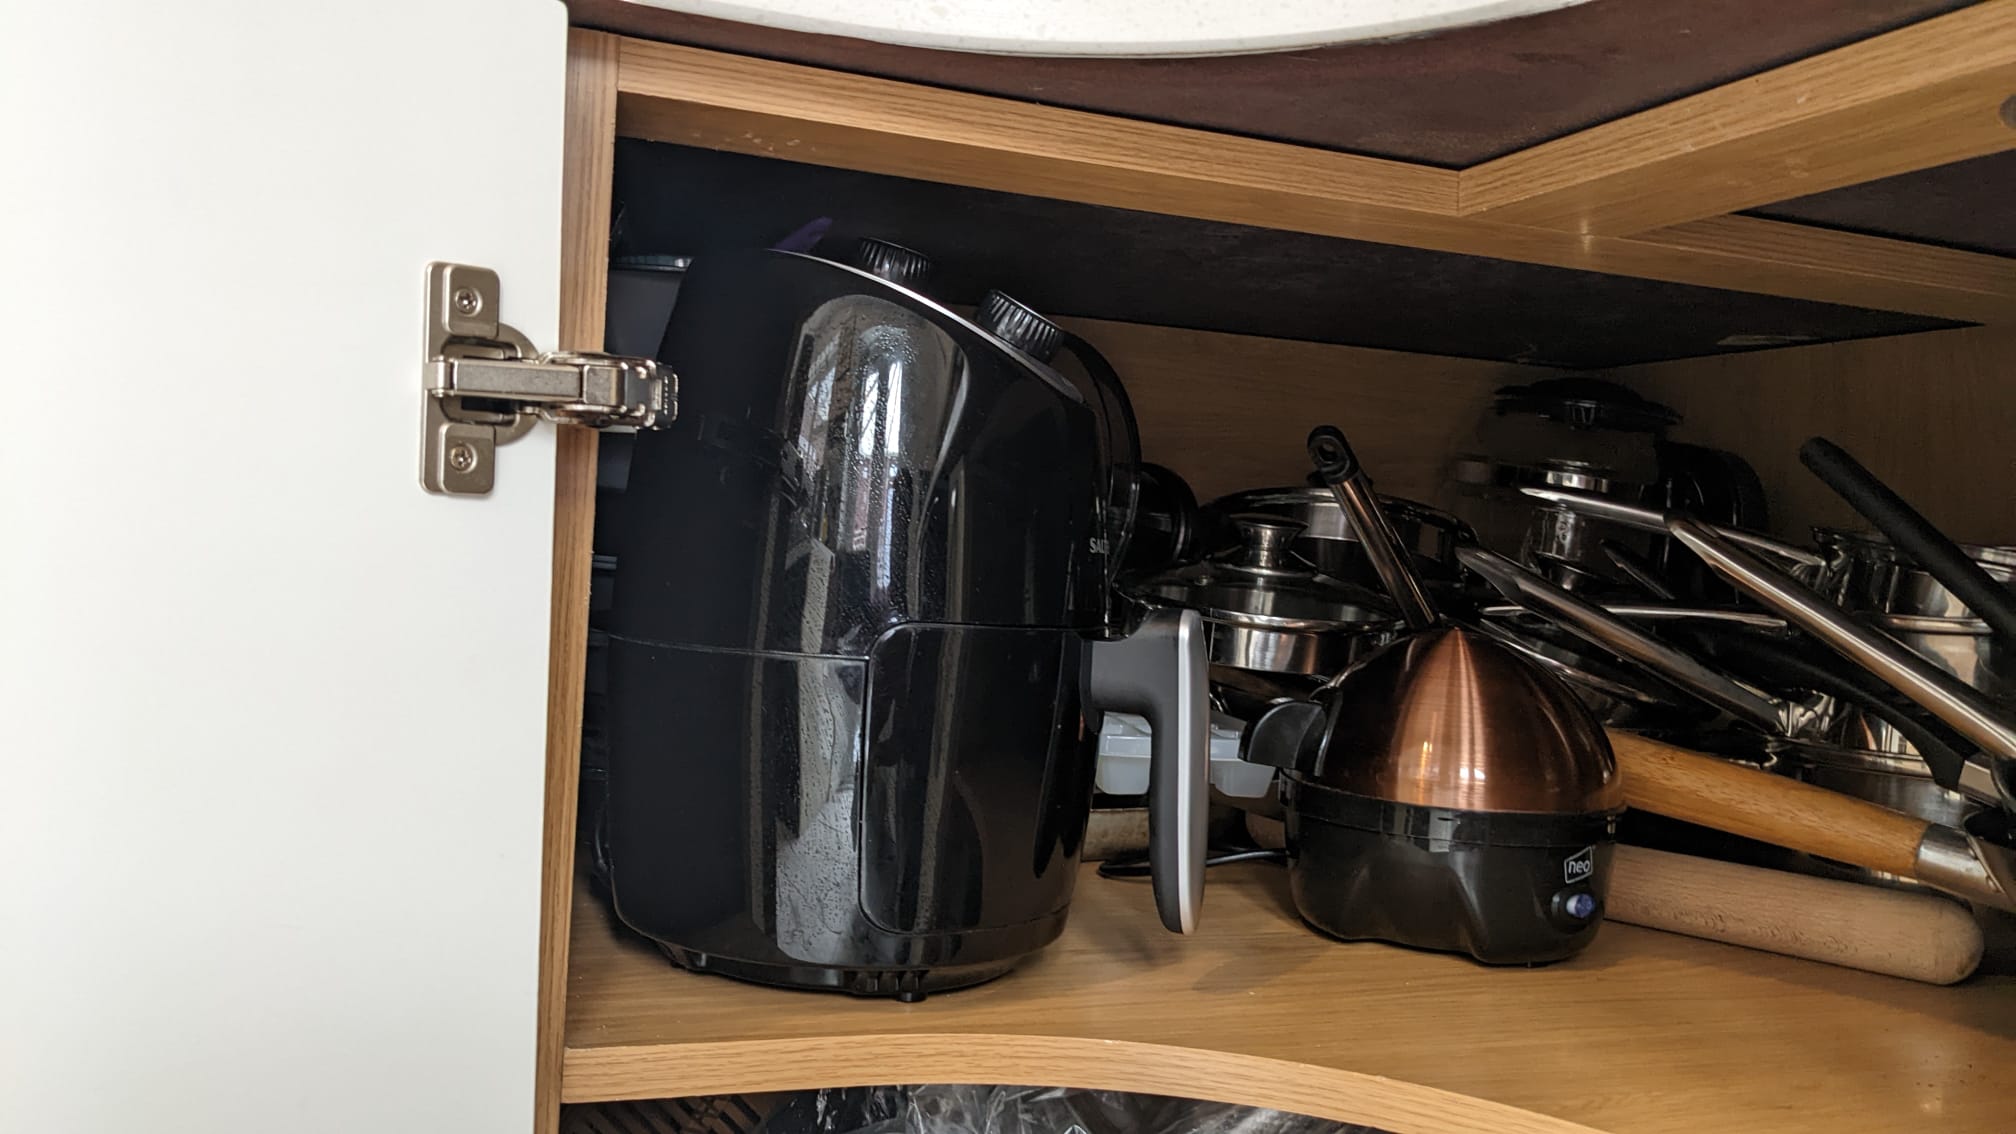
5. Store it properly — If you just chuck your air fryer into a cupboard between uses, you can be sure that it will be bumped and scratched by other appliances and utensils.
Make a designated space for it in your cupboard and keep the cable protected from anything sharp. Alternatively, you can always just leave it on display — just be sure to clean the exterior regularly.
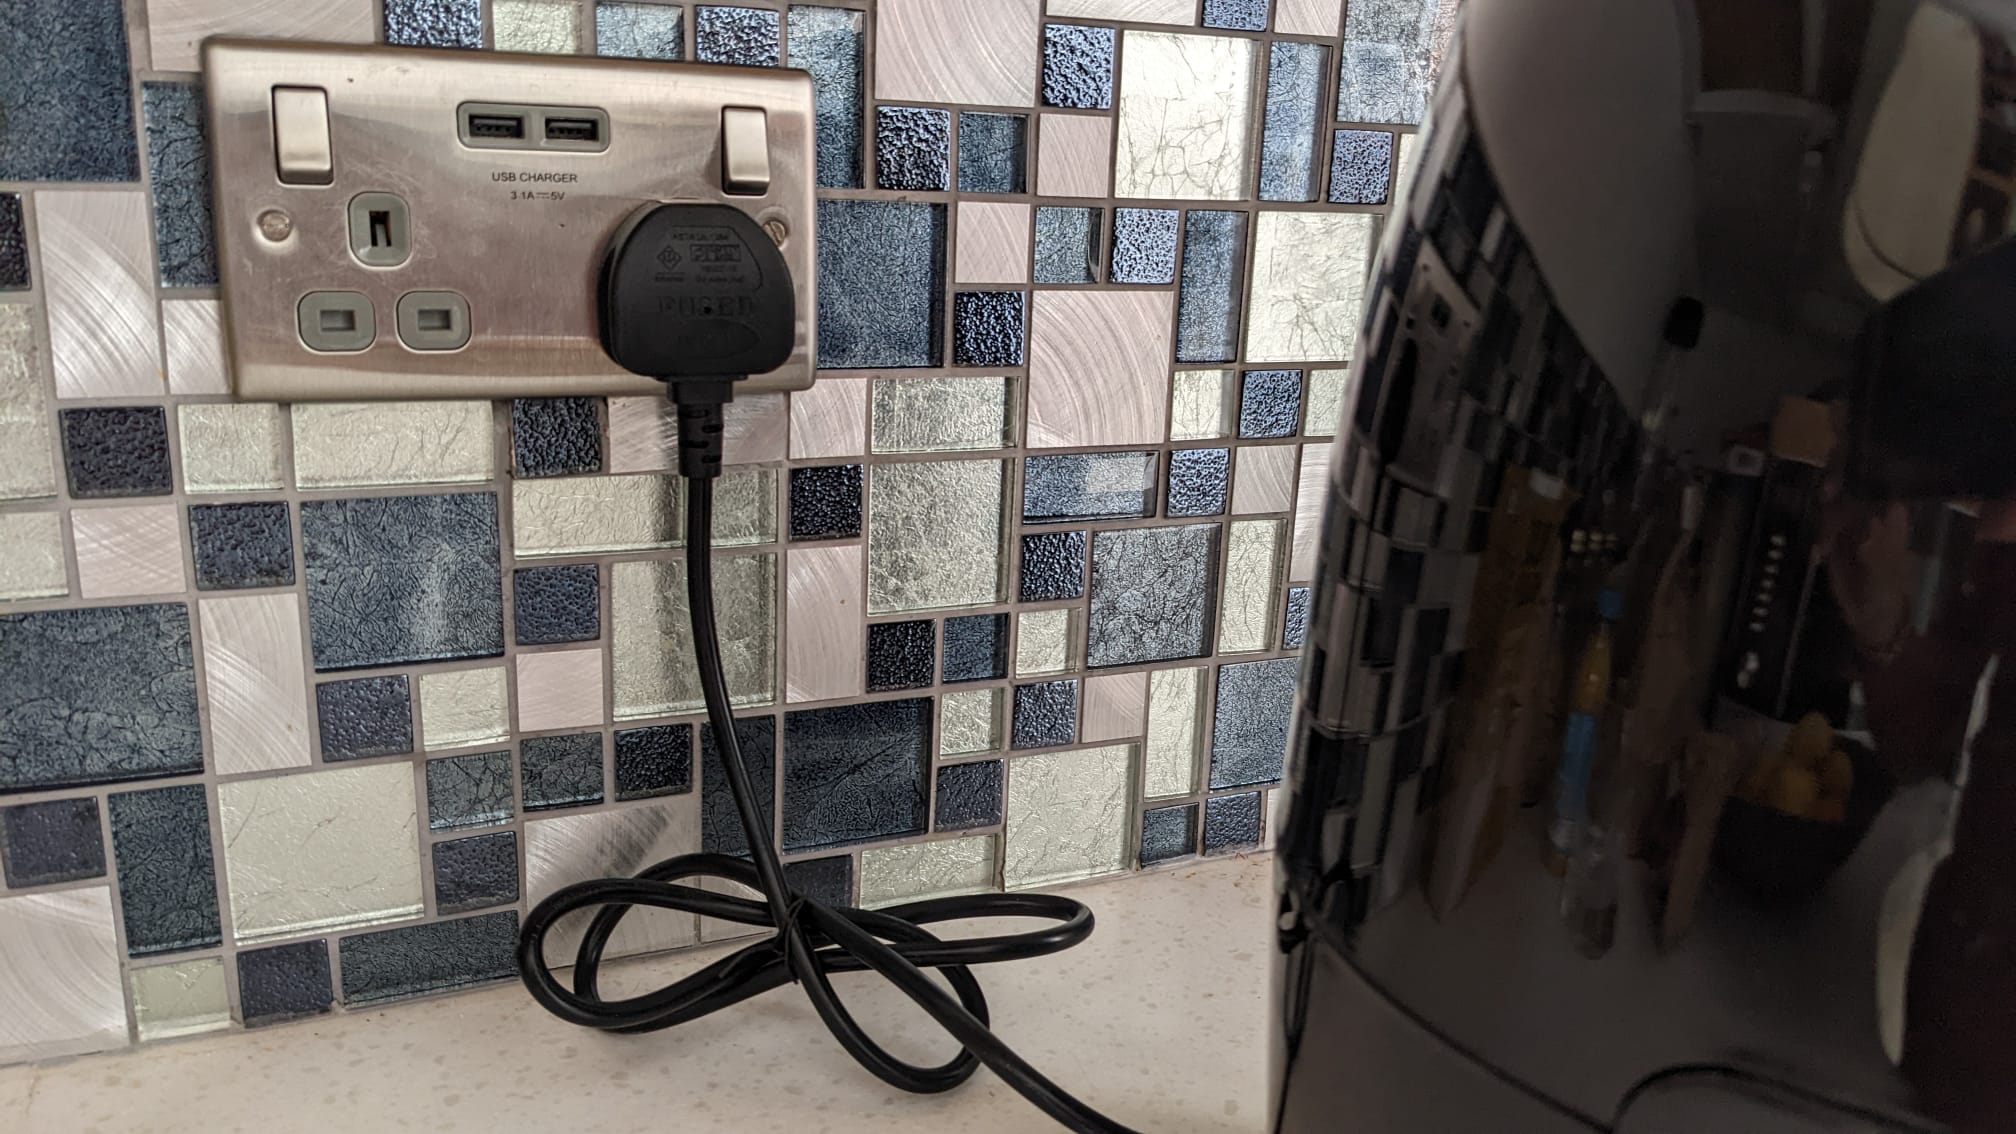
6. Watch the cable — When in use, make sure the cable isn’t pressed up against the air fryer. The exterior can grow very hot when cooking at high temperatures (when we tested air fryers, we saw external temperatures as high as 278.3 degrees Fahrenheit).
If the cable is pressed against this temperature, it can damage the casing as well as the internal wiring. So, make sure your cable is kept free from this hazard. You can always use a cable tie to keep any excess in check.
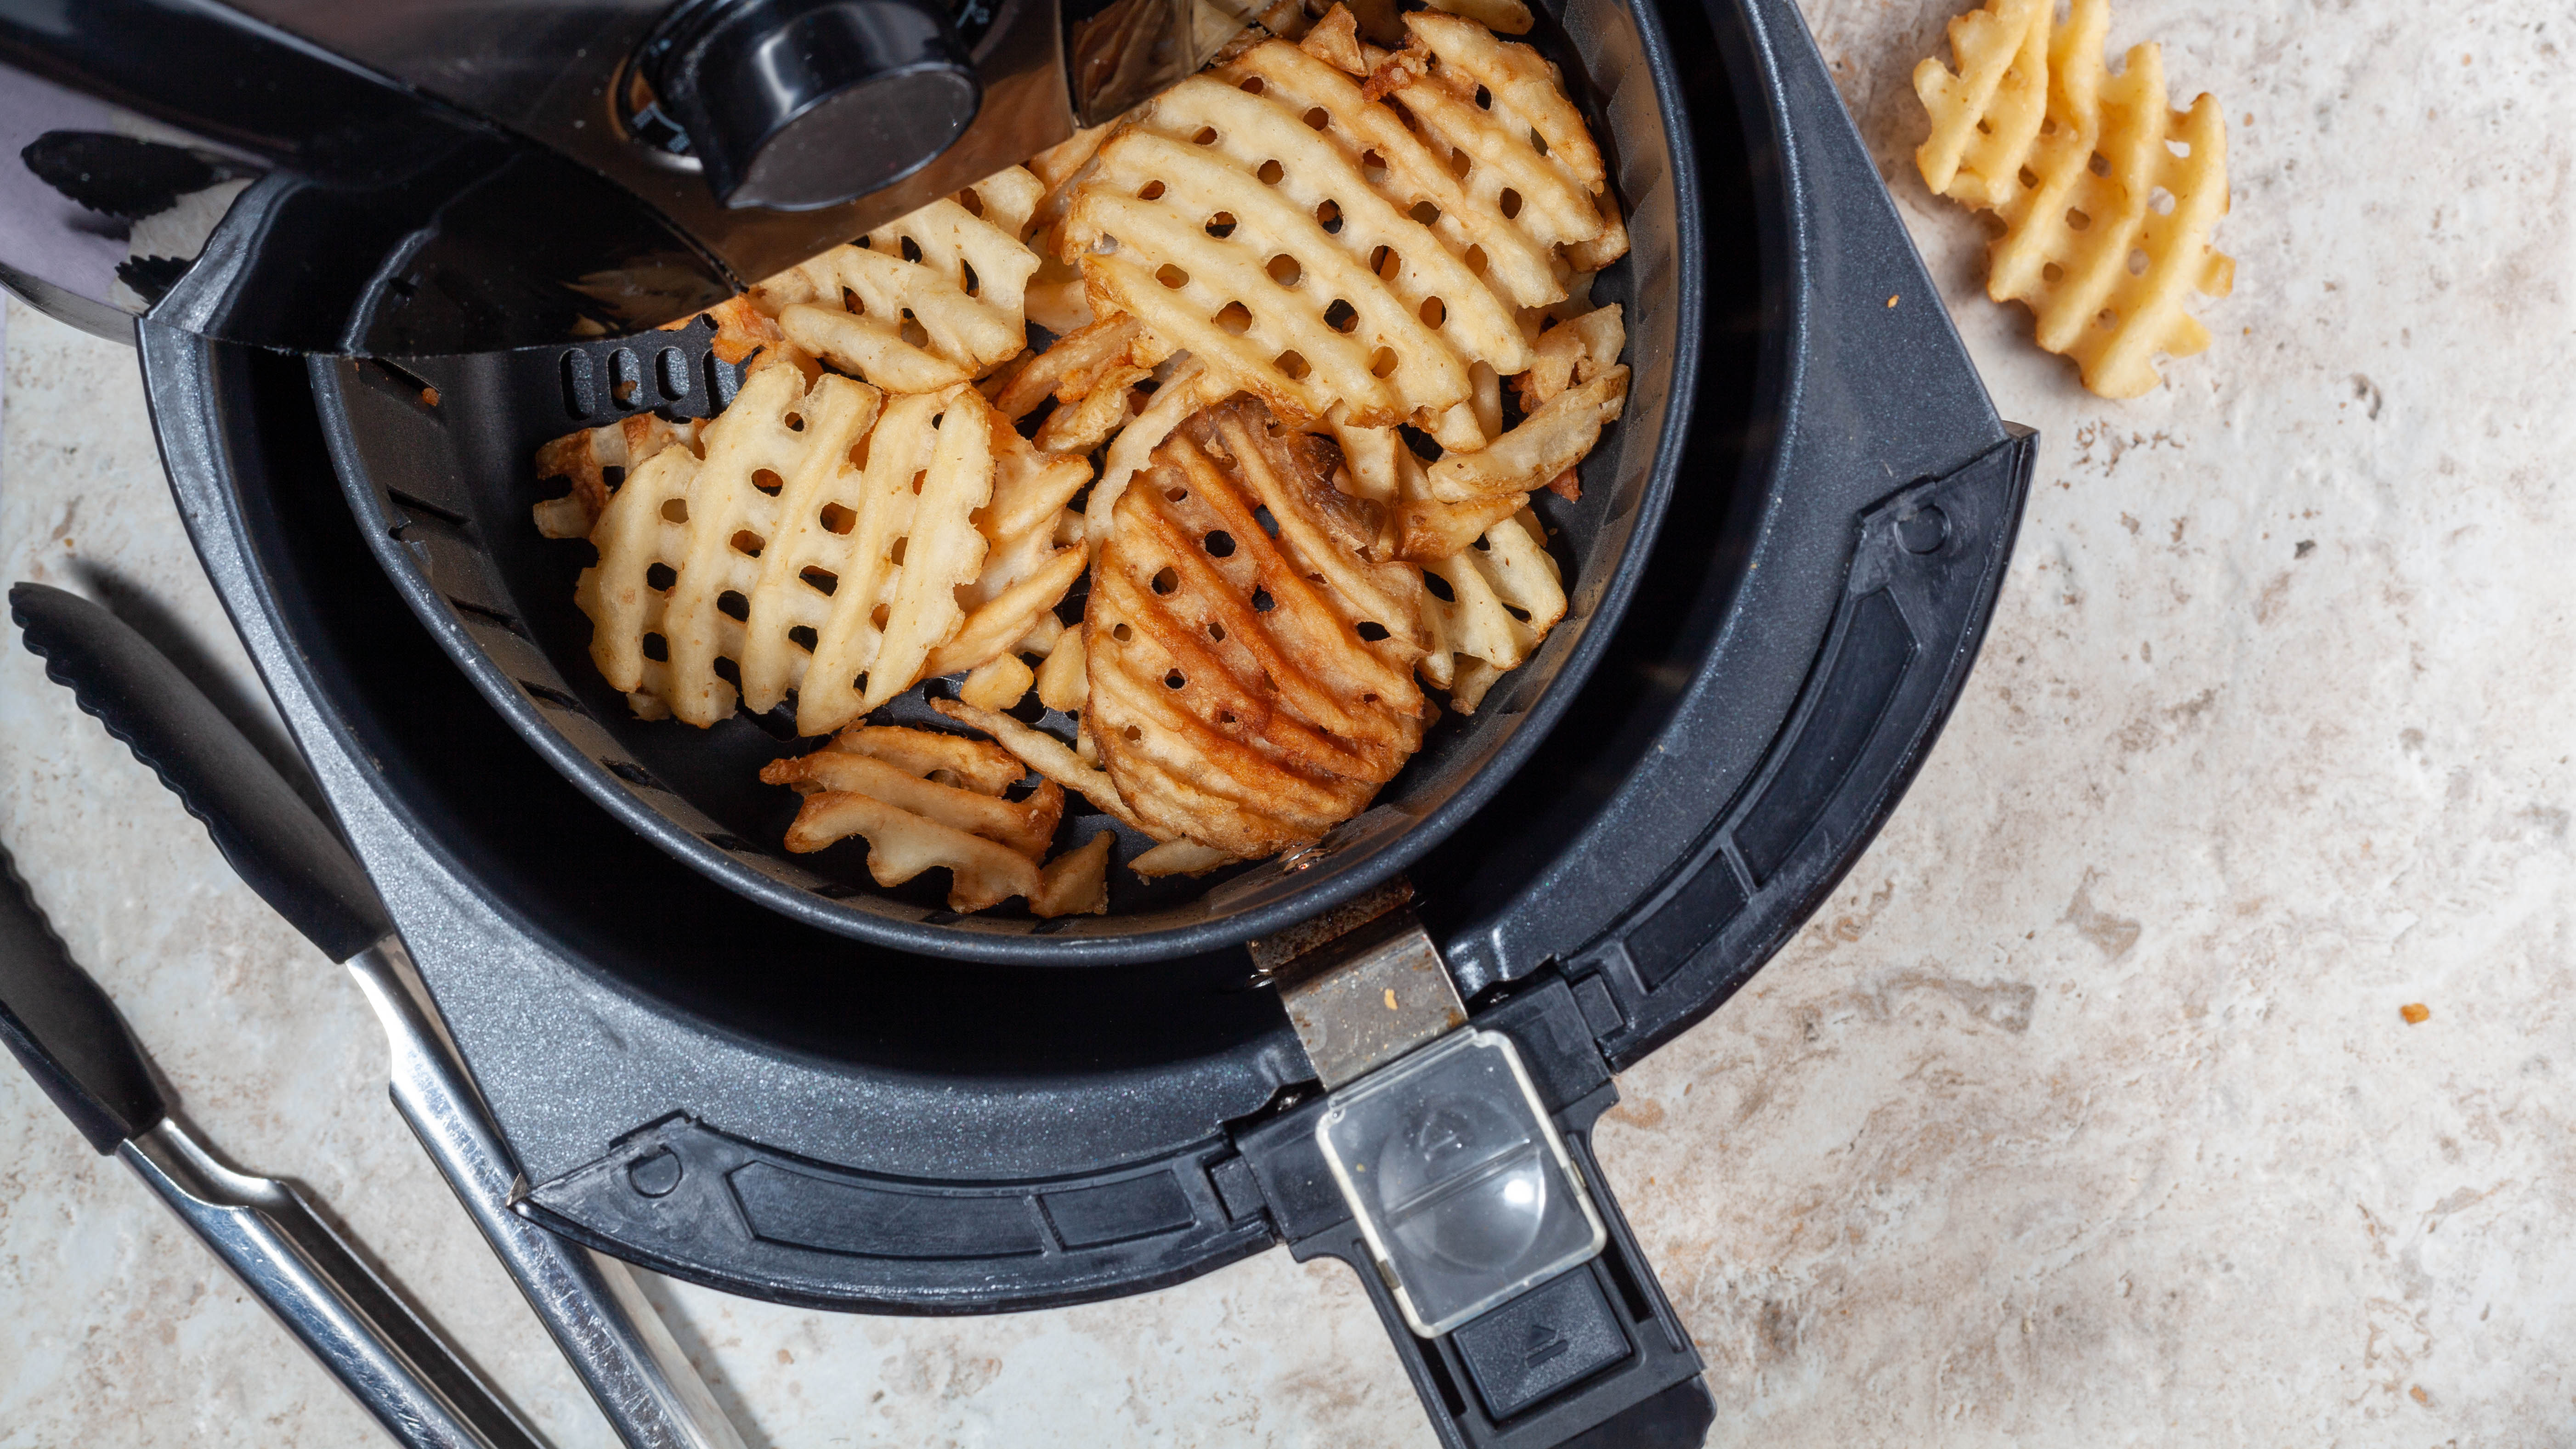
7. Don’t use metal utensils — Air fryer baskets feature a non-stick coating, which means you will damage it if you use metal utensils. The same can be said for using metal scourers while cleaning as well.
Invest in utensils which are suitable for non-stick cookware such as this Silicone Set ($19.99, Amazon).

Katie Mortram used to be a Homes Editor for Tom's Guide, where she oversaw everything from kitchen appliances to gardening tools, as well as smart home tech. Specializing in providing expert advice for cleaning and home manintenance, she now works as Household Advice Editor for Good Housekeeping.
