10 hidden Tidal features that boost the audiophile streaming experience
Maximize your Tidal HiFi subscription by performing these simple hacks
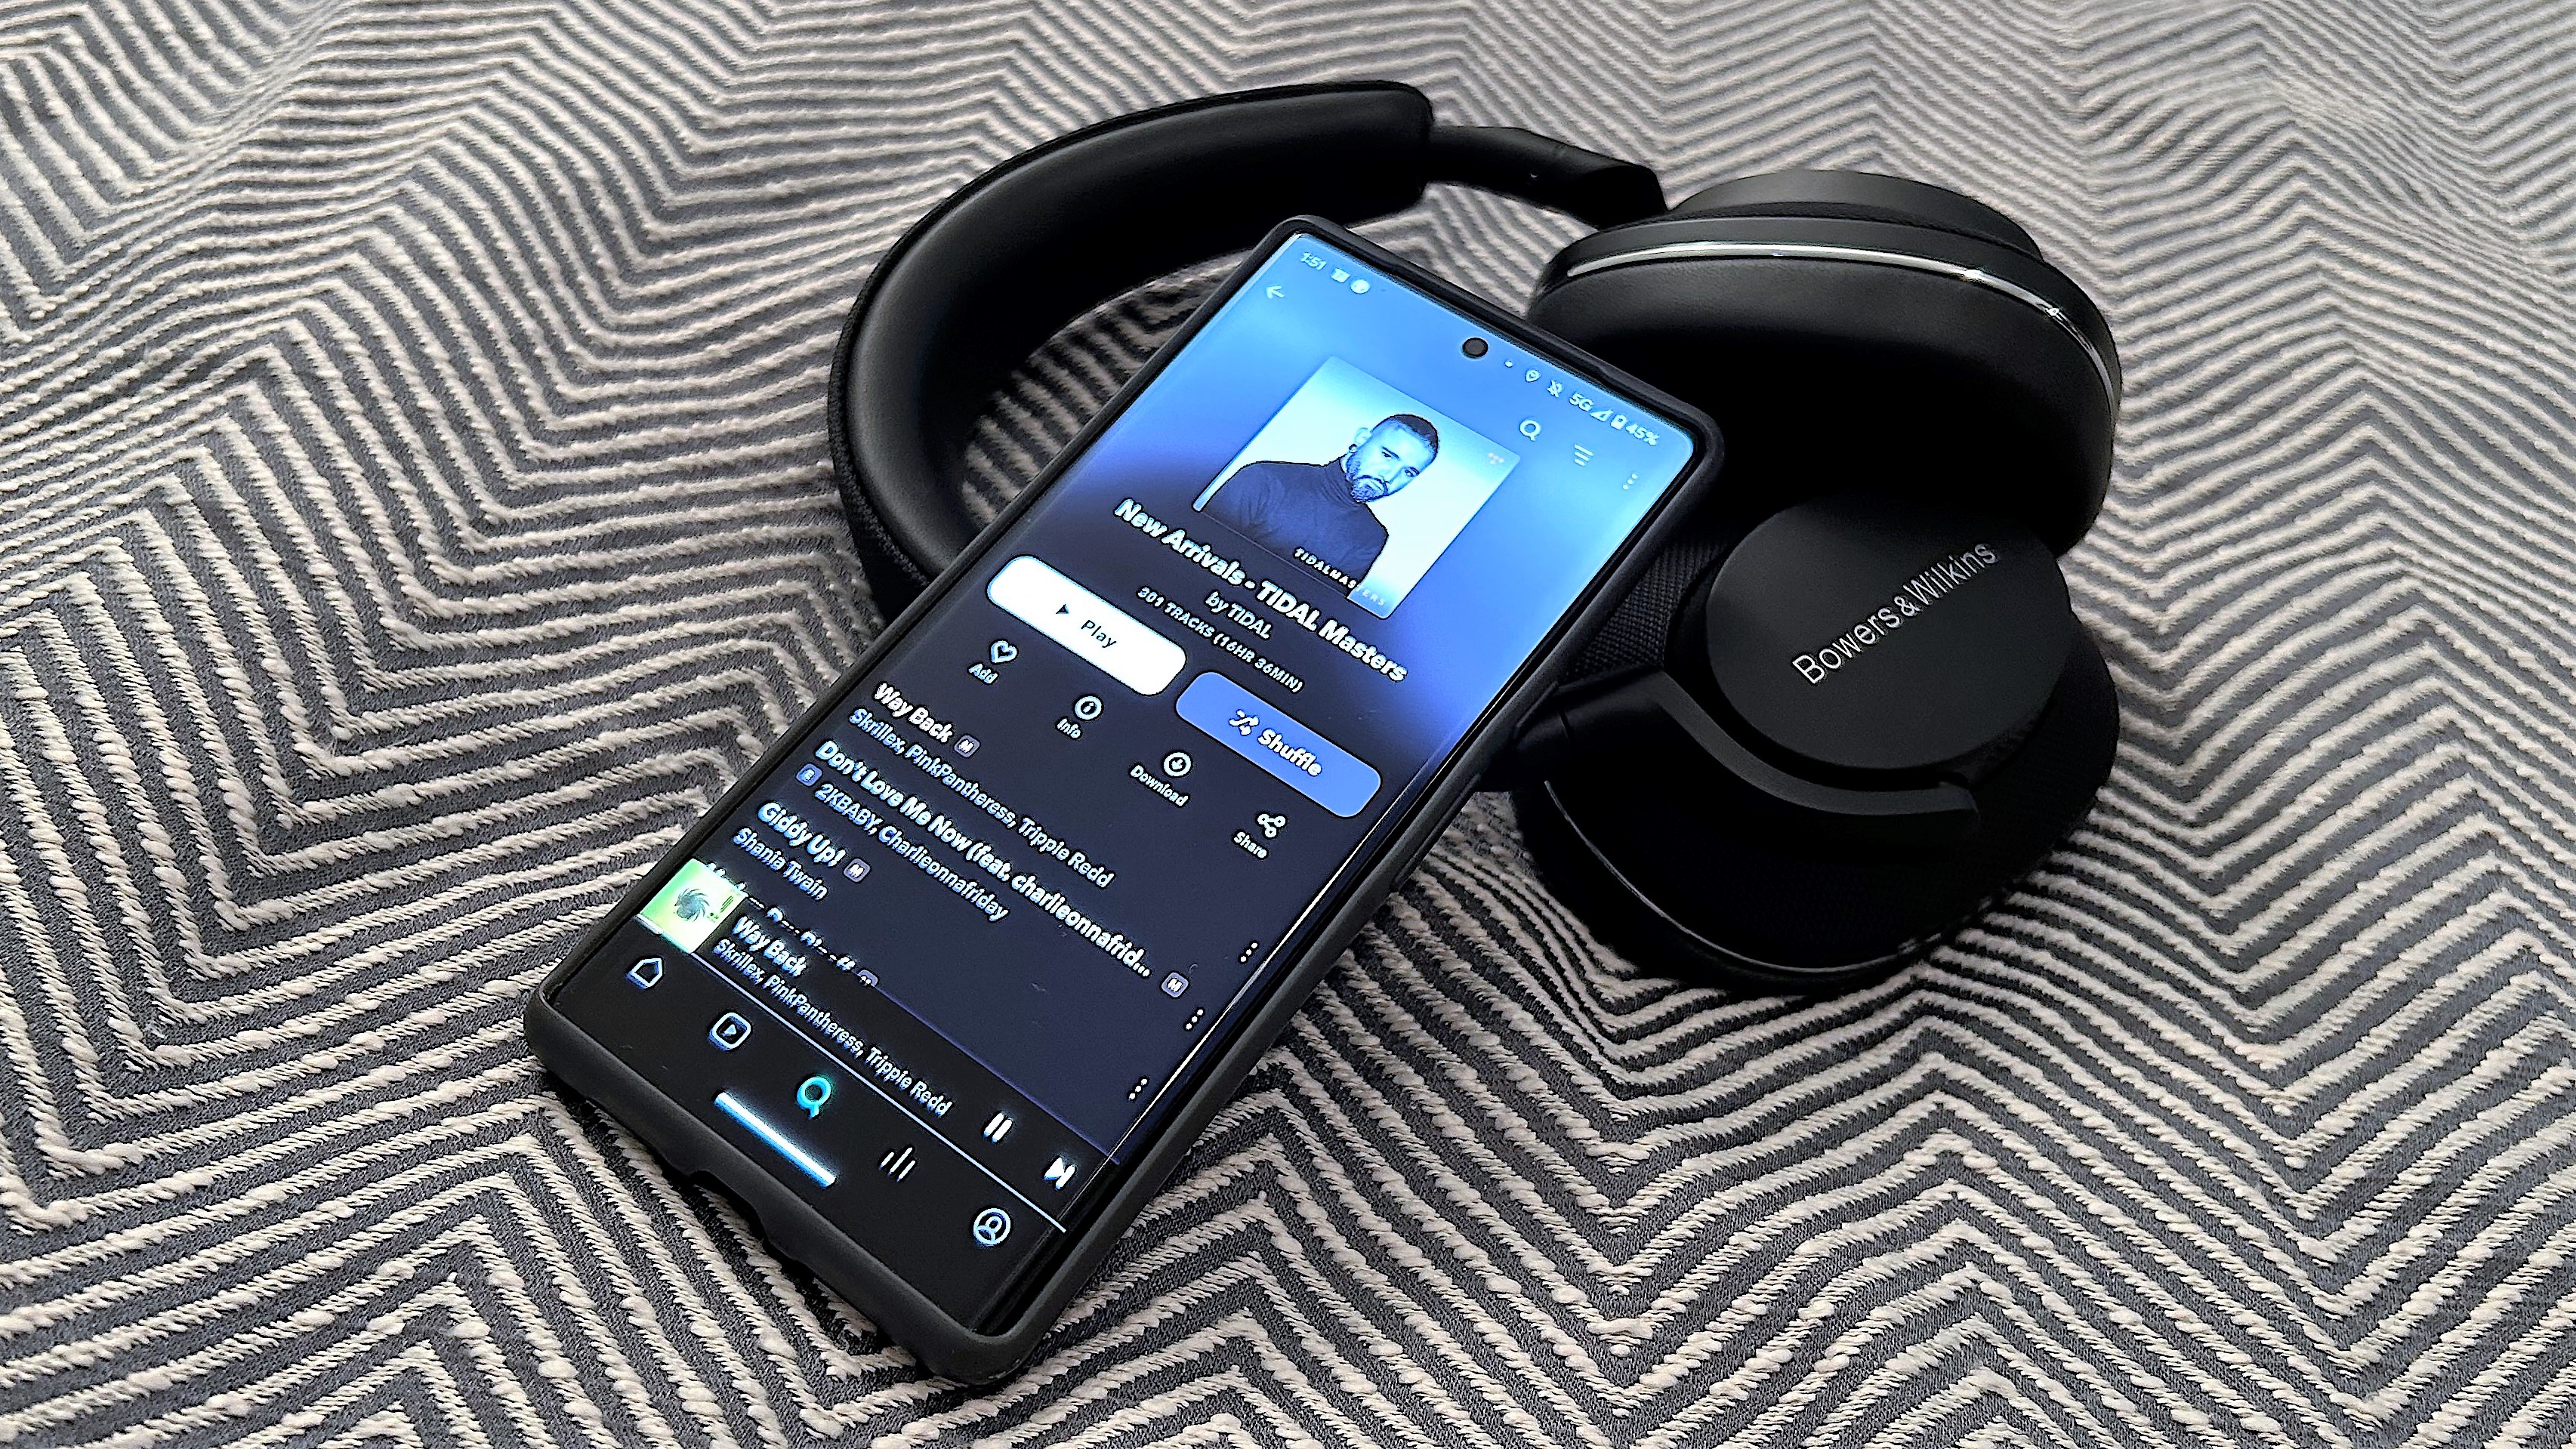
Tidal's music streaming service rightfully has one of the top spots in the best music streaming services we've tested. Skip the free offering, though, as the main reason to use Tidal is for its lossless and hi-res audio playback, along with numerous features that enhance the service and user experience that you probably didn't know about.
For $9.99 per month, the HiFi tier offers CD-quality streaming at 1,411kbps similar to Apple Music. While the $19.99 per month HiFi Plus tier may feel a bit steep, it gives access to millions of hi-res audio tracks streamed at up to 9,216kbps using the MQA (Master Quality Authenticated) audio format. It also gives access to spatial audio content in Dolby Atmos and Sony 360 Reality Audio formats, too.
There's plenty more to explore buried in the interface, including adaptive sound, custom wireless settings, and a special DAC (digital-to-analog converter) mode. I even found a great third-party app that makes transferring playlists to Tidal a breeze.
Read on to find out what I've discovered and follow my tips below to help you get the most from your Tidal subscription.
If you’re not already a subscriber but want to try out some of the features I've mentioned, sign up for a 30-day free trial and experience them for yourself.
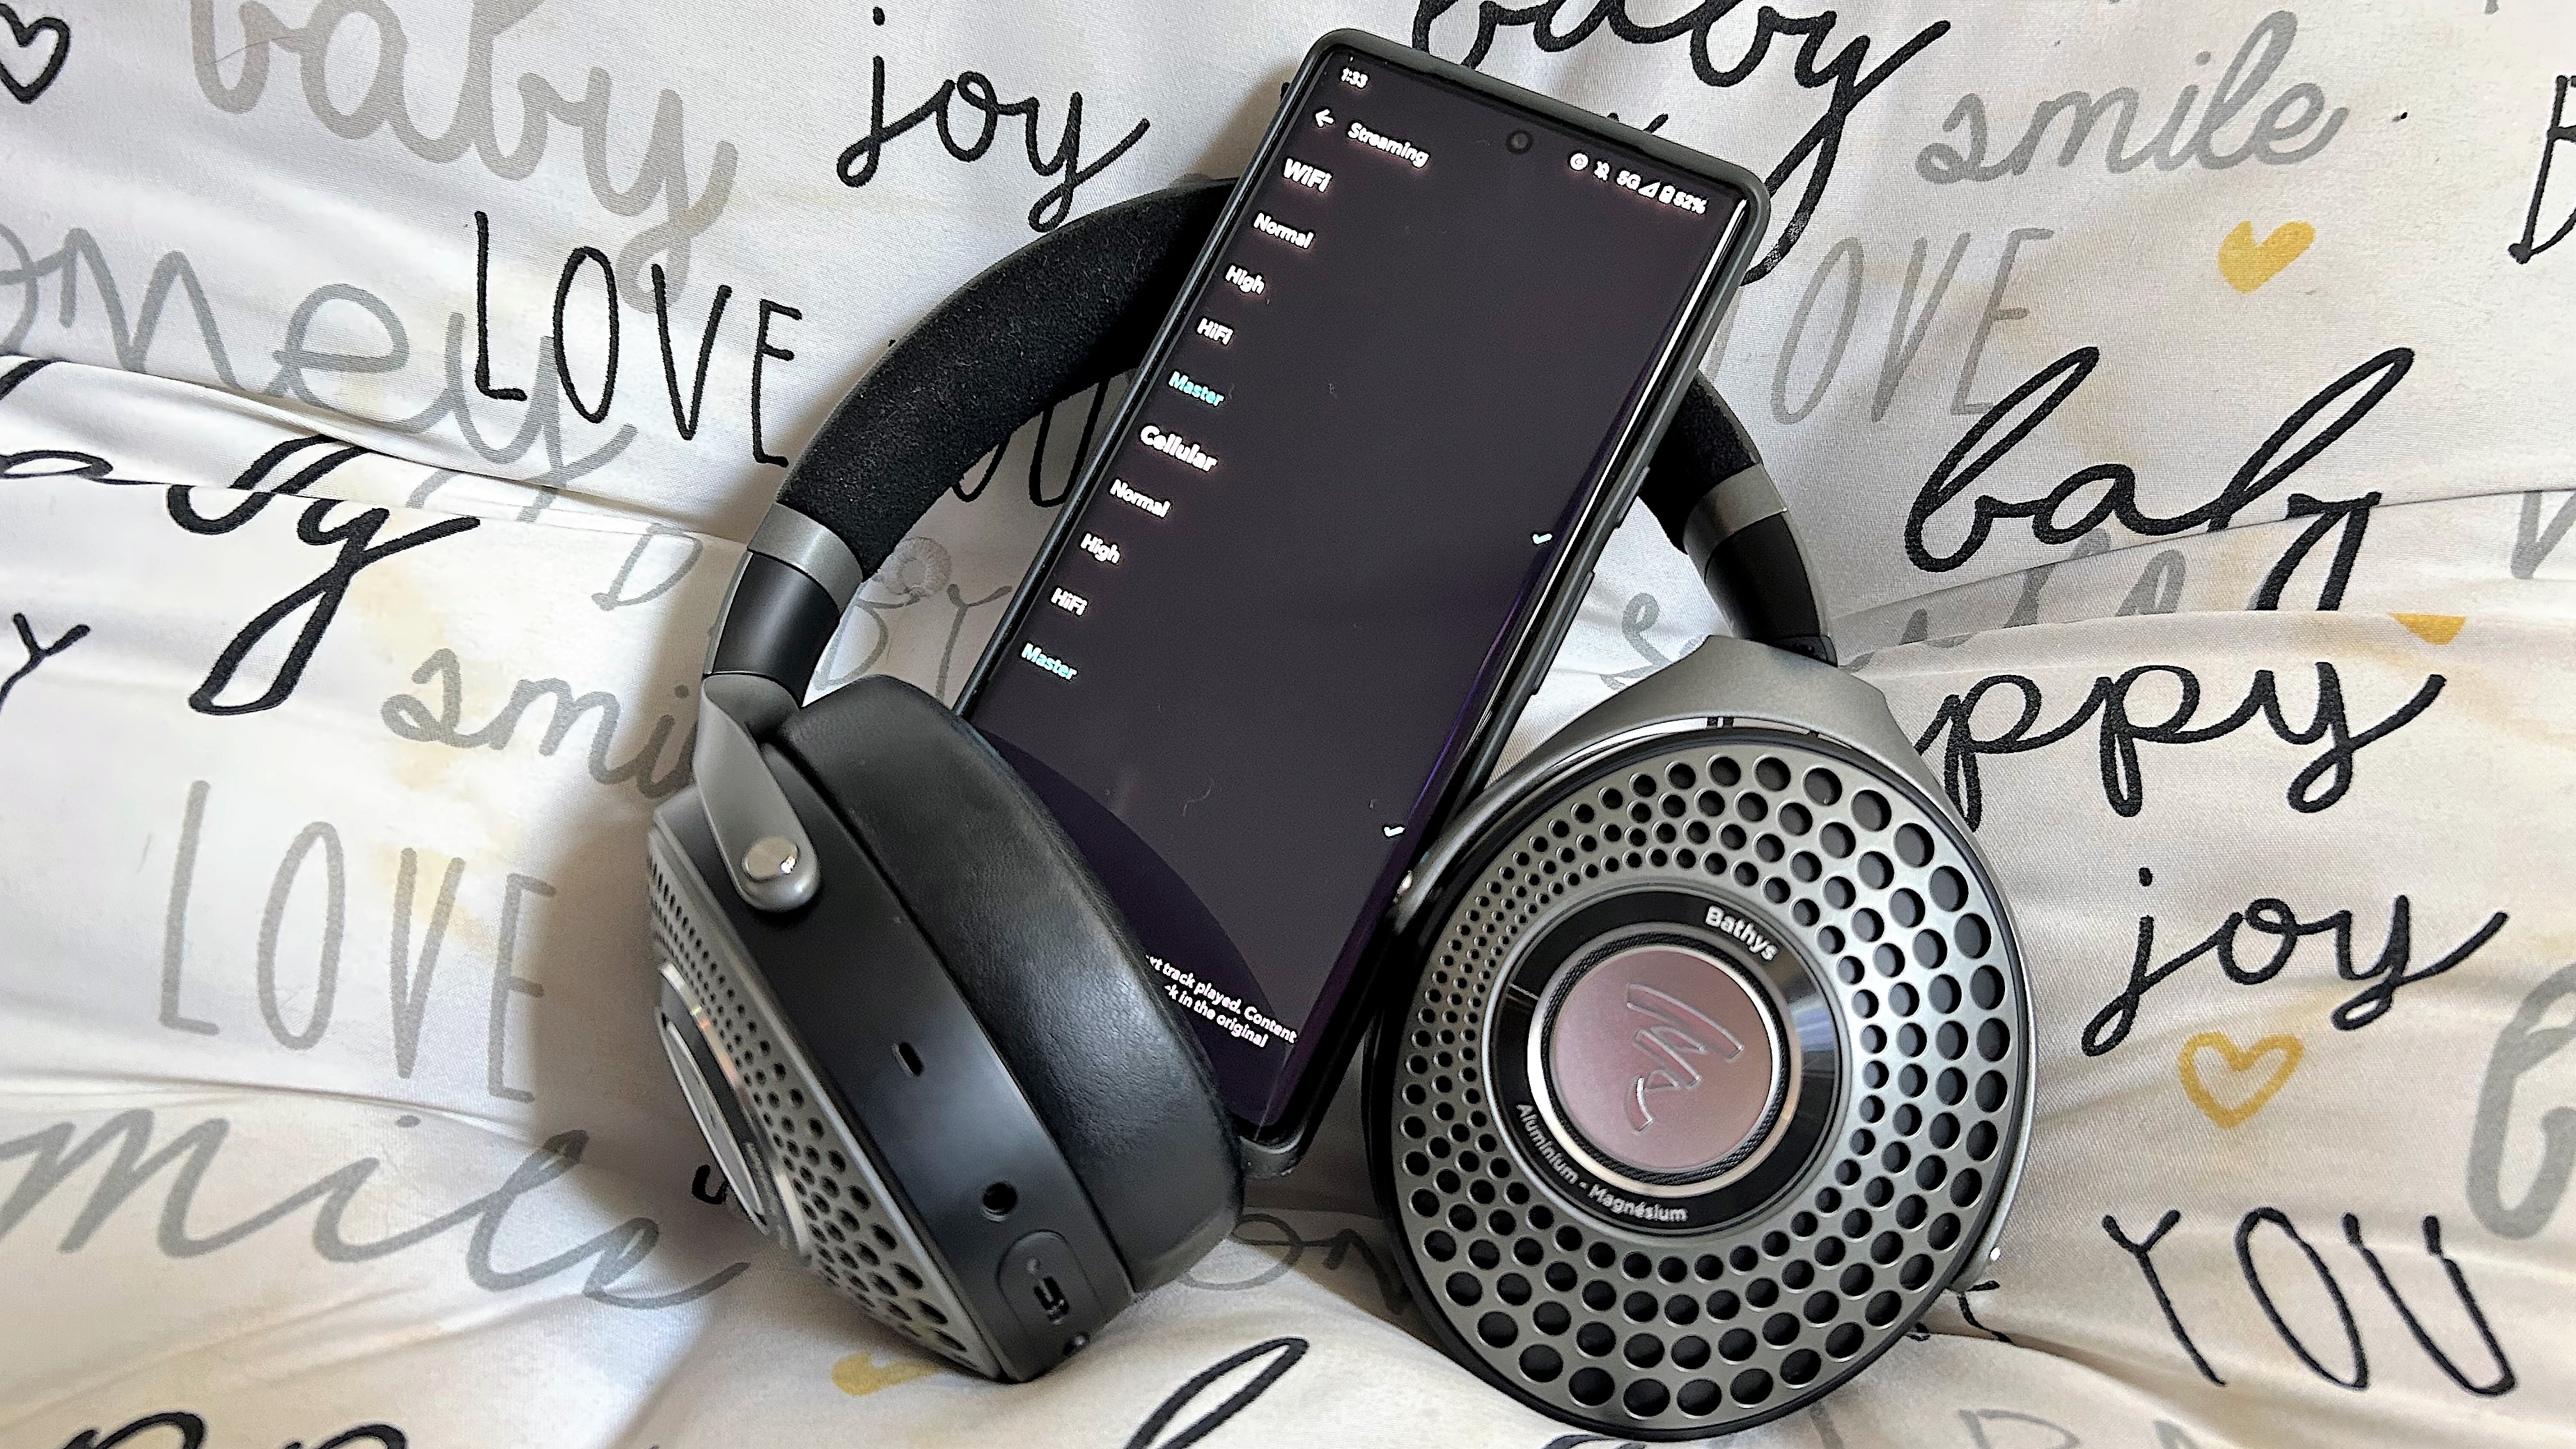
1. Select the Master setting in the mobile app
Users can choose whether they want to stream music over mobile data or Wi-Fi. Always select the latter because it provides faster bitrates and a stabler connection. More importantly, you must change the streaming setting to Master for studio quality performance. Go to the Settings menu to access the Streaming option and select Master.
To hear MQA content in all its glory, you'll need a set of headphones or home music system that can fully handle the higher resolution of up to 24-bit/192kHz music, so you may need to consider upgrading your hardware. Check out these excellent choices from our best audiophiles headphones.
Sign up to get the BEST of Tom's Guide direct to your inbox.
Get instant access to breaking news, the hottest reviews, great deals and helpful tips.
- Settings > Streaming > Master
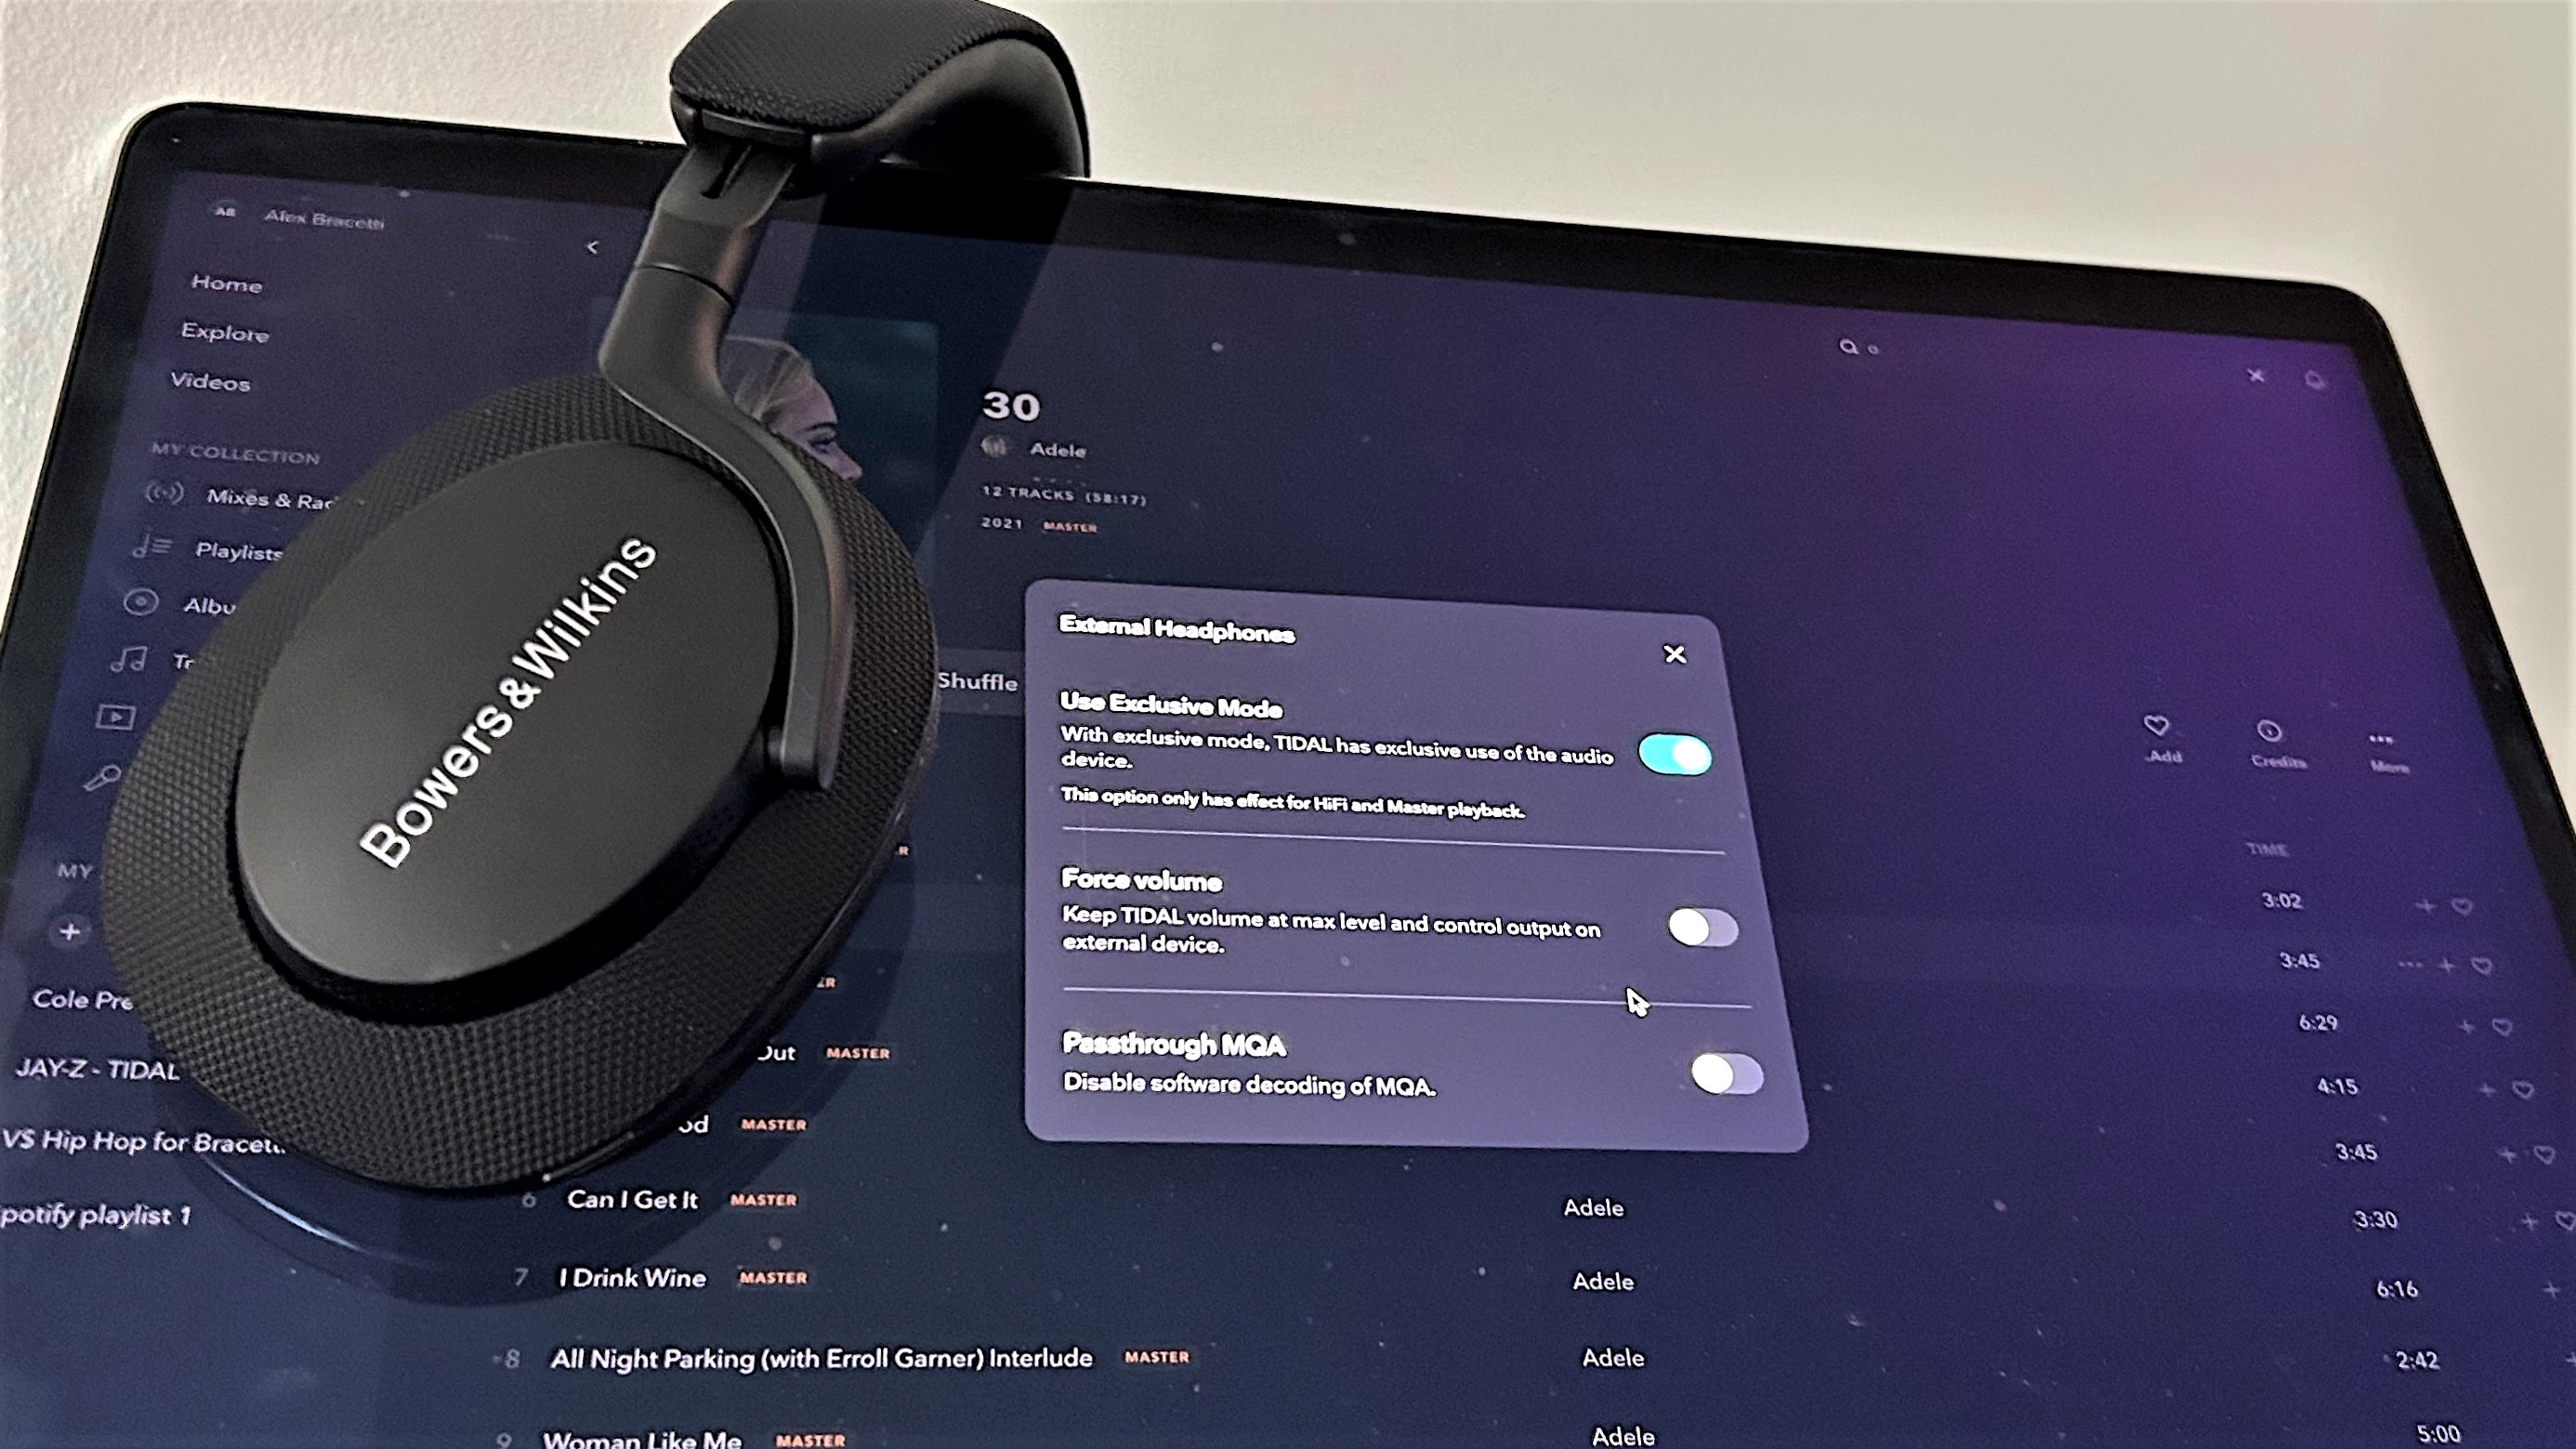
2. Use Exclusive Mode on your desktop
Also referred to as Hog Mode, Tidal's Use Exclusive Mode locks out your desktop's audio handling and lets Tidal take control for the highest quality playback. How so? It bypasses the audio mixer in the operating system, giving Tidal permission to assign the specific bitrate and sample rate relating to the audio files of the music your play form the streaming service.
Make sure to download the Tidal desktop app. Once done, follow the steps below to give it a try.
- Sound Output (speaker icon bottom right on music player) > More Settings > enable Use Exclusive Mode
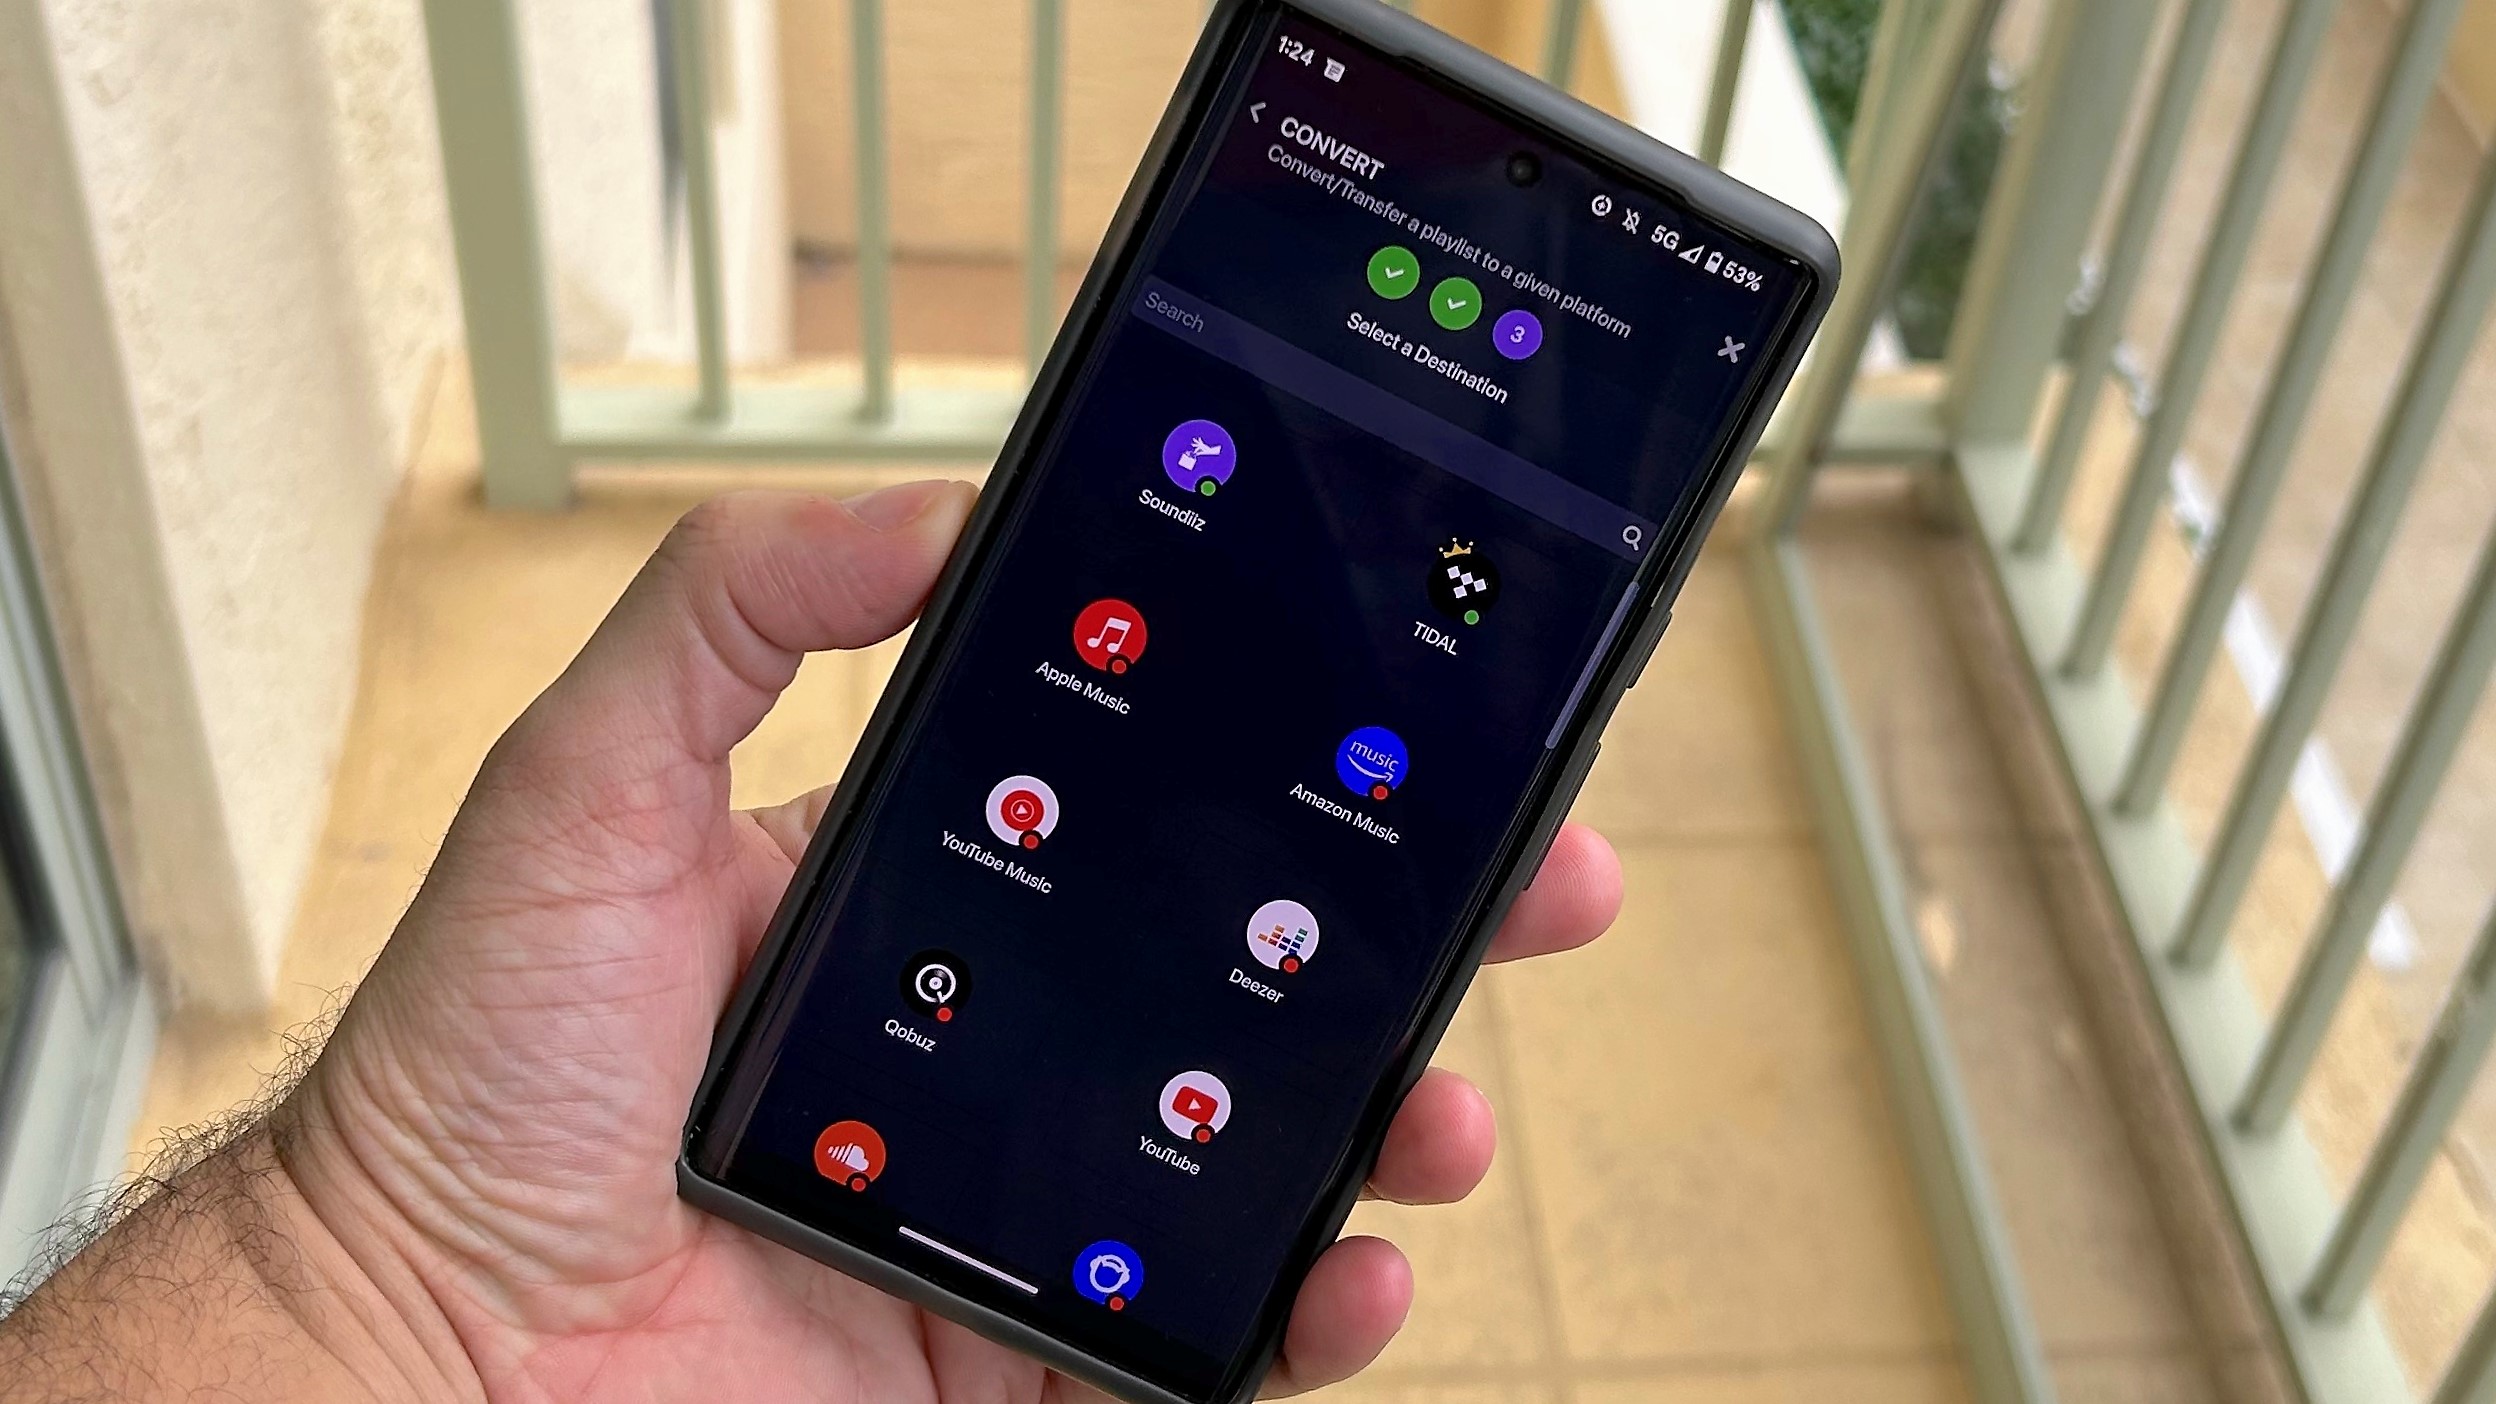
3. Transfer your playlists from another service
If you've created a playlist of tracks in one service but want to play the same tracks on another, it can feel like a lot unnecessary work to have to recreate a playlist of all the same tracks again. And you'd be right. But thankfully the Soundiiz has a way around this. This free browser and Android app can connect to your Apple Music, Spotify, and other music streaming services subscriptions, to transfer selected playlists to Tidal. Once properly set up and connected to your streaming service accounts, the process runs quickly and is very effective.
It's worth pointing out that occasional tracks may not be found on Tidal, possibly due to the music file in the playlist originating from a title not in Tidal's library, so there may sometimes be a need to add this manually once the transfer has completed.
There a re plenty of tutorials on Soundiiz to guide your through the steps to set up the transfer from your particular streaming service, or follow the quick steps below.
- Download the Soundiiz app > Log in > Menu > Select playlists > Convert > Confirm track lists > Select Tidal as the destination
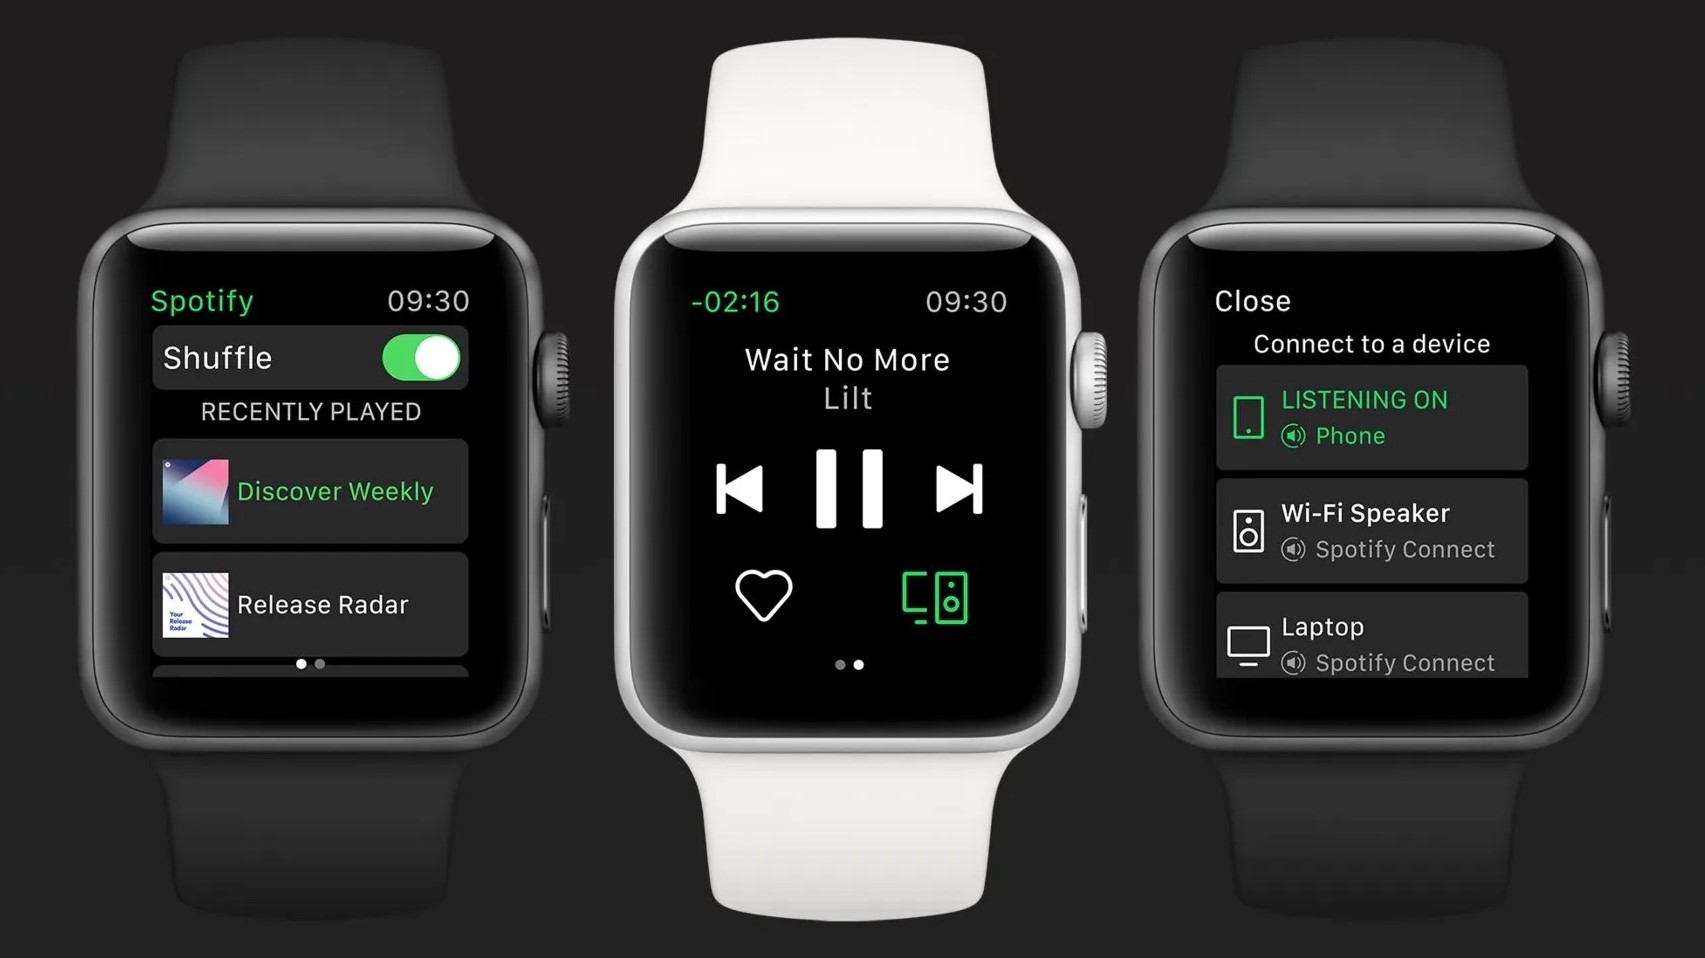
4. Listen to Tidal tracks on an Apple Watch
If you own one of the best Apple Watches, then you'll probably already know that it supports the Tidal app. That means you can enjoy the streaming service’s massive music library without being tethered to an iPhone. You can control playback and download playlists on your wrist, as well as listen offline without a wireless connection.
According to our sister title What Hi-Fi, the Tidal music app for Apple Watch limits music streams to 96kbps, but there are apparently workarounds to boost streaming quality. Third-party apps like AudFree allow you to hear and save MQA Tidal tracks with all metadata preserved. The software downloads Tidal songs to a computer, transfers offline downloads to an iPhone, and syncs music to your Apple Watch.
Note: AudFree is not a partnership service of Tidal.
- Download Tidal app from App Store > Go to link.tidal.com > Use code shown on Apple Watch > Select 'Done'
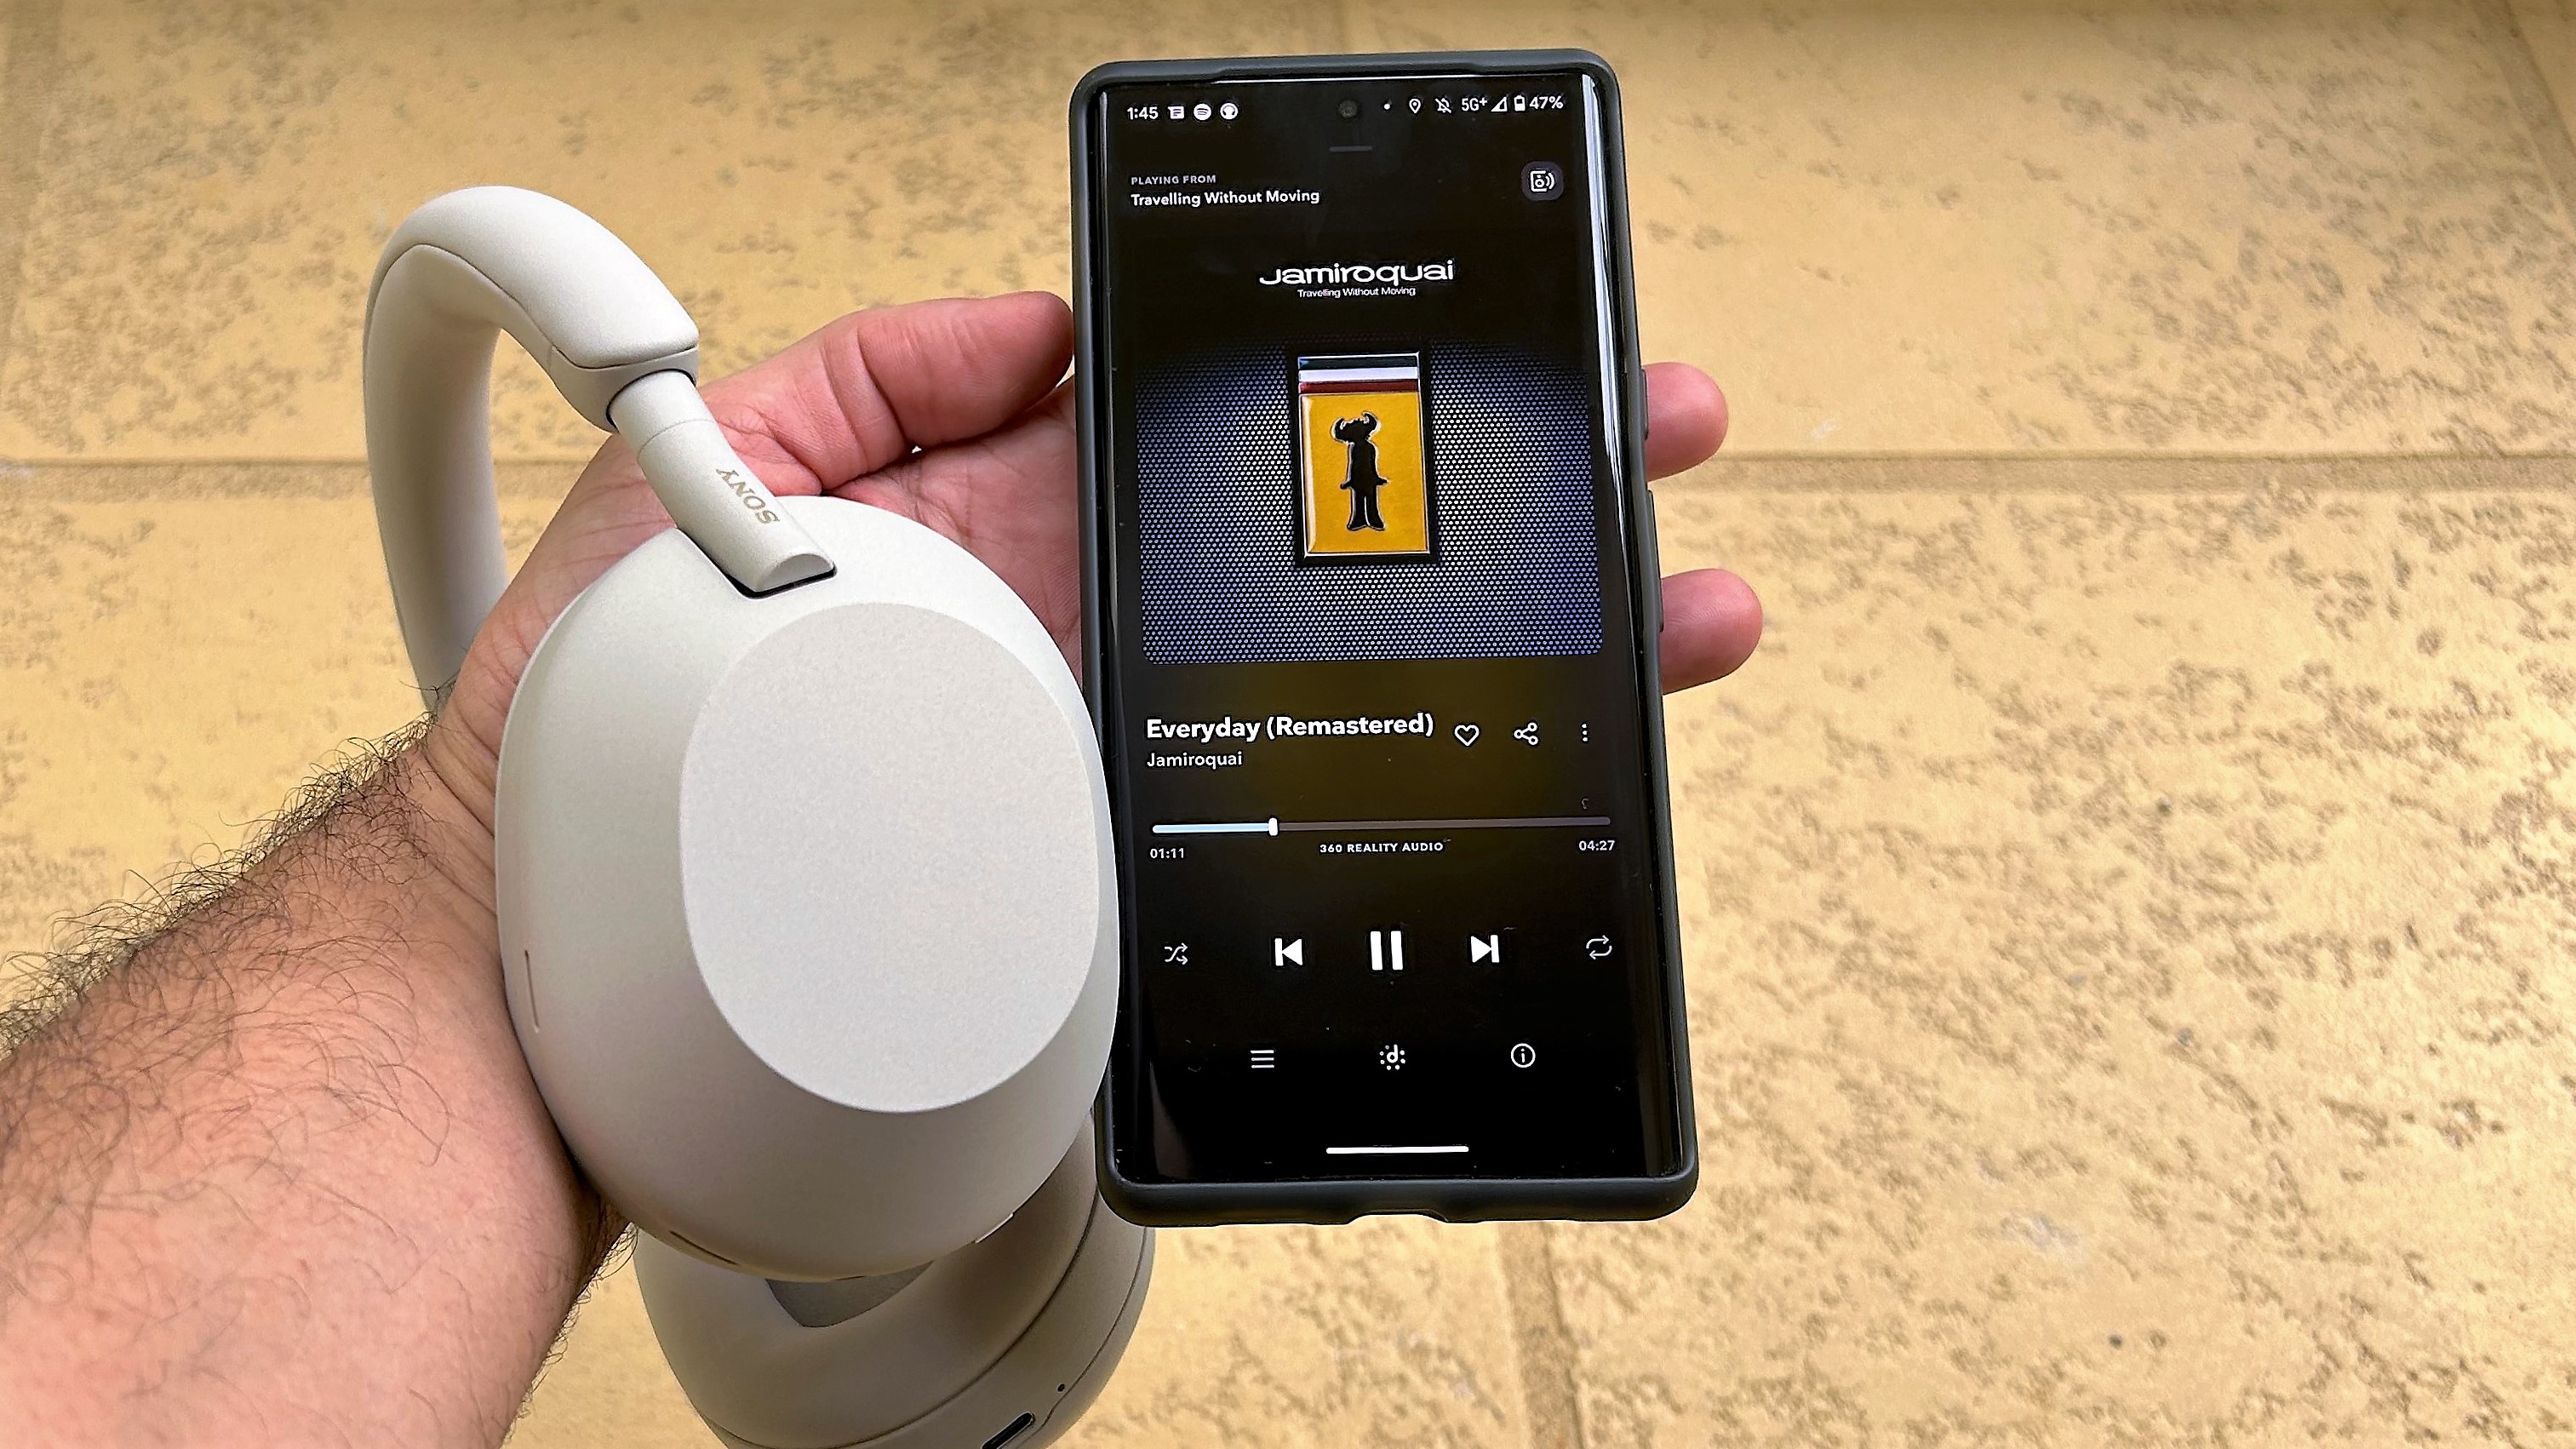
5. Enjoy Sony’s 360 Reality Audio content through the Tidal app
Tidal is optimized for Sony’s 360 Reality Audio platform. This feature takes individual sounds like instruments, special effects, and vocals and places them in a 360-degree spherical sound field for immersive listening. Tidal HiFi Plus members with compatible models such as the best Sony headphones can enable the object-based spatial audio technology in the Tidal app. The search area has a dedicated Sony 360 Reality Audio section that lists all supported content.
The Sony Headphones Connect app also lets you personalize sound and has many customization tools to enhance audio across all media platforms.
- My Collection > Settings > Quality > 360 Reality Audio
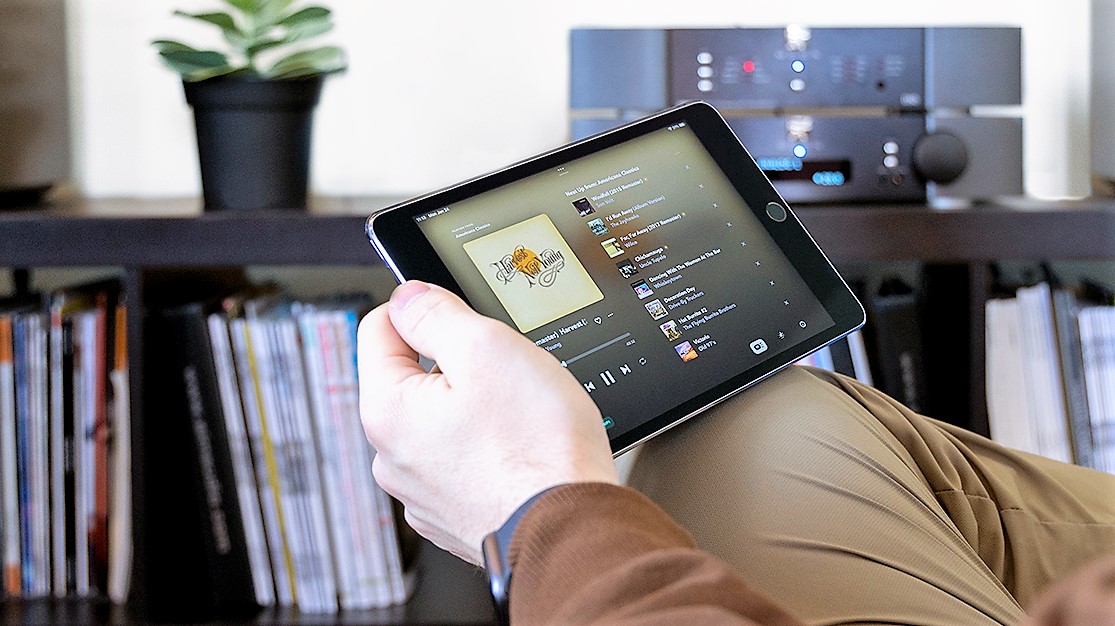
6. Use Tidal Connect
Tidal Connect is free feature similar to Spotify Connect in that the playback device, such as a compatible wireless music system like the Sonus faber Omnia, is connected over Wi-Fi (or wired via Ethernet). The Tidal app on your smartphone or tablet then effectively becomes a navigation device to find your way around Tidal's entire music library including Dolby Atmos and Masters content.
Tidal Connect compatibility can be found on an increasing number of music streaming components and integrated music systems, and is the most reliable and high-quality connectivity option for hi-res music streams.
- Play song > tap 'Now Playing' bar > Select Sound Output (speaker icon bottom right on music player) > Choose output device on the selector menu
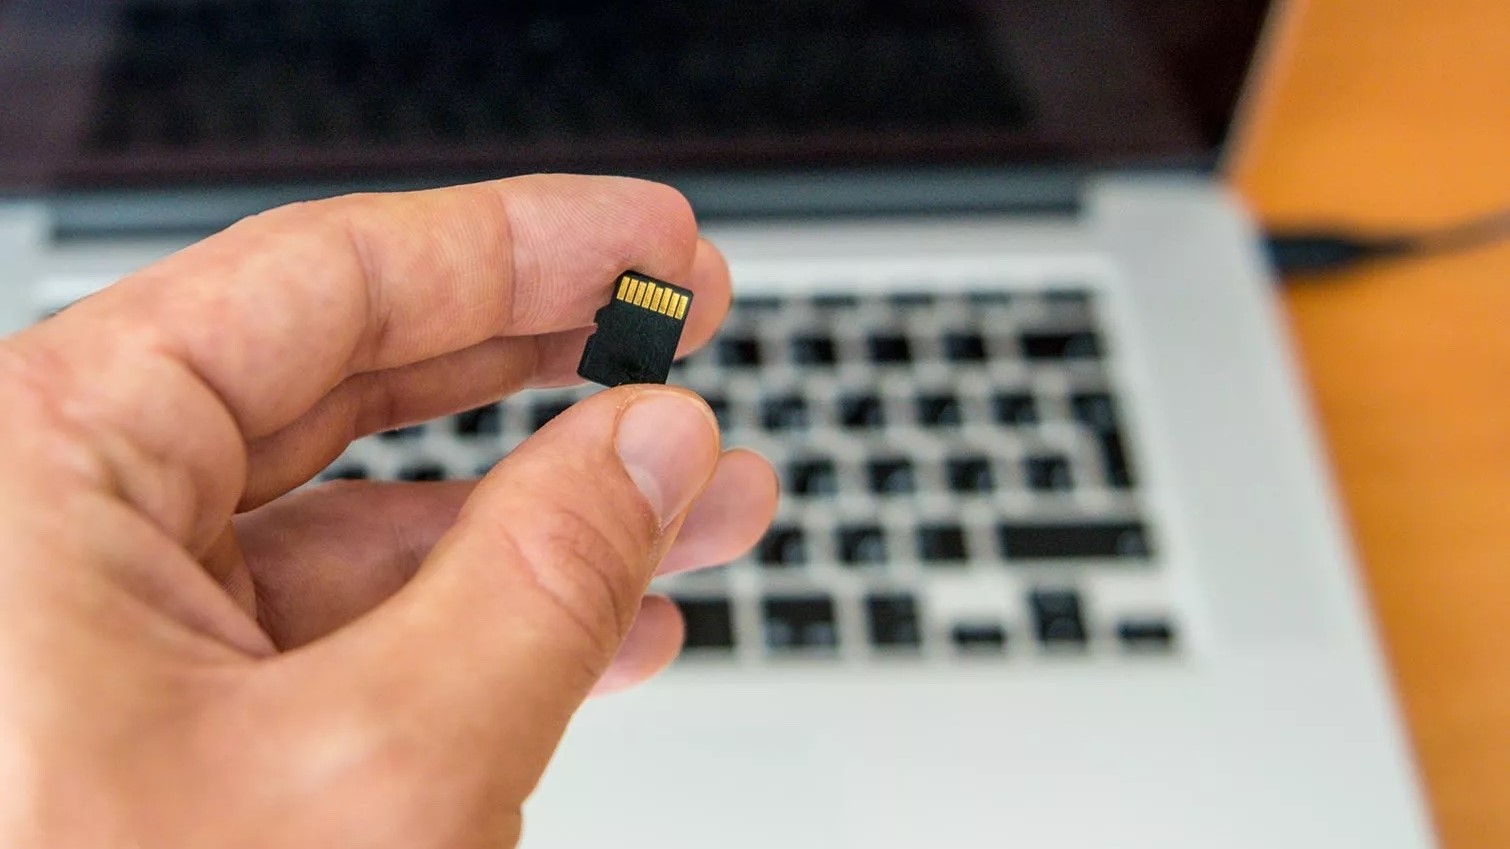
7. Save Tidal tracks on an SD card
Tidal HiFi and HiFi Plus subscribers can download lossless and hi-res albums, songs, and playlists for offline listening. However, these audio files can be very large in size, and tracks take will eat up storage on mobile devices, leaving little room for storing other media such as movies, photos.
If your smartphone or tablet has a digital memory card slot, pick up an SD card and save all that content on it. Just remember to select the memory card option instead of your smartphone's internal memory when looking for tracks to playback.
- Settings > My Content > Download Destination
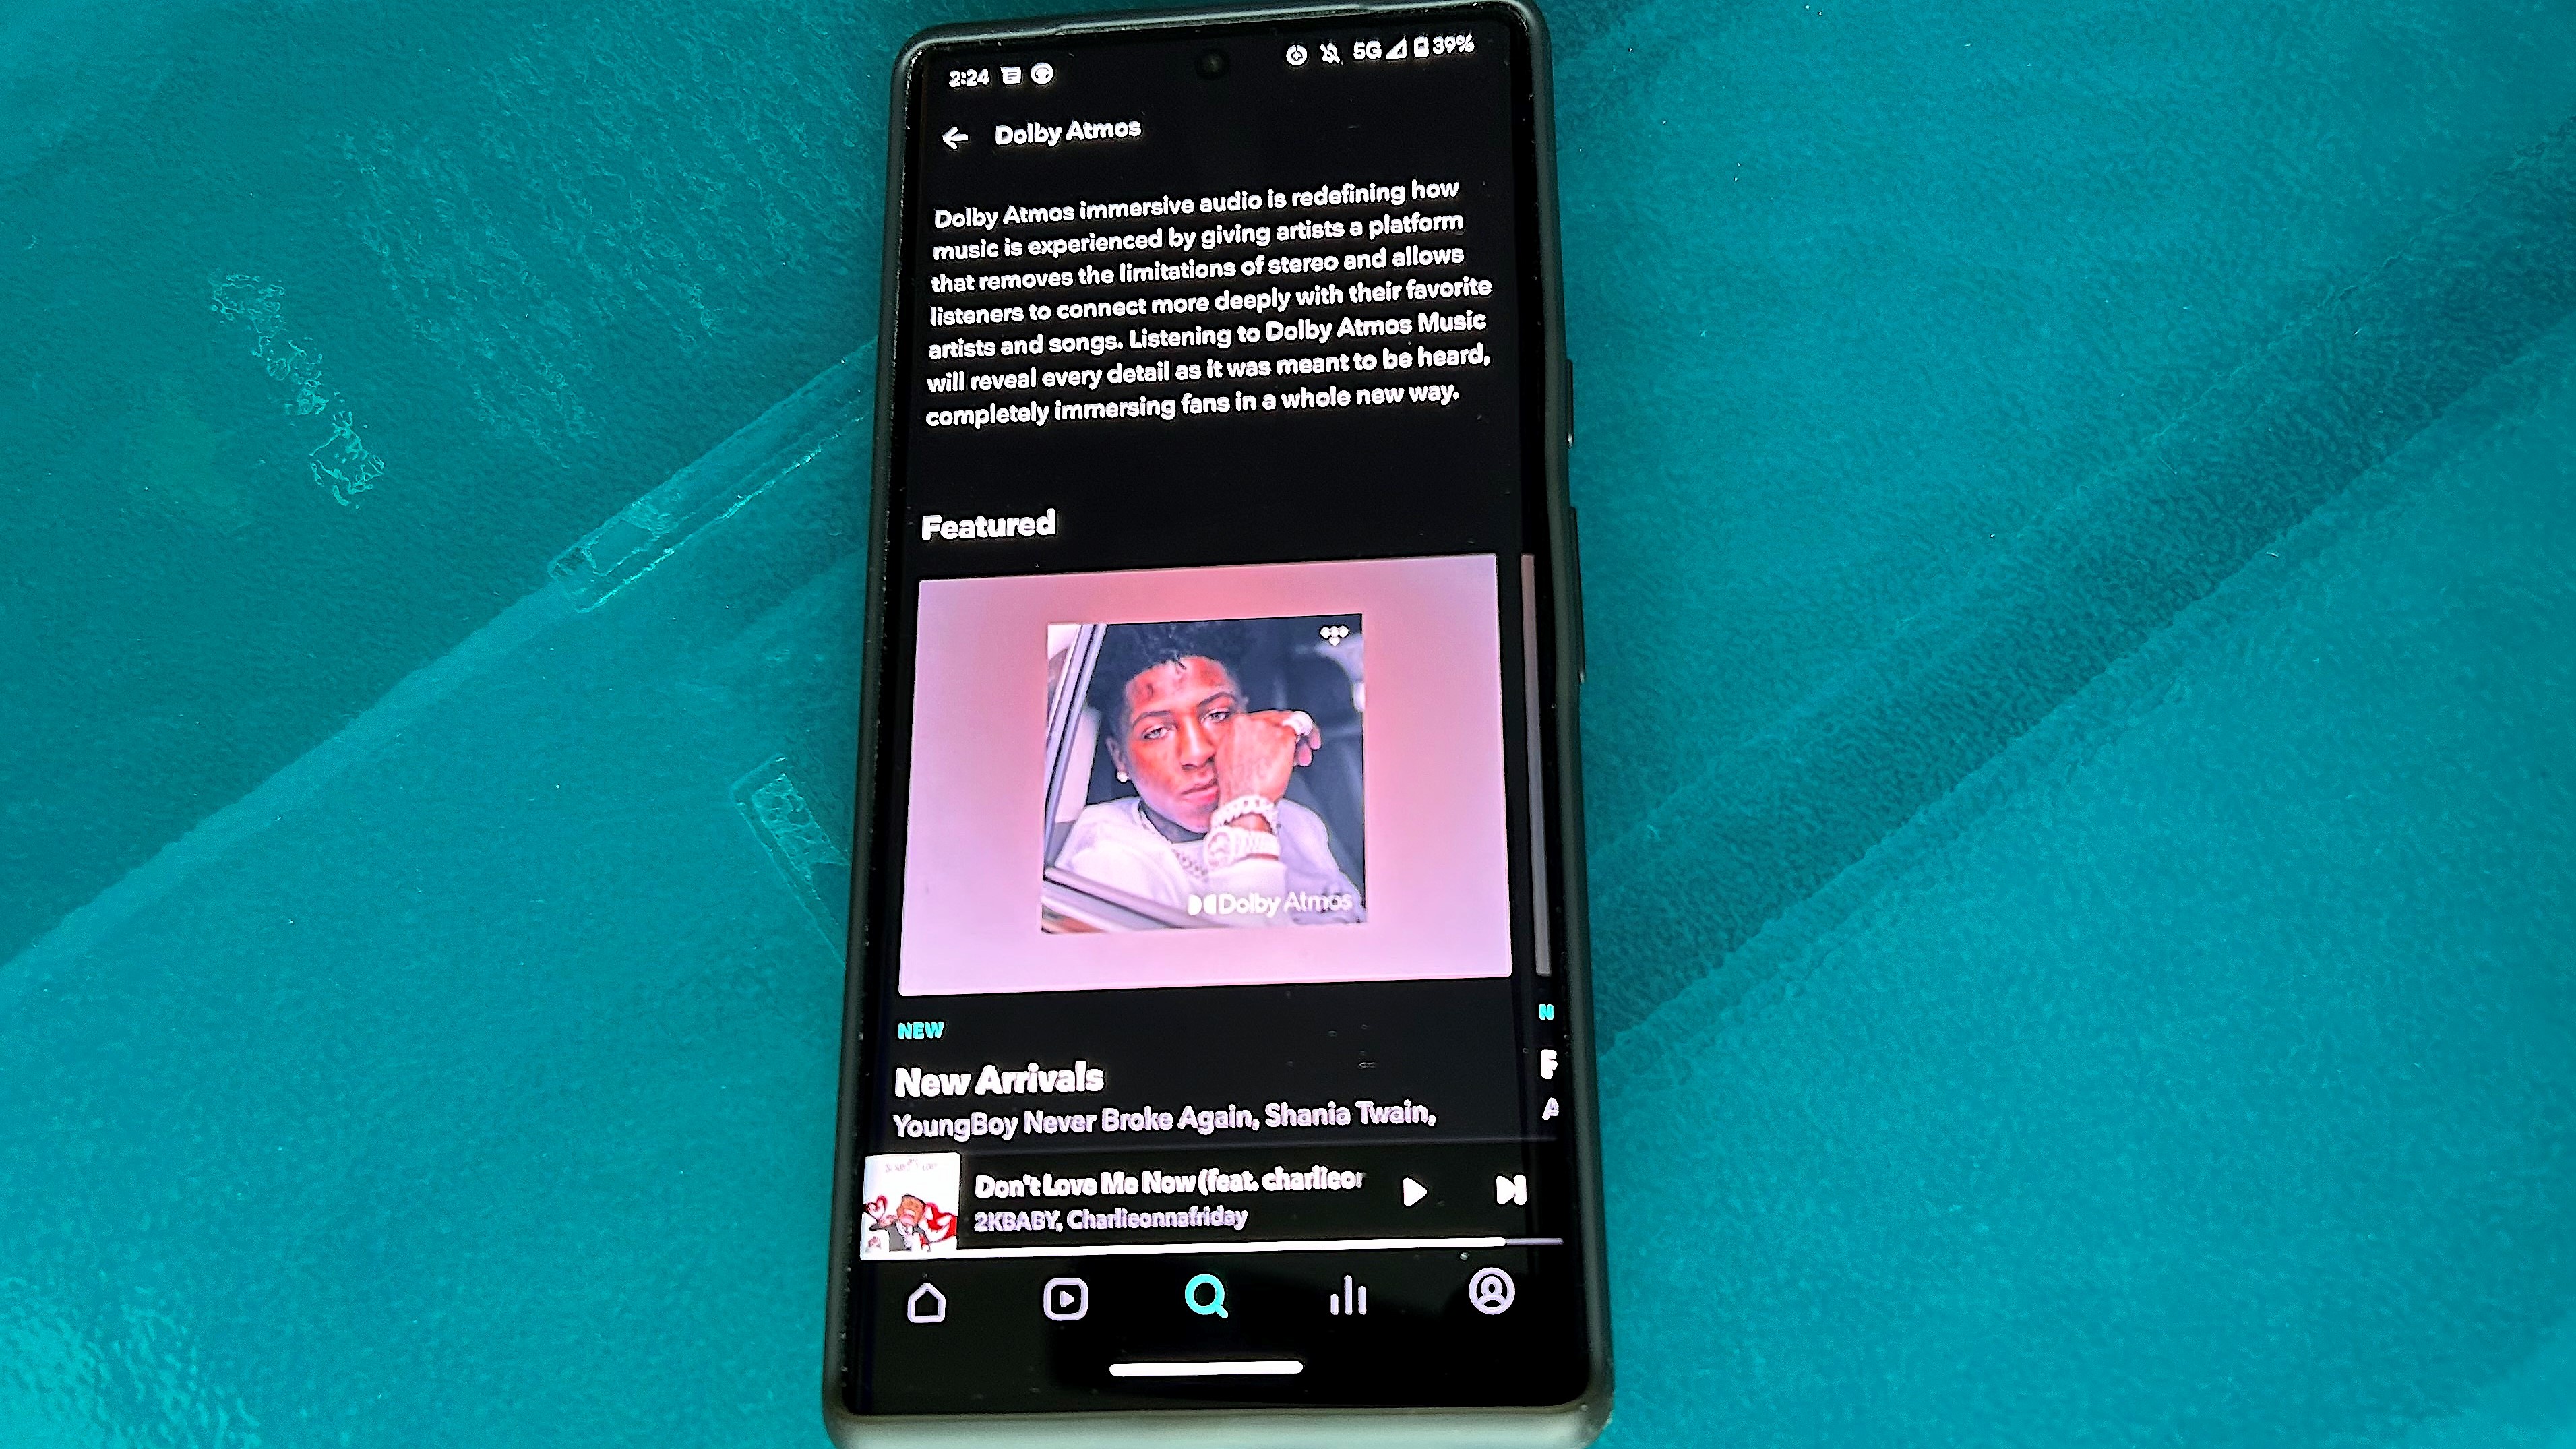
8. Immerse yourself in Dolby Atmos content
Tidal hasn’t done the greatest job of showcasing the Dolby Atmos content it has in its library, but you'll need a HiFi Plus subscription and an Atmos-compatible device. The easiest way to find the immersive content is by performing a search for “Dolby.” You’ll see a genre tab that hosts several playlists, new releases, and thousands of tracks.
- Hit the Search icon > type "Dolby Atmos > Pick a playlist
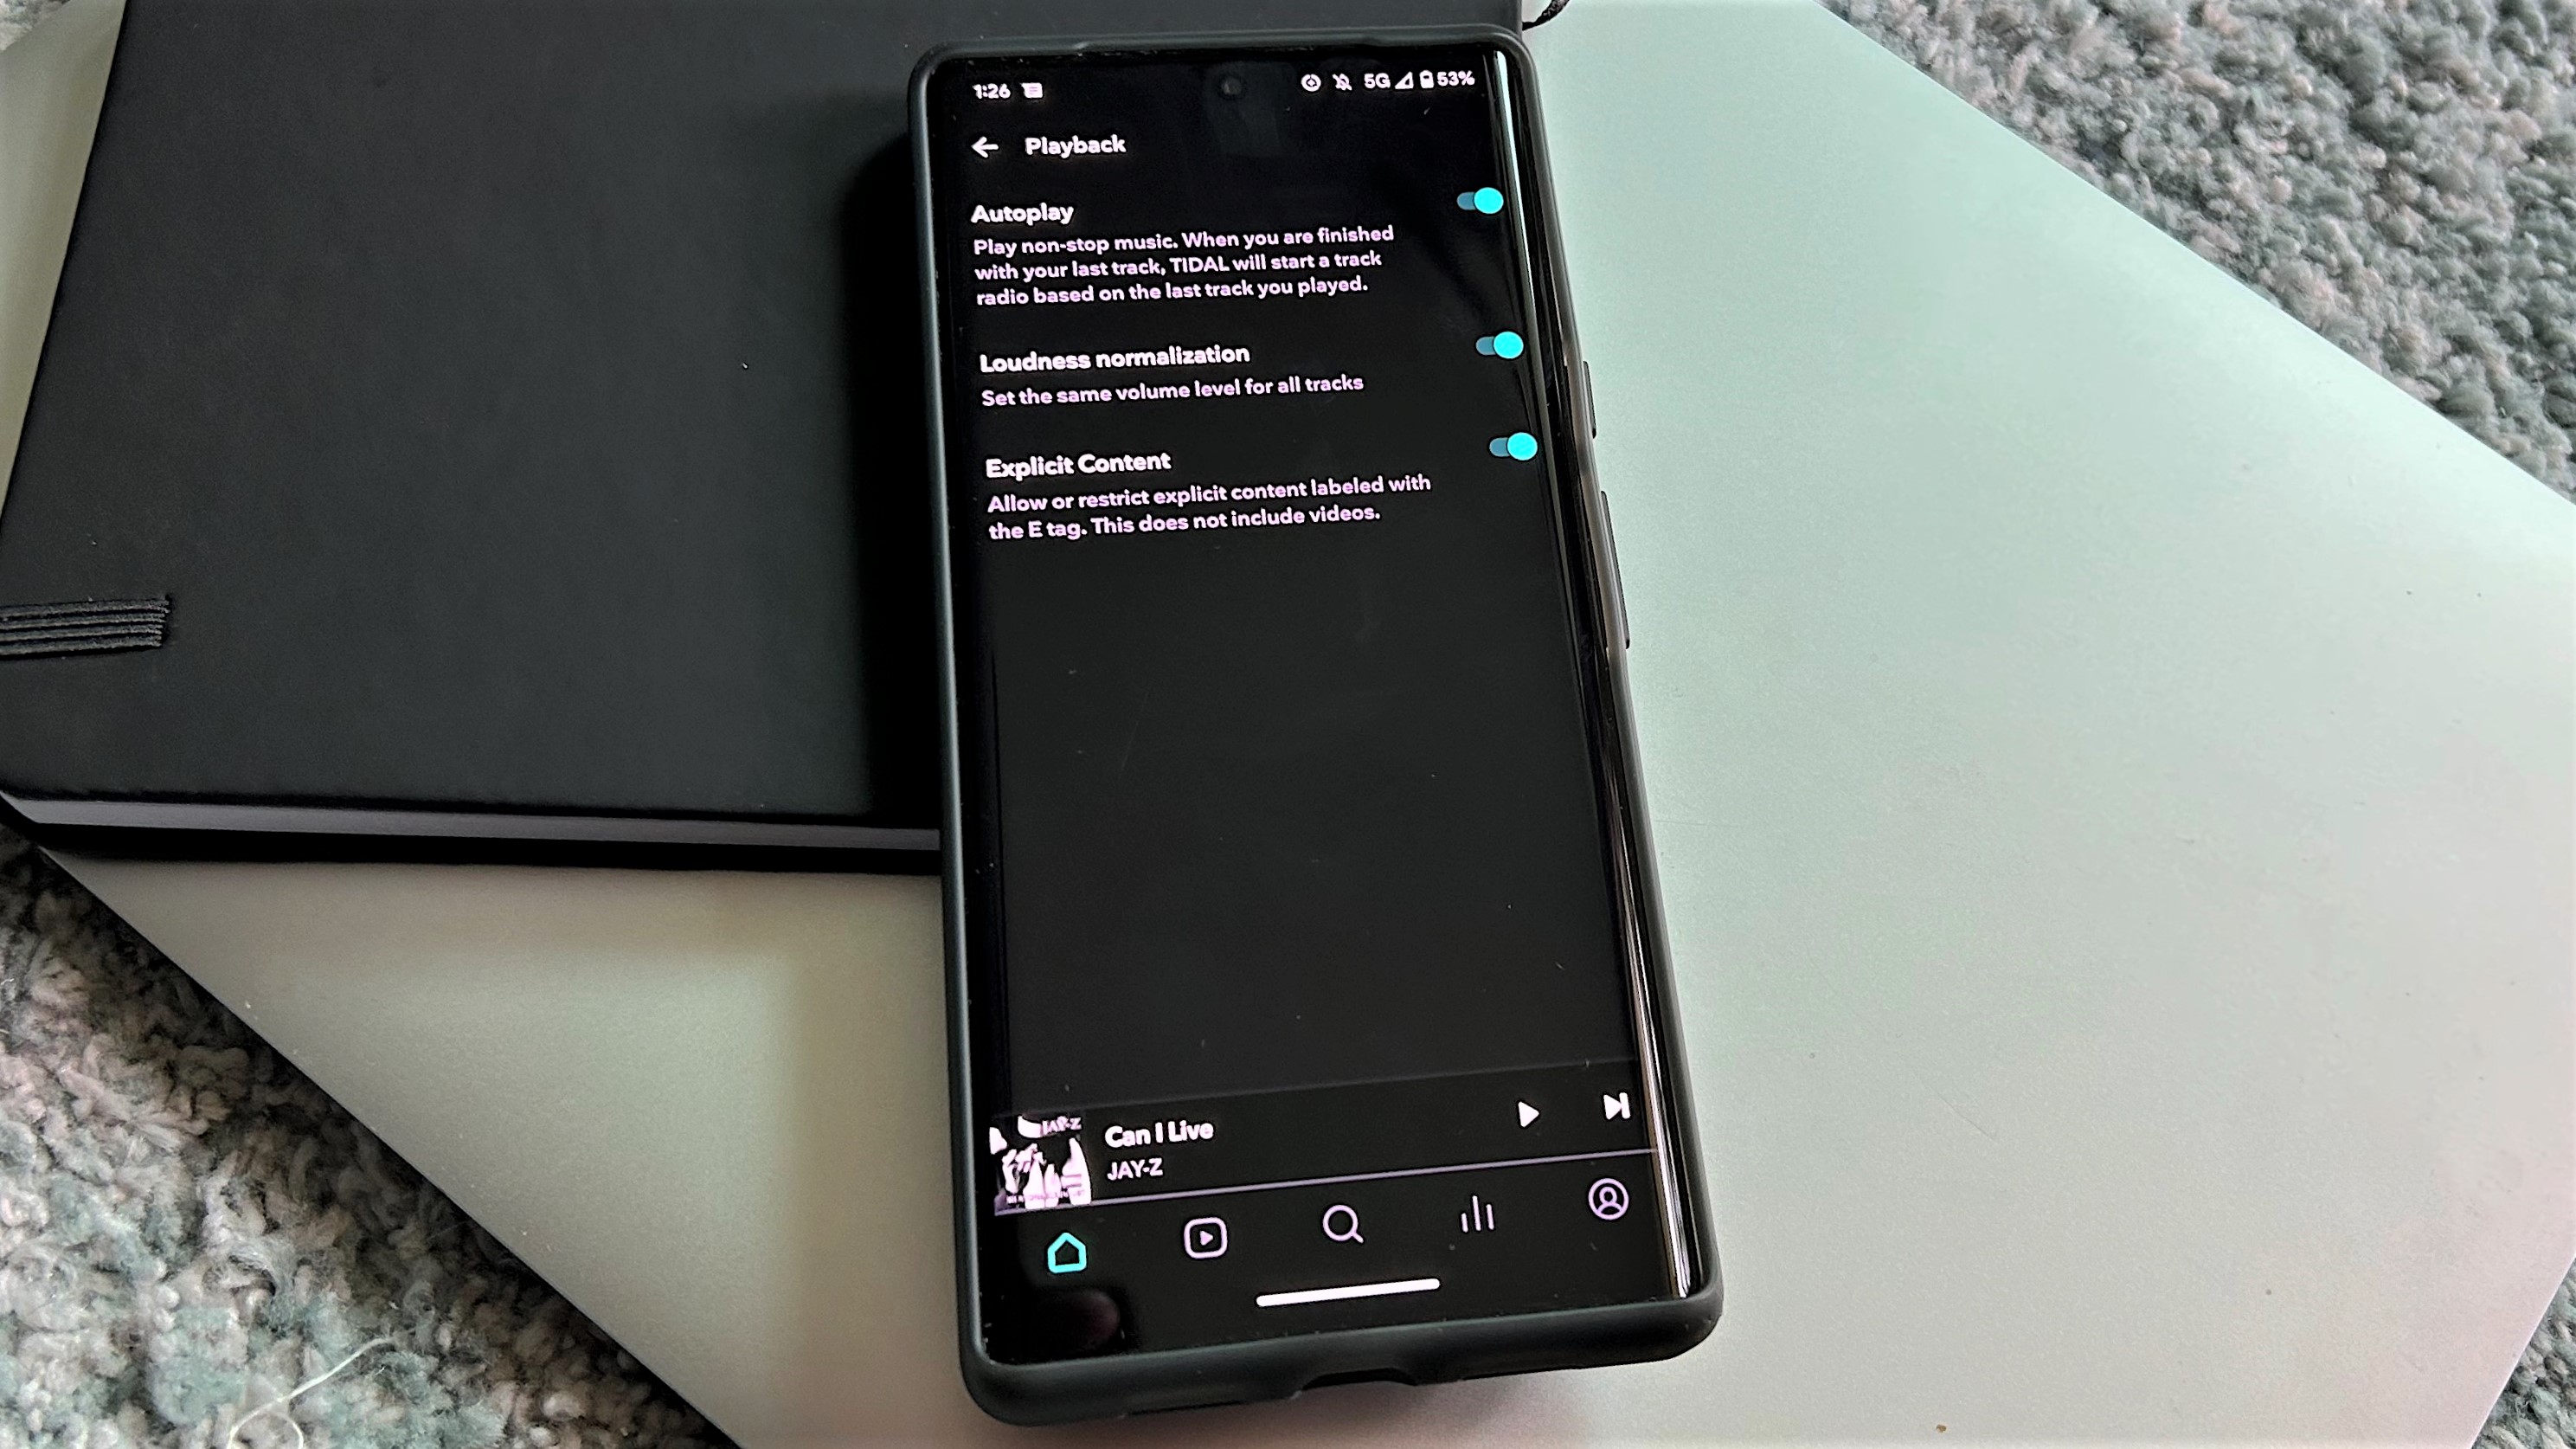
9. Hear songs with Loudness normalization
Some music tracks are engineered to sound louder than others. On top of that, listening to music at high volumes can potentially damage your hearing. But what if there was a feature to set the same volume level for all tracks? Tidal has one: Loudness normalization. This automatically normalizes tracks that may have been mastered at different levels, so that they are better matched.
An older version of this feature supported a pre-amp slider control to adjust loudness. We’re hoping Tidal brings it back at some point.
- My Collection > Settings > Playback > Loudness normalization
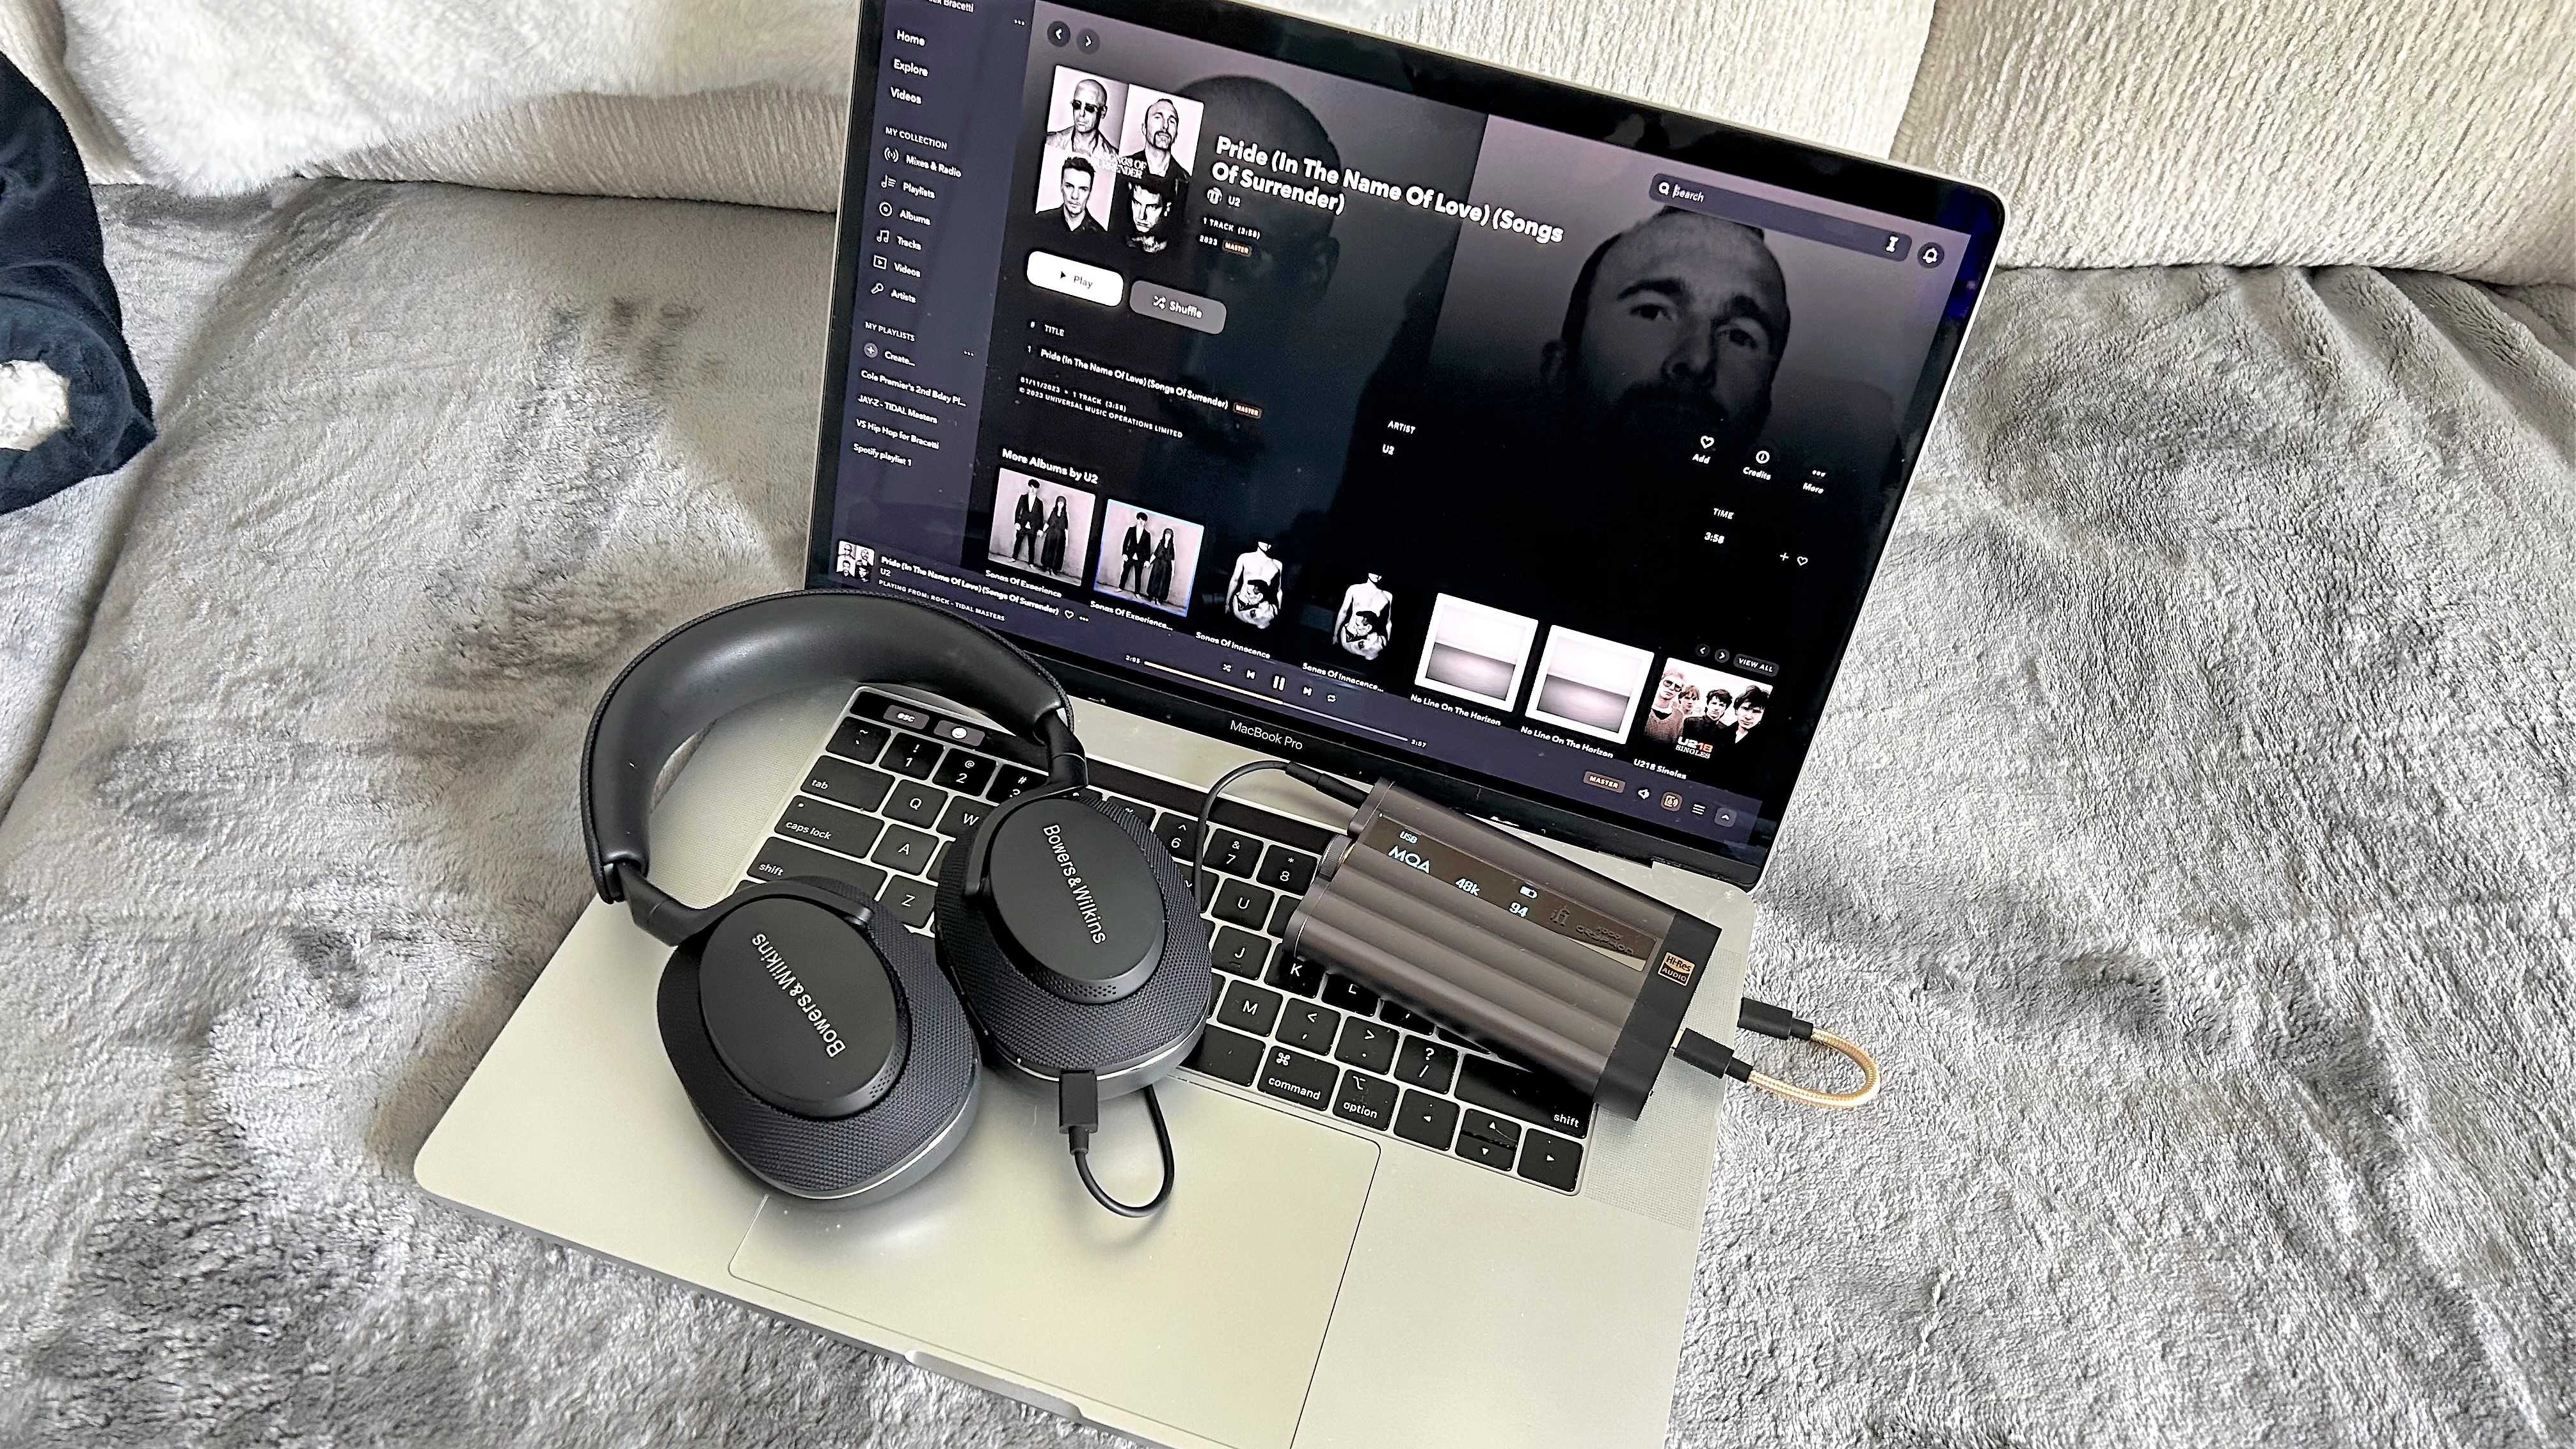
10. Passthrough MQA gives older DACs Master sound
Many newer DACs support MQA, but for audiophiles with an older DAC, there is Passthrough MQA. This setting disables the software MQA unfolding in Tidal, allowing your DAC to process Tidal Master recordings.
Like Exclusive Mode, this can only be enabled on the Tidal desktop app. Set the Streaming setting to Master and choose your device on the sound output list. Then press the speaker icon on the music player to access more settings. Turn on Passthrough MQA and your DAC will perform the full decoding of the MQA audio.
- Settings > Streaming > Master
- Settings > Sound Output > Select DAC
- Sound Output (speaker icon on music player) > More Settings > enable Exclusive Mode > enable Passthrough MQA
More: To find out whether a subscription to one Tidal's HiFi subscription tiers is worth your money, read our full Tidal review.
A lifestyle journalist with an affinity for consumer products, Alex has over a decade of experience and has worked with popular publications such as Complex, Thrillist, Men’s Health, Gear Patrol, AskMen, and Hoop Magazine. He currently focuses on audio, reviewing the most coveted headphones in the market for both Tom’s Guide and Laptop Magazine.
- Lee DunkleyAudio Editor
-
Lexxie Hi Alex. Thanks for the article. I'd like to correct some errors to help readers out.Reply
Everything in the article is correct except #9 and #10 which I'll correct here:
9. "Hear songs with Loudness normalization" - No. Do the opposite of what Alex says for better sound quality. TURN LOUDNESS NORMALIZATION OFF TO PRESERVE LOSSLESS SOUND QUALITY.
Loudness normalization has helped us win the "Loudness Wars"--an issue that resulted in compressed dynamic range giving us a vastly inferior recording quality for about 25 years. Loudness normalization helped us win that war and all new recordings, old recordings from before the loudness war, and remasters from about 2020 onward, have a clean bill of health. So, the secret insider knowledge here is that you want to turn it OFF to preserve your lossless bit-perfect quality. Loudness War is over and we won, it's only on by default to make sure that cancer never comes back into our recordings. FYI loudness normalization achieves its effect by sacrificing lossless bit-perfect sound quality.
9a. TIP: Tidal often has multiple versions of the same album. We tend to think "remaster" means improved but it's actually someone coming in later and tinkering with the original artistic production crew. If that remaster happened between the years of 1995 and 2017 you can almost guarantee it has compressed dynamic range. Go for the master outside this period of time, if possible, and you'll usually get a much better sound quality.
10. "Passthrough MQA gives older DACs Master sound" - No. Do the opposite of what Alex says for better sound quality. TURN THIS SETTING OFF for non-MQA DACs.
I'll blame this one on Tidal as they chose wording that made a double negative. When you click this ON you're actually turning MQA OFF for older DACs. Thus you're NOT getting the MQA quality on older DACs if you set it to ON. However, on a fully MQA capable DAC, the ON setting lets the DAC do the full MQA decoding. Yeah, very confusing, so here's a chart to help:
Better sound quality...........You have a: ............................result
OFF...........................................non-MQA DAC.....................MQA level 1
OFF...........................................MQA render DAC................best MQA quality
ON.............................................MQA decoder DAC.............best MQA quality

