Milkshake website builder: How to use this new service
Build a website in minutes with this easy-to-use app
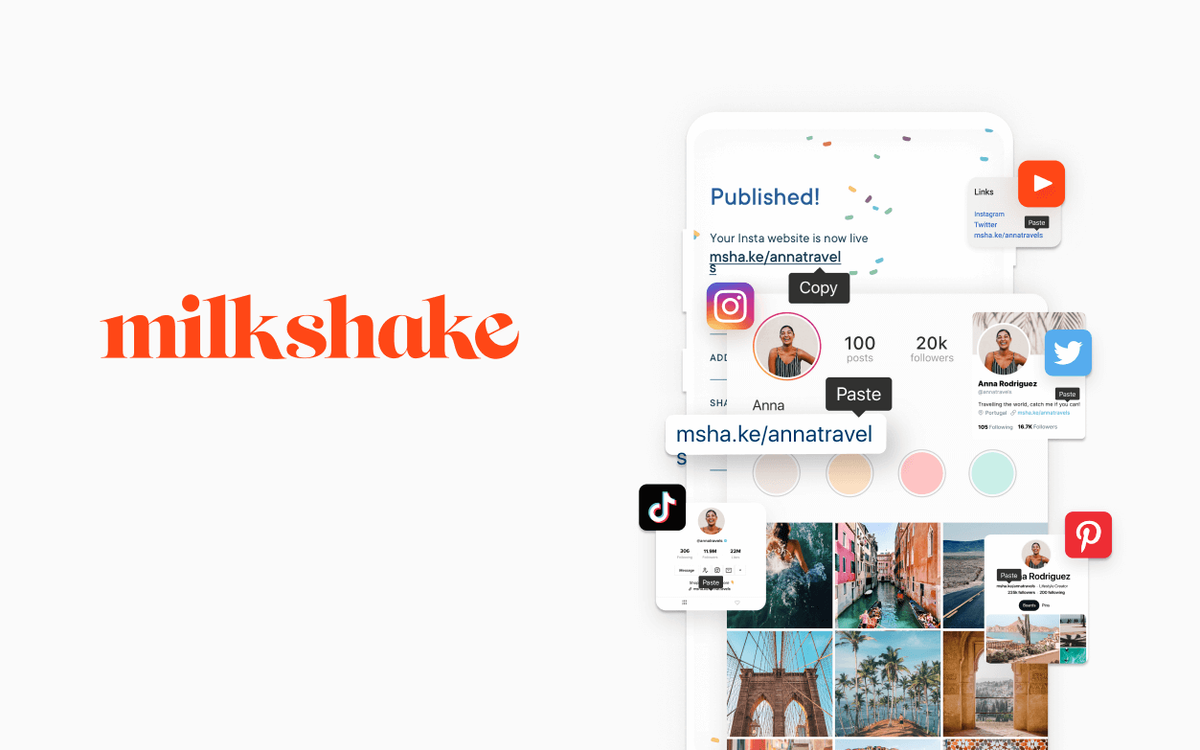
For Instagram-first businesses, website builders don’t come much better than Milkshake. This free Android and iOS app is designed to help you maximize your one Instagram bio link, providing more detailed information than services like Linktree.
It’s easy to use and requires zero knowledge of coding. In fact, you can make your first website in a few clicks—Milkshake’s website claims that it takes only minutes to get your new site online.
While it doesn’t offer the complete features of the best website builders, it’s a great choice if you simply want to link all your social profiles in one place and give customers a taste of your brand.
If you’re ready to get set up on Milkshake, all you need to do is follow this how-to guide for tips on how to build and customize your ideal Instagram website in, well, minutes.
How to use Milkshake website builder: Preparation
Before you get started, it’s worth deciding if this is the right website builder for you, as it does come with limitations. It works well as an Instagram- and TikTok-friendly website builder but, if you’re looking for something where you can choose your own domain name and fully customize every element, then it probably isn’t for you.
The app doesn’t enable you to tweak the code, so Milkshake users will be restricted to the fonts, page layouts, and website functionality that comes with the app. If you’re OK with that, there’s a good selection of stylish templates and the colors of every page element can be customized.
If you’re happy with Milkshake’s offering, the first and only step you need to take before getting started is to download the Milkshake app on iOS or Android. The app can be used on all iOS and Android mobile devices, making it versatile and accessible to all.
Sign up to get the BEST of Tom's Guide direct to your inbox.
Get instant access to breaking news, the hottest reviews, great deals and helpful tips.
Step 1: Create an account in the Milkshake app
Signing up to use Milkshake is quick and pain-free. You can choose to log in with your email and a password, or by using one-tap login through your Facebook, Apple, or Google account. Choose whether or not you want to receive offers and updates from Milkshake, and you’re ready to go in one click.
Step 2: Create your website URL
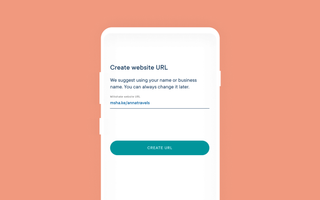
Next, the Milkshake app will prompt you to create a unique URL for your website by typing in your company name or Instagram handle into the box. All default Milkshake URLs start with the standard msha.ke/ domain, so you can only customize the subdirectory.
Once you’ve finished typing, the app will scan for any URLs with the same name, and flag clearly if any changes need to be made. If you’re in the clear, the button will turn green, and you can click through to the next step.
Step 3: Start adding content
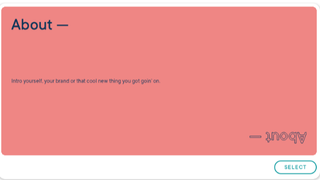
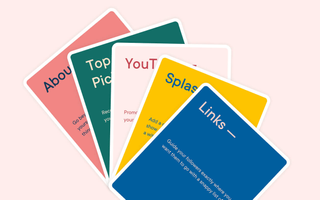
The next thing you’ll see is a page filled with colorful content cards that each cover a different topic you may wish to include on your site. They cover everything from your bio to links, top article picks, YouTube videos, and even offers. These cards can be added one by one to create page sections for your website.
To add the content to your website, click on the card which reflects the information you’d like to add first. You’ll then be faced with a selection of design templates to choose from, which form the basis for your color scheme and the layout of the content. The fonts and colors can be customized at a later stage.
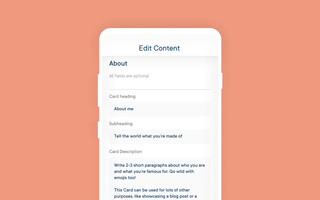
You’ll then be taken to another page, where you can add your own images and text. Again, you’ll see prompts to inspire your content and the information you should add for each section—it couldn’t be easier.
Step 4: Customize your content
After adding all of the relevant information to your first content card, hit the preview button at the bottom. This will show you what the final page will look like, and allow you to customize further. This is the stage where you can select different fonts, bold typeface, and color schemes.
The "Shake It Up" button will change all of the formatting, giving you more design inspiration in one click. The "Customize" button enables you to select different colors for every element of your website, and choose the style of your selected font.
Step 5: Publish your website
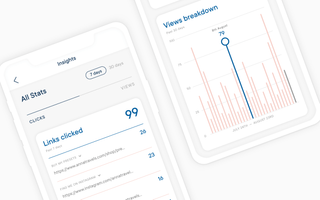
Once your design is ready to be revealed, hit the publish button at the bottom, and your new site will go live within seconds. You can now check the live site for any changes that need to be made before sharing.
Step 6: Get sharing
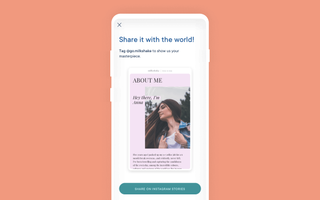
Once your website is live, the app will take you to a page that shows the suggested next steps. Follow the relevant links to add the link directly to your Instagram bio, share it on your Instagram Stories, share it on TikTok, or continue adding new content cards to your website.
The website can be viewed on both desktop and mobile devices.
Step 7: Update your subscription
Now that everything has been set up—possibly in just a few minutes—you may wish to remove the final card from your website, which credits the Milkshake app as your website builder.
To upgrade your subscription, click your profile icon in the top right-hand corner of the app, and select the "Subscription" option from the menu. Here you can choose to upgrade for a small monthly fee of $2.99. It’s worth noting, though, that the only benefit of upgrading is to remove the ads, and if you have multiple websites linked to your Milkshake account, you can only upgrade one of them.
At the moment, you can only upgrade on iOS, but Milkshake plans to add this functionality to Android soon.
Step 8: Improve your Insta-game
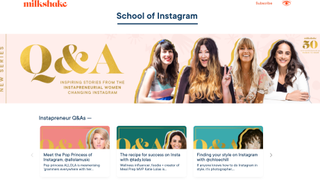
Milkshake’s value doesn’t stop there. For tips on how to improve your Instagram strategy and make the most out of your new website, check out Milkshake’s School of Instagram. You’ll find simple guides, expert Q&As, and articles that will turn you into an Instagram expert in no time at all.
Summary
Milkshake really has made it easy for anyone to build an Instagram-friendly website in minutes. Although it doesn’t offer any complex customization tools, there’s plenty of template options, so you can make a modern, stylish website that can direct traffic to your business’s other online profiles.
To get started with Milkshake, simply head to Google Play or the App Store and install the app on your device.
Further reading on website builders
If you’re looking for something more scalable, then you might want to check out our guide to the best website builders on the market. If you're on a tight budget, learn how to build a website for free; if you want something more advanced, utilize WordPress via the best website builders for WordPress and the best WordPress hosting: but ensure your ideal host is among the best web hosting services.
Nikki is a freelance copy and content writer, specializing in tech, travel, and lifestyle. As well as writing articles for prestigious online publishers like Tom's Guide, IT Pro Portal, and TechRadar, she works with SaaS and tech brands to optimize their websites, driving traffic and growth.

Epic Home Depot spring sale is live from $17 — 21 deals I’d get for my home on patio furniture, grills, appliances and more

'1923' season 2 set to end with movie-sized finale — but there's more "Yellowstone" spinoffs to come

Netflix’s next Harlan Coben thriller series just added this ‘Severance’ star — here’s what we know
