iPhone 11: Ten features to enable and disable
The first settings to change on your new phone
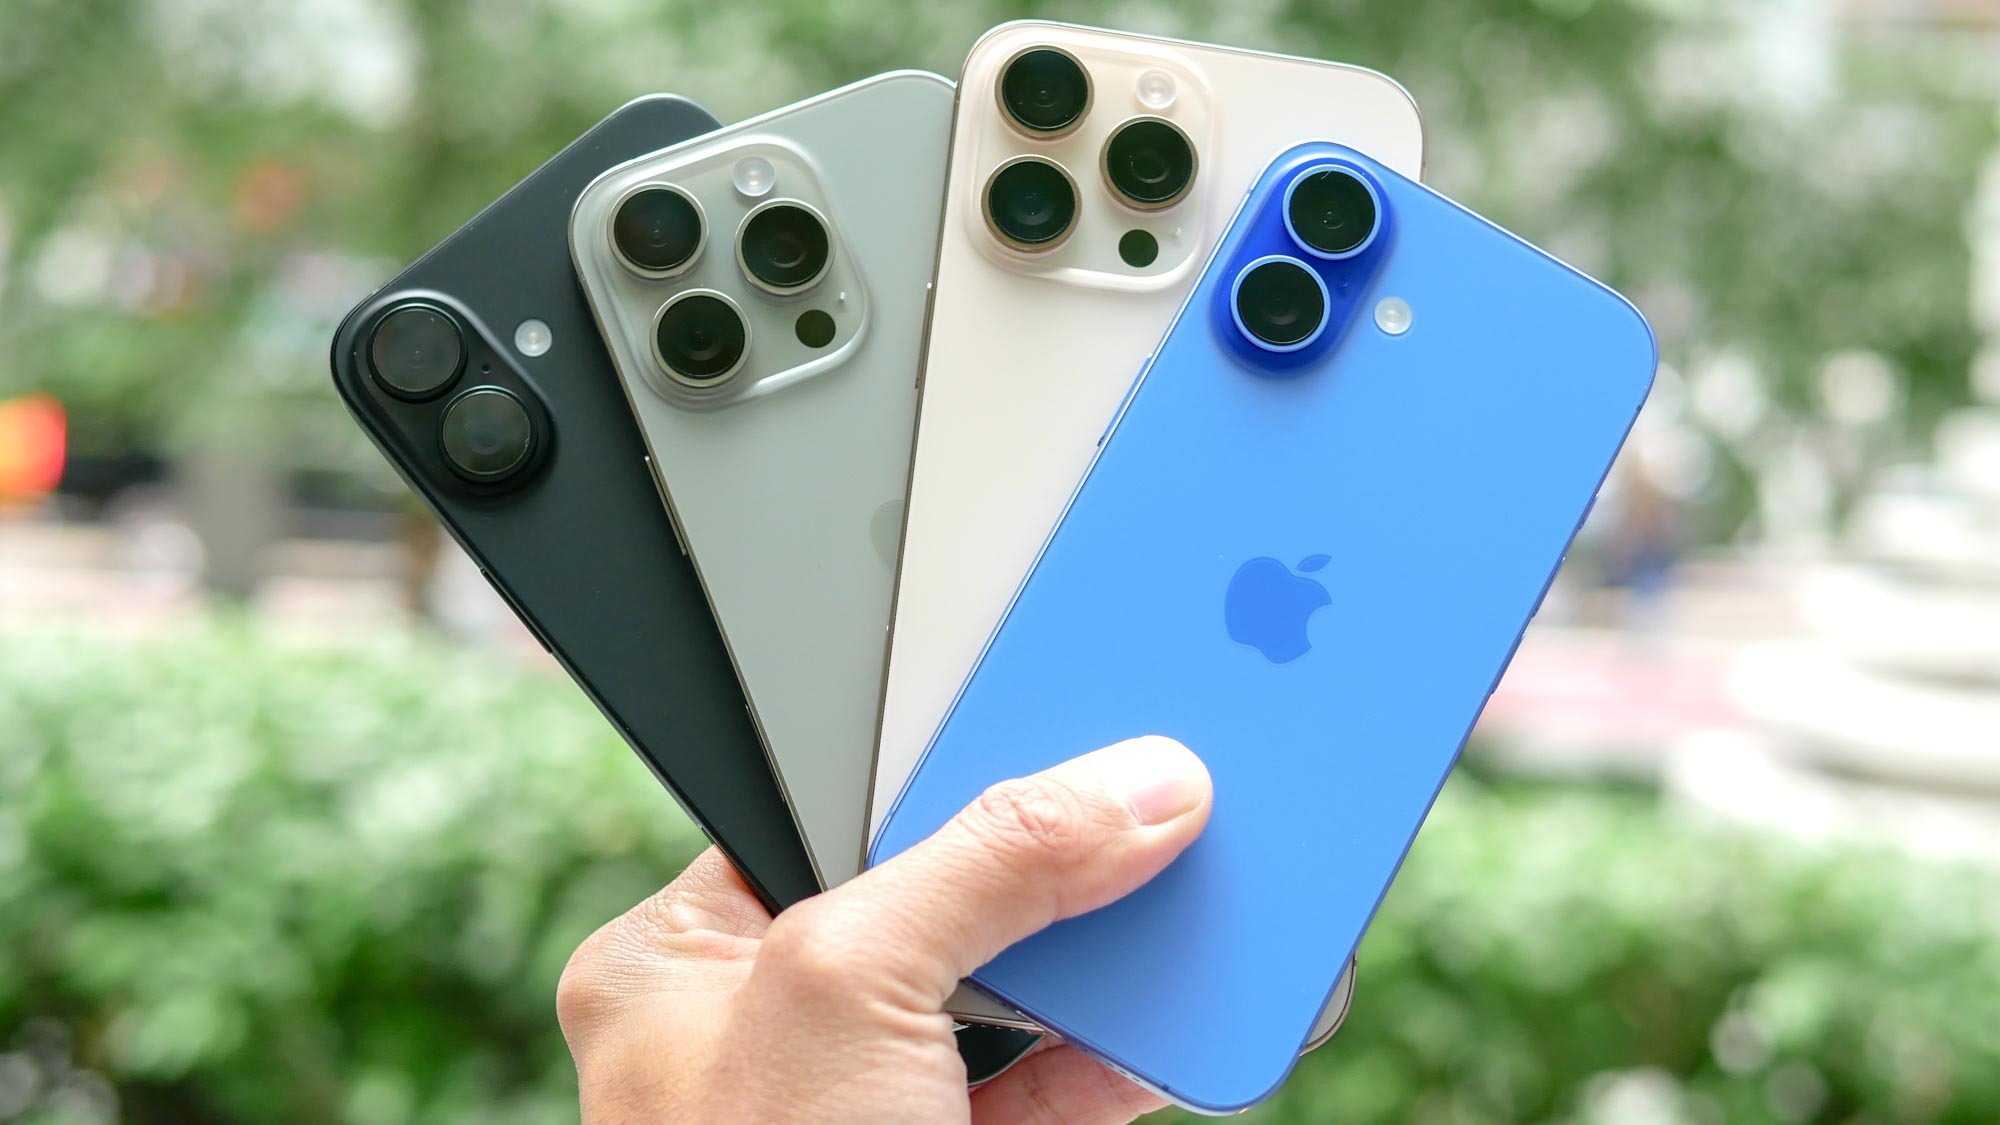
There’s nothing like setting up a fresh new phone out of the box, is there? And whether you’ve picked up a new iPhone 11, iPhone 11 Pro or iPhone 11 Pro Max or gotten one of Apple's new phones as a gift, there’s certainly a lot of features to tinker with. The latest iPhones boast an advanced multi-lens camera systems, and they all ship with iOS 13, which introduces new features to Apple's smartphone lineup.
Before you do anything else with your new iPhone like downloading some of the best iOS apps from the App Store, we’ve identified 10 settings you should enable, disable or simply check out on your brand new handset.
Activate Dark Mode
Perhaps iOS 13’s most notable new feature, Dark Mode transforms your iPhone’s entire interface so it’s easier on the eyes, especially at night. Better yet, if you have an iPhone 11 Pro with Apple’s Super Retina XDR OLED display, Dark Mode’s black backgrounds will even save power, extending your battery life.
- See which Mac VPN we rank highest
- Check out the top iPhone VPN, too
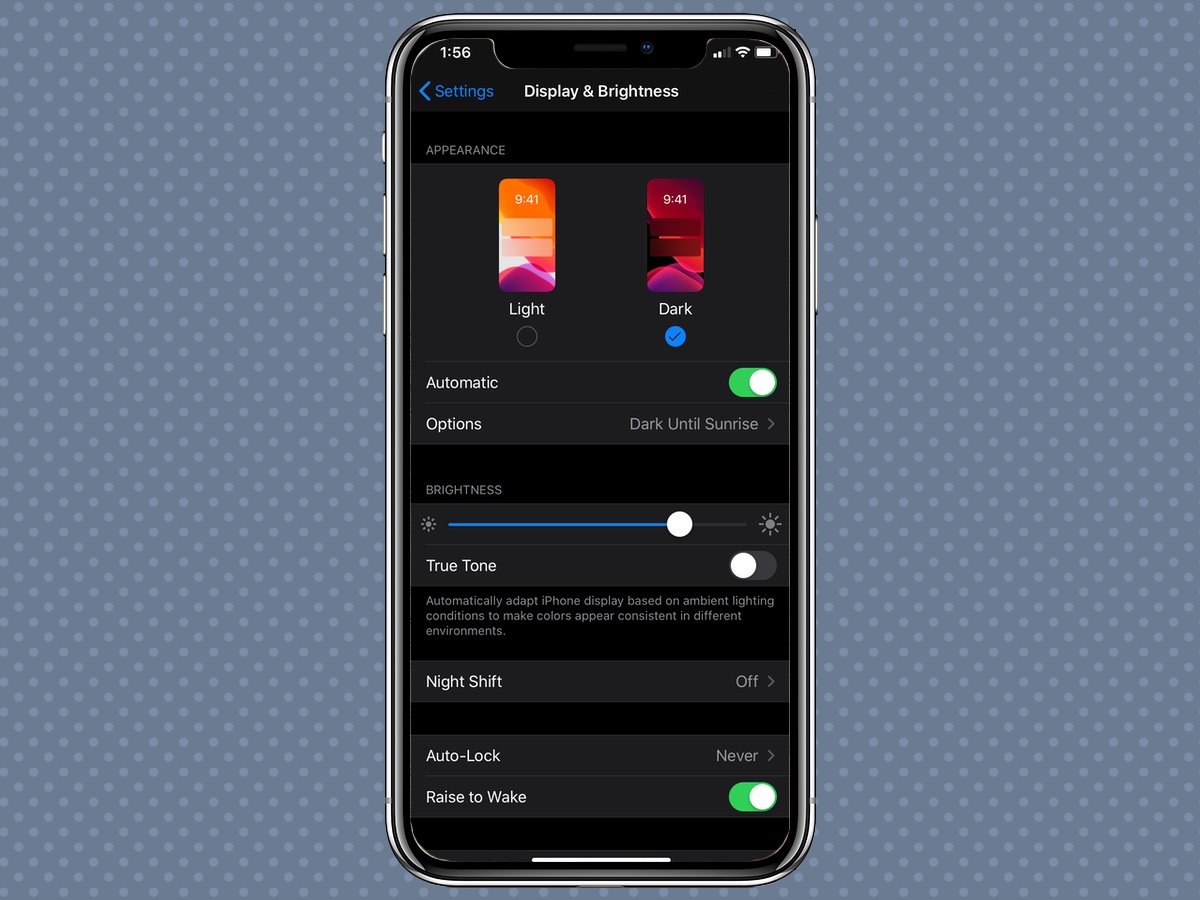
To enable Dark Mode, head to Display & Brightness in the Settings app. You can tap the Dark preview, under the Appearance tap, to initiate Dark Mode straight away. But if you’d like to set Dark Mode up so that it activates automatically based on time of day, tap the Automatic toggle, and then the Options sub-menu that appears underneath to specify a schedule.
Change video capture quality
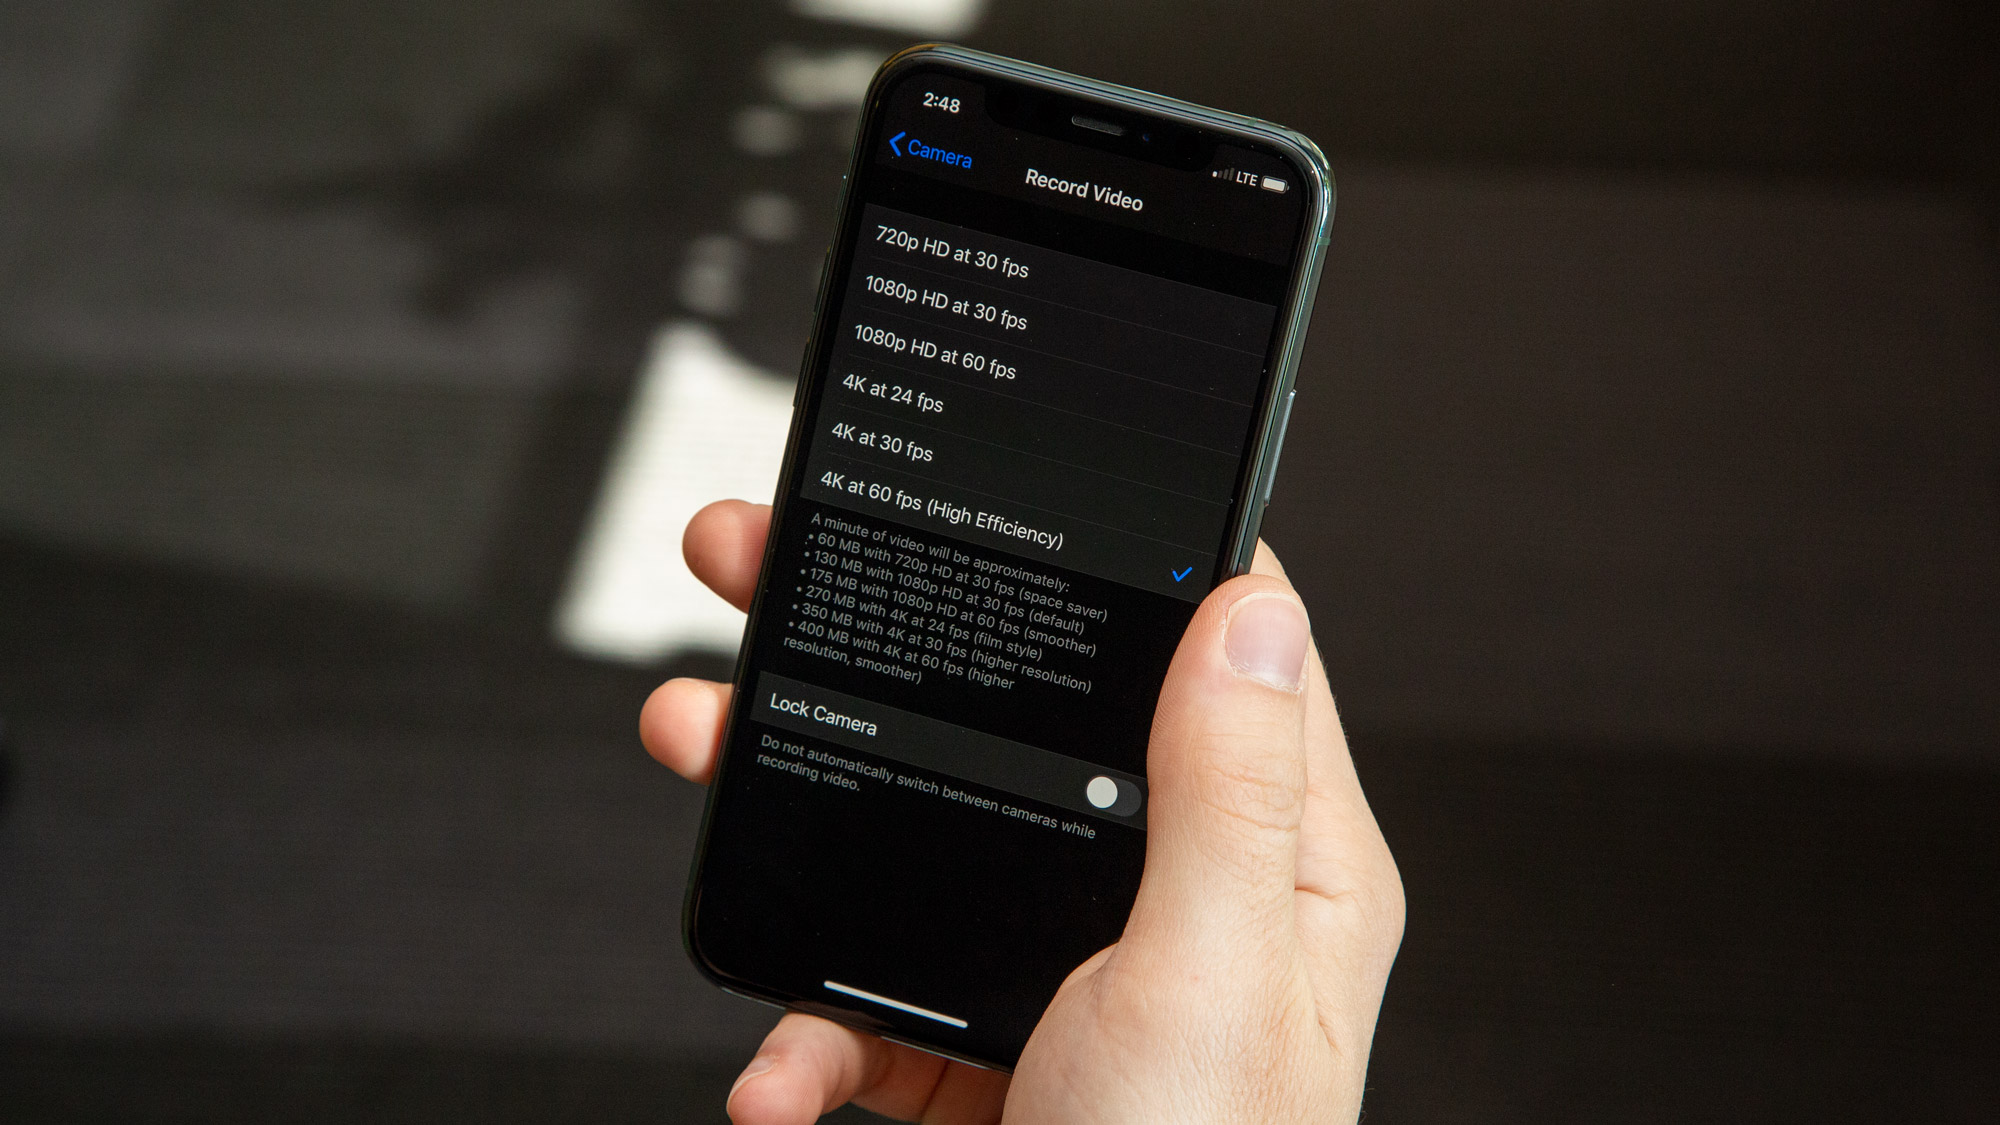
Apple's latest iPhones can capture 4K resolution video at a silky-smooth 60 frames per second. However, they don’t do this out of the box — you have to adjust the video capture options in the Settings app first.
Inside your iPhone’s Settings, scroll down to Camera and then tap Record Video. Here you’ll see options, ranging all the way from 720p at 30 FPS TO 4K at 60 FPS. Below this are estimations of how much storage a minute of video will consume at every setting. You can also do the same for slow-motion videos as well, where the maximum setting is 1080p at 240 FPS.
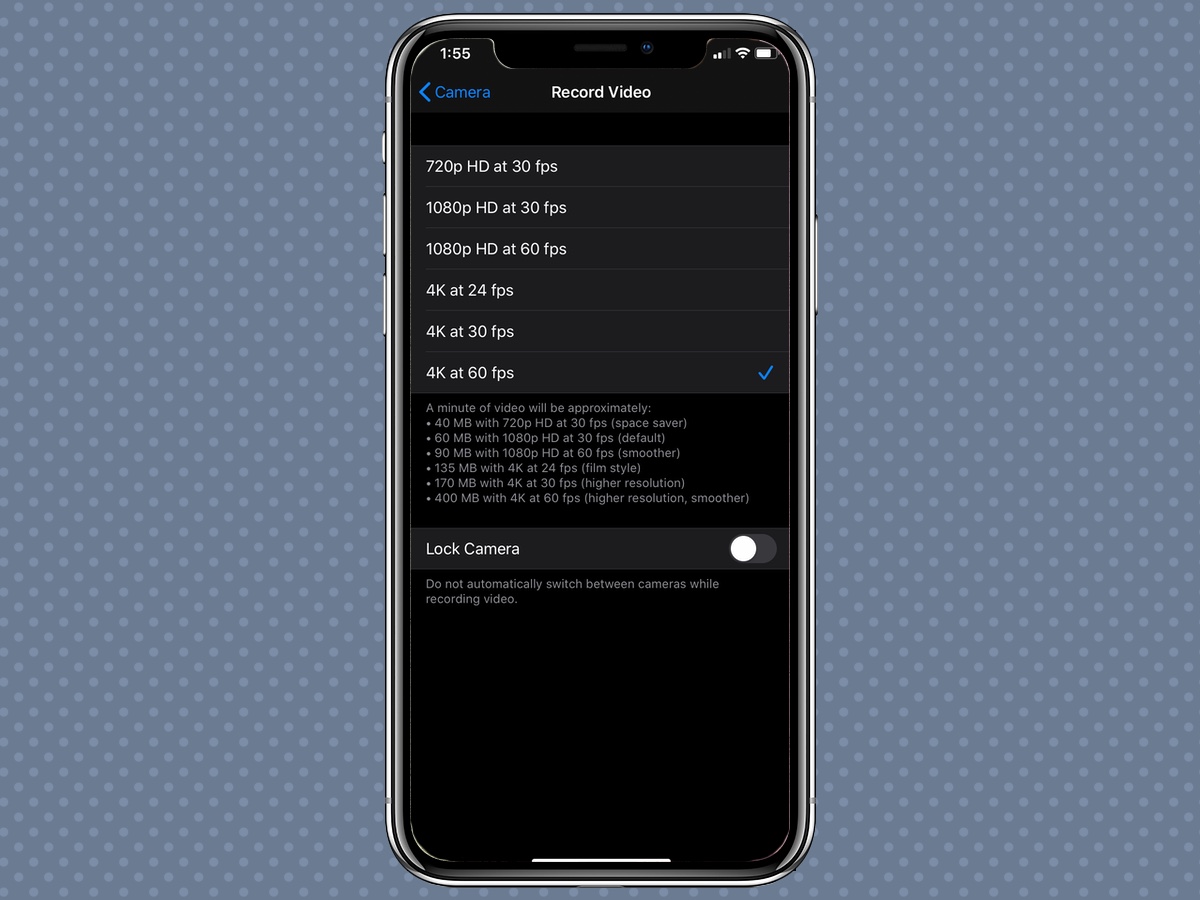
Be aware that if you select 4K/60 FPS or 1080p/240 FPS and your iPhone isn’t already set to record in Apple’s High Efficiency format, it will have to revert to High Efficiency. While these kinds of files take up less space than those recorded using the Most Compatible setting, they are only guaranteed to play on a new Mac running the latest desktop software. For playback on other platforms, including Windows 10, you’ll want to stick with Most Compatible, and you’ll have to record in lower quality.
Sign up to get the BEST of Tom's Guide direct to your inbox.
Get instant access to breaking news, the hottest reviews, great deals and helpful tips.
Capture photos outside the frame
An iPhone 11 feature leverages the multiple cameras on each model to, in essence, save multiple photos with every press of the shutter: one normal one, and an ultra-wide one. When you then go to edit the photo, you can actually zoom out for a wider field of view than you initially captured.
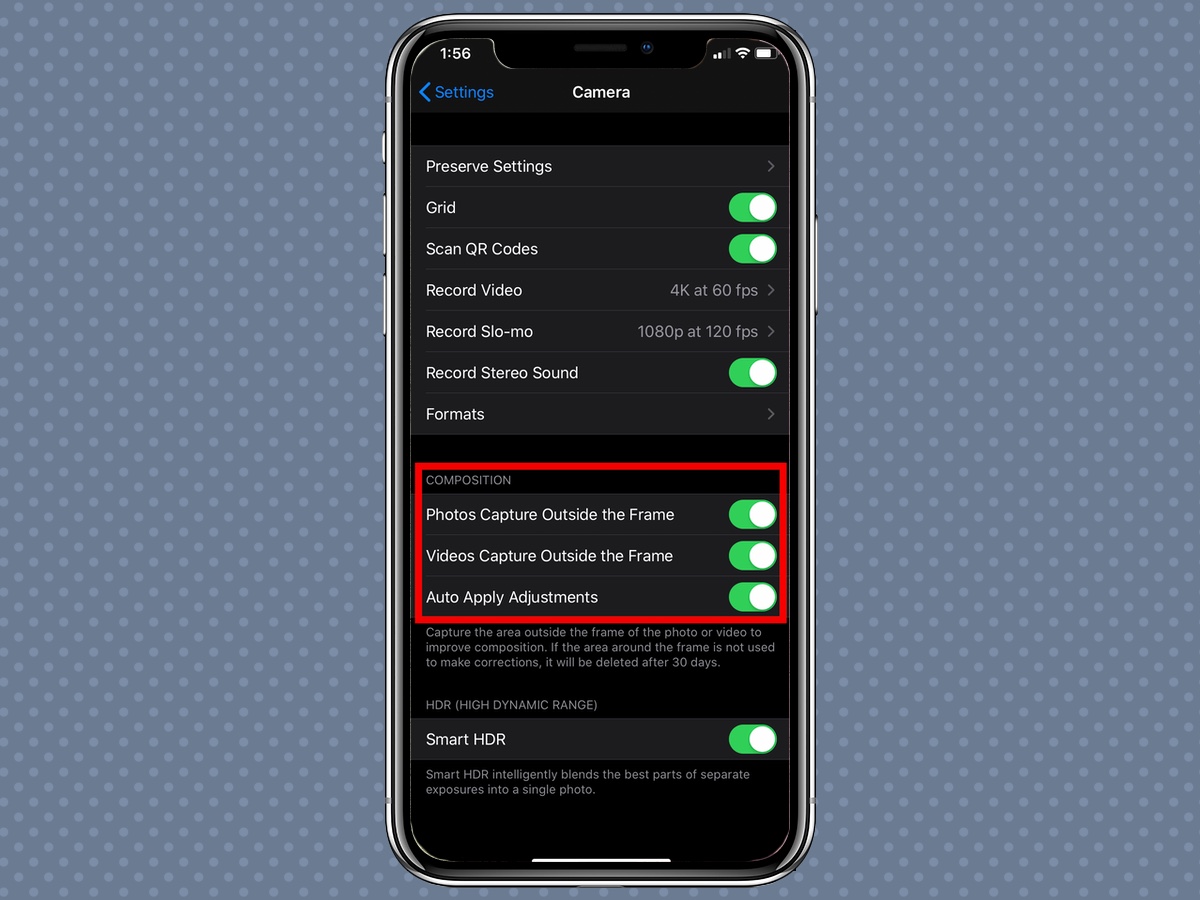
This option, called “Photos capture outside the frame,” is accessible from the Camera sub-menu within the Settings app. By default, it’s only active for video, though you can also enable it for stills by toggling it on. Note that if the area outside the frame is not utilized to make corrections, it will be automatically deleted after a month, helping you save space.
Customize Control Center
The Control Center is great for accessing those frequently-toggled features, like Low Power Mode and Bluetooth, that you don’t want to go thumbing through the Settings app for.
However, everyone uses their iPhone differently, and so the default selection of toggles Control Center offers might not benefit you much. Fortunately, you can swap out and reposition these little widgets and buttons within the Settings app.
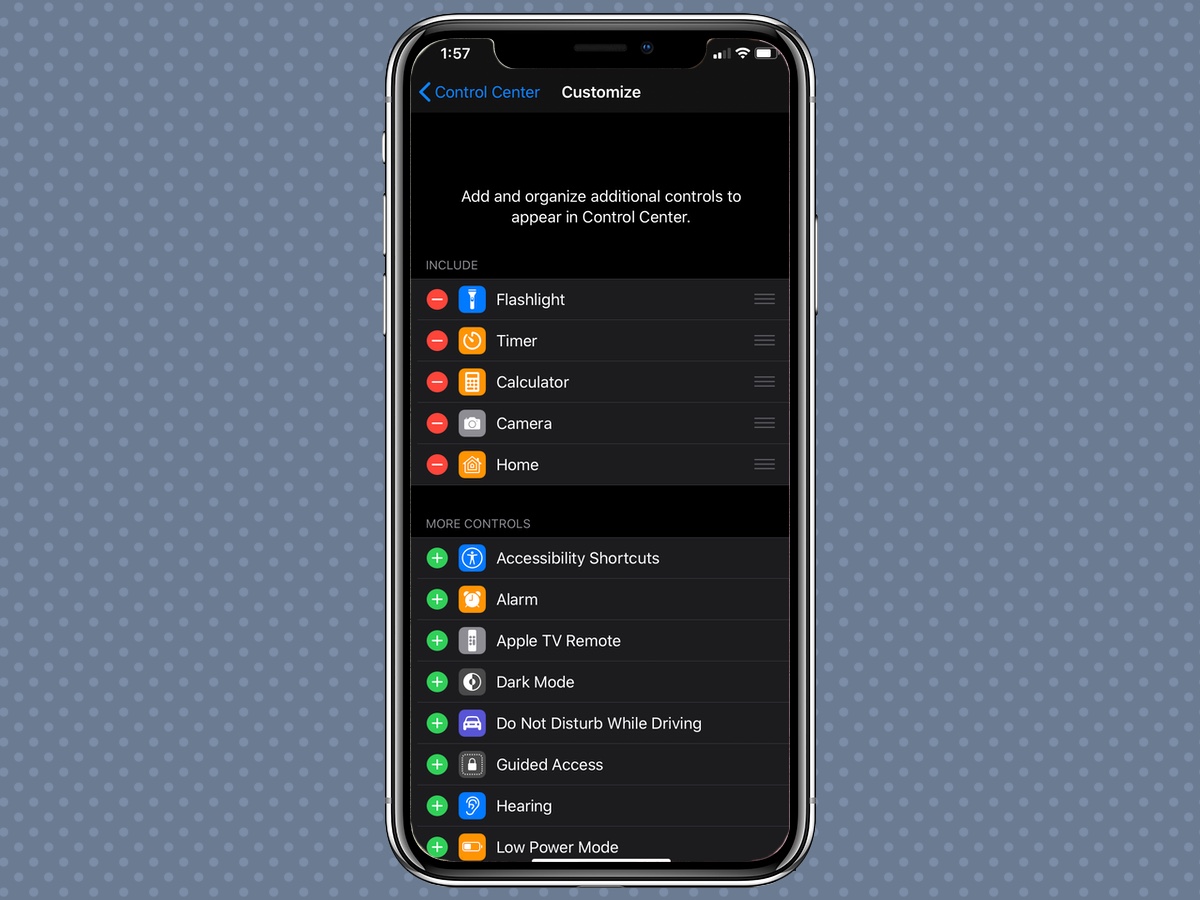
Simply scroll down to Control Center and tap Customize Controls. You’ll see flashlight, timer, calculator and camera as the default shortcuts, though you could add your alarm, Apple TV remote, a quick link the Notes app or screen recording as well, among other shortcuts. Power users will certainly want to take advantage of the ability to customize.
Set up Voice Control
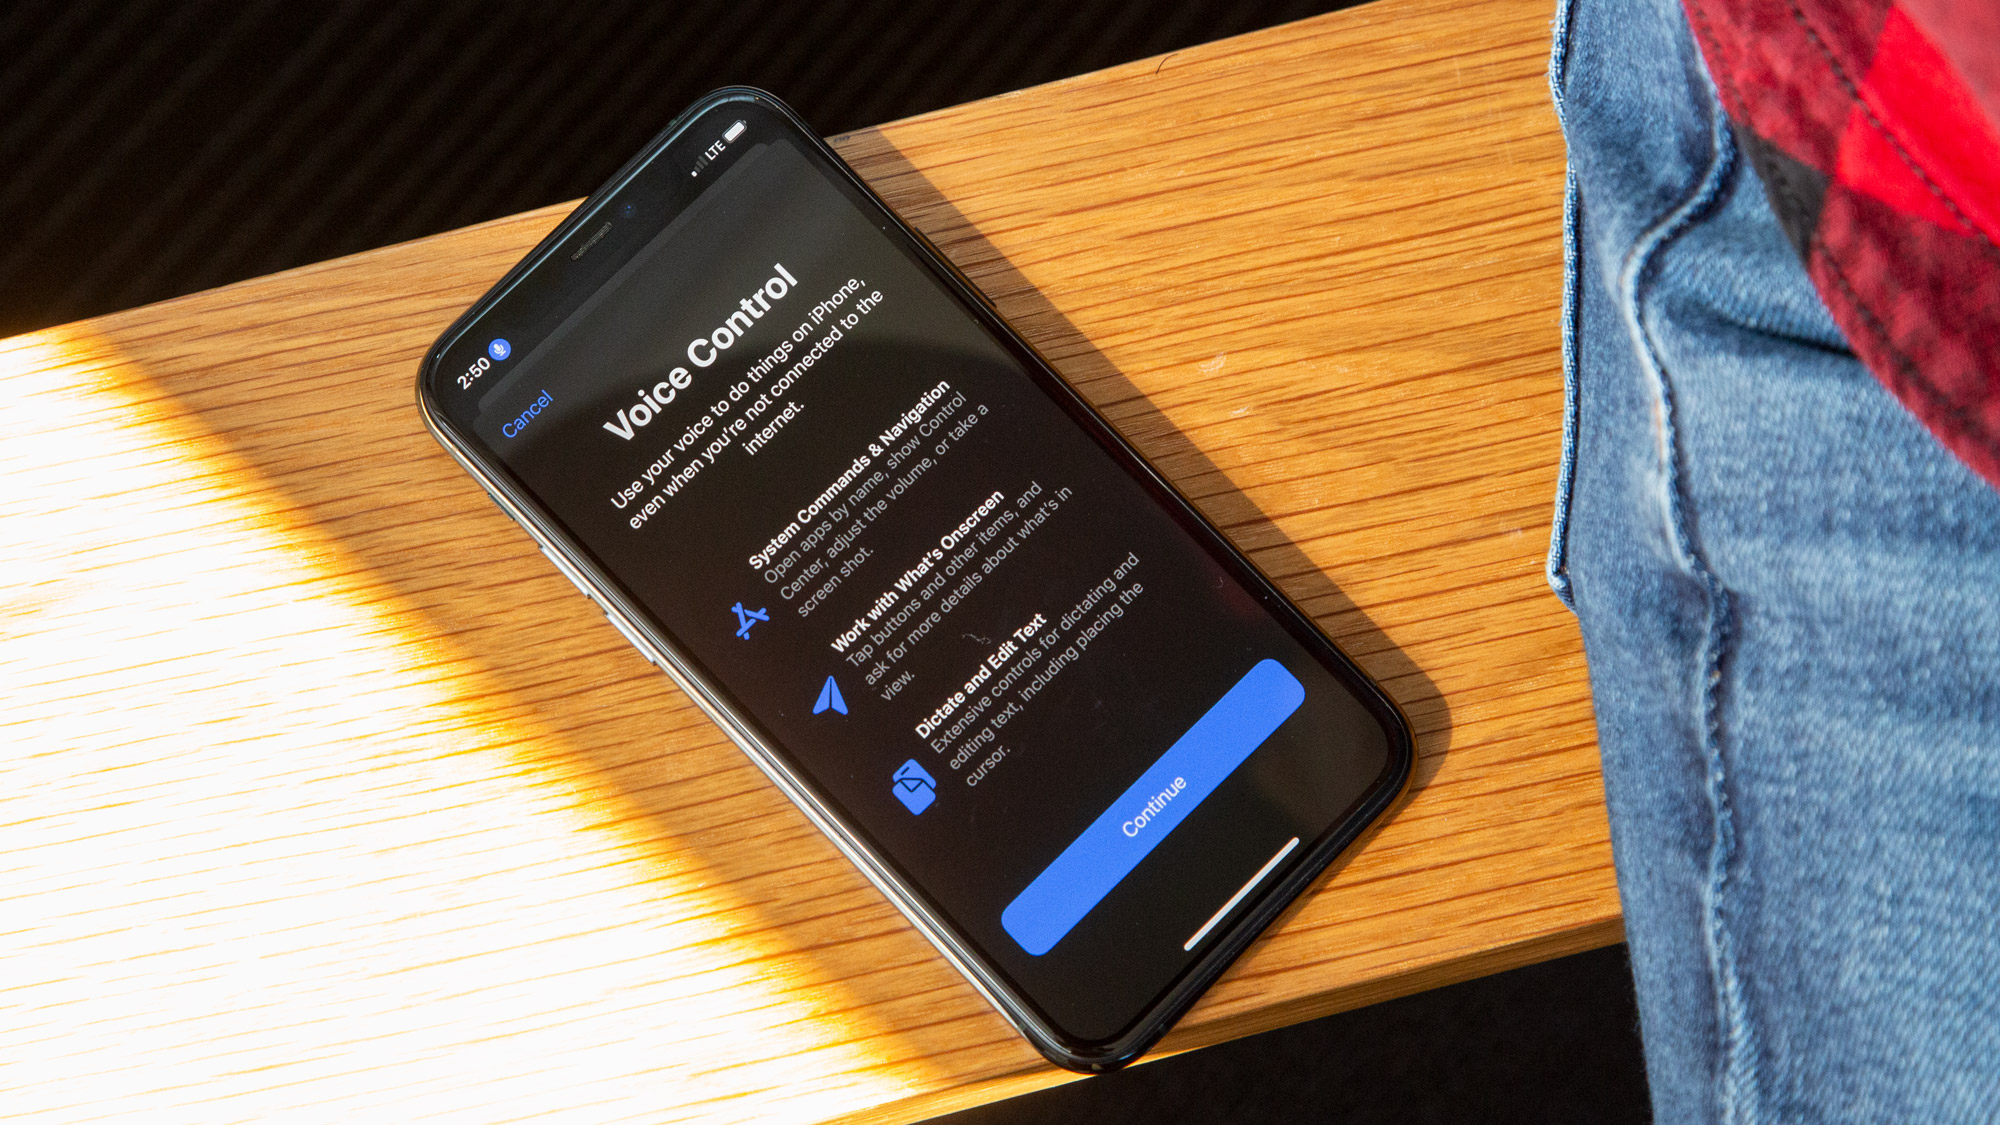
Voice Control is a new feature that pretty much does what it says on the tin, allowing you to control every facet of your phone using your voice, but to an extent far beyond what Siri allows. You can say “Open YouTube” or “go home” without touching your phone, and your iPhone will follow your commands. You can even say “show numbers” or “show grid,” so you can direct the phone to interact with on-screen elements that are not clearly explained.
To use Voice Control, head back to the Settings app, go to Accessibility, and then tap Voice Control. Your phone will walk you through most of what you can do with the feature, though Voice Control is pretty powerful and open-ended, so you’ll have to experiment to really understand the true extent of its capabilities.
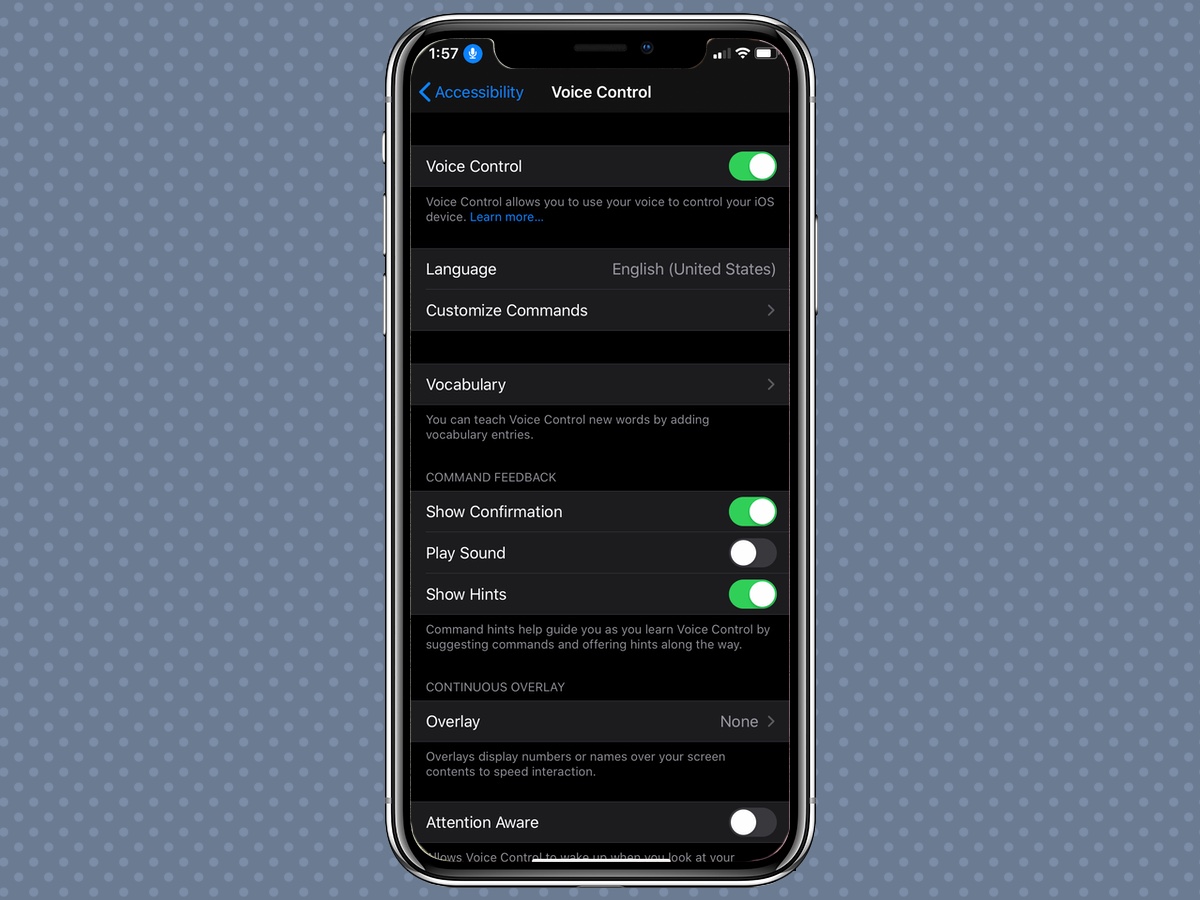
Bear in mind that while Voice Control is active, it is always listening. That means you probably shouldn’t use it if you’re in public and worried about a stranger hijacking your phone, either accidentally or on purpose. When Voice Control is on, you’ll know by a blue microphone icon in the upper left corner of the screen, next to the clock.
Monitor your habits with Screen Time
Trying to fight the lure of smartphone addiction? Screen Time, introduced with iOS 12 in 2018, is great for that. With Screen Time, you can set up daily limits for how much you can use certain apps. You can also schedule Downtime, which will only render specific software usable during predetermined times.
Even if you’re not interested in exploring Screen Time’s full feature set, you might just be curious about your phone usage habits. Fortunately, Screen Time gives you access to charts to help you visualize your trends.
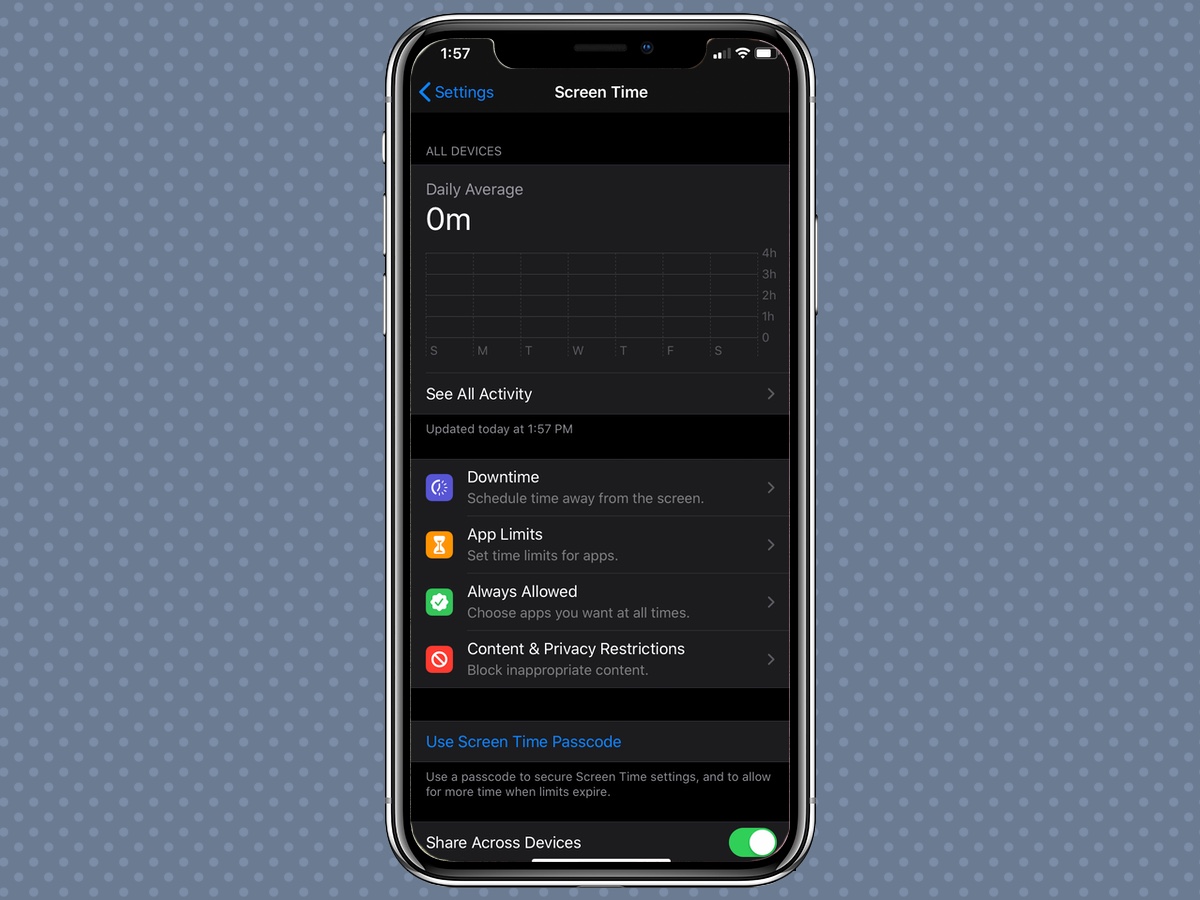
To see that data, though, you’ll have to open Screen Time once, and give it permission to monitor you. To start, visit the Screen Time section of the Settings app, and complete the on-screen prompts that follow. From that point forward, Screen Time will be keeping track of everything you do on your iPhone, offering insight to help you make healthy decisions about your usage habits.
Limit ad tracking
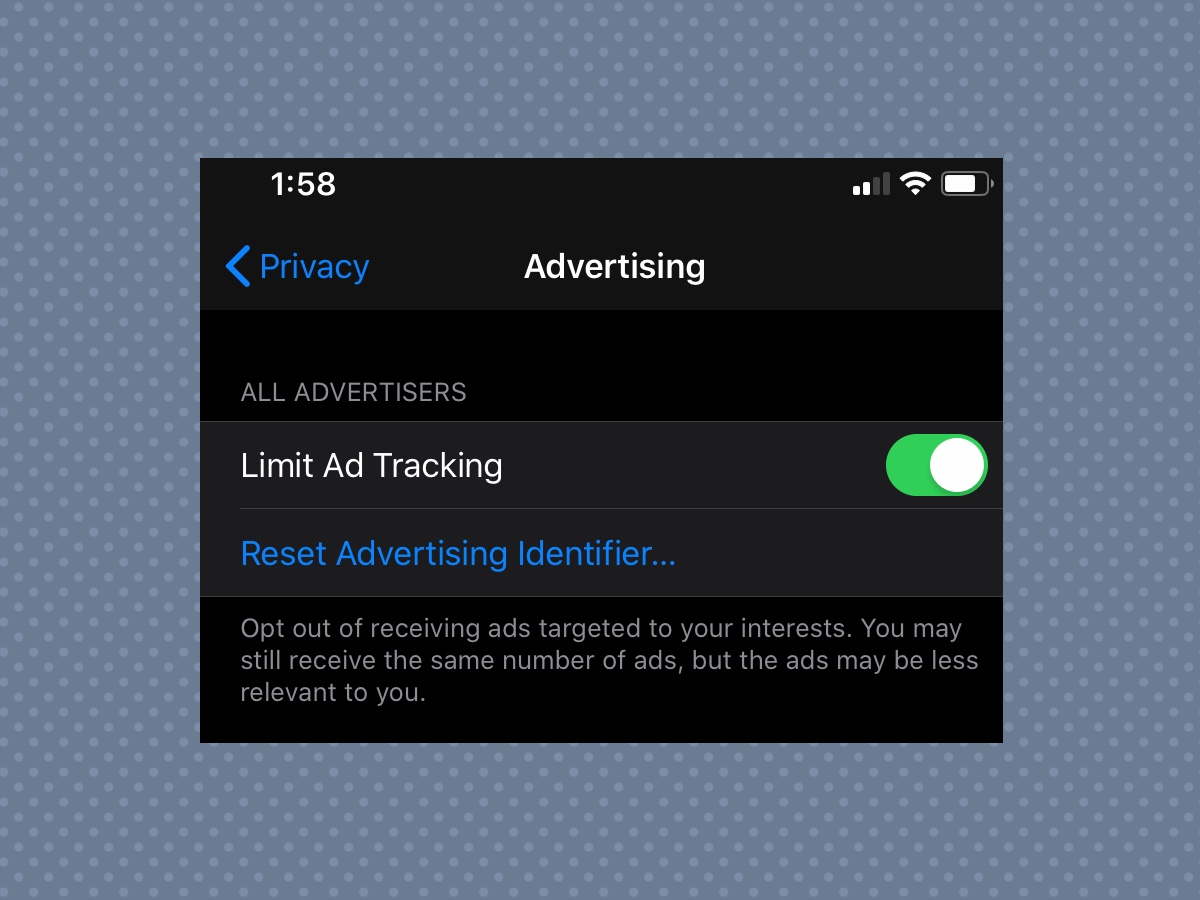
If you’d rather not get interest-based ads in Safari, you can limit ad tracking from your iPhone’s Settings app so you see less of them when browsing the web. The option lives in the Advertising section of the Privacy tab, all the way at the bottom of the page. On the next screen, you’ll see an option to limit ad tracking. As Apple notes, you likely won’t see a reduction in the frequency of ads, though the ads you get shouldn’t be based on your interests.
Disable True Tone display
True Tone is a helpful feature that automatically adjusts the white balance of your iPhone’s display to correct for changes in ambient light conditions. However, some users prefer not to use it, because they feel it takes too many liberties with the colors and appearance of on-screen content.
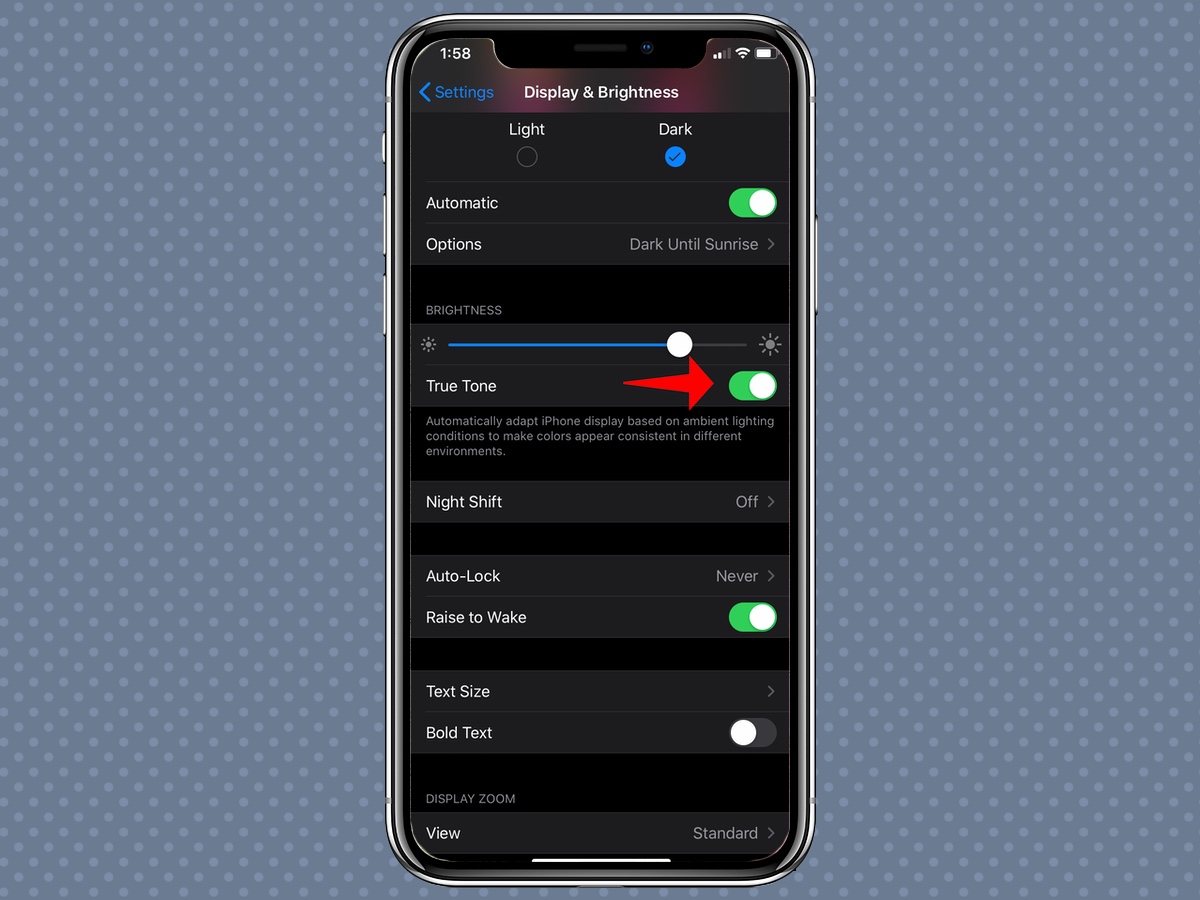
True Tone is on by default, but perhaps you’d like to see how your iPhone’s screen looks without it. To do that, head back to Display & Brightness inside the Settings app, and toggle True Tone off. See what you think — you can always turn it back on if you think it makes your phone more comfortable on the eyes.
Turn on Automatic Updates
We all know that special someone (perhaps ourselves) that refuses to install iOS updates, leaving their iPhone several versions behind. We get it, it’s time consuming. But thankfully, there’s a better way now.
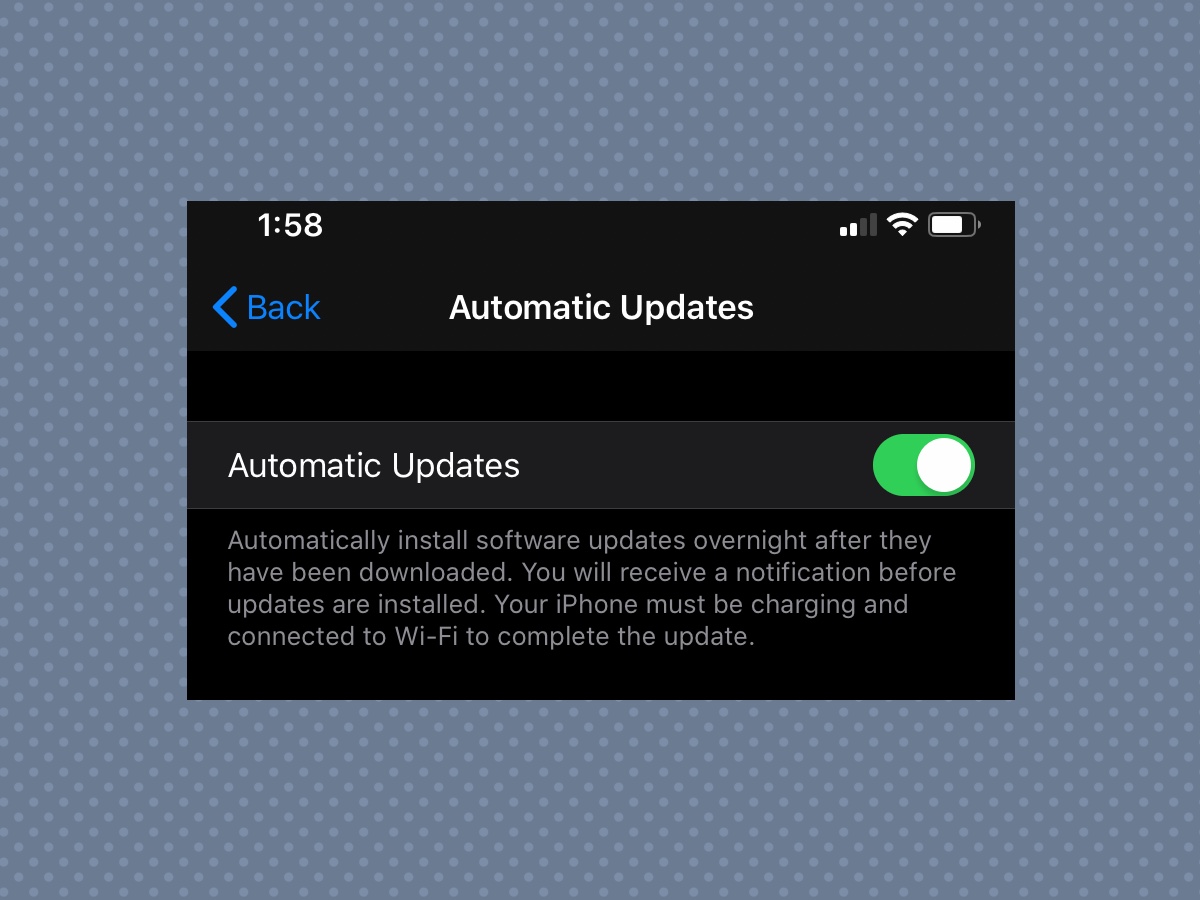
All you have to do is turn on Automatic Updates, within the Software Update section of the General tab in the Settings app. Once you do, your iPhone will automatically install new system updates overnight, though you’ll receive a notification before the update process begins. Note that your iPhone must be charging and connected to Wi-Fi to auto update.
Customize Today View
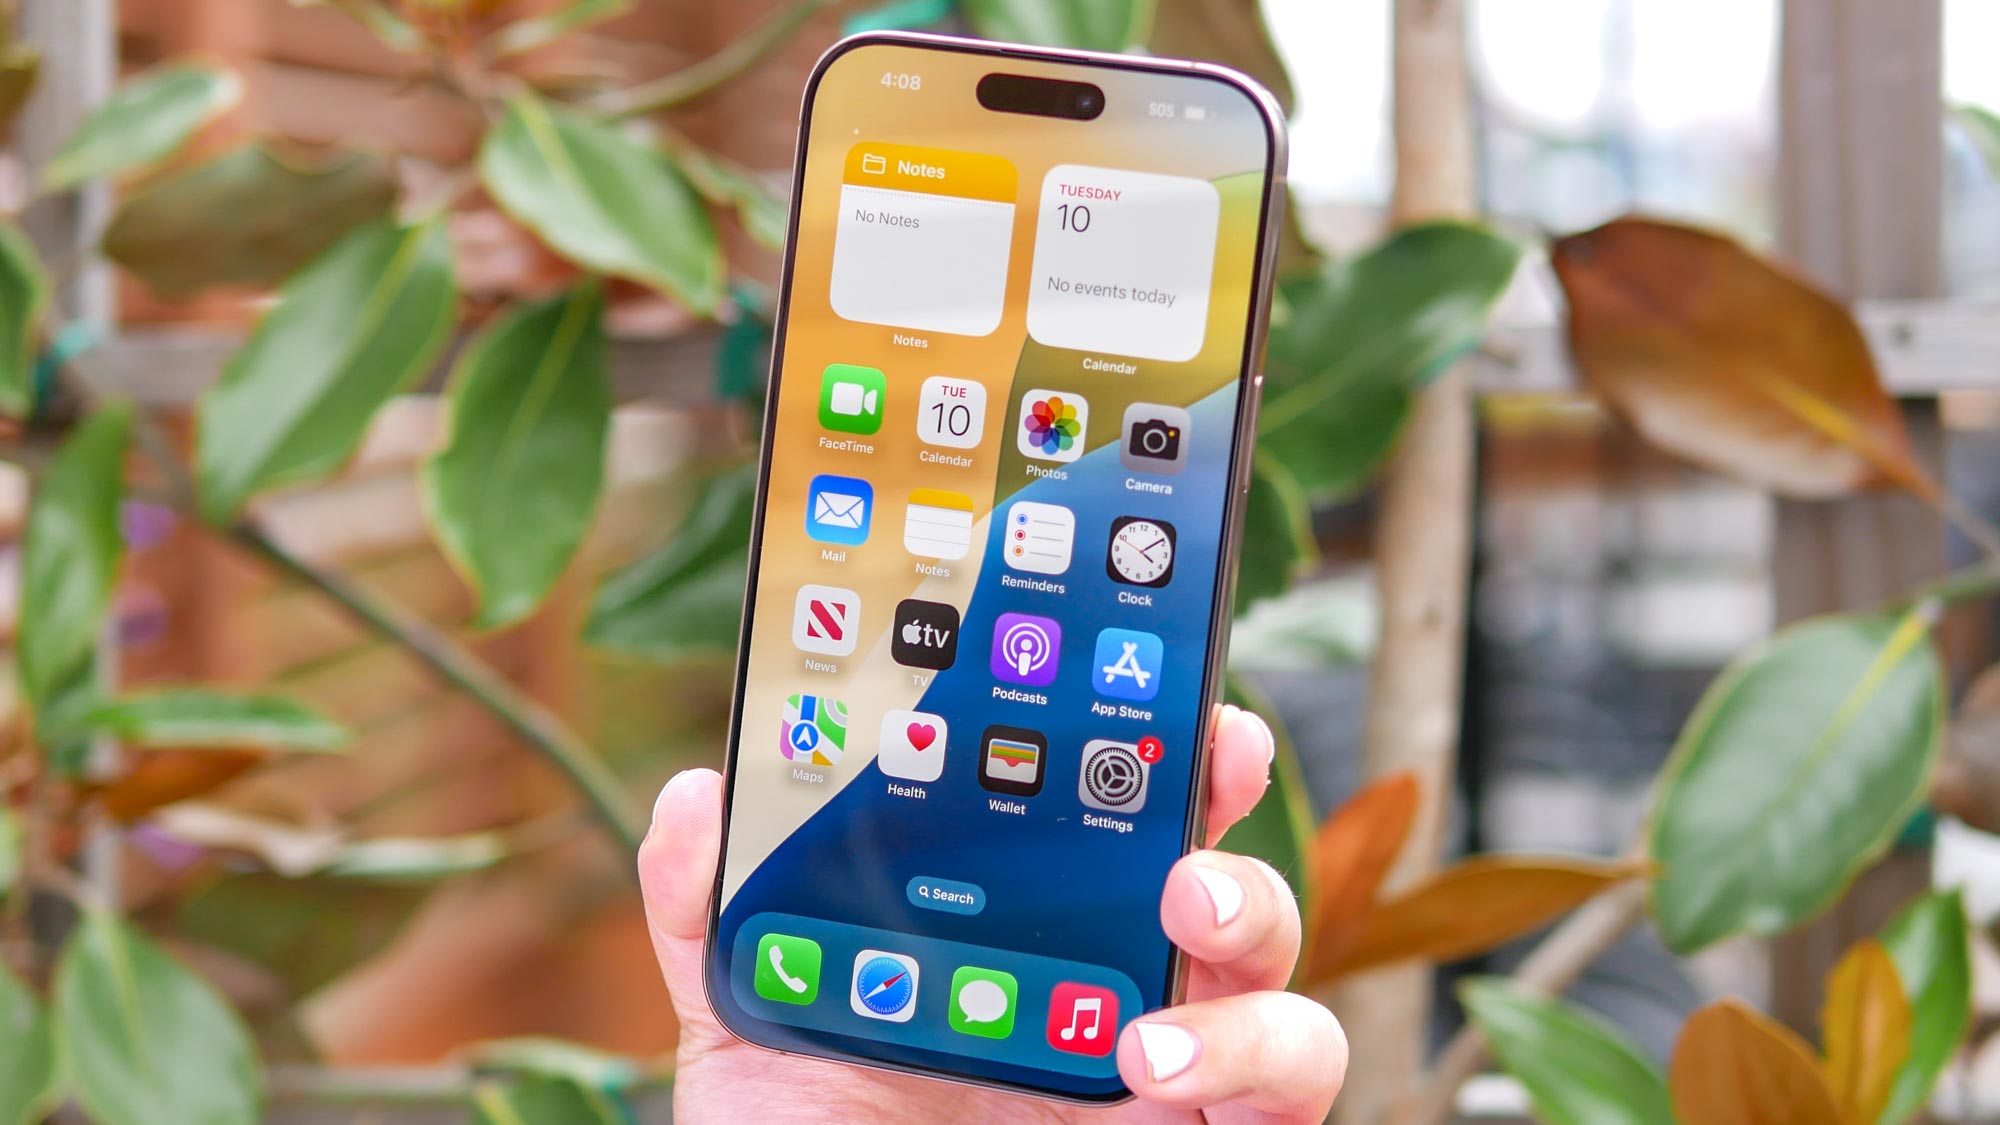
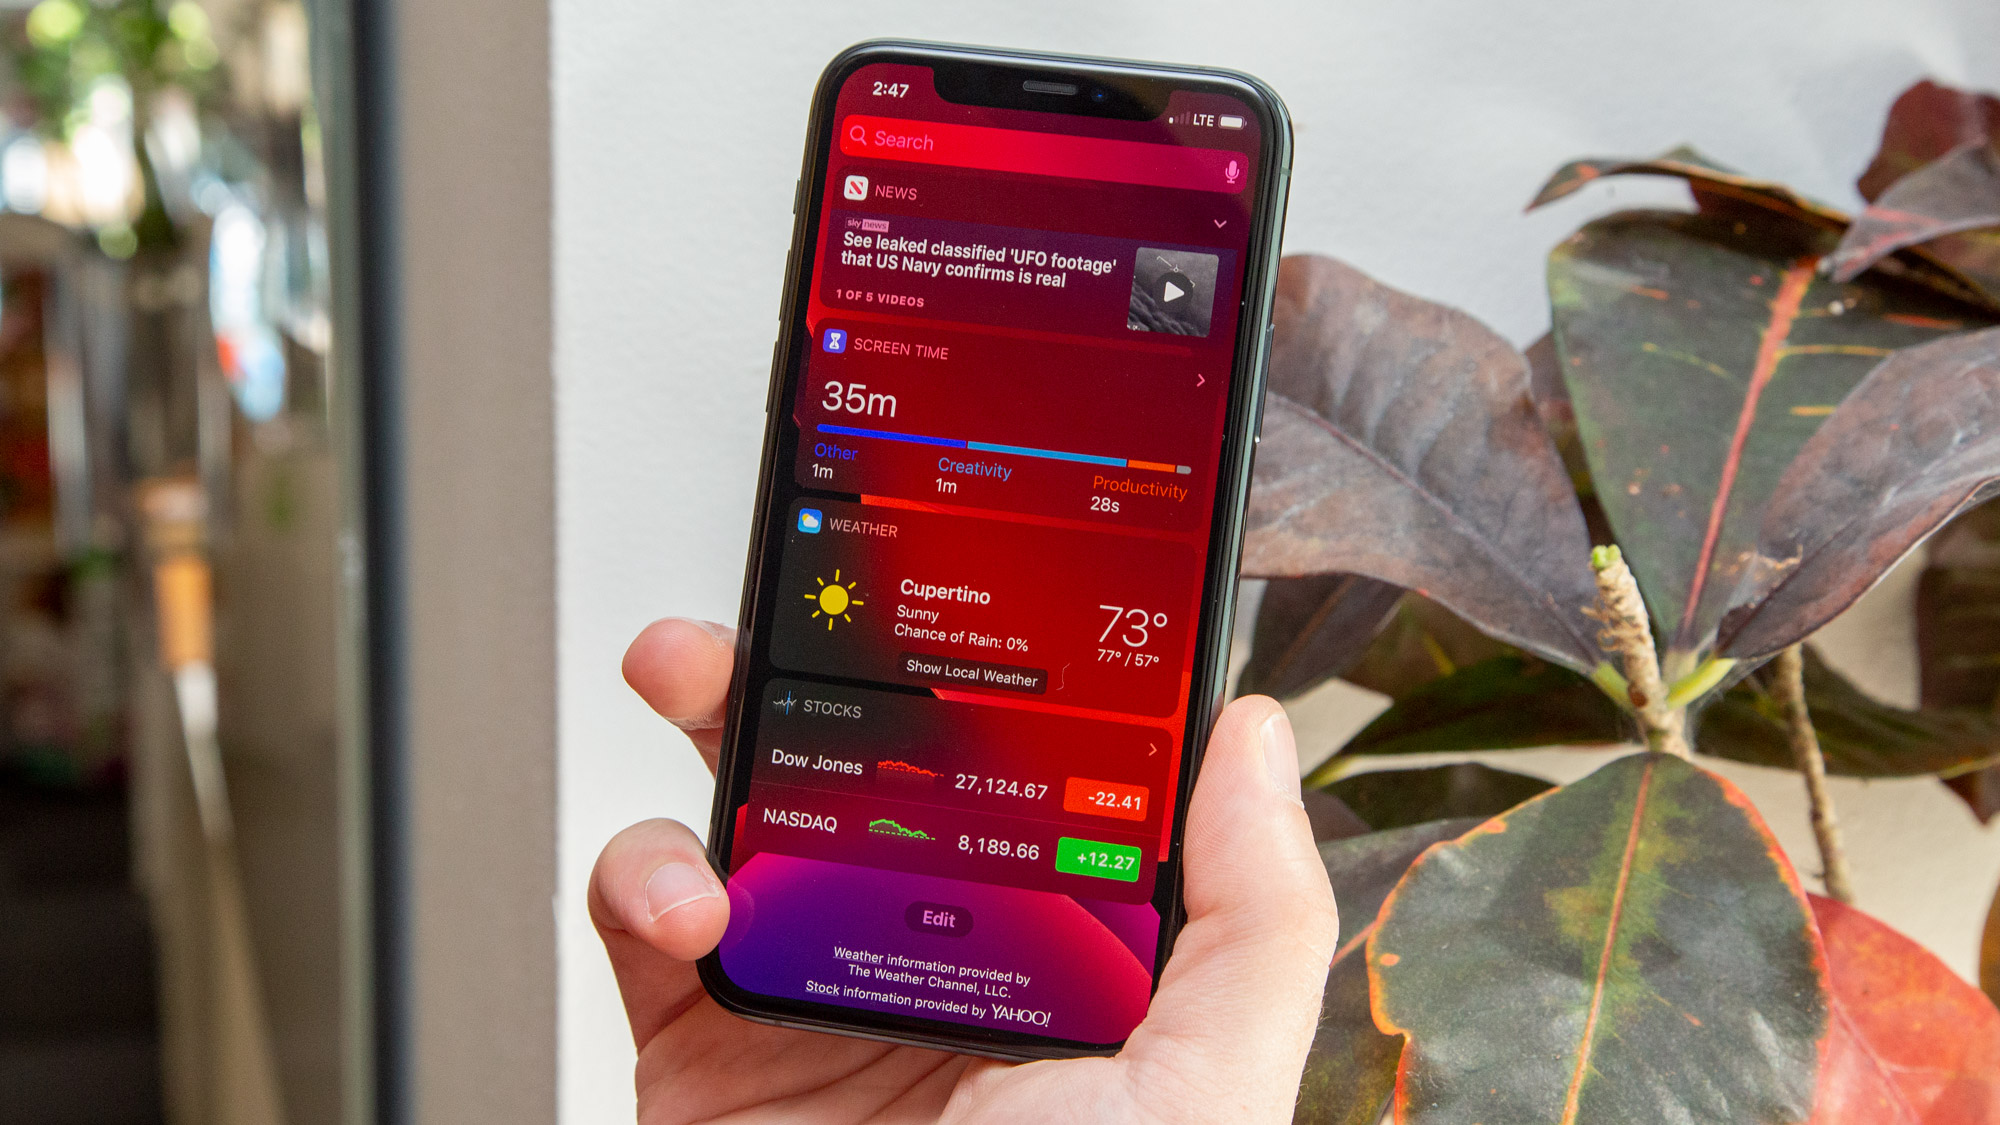
The Today View, accessible by a swipe to the left of your home screen, houses various widgets and shortcuts you might find useful, like Siri app recommendations, your calendar the weather forecast, so they’re never out of reach. But much like Control Center, the Today View is only useful if it’s personalized to work for you.
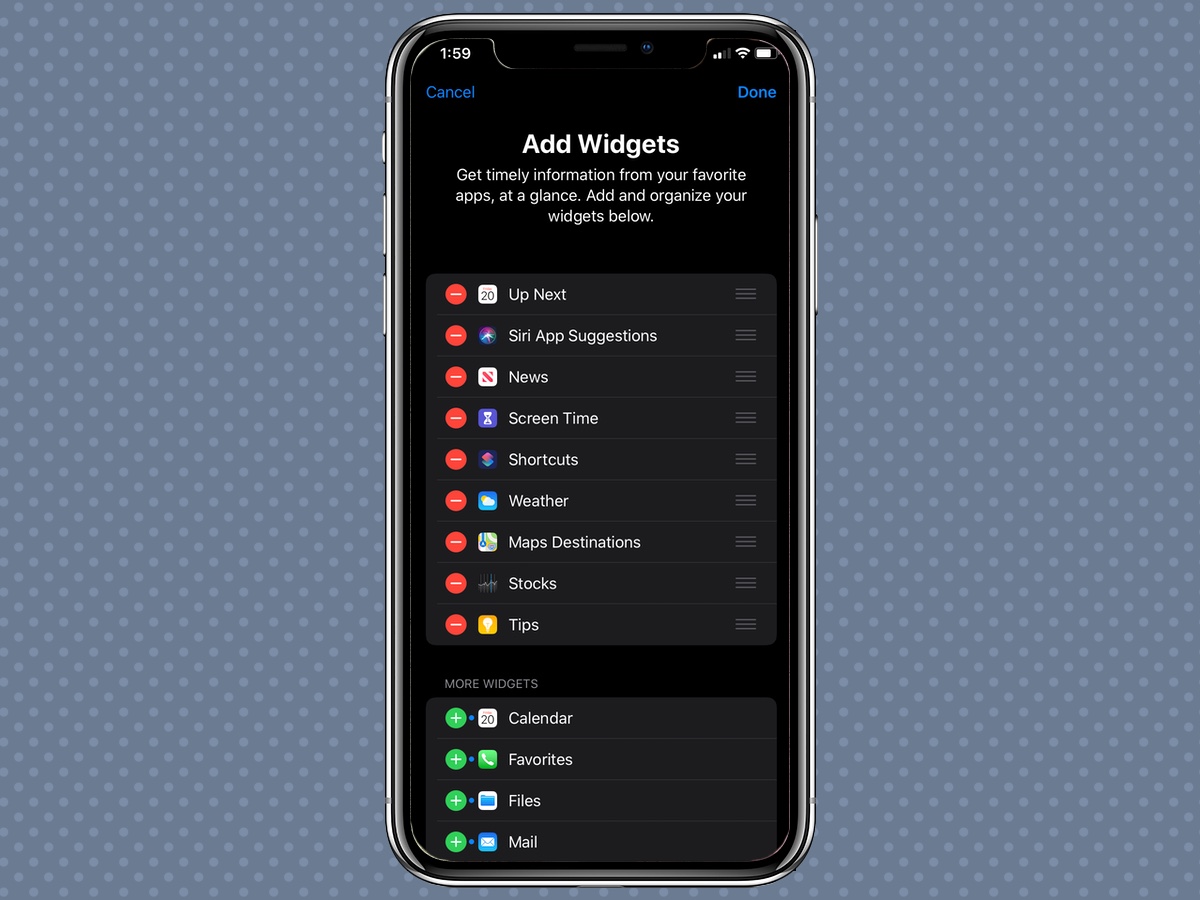
To change what shows up on this page, scroll to the bottom of your Today View and tap the Edit button. Here you’ll see a list of all of the apps installed on your iPhone that have widgets you can add to your Today View. You can also reorder these widgets, by dragging the bars to the right edge of the screen.
Adam Ismail is a staff writer at Jalopnik and previously worked on Tom's Guide covering smartphones, car tech and gaming. His love for all things mobile began with the original Motorola Droid; since then he’s owned a variety of Android and iOS-powered handsets, refusing to stay loyal to one platform. His work has also appeared on Digital Trends and GTPlanet. When he’s not fiddling with the latest devices, he’s at an indie pop show, recording a podcast or playing Sega Dreamcast.

