I write about home decor for a living — 5 things I wish I’d known before painting a room
These are the essential things I wish I'd known before painting a room

If you’re planning on giving your home a quick transformation for the new year, a fresh coat of paint can do the job. And if you want to master how to paint a room like a pro, you’ll also need to avoid these common painting mistakes.
I’m always updating my home, and taking on a new DIY project. Over the years, I’ve wallpapered rooms, upcycled old, tired-looking furniture and of course, painted walls. But despite writing about home decor for a living, I’ve made some rookie mistakes in the past that have cost me time, effort and money!
So, if you want to save yourself hassle in the long-run, here are 5 things I wish I’d known before painting a room to make the task easier (and more enjoyable!).
1. Buying the right paintbrushes
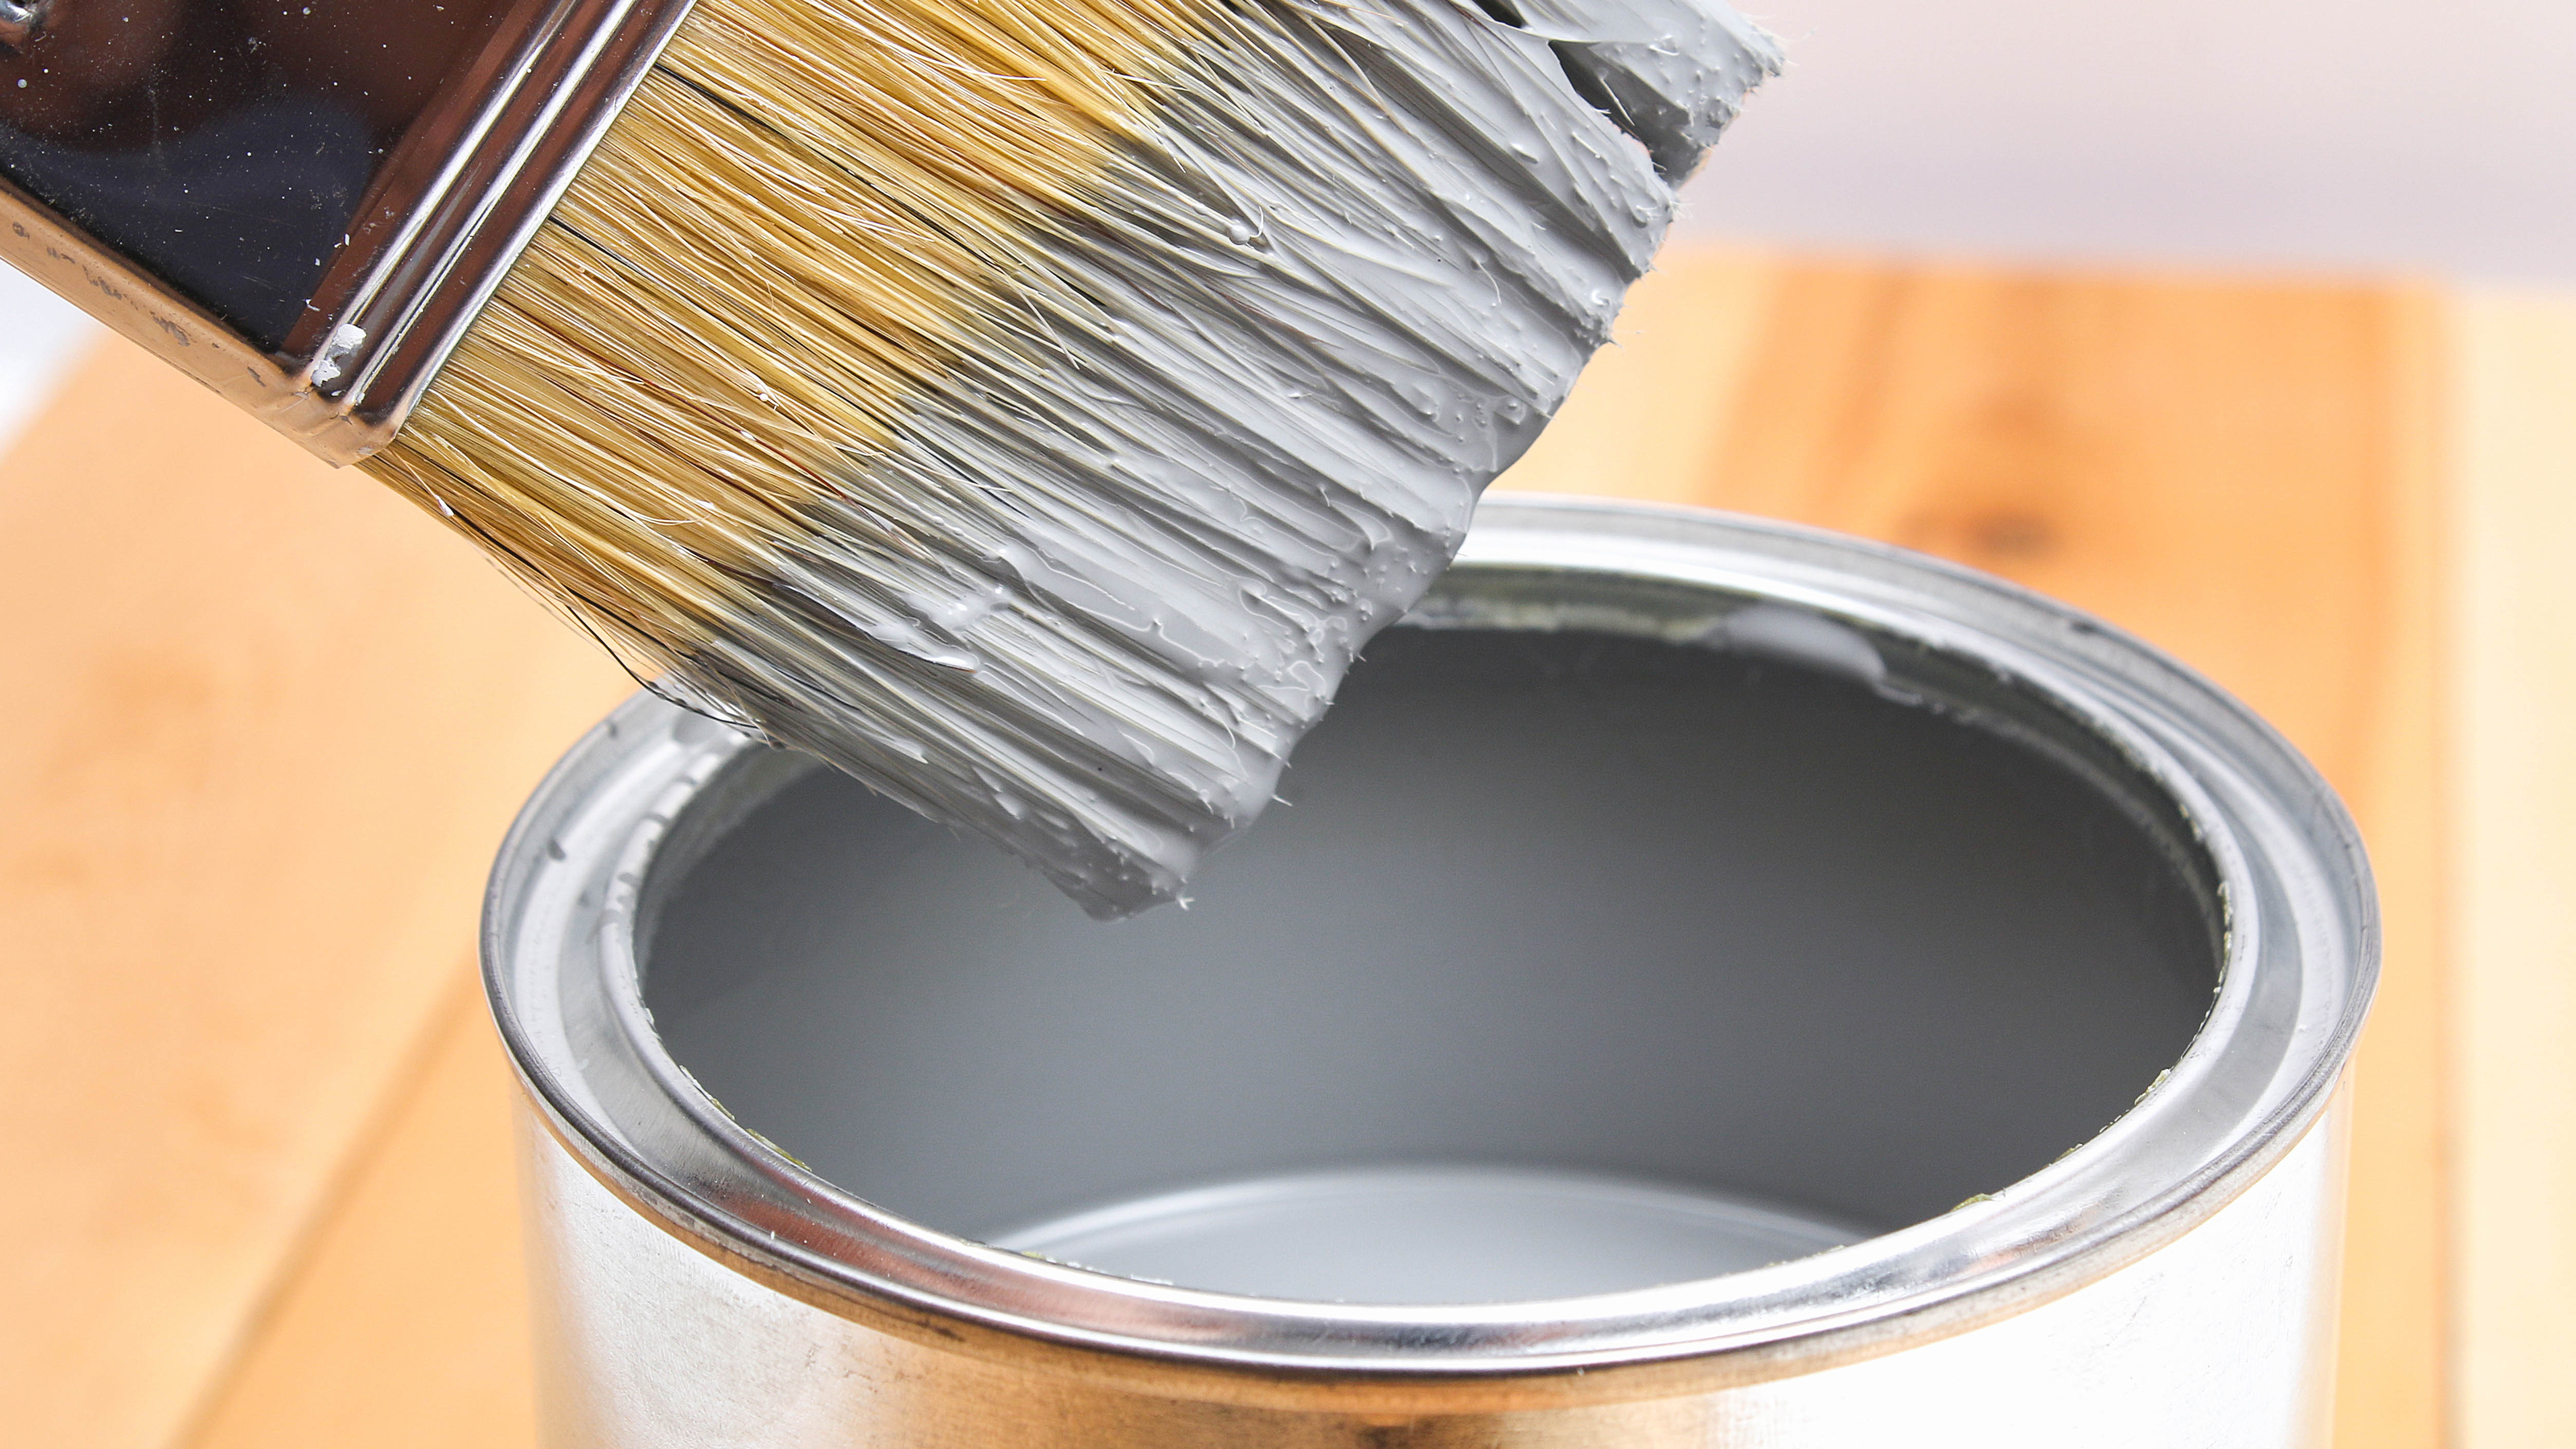
I used to think that all paintbrushes did the same job (it’s all in the name), but I soon learned they’re not created equal. In fact, there’s a huge difference between a cheap paintbrush from the Dollar Store and a quality paintbrush.
Cheap paintbrushes tend to cause paint streaking, or have loose or limp bristles. These might either get stuck to the wall or won’t absorb paint very well, causing an uneven finish. So if you see frayed or loose bristles when painting, get rid of these now!
In addition, it’s also good to know the type of paint brush that you need before buying. Generally, experts suggest opting for an acrylic bristle brush for projects using a water-based paint as they absorb little water, while natural bristle brushes are suitable for solvent-based paints. What’s more, a high-quality angled sash brush is recommended to provide those crisp, professional-looking lines.
Plus, you can still invest in high-quality paintbrushes that won’t break the bank, such as these Pro Grade - Paint Brushes ($15, Amazon), which are more durable.
Sign up to get the BEST of Tom's Guide direct to your inbox.
Get instant access to breaking news, the hottest reviews, great deals and helpful tips.
2. Consider safety
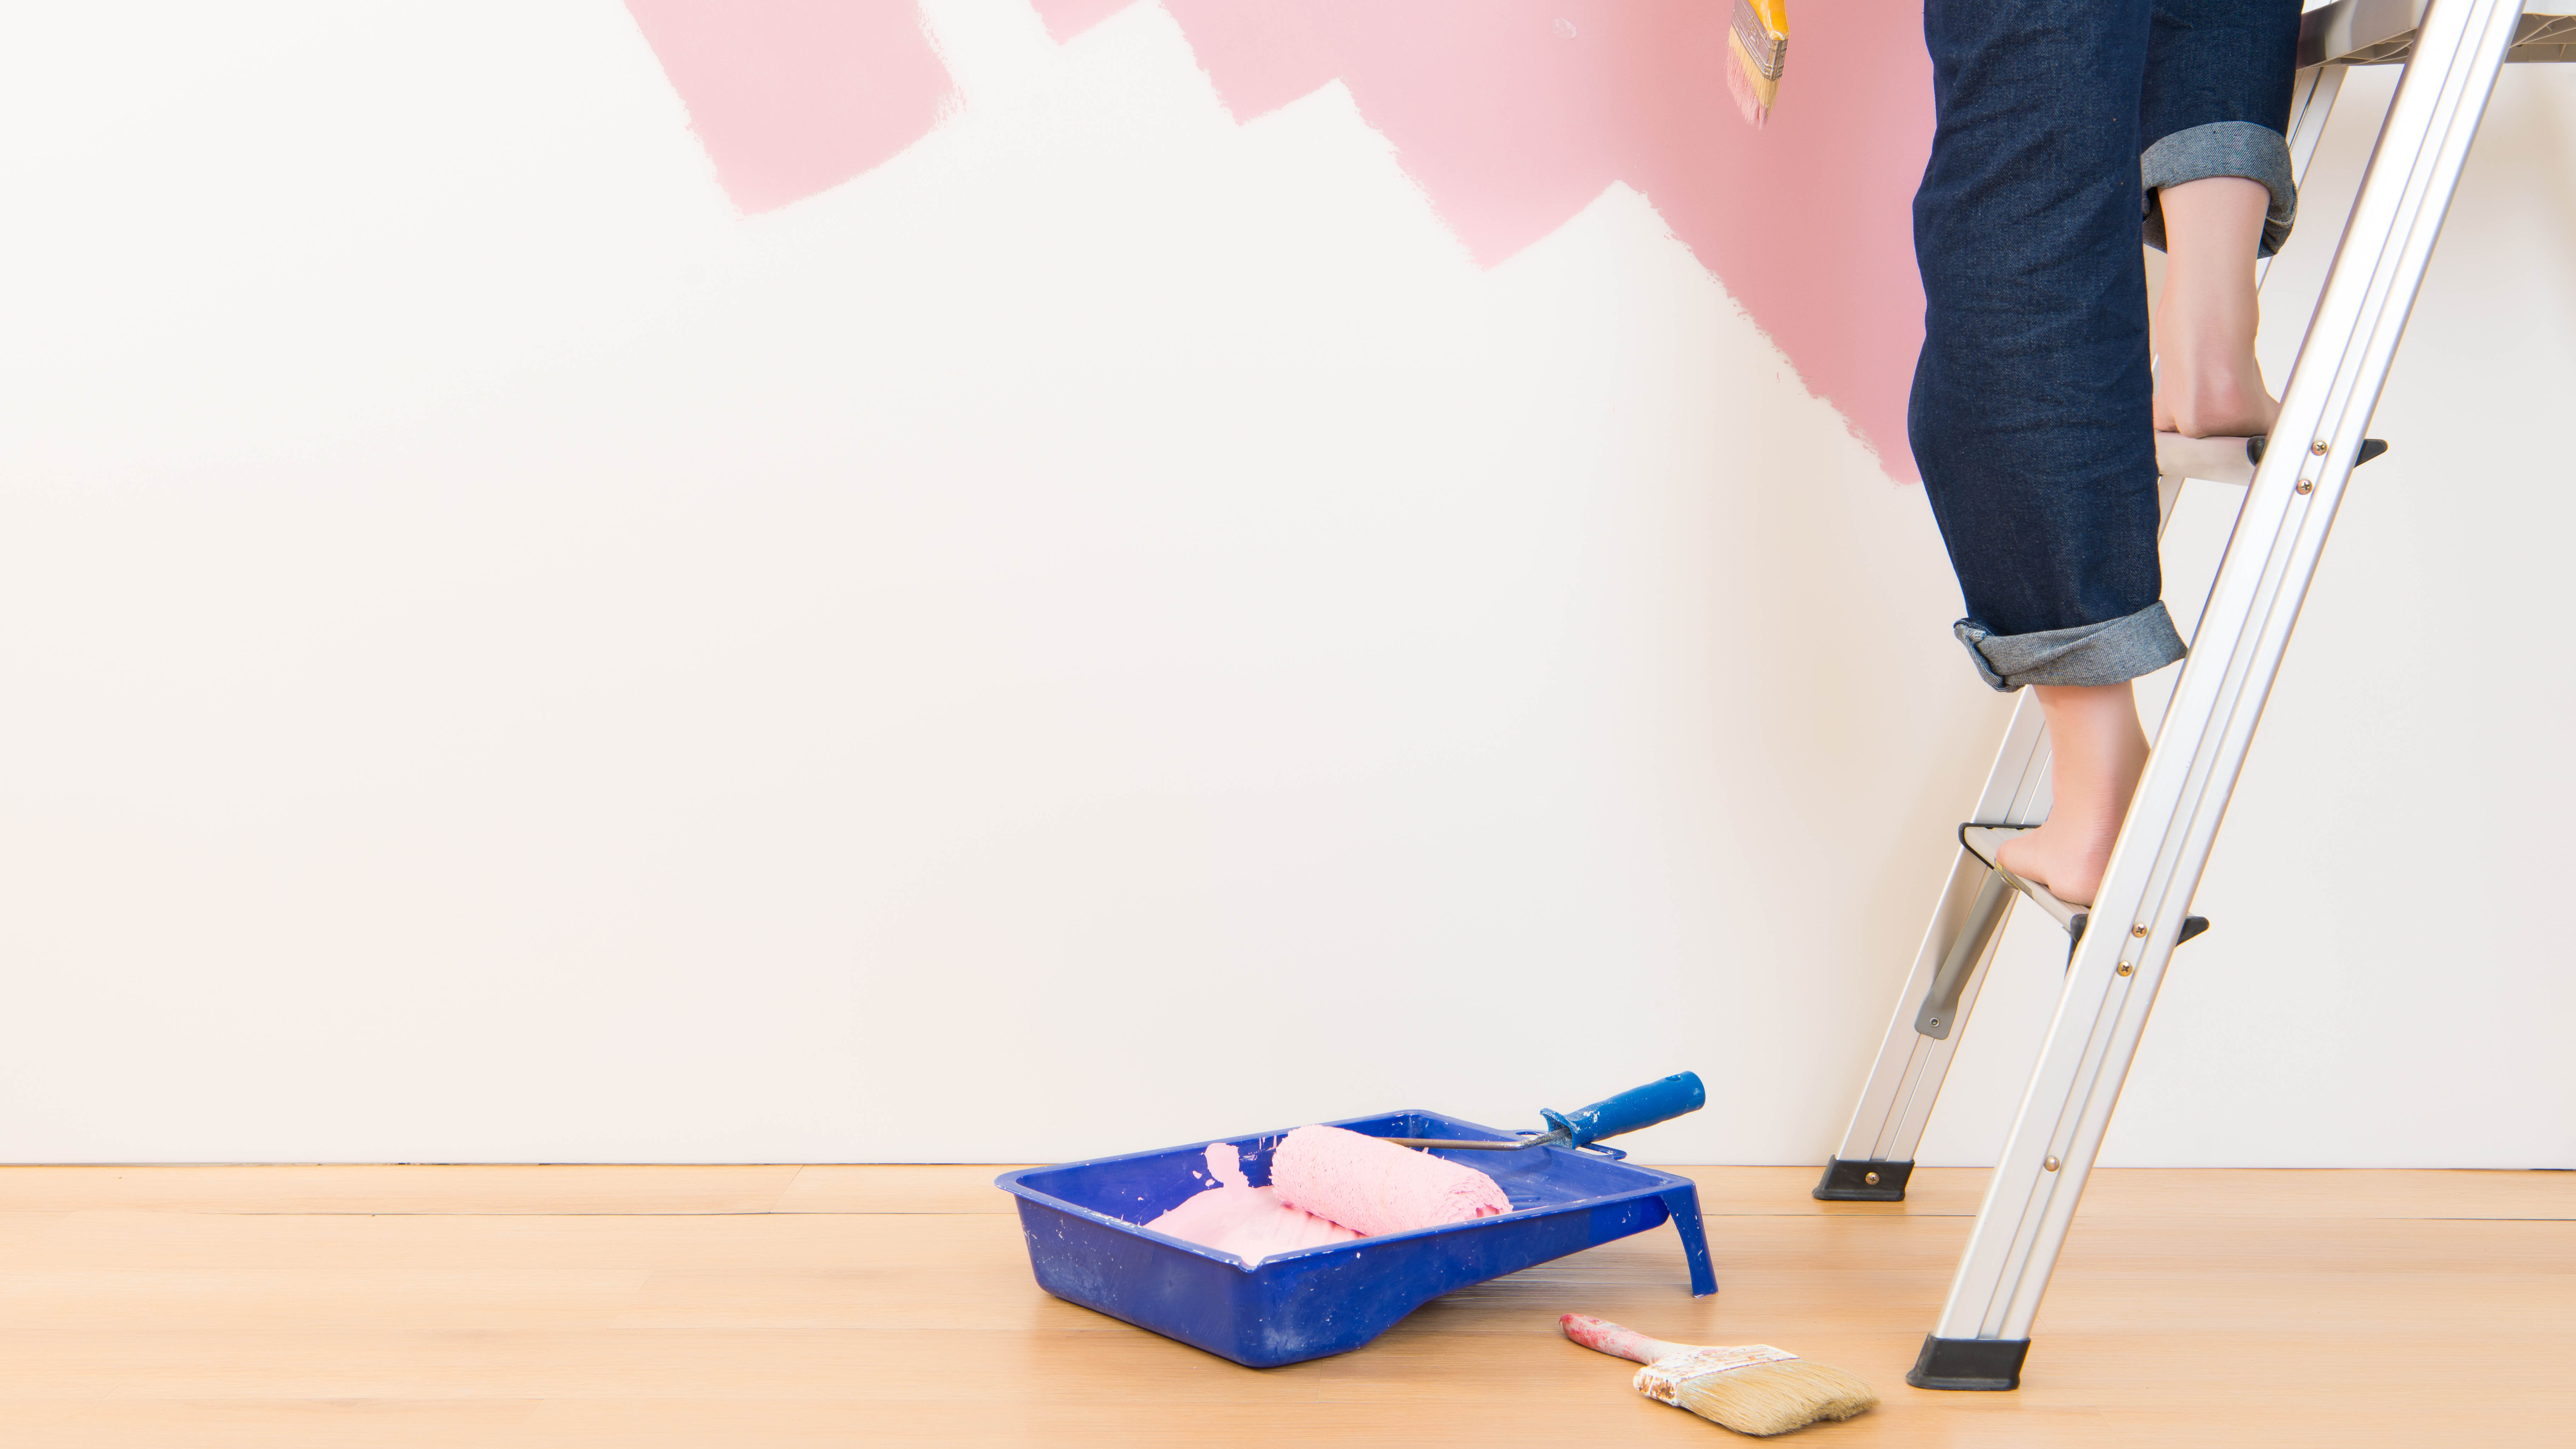
Just because you’re in the comfort of your own home, doesn’t mean you shouldn’t take your safety seriously. And while I wouldn't consider painting to be a high-risk job, there are still certain precautions to take.
Most paints contain harmful chemicals, so ensure you always open a window, door or have adequate ventilation in the room — especially if you have children at home.
In addition, always wear appropriate clothing, or disposable coveralls like these Cleaing Pack of 3 SMS Disposable Paint Suit ($18, Amazon), to protect your skin/clothes from any splashes. If you need to use a sanding tool, it’s also advisable to wear protective eyewear, gloves and a mask so that you won’t breathe in dust.
And finally, wear the right, protective footwear to prevent slipping or losing your balance — especially when climbing a step ladder. I’ve been guilty of wearing my slippers to go up a ladder in the past, which is a massive fail! Always treat any DIY/home project as if you’re on a building site — accidents can happen.
3. Prep the walls first before painting
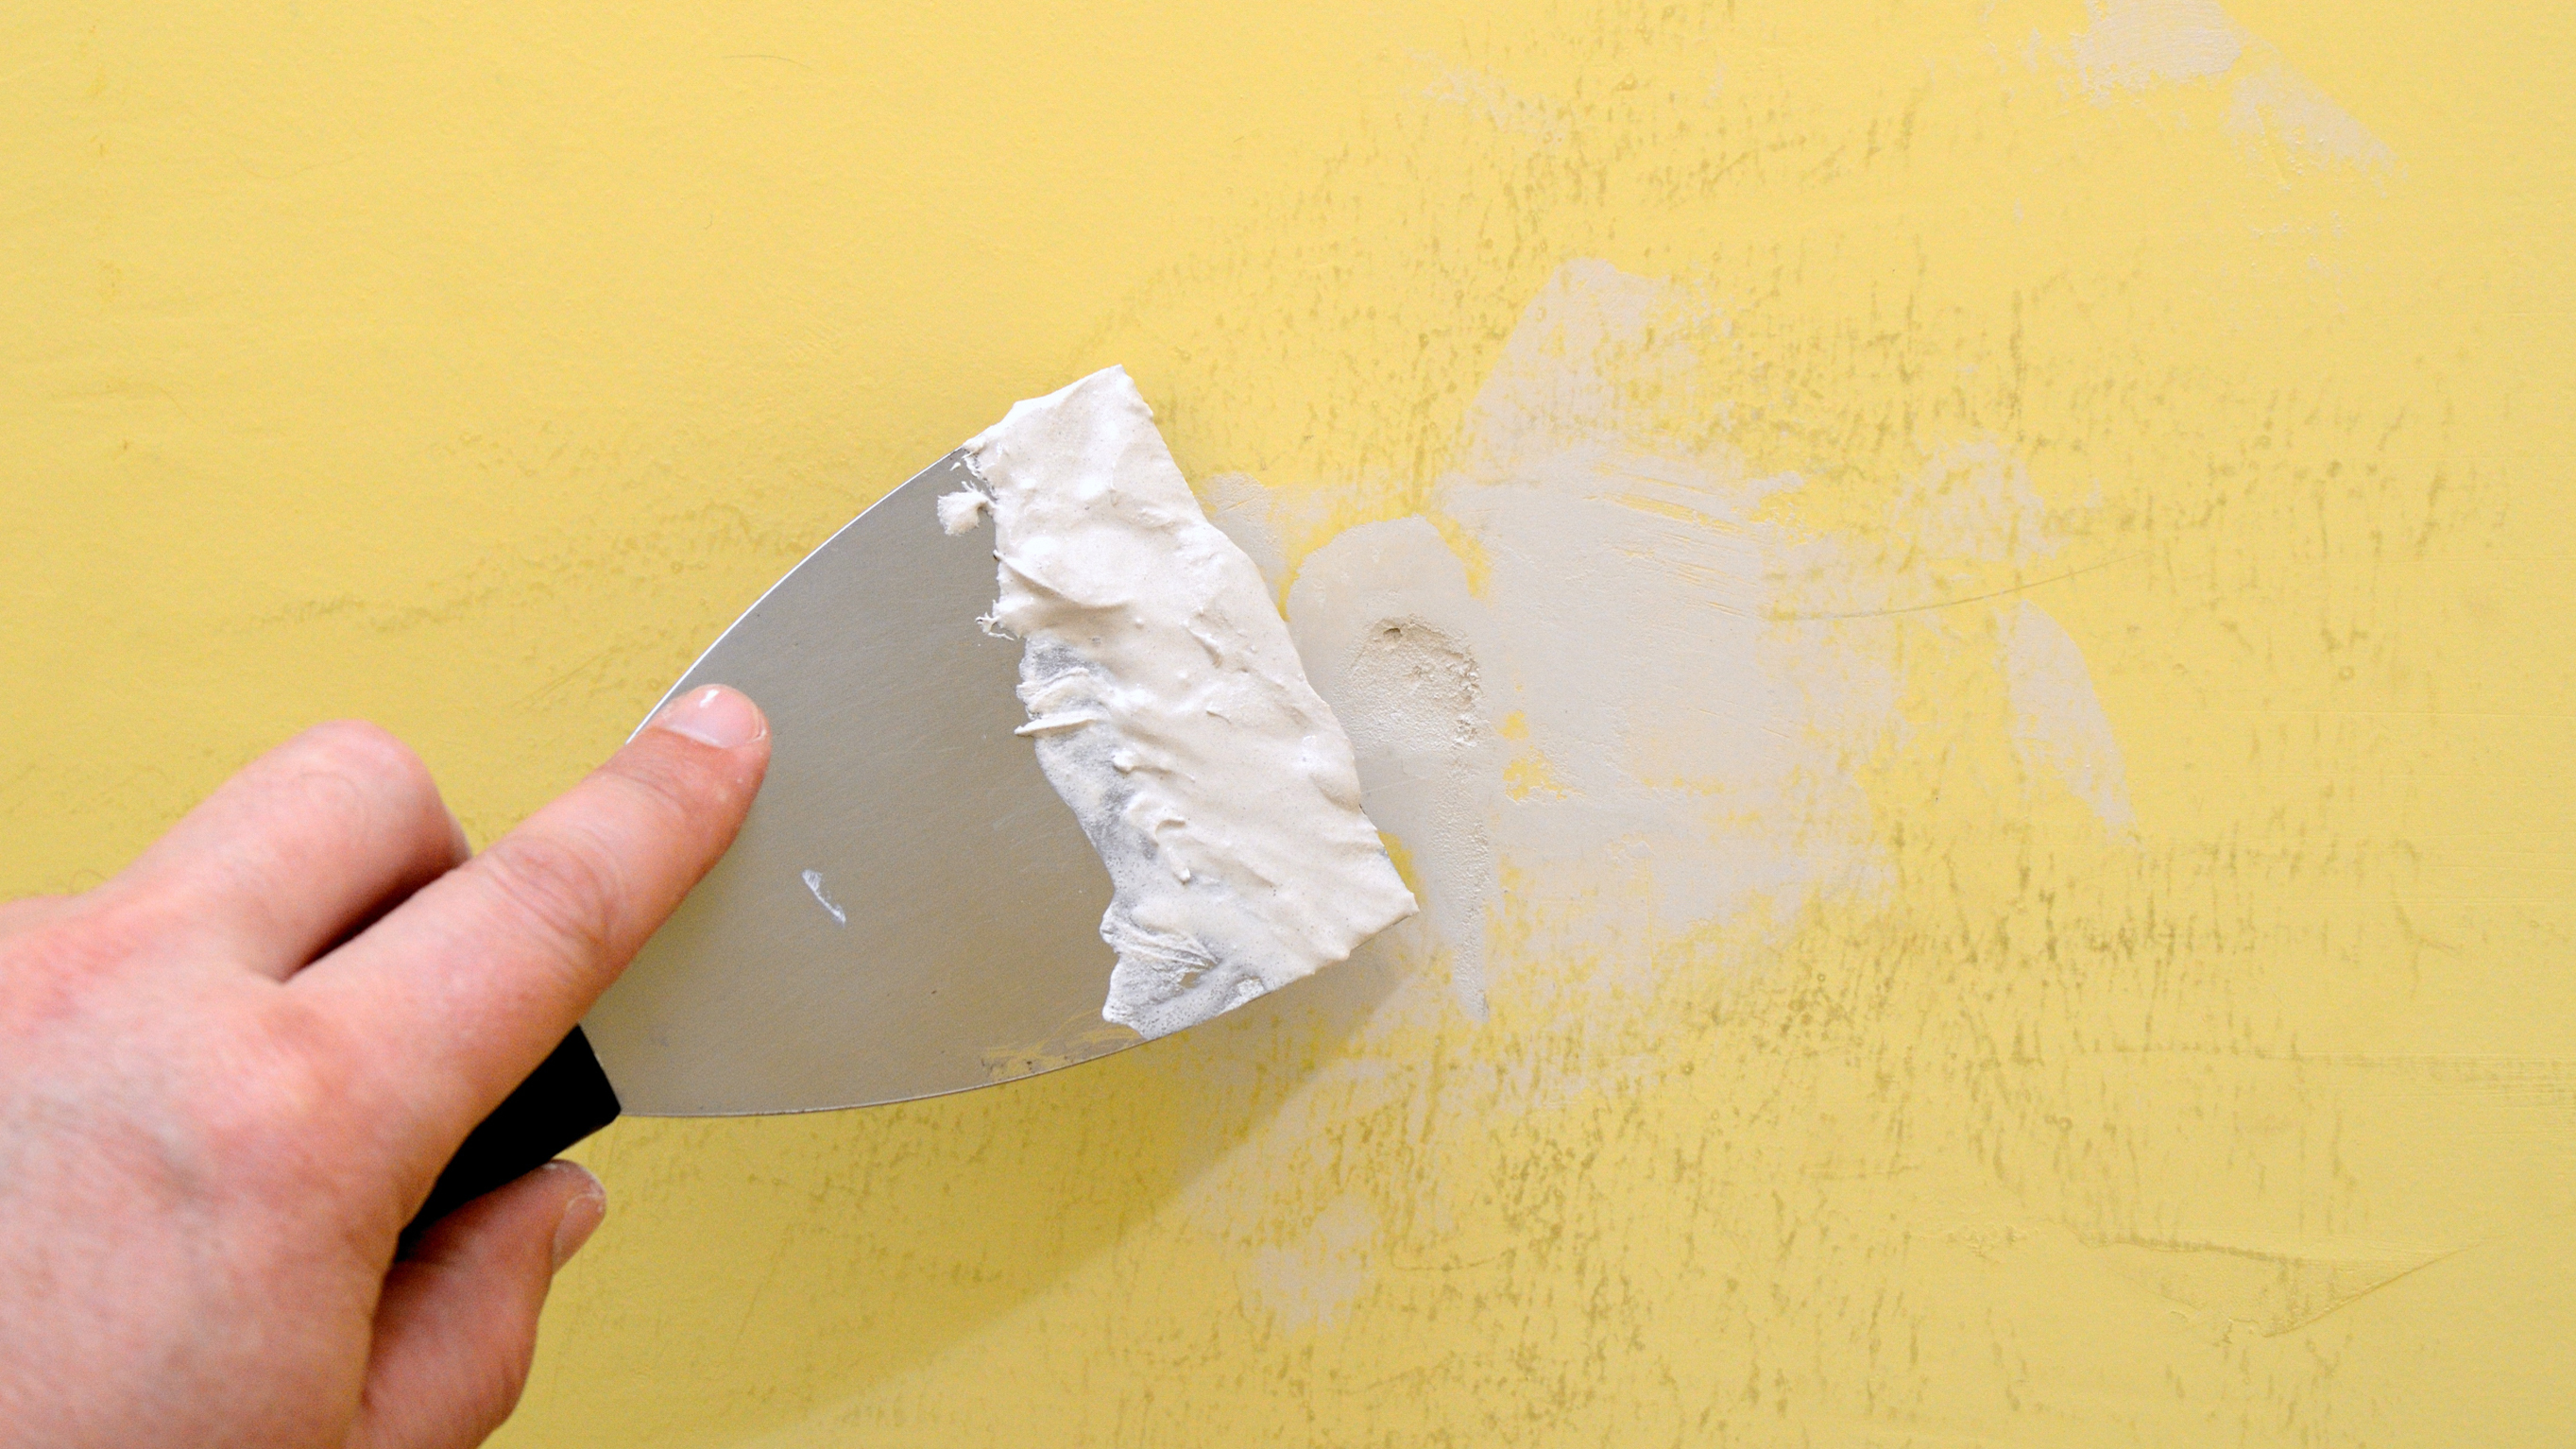
I’ve been guilty of painting straight onto walls without the right preparation. As a result, any dents or cracks were visible, much to my dismay! But while prepping may seem like an arduous task, this makes all the difference to the overall results and finish.
Check the condition of the walls, inspecting for cracks, holes or any dents. If these are minor, simply apply caulk to fill these in with a putty knife, and let it dry completely before any necessary sanding. If your walls are not in good condition however, you may need to hire a plasterer, to ensure it has a smooth finish.
In addition, it’s always recommended to give walls a good clean first with a soapy water solution to get rid of dust, cobwebs and grime. You can either use a damp cloth/sponge, or a sugar soap spray can also be used to prepare walls. Follow this up by washing again with clean water to remove the cleaner residue, then wipe with a clean cloth.
By taking the time to do the prep work, this ensures you have a clean, smooth wall, makes painting easier and will actually save you more time in the long-run.
4. Use masking tape to secure drop cloths
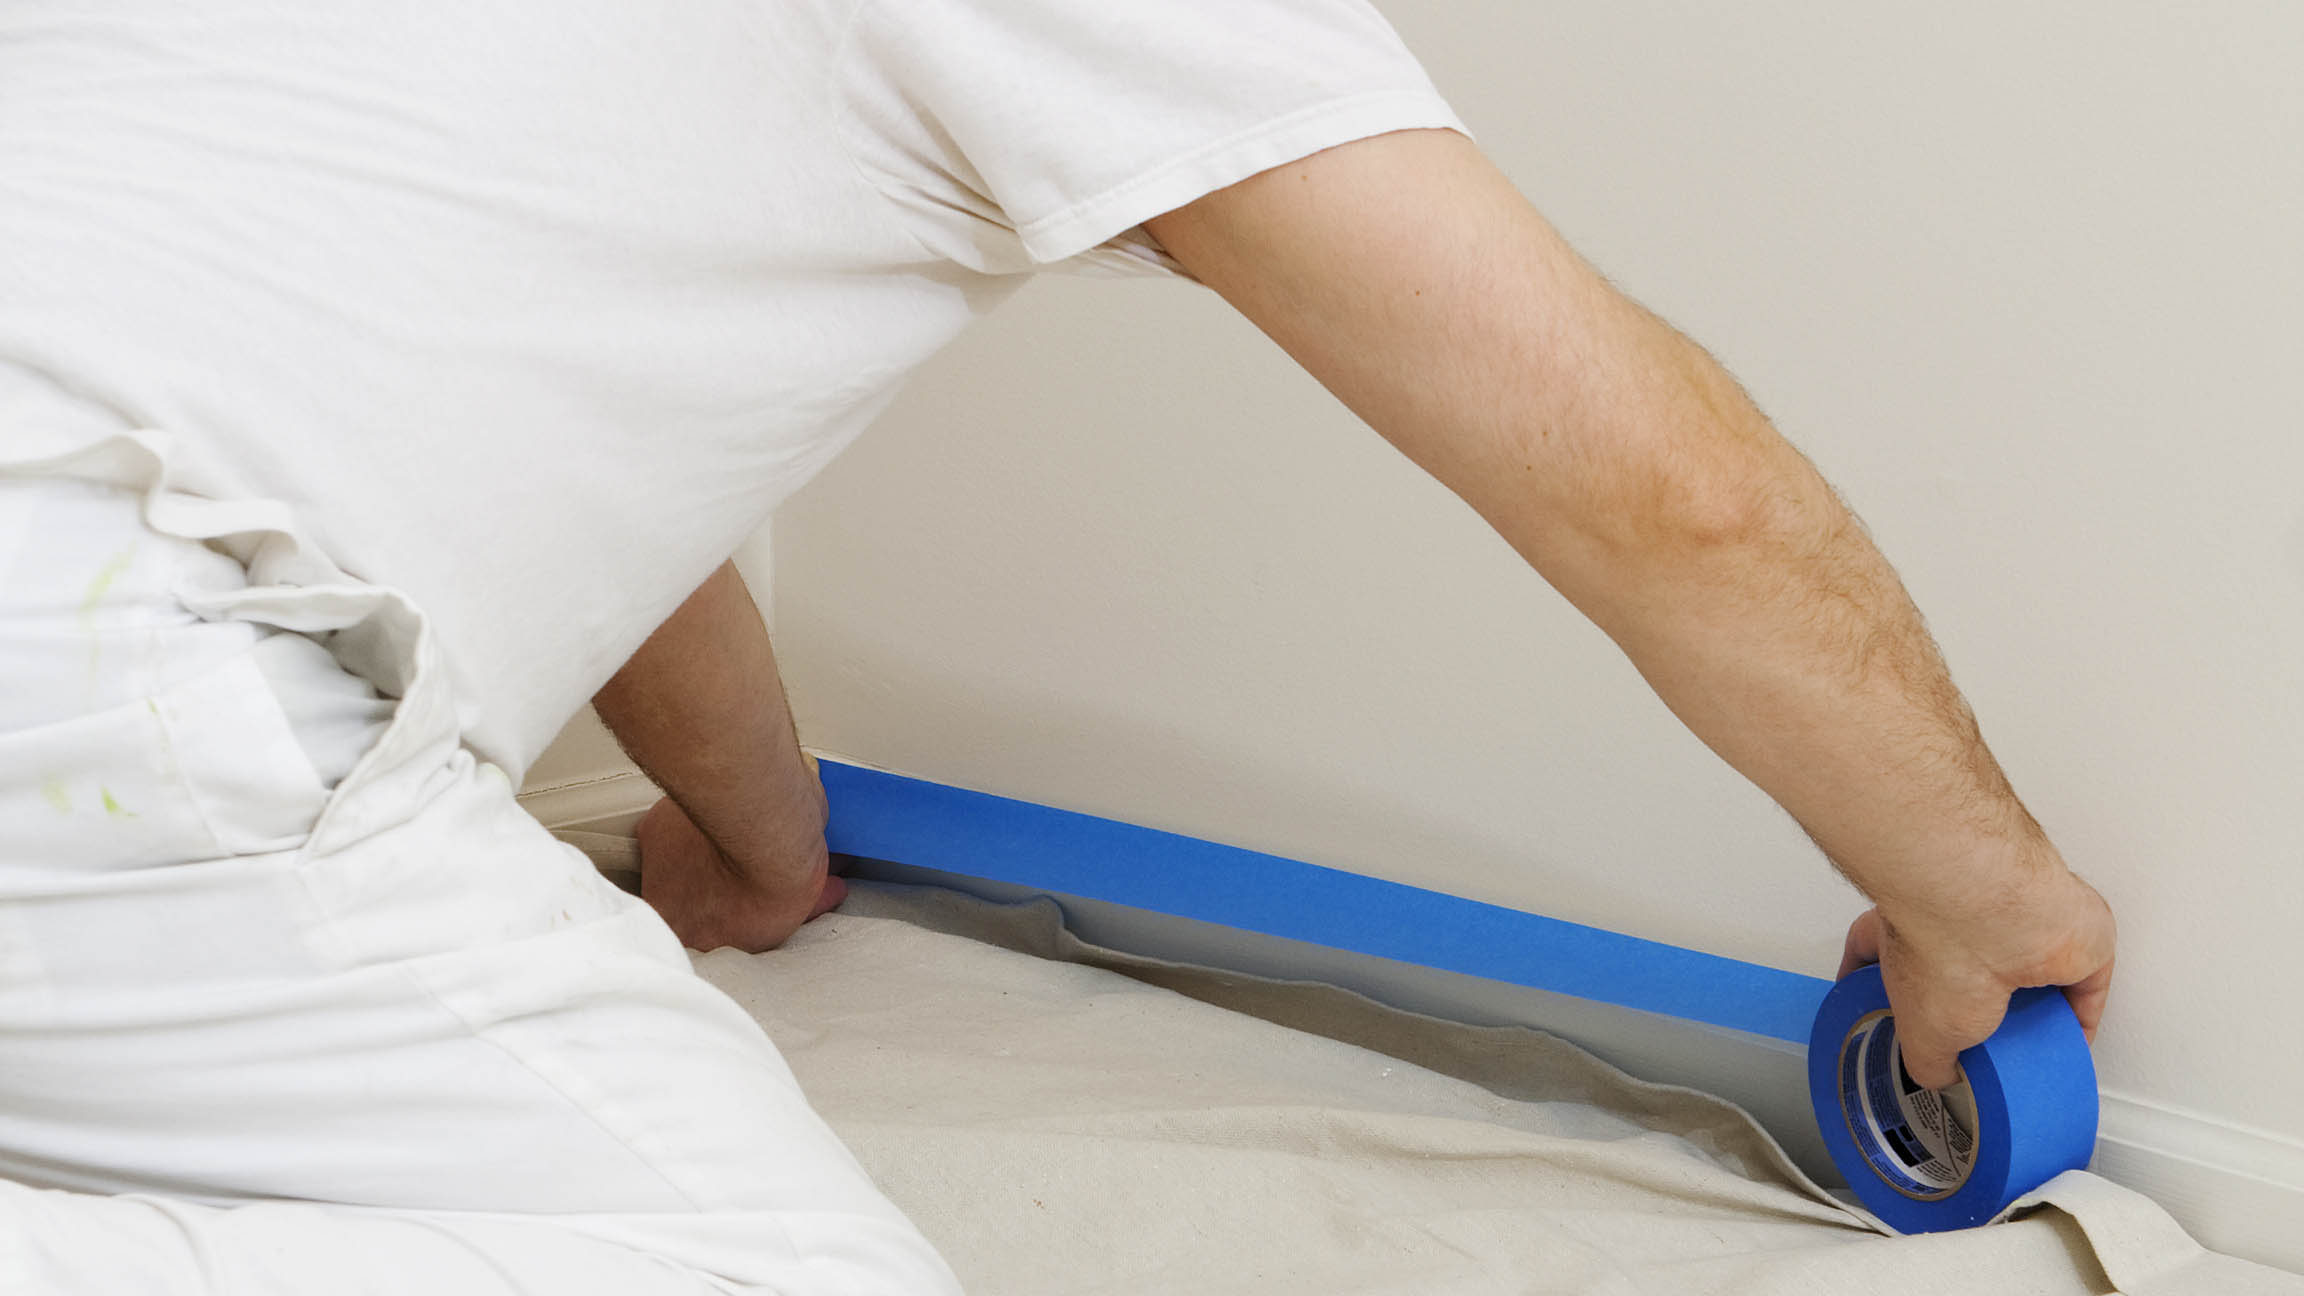
We all know how important it is to protect your floor when you’re painting. However, if you just throw drop cloths down without properly securing them, these can move out of place and cause an accident. In addition, I’d often spend extra time covering areas of the floor again, where it had lifted.
The best way to secure drop cloths is to apply about two inches of masking tape to the quarter round or shoe molding along the edge of wall. Then spread the drop cloth out on the floor next to the wall before applying another layer of masking tape so that it covers both the cloth and trim. This way, it shouldn’t shift while you’re moving the step ladder, or generally walking around the area.
5. Lining the paint tray before use
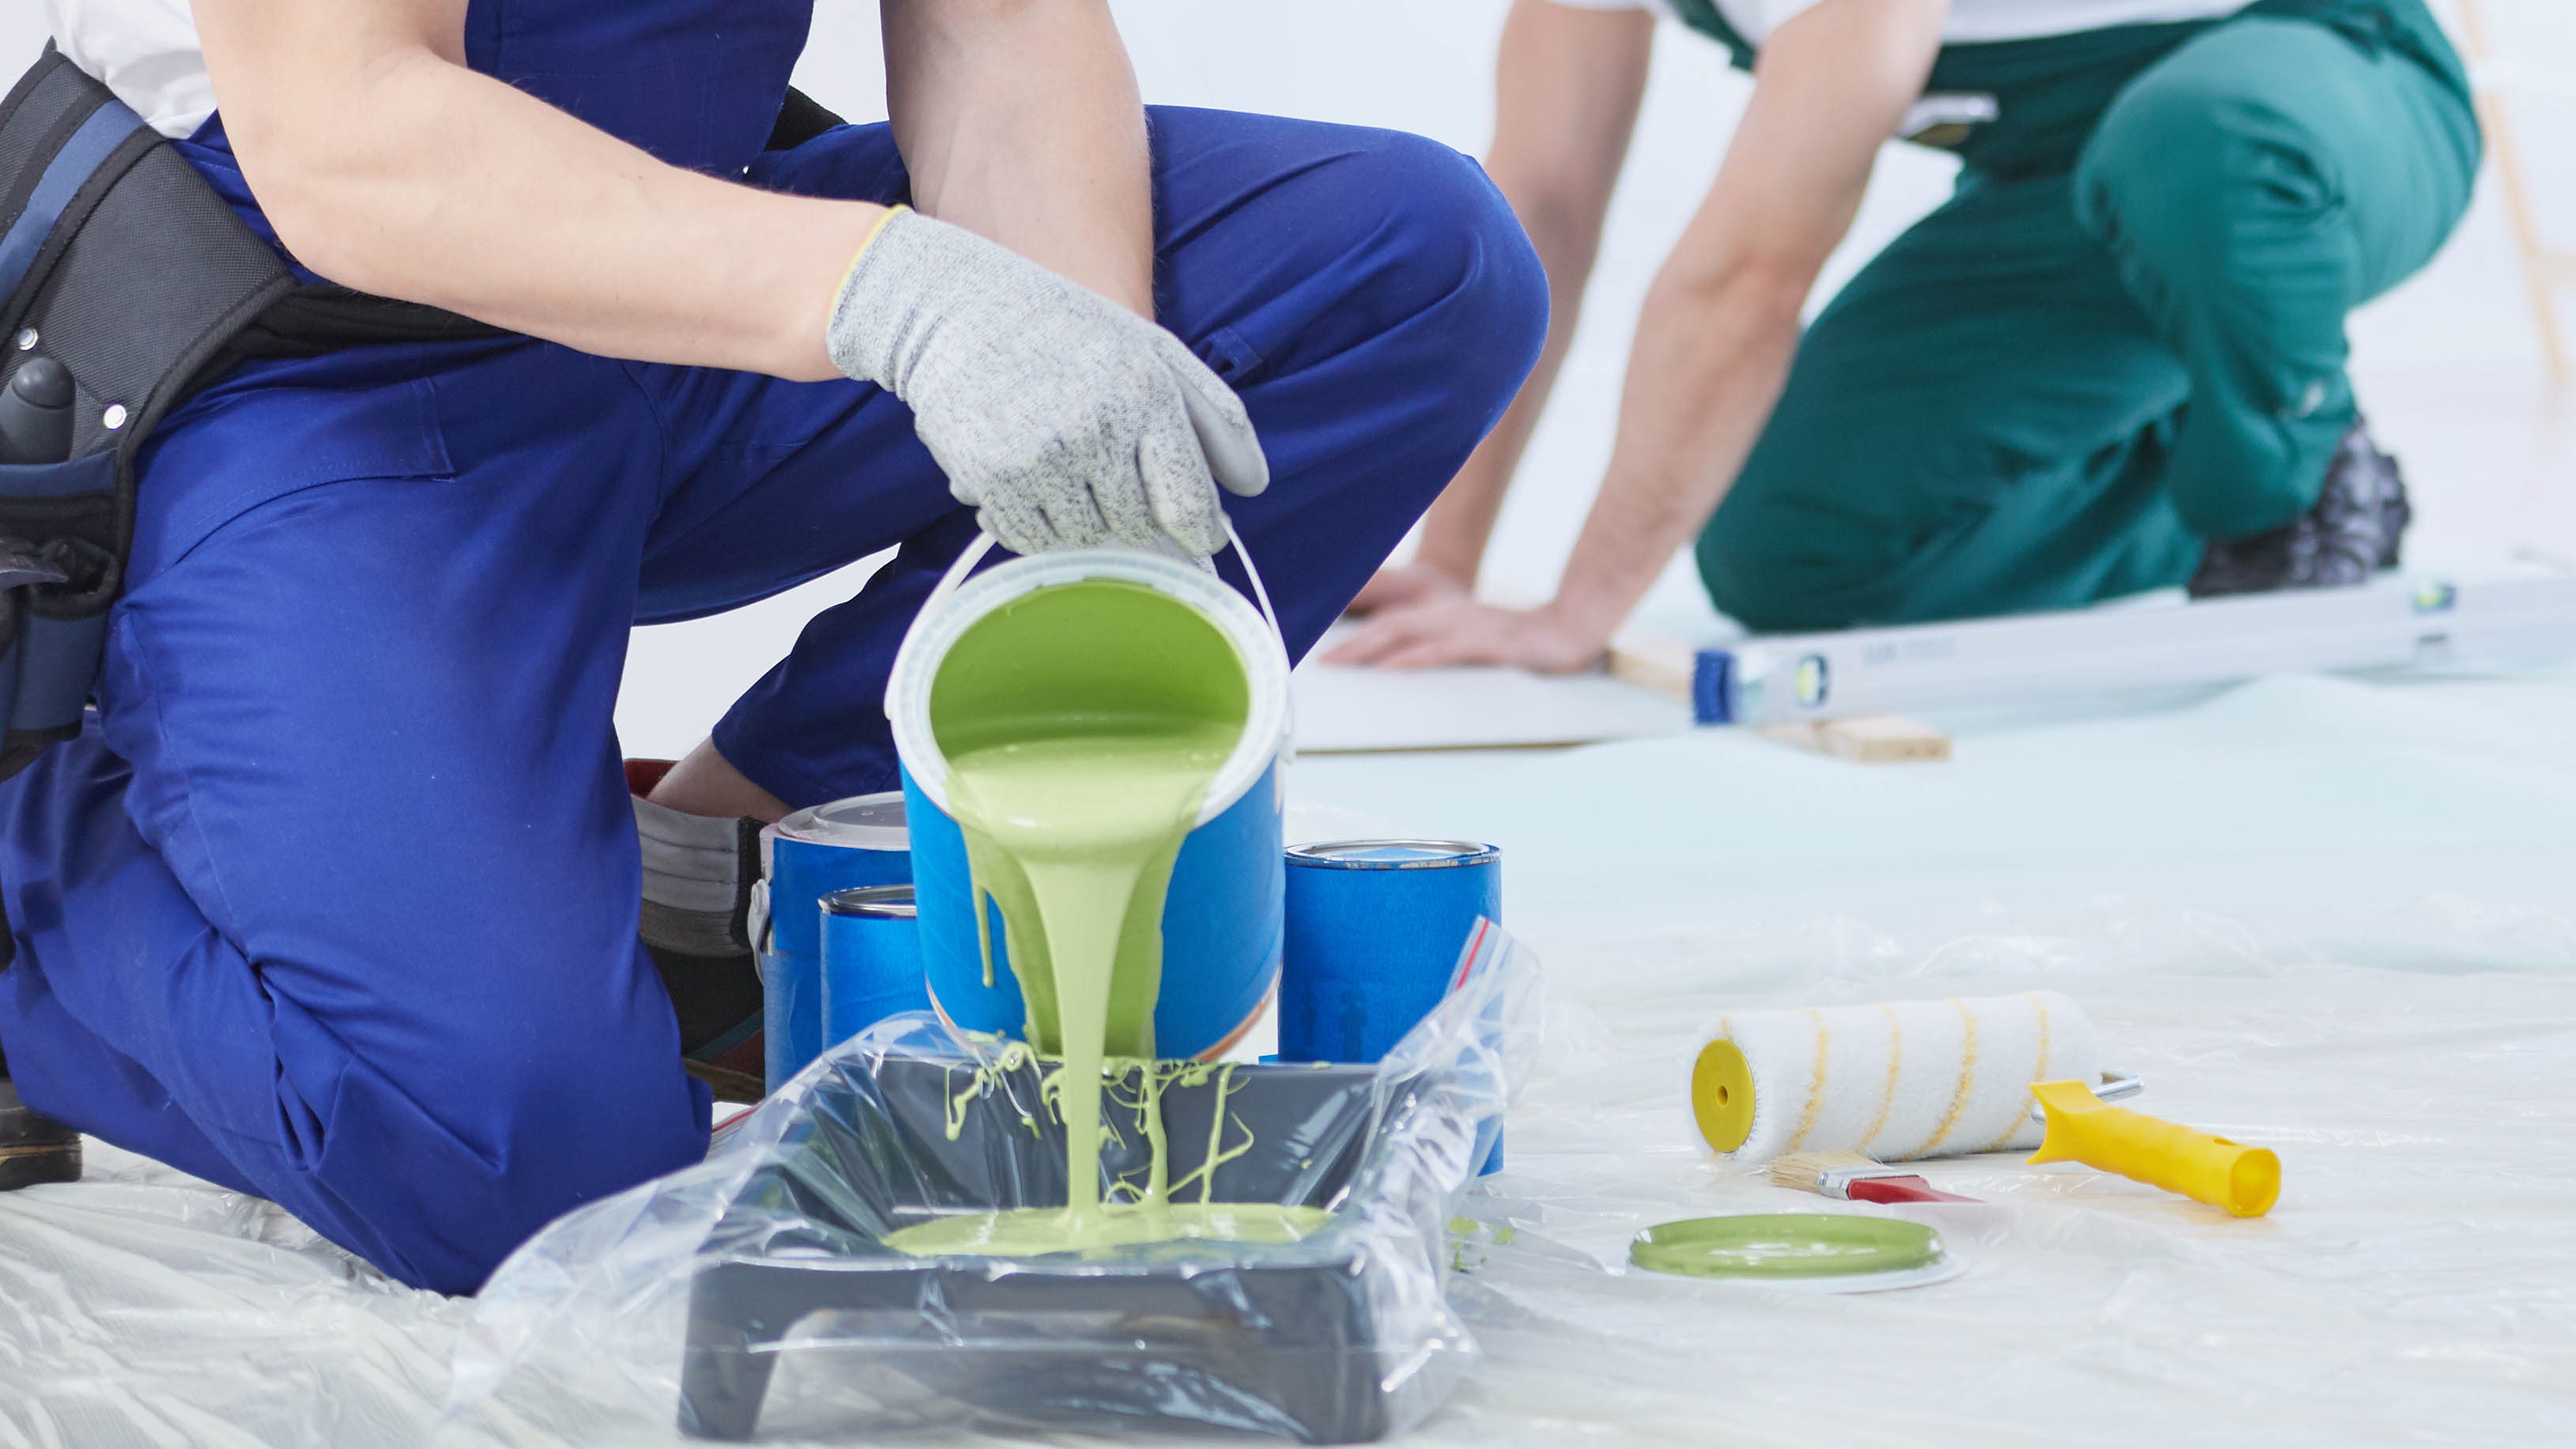
One thing I dread after painting a room is the messy clean-up afterwards — especially if you need to reuse your tray soon after. However, a clever painting hack is to line the tray with a plastic sheet or trash bag so that every inch is covered, before pouring out your paint.
The idea is that, once you've finished painting, carefully lift out the sheet or bag and throw it out in the trash. This way, your paint tray remains spotless, and ready for the next paint job. Best of all, this is quick, hassle-free and will save you precious time.
More from Tom's Guide

As the Homes Content Editor, Cynthia Lawrence covers all things homes, interior decorating, and garden-related. She has a wealth of editorial experience testing the latest, ‘must-have’ home appliances, writing buying guides and the handy ‘how to’ features.
Her work has been published in various titles including, T3, Top Ten Reviews, Ideal Home, Real Homes, Livingetc. and House Beautiful, amongst many.
With a rather unhealthy obsession for all things homes and interiors, she also has an interior design blog for style inspiration and savvy storage solutions (get rid of that clutter!). When she’s not testing cool products, she’ll be searching online for more decor ideas to spruce up her family home or looking for a great bargain!
