How to wrap a gift the right way — 7 easy steps
If you love buying gifts but loathe wrapping them, here’s how to wrap a gift the right way and save you time
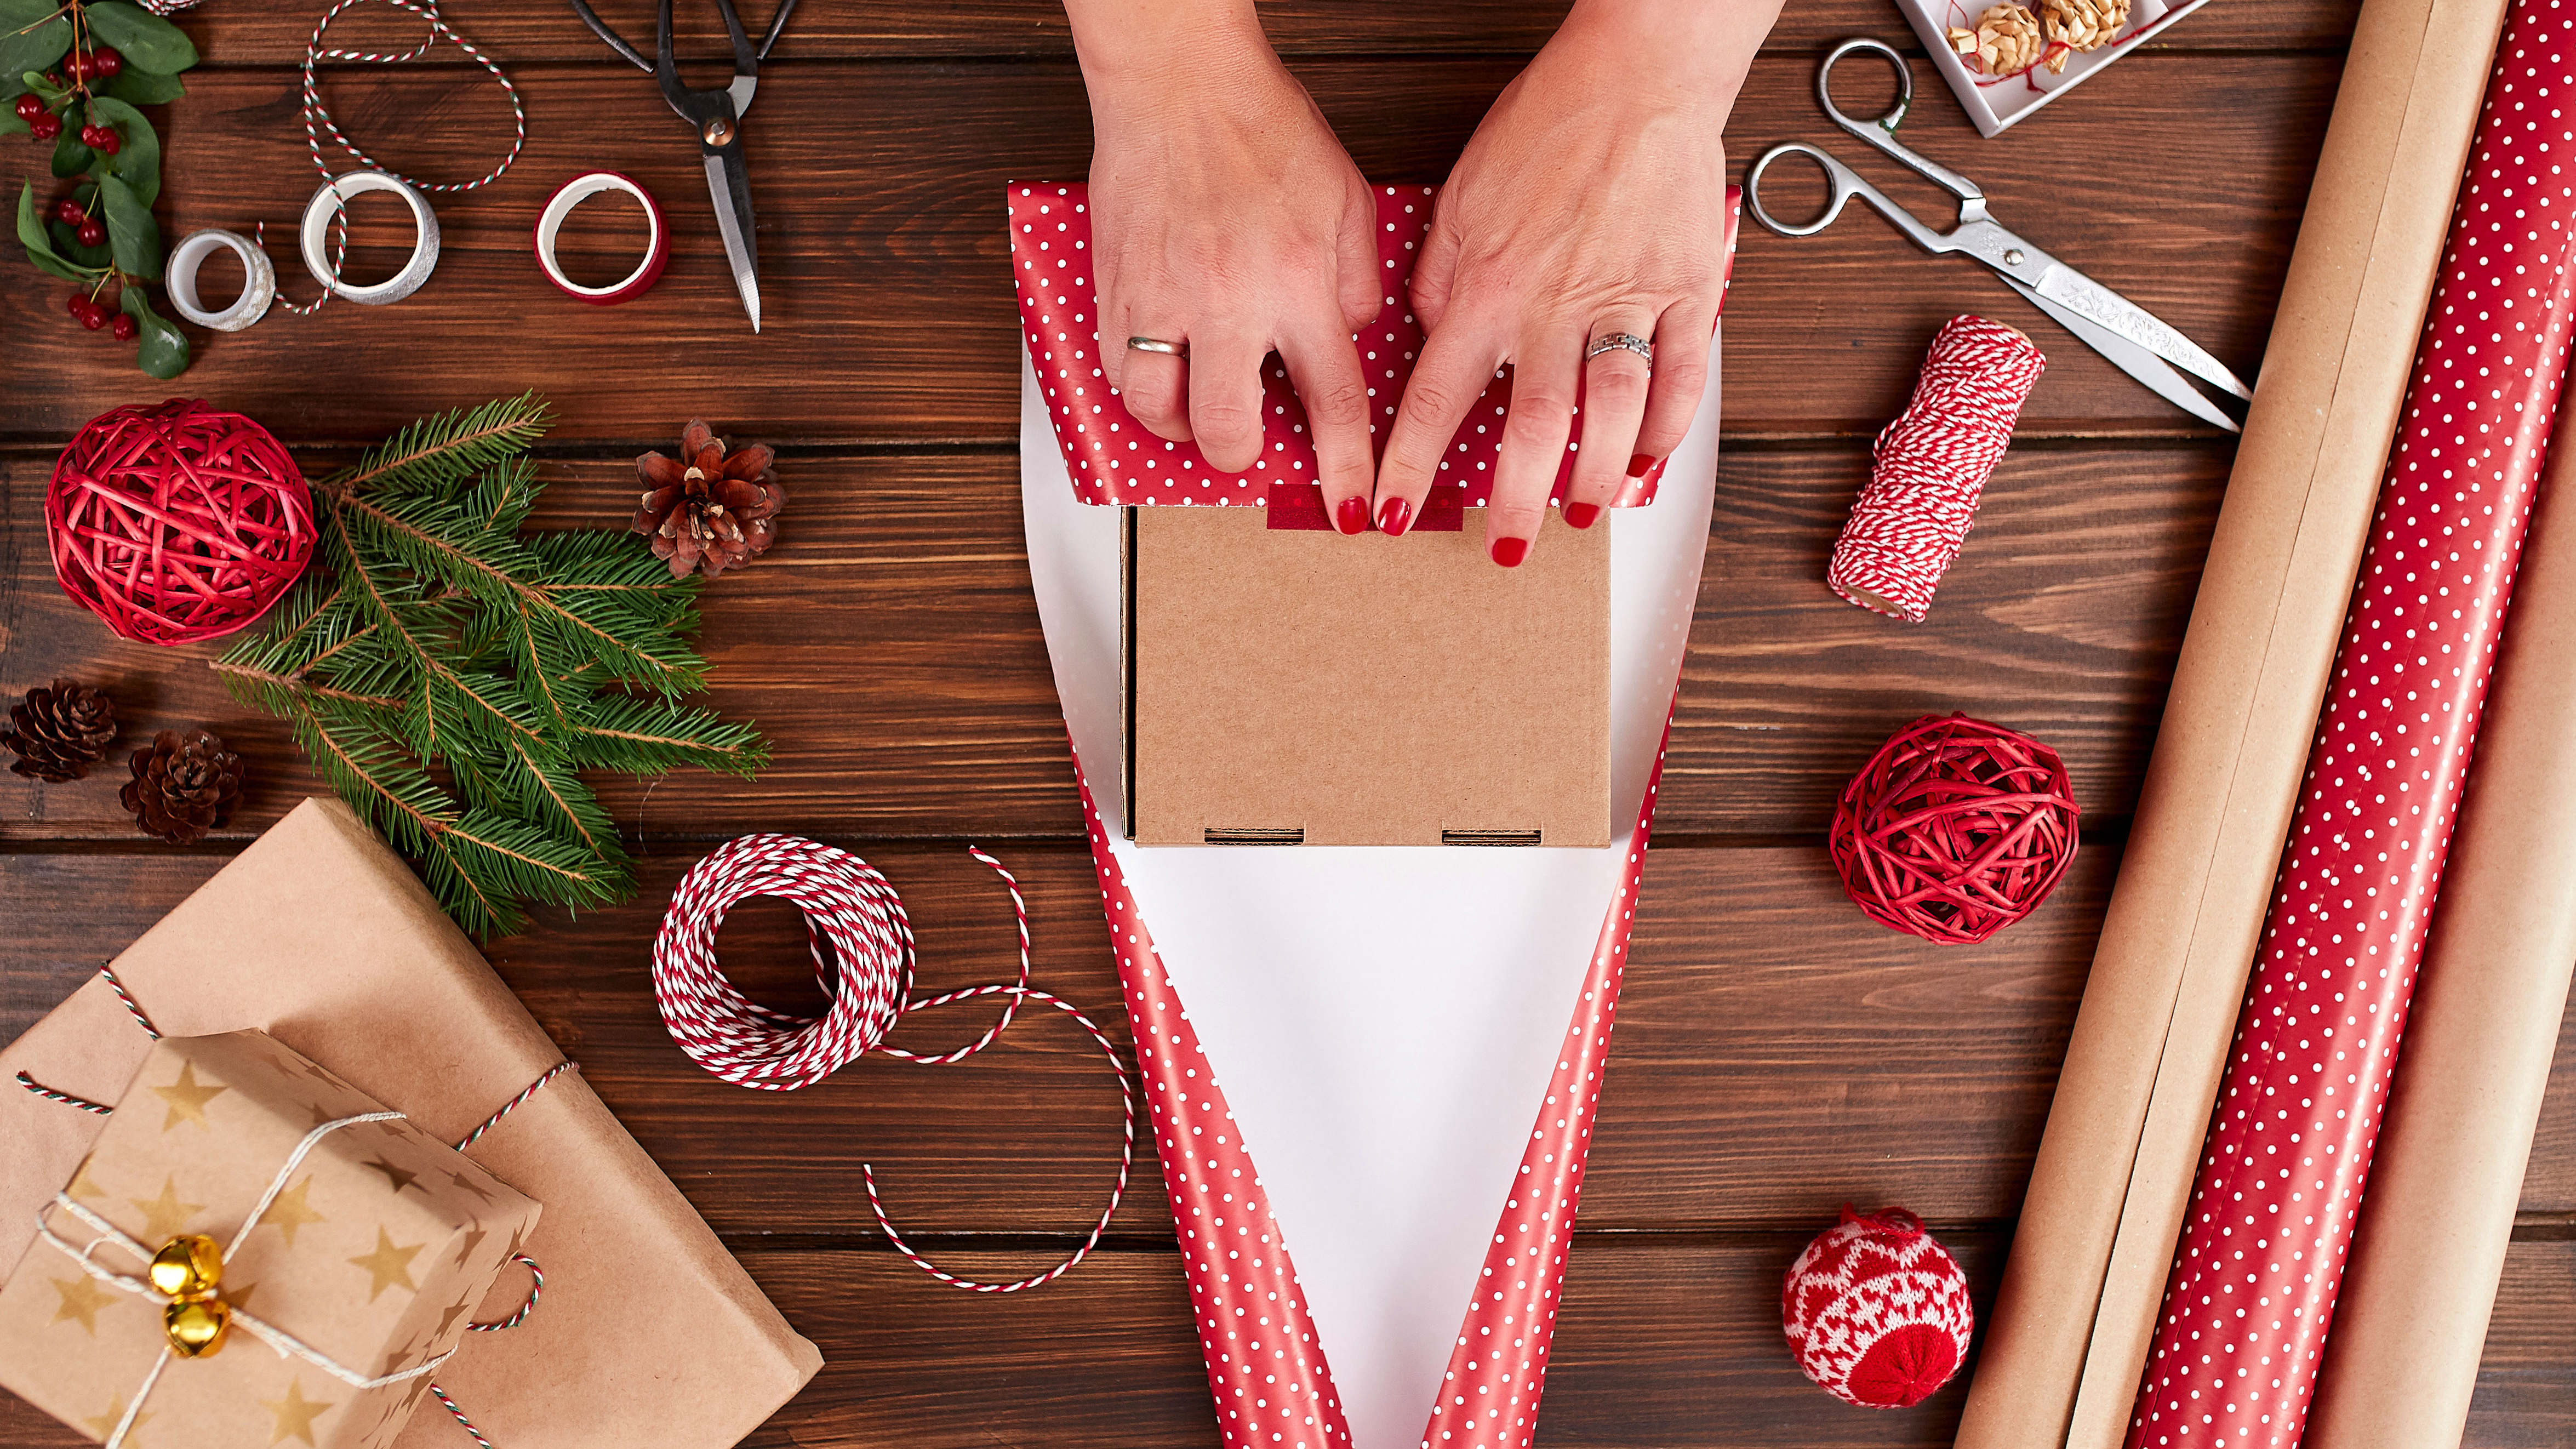
If you're good at buying gifts for loved ones but not so good at wrapping them, you’ll need to know how to wrap a gift the right way.
While we all hope to achieve that professional, 'store-bought' gift wrap, our best attempts often ends up looking like a sticky tape induced mess!
- If you have horrid oil stains here's how to remove oil stains from clothes
- Check out how to clean white shoes
But don’t panic! You can still achieve the slick and stylish gift presentation you're after. All you need to know are the basics of how to wrap a gift the right way, and avoid embarrassment.
In fact, wrapping a gift like a pro is not that difficult, and can be done in just seven steps. So if you have a ton of gifts to wrap this season and want to make an impression, follow these handy tips.
How to wrap a gift the right way
Scissors
Tape and dispenser
Wrapping paper
Gift tags
1. Measure up your wrapping paper
A common mistake we make is cutting the wrapping paper from the roll before measuring up.
First, measure out wrapping paper by placing the gift in the middle of the wrapping paper, making sure the paper goes all the way up both sides when you fold it. A general rule is to unroll enough that the paper is about twice the length of the gift box. There’s nothing worse than cutting paper first, only to find out it comes up too short for the gift.
Sign up to get the BEST of Tom's Guide direct to your inbox.
Get instant access to breaking news, the hottest reviews, great deals and helpful tips.
2. Cut the wrapping paper
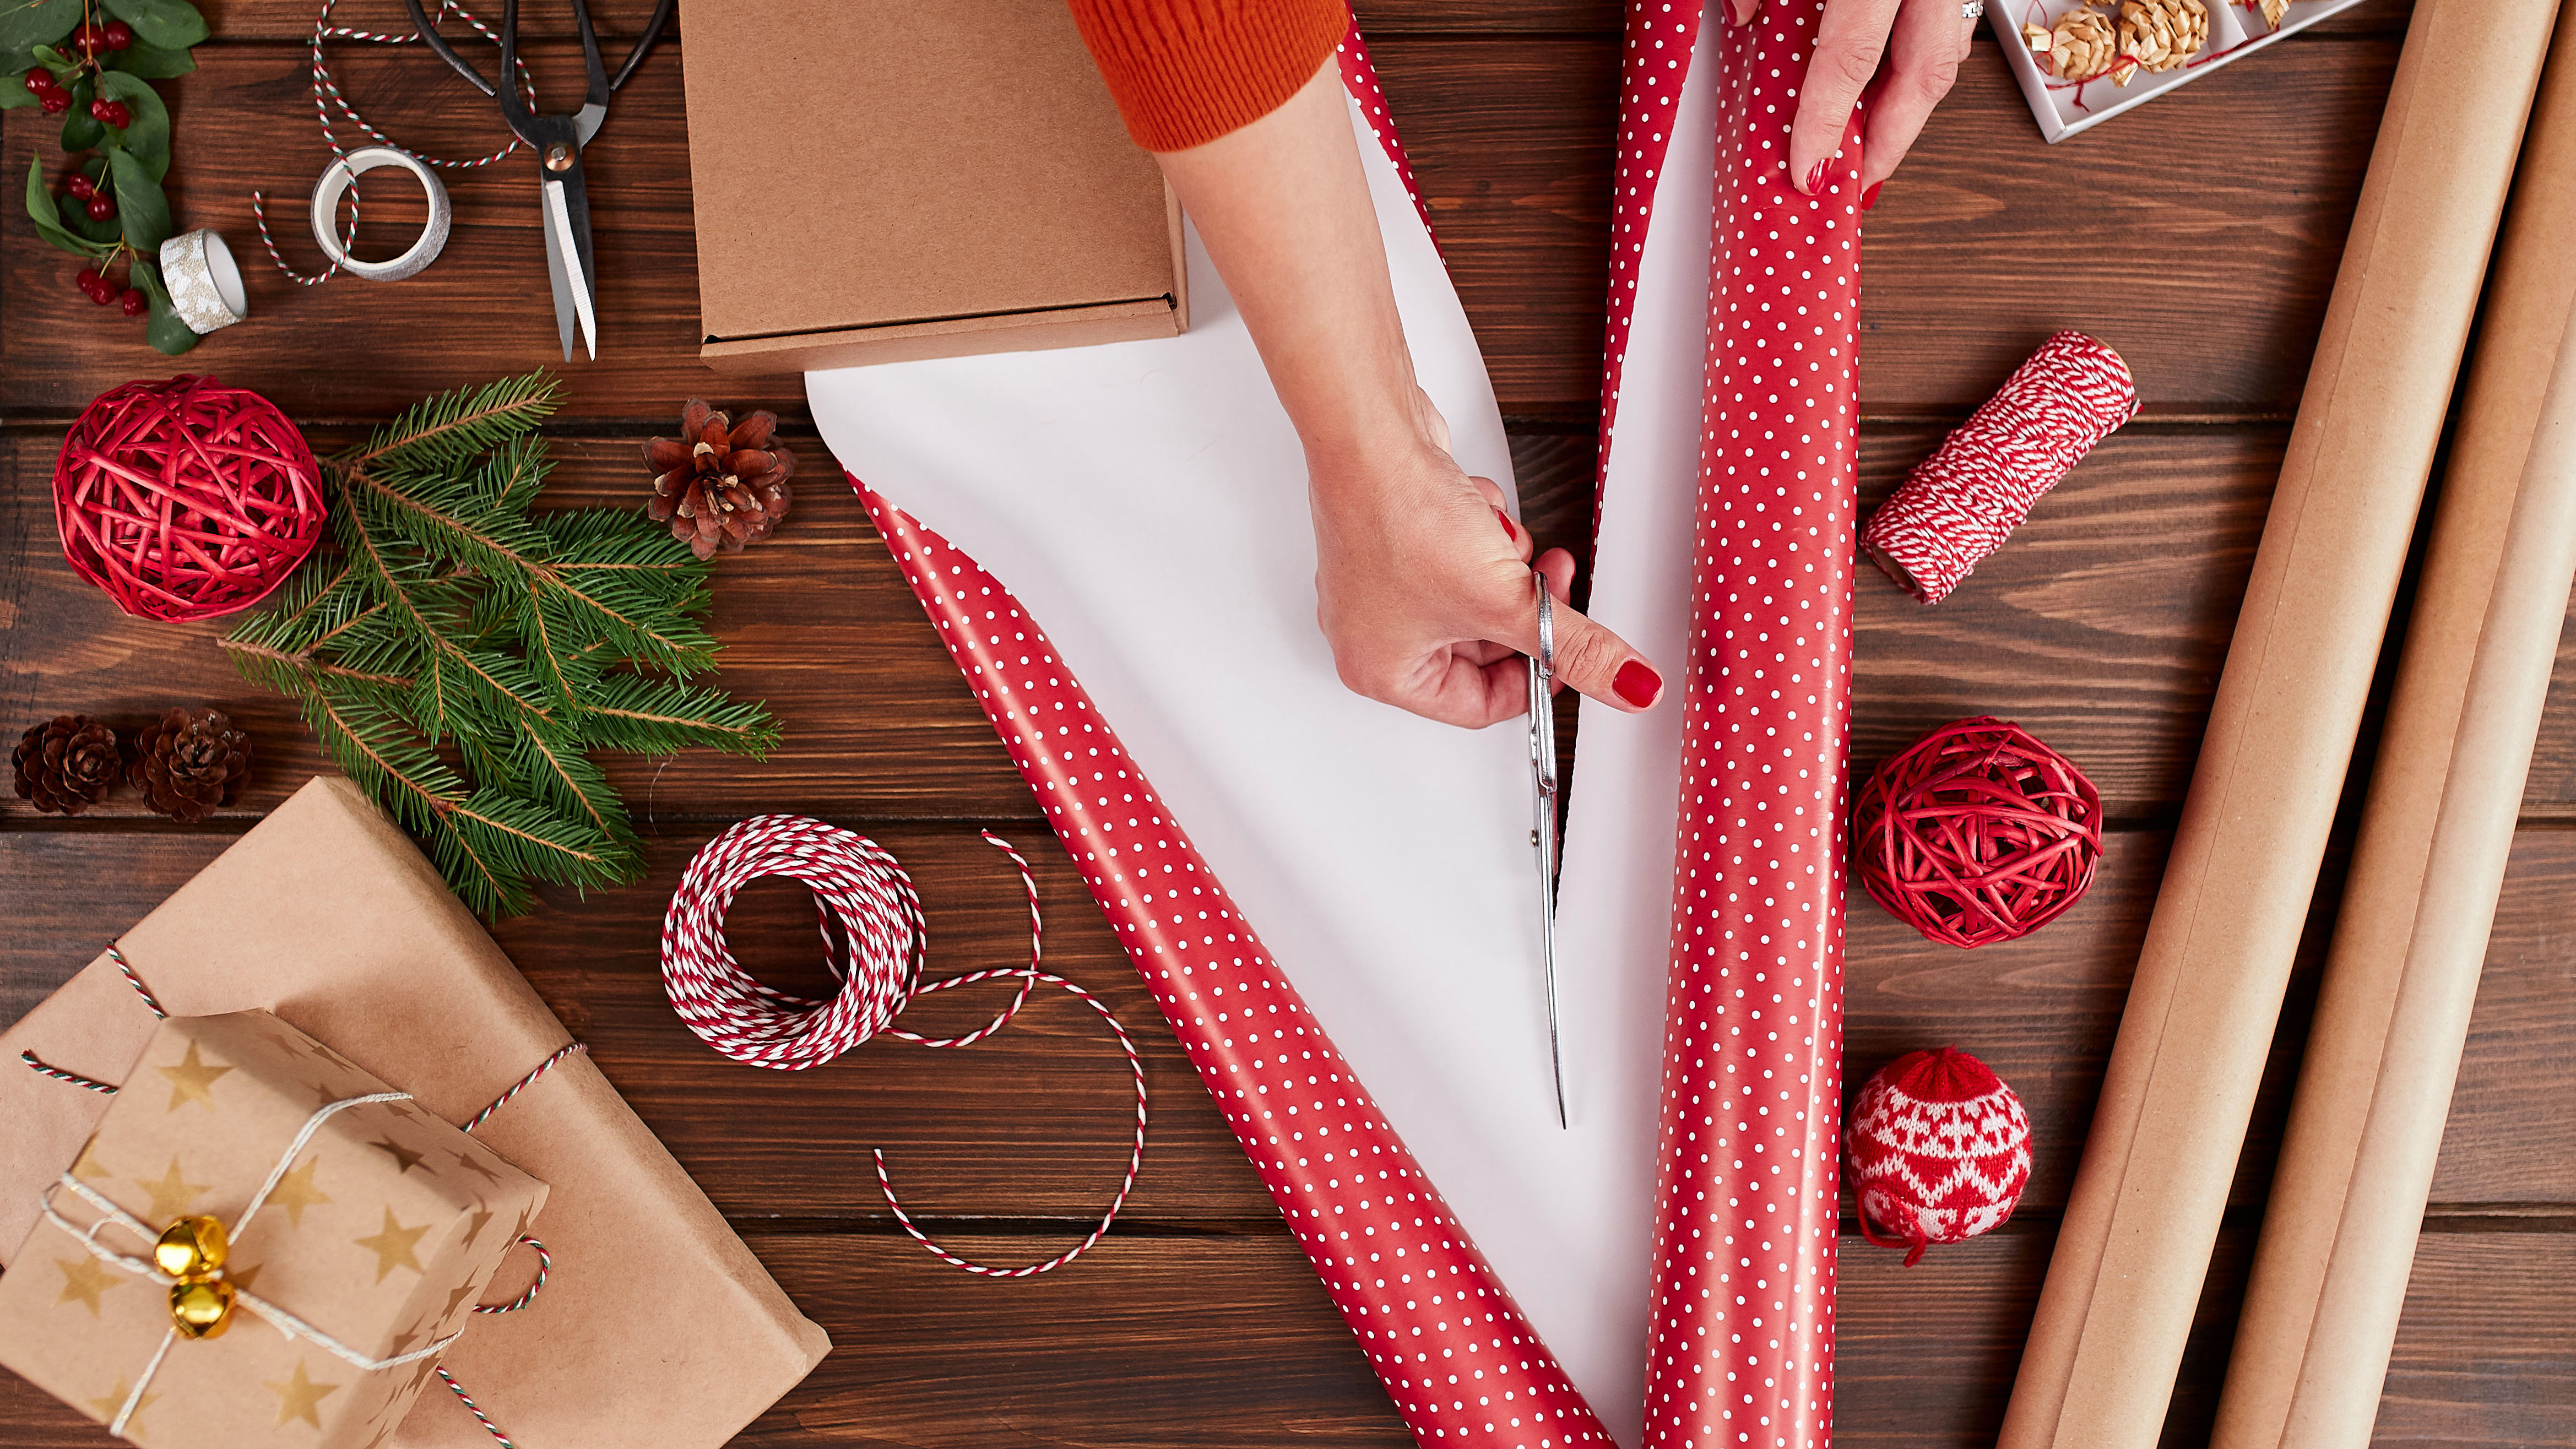
Once the paper is measured up properly, cut the wrapping paper. Ensure you use sturdy, craft scissors such as this Scotch Precision Scissor ($4, Amazon) to avoid tearing the paper.
3. Fold over the wrapping paper towards center
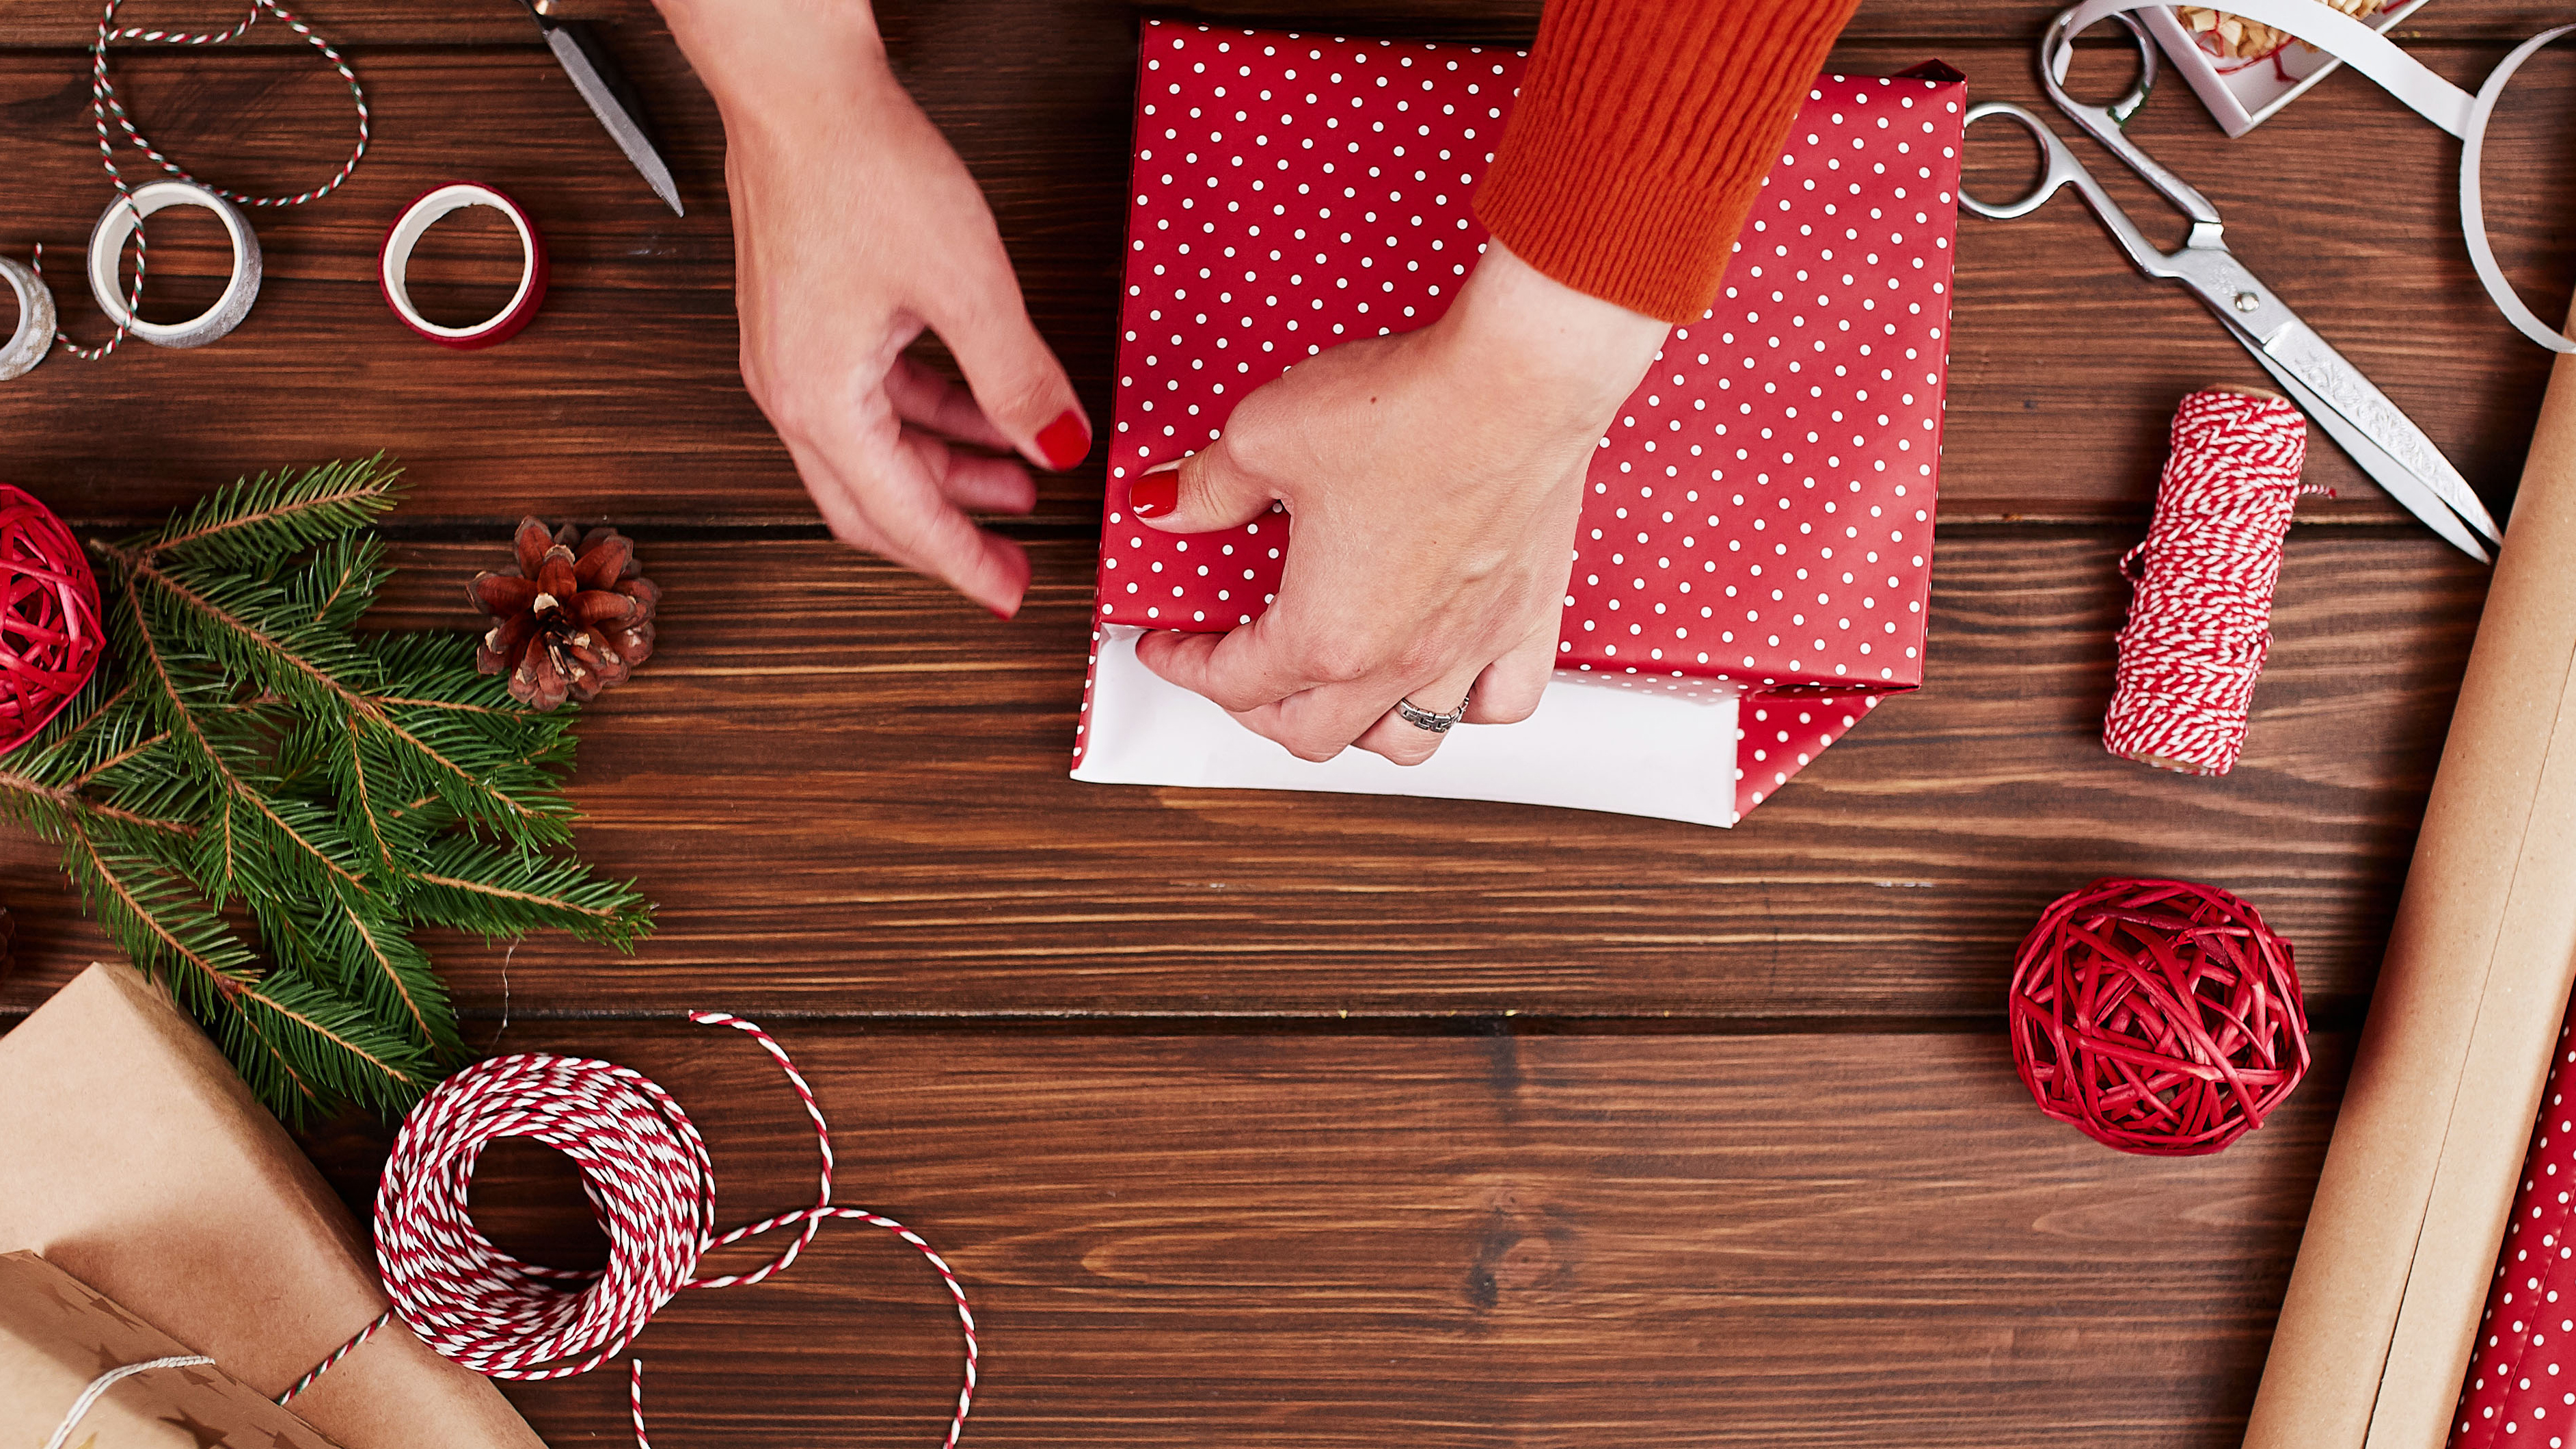
Next up, place the gift box in the center of the paper and fold one side of the paper over the gift tightly. Place a piece of tape in the middle and do the same with the other side.
If you want to make life easier, you can buy a tape dispenser like this Officemate 2-in-1 Heavy Duty Tape Dispenser ($10, Amazon) that will save you the hassle of fiddling with tape.

4. Fold the ends and create triangle folds
Then, fold down paper over the edges of the gift box, making sharp creases on either side of the box. Take one creased edge and wrap it across against the giftbox before taping it down. Do this with the other side, and it should create a triangle tail.
5. Fold and tape triangle flaps at each end
Next, fold the triangle tail or flap against the box and tape it down. Repeat this on the opposite side and make it look like a clean, sharp triangle. This should resemble an envelope design.
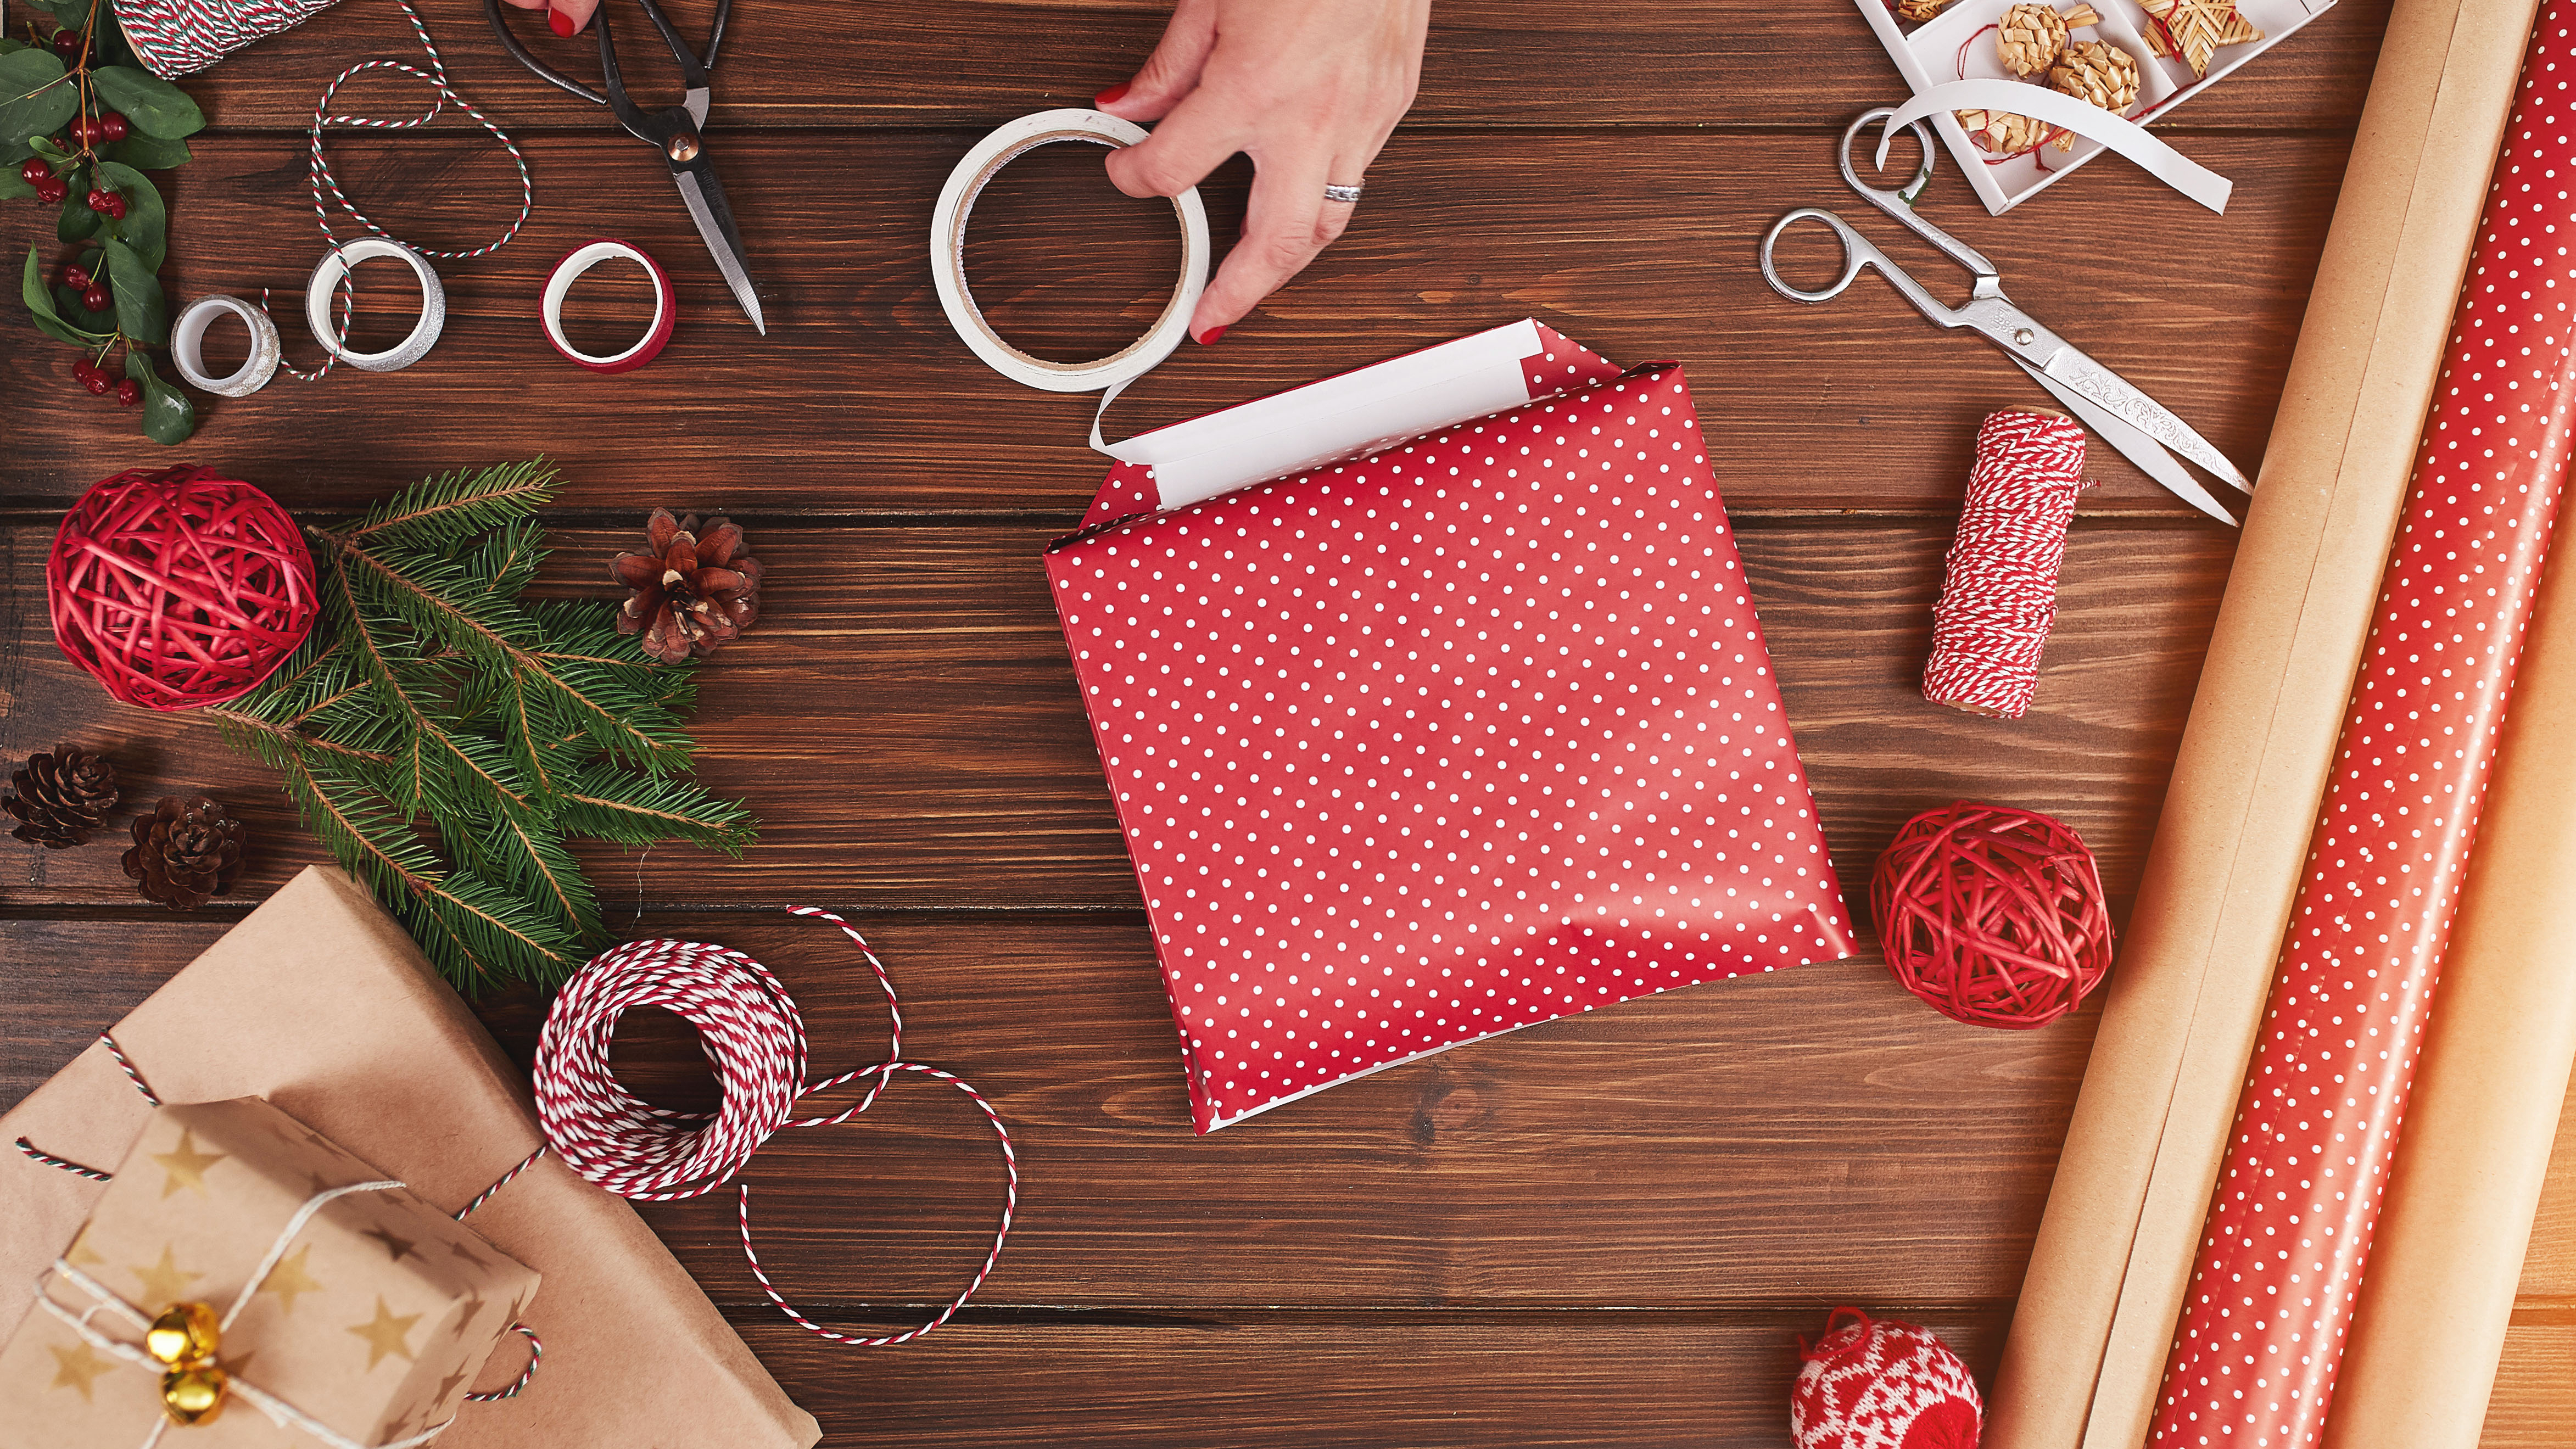
6. Crease the paper for sharp edges
If you want to make the edges of the gift box look sharp and more defined, use your finger to crease the edges around the gift. This will look more neat and stylish.

7. Finishing touches
Once your gift is perfectly wrapped, you can decorate the front with a bow, ribbon, gift tag or anything festive. These decorative touches are great for personalising and adding style to your gift. There are lots of sustainable gift wrapping ideas that you and incorporate too.

For other Holiday season tips, check out our guides on how to avoid these 7 common gift wrapping mistakes, 7 tips for staying healthy during the holidays, how to spatchcock a turkey, and how to season a turkey.

As the Homes Content Editor, Cynthia Lawrence covers all things homes, interior decorating, and garden-related. She has a wealth of editorial experience testing the latest, ‘must-have’ home appliances, writing buying guides and the handy ‘how to’ features.
Her work has been published in various titles including, T3, Top Ten Reviews, Ideal Home, Real Homes, Livingetc. and House Beautiful, amongst many.
With a rather unhealthy obsession for all things homes and interiors, she also has an interior design blog for style inspiration and savvy storage solutions (get rid of that clutter!). When she’s not testing cool products, she’ll be searching online for more decor ideas to spruce up her family home or looking for a great bargain!
