How to wallpaper a room like a pro
Here’s how to wallpaper a room in just 7 simple steps
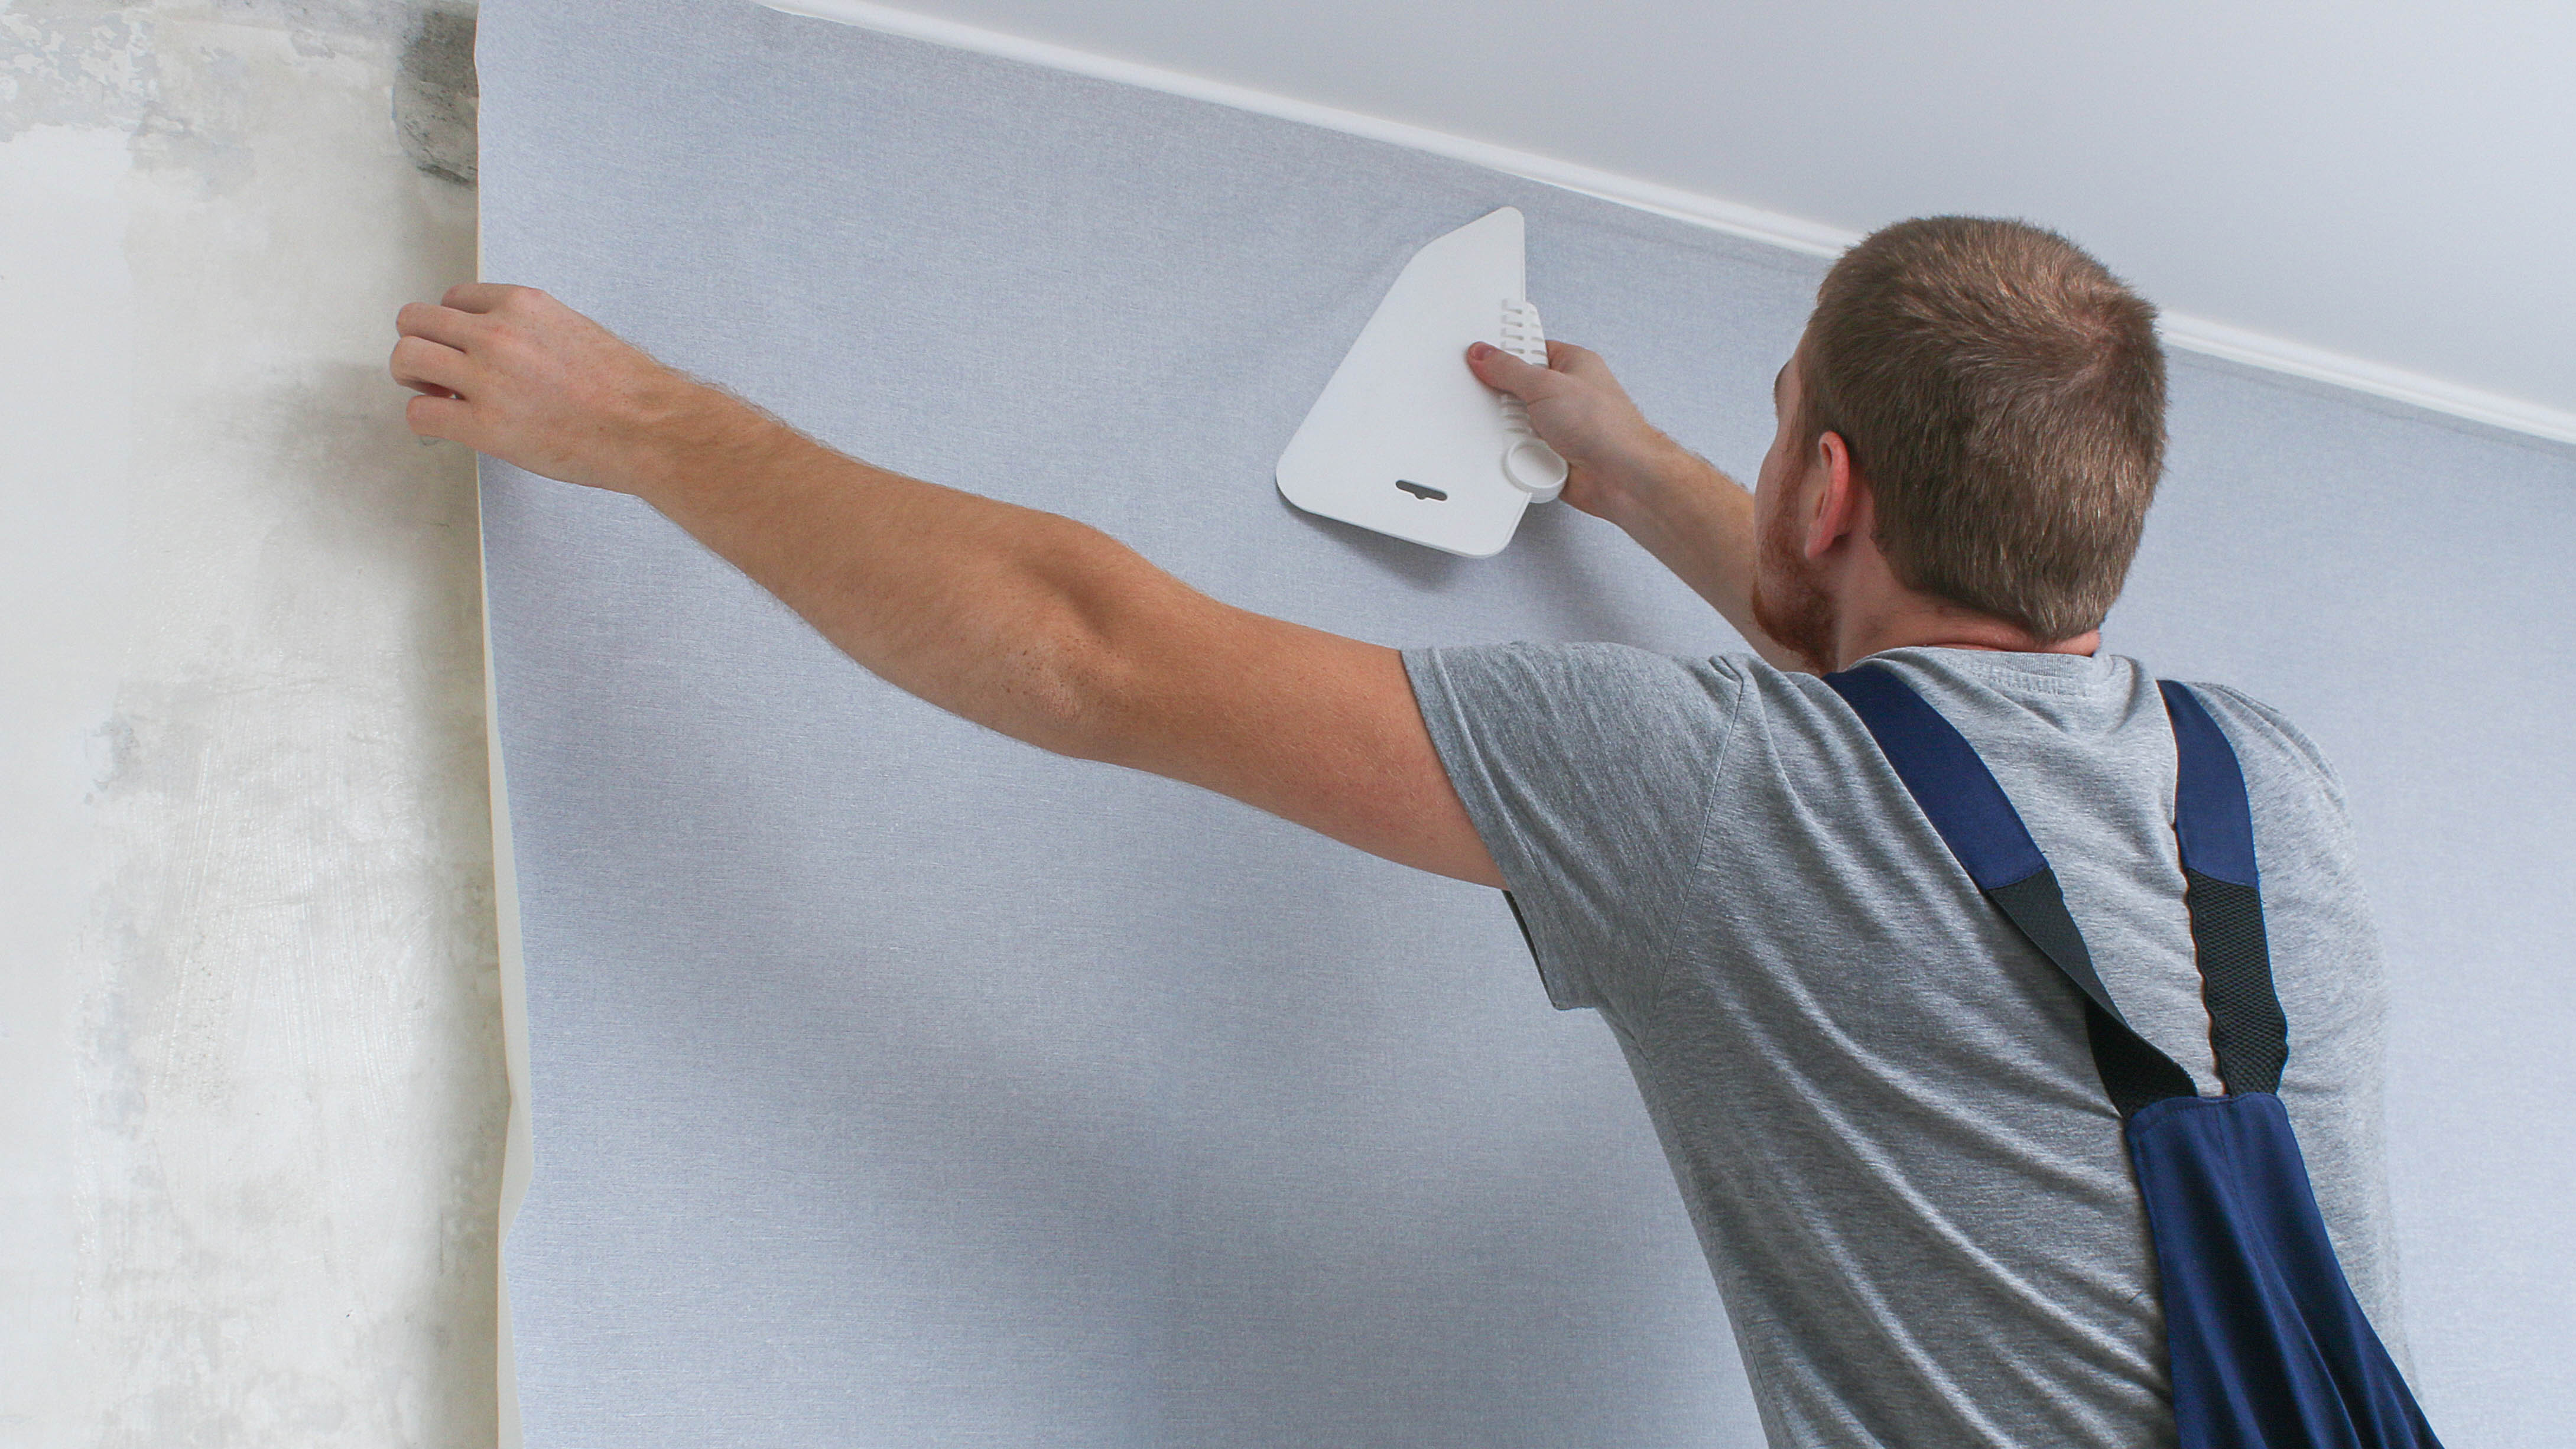
Whether you want to spruce up a dated room or just one feature wall, you’ll need to know how to wallpaper a room like a pro. In fact, once you learn how to wallpaper the right way, you can easily transform a space to make the walls a stunning, focal point.
But while you might want to call in the decorators, it’s actually not that hard to learn how to wallpaper a room. Similar to learning how to paint a room and how to paint a ceiling, the key is to follow some essential steps to get the best results. If walls are not done properly, this will lead to uneven or mismatched, patterned wallpaper. What’s more, removing the sheets to start over will only cost you more time and money, especially if you’ve already ruined your designer roll!
So if you want to learn how to wallpaper like a pro, follow these top tips to add glamor to your home and save money in the process, you can also discover 7 clever ways to use wallpaper in your home and 5 mistakes to avoid when hanging wallpaper. And if you're stripping walls, you'll need to know how to remove wallpaper before painting.
Before you paint a room, check out how to clean baseboards first. If you enjoy revamping your home on a budget, learn how to paint kitchen cabinets to transform them. Also, check out these 7 clever ways to decorate a blank wall in your home.
How to wallpaper a room
Before you start decorating, move all furniture out of the way and lay down dust sheets to protect the floor from dirt.

1. Prepare the walls
Dust sheets
Step ladder
Bucket
Sugar soap
Sponge or cloths
Pencil
Pasting table
Tape measure
Trimming wheel
Retractable decorators knife
Spirit level
Wallpaper scissors
Wallpaper paste/adhesive
Wallpaper hanging brush
Seam roller
First, turn off the electricity to remove any wall plates, sockets and decorative fixtures to create a blank canvas. Use tape to cover and protect electric outlets and switches. Remove any bits of old wallpaper with a scraper or putty knife, and sand down any uneven bumps for a smooth surface.
Then, clean the walls with a sugar soap or multi-purpose cleaner to remove dirt, dust or residue, and dry completely. This will help the wallpaper paste to stick properly. Check for any cracks or holes in the wall and fill in with a suitable filler.
Sign up to get the BEST of Tom's Guide direct to your inbox.
Get instant access to breaking news, the hottest reviews, great deals and helpful tips.
2. Measure the wall and cut wallpaper
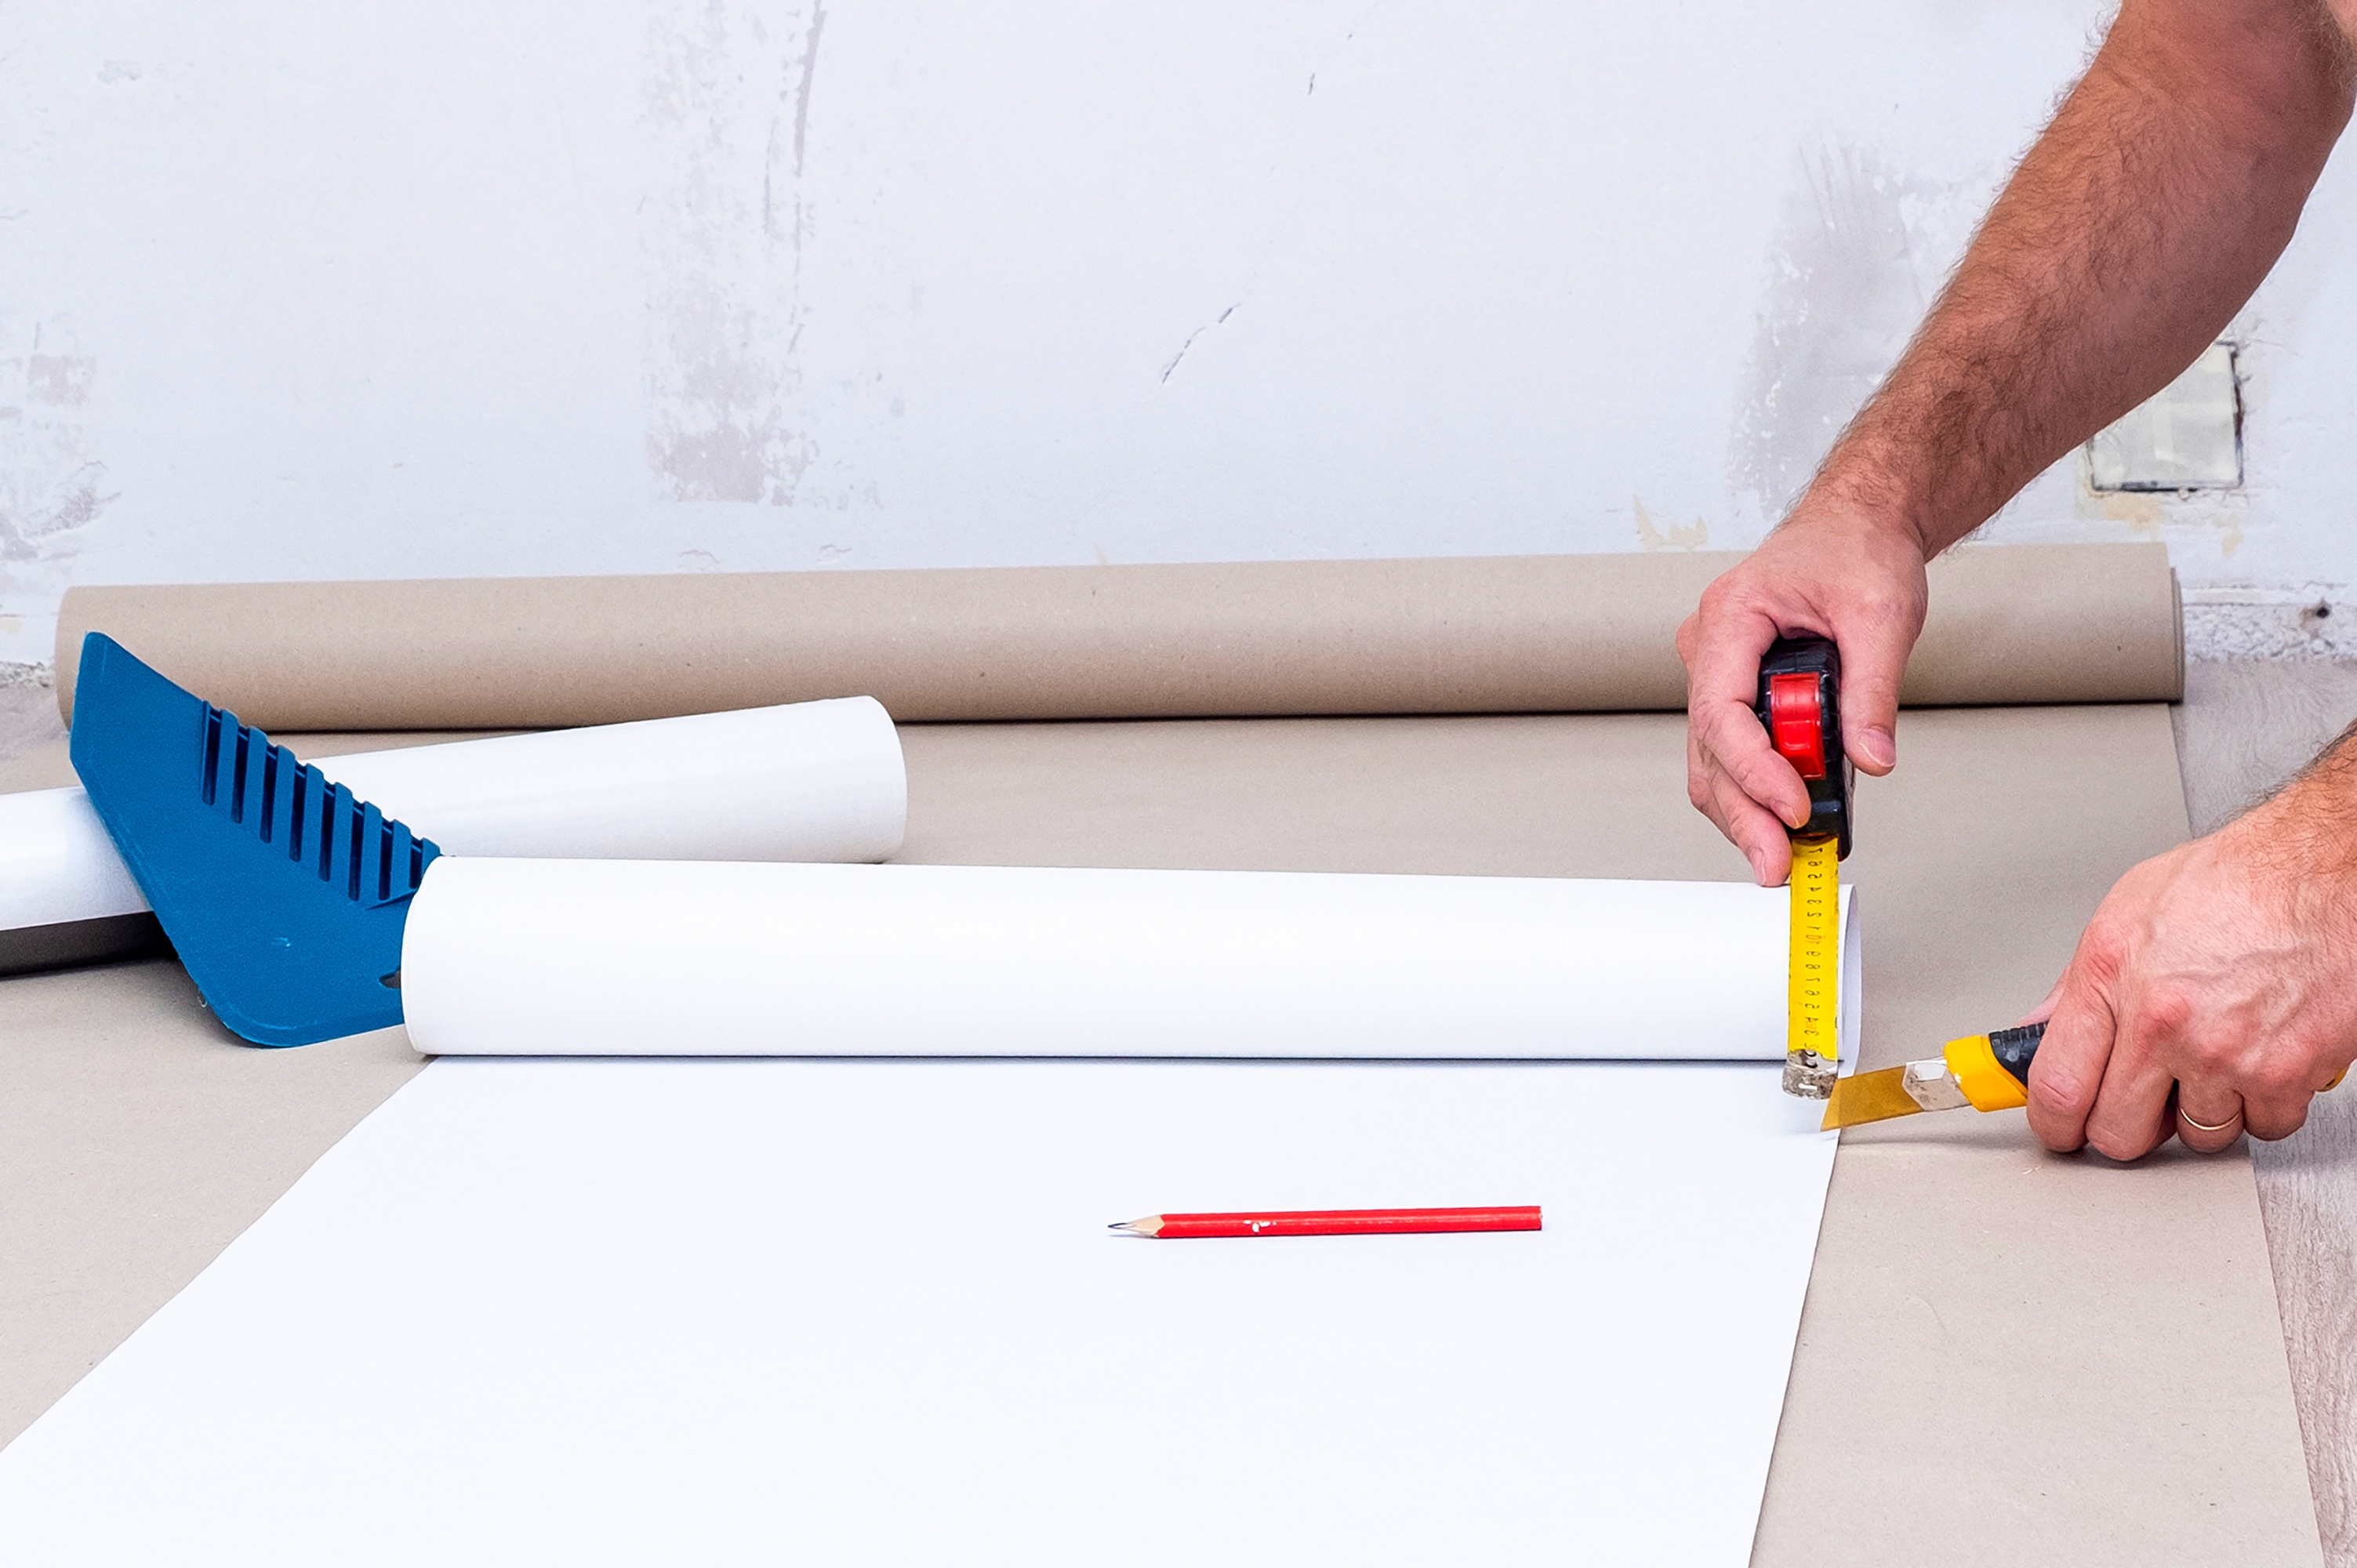
Measure the height of your wall with a tape measure, adding 10cm (about 4 inches) to allow for trimming at the top and bottom. Then, roll the wallpaper with the pattern-side down onto the pasting table. With a ruler, draw a straight line down the length to your measurements before cutting across with scissors. Use this cut length as a guide to cut the following pieces of wallpaper. For patterned wallpaper, remember to place it edge-to-edge to line up the patterns correctly.
3. Paste wallpaper
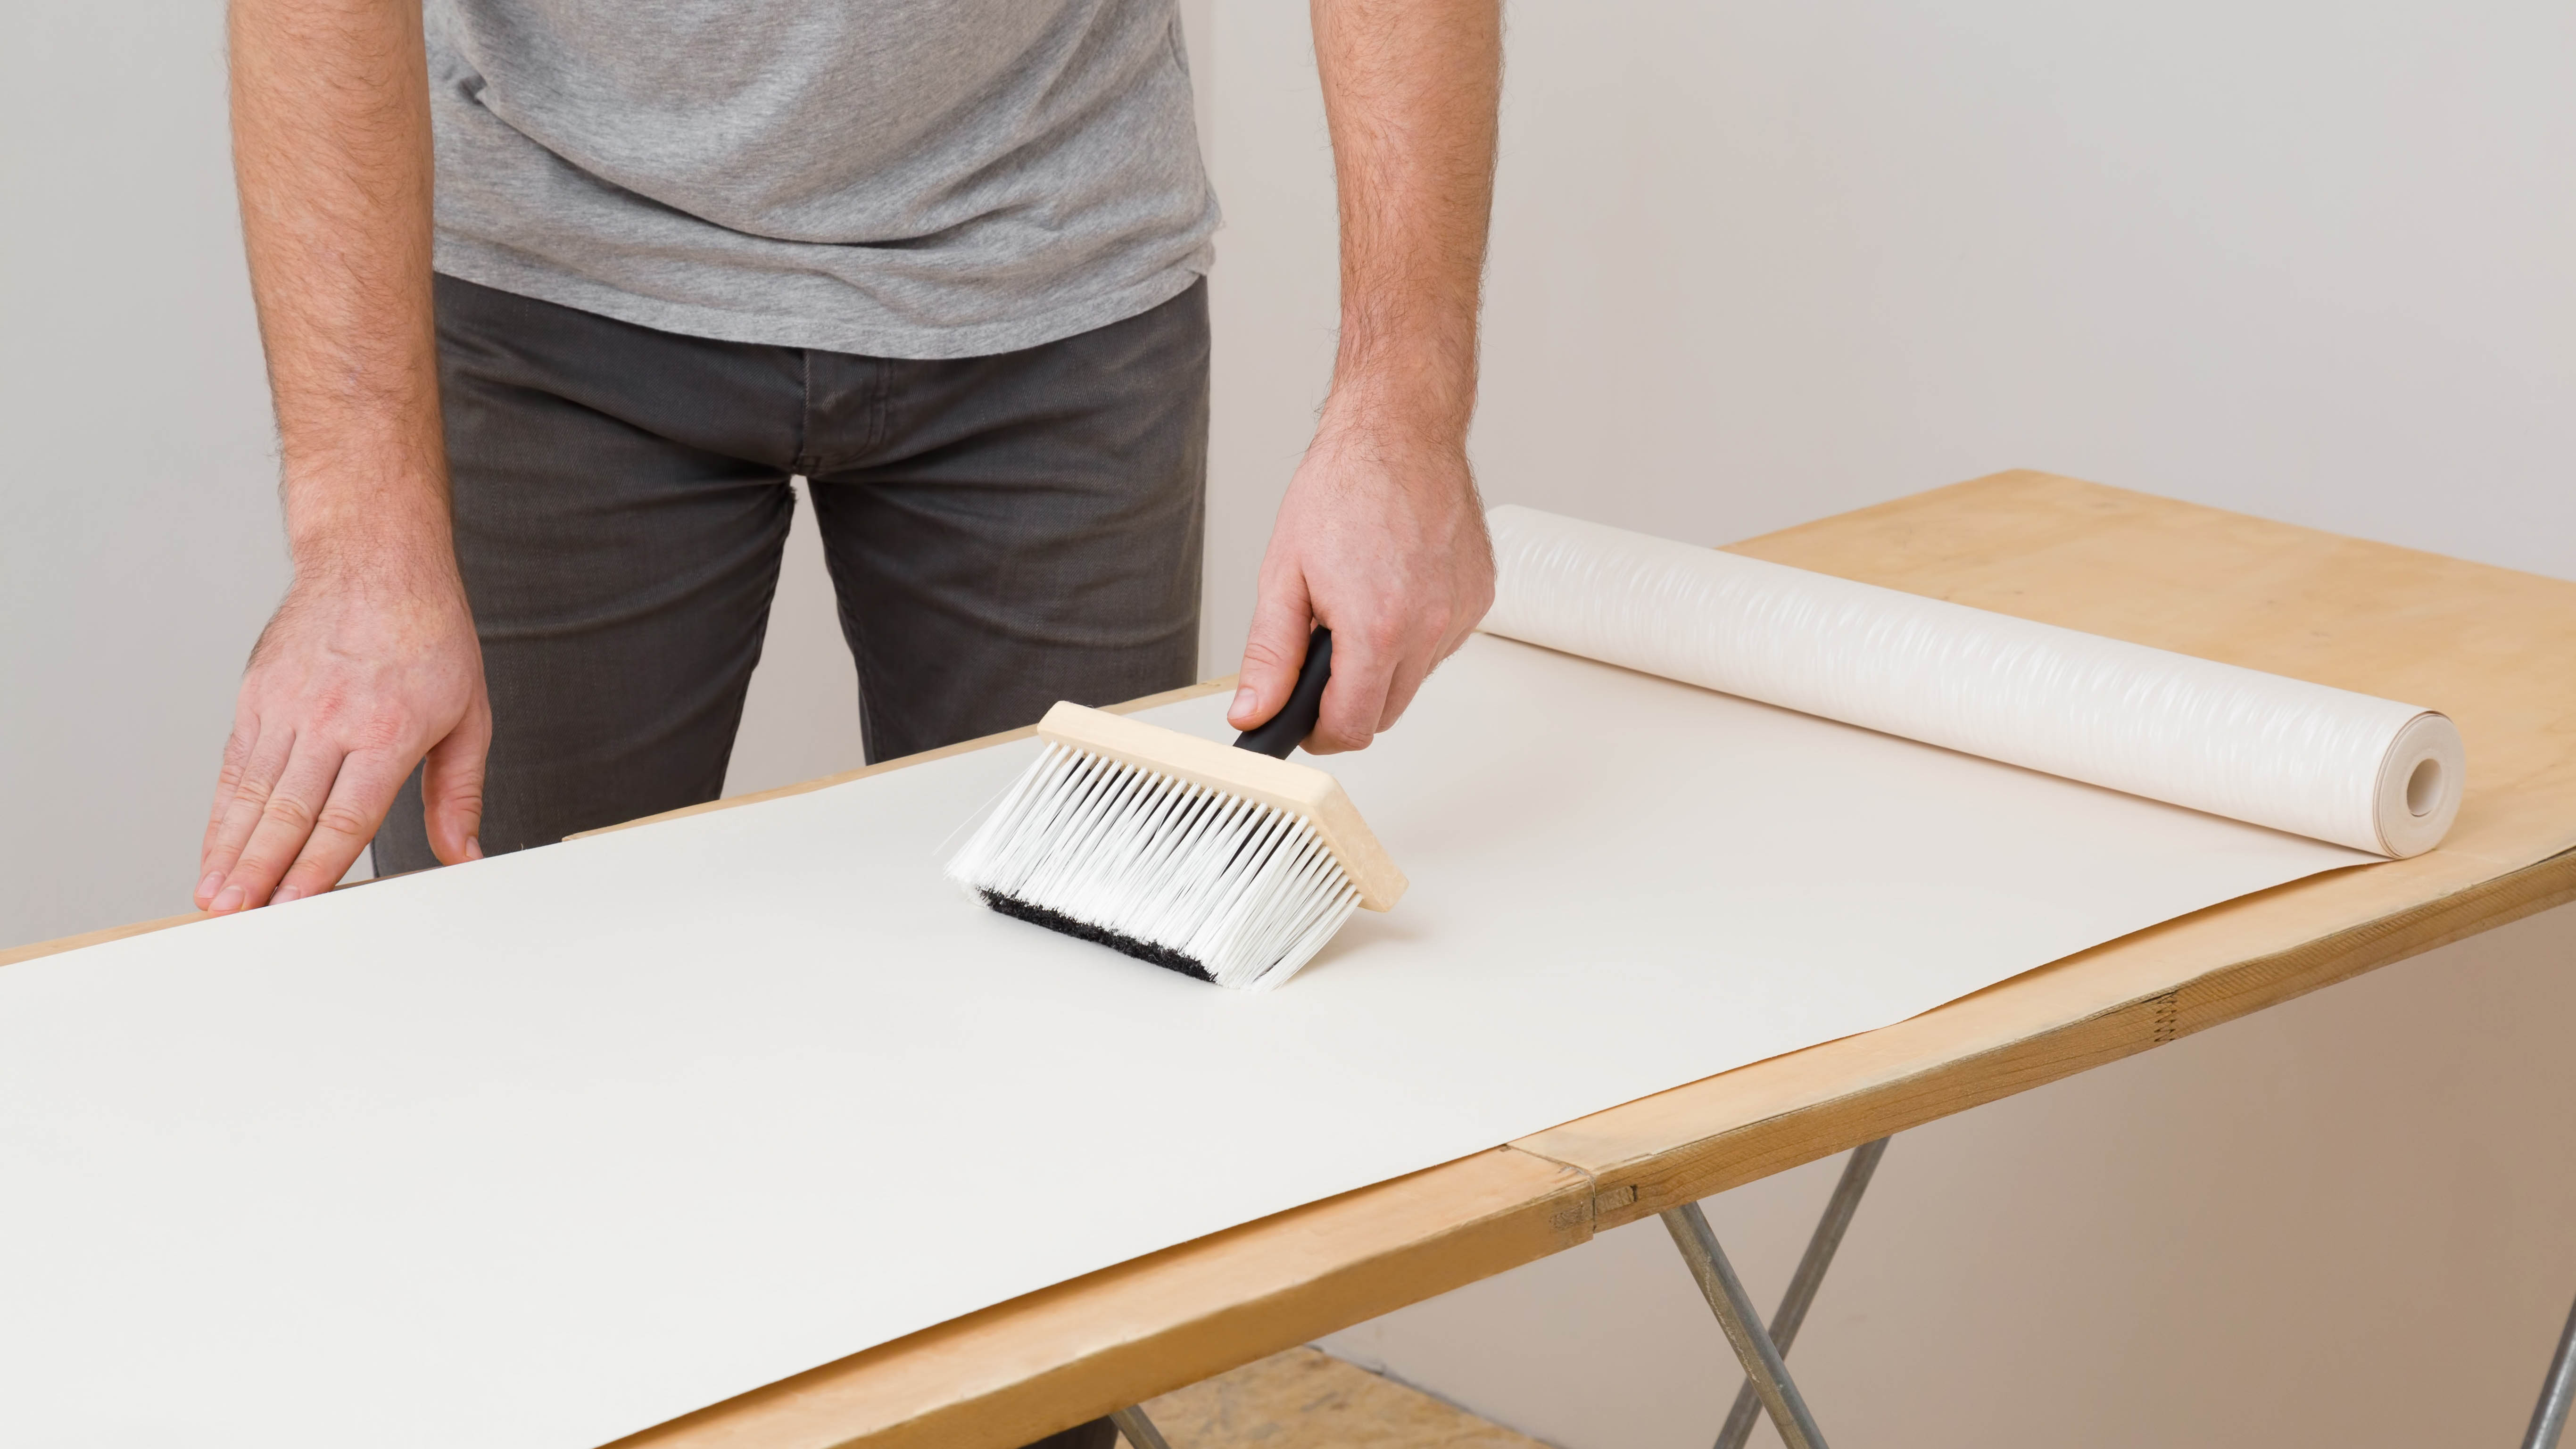
Next, lay the patterned side down onto the pasting table and allow the bottom part to hang down onto the floor. With a brush, apply wallpaper paste liberally down the centre of the paper first, before working out to the edges. Once this top section is pasted, carefully fold over and continue pasting the other parts of the sheet until the whole sheet is covered. If you’re using pre-pasted wallpaper, follow the instructions on the product to ensure correct hanging.
4. Fix the wallpaper to the wall
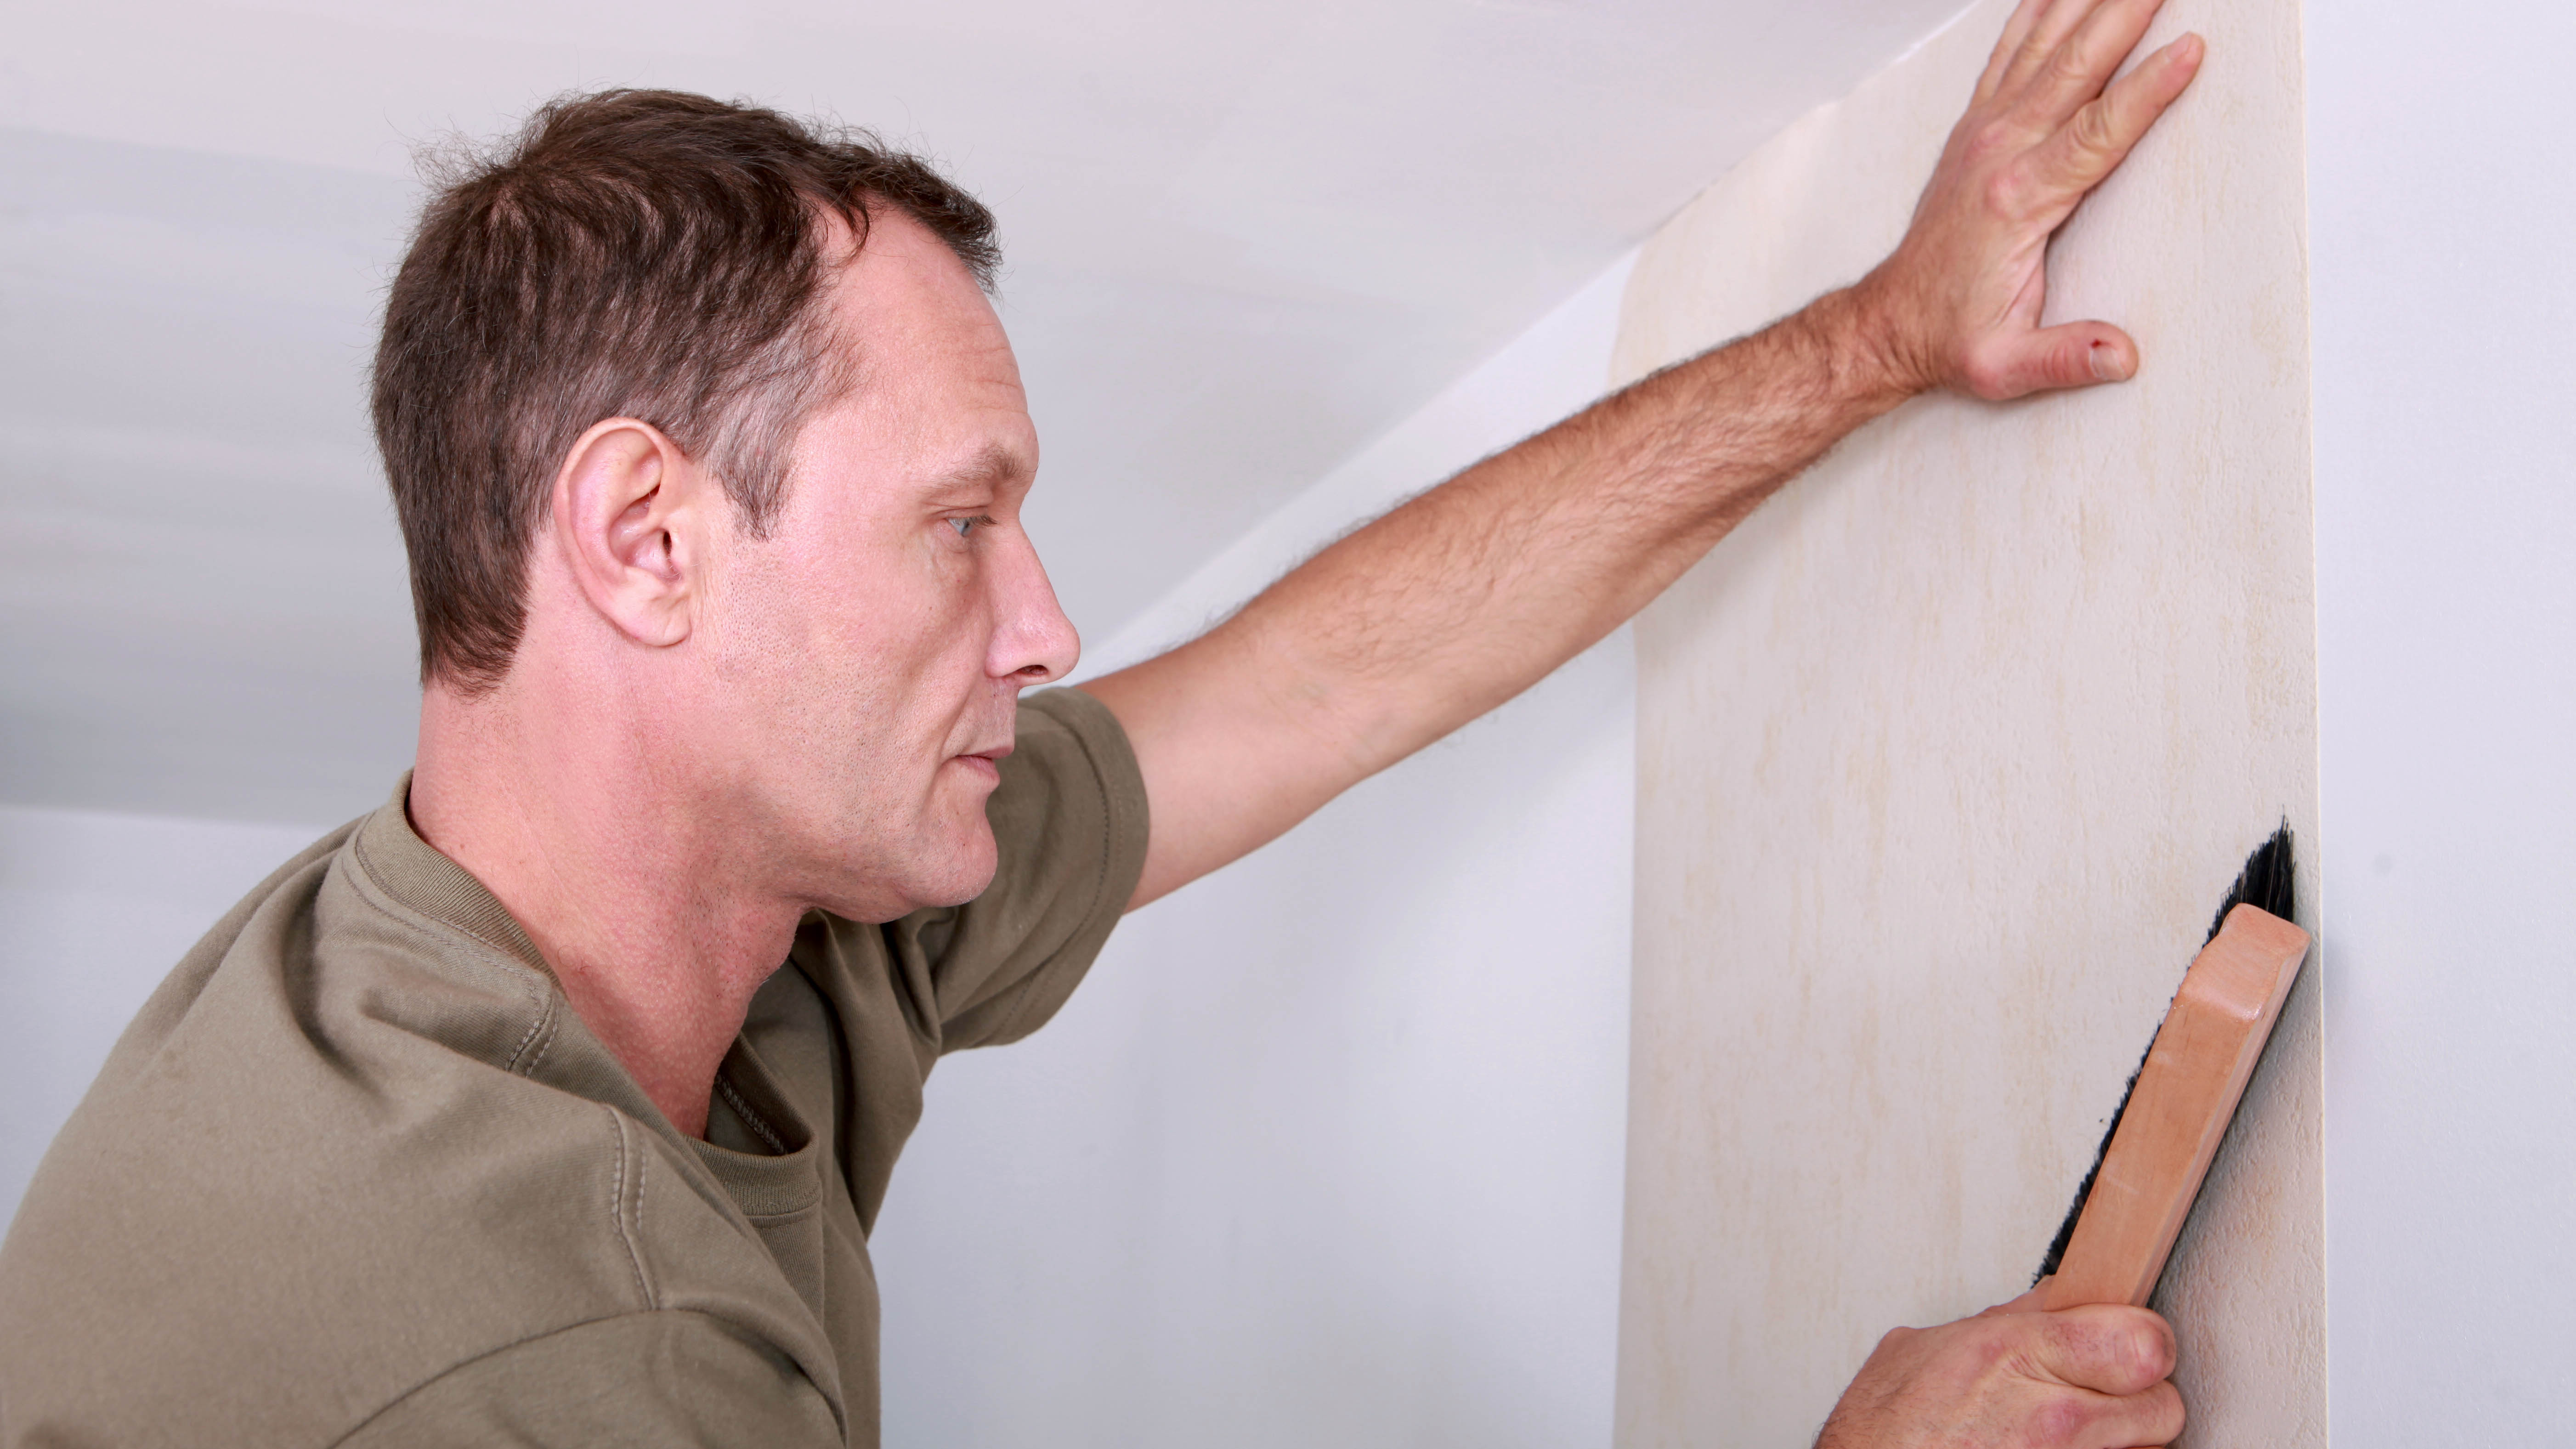
Position the first pasted length of paper at the top of the wall. Leave about 2 inches of excess paper above the top and bottom to allow for trimming. Carefully line up the wallpaper and press firmly into the wall to secure it.
With a wallpaper brush, flatten the paper down in a vertical stroke to get rid of any wrinkles or bumps. You want to make sure the wallpaper as smooth as possible, using enough pressure to force any bubbles out. If you do come across wrinkles, gently pull the wallpaper away from the wall until you reach that wrinkle, and carefully press it out. Continue hanging the sheets around the room or specific wall, matching the pattern as you go along.
5. Seal seams with a roller
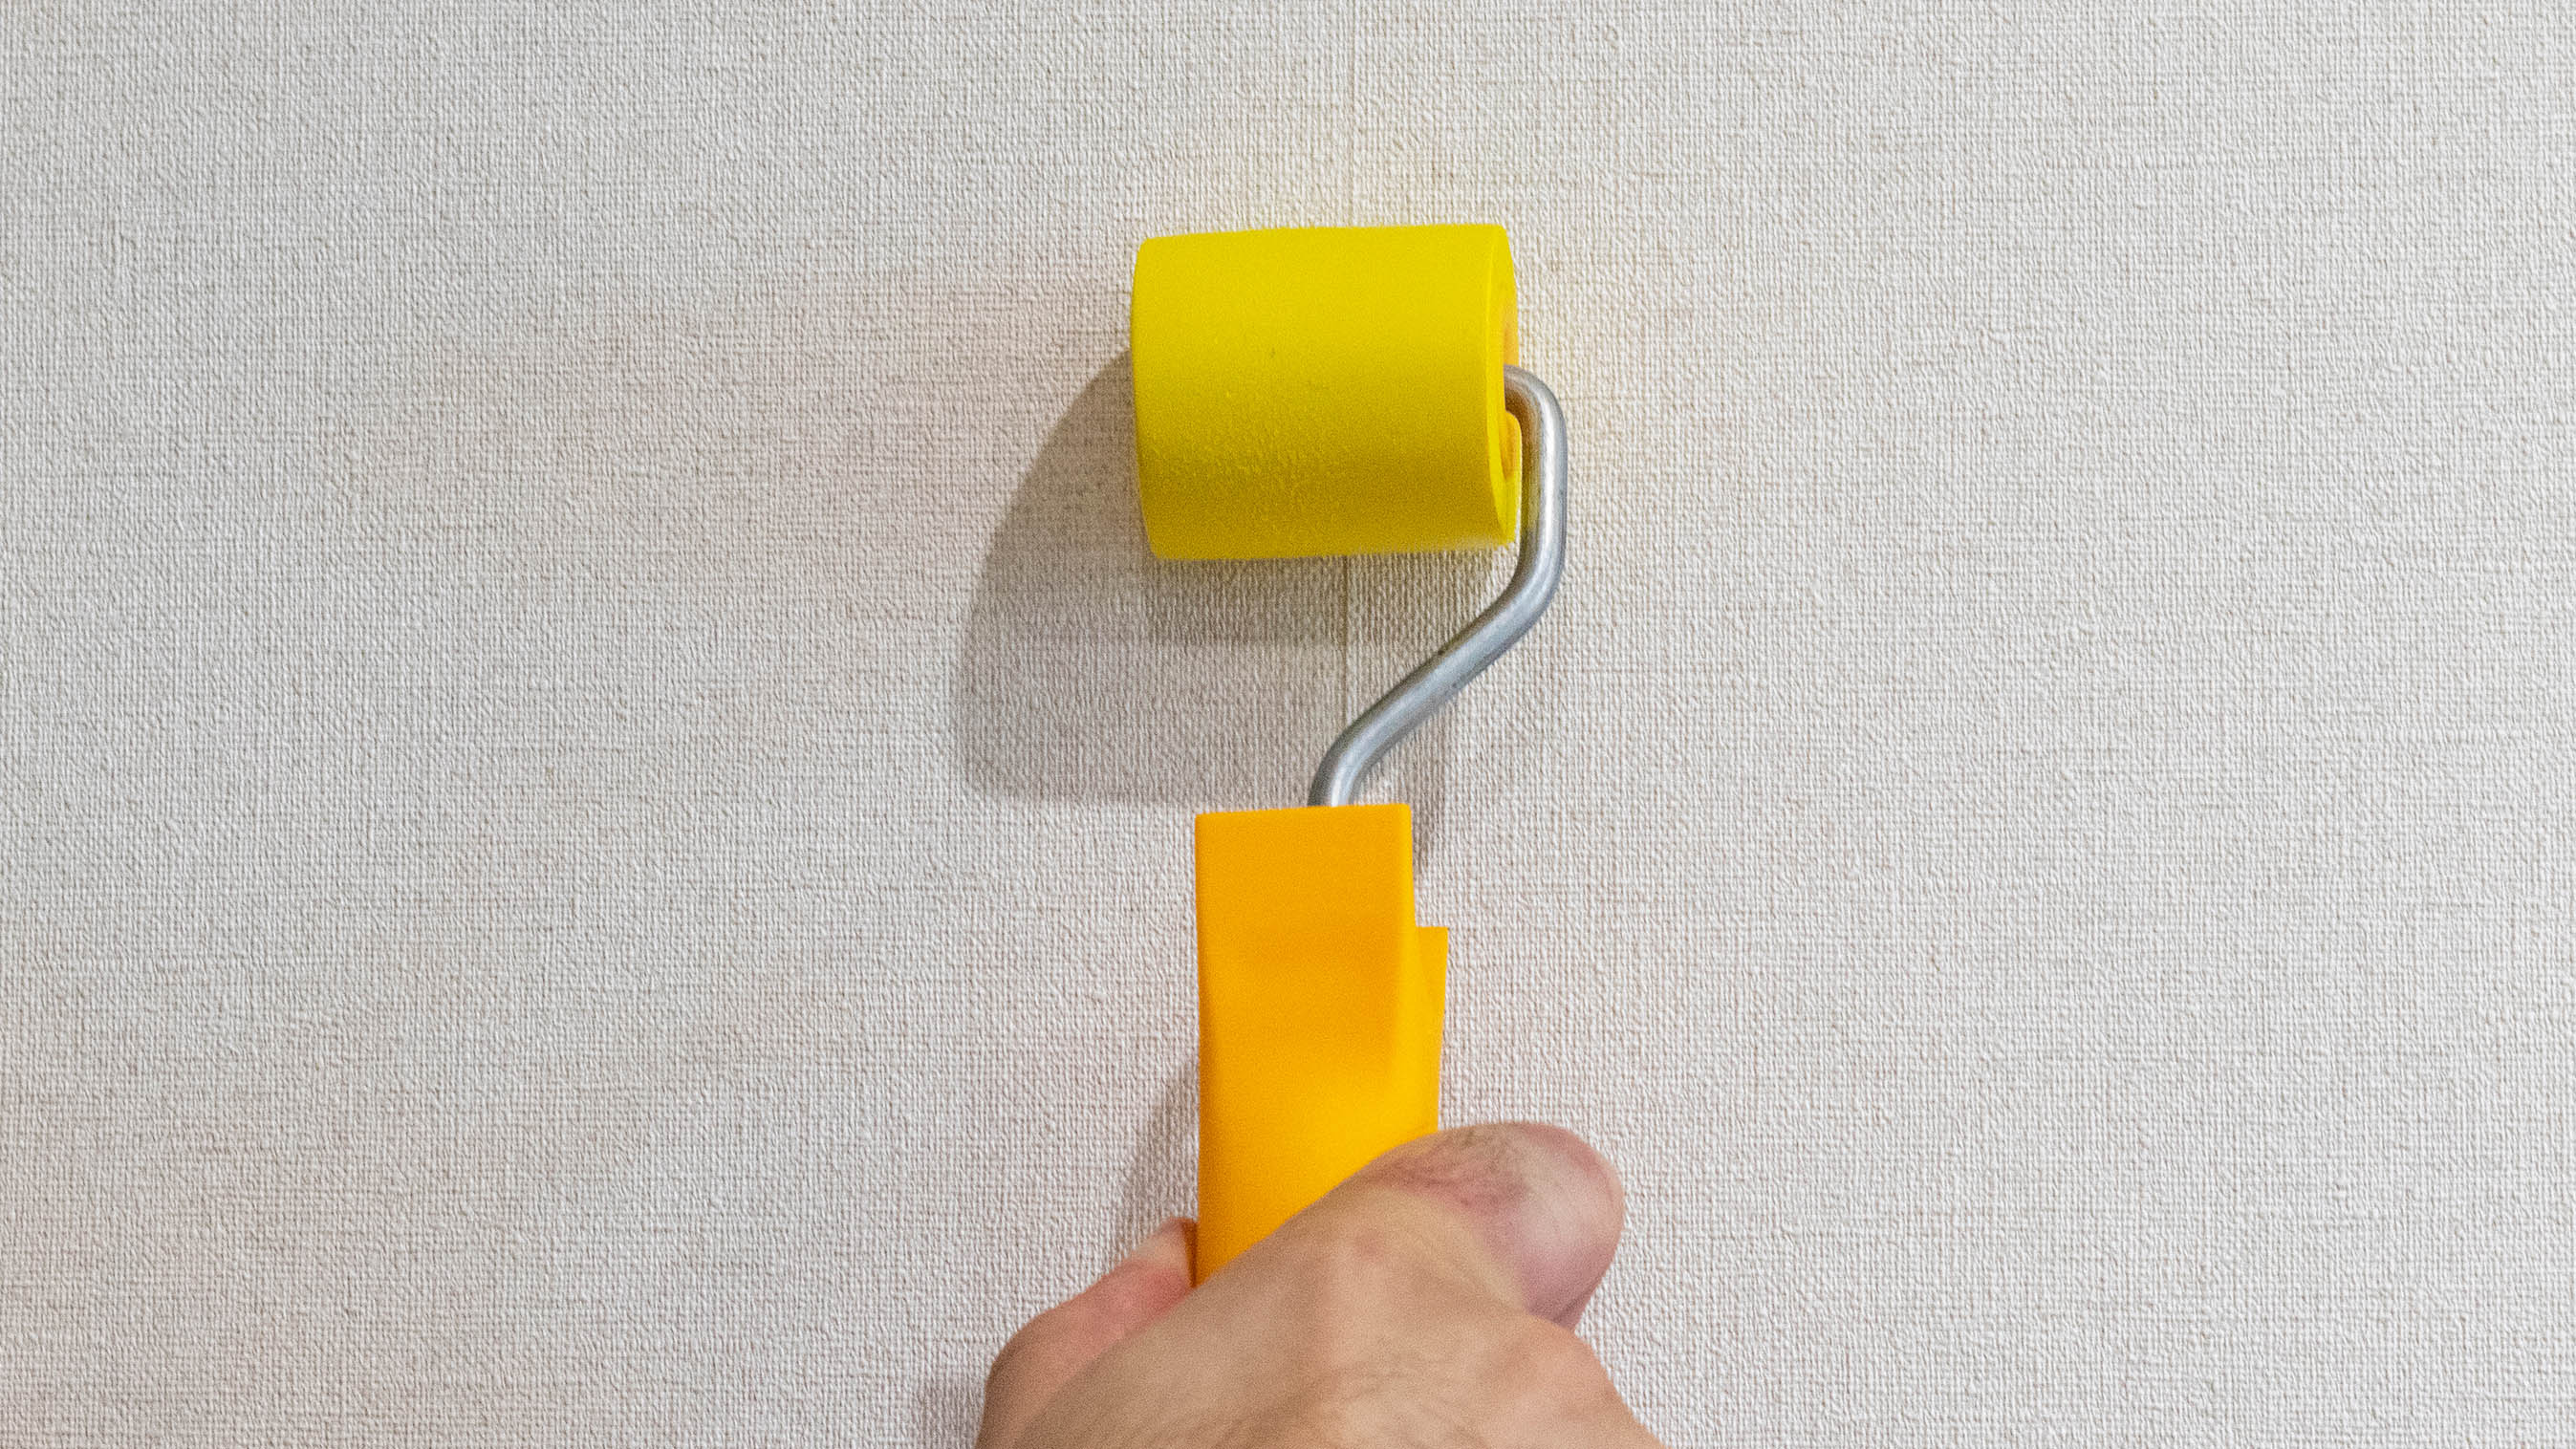
To get the perfect alignment between each sheet, it’s best to start at a middle point to get them as close as possible. Use a seam roller on each paper to prevent the edges from peeling. Try not to use too much force, as that will squeeze the paste/adhesive out from underneath.
6. Trim the edges
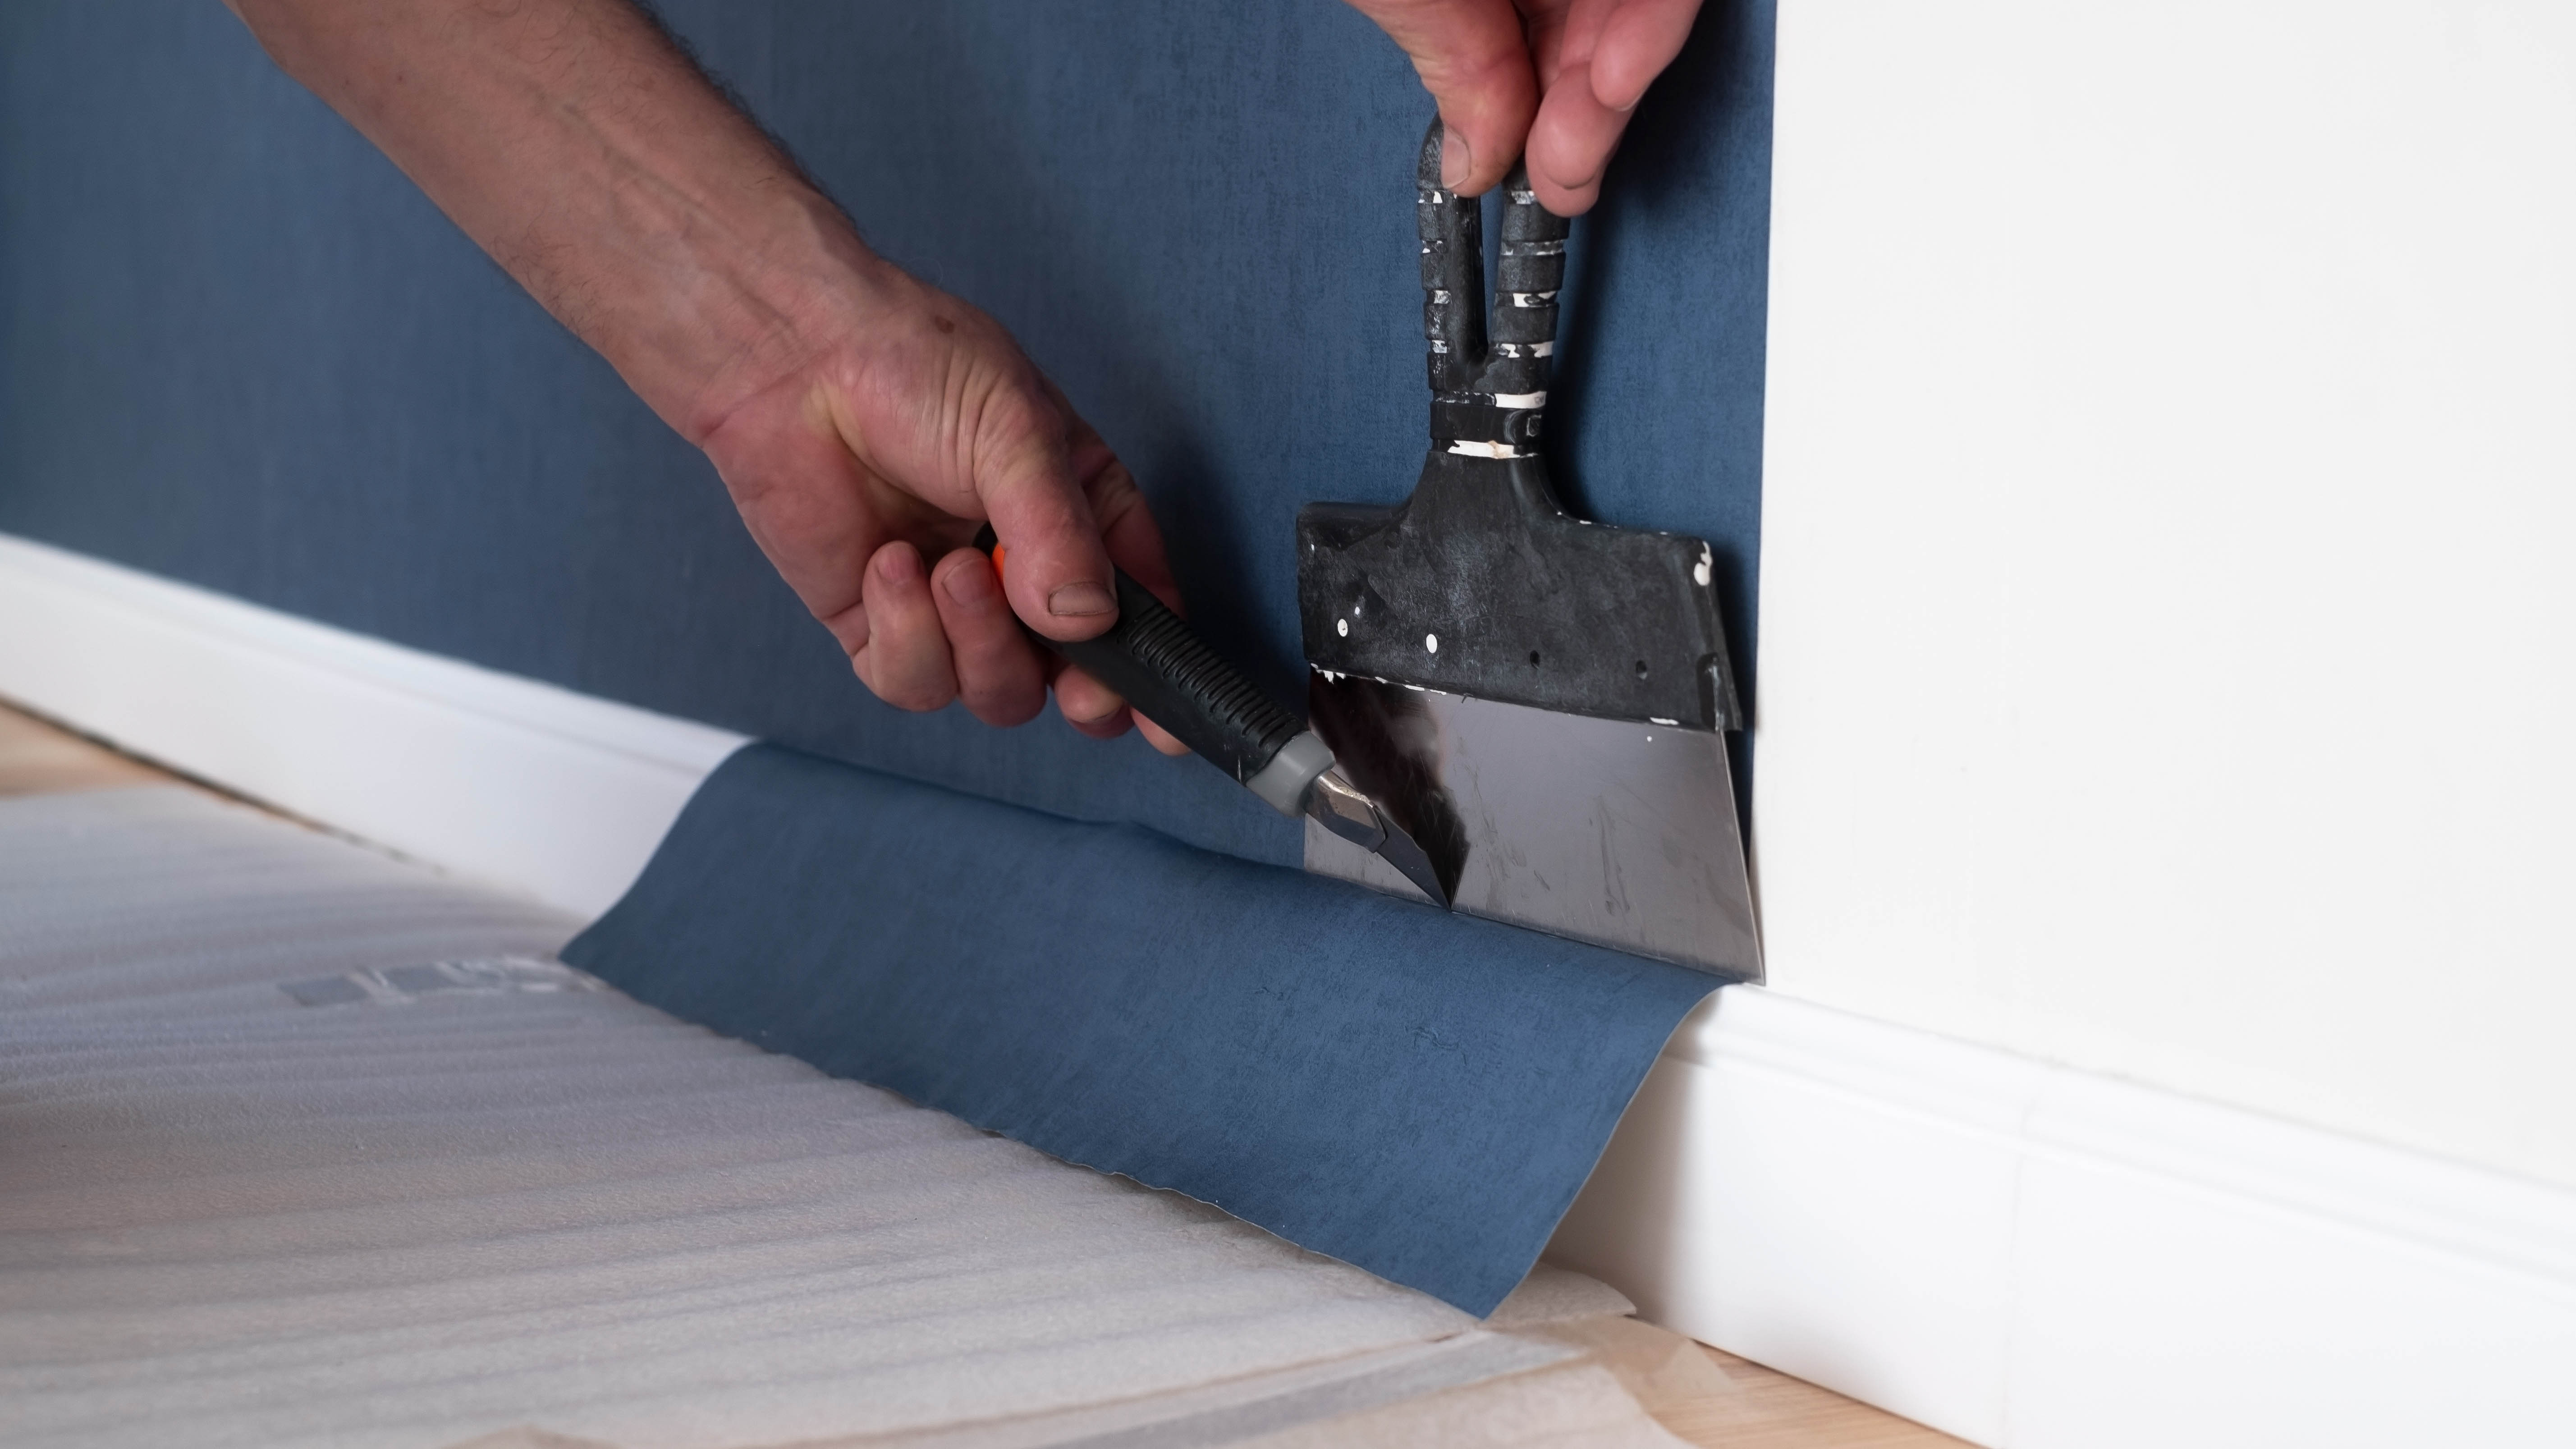
Use a putty knife to press the wallpaper firmly to the wall, and cut off excess paper at the top and bottom with a retractable blade. Then, brush the trimmed edges back into place for a neat finish.
7. Clean the seams
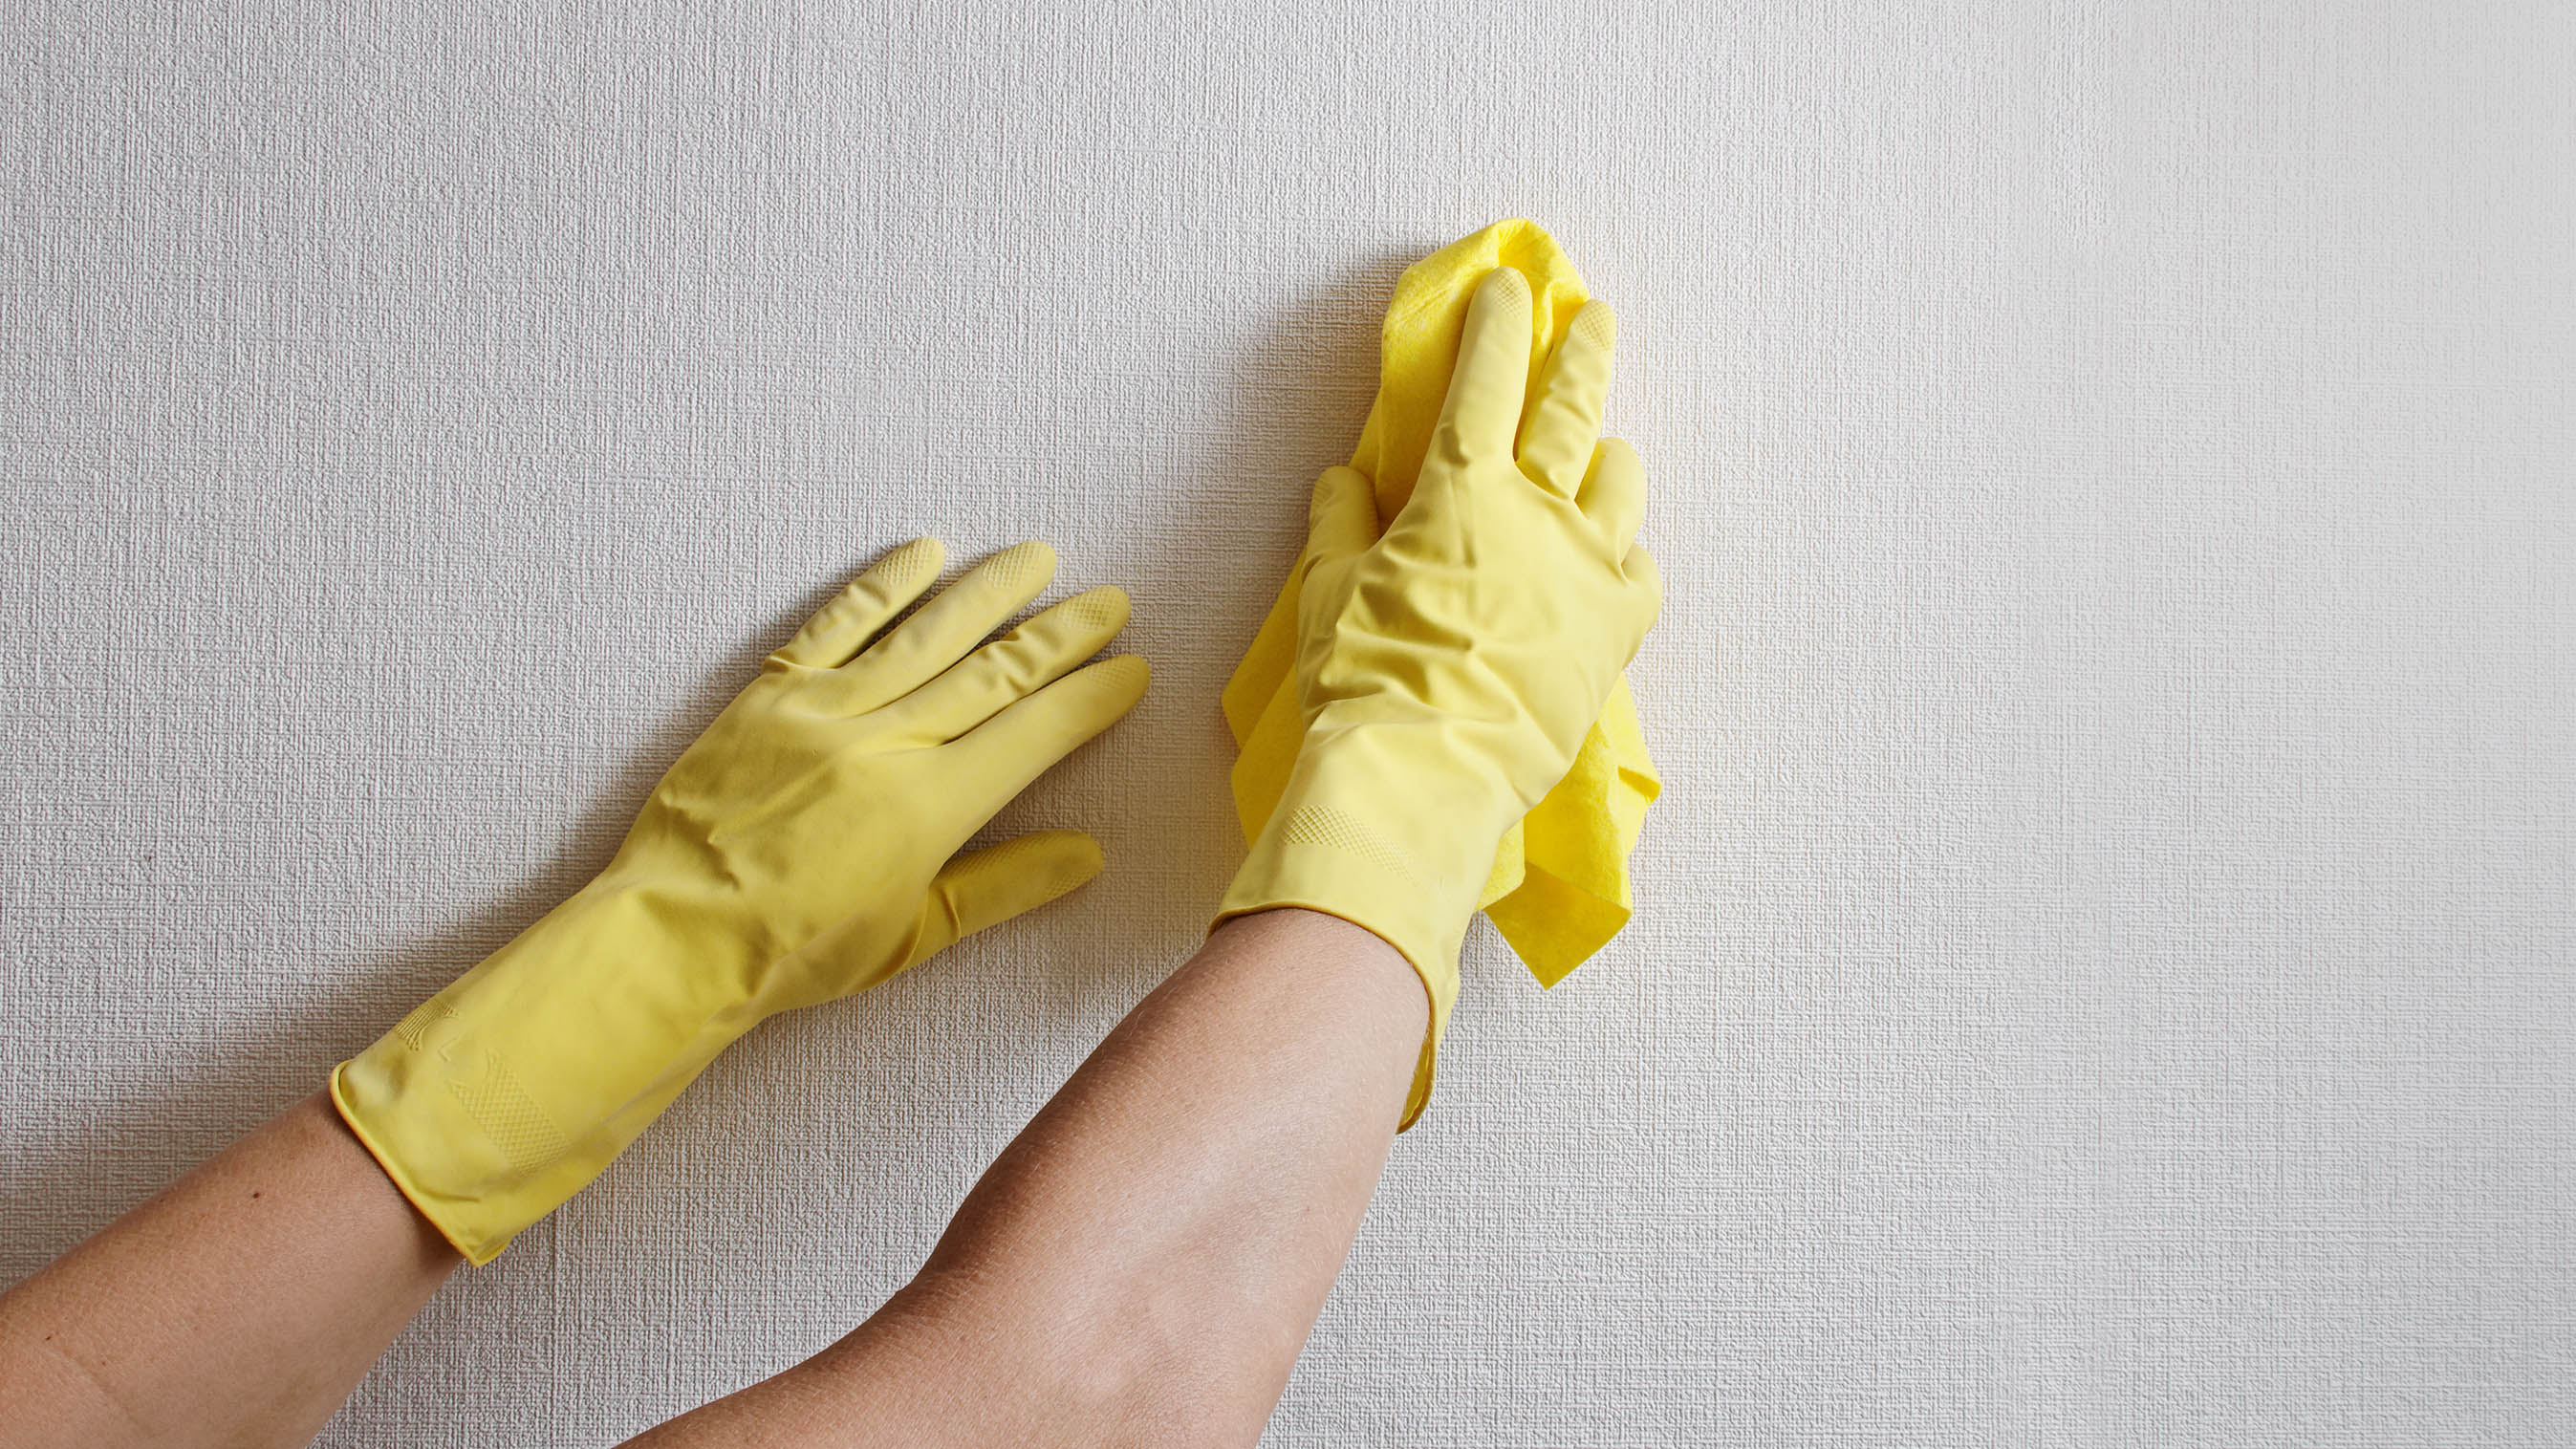
Finally, wipe off any excess glue along the seams with a clean, sponge or cloth after letting the wallpaper set for at least 15 minutes. This will leave a neat, clean surface. Now you can sit back and enjoy your new walls!
What are the different types of wallpaper?
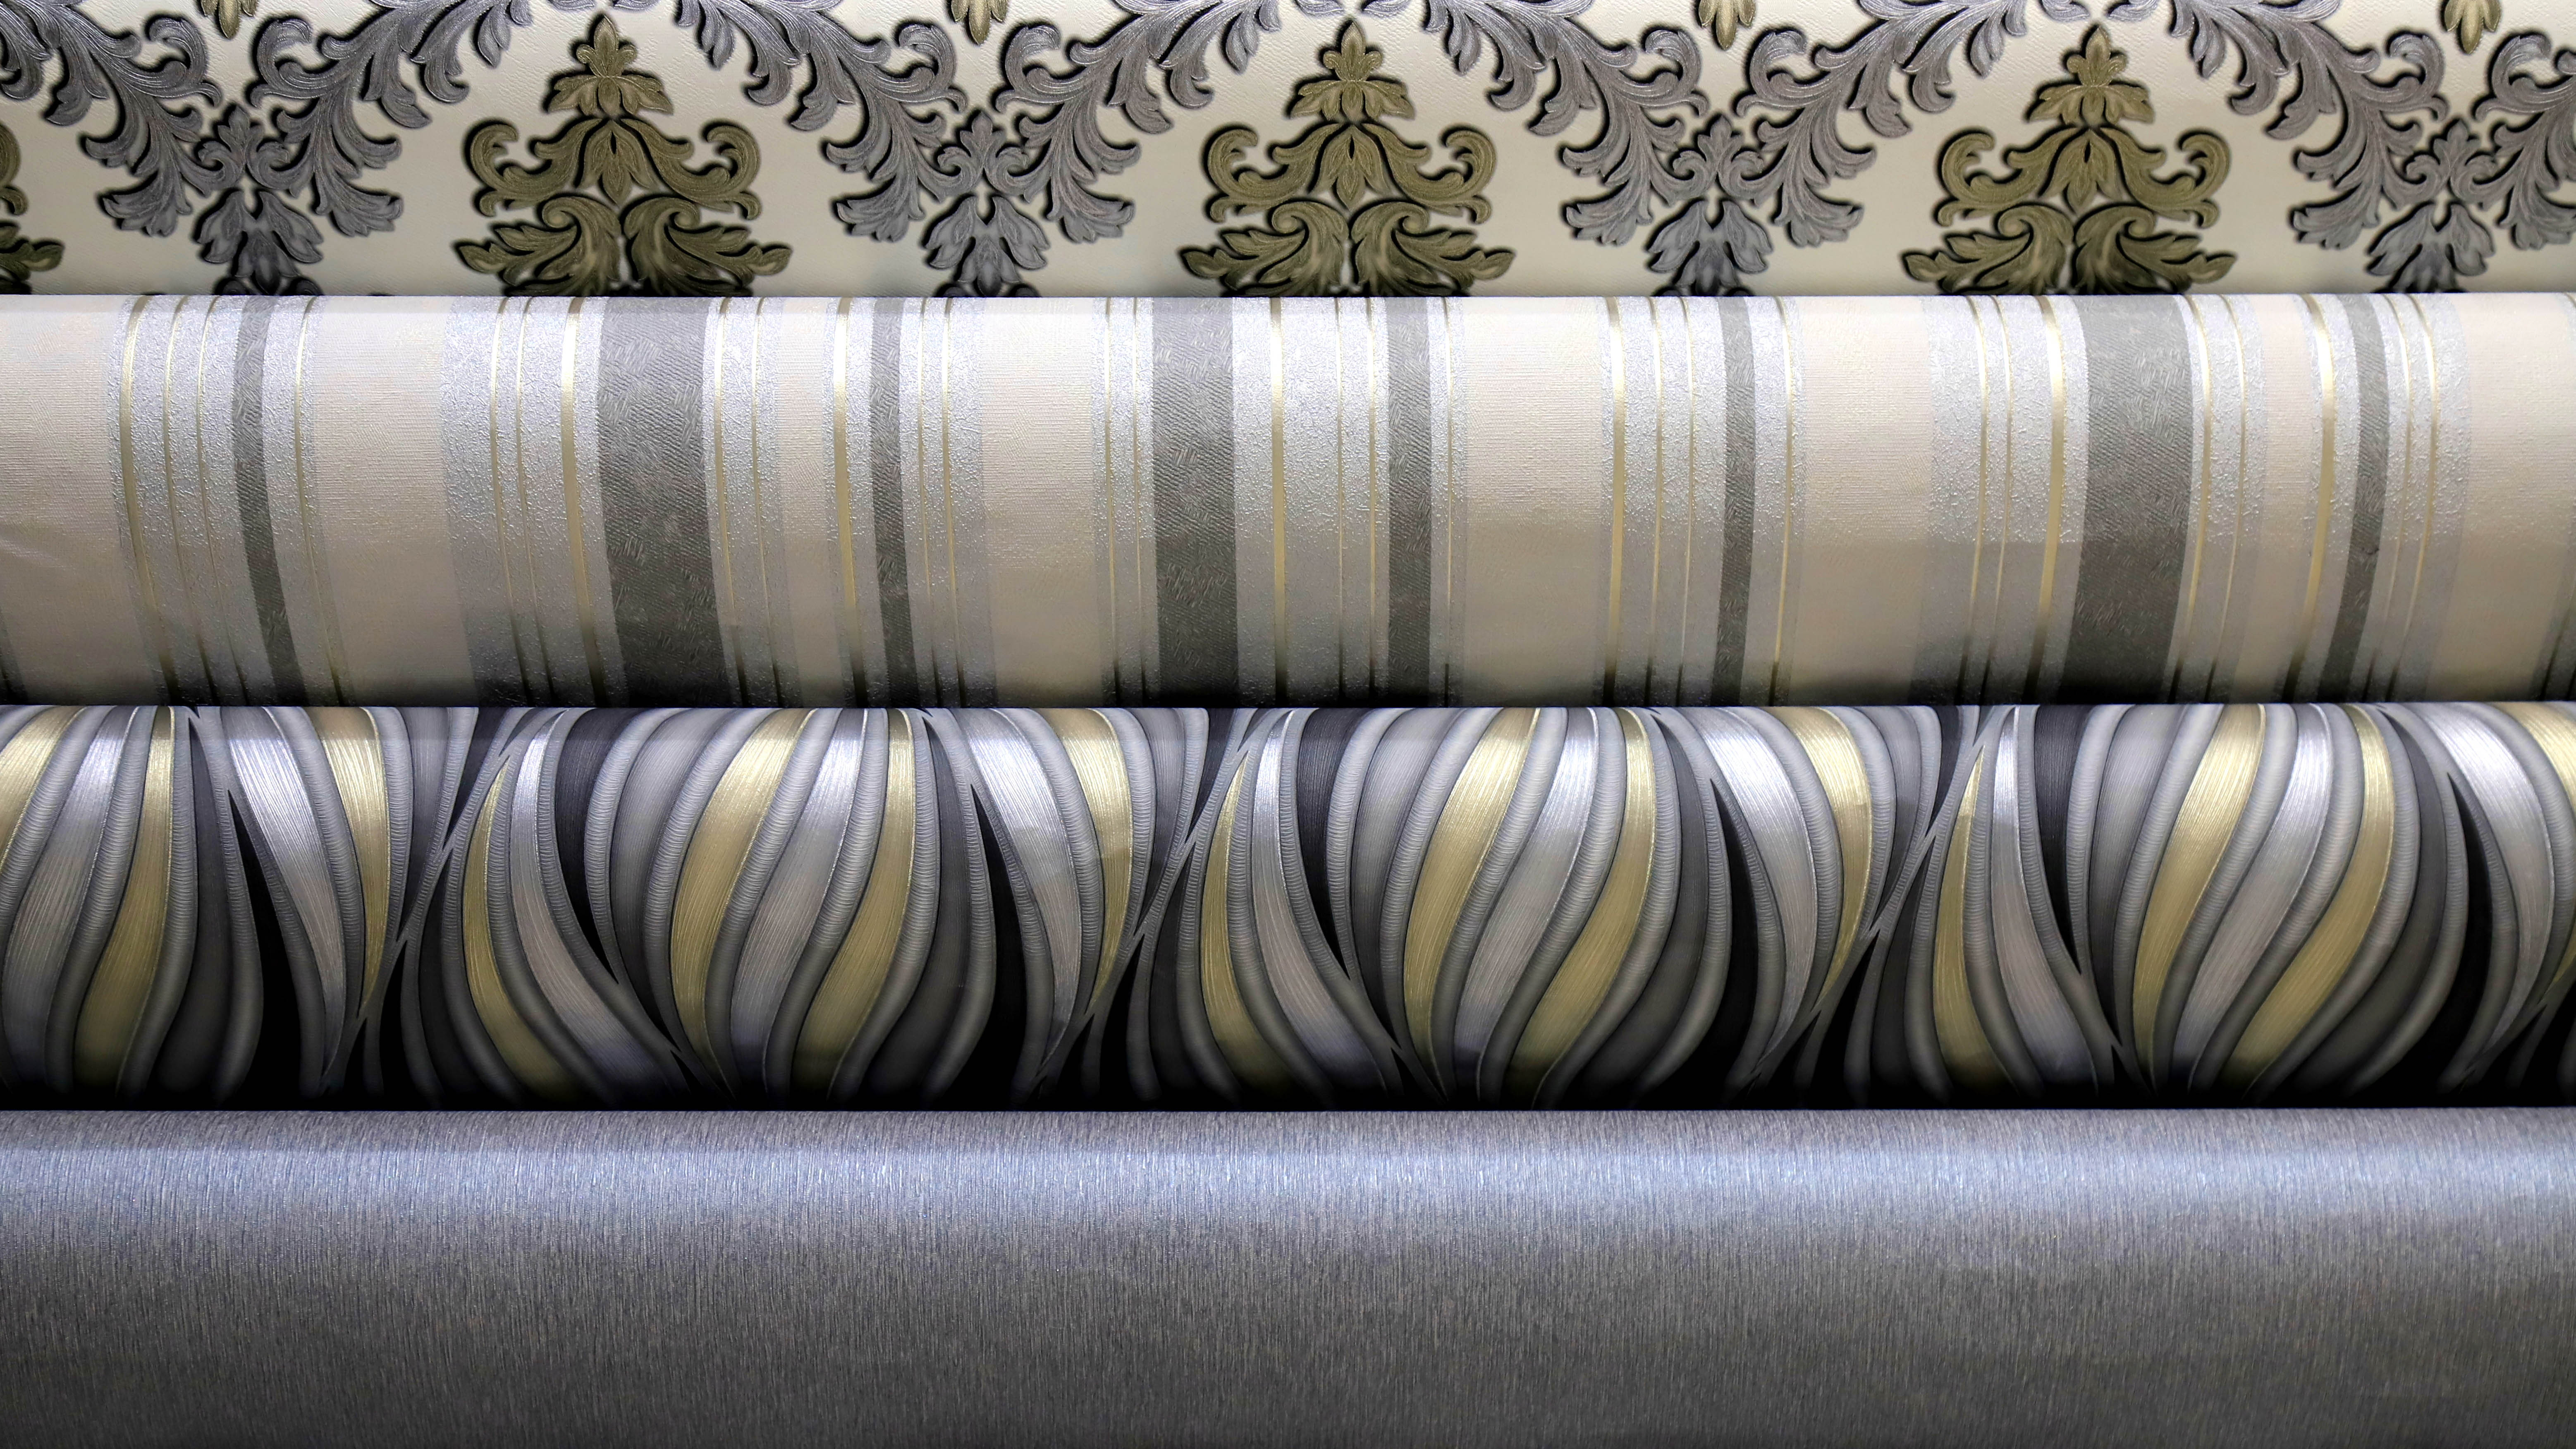
Vinyl — This is the most common wallpaper to buy as it’s easier to hang and remove as it’s prepped with adhesive. The canvas-backed, vinyl texture makes it moisture resistant, which is ideal for bathrooms and basements.
Embossed — This wallpaper is textured and patterned, making it ideal for covering bumps or any imperfections in walls. It’s lined with adhesive, and much easier to paint over if you fancy a color change.
Textile-based — This wallpaper is slightly tricky to put up because you’ll need to hang it with clear adhesive paste. This can be more time-consuming, but allows more flexibility. In addition, textile wallpaper can be more difficult to clean but it will look stunning and chic.
After decorating, you’ll need to read how to remove stains from painted walls to make sure they stay stunning. For more cleaning tips check out how to clean a leather couch and how to remove red wine stains from carpet.
Want more tips? Also find out the 10 things you didn't know you could clean with baking soda and also Can I use malt vinegar for cleaning? — here is the best vinegar to clean with.

As the Homes Content Editor, Cynthia Lawrence covers all things homes, interior decorating, and garden-related. She has a wealth of editorial experience testing the latest, ‘must-have’ home appliances, writing buying guides and the handy ‘how to’ features.
Her work has been published in various titles including, T3, Top Ten Reviews, Ideal Home, Real Homes, Livingetc. and House Beautiful, amongst many.
With a rather unhealthy obsession for all things homes and interiors, she also has an interior design blog for style inspiration and savvy storage solutions (get rid of that clutter!). When she’s not testing cool products, she’ll be searching online for more decor ideas to spruce up her family home or looking for a great bargain!
