Stage Manager is a game changer for your Mac — here’s how to use it
How to use one of the coolest new features in macOS Ventura
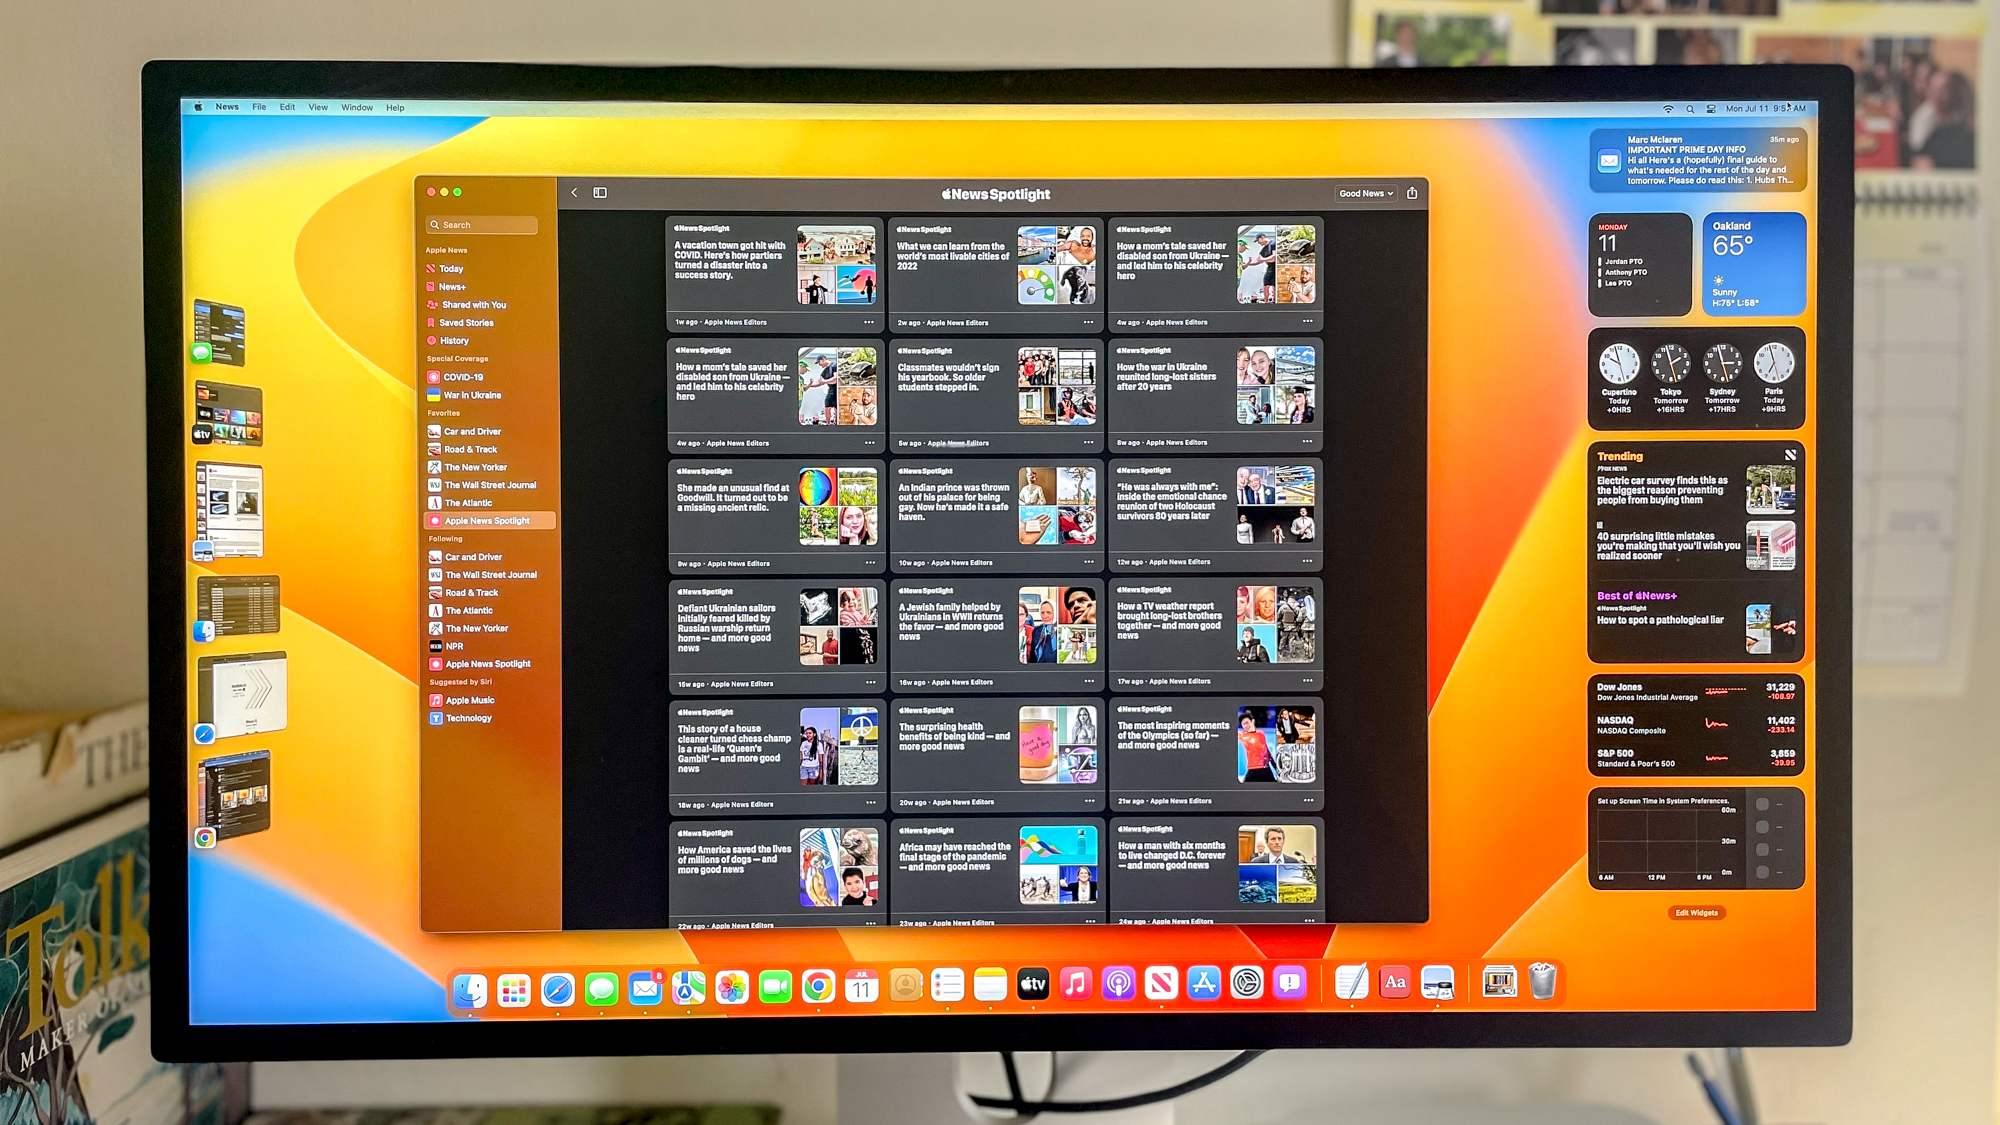
Knowing how to use Stage Manager on Mac is a great way to streamline multitasking and stay on top of your work.
That's because Stage Manager is a cool new feature in macOS Ventura that brings whatever you're working on into the center of your display while organizing your other open apps into a pile of tiles on the lefthand side of the screen.
Stage Manager works on both macOS Ventura and iPadOS 16 in similar ways. The idea is to help you stay focused, but it's also a nice way of quickly seeing everything you're working on at a glance -- the tiles in Stage Manager are even capable of updating live, so you can see when you get a new text message in Messages or an email in Mail.
To help you make the most of this helpful new feature we've put together this handy guide on how to use Stage Manager on Mac.
How to use Stage Manager on Mac
Before you start, note that Stage Manager is only available in macOS Ventura, so make sure you've installed it (we have a great guide to how to download the macOS Ventura public beta) beforehand.
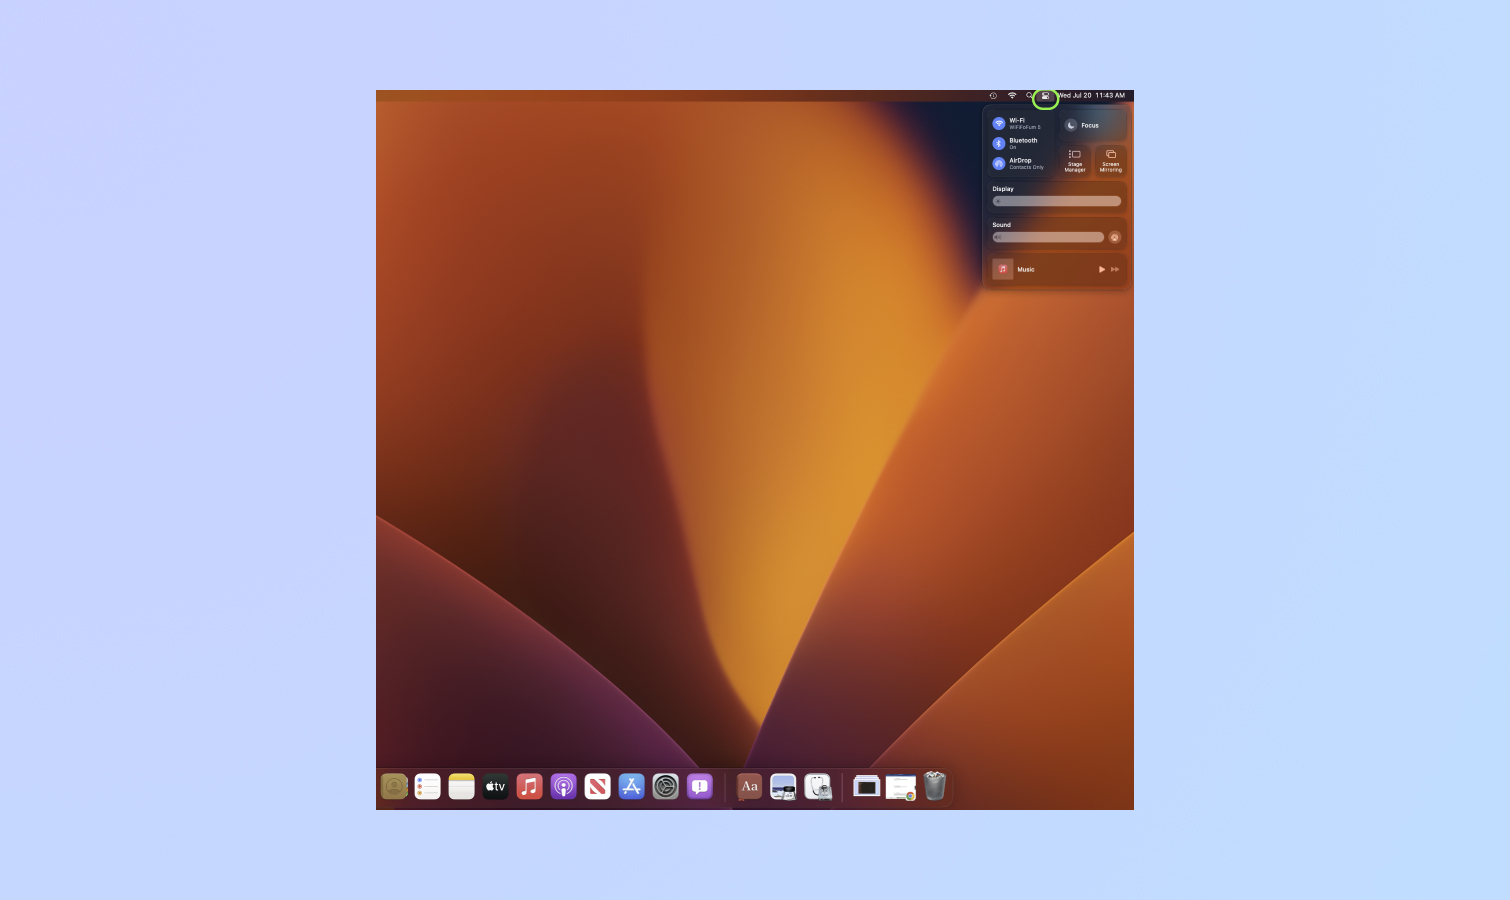
1. To activate/deactivate Stage Manager, navigate to the Control Center in the top-right corner of your Mac's display and open it by clicking on the icon, which looks like a pair of toggles.
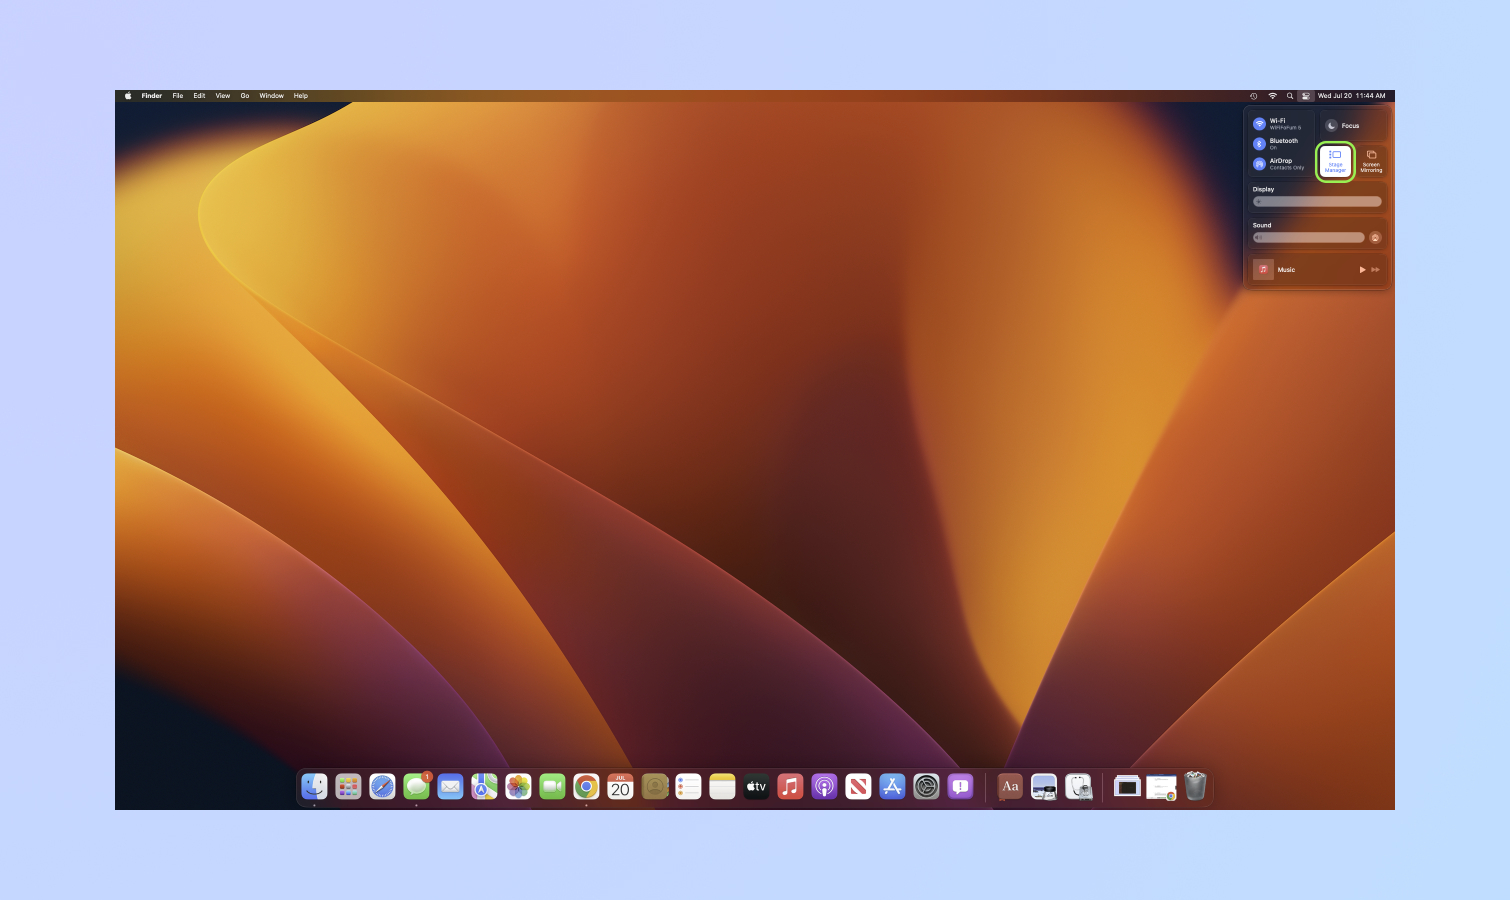
2. Click the Stage Manager button, which should look like a rectangle with 3 dots lined up alongside it, to toggle the feature on or off.
Sign up to get the BEST of Tom's Guide direct to your inbox.
Get instant access to breaking news, the hottest reviews, great deals and helpful tips.
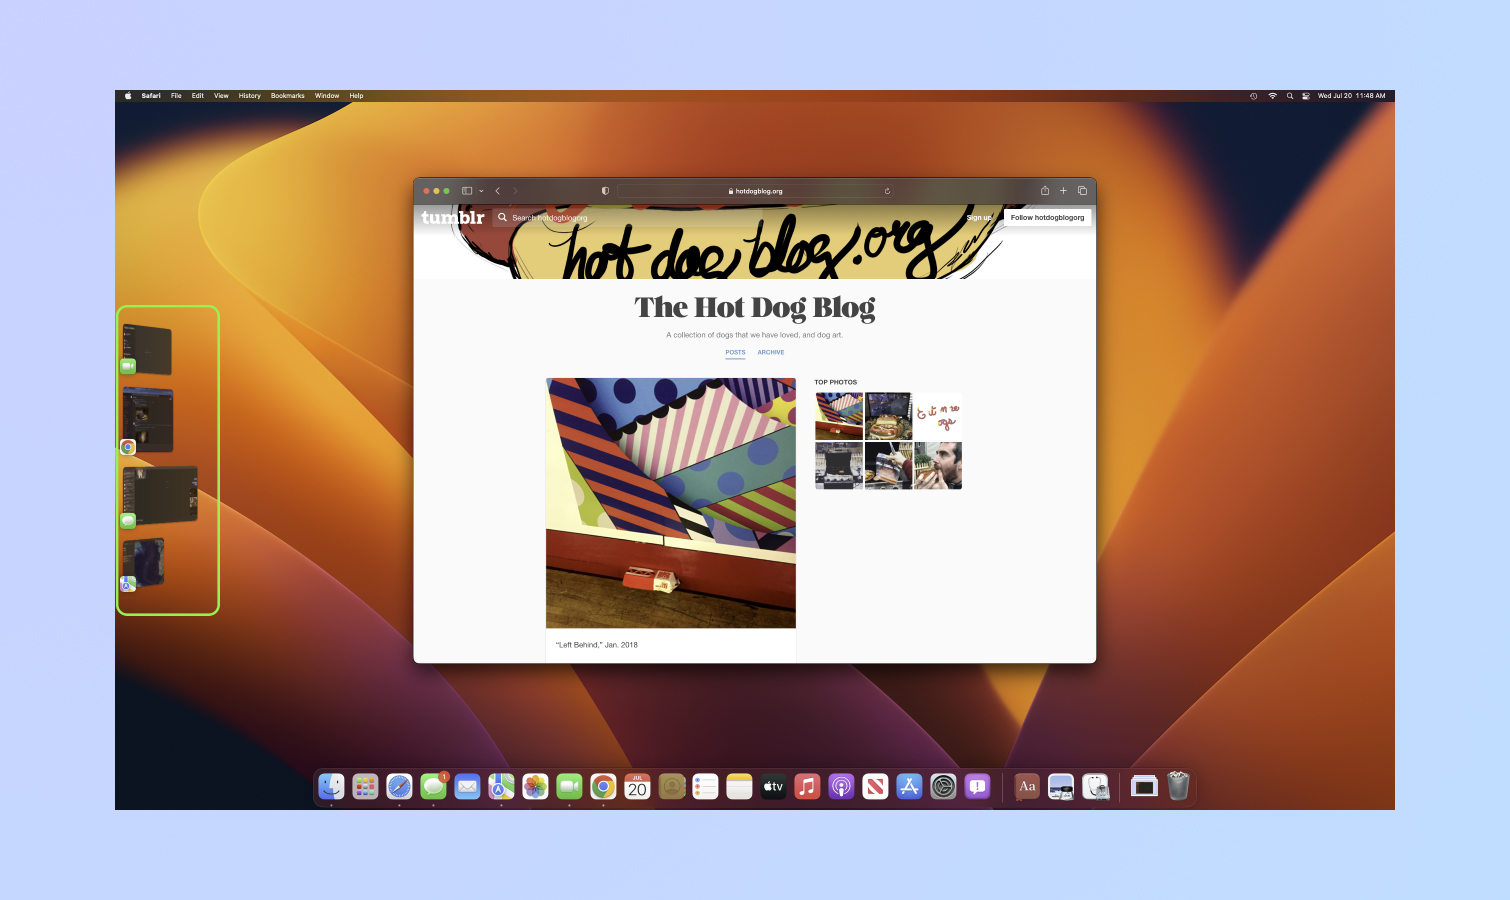
3. Once Stage Manager is enabled, you should see whatever app you're working on move to the center of the screen while a pile of tiles appear on the lefthand side. To switch between apps, click the tile of the app you want to focus on and it will move into the center, while whatever was centered will be relegated back to the tile pile.
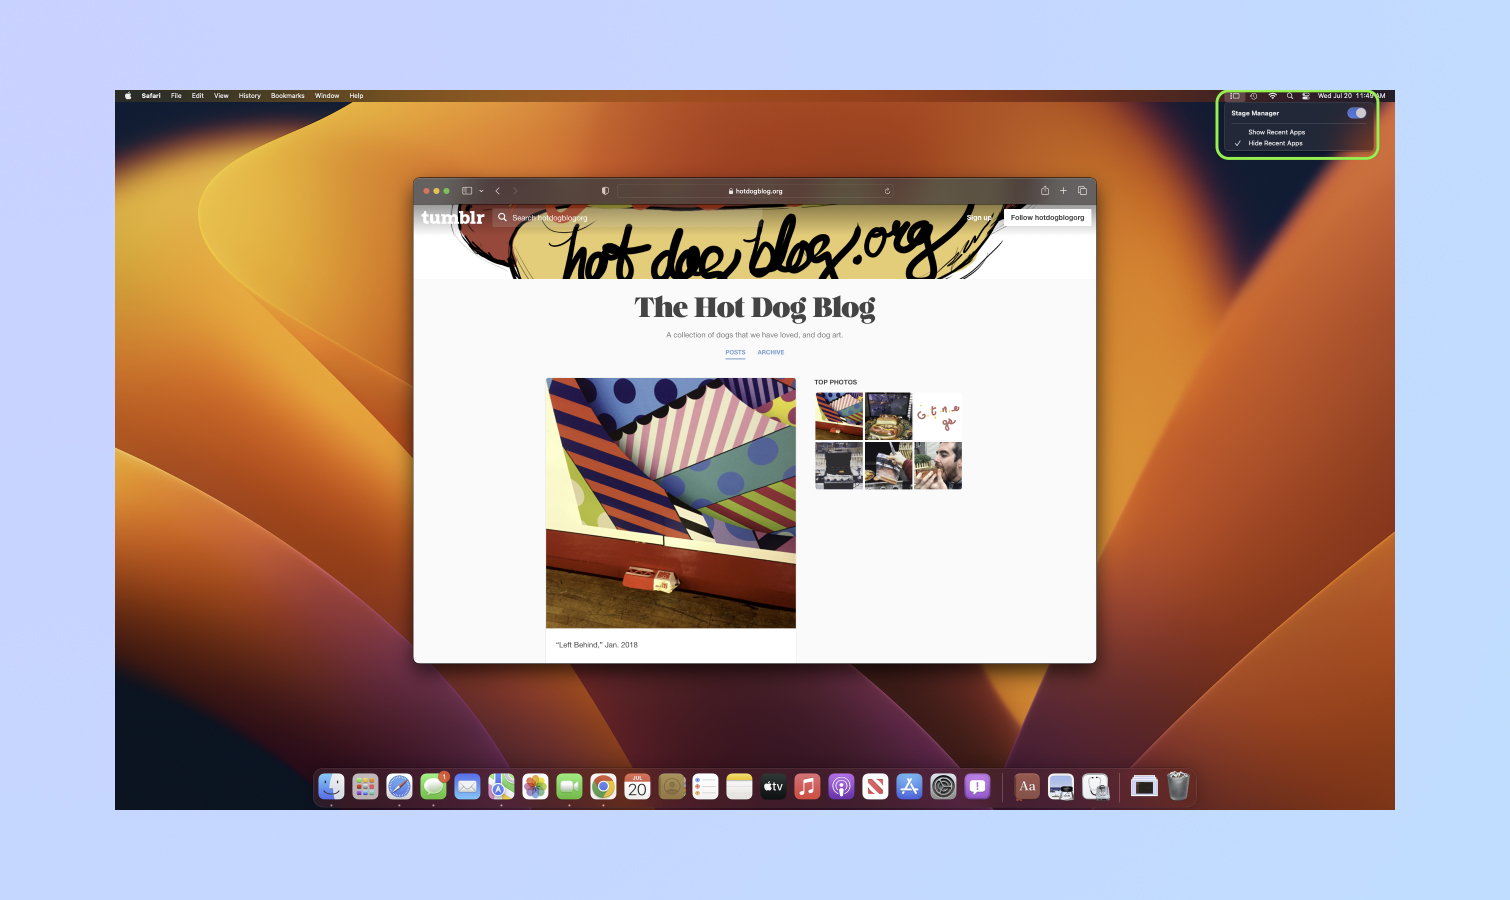
4. You'll also notice a new Stage Manager icon will appear in the righthand side of your menu bar, next to the icons for Time Machine, Wi-Fi, etc. You can quickly control Stage Manager by clicking this icon, which opens a small menu that lets you enable/disable Stage Manager or choose whether you want the app tiles to show up on the lefthand side.
Note that if you choose to "Hide recent apps" in the Stage Manager menu the tiles will disappear, so the only way to access anything other than what you're currently focused on is to minimize or close it, at which point you'll see the usual macOS desktop.
Congratulations! Now you're up and running with Stage Manager, one of the best multi-tasking tools available for both macOS Ventura and iPadOS 16.
It's a great tool on both devices, but you can truly unlock Stage Manager's potential when using a Mac and iPad side by side. And if you enable Universal Control, you could even use your Mac's mouse and keyboard wirelessly with your iPad, taking your productivity game to the next level. Check out our guide to how to use Universal Control on Macs and iPads to learn more!

Alex Wawro is a lifelong tech and games enthusiast with more than a decade of experience covering both for outlets like Game Developer, Black Hat, and PC World magazine. A lifelong PC builder, he currently serves as a senior editor at Tom's Guide covering all things computing, from laptops and desktops to keyboards and mice.
