How to use Philips Hue Sync with your smart lights on PC or Mac
Learn how to use the Hue Sync app on your computer to sync content with your smart lights
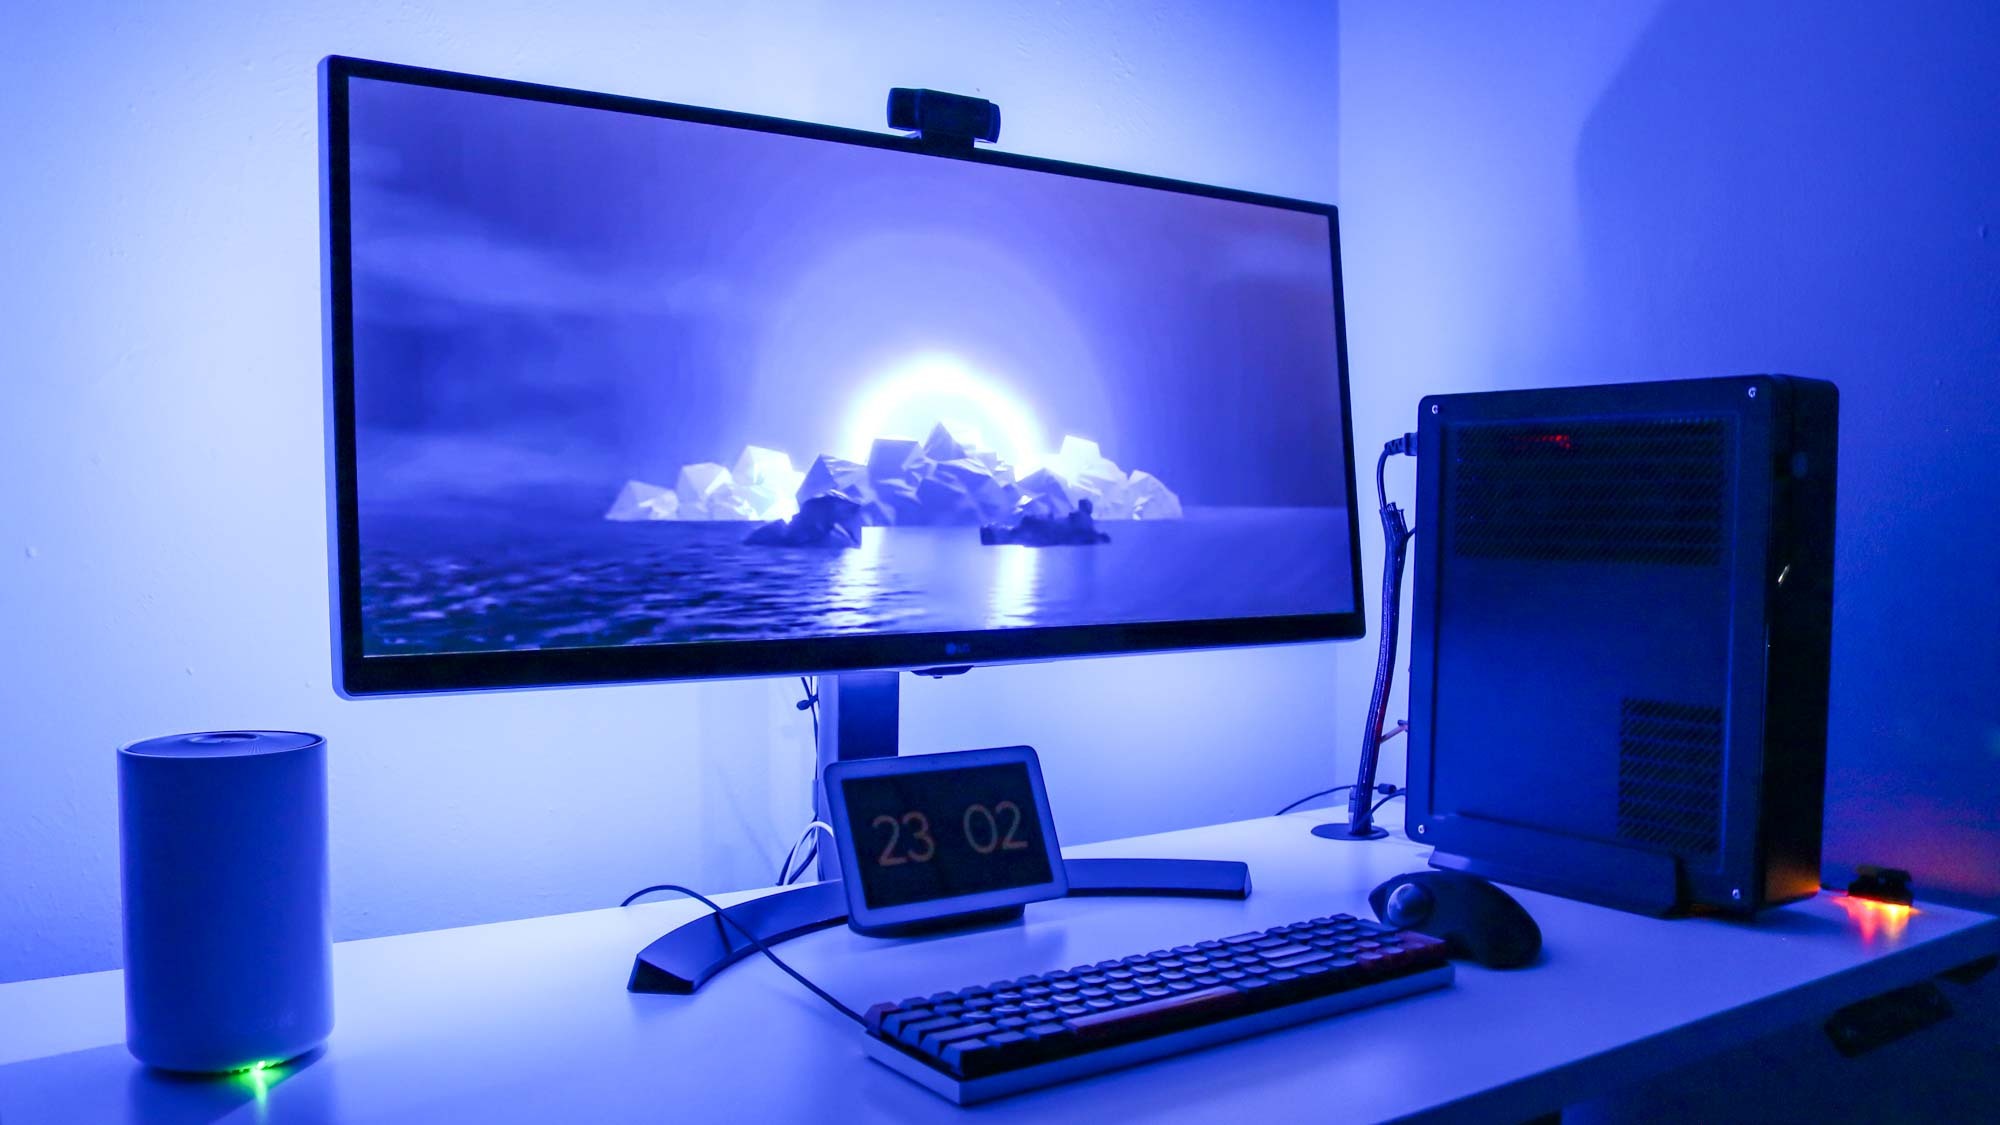
With Hue Sync, syncing the content on your computer monitor or laptop with the best smart light bulbs is quite easy to do. Whether you have regular bulbs or even a lightstrip installed behind your monitor, you can create your own light show at home.
Although there are cheaper options out there, one of the best things about Philips Hue lights is the fact that you can sync them with what’s on your screen using free software. You may be wondering why you’d want to do this in the first place: immersion is the main reason.
With Philips’ Hue Sync app running on your PC or Mac, you can have your smart lights sync up with the videos, games or music you’re currently watching, playing or listening to. This way, what’s on your screen looks like it's spilling over into your room and you’re fully immersed.
With Philips Hue lights, it’s also possible to sync your smart lights with your TV but you will need to have a computer connected to it or purchase a Play HDMI Sync Box separately if you want to use one of the best streaming devices or a game console instead. For this reason, this guide will focus on syncing your smart lights with content on your PC or Mac using the free Hue Sync app.
Here’s how to get everything set up and working on your PC. If you have a Mac, the process is essentially the same though you will need to install the macOS version of the Hue Sync app instead.
How to use Philips Hue Sync to sync your smart lights with your screen
- Create an entertainment area in the Philips Hue mobile app
- Add lights and adjust their placement
- Download and install the Hue Sync app on PC or Mac
- Configure light sync for video, games or music
- Start light sync
Read on to view detailed instructions for each step.
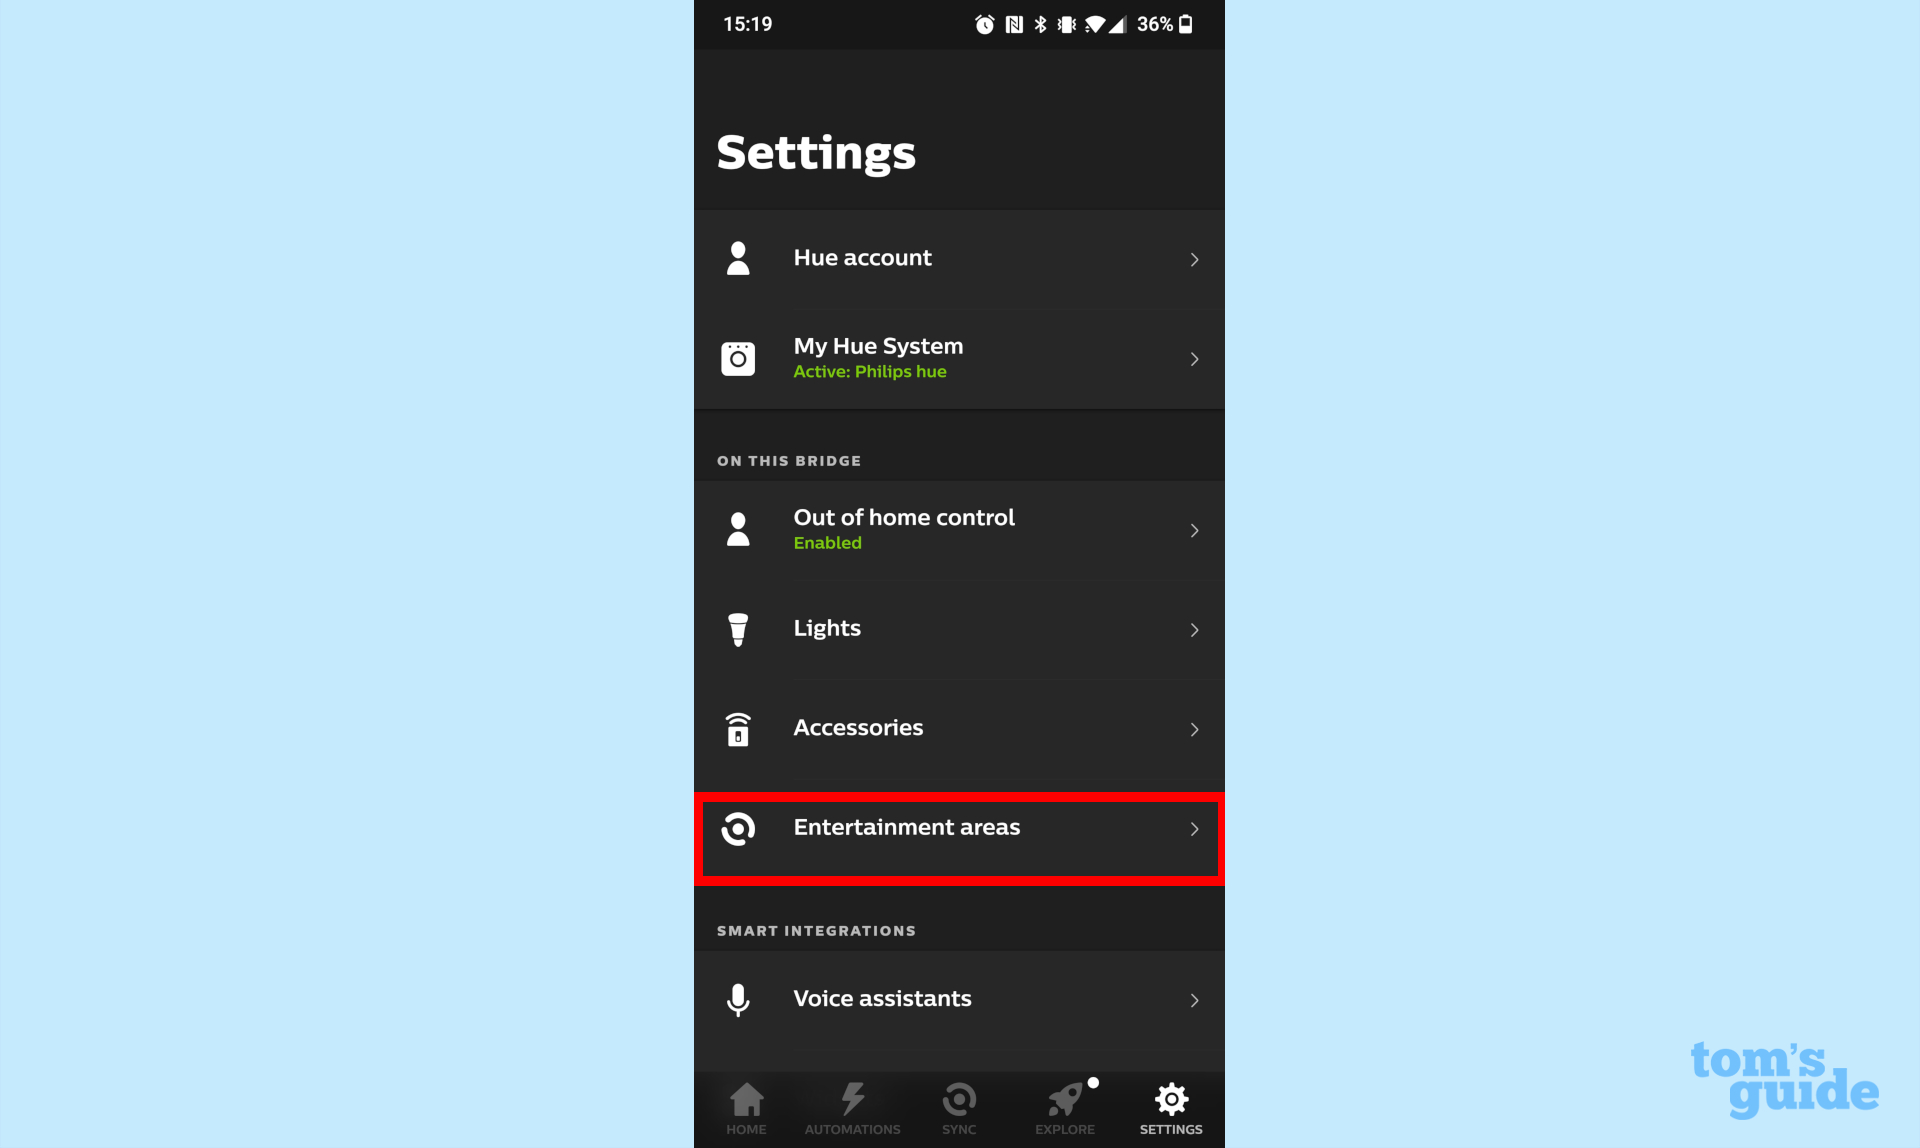
1. Create an Entertainment area in the Philips Hue mobile app. Open the app on your Android smartphone or iPhone and head to the Settings section on the right side of the toolbar at the bottom of the app. Under the On This Bridge section, you’ll find an option for Entertainment areas, tap on it.
Sign up to get the BEST of Tom's Guide direct to your inbox.
Get instant access to breaking news, the hottest reviews, great deals and helpful tips.
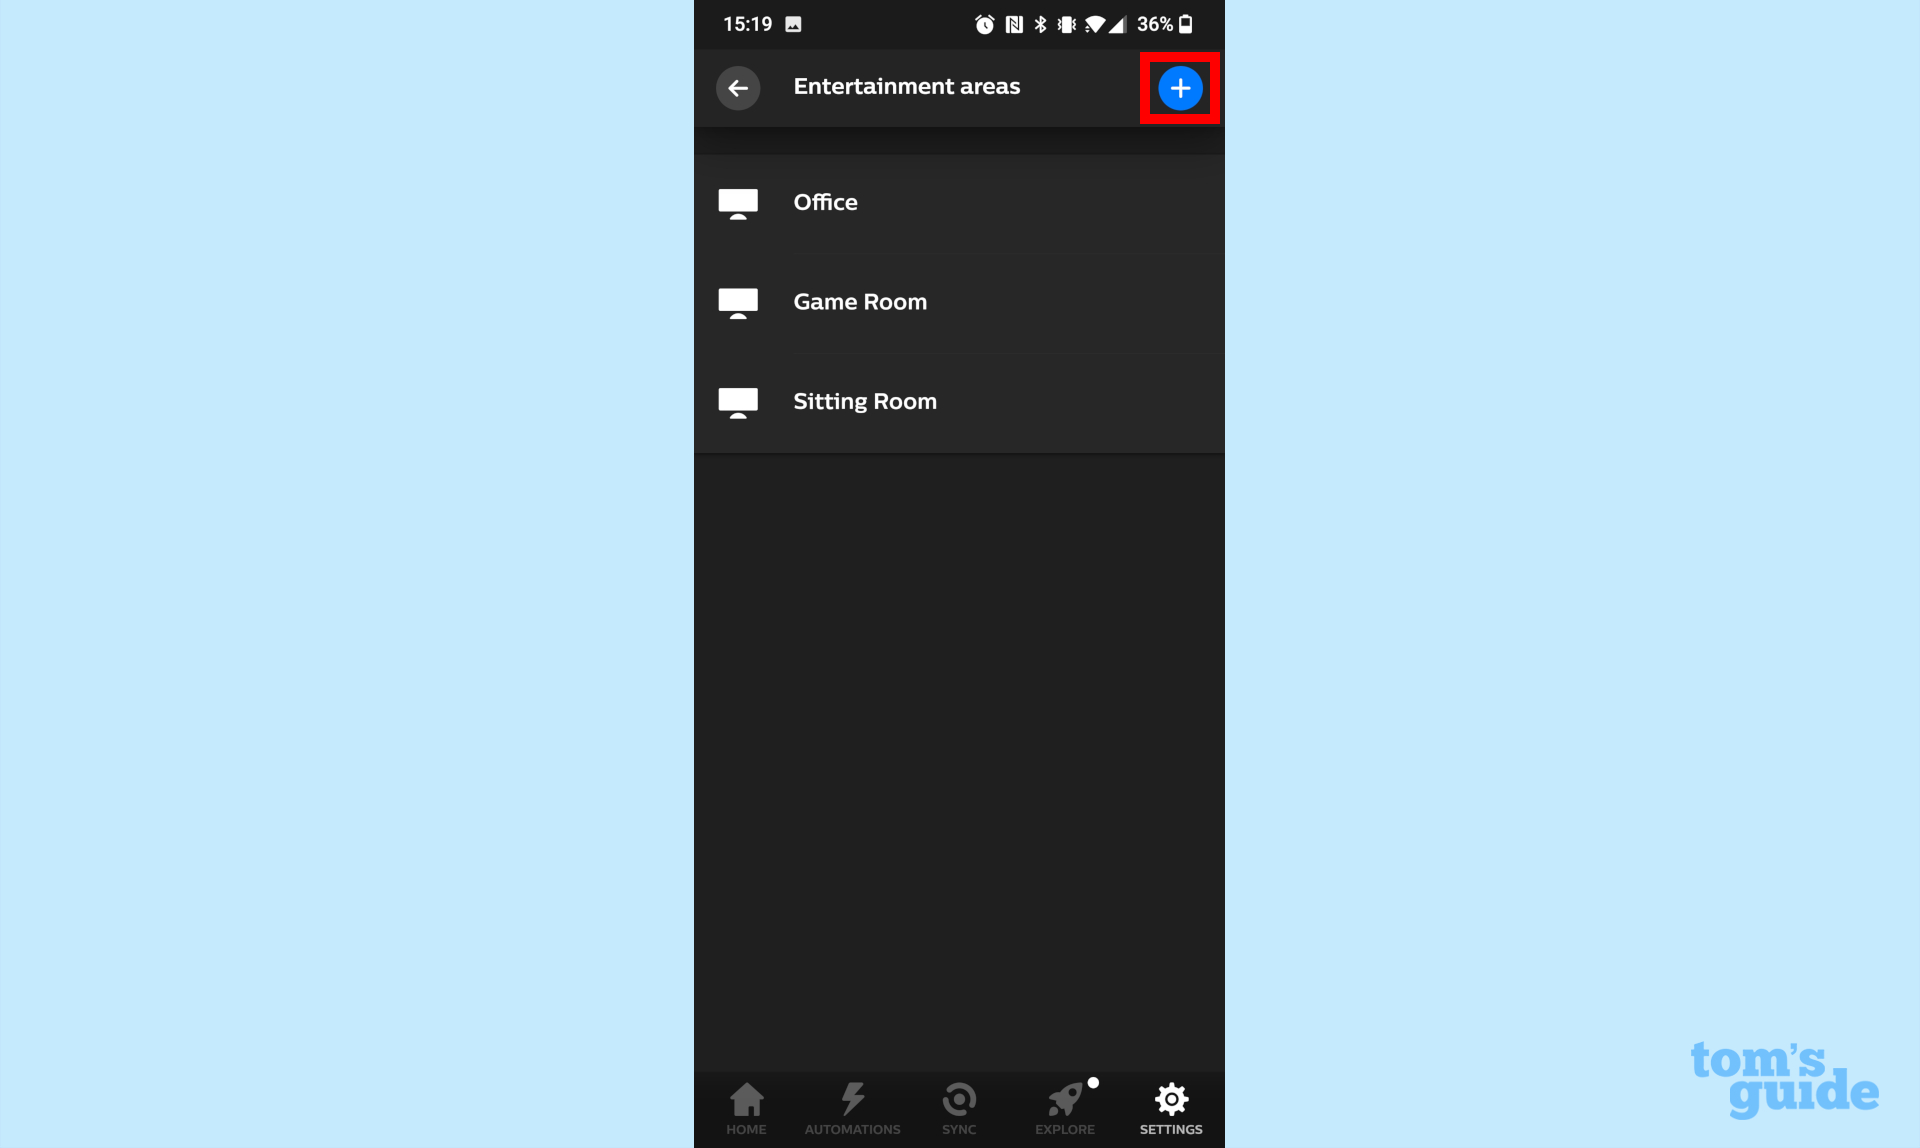
If you’ve set up Entertainment areas before, you will see them all listed here. If not, tap on the plus button in the top right corner to create a new Entertainment area.
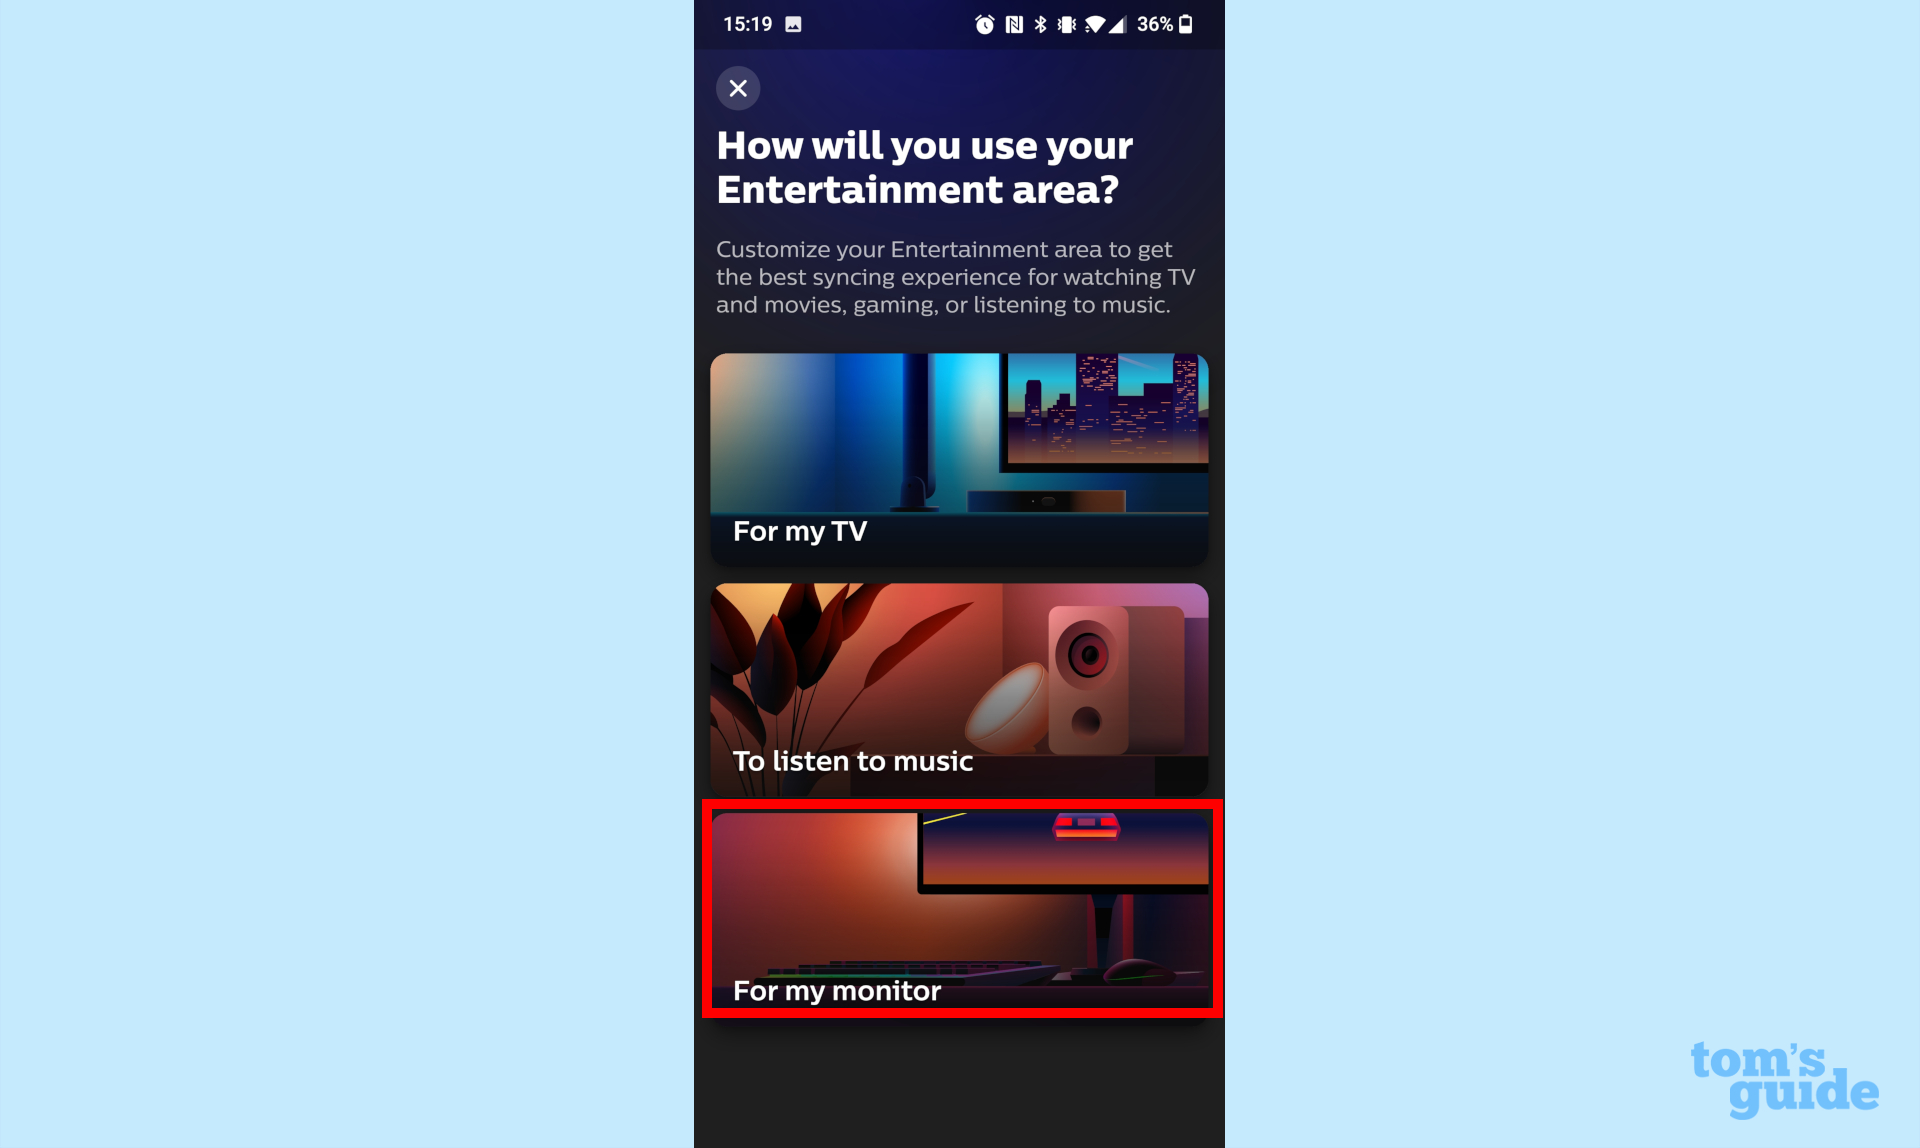
The app will ask you “How will you use your Entertainment area?” and give you the following options: For my TV, To listen to music and For my monitor. Tap on For my monitor and then give your Entertainment area a name.
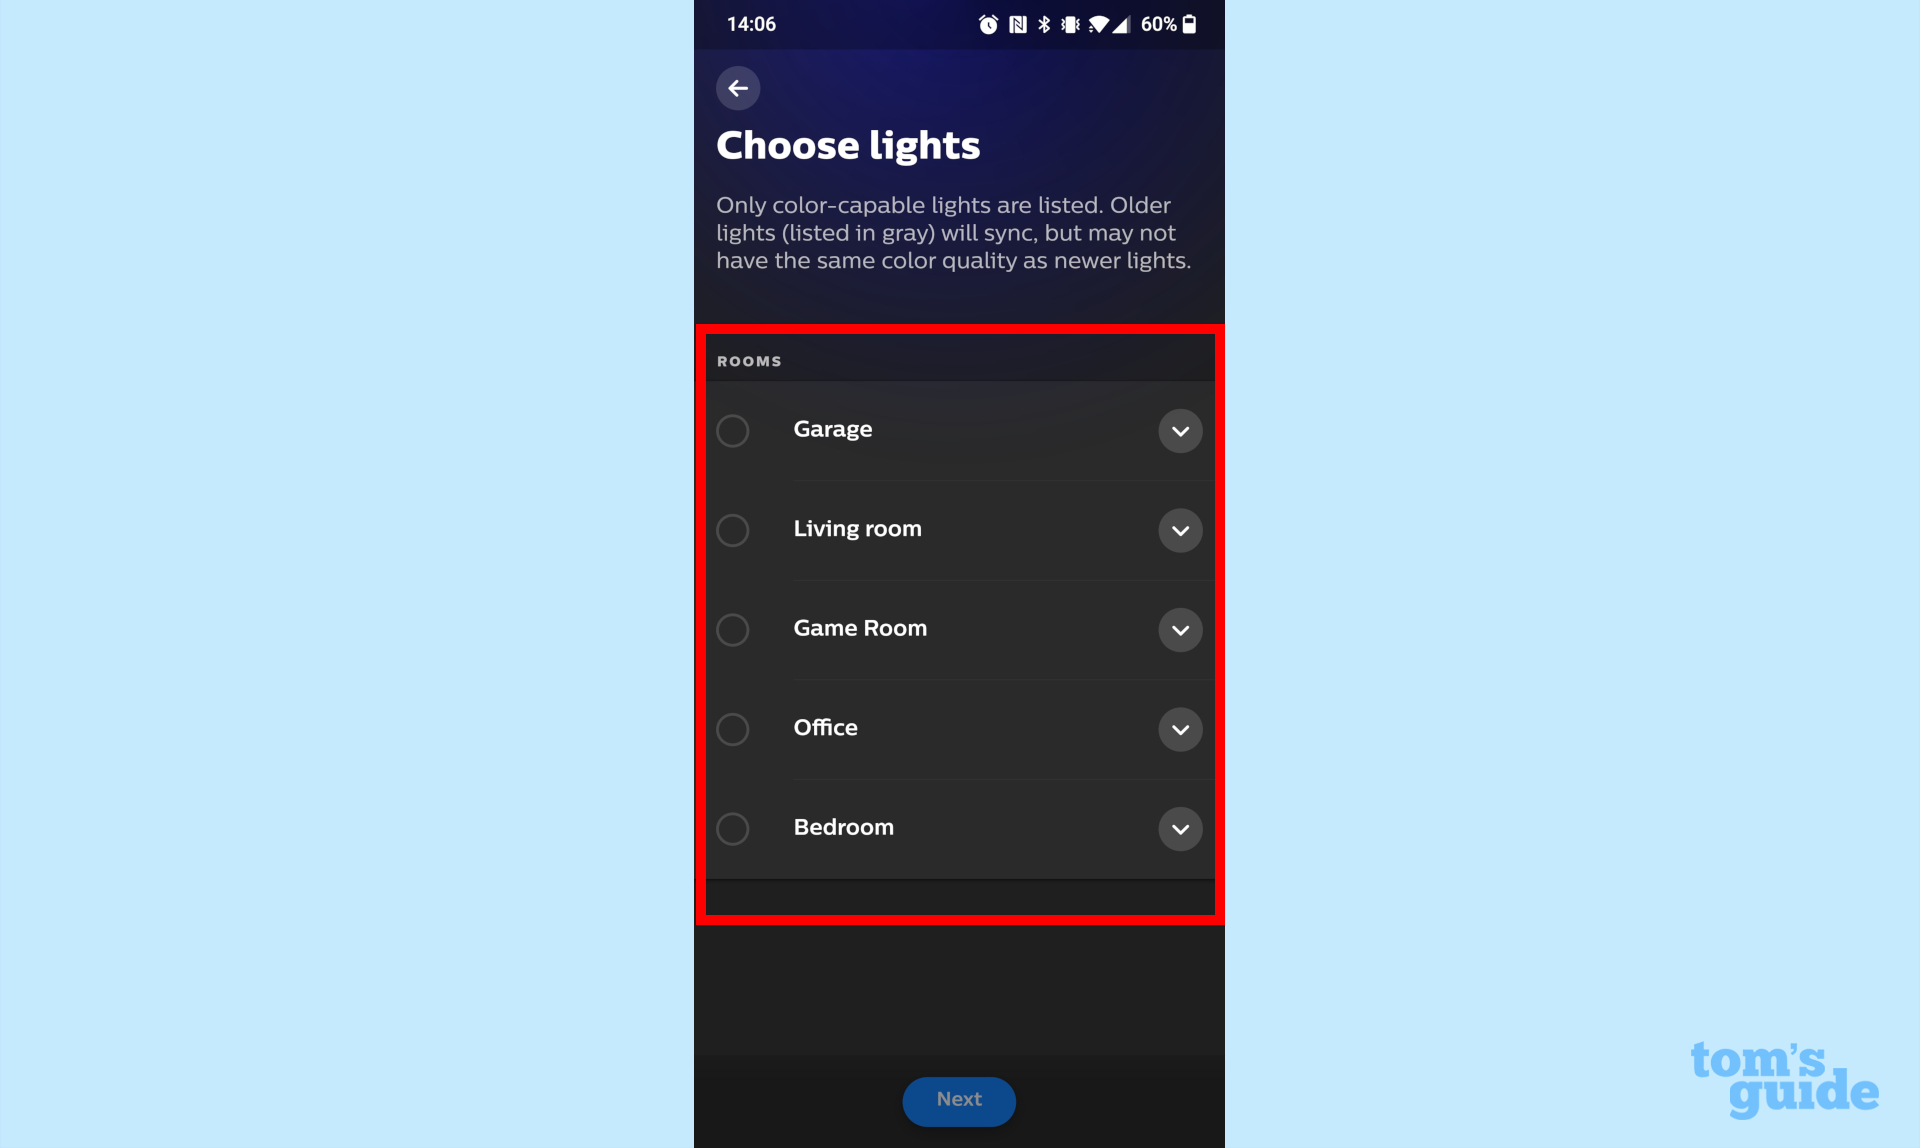
2. Add lights and adjust their placement. Once you have given your Entertainment area a name, it’s time to choose the lights you want to use with it. The app will show you a list of rooms and you need to pick which room your Entertainment area will be located in along with which lights will be a part of it. (Note: only color-capable lights are supported.)
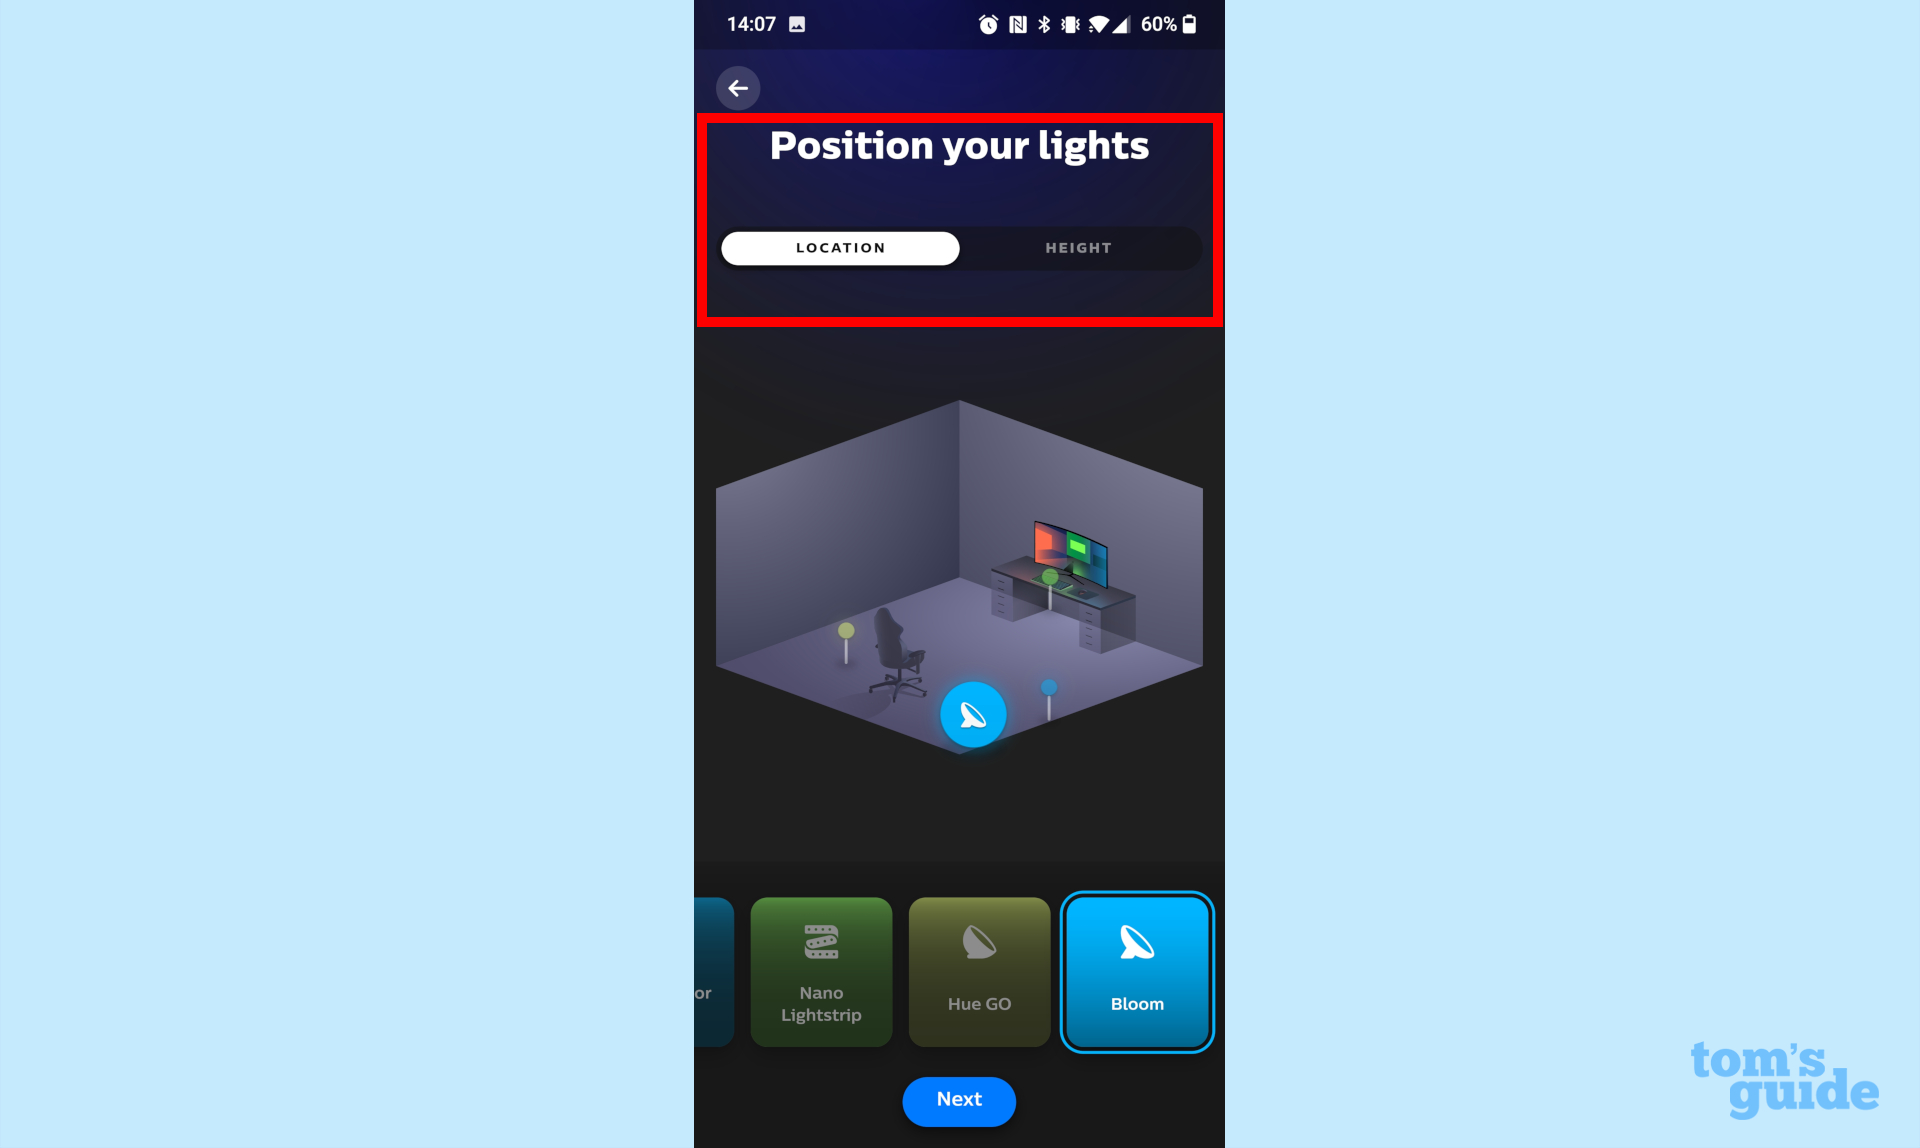
After picking your lights, you can adjust their position in your room and you can also adjust their height using the app. This step is particularly important as where you place your lights will determine how they sync with the content on your monitor or laptop.
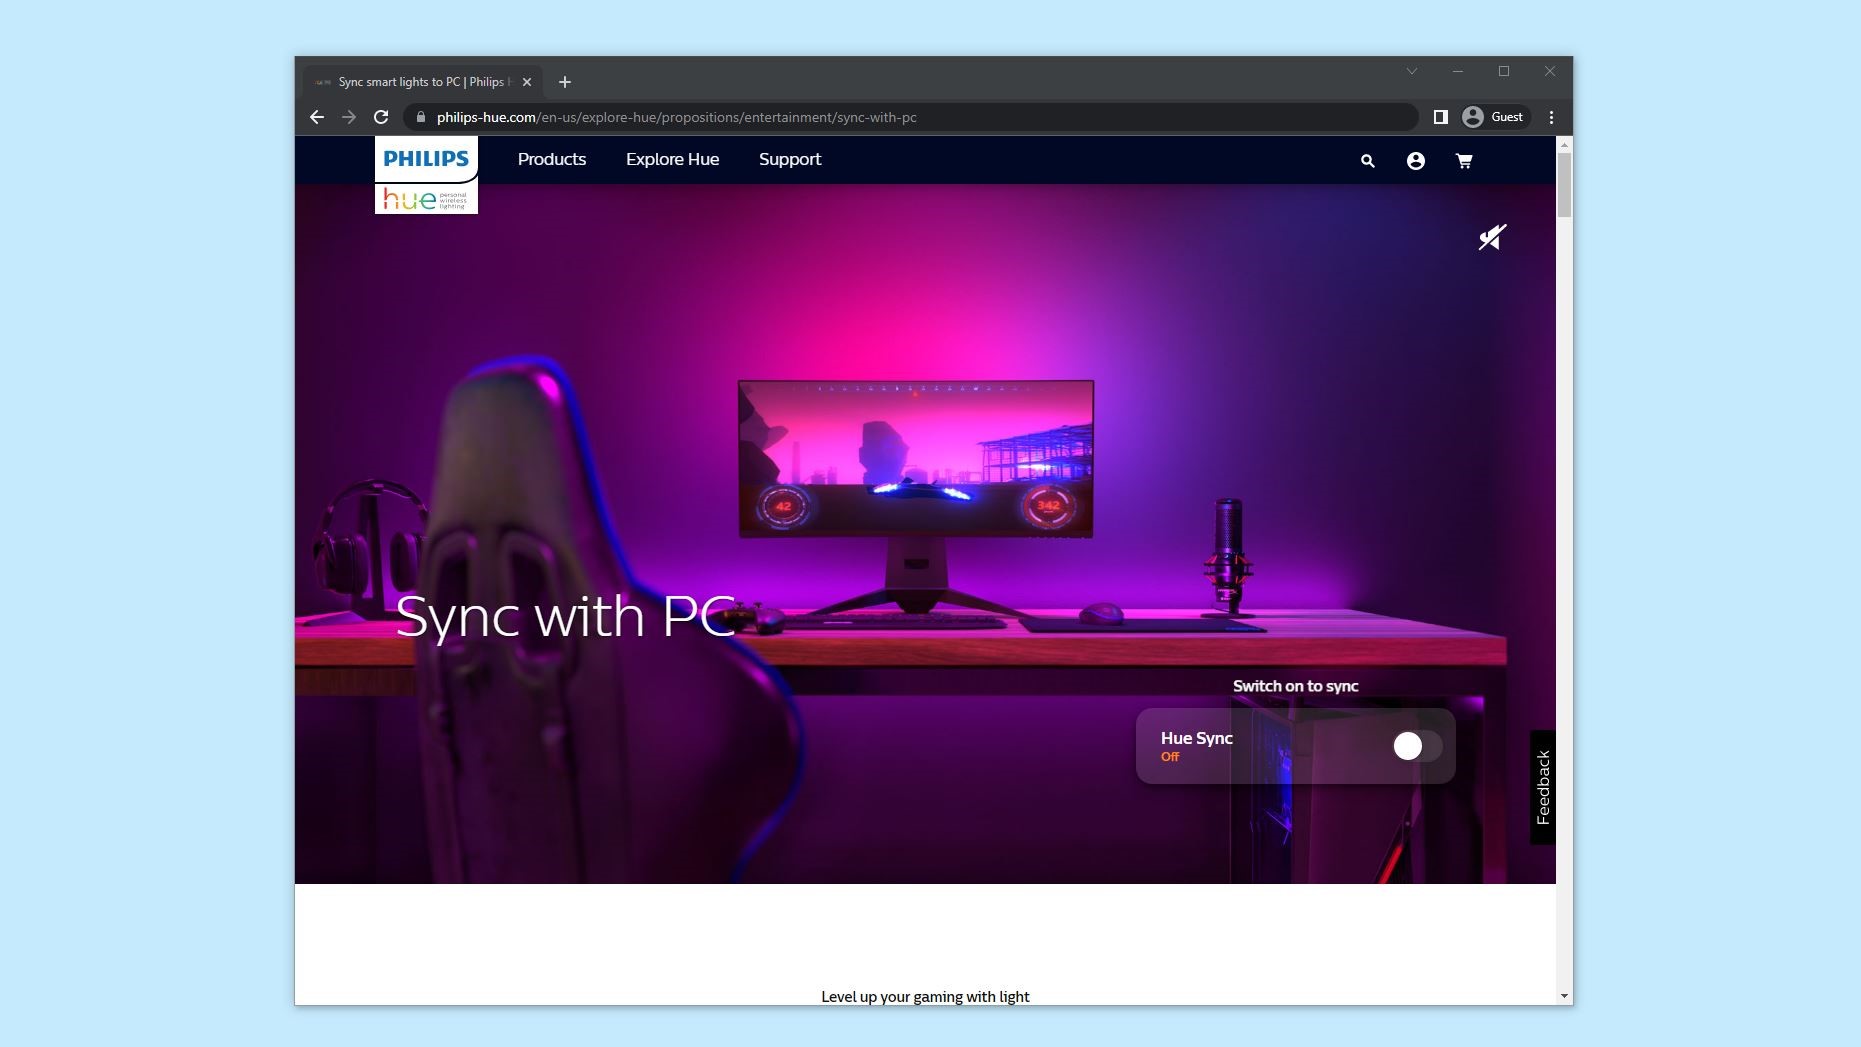
3. Download and install the Hue Sync app on PC or Mac. To get things set up on your PC or Mac, head to the Philips Hue Sync website and scroll down the page.
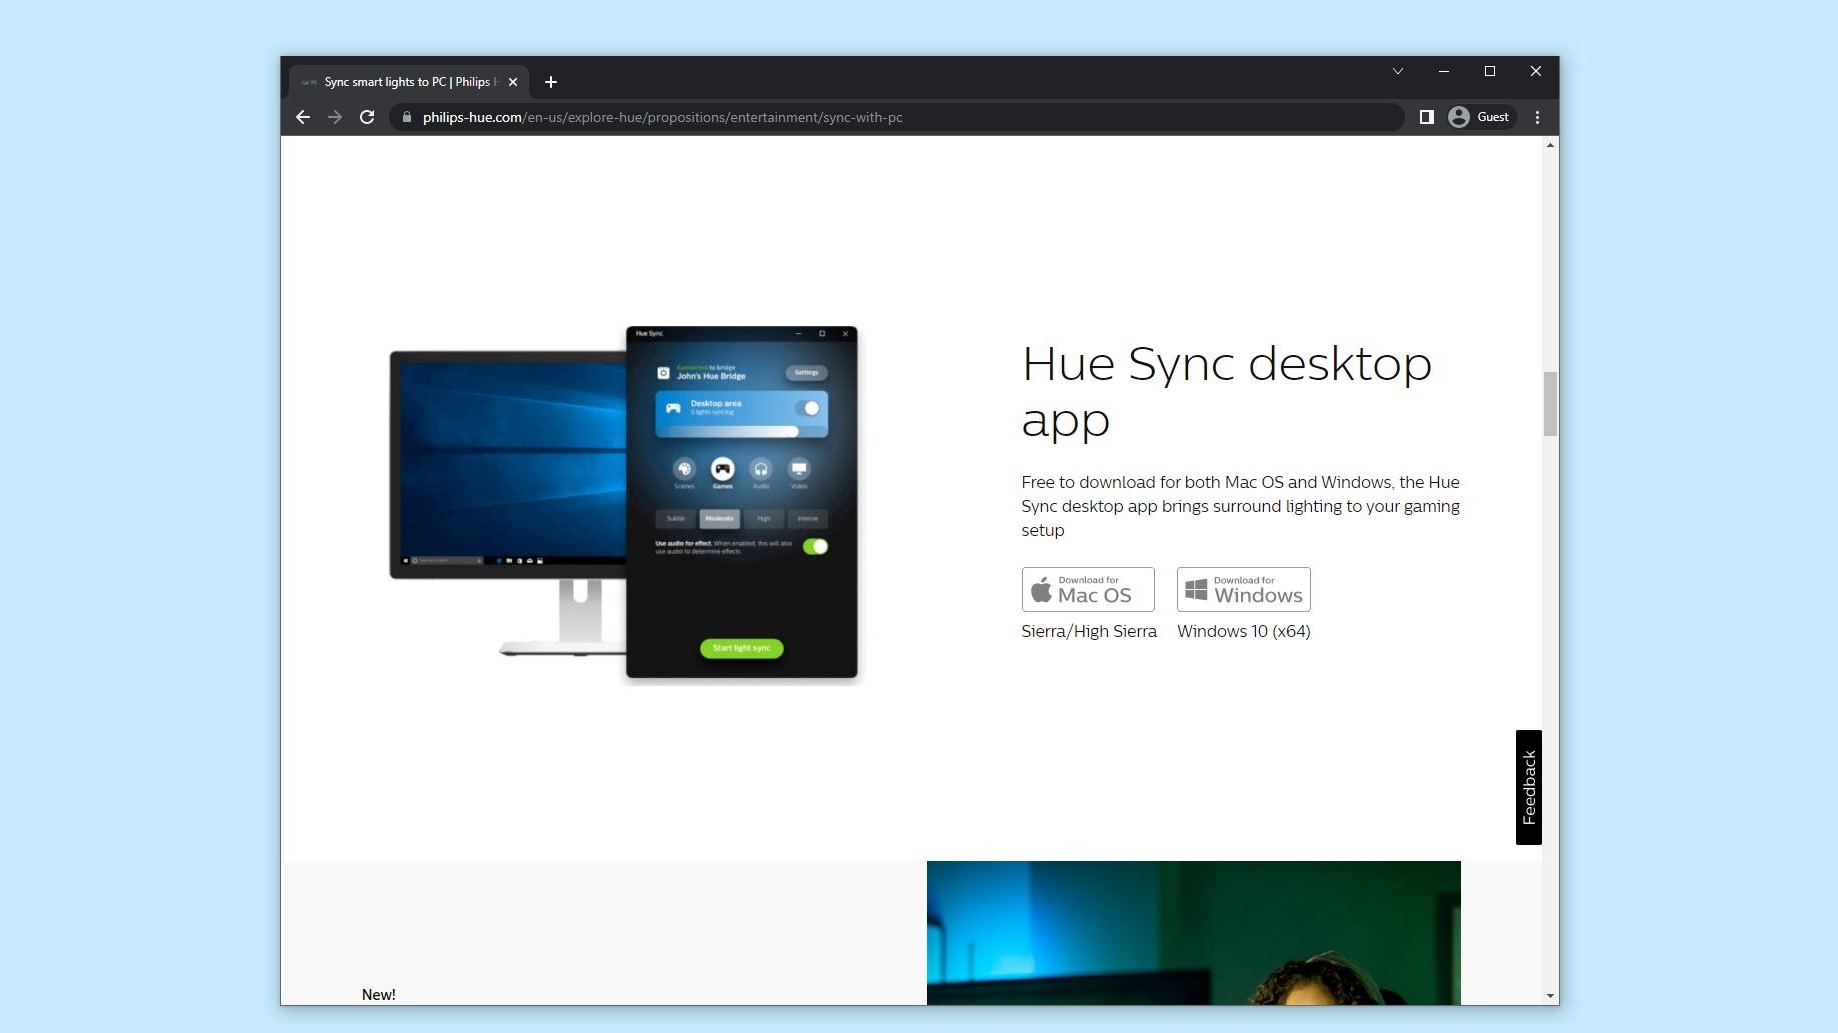
About a quarter of the way down the page, there’s a Hue Sync desktop app section where you can download the required software for PC or Mac. Click on either the Download for Mac OS or the Download for Windows buttons to download the software. Once the download is finished, install it on your system.
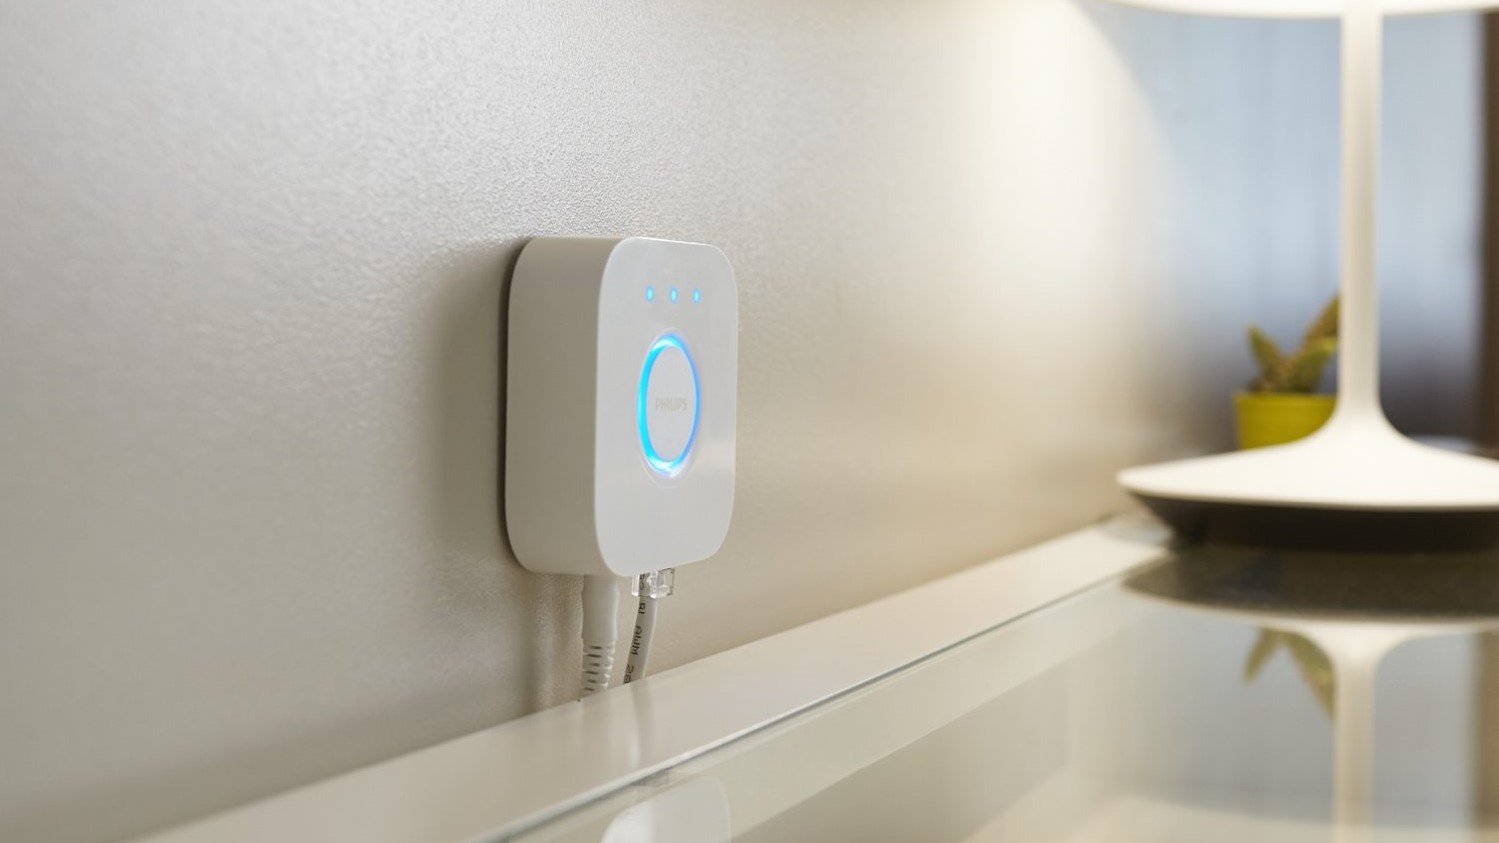
4. Configure light sync for video, games or music. When you open the app for the first time, it will search your network for your Hue Bridge. Once it’s found, you will need to tap on the button on the top of the box to connect your bridge to the Hue Sync app. From here, you need to choose an Entertainment area to use with your smart lights.
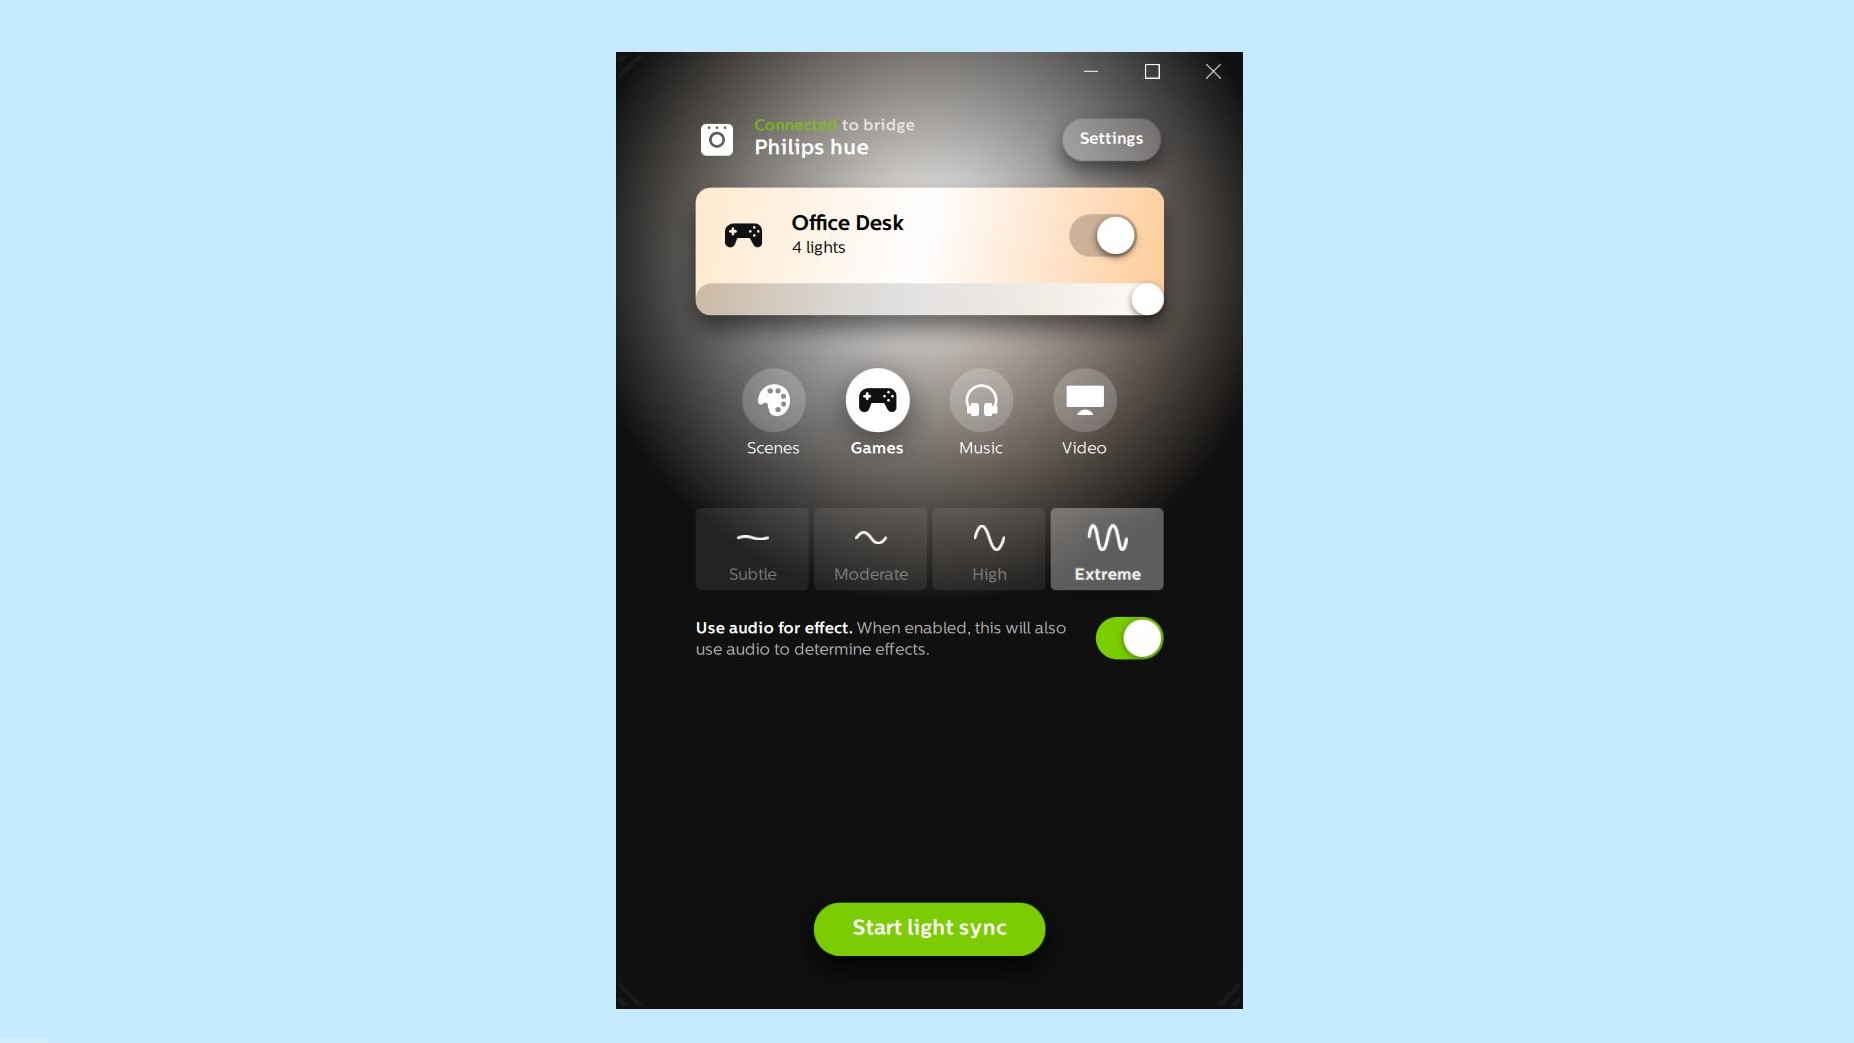
When the app starts, you can choose whether you want to sync your lights with Scenes, Games, Music or Video. Underneath these options, you can choose the intensity with options for subtle, moderate, high or extreme depending on your preference. There is also a toggle that can be enabled to use audio for effect.
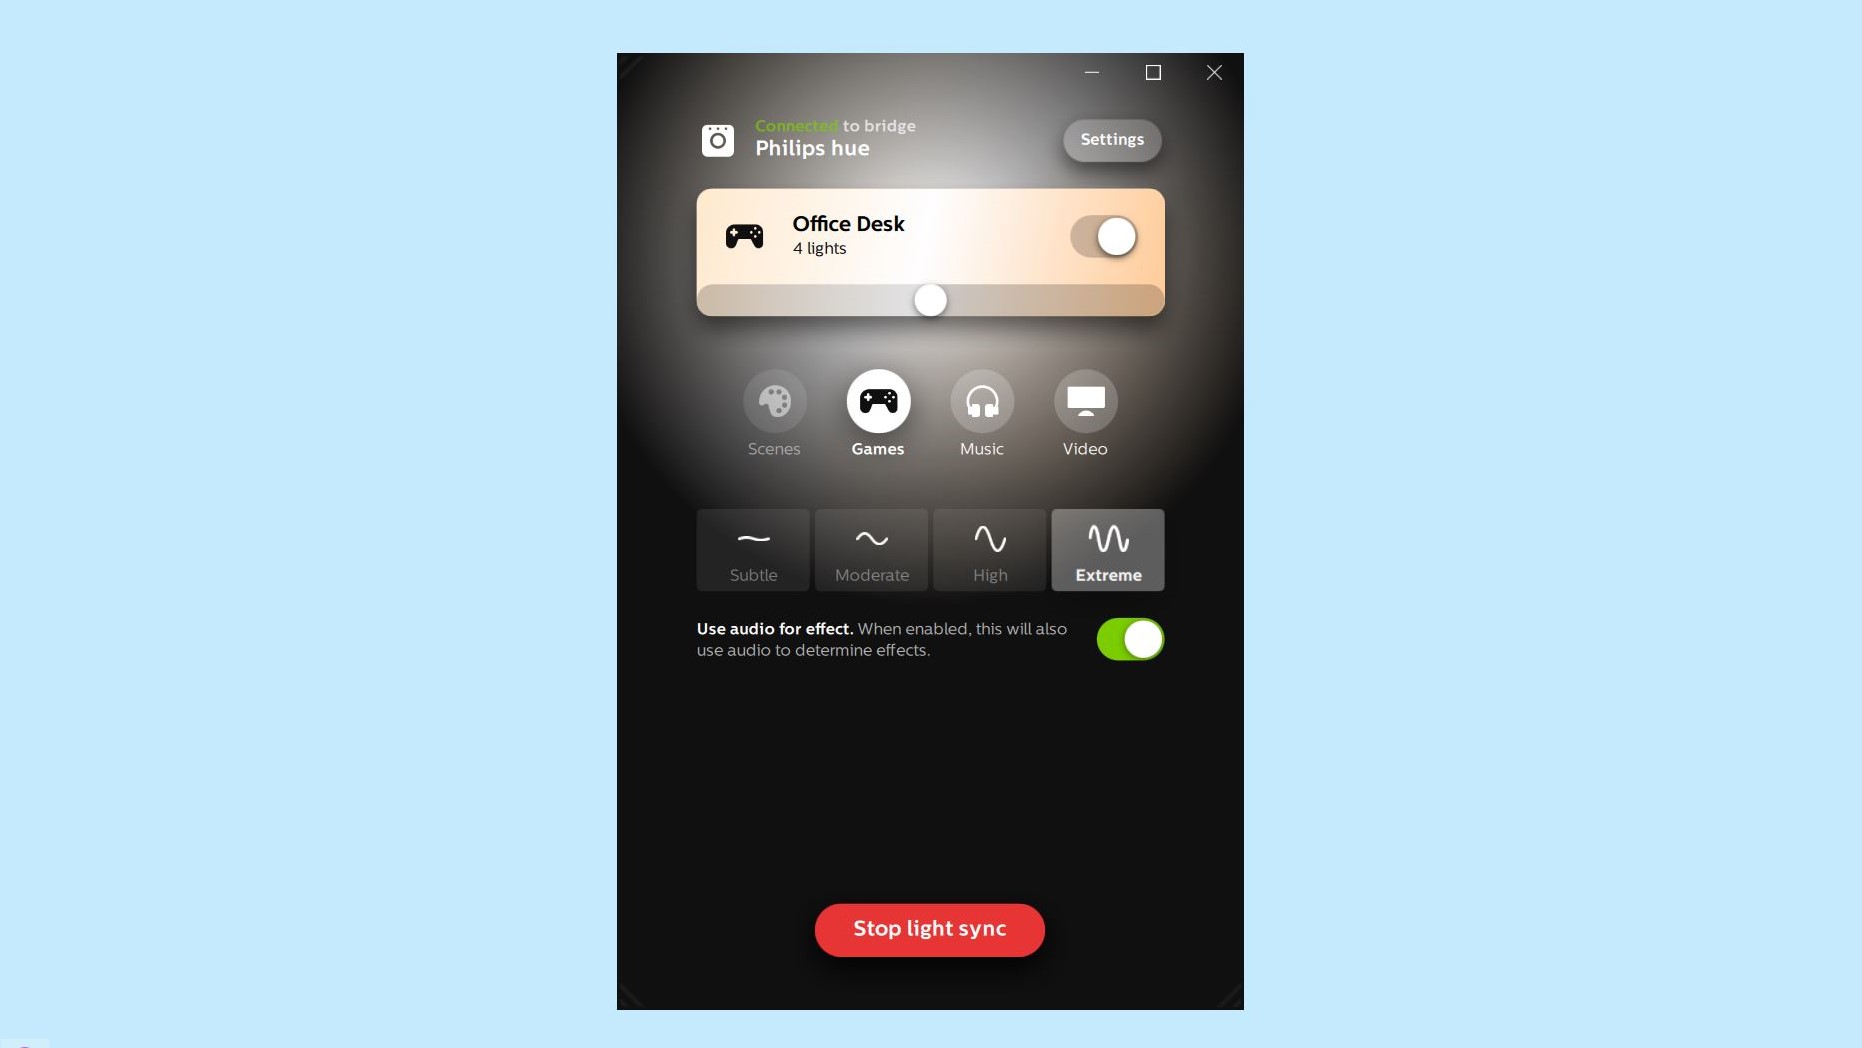
5. Start light sync. With everything configured and set up, just click the Start light sync button at the bottom of the app to begin using Hue Sync. You can always adjust your sync settings if the lights are changing too fast or not fast enough. At the same time, you can also change the type of content the app is syncing with if you switch from watching a video to playing a game or listening to music.
Finding the best content to sync with your smart lights
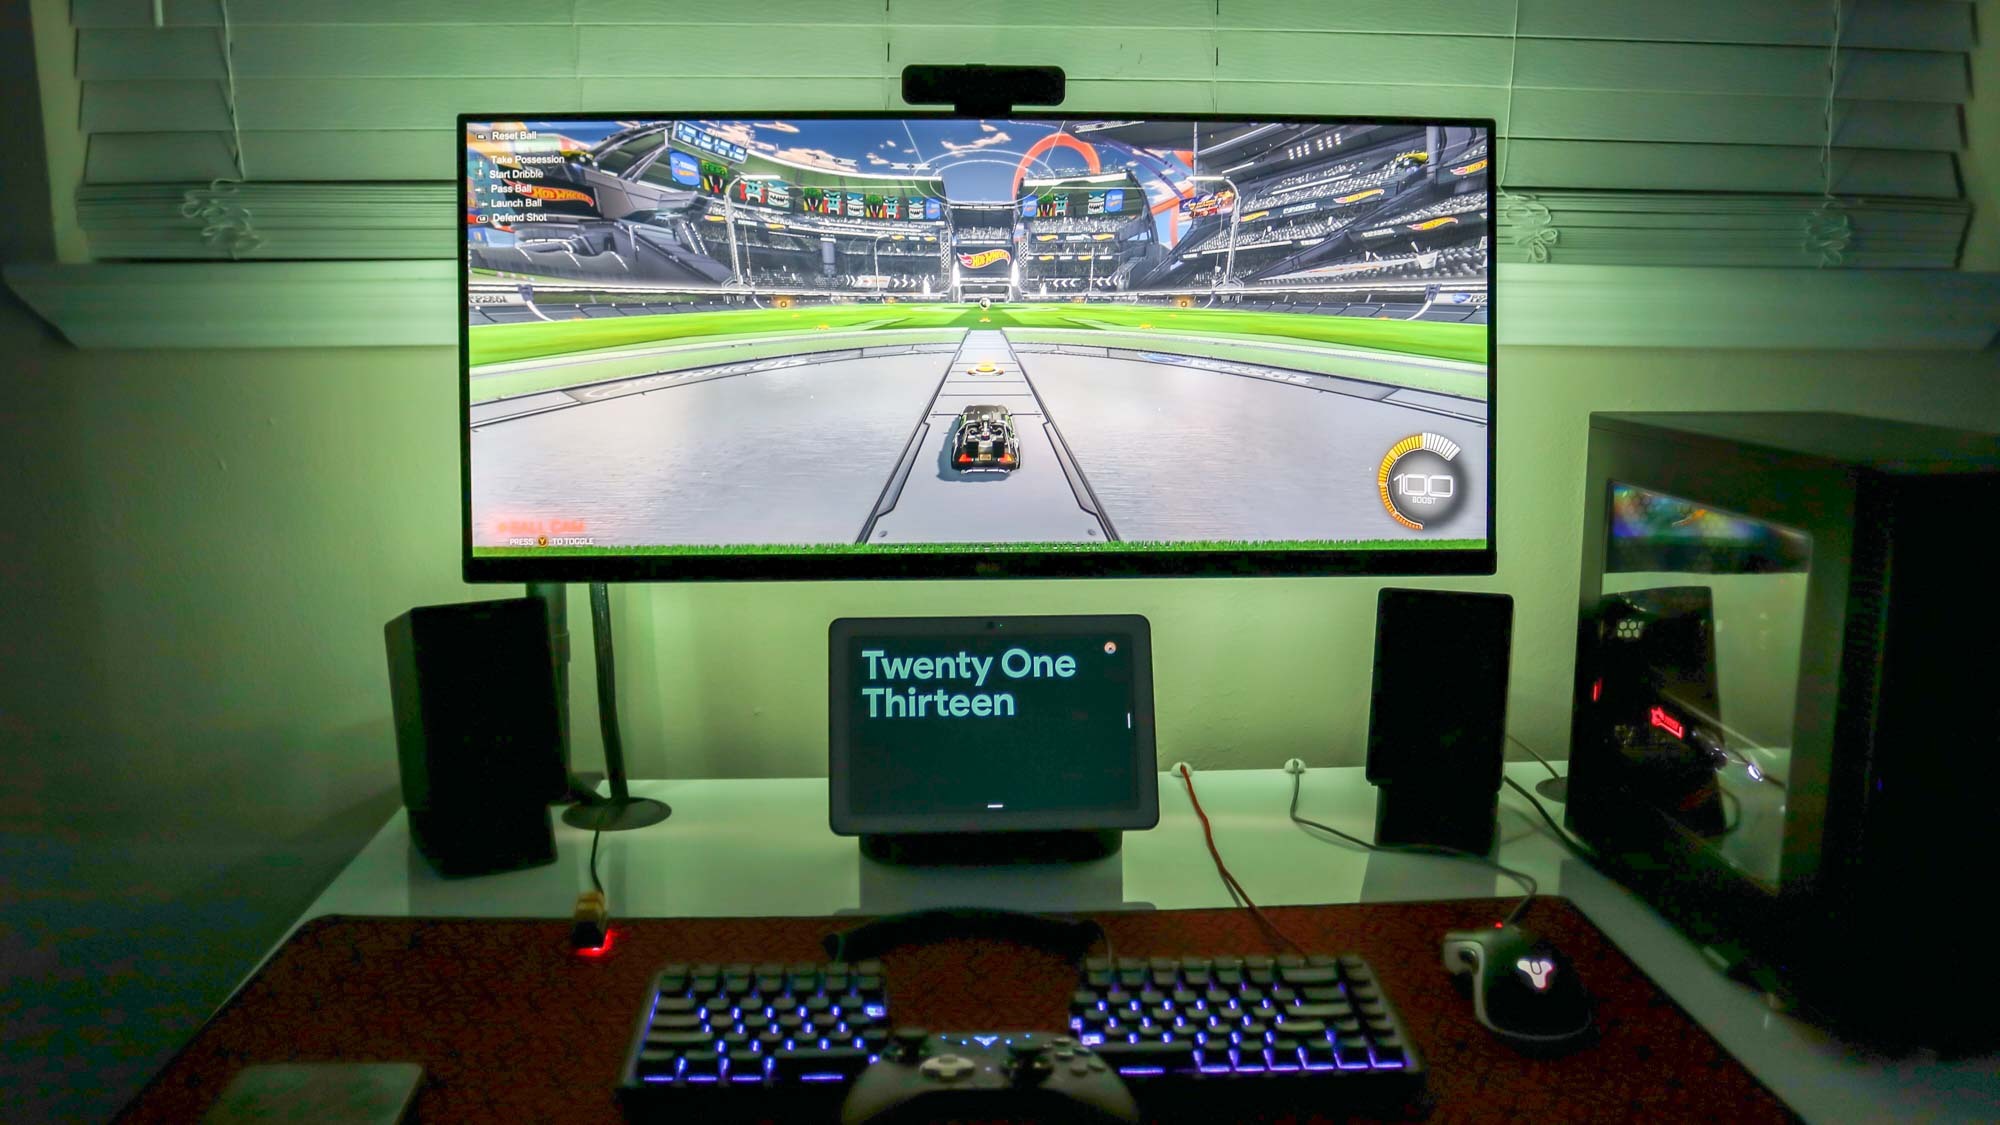
There you have it. You now know how to create an Entertainment area and get the Hue Sync desktop app up and running on your PC or Mac. When it comes to getting the most out of Hue Sync, brighter videos or games with lots of colors tend to work the best and I recommend enabling the “Use audio for effect” option as well.
Also read about how this clever $13 product just saved my Philips Hue lights.
Now that you know how to use Hue Sync, why not check out our other smart home how to guides, including nine things you never knew you could do with smart lights, how to set up a smart home routine with Google Assistant, how to create an Alexa smart home routine, how to secure your smart home and even how to sell your smart home.

Anthony Spadafora is the managing editor for security and home office furniture at Tom’s Guide where he covers everything from data breaches to password managers and the best way to cover your whole home or business with Wi-Fi. He also reviews standing desks, office chairs and other home office accessories with a penchant for building desk setups. Before joining the team, Anthony wrote for ITProPortal while living in Korea and later for TechRadar Pro after moving back to the US. Based in Houston, Texas, when he’s not writing Anthony can be found tinkering with PCs and game consoles, managing cables and upgrading his smart home.
