How to use Google Maps Immersive View
Here's how to use Google Maps' 3D exploration tool

Google Maps is one of the best navigation apps out there, offering tools and features designed to help you explore the world. Street View and Live View have been particularly useful, especially if you’re heading to an unfamiliar city, but the brand new Immersive View takes that concept to a whole other level.
The idea behind Immersive View is that Google maps generates a 3D map of a particular city. That gives you a better idea of the scale and scope of the area in question, and is probably the closest thing you can get to actually being there. But this isn’t just a Google version of Apple Maps’ Flyover Mode, because it also includes the option to go inside buildings, and see 3D models of their interior.
The only downside right now is Immersive View is incredibly limited. Google has only rolled out the feature in London, LA, New York, San Francisco, Amsterdam, Dublin, Florence, Venice and Tokyo. Other cities are on the way, but for now it’ll only be useful if you want to check out those five.
But, like any new feature, Immersive View can seem intimidating if you’ve never used it before. Fortunately we’ve taken it for a spin, and are well prepared to help you learn how to use Google Maps Immersive Views. Here’s what you need to know.
How to use Google Maps Immersive View
- Open Google Maps
- Search for a city where Immersive View is available
- Tap a landmark icons, and hit the “Immersive View” card
- Explore the area
- Tap Time & weather to see into the future
- Tap a nearby location to enter businesses
- Use a scrolling gesture to explore inside those buildings
Read on to see detailed instructions for each step.
1. Open Google Maps
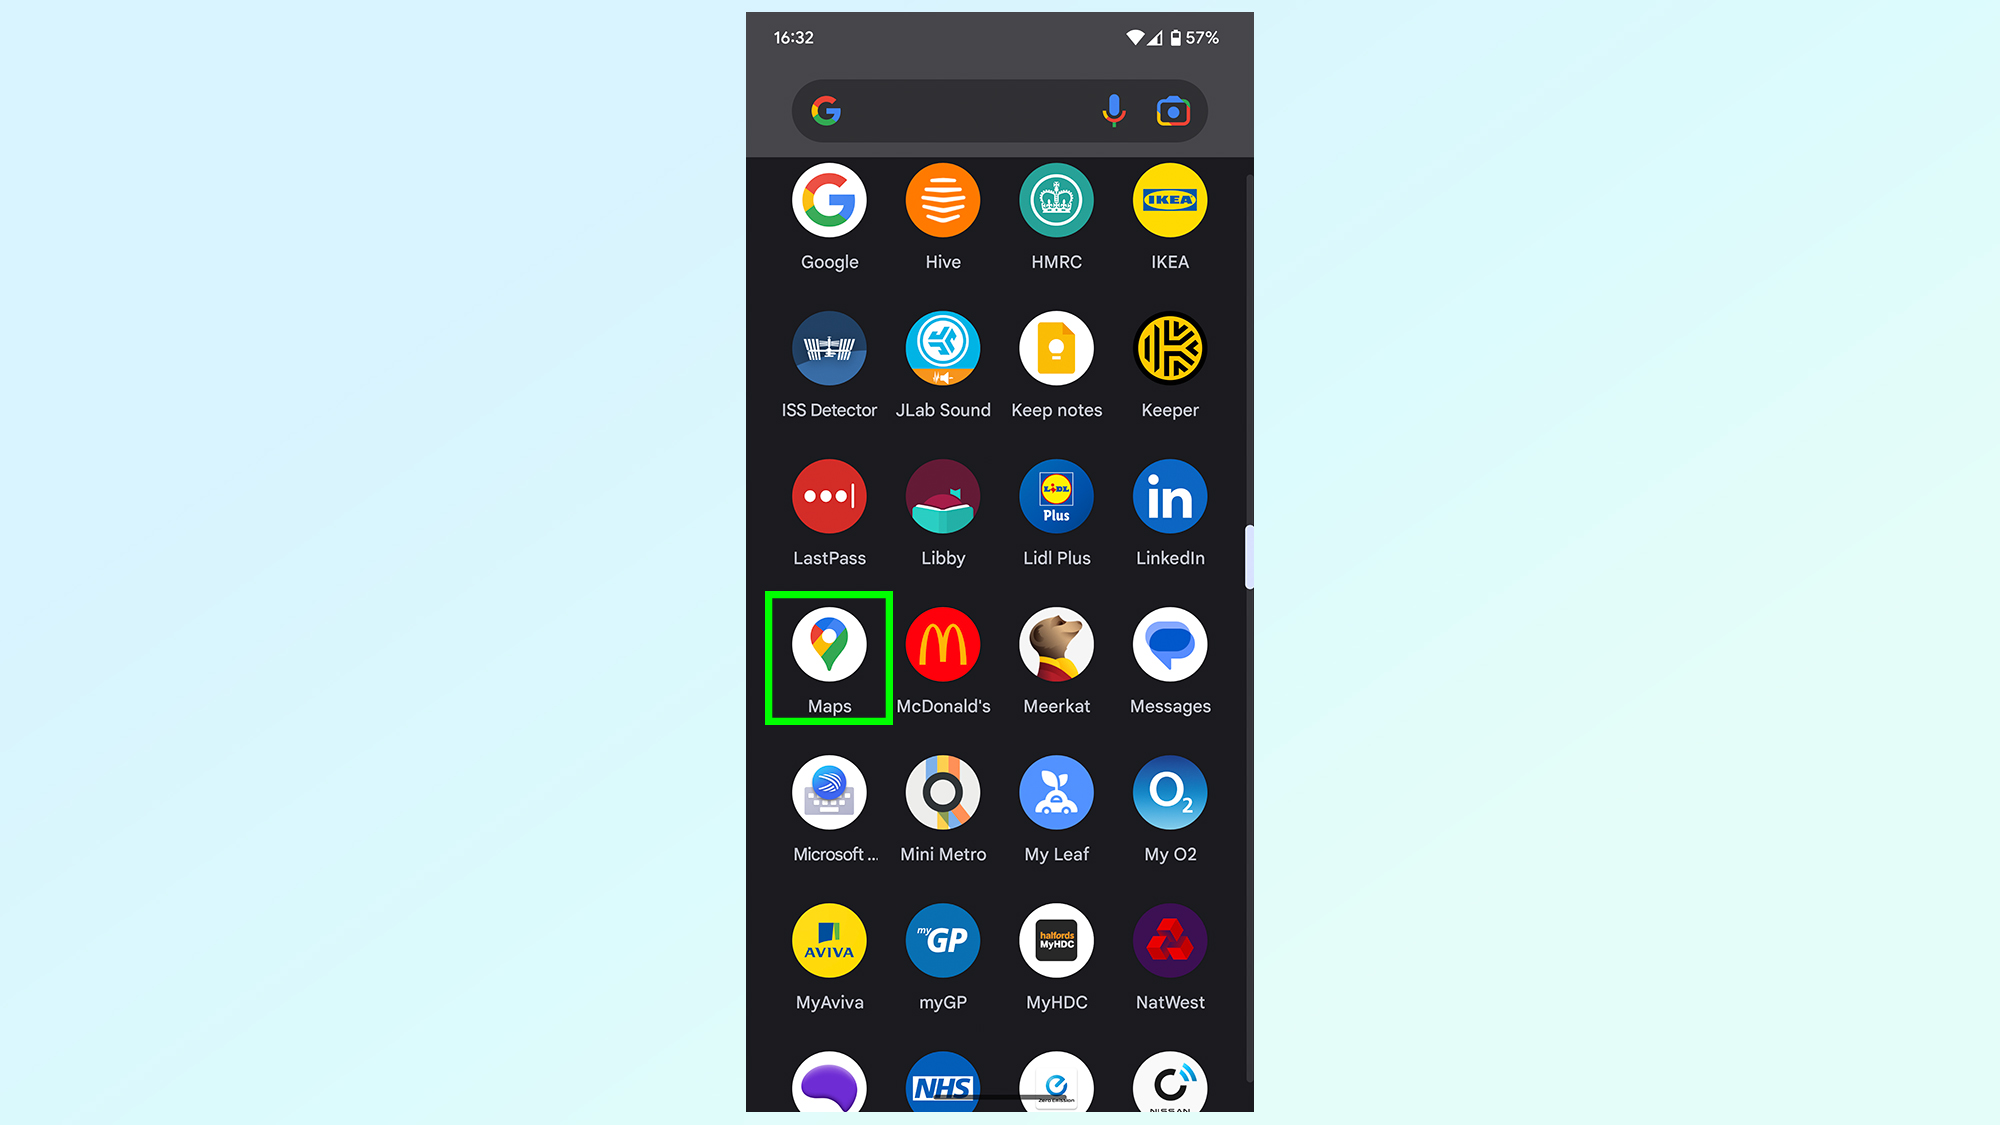
If you’re planning on using a Google Maps feature, the first, and most important thing to do is open the Google Maps app. Find the icon in your app drawer and tap it.
2. Search for a city where Immersive View is available
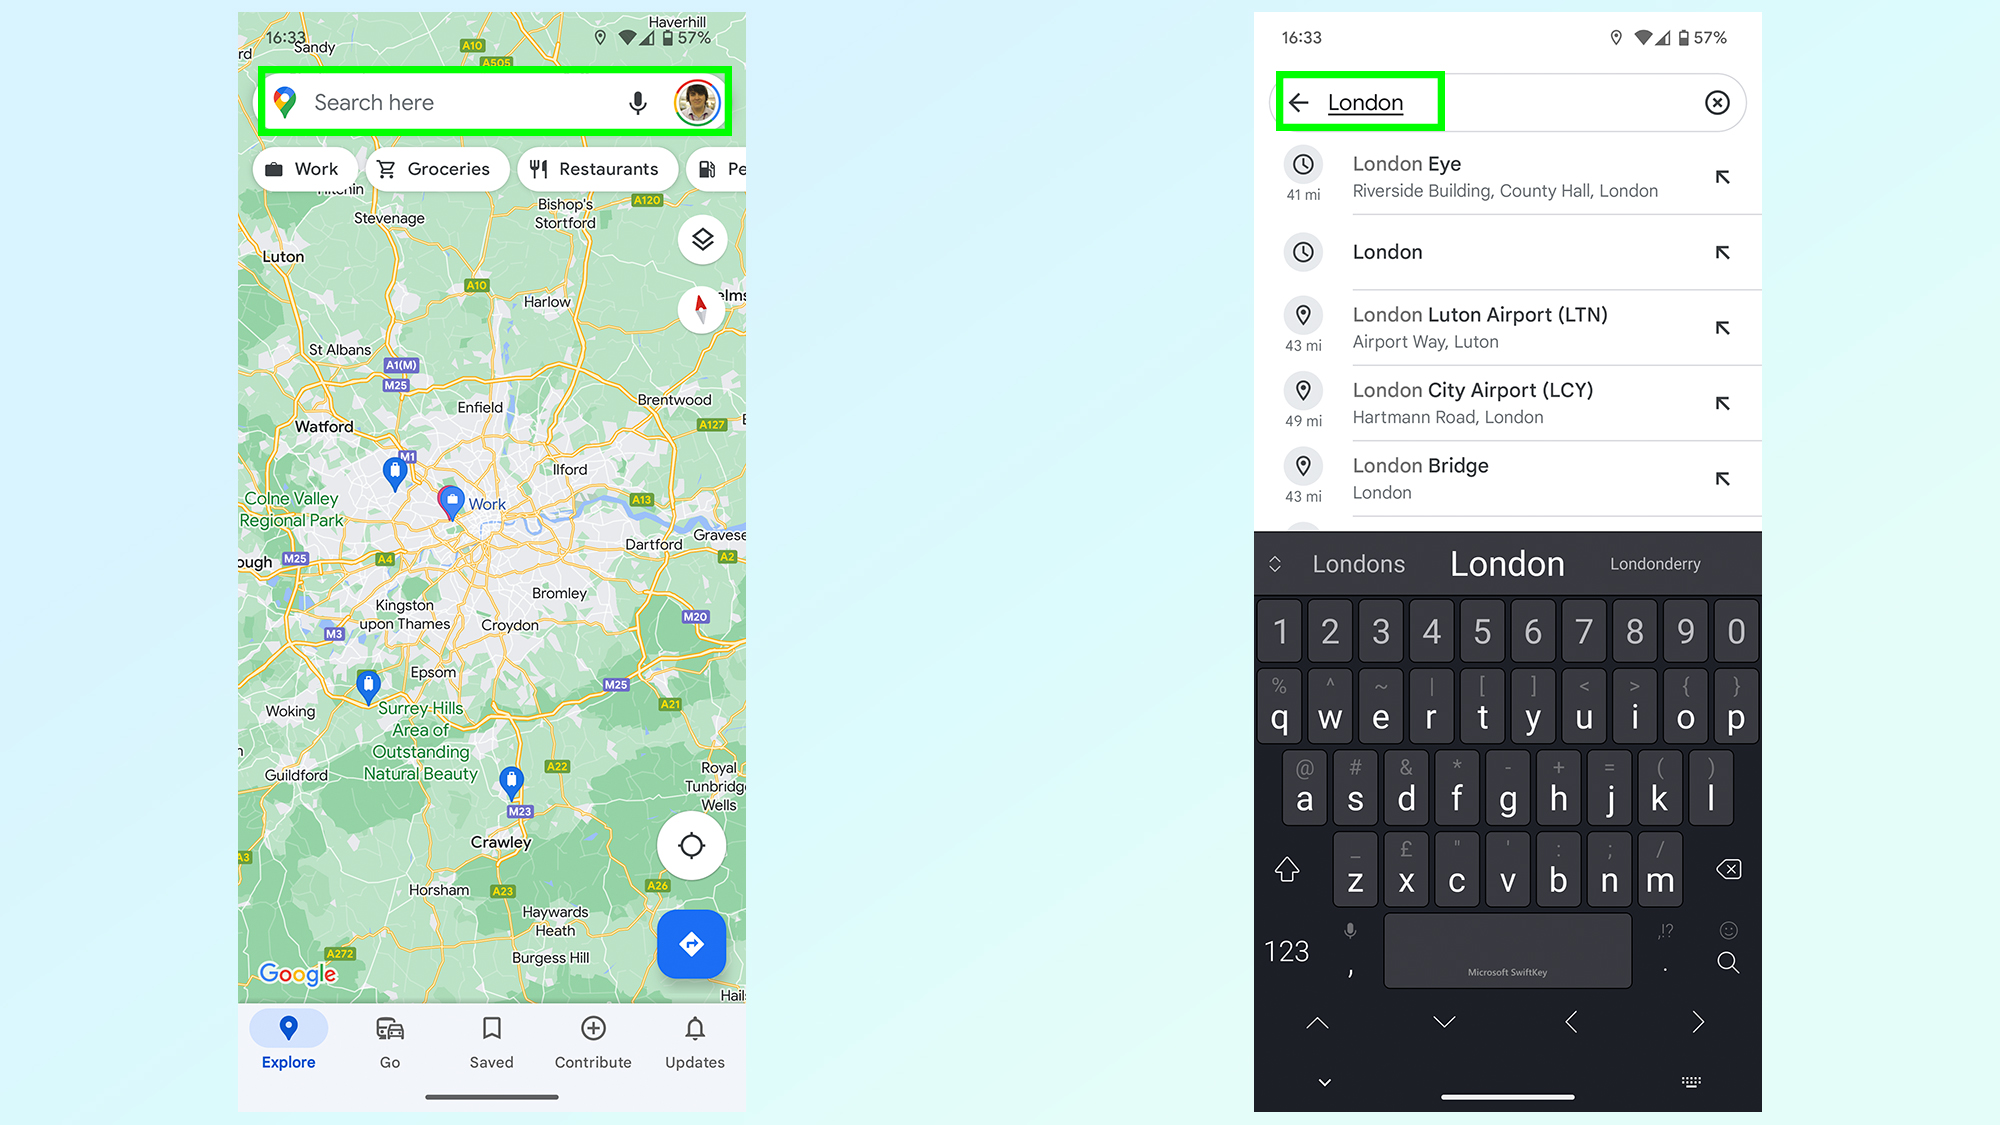
Immersive View isn’t universally available, so you’ll need to find a city that actually supports the feature before you can continue. The good news is you don’t have to physically be there, and can simply enter the city name into the search bar. In our case we’ve used London.
Immersive View is also available in Tokyo, Venice, Florence, San Francisco, Amsterdam, LA and New York.
3. Tap a landmark icon and hit the Immersive View card
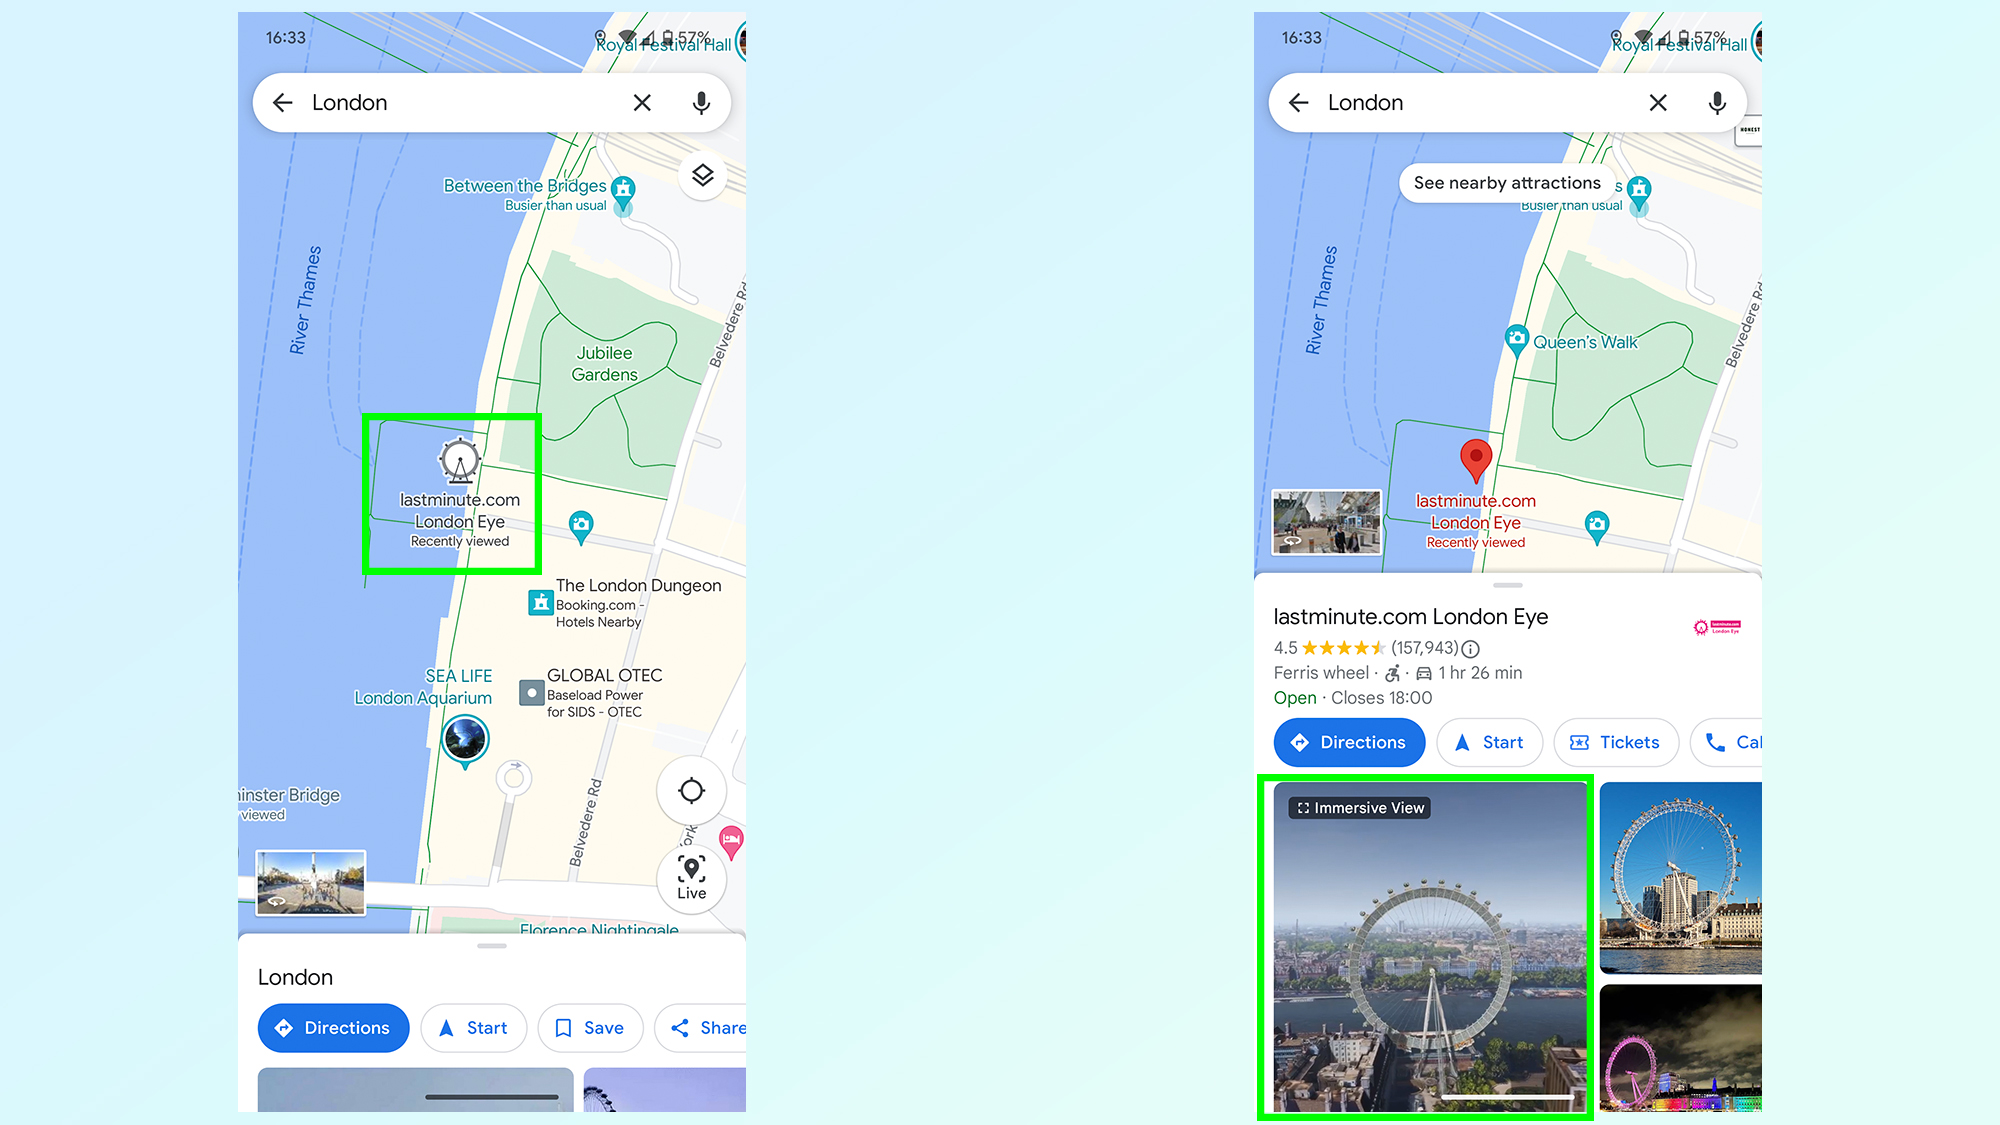
Looking at the map of an area and you’ll see certain landmarks are portrayed using larger icons that represent the landmarks themselves. These are the spots that typically let you enter Immersive view. Tap the icon of your choice, in this case we’ve used the London Eye, and then pick the card labeled Immersive View in the pop-up menu at the bottom of the screen.
4. Explore the area
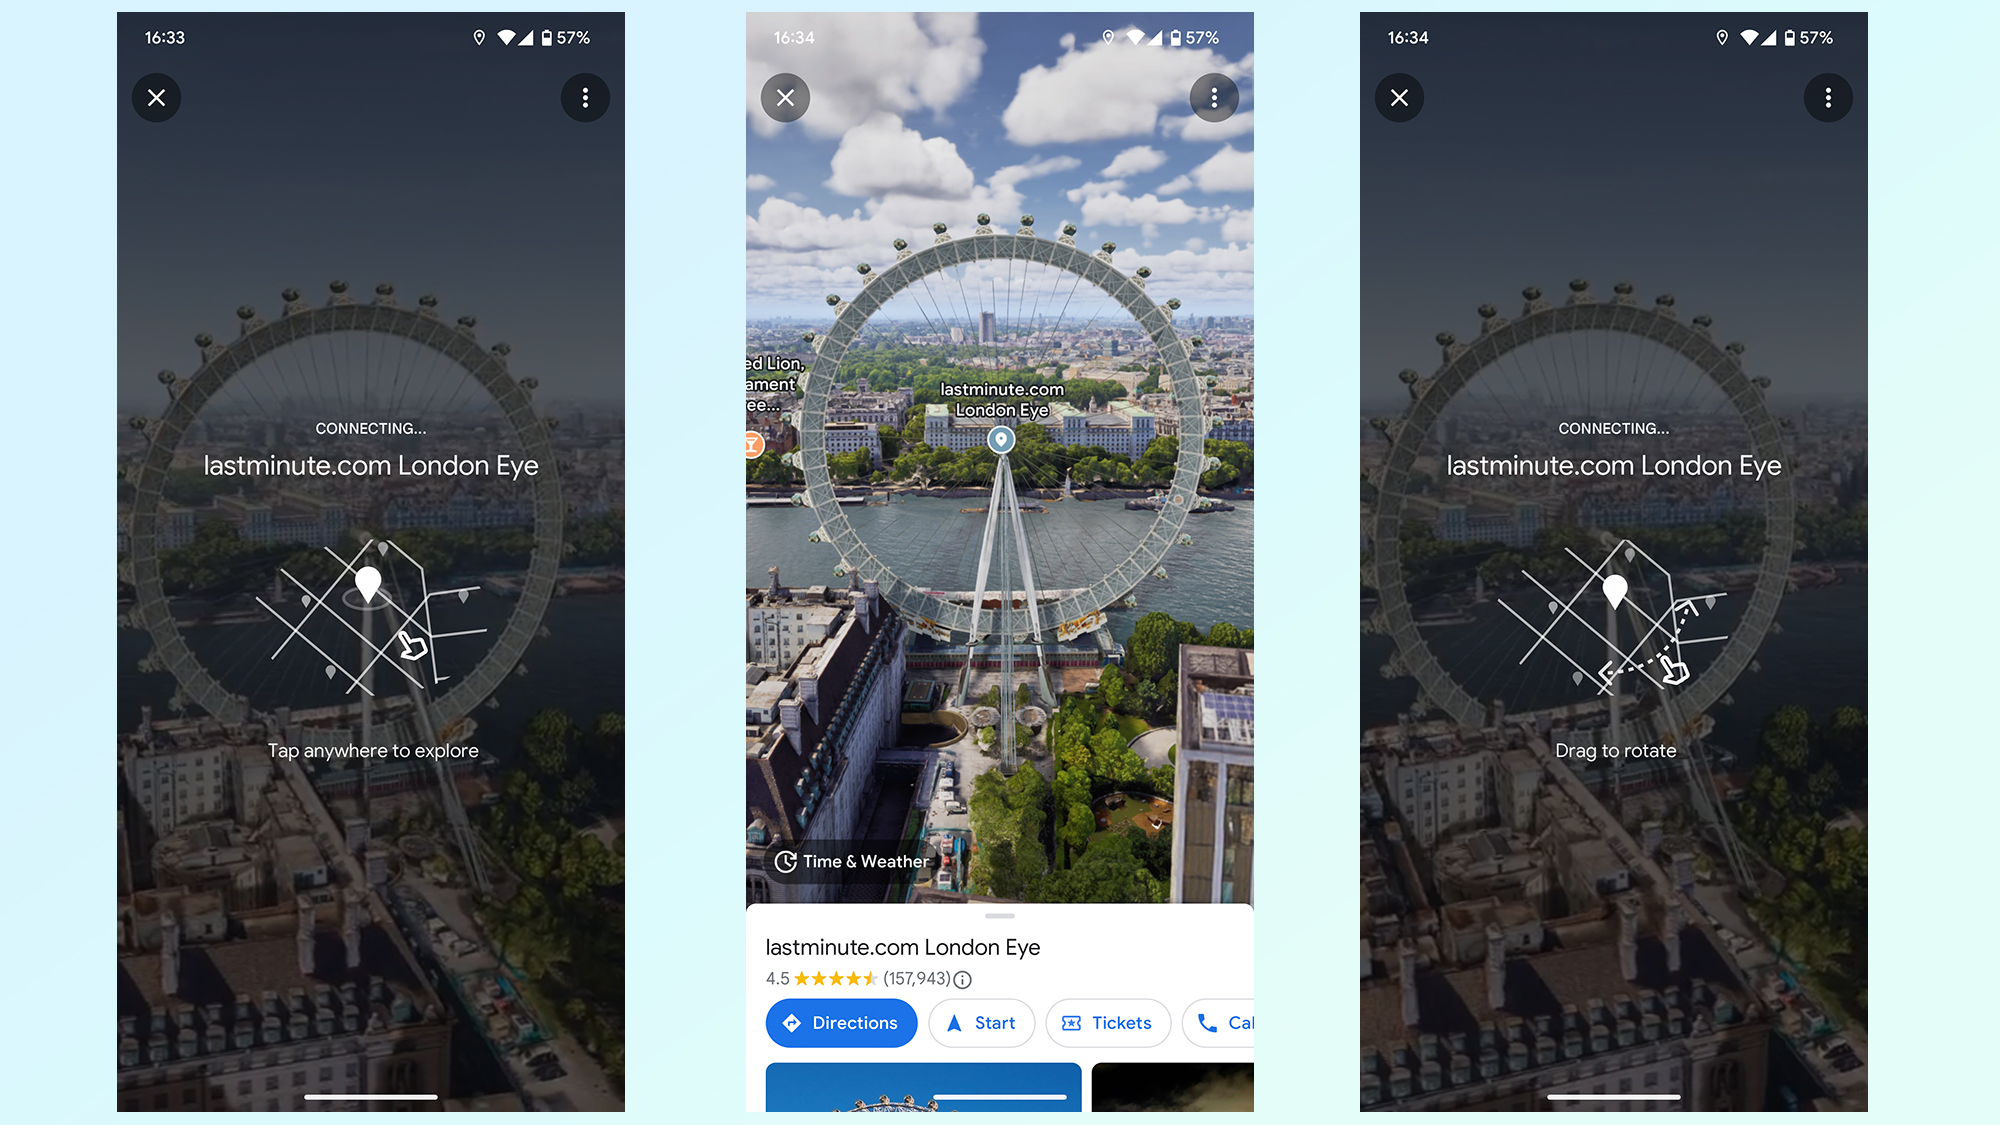
Exploring the area works in much the same way as Google Maps and Street View. swiping left and right spins you around the chosen icon or position, while swiping up and down raises and lowers your perspective. Naturally pinching in and out controls the zoom.
Finally if you’re looking to move to a different spot, simply tap a different point on screen. Immersive view will beam you over to that spot, letting you start anew.
5. Tap Time & weather to see into the future
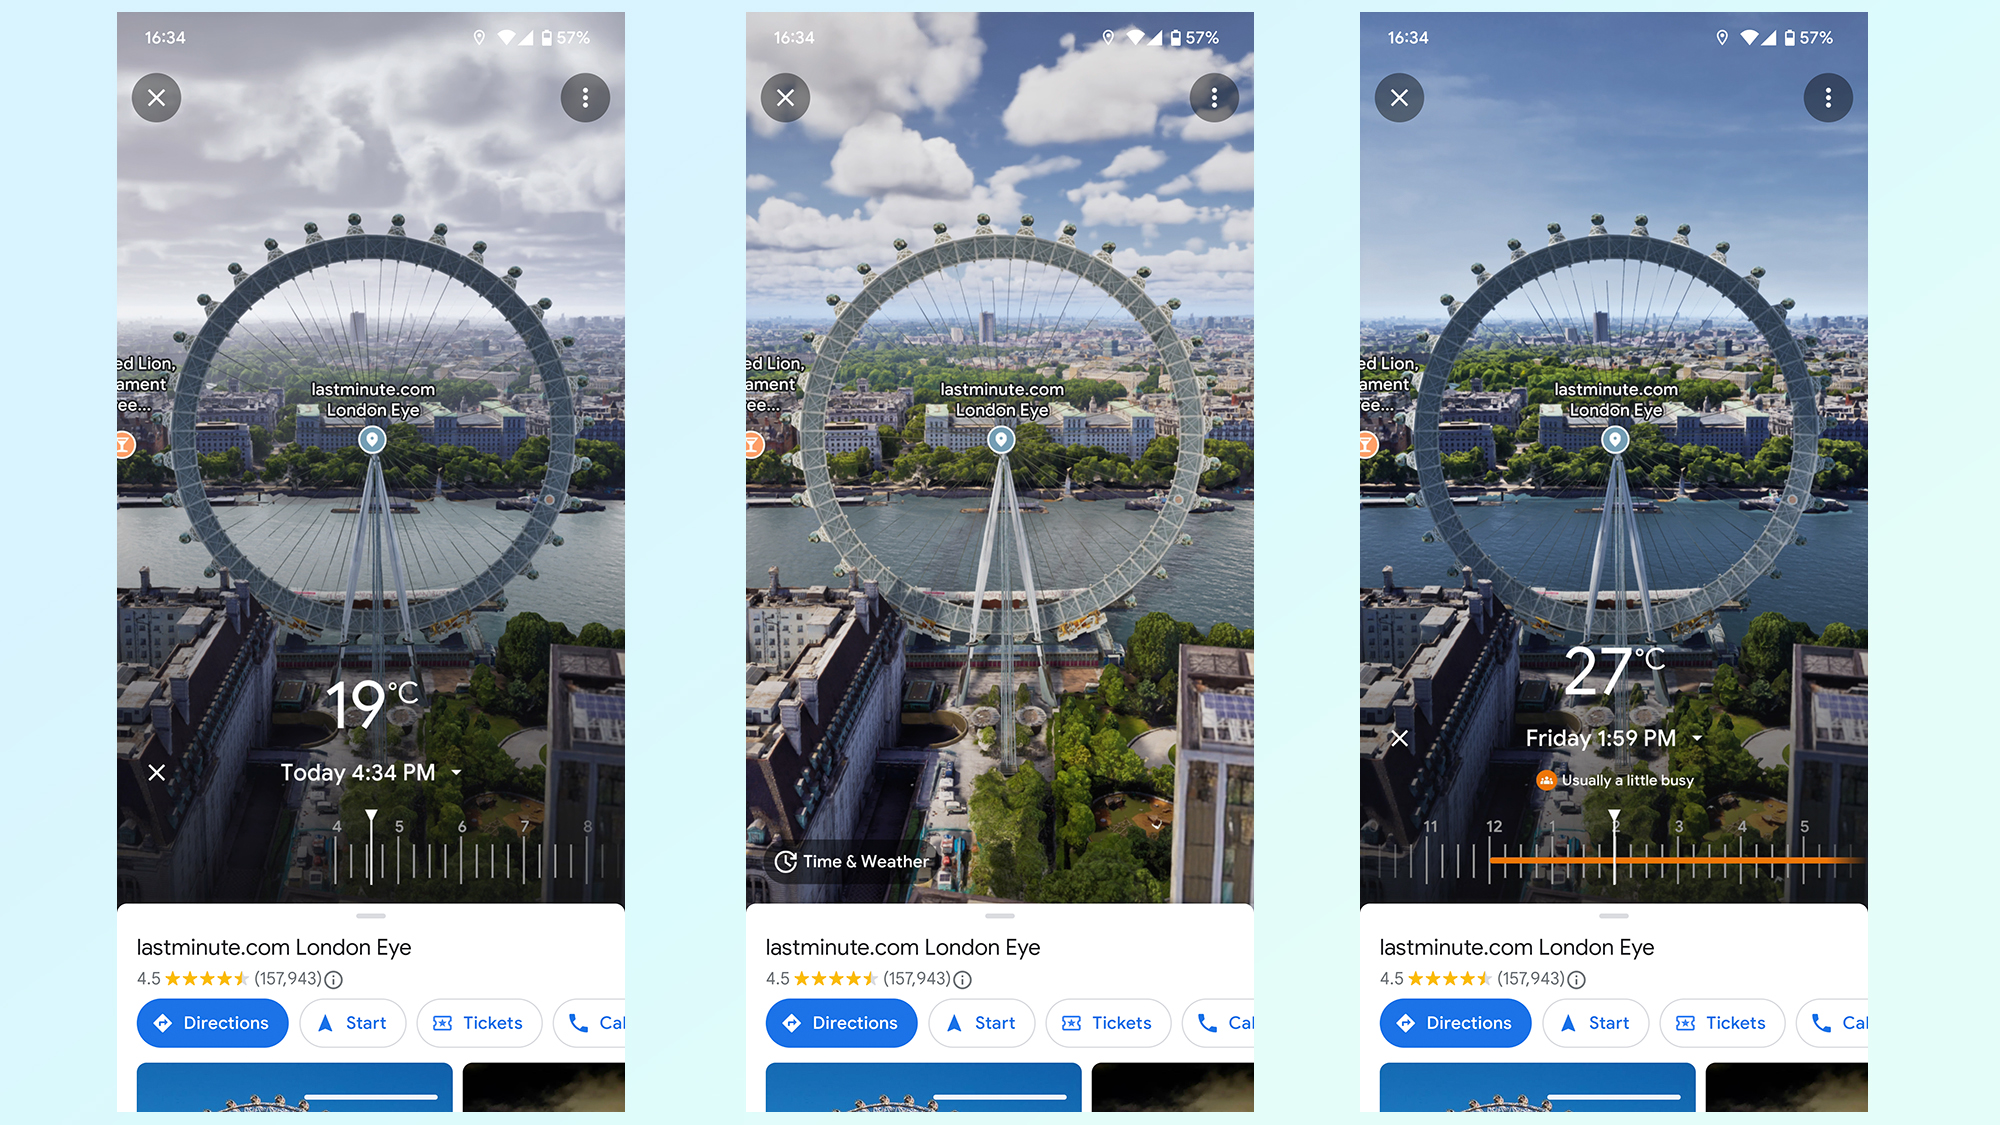
If you want to see what a location looks like at different times of day, or in whatever weather is forecast the next few days, tap the Time & Weather icon. Scrolling along the slider at the bottom of the screen sends you further through time, while the 3D imagery changes according to the time of day.
The slider even includes crowd information, with an orange line noting when things are likely get a little busy.
6. Tap a nearby location to enter businesses
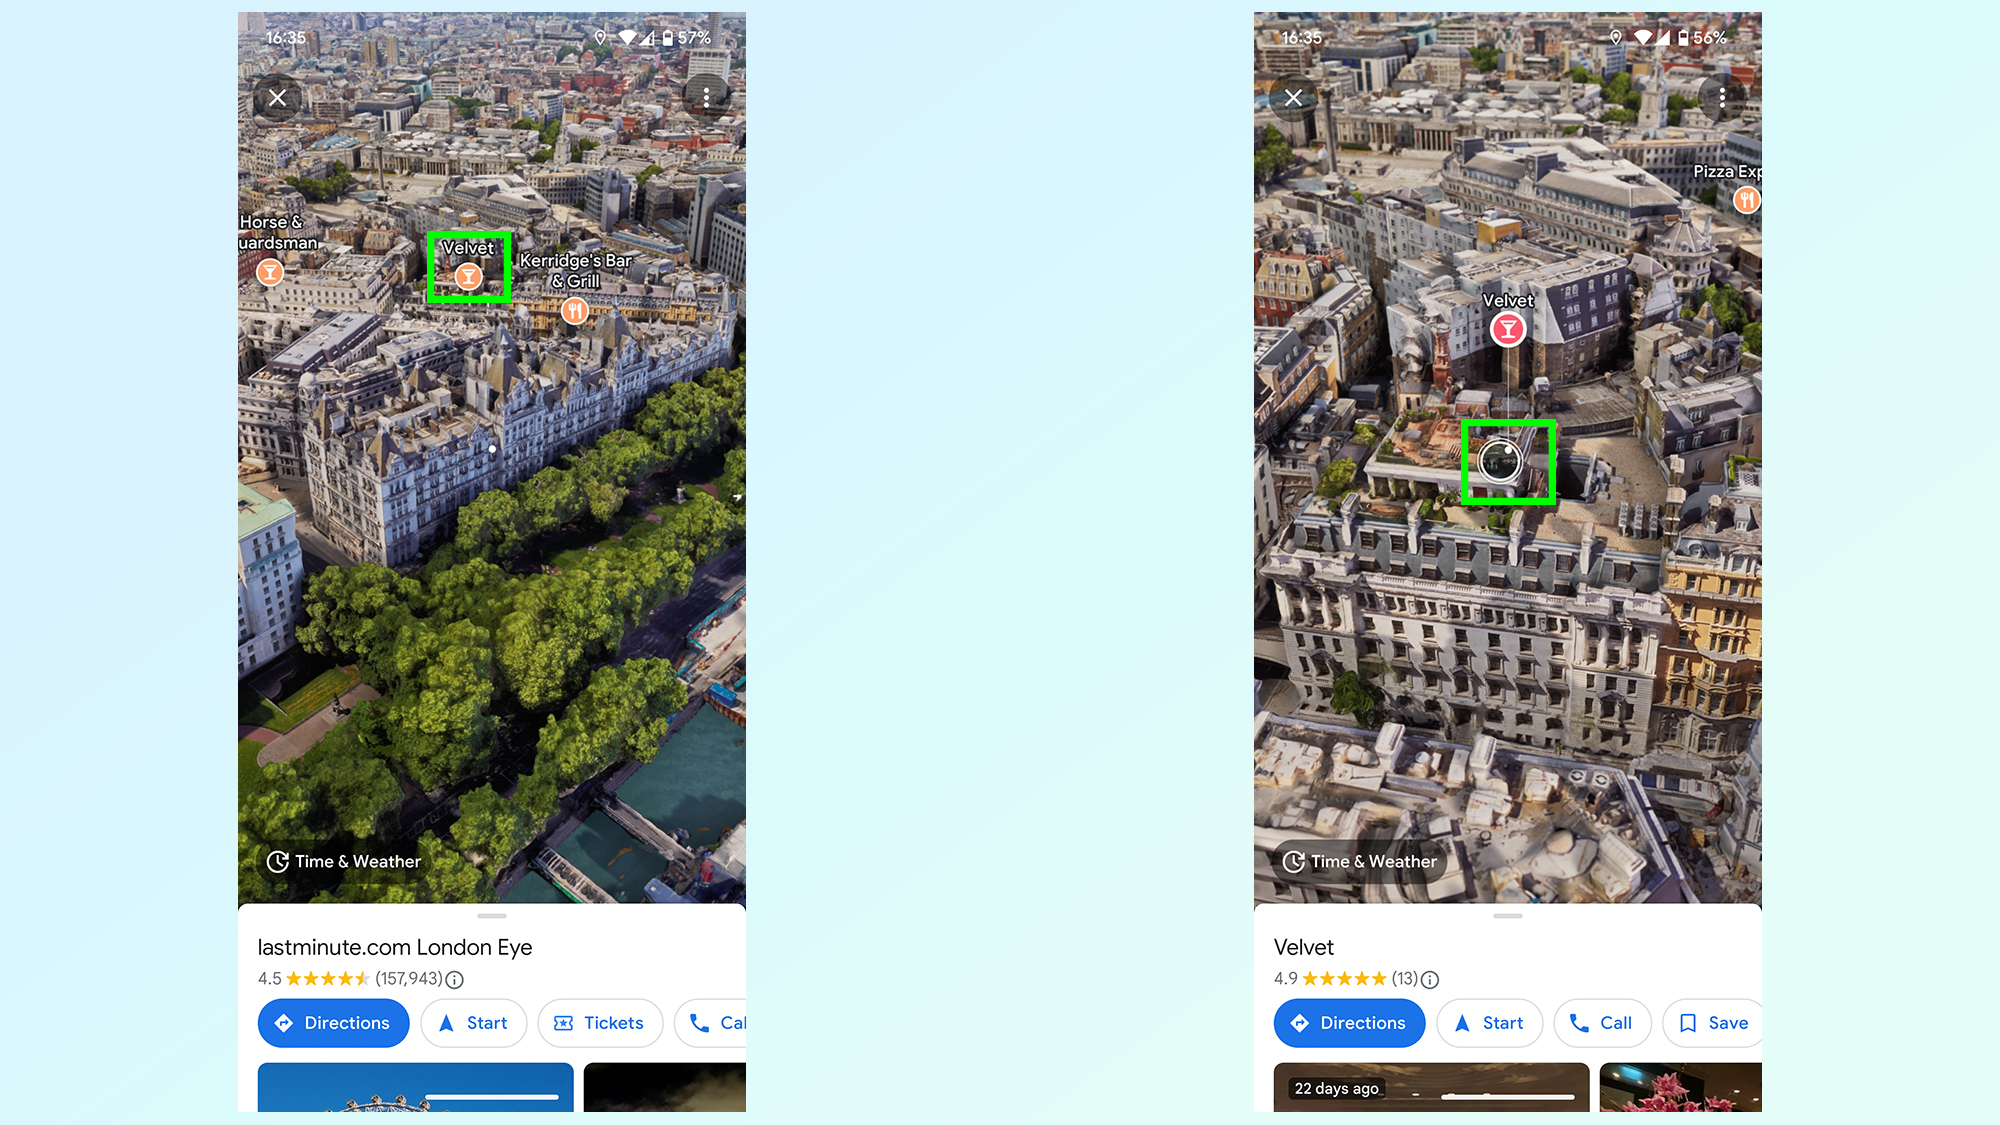
One of Immersive View’s great extras is the ability to explore inside various businesses and locations, which are visible on the map with orange bubbles. Not every business gives you the option to virtually explore its interior, but plenty do. All you have to do is tap the orange bubble and look for a darker bubble with a second white circle around it. Tap this and you’ll be beamed inside.
7. Use the joystick to explore inside those buildings
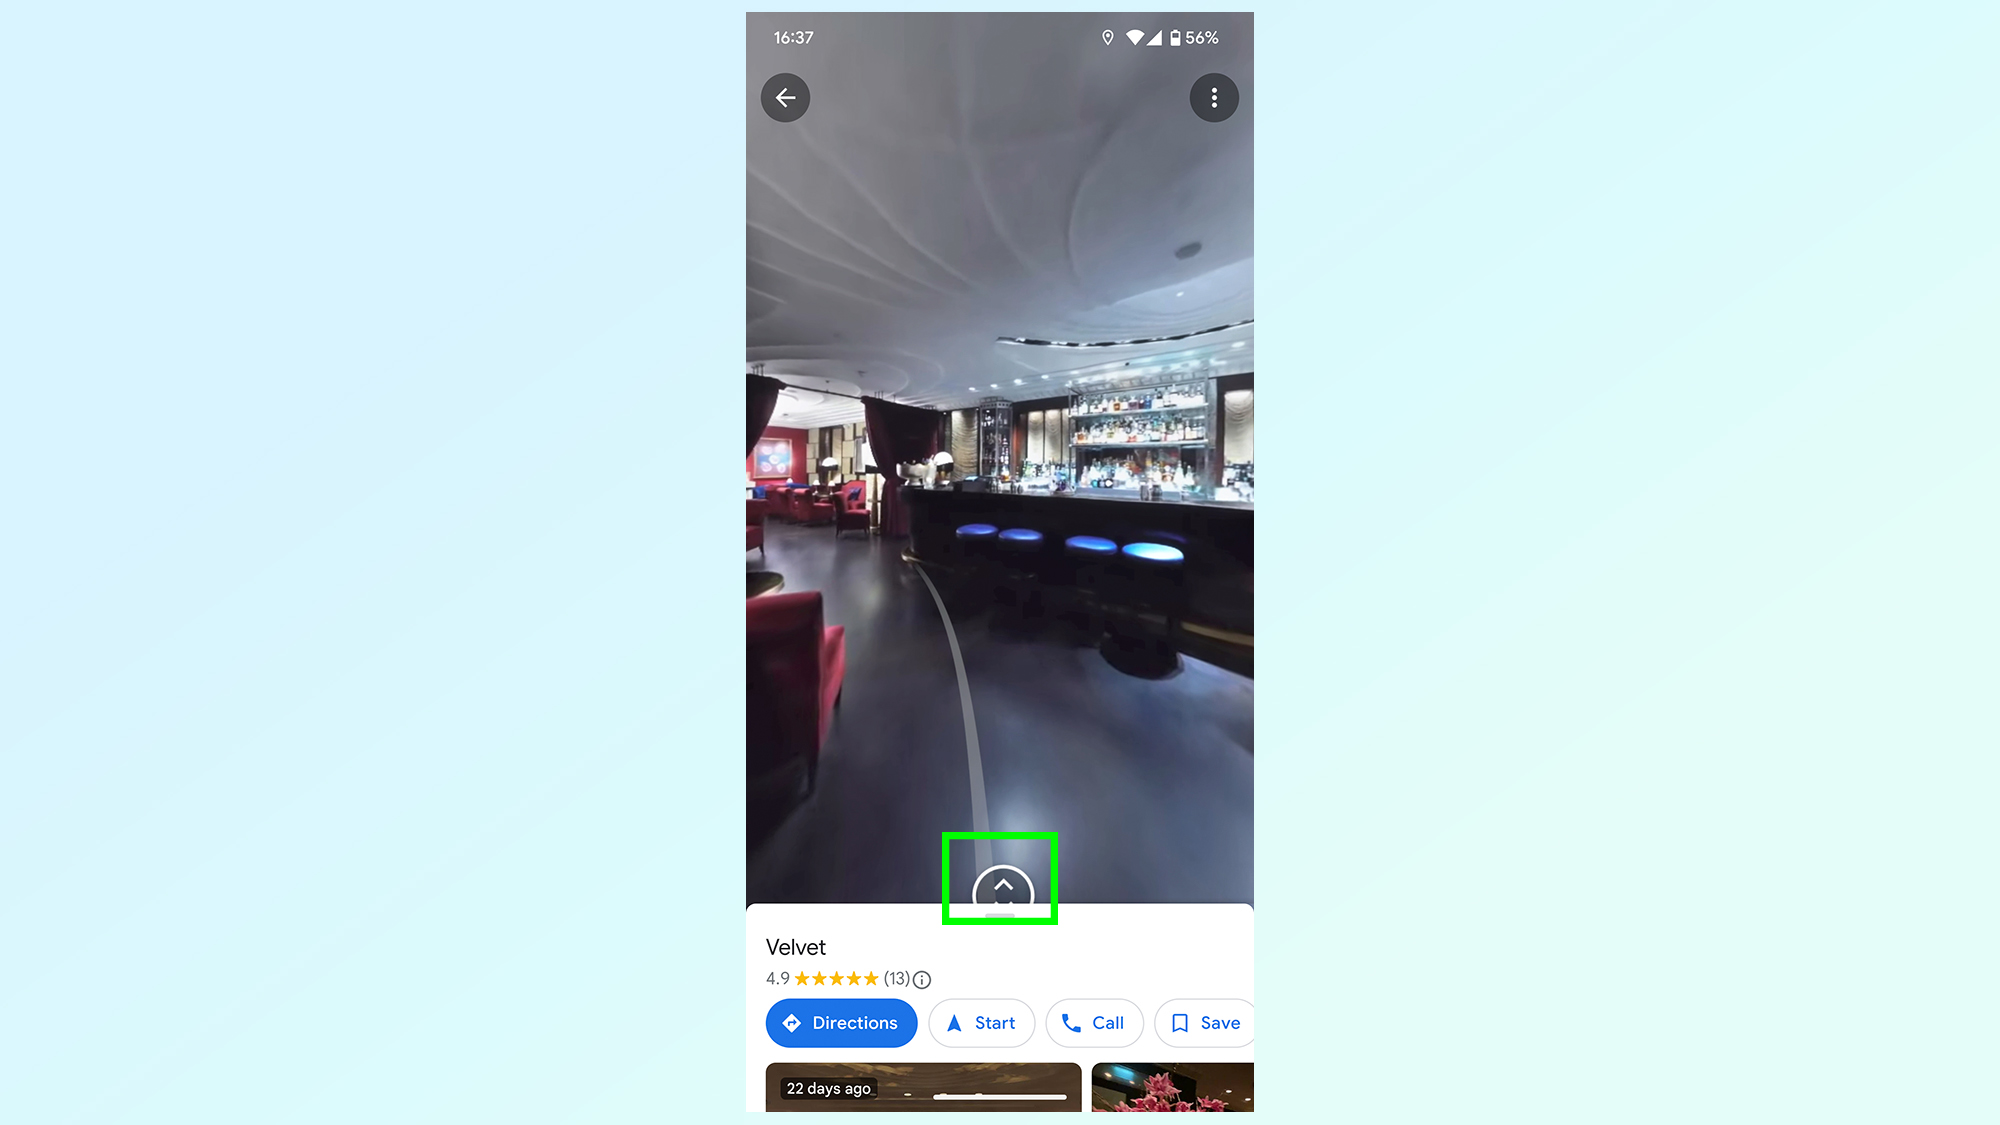
Once inside you’ll be sent on an automatic tour around the building, though this is a little fast. If you’d rather take things at a more leisurely pace, use the joystick at the bottom of the screen — it’s a circle with two arrows inside it. Pull it up sends you moving forward, and the higher you pull it the faster you’ll move.
Not moving the joystick at all keeps you completely still, letting you scroll around the screen, as you were outside, to get a good look at everything that’s going on.
Looking for more Google Maps tips and tricks? Be sure to check out our guides on how to use Google Maps Live View, how to download offline Google Maps, how to share location on Google Maps and how to see traffic info in Google Maps.
More from Tom's Guide
- How to create and open zip files on iPhone
- How to add non-Steam games to Steam
- How to delete a Twitter account
Sign up to get the BEST of Tom's Guide direct to your inbox.
Get instant access to breaking news, the hottest reviews, great deals and helpful tips.

Tom is the Tom's Guide's UK Phones Editor, tackling the latest smartphone news and vocally expressing his opinions about upcoming features or changes. It's long way from his days as editor of Gizmodo UK, when pretty much everything was on the table. He’s usually found trying to squeeze another giant Lego set onto the shelf, draining very large cups of coffee, or complaining about how terrible his Smart TV is.
