iOS 17 Safari makes private browsing more secure — here's how
You can use Face ID to lock private browsing tabs in Safari
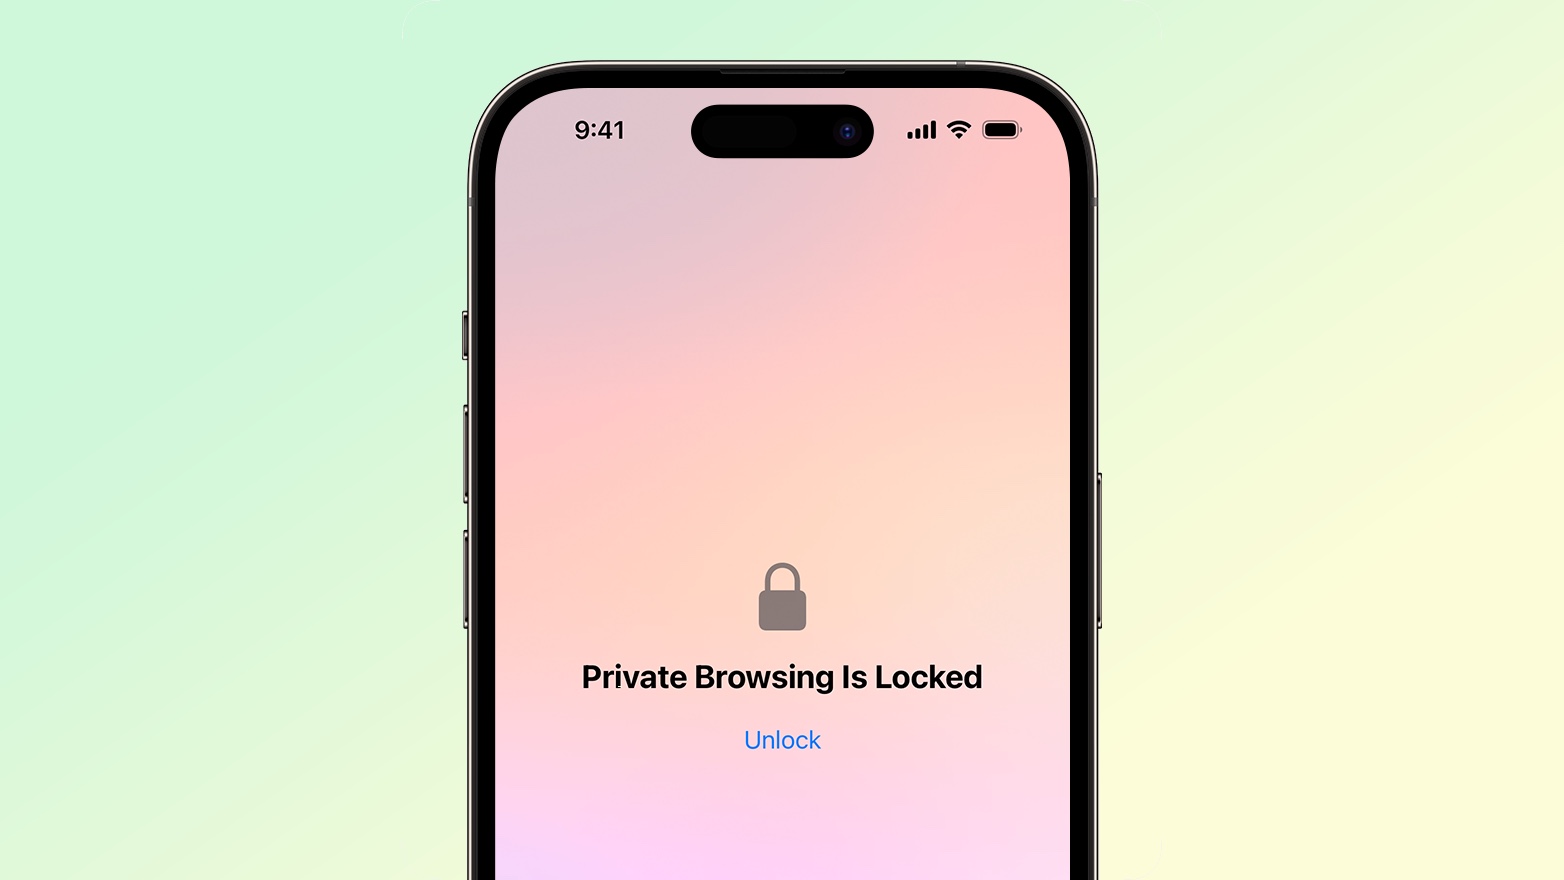
The private browsing feature in iOS 17 Safari gets an extra layer of privacy, as the your private browsing tabs can now lock when you're not using the feature. But to make sure prying passersby don't see your browsing activity, you've first go to turn on locked private browsing in iOS 17.
When you turn on locked private browsing, you're setting things up so that your open tabs can only be unlocked with Face ID, Touch ID or your passcode. The advantage of having that safeguard in place should be clear — no one will be able to see your private browsing tabs except for you. That way, you can keep those tabs open when you need to move on to other things, secure in the knowledge that whatever sites you've visited in Safari will remain private.
Here's how to turn on locked private browsing in iOS 17, as well as as a guide to the updated interface for private browsing in mobile Safari.
How to turn on locked private browsing
1. Go to Safari settings
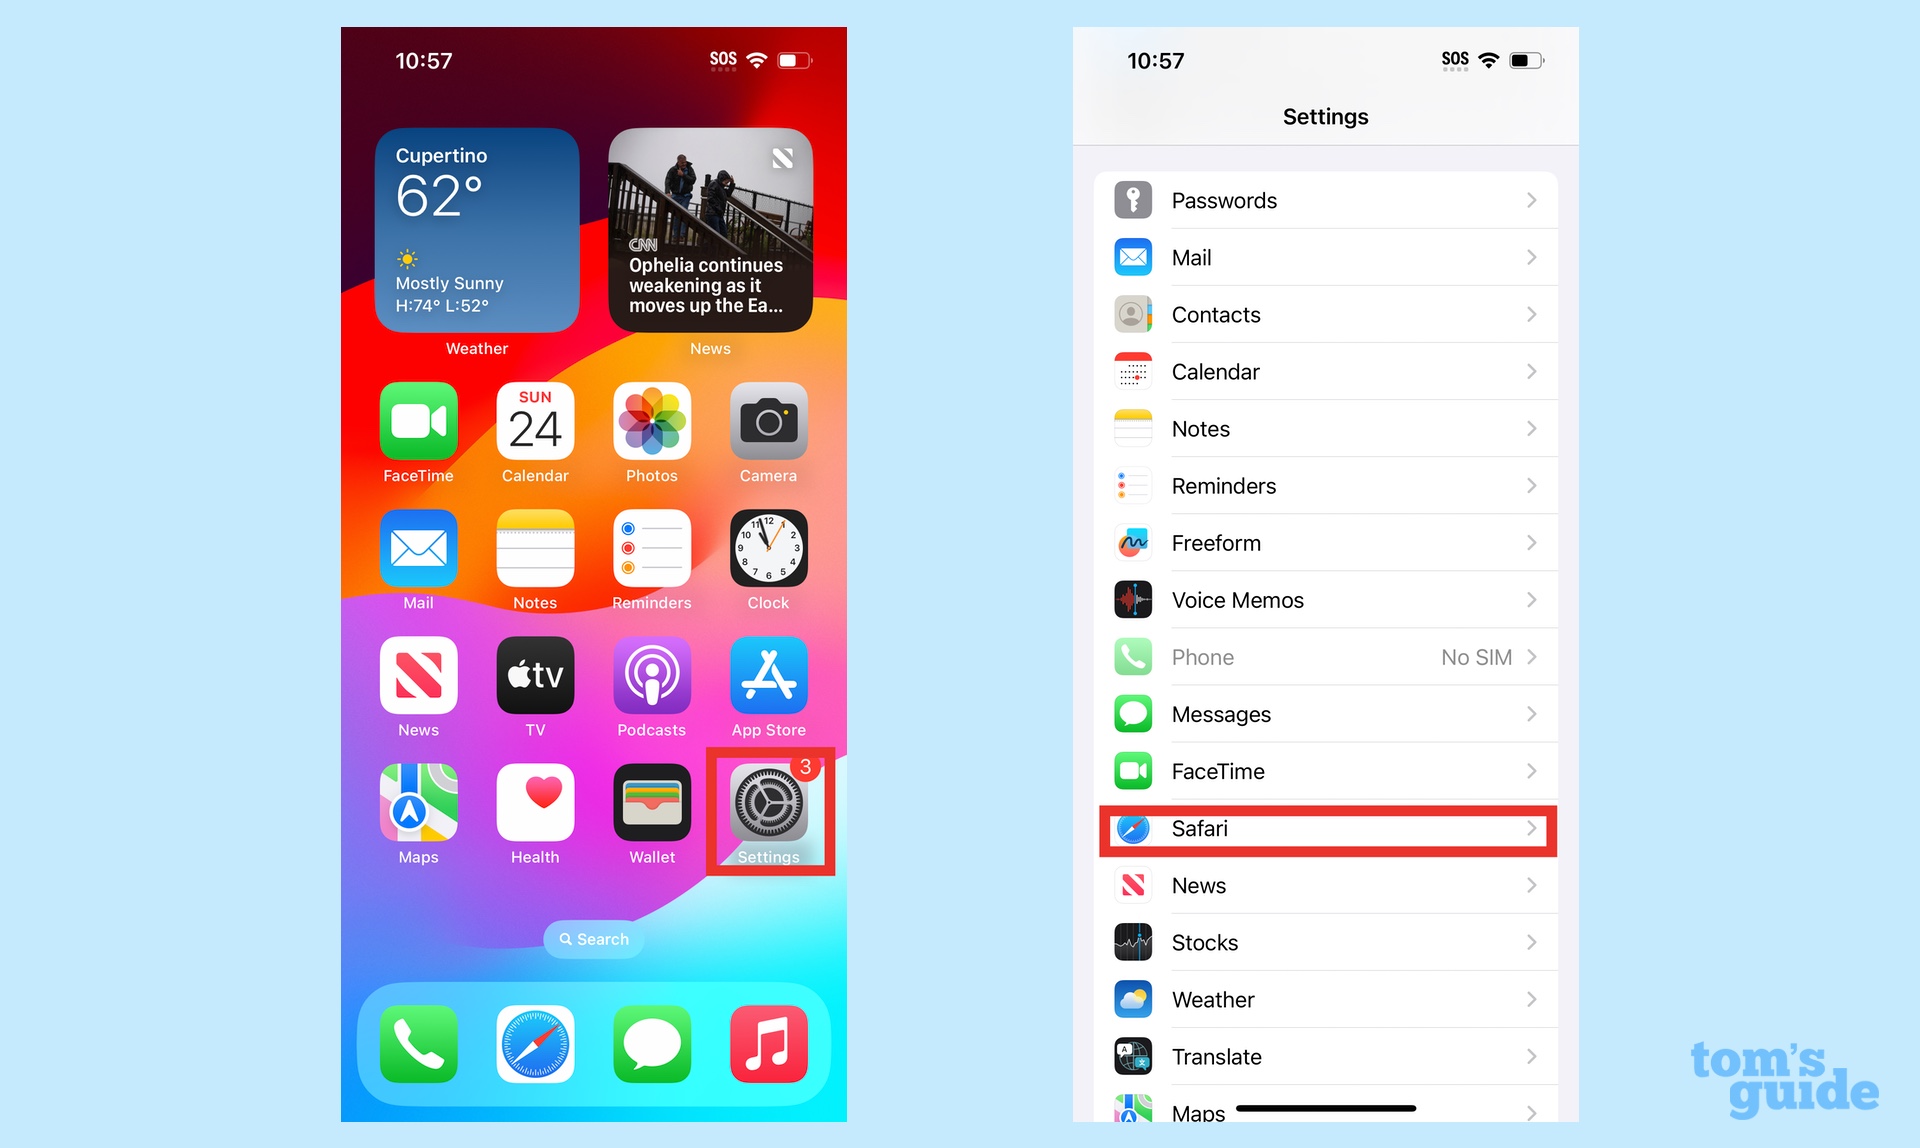
Launch the Settings app, and scroll down until you find Safari. (It's in the block of settings that contain the other built-in iOS apps.) Tap Safari.
2. Turn on locked private browsing
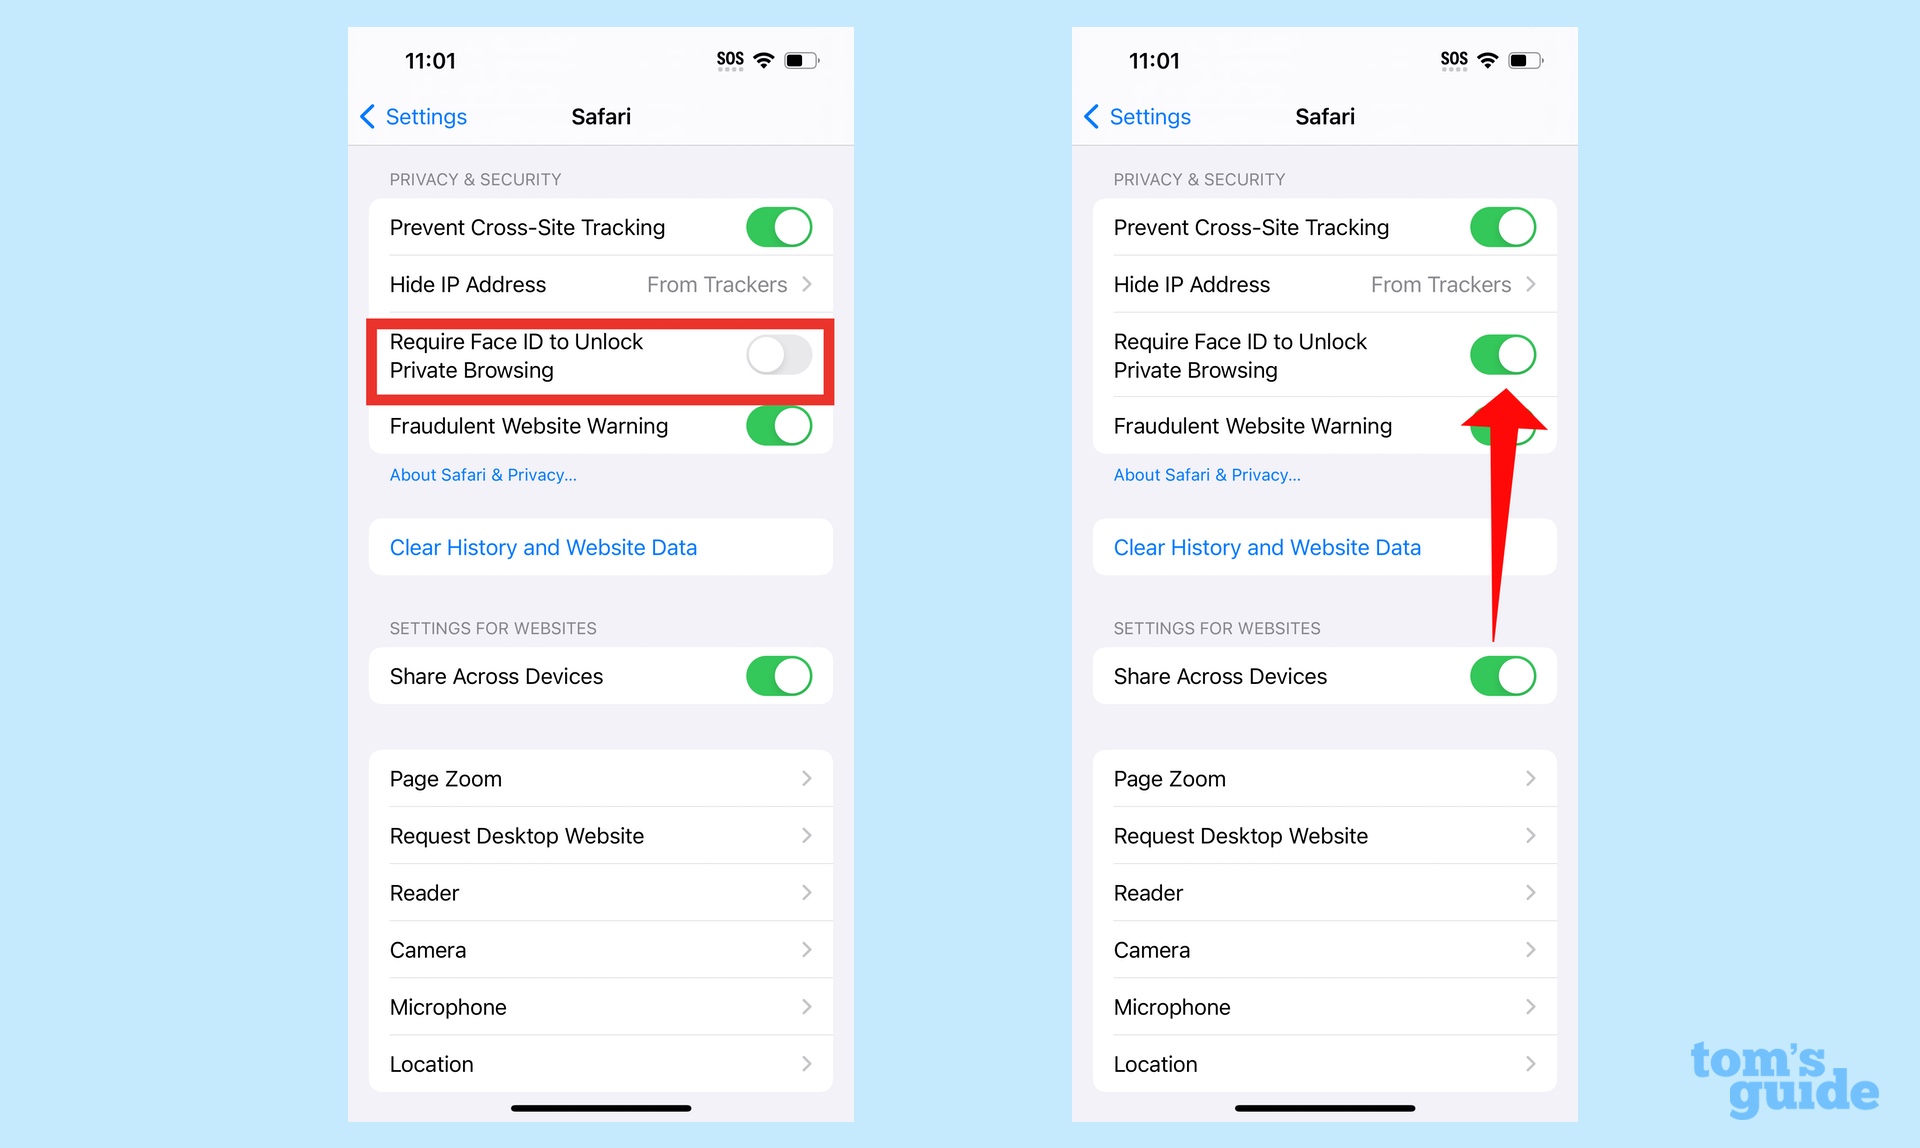
In the Safari setting screen, scroll down to the Privacy & Security section. There's an entry for Require Face ID to Unlock Private Browsing. Move the slider right to turn on the feature.
For phones without Face ID — essentially the iPhone SE, at this point — the menu item lets you require Touch ID instead.
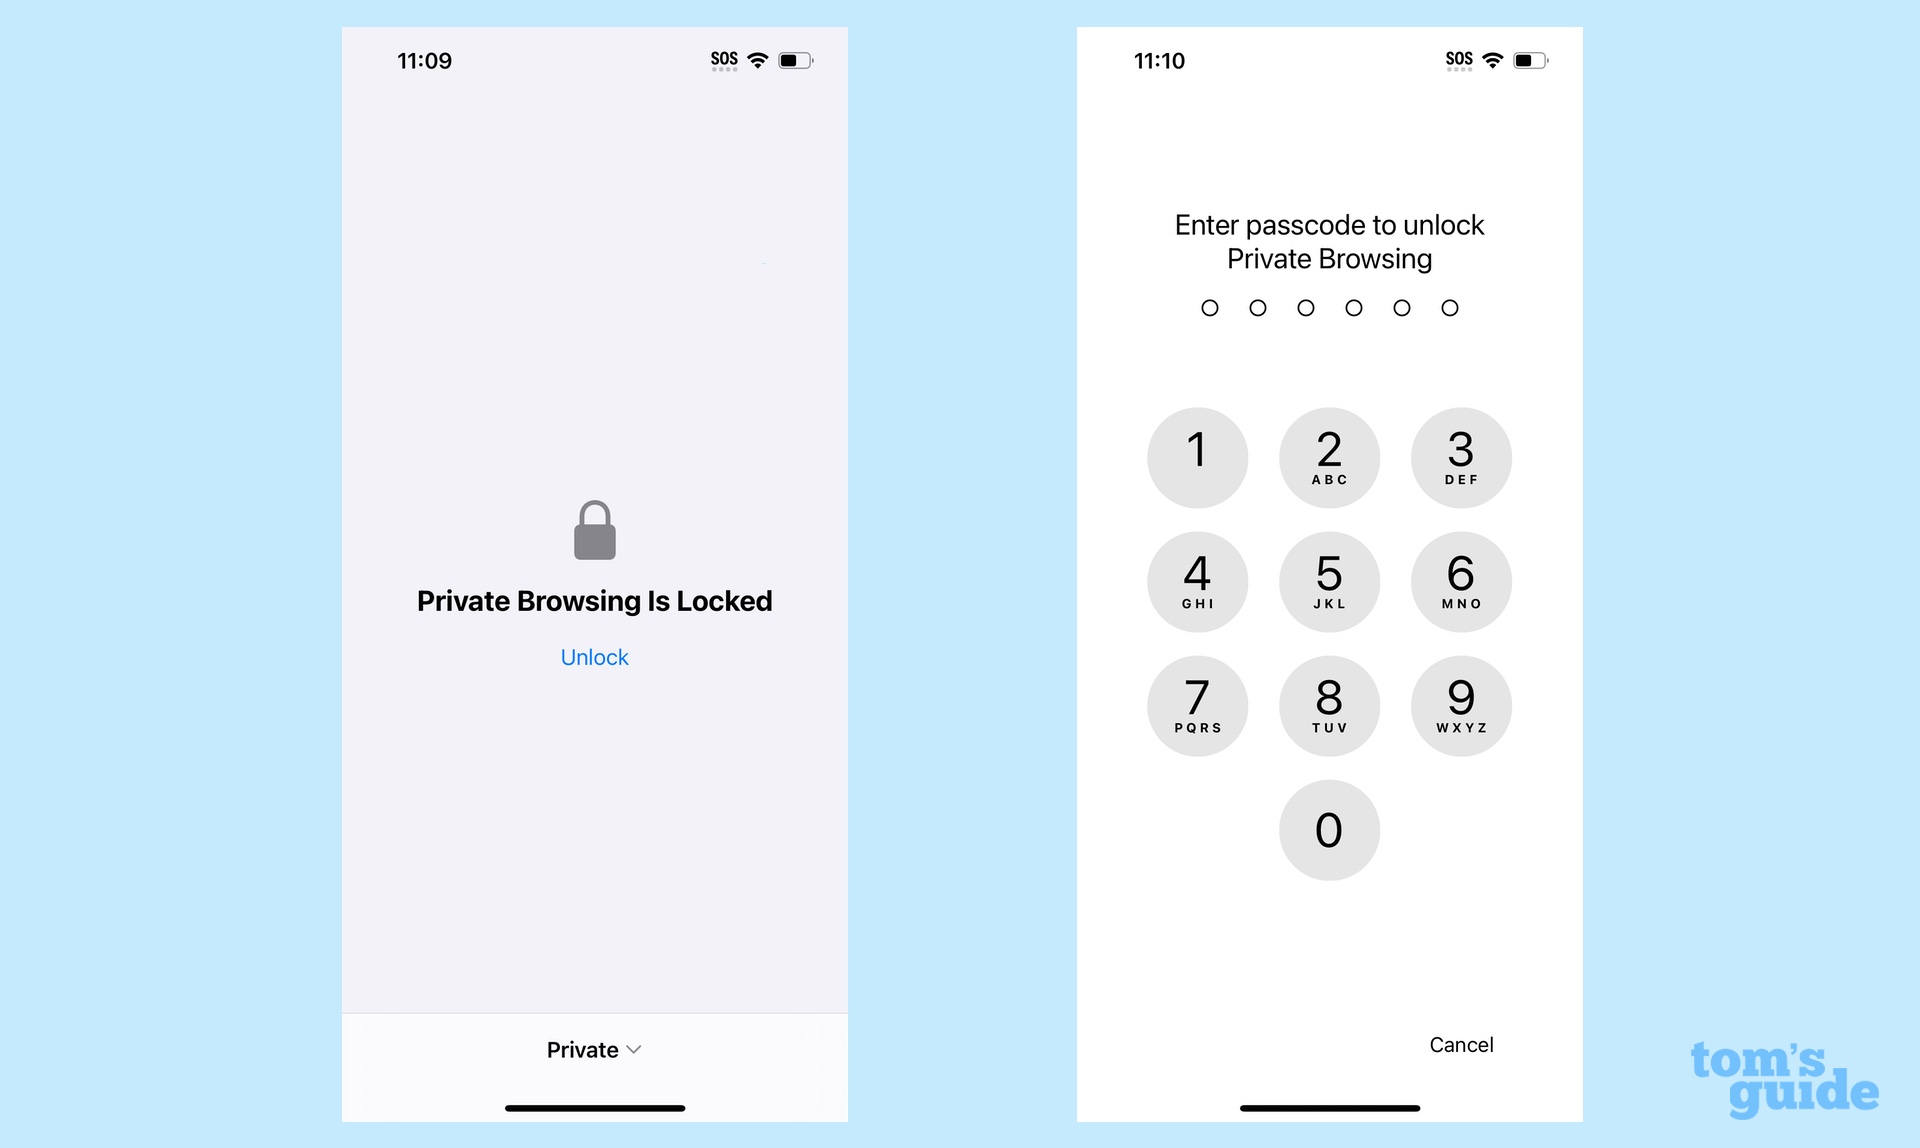
Once that slider is set, your private browsing sessions will now require you to unlock the page using Face ID (or Touch ID) before you can view any open tabs. You can also unlock pages by tapping Unlock and entering your passcode.
As a reminder, here's how to enter private browsing in Safari on your iPhone.
1. Go to the tabs page
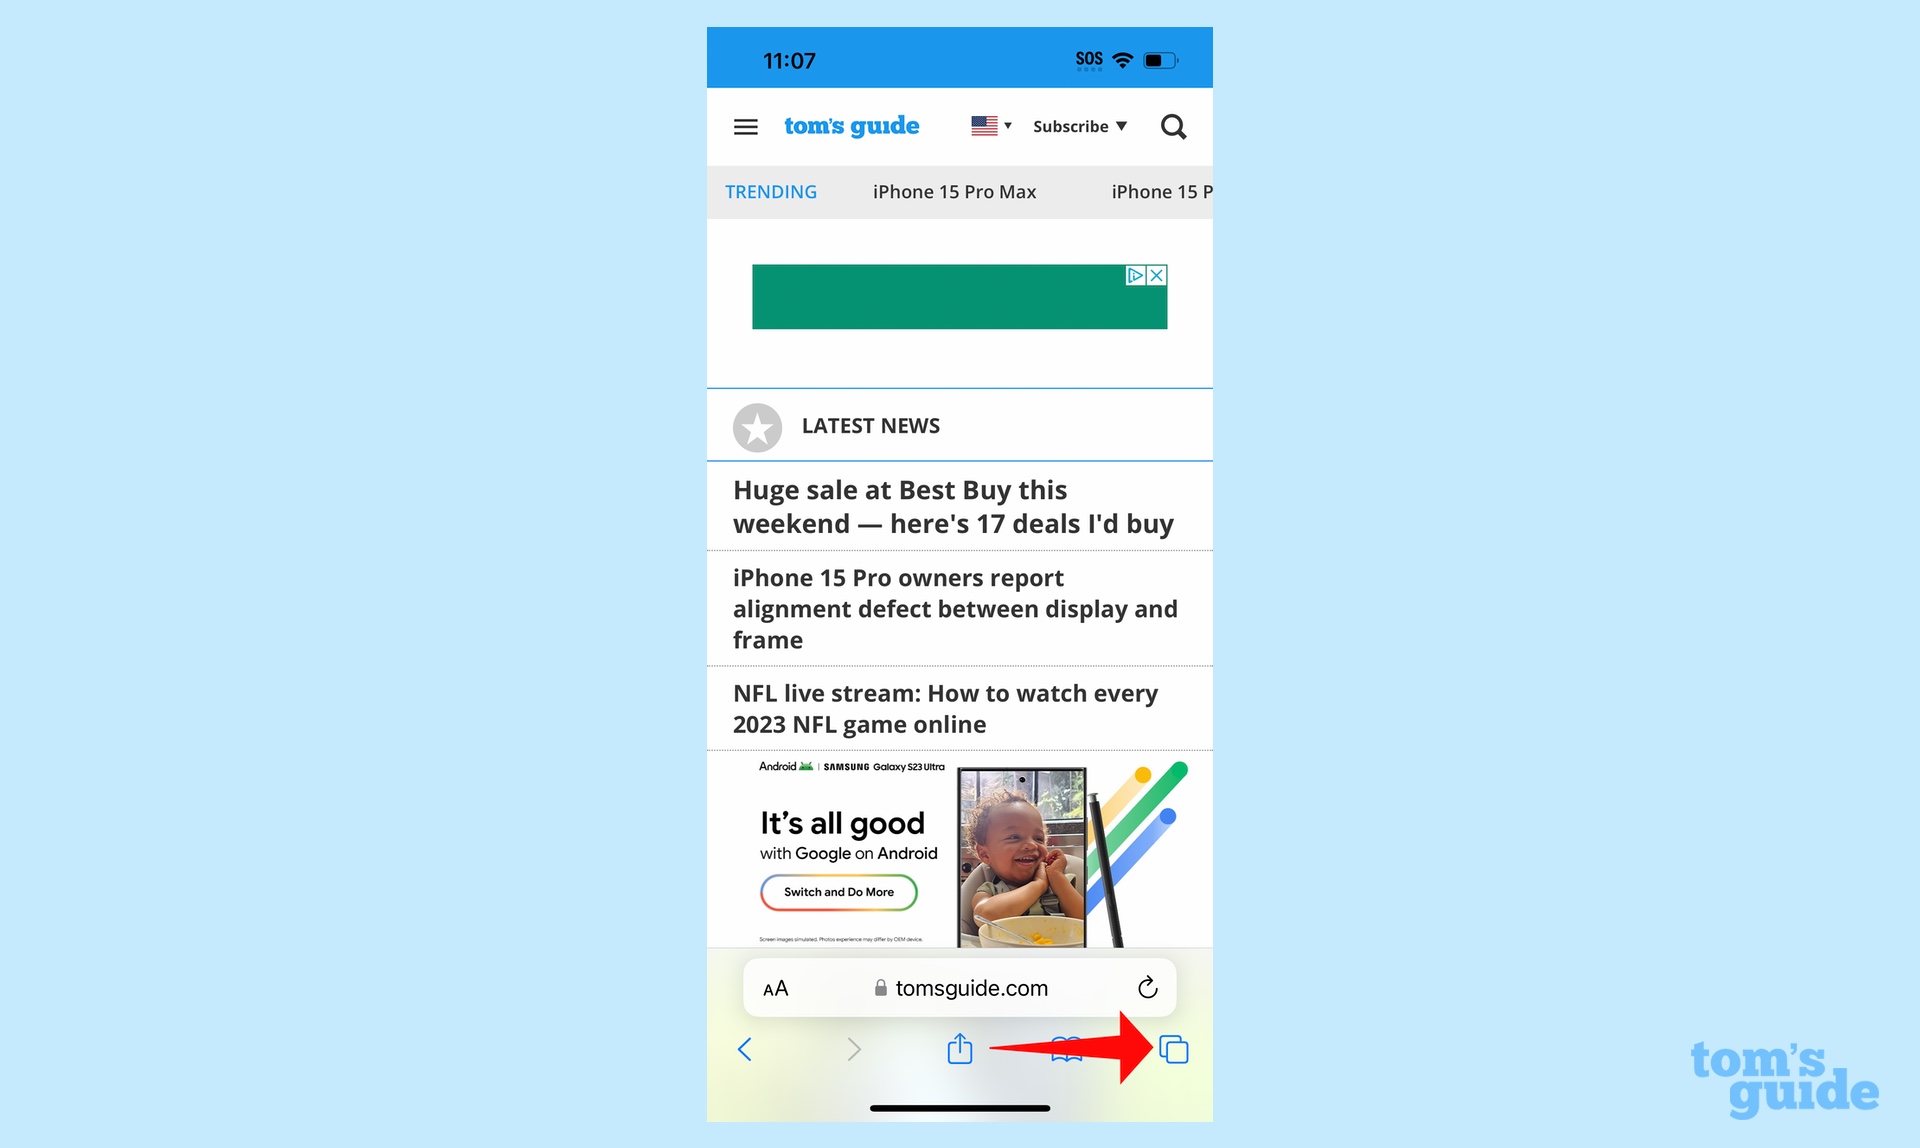
In Safari, tap the tabs button. (It's the one on the far right of Safari's menu bar at the bottom of the screen.)
2. Launch private browsing
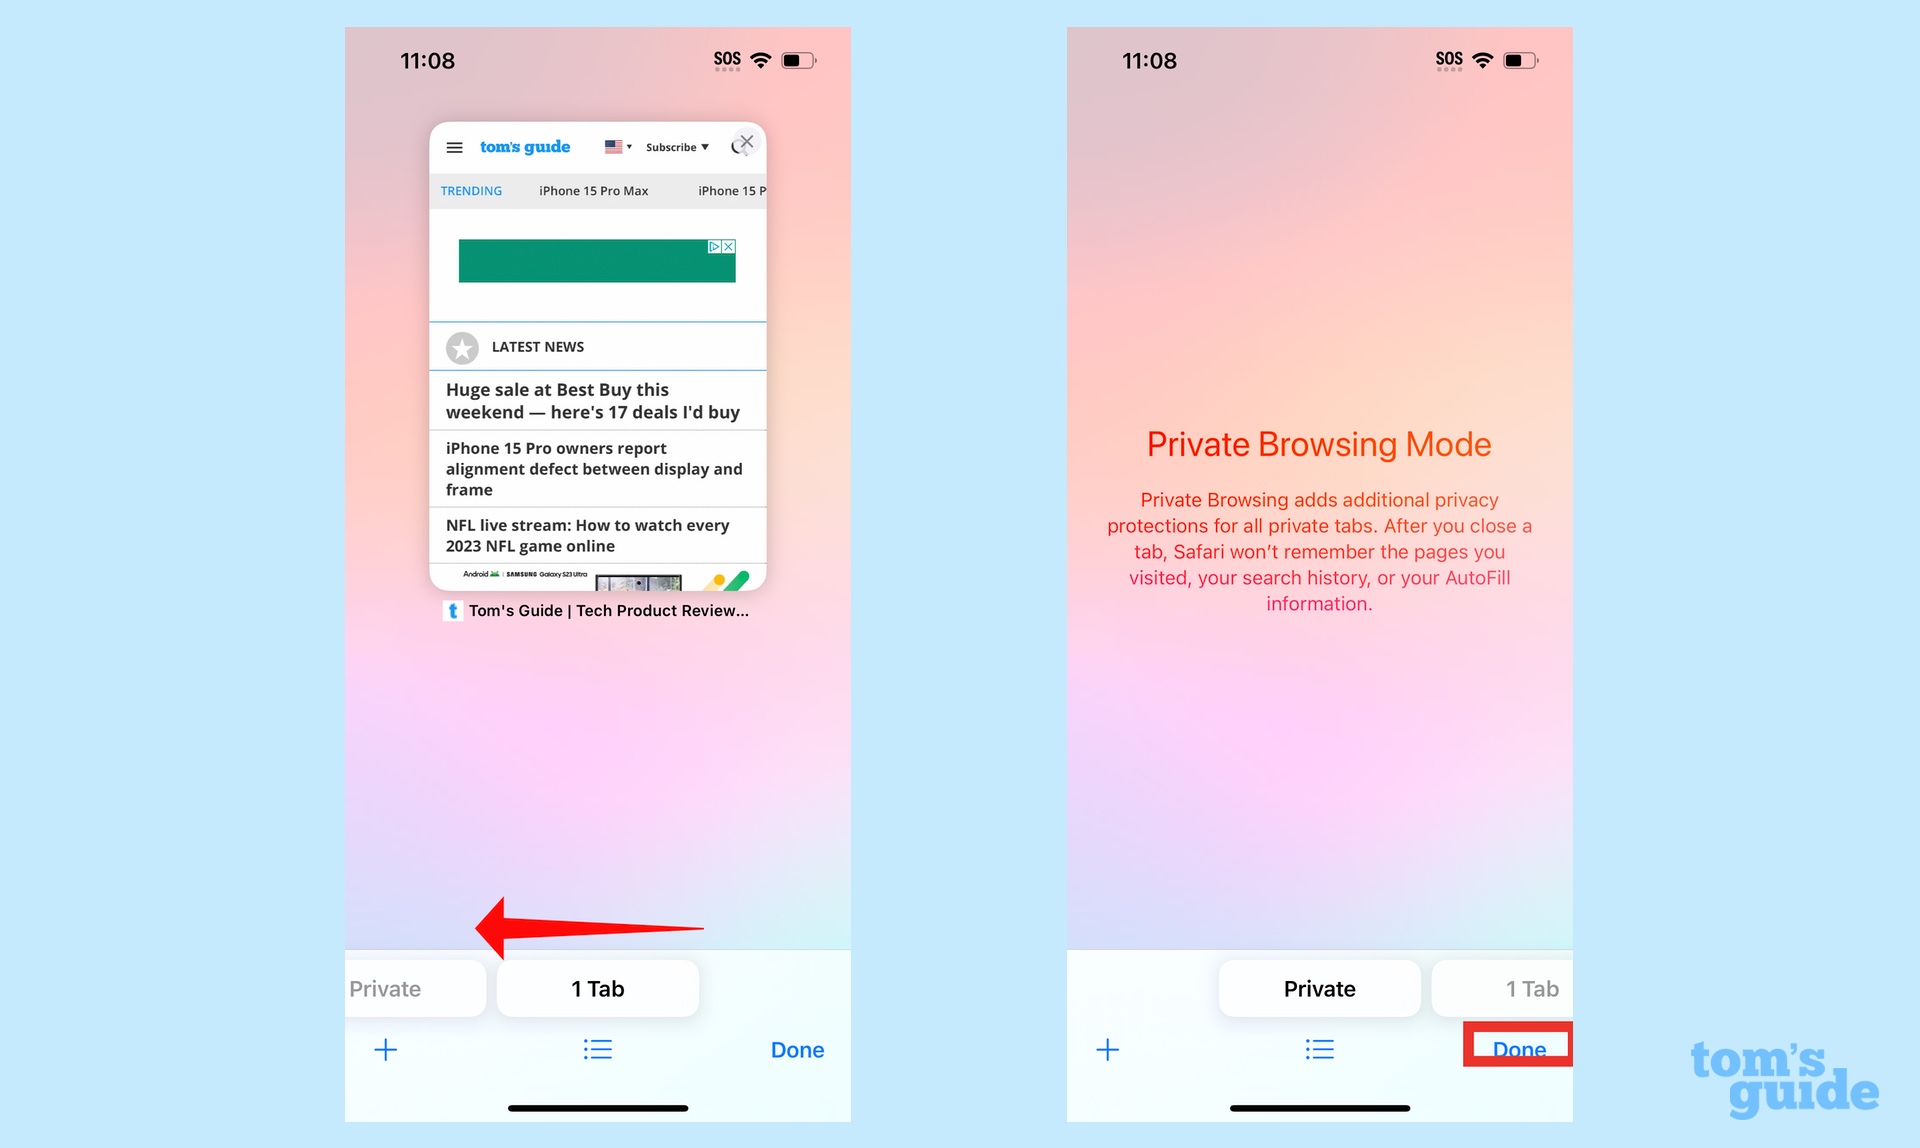
Swipe right on the tab menu so that the private browsing tab now appears on the center of the page. Tap Done to begin private browsing.
3. Turn on iCloud Private Relay (optional)
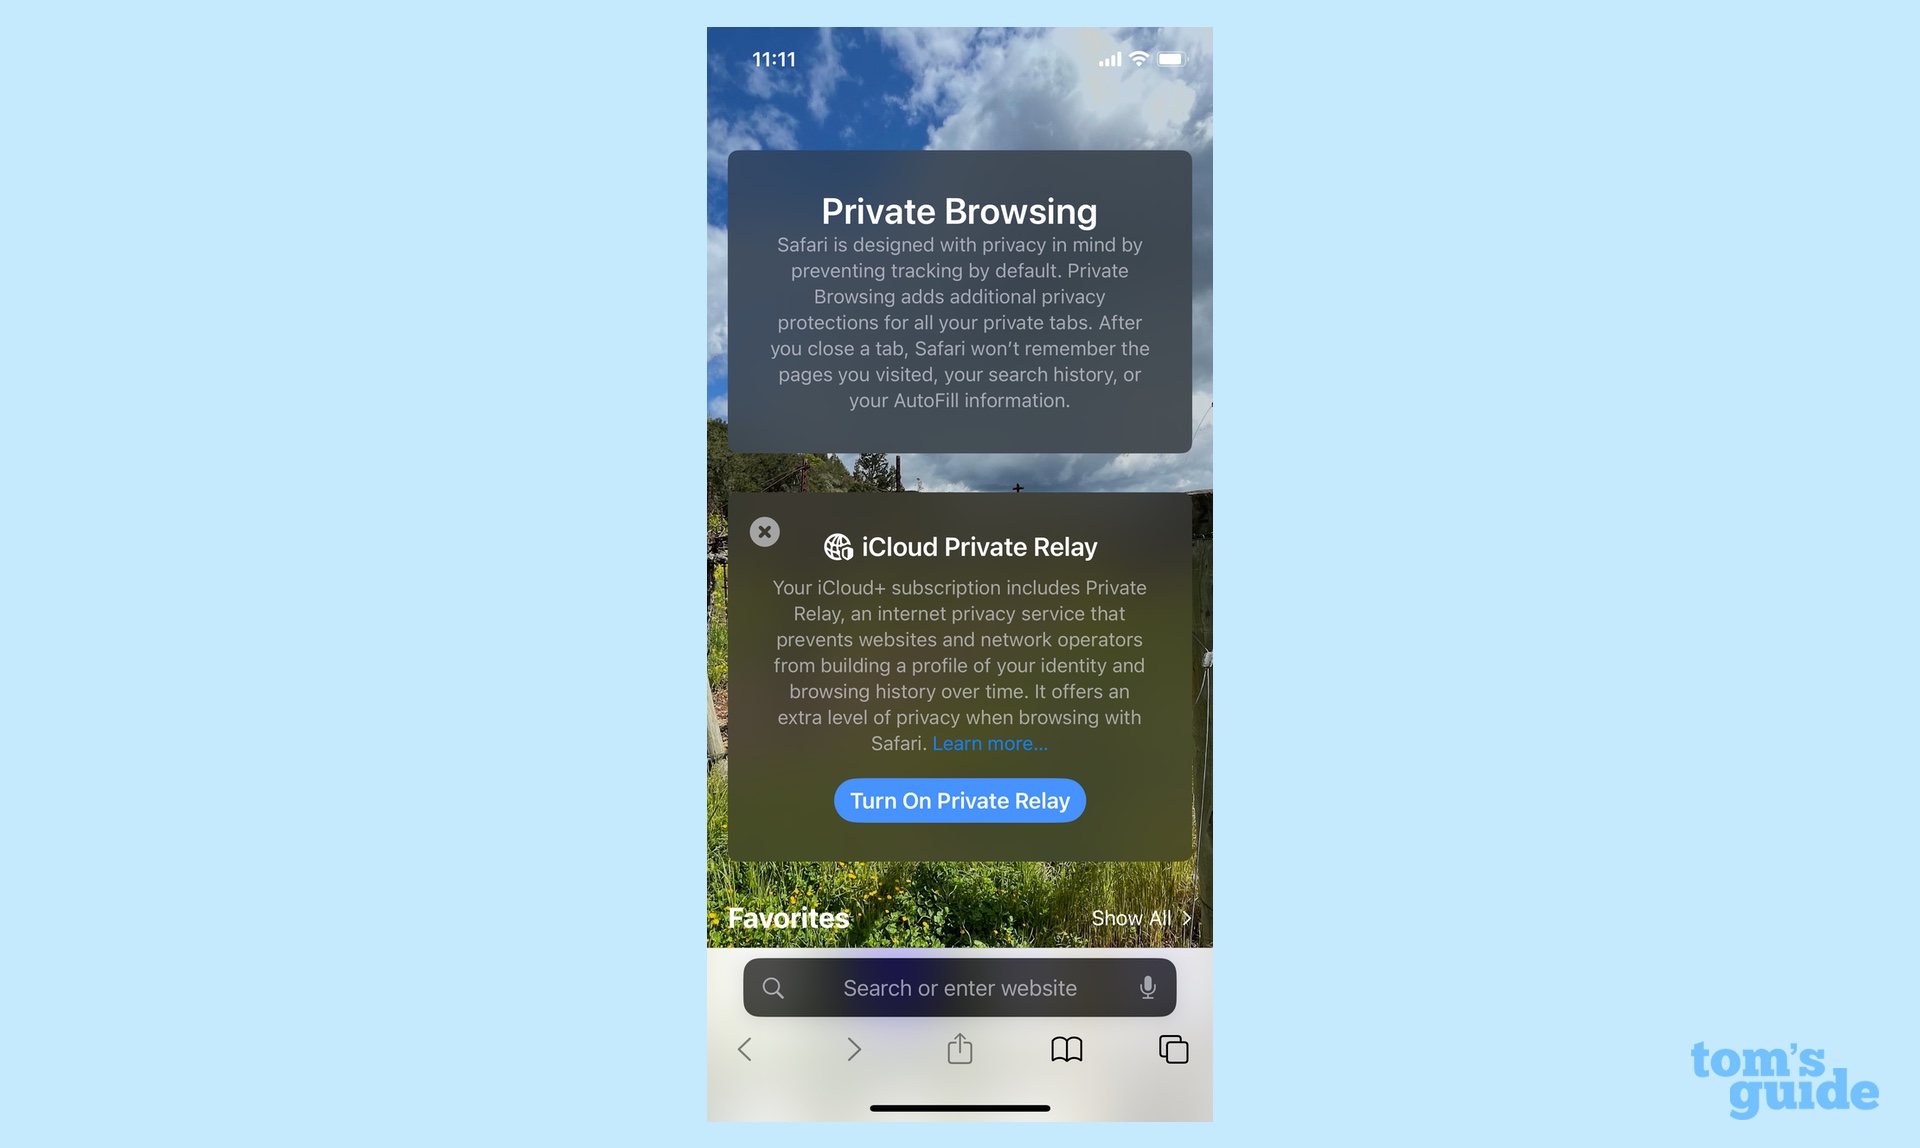
If you subscribe to iCloud Plus, you've got access to Private Relay. That's a a VPN-esque proxy service that encrypts your data and masks your IP address and DNS requests. That way, website and network operators can't build a profile using your browsing history.
Safari was just one of the apps to get an update as part of iOS 17, as you can see in our iOS 17 review. We can also show you how to take advantage of other new iOS 17 features, such as how to download offline maps in iOS 17 Maps, how to use the new Check In features in Messages and how to use gestures in FaceTime video chats.
Sign up to get the BEST of Tom's Guide direct to your inbox.
Get instant access to breaking news, the hottest reviews, great deals and helpful tips.
Philip Michaels is a Managing Editor at Tom's Guide. He's been covering personal technology since 1999 and was in the building when Steve Jobs showed off the iPhone for the first time. He's been evaluating smartphones since that first iPhone debuted in 2007, and he's been following phone carriers and smartphone plans since 2015. He has strong opinions about Apple, the Oakland Athletics, old movies and proper butchery techniques. Follow him at @PhilipMichaels.

