How to set up an iCloud Shared Photo Library
Here's how to set up and use an iCloud Shared Photo Library, introduced with iOS 16.1
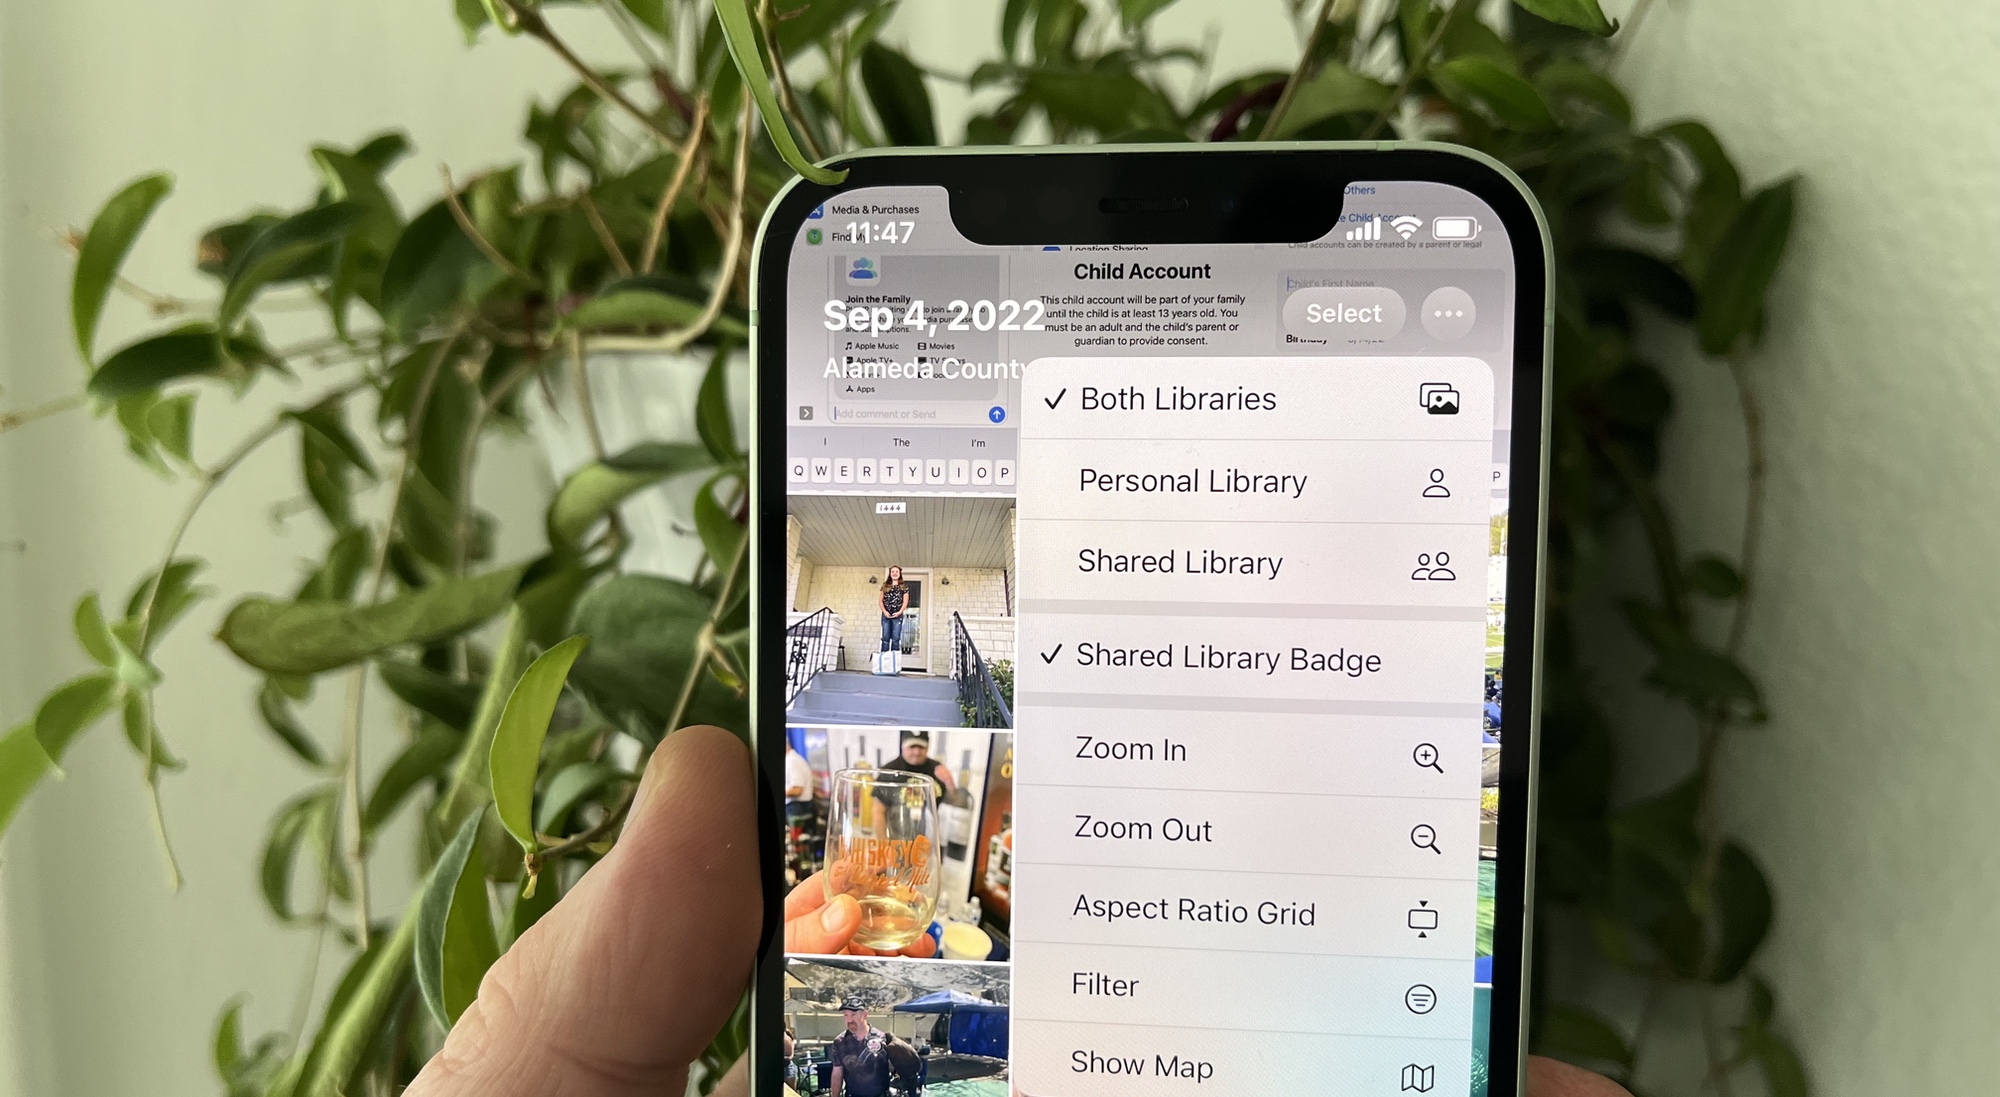
If you're wondering how an iCloud Shared Photo Library is any different to a regular shared Photos album, you probably aren't alone.
One of the additions introduced in iOS 16, iCloud Shared Photo Libraries are indeed similar to shared albums on Photos, which have been around for a while. However, this feature does come with some pretty hefty tricks up its sleeve to expand the scope of sharing photos with friends and family, while also making the process more streamlined and enjoyable.
Rather than just adding photos into a shared album, you and five others can now take photos directly into a shared library, where each member can see, edit and delete the images. You can still take and store photos into your personal library, of course. There are also a range of other ways to add images to the shared library, including by date range, facial recognition and even proximity to other members of the shared library.
But how do you turn set a Shared Photo Library up? Now that iOS 16.1 has arrived, the iCloud Shared Photo Library feature is available for everyone to use. Read on to find out how to get started with an iCloud Shared Photo Library of your own.
How to set up an iCloud Shared Photo Library
1. Open Settings, then select Photos.
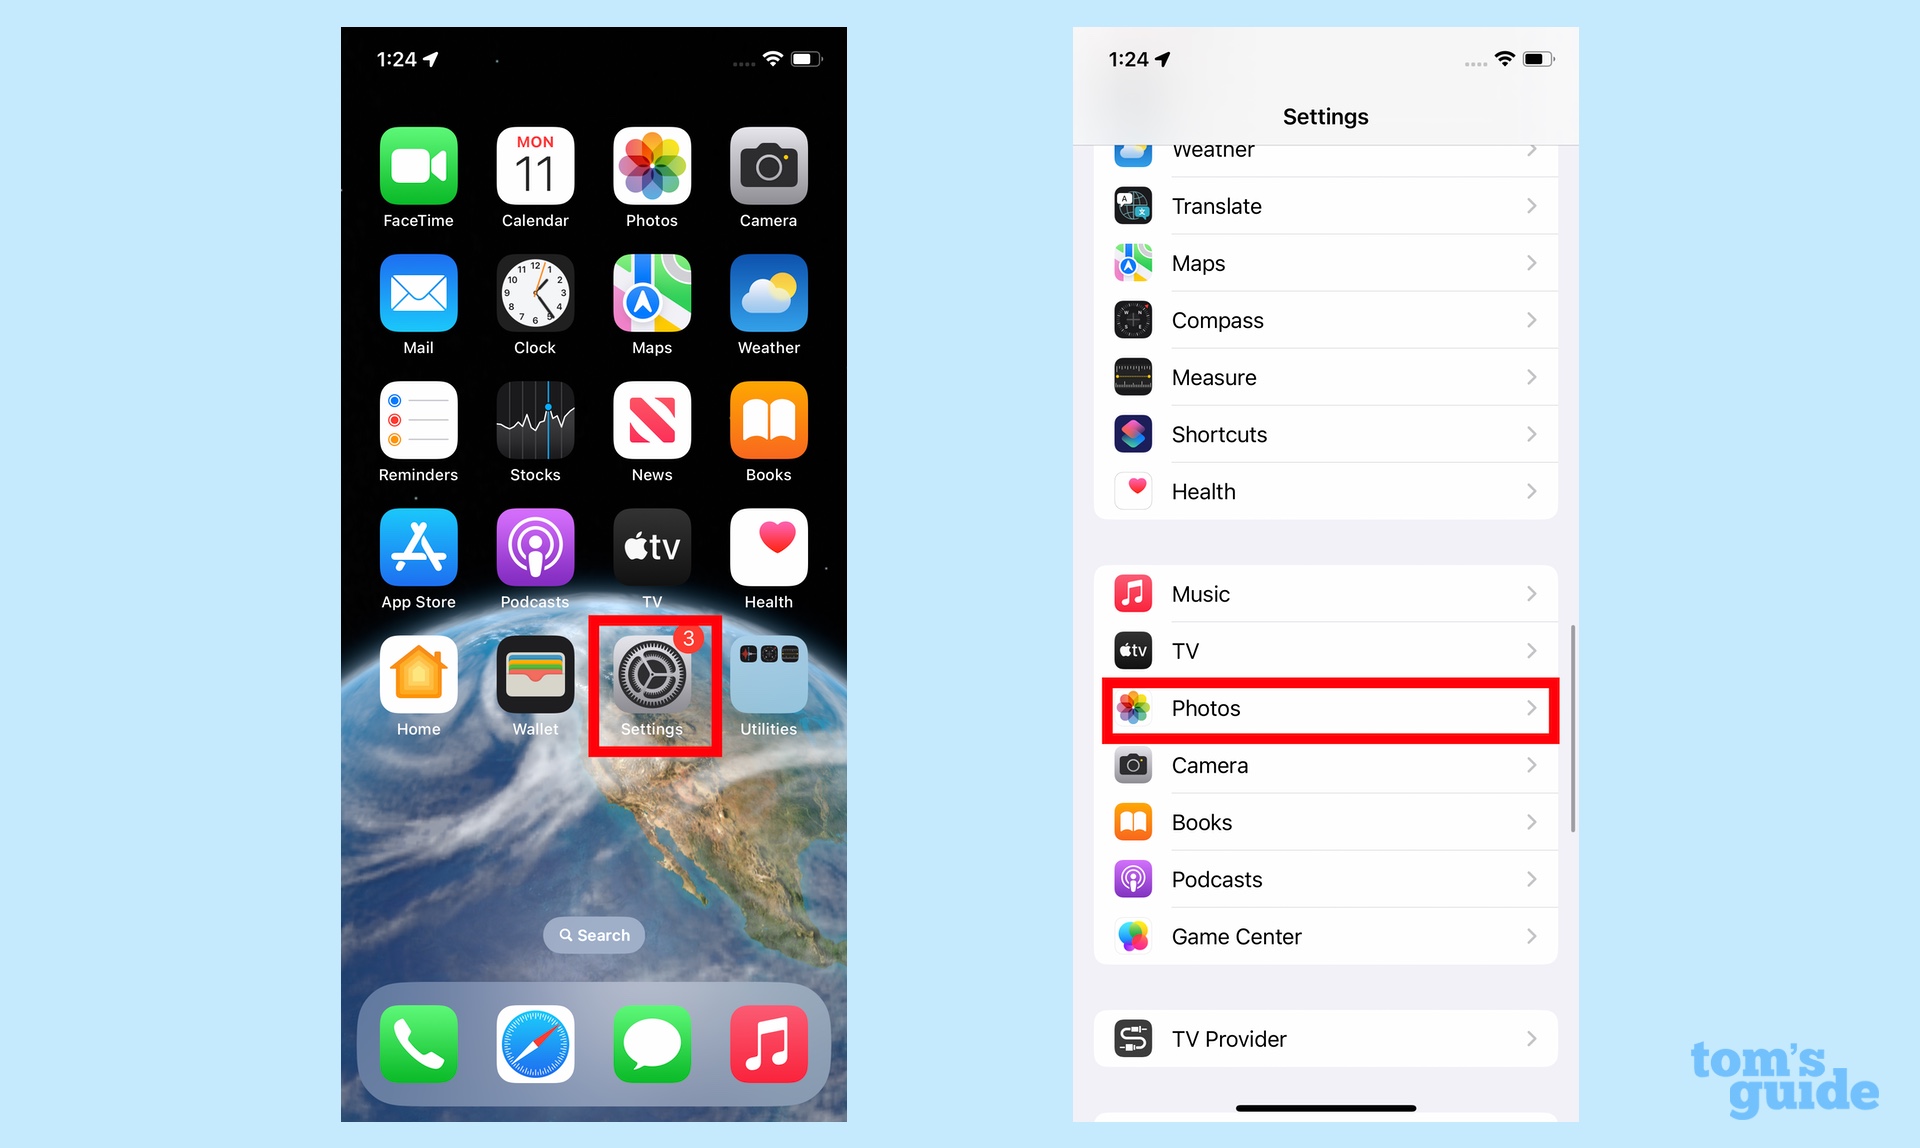
2. Tap Shared Library to turn the feature on.
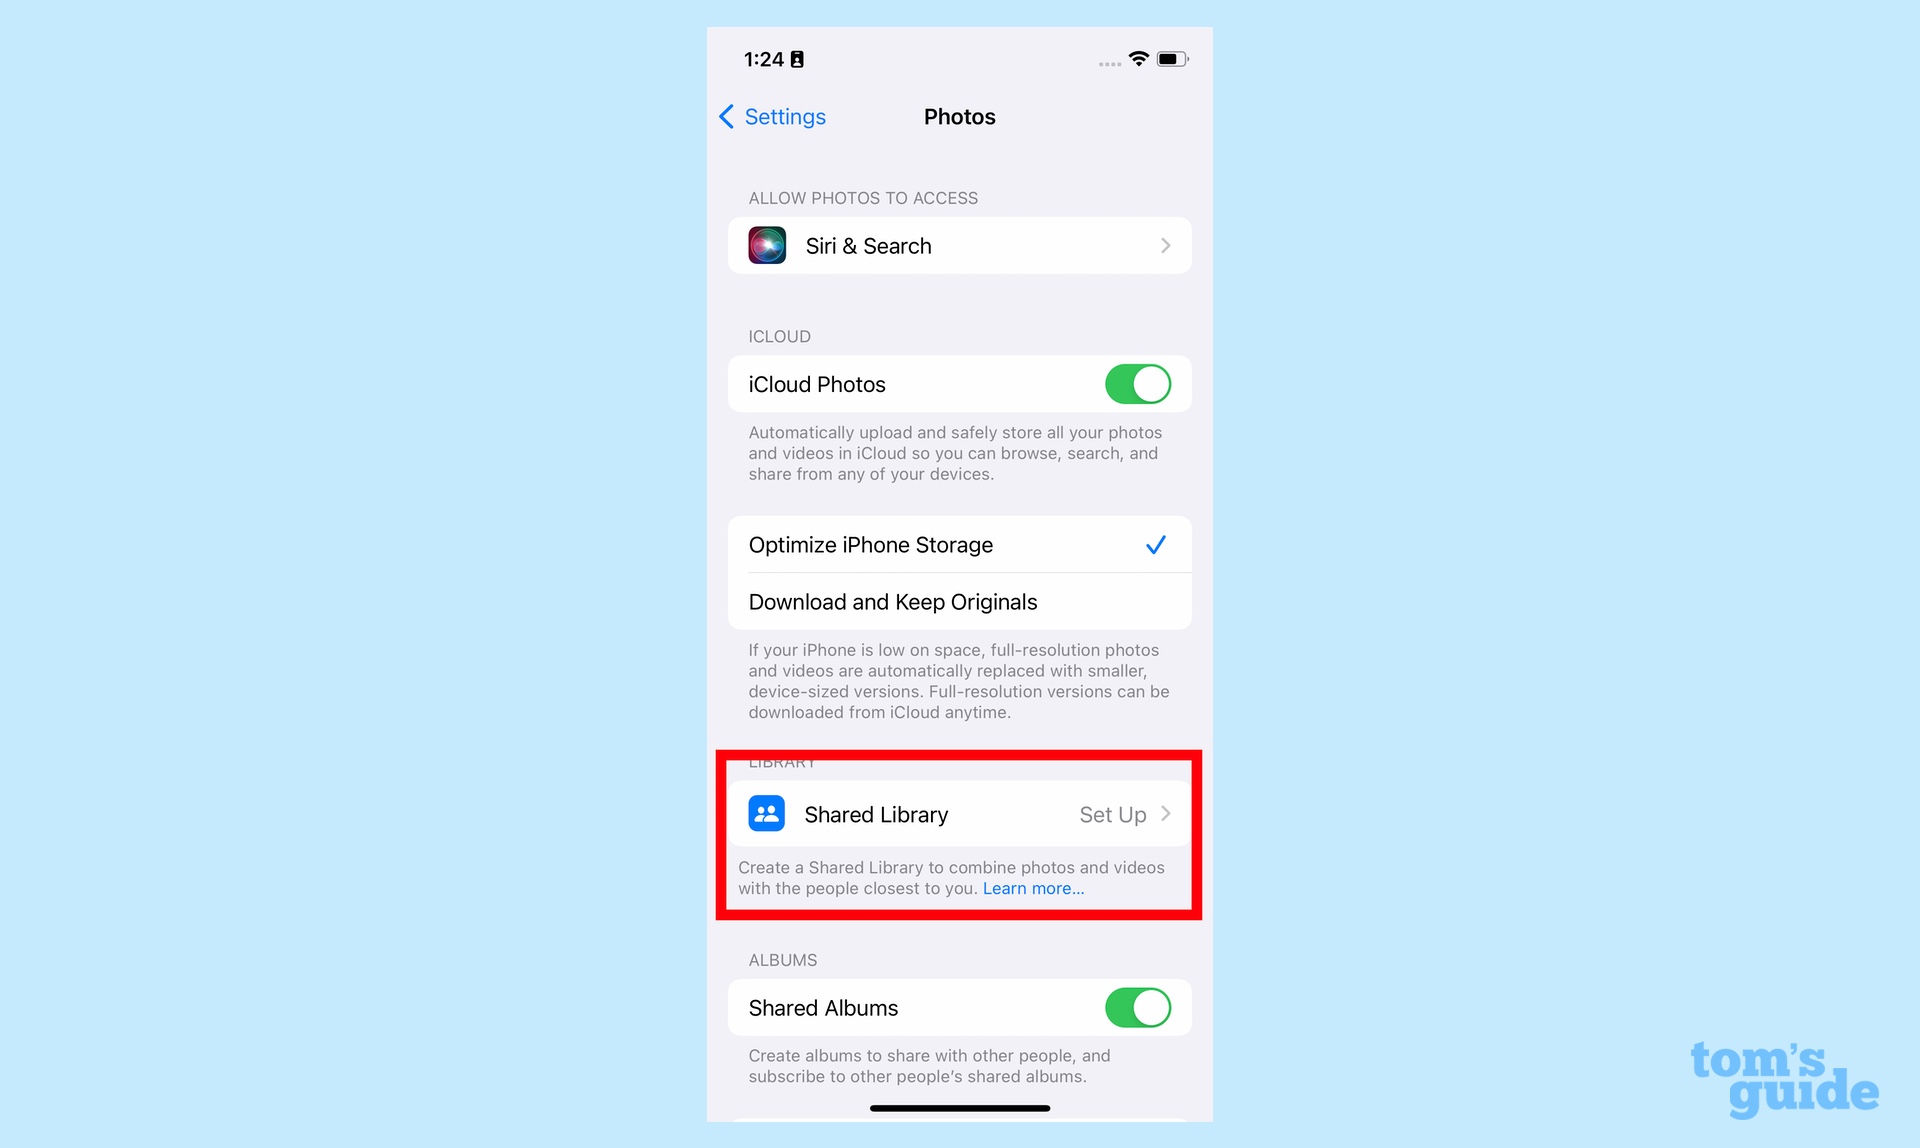
3. You’ll jump to an iCloud Shared Photo Library splash screen. Tap Start Setup.
Sign up to get the BEST of Tom's Guide direct to your inbox.
Get instant access to breaking news, the hottest reviews, great deals and helpful tips.
4. Pick the people you want to invite — you can add up to five others — then select Continue.
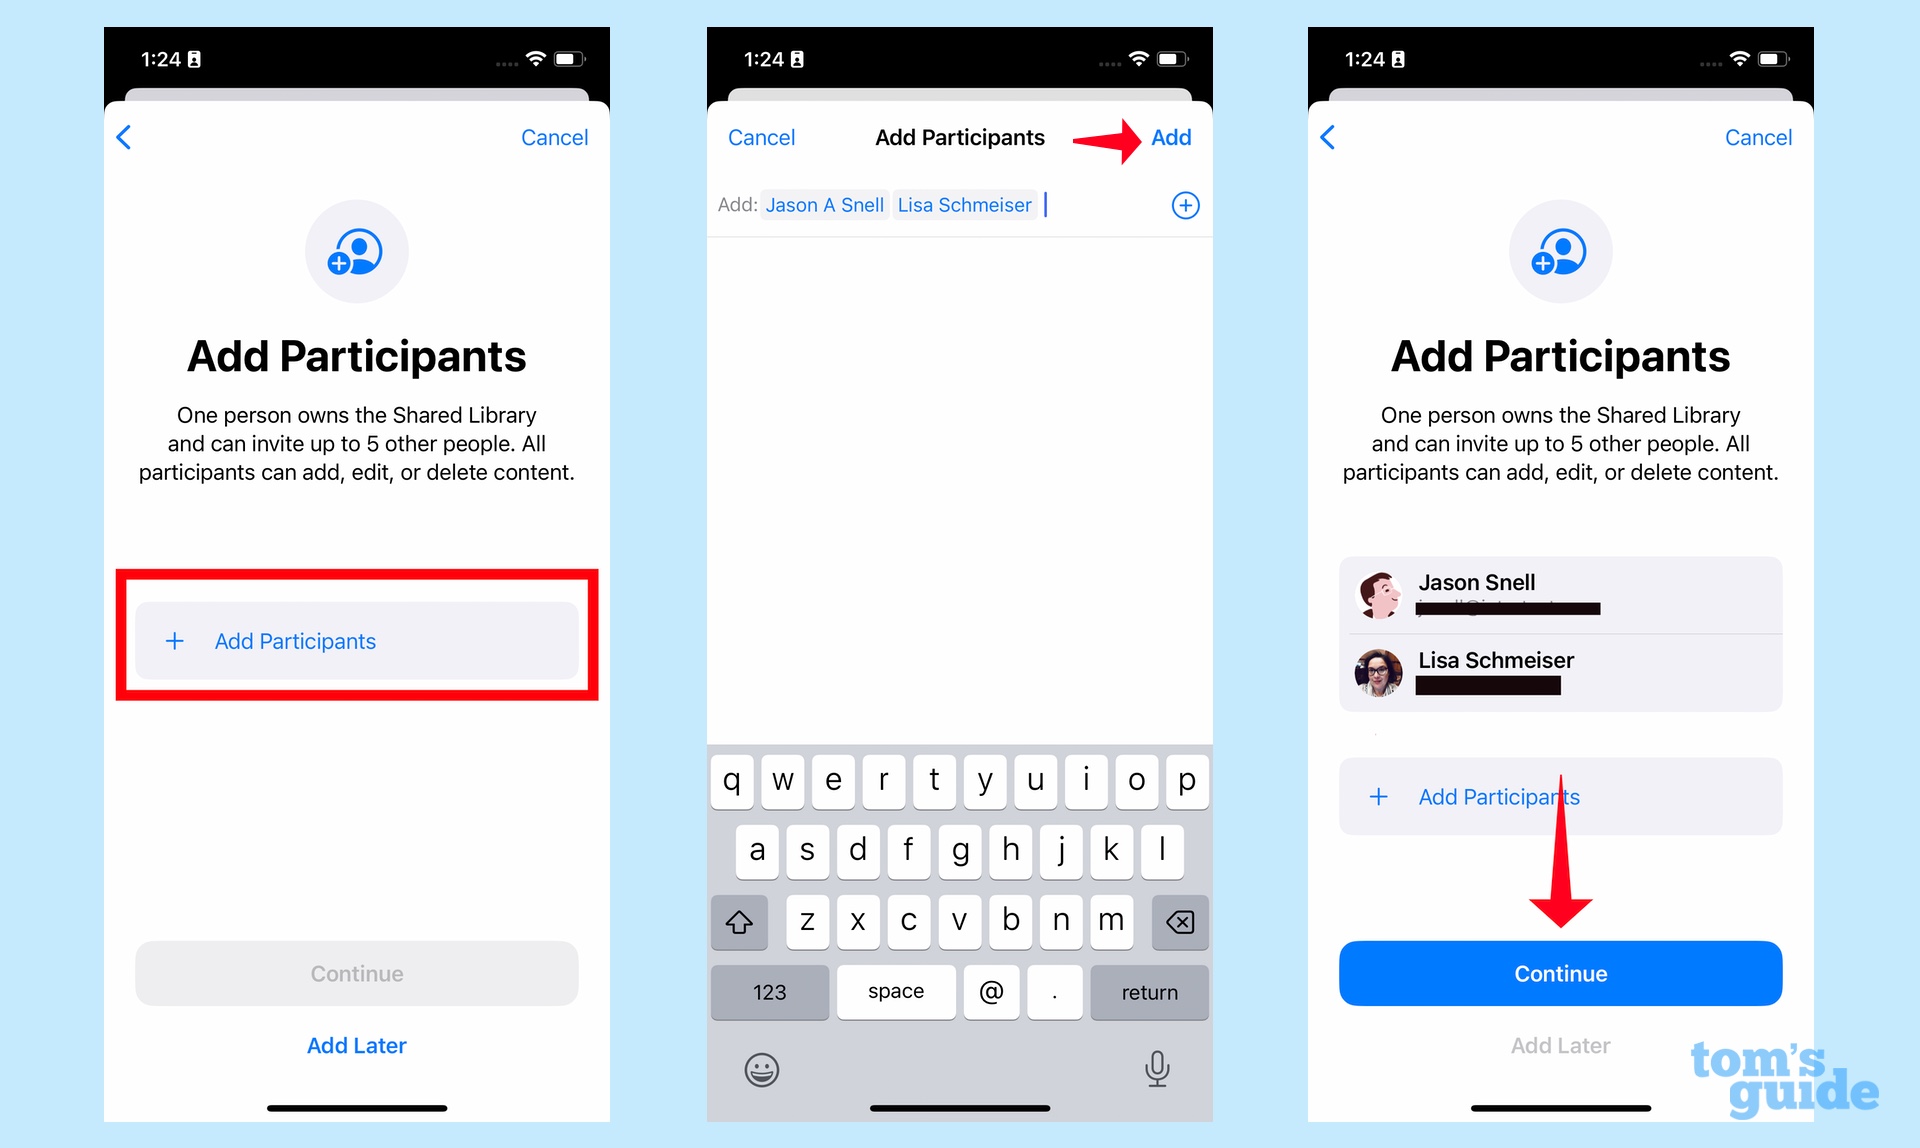
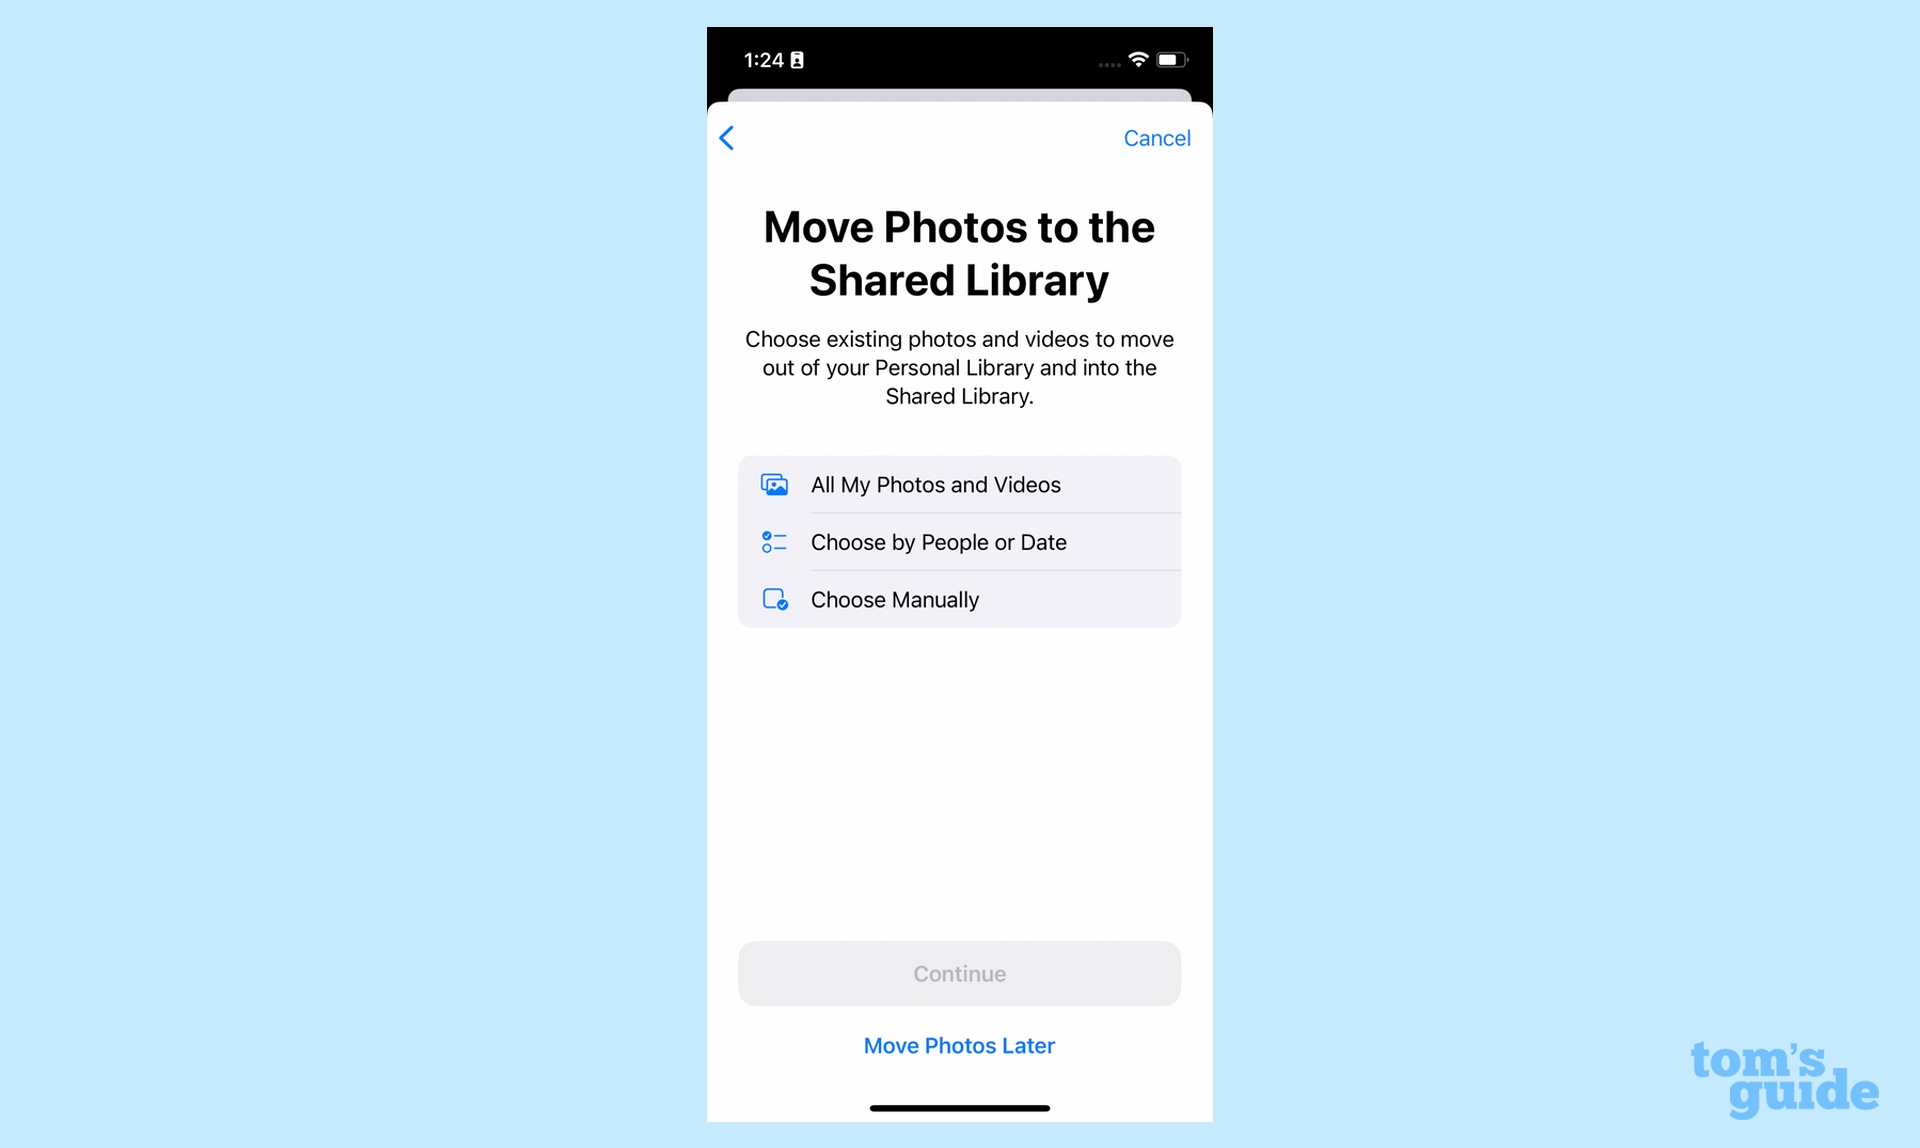
5. Decide which photos to move to the shared library. You can select all the photos in your library, pick photos by the dates taken or people featured, or manually select photos. In this example, we'll pick the middle option.
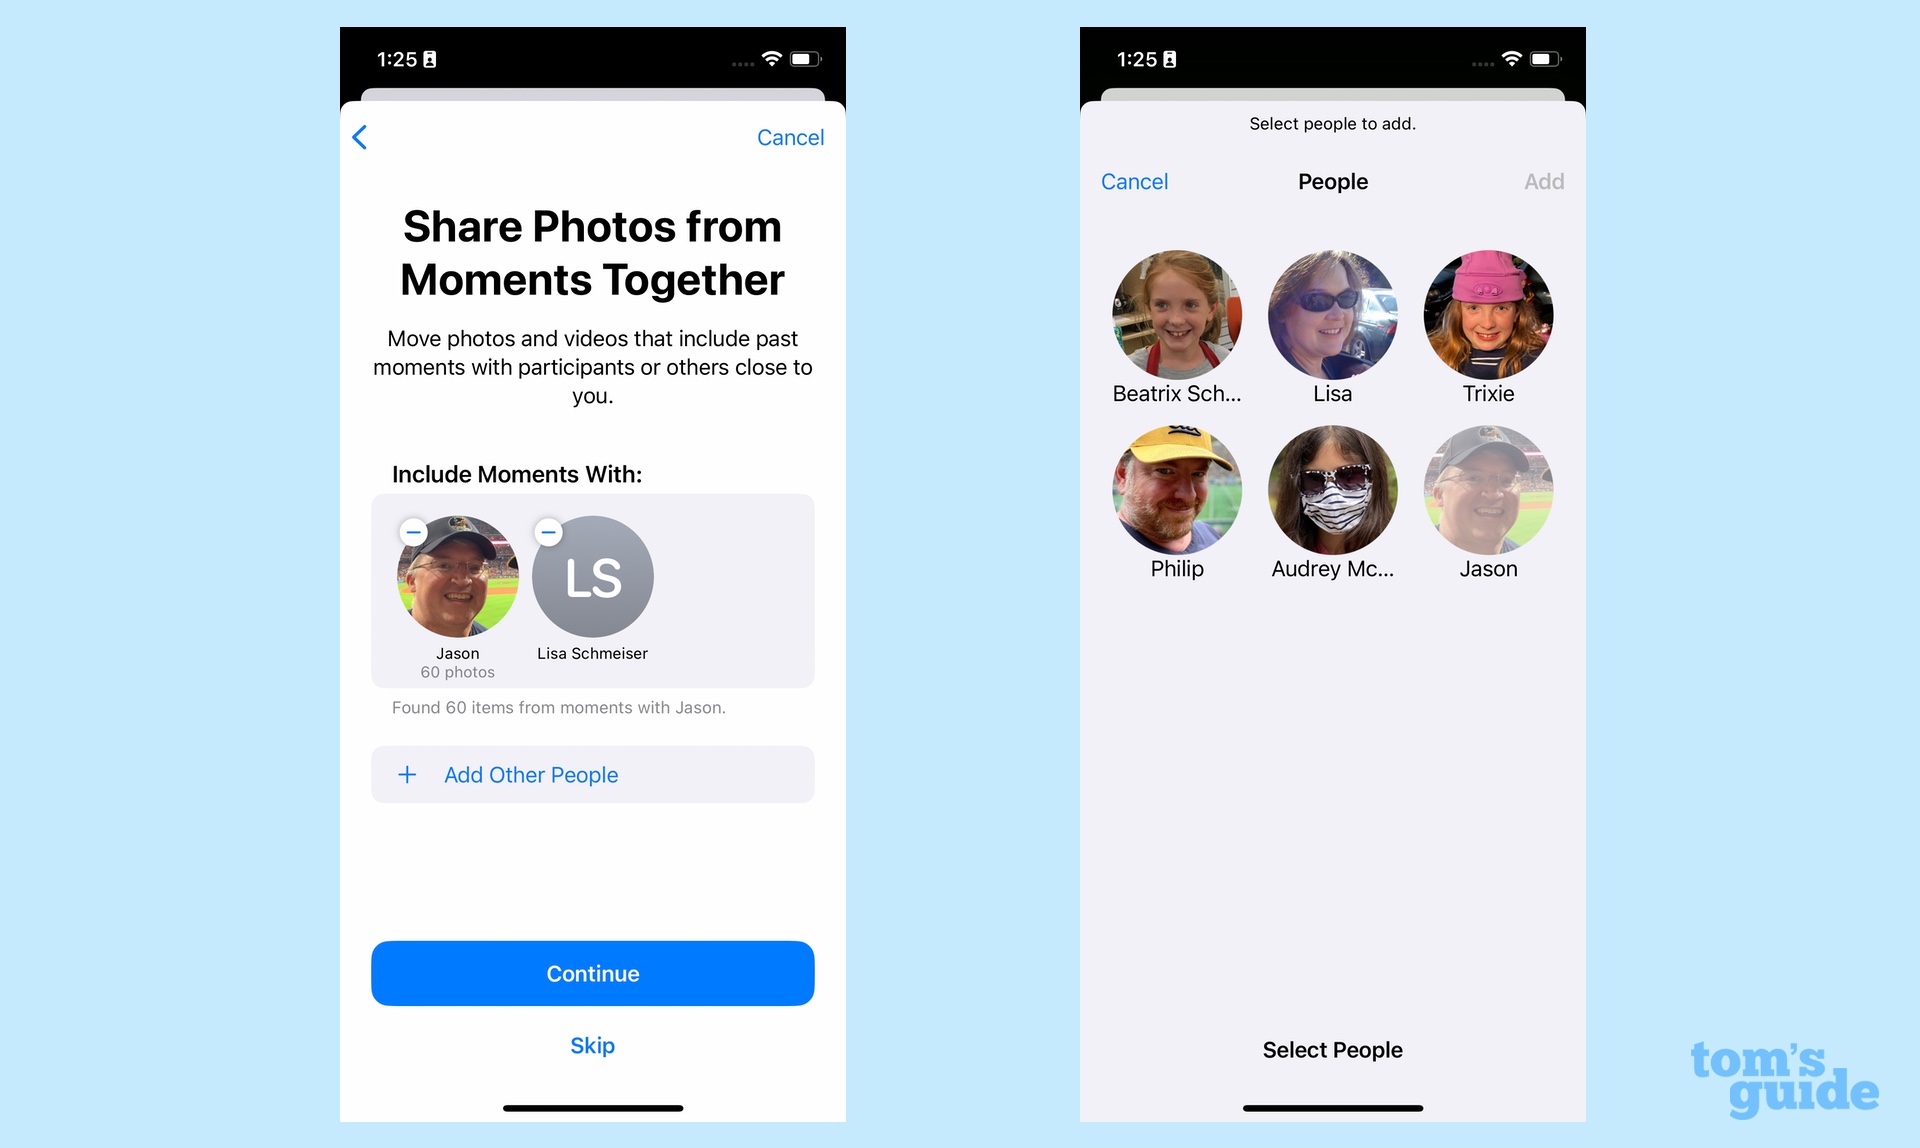
6. You'll be prompted to pick the people to add to the Shared Photo Library. By default, the names of people in the group will be selected, but you can add others as well.
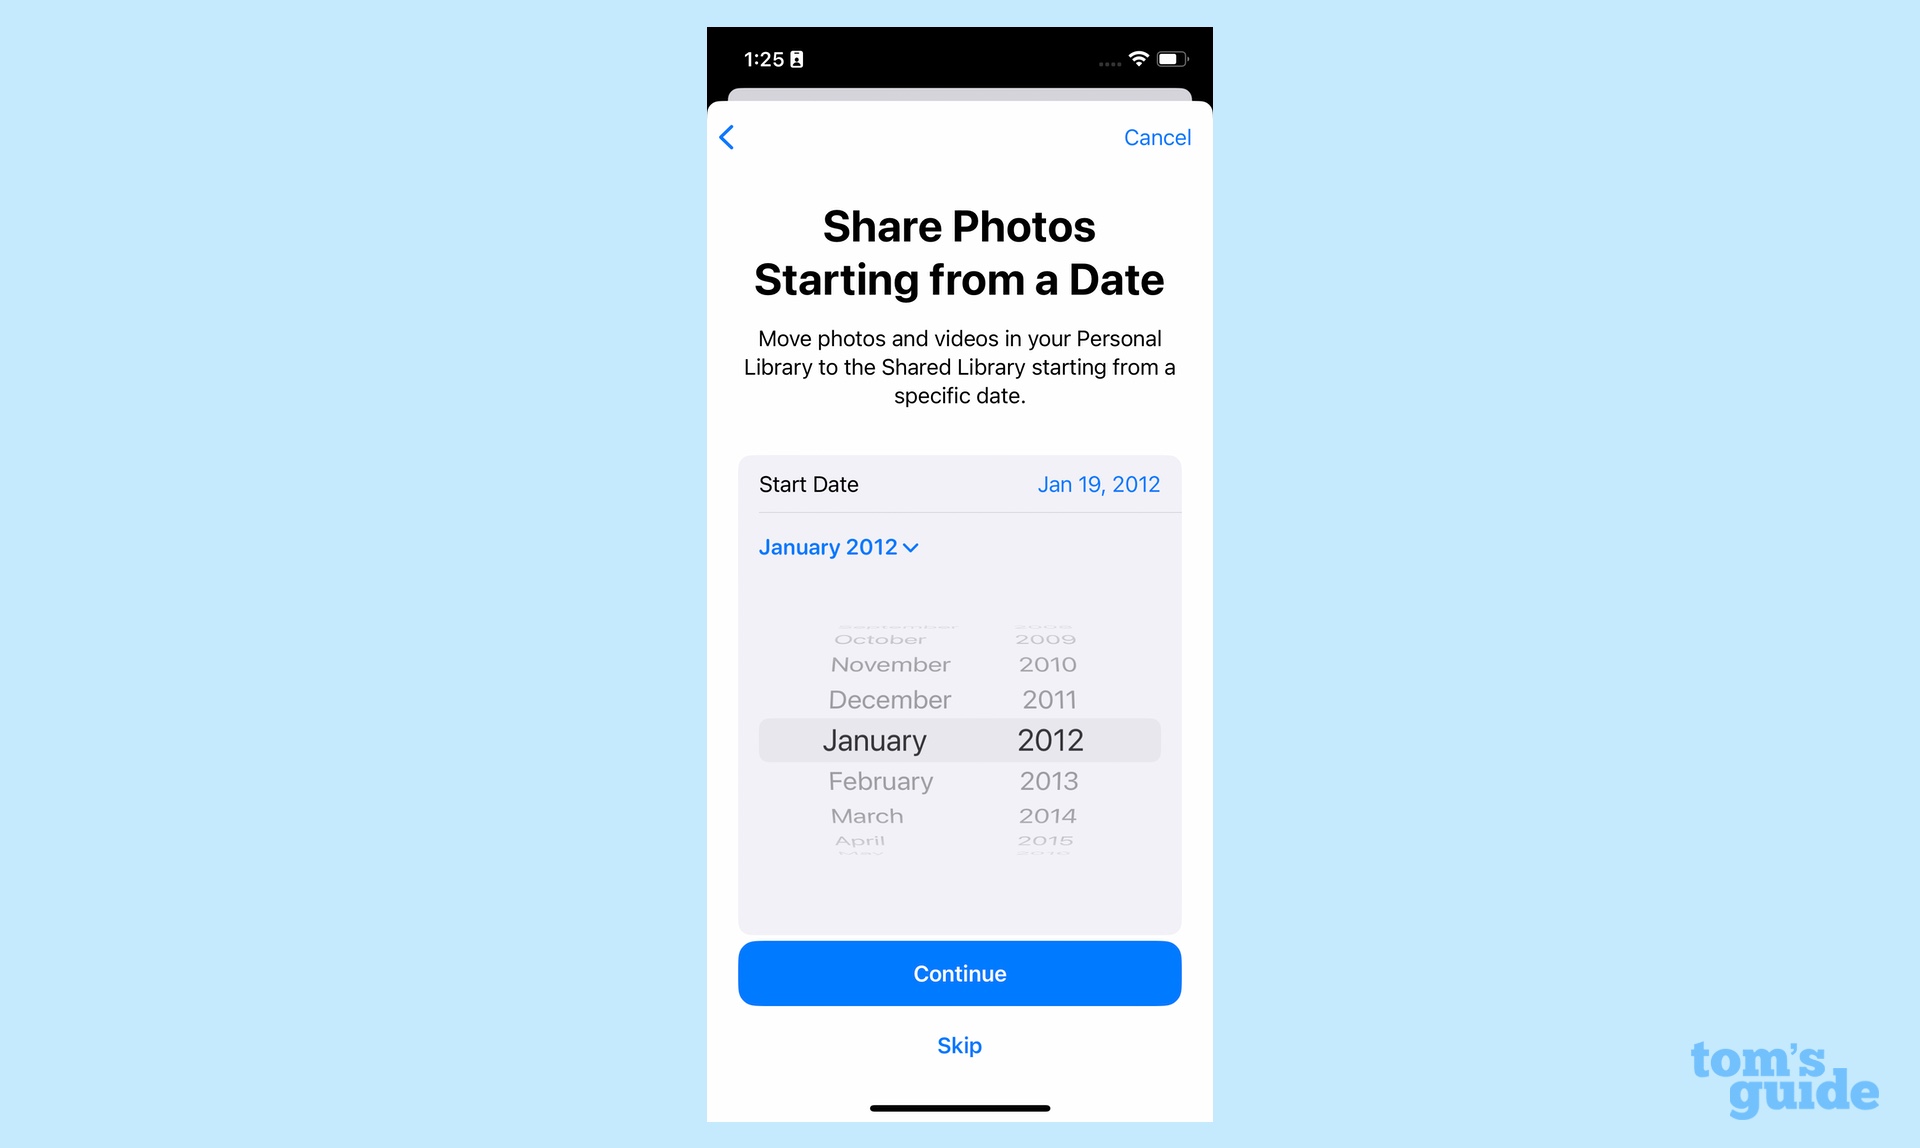
7. You can select a start date for photos included in your iCloud Shared Library.
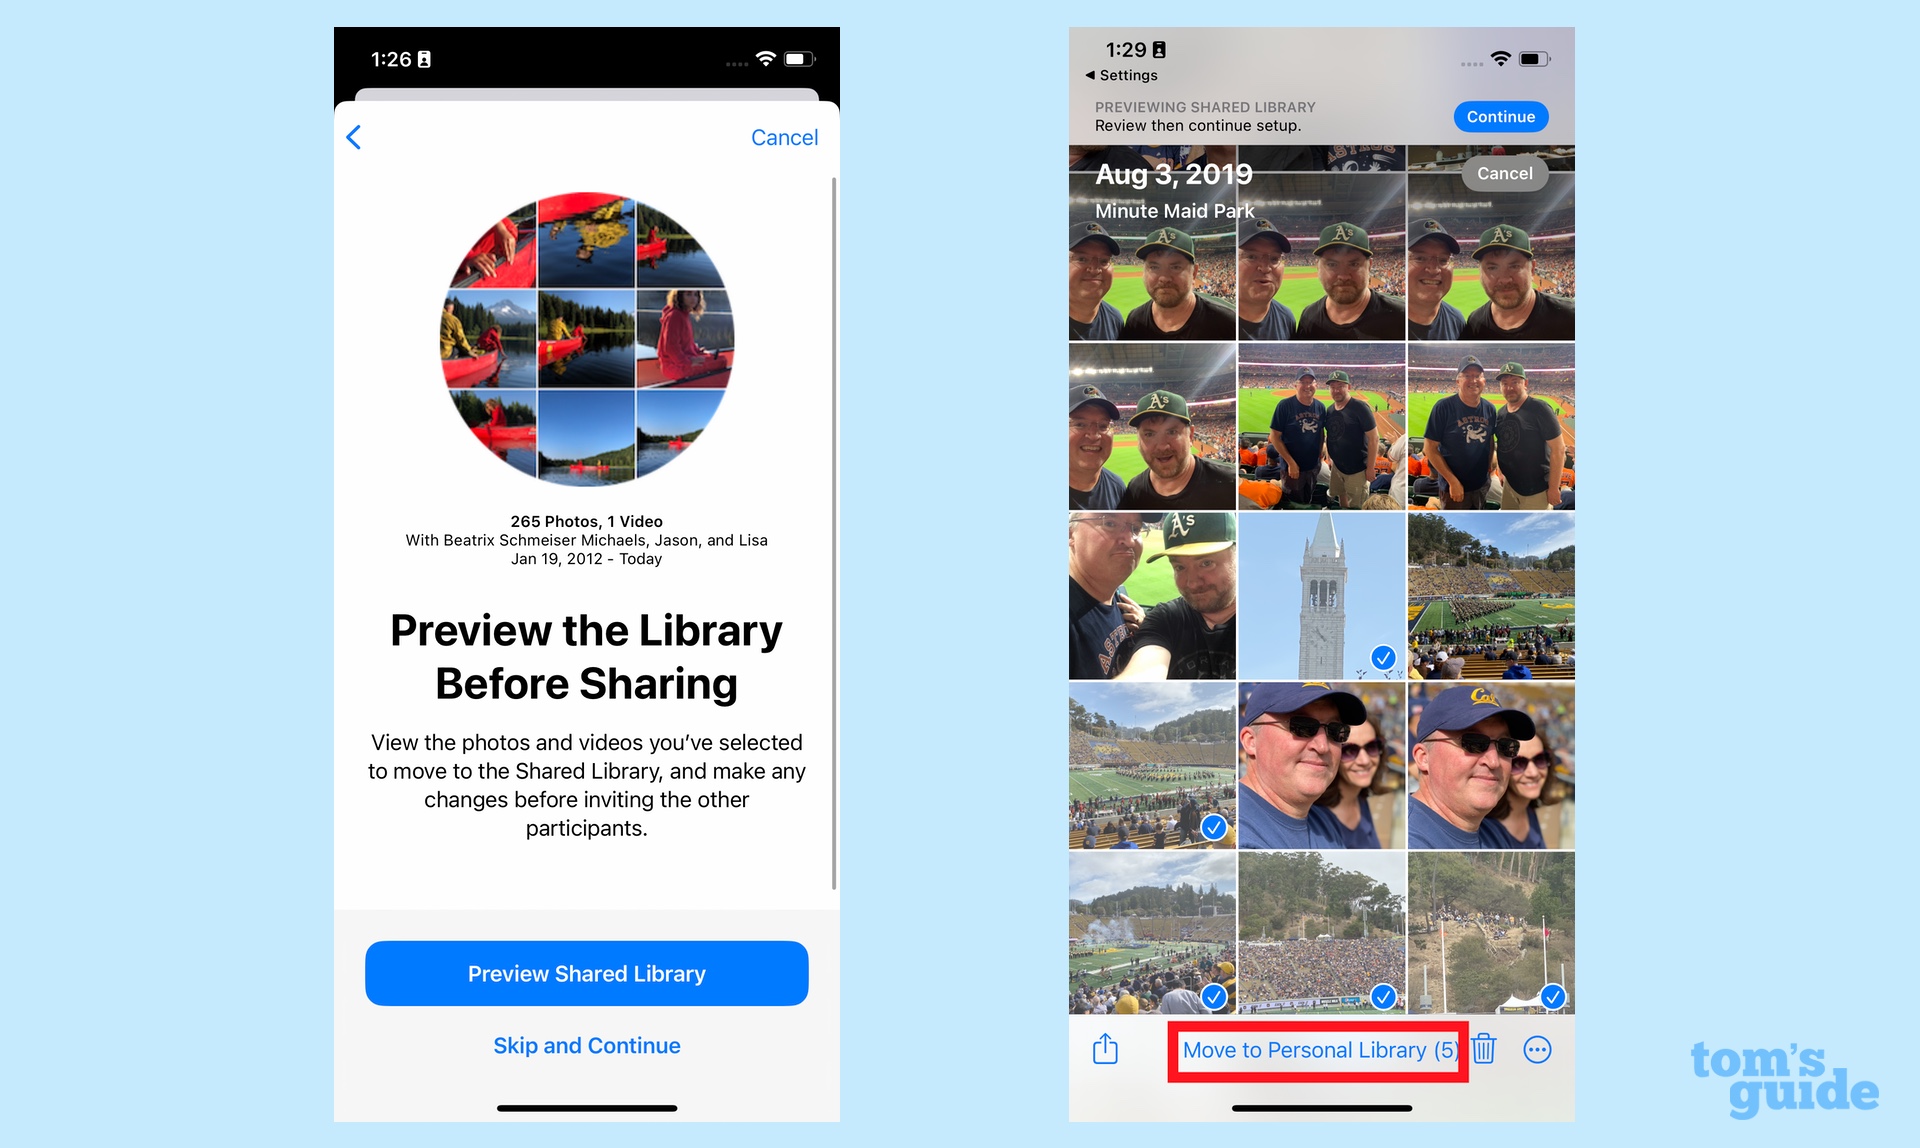
8. You'll be asked if you want to preview your Library. It's a good idea to do that, because you can select photos to remove that will remain part of your personal library, but not shared with other people. The command to remove photos is at the bottom of the screen; there's a trash can next to it, if you just want to delete the photo entirely.
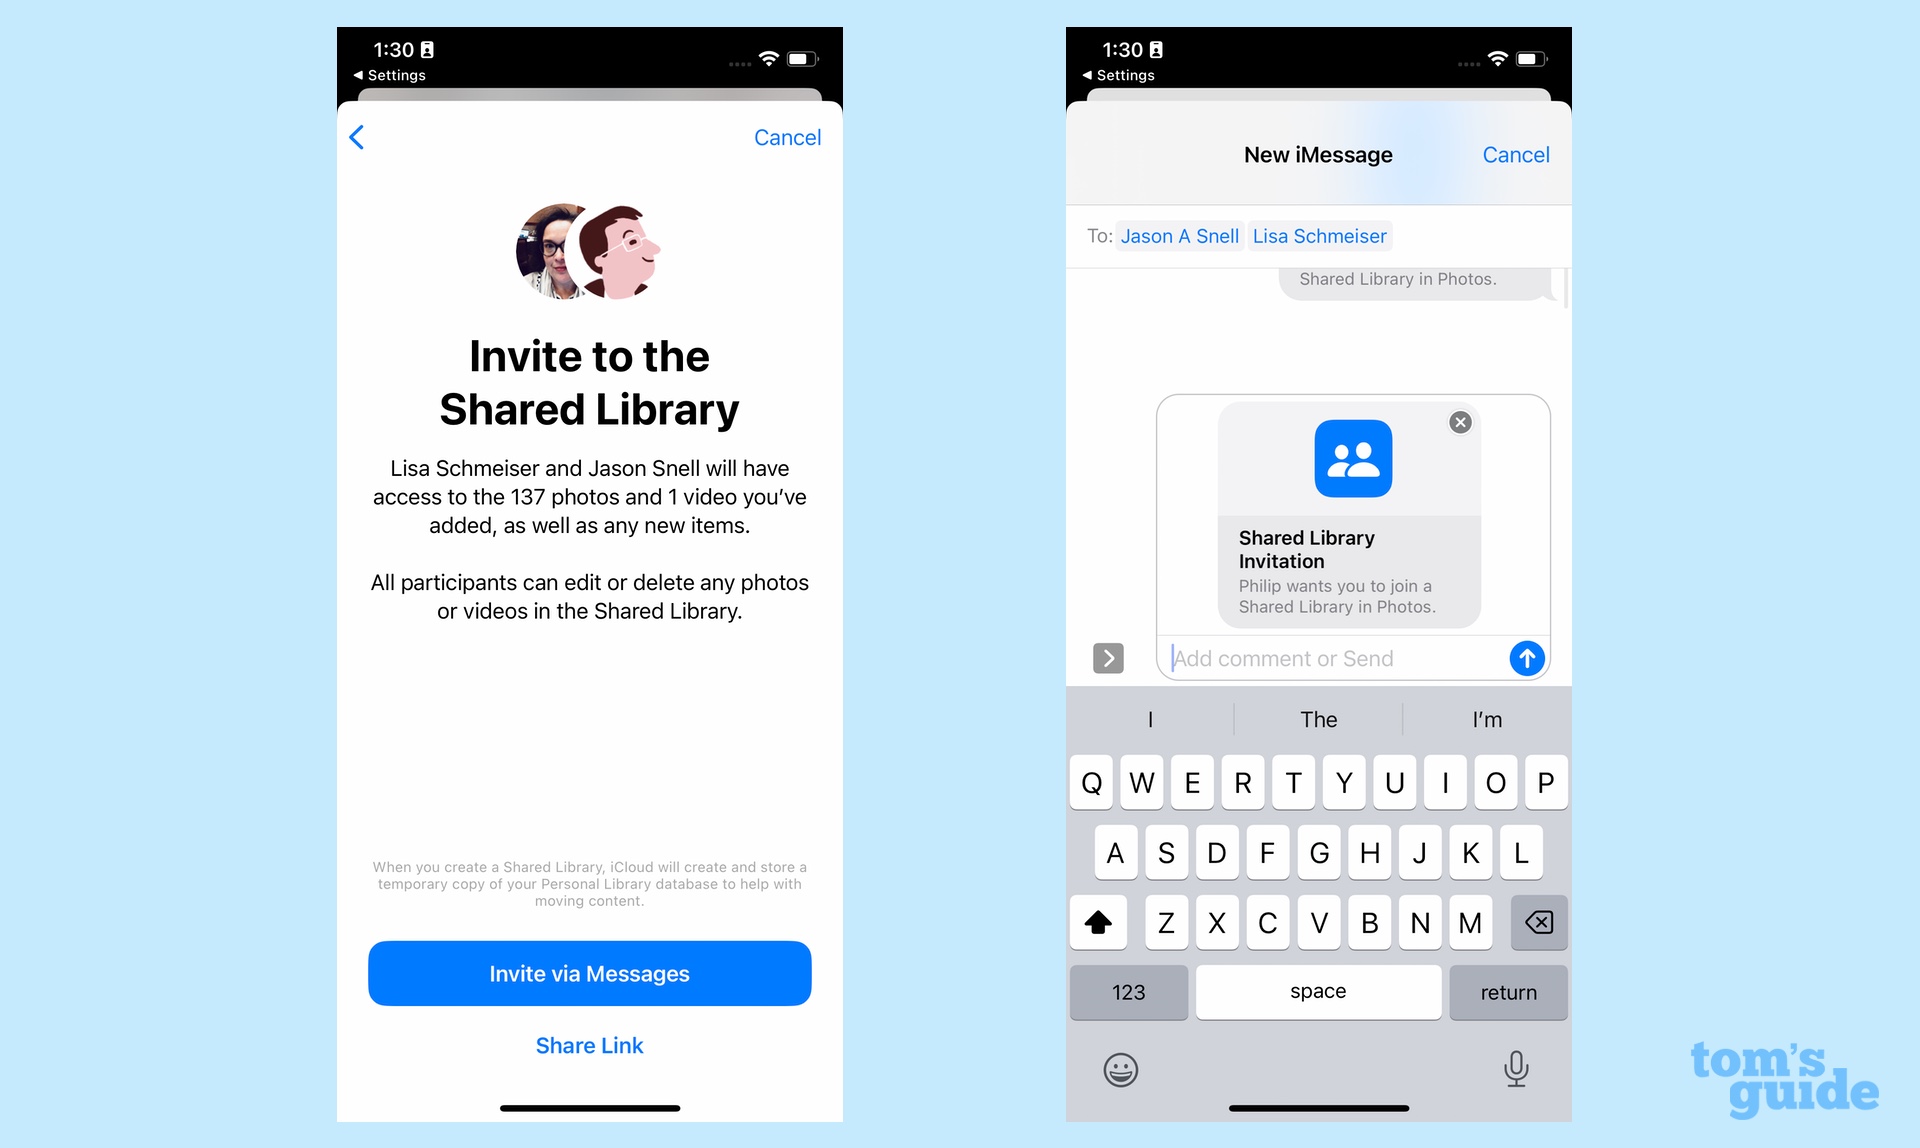
9. Now it's time to invite people to your shared library. You can do so by sending them a link or a text through Messages.
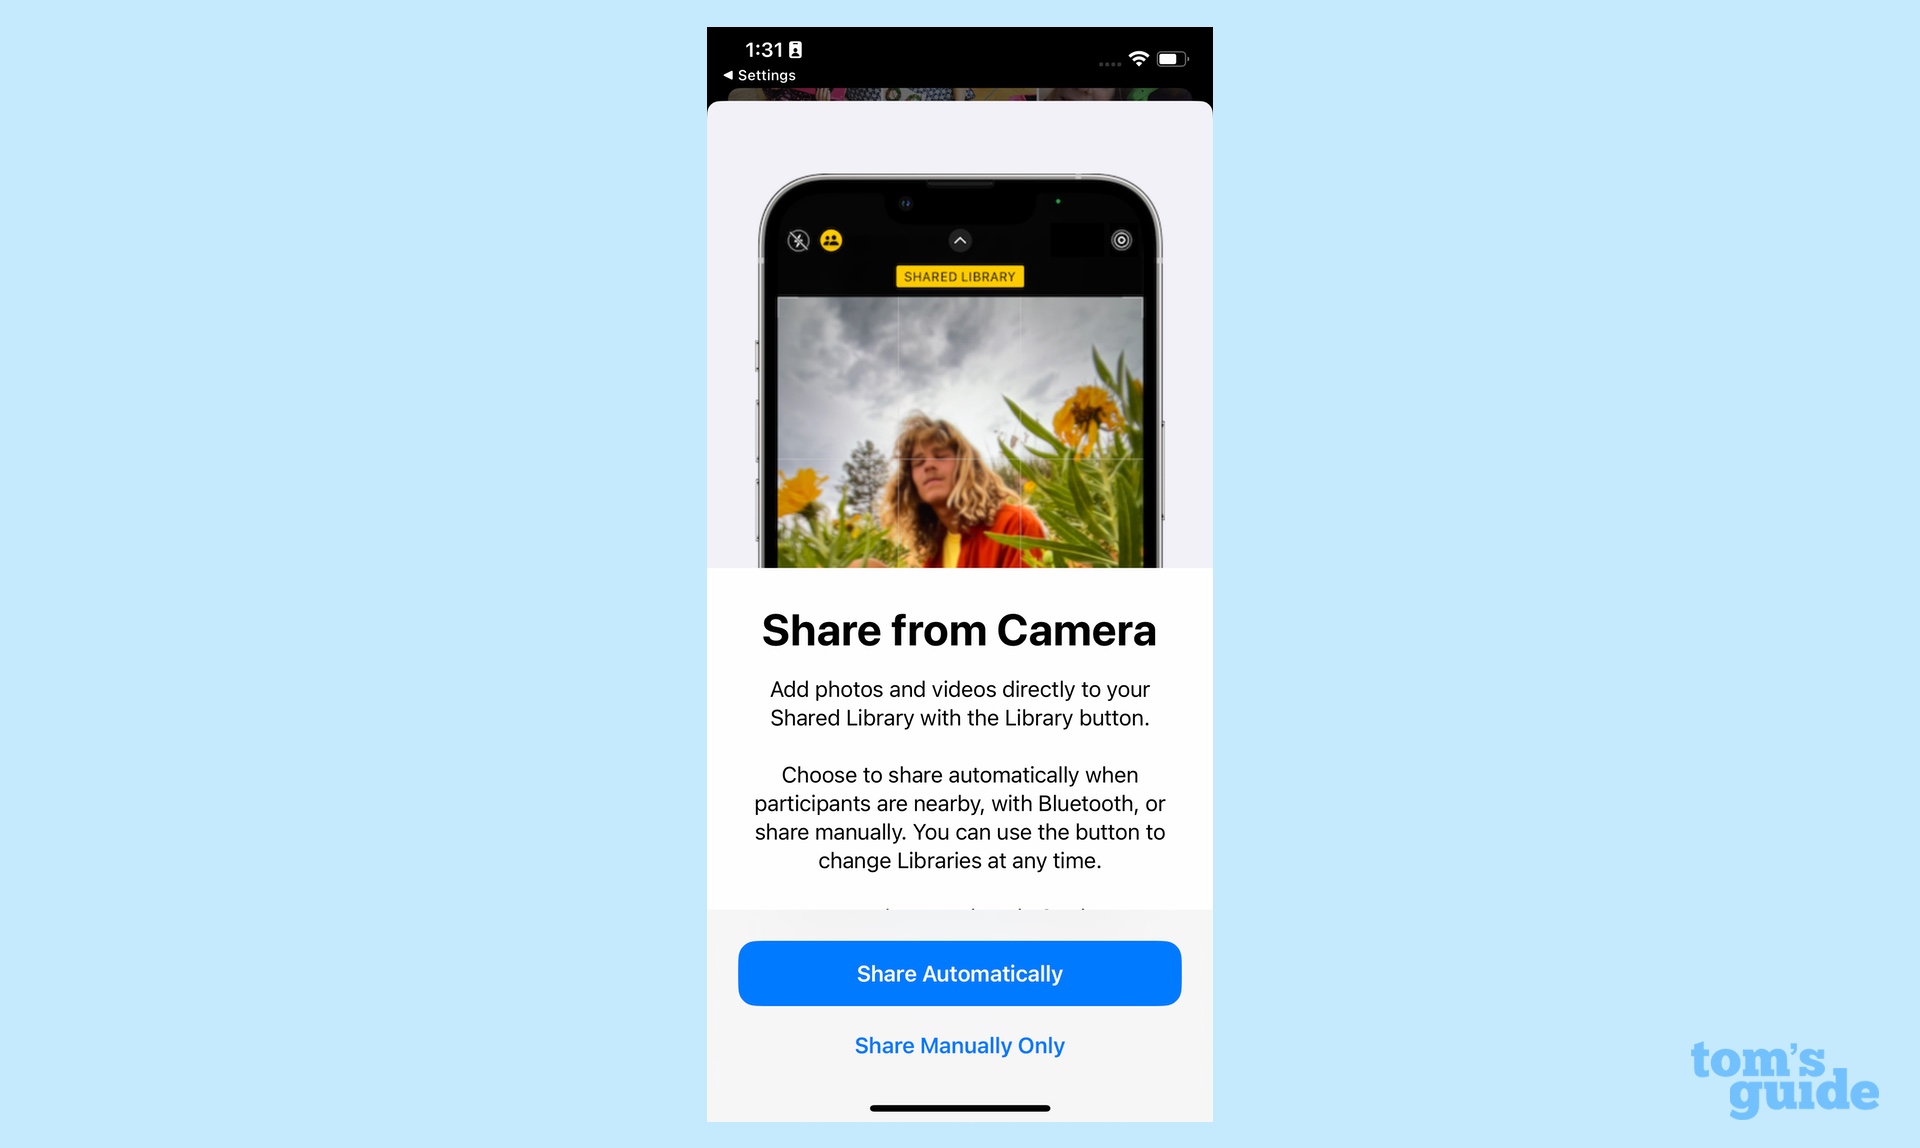
10. You'll be asked if you want every photo you take with the Camera app to automatically send photos to the iCloud Shared Photo Library. You can also opt to share photos manually.
11. At long last, you're all set up.

You can learn how to upgrade iCloud storage on iPhone, iPad and Mac with our simple guide.
If you'd now like to learn more iOS 16 tips and tricks, we've got you covered. The first thing to do is to learn how to download install iOS 16. Once that's taken care of, you can then learn how to take advantage of the new messaging features with our guides on how to edit an iMessage in iOS 16 and how to undo send using iMessage on iPhone.
We've got the latest on the iOS 16 lock screen as well, including tips on how to customize a lock screen and switch between different lock screens. If you want to have some fun with photos on your iPhone check out how to overlay images on iPhone.

Peter is a Senior Editor at Tom's Guide, heading up the site's Reviews team and Cameras section. As a writer, he covers topics including tech, photography, gaming, hardware, motoring and food & drink. Outside of work, he's an avid photographer, specialising in architectural and portrait photography. When he's not snapping away on his beloved Fujifilm camera, he can usually be found telling everyone about his greyhounds, riding his motorcycle, squeezing as many FPS as possible out of PC games, and perfecting his espresso shots.
