How to take a screenshot on a Mac
The ultimate guide to how to take a screenshot on a Mac

Once you learn how to take a screenshot on a Mac, each and every way (there are more than a few), you'll have an expertise that comes in handy quite often. As Tom's Guide's resident Mac power user, I've mastered the practice and use the skill to help the team cover live-streamed events.
You might not realize it at first, but the general full-screen view is just one of three kinds of screenshots you can take. Oh, and there are three screenshot options you can choose from, to customize the process completely.
- How to use macOS — essential tips and tricks
- The best laptops right now
- MacBook Air vs Pro: What's right for you?
Here is our ultimate guide for how to take a screenshot on a Mac:
How to take a screenshot on a Mac: Full-screen screenshot
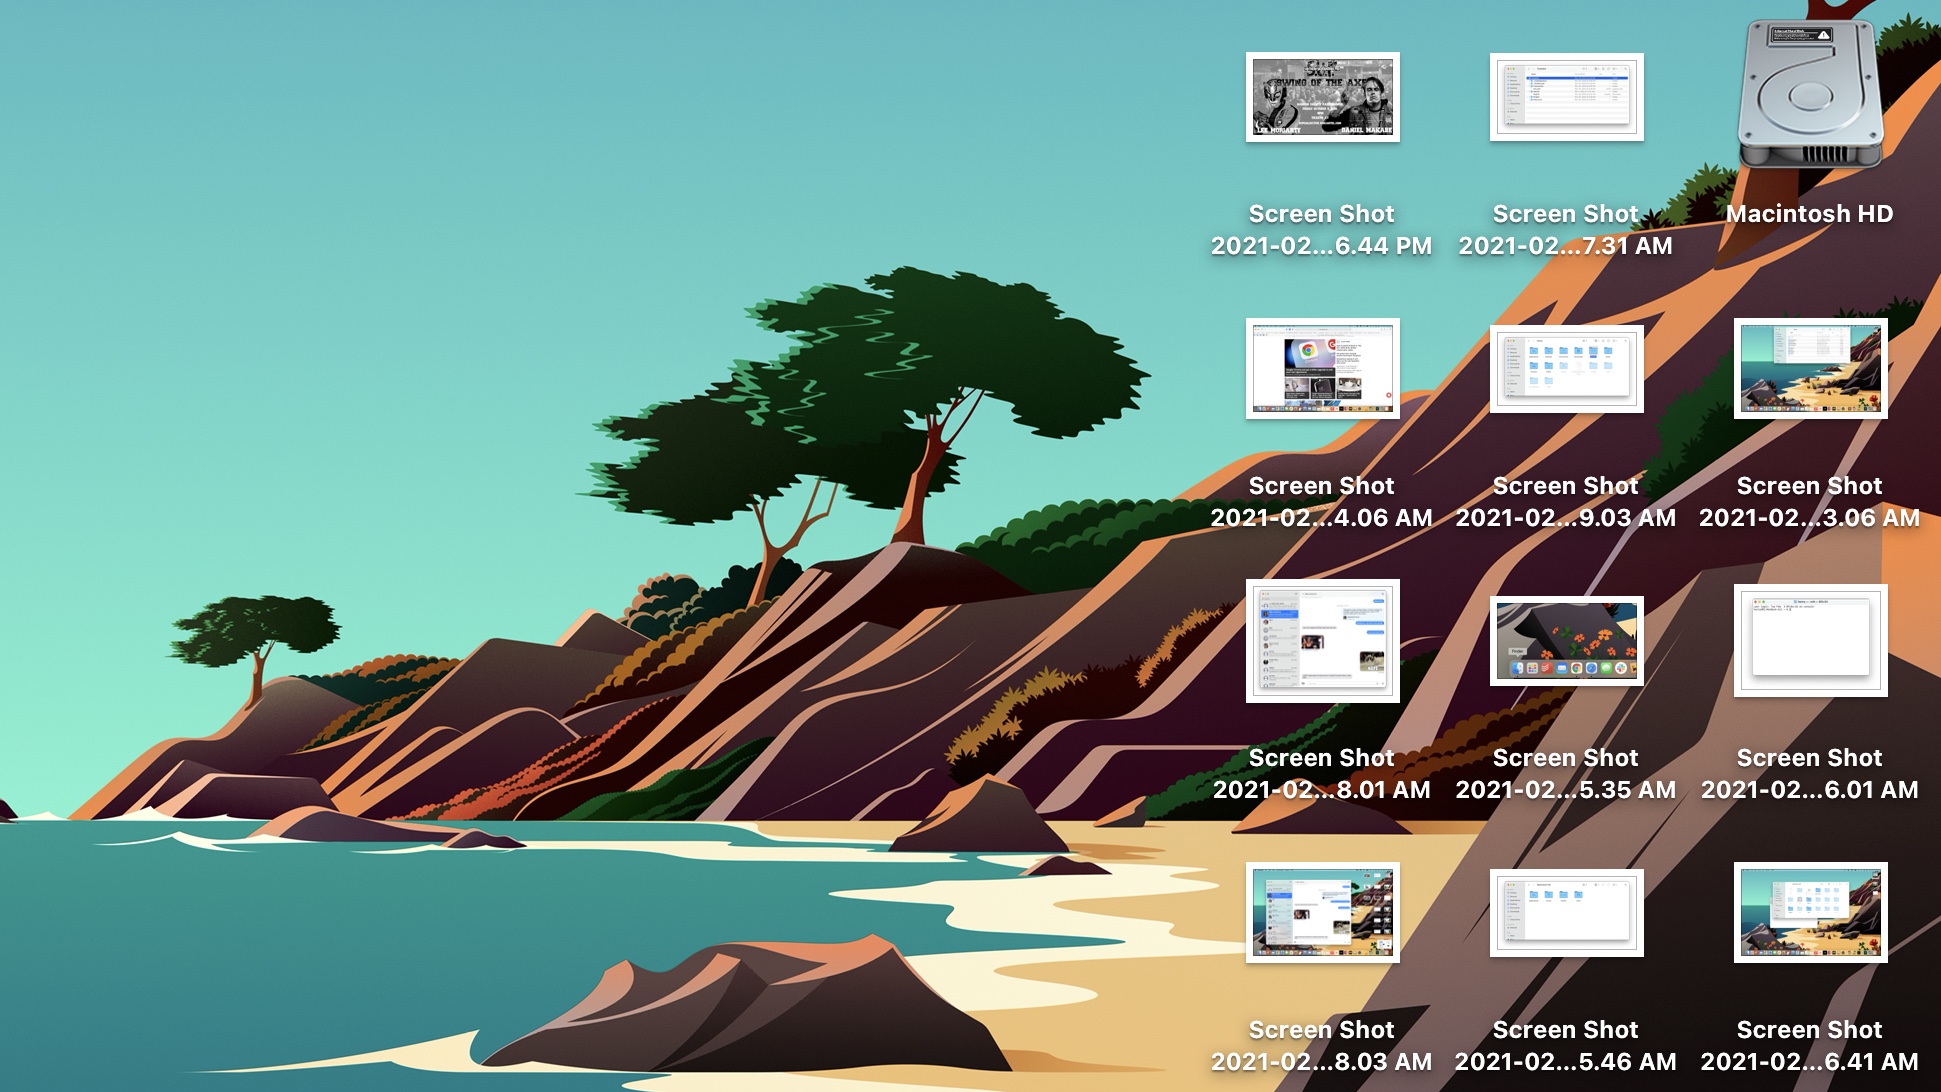
- Perform the keyboard shortcut Command + Shift + 3 to get an image of your Mac's screen, as well as images for any connected monitors.
- The image will appear on your desktop, unless you change your preferences, as I'll get to below.
The easiest way to screenshot on a Mac is also the most … well, comprehensive.
How to take screenshot on a Mac: Pre-cropped screenshot
- Perform the keyboard shortcut Command + Shift + 4.
- Click and drag your touchpad or mouse to select the region you want to capture, and release.
- Your screenshot will show up on your desktop, though you can set it to appear somewhere else, as I'll explain below.
My preferred screenshot method, because it removes all the need for resizing the canvas of your image afterwards, turns your mouse into a set of crosshairs.
If you want to capture the same part of your screen repeatedly, there's an even better way to pull off this trick, and it's my secret weapon for capturing pre-cropped screenshots expediently.
- Perform the keyboard shortcut Command + Shift + 5.
- In the pop-up menu, select "Capture Selected Portion," the third option from the left
- Adjust the selected portion of the screen by dragging the corners of the frame.
- Hit Enter.
- Repeat as necessary, as you will get the same crop again when you go back through this. While Command+Shift+4 is great for one-time screenshots, this method is great for creating batches of screenshots on the fly.
- Your screenshot will show up on your desktop.
How to take a screenshot on a Mac: Directly to your clipboard
Hate creating clutter on your screen? We've got a tip for you too.
Sign up to get the BEST of Tom's Guide direct to your inbox.
Get instant access to breaking news, the hottest reviews, great deals and helpful tips.
- Perform the keyboard shortcut Command + Control + Shift + 4.
- Hit Command + V in a document or program.
Now you'll have no new files on your desktop.
How to take a screenshot on a Mac: Just an app window
Often, mostly for these "how to" articles, I take screenshots that have all of one window in macOS, and nothing else.
- Perform the keyboard shortcut Command + Shift + 5.
- On the window that pops up, select "Capture Selected Window," the second option from the left,
- Click on a window you want to capture.
- Your screenshot will show up on your desktop.
How to take a screenshot on a Mac: Change default screenshot file location
- Perform the keyboard shortcut Command + Shift + 5.
- Click Options.
- Under Save to, pick a destination. Options include your desktop, your documents folder, your clipboard (so hitting Command + V would paste that screenshot into a document) and other apps, such as Mail, Messages and Preview.
- Click Other Location to select a custom destination.
How to take a screenshot on a Mac: Using a timer delay
Sometimes you need to perform a screenshot that requires an action to be performed right before hitting the screenshot.
- Perform the keyboard shortcut Command + Shift + 5.
- Click Options.
- Select 5 seconds or 10 seconds.
- Then hit Enter, and your timer will begin.
- Your screenshot will show up on your desktop.
How to take a screenshot on a Mac: Bonus options
- Perform the keyboard shortcut Command + Shift + 5.
- Click Options.
- You can uncheck "Show floating thumbnail" to get your screenshots faster, and stop macOS from putting your screenshots in the corner of your screen (which is mostly good for performing edits in the preview mode).
- If you uncheck "Remember last selection" macOS' screenshots tool will return to its defaults after each screenshot.
- Check or uncheck "Show mouse pointer" if you want your mouse cursor to appear in your screenshots -- it can be helpful for explaining how to perform certain actions.
More macOS tips

Henry is a managing editor at Tom’s Guide covering streaming media, laptops and all things Apple, reviewing devices and services for the past seven years. Prior to joining Tom's Guide, he reviewed software and hardware for TechRadar Pro, and interviewed artists for Patek Philippe International Magazine. He's also covered the wild world of professional wrestling for Cageside Seats, interviewing athletes and other industry veterans.
