How to reset a MacBook Pro — and any other Mac)
Everything you need to know for how to reset a MacBook Pro (and all Macs)
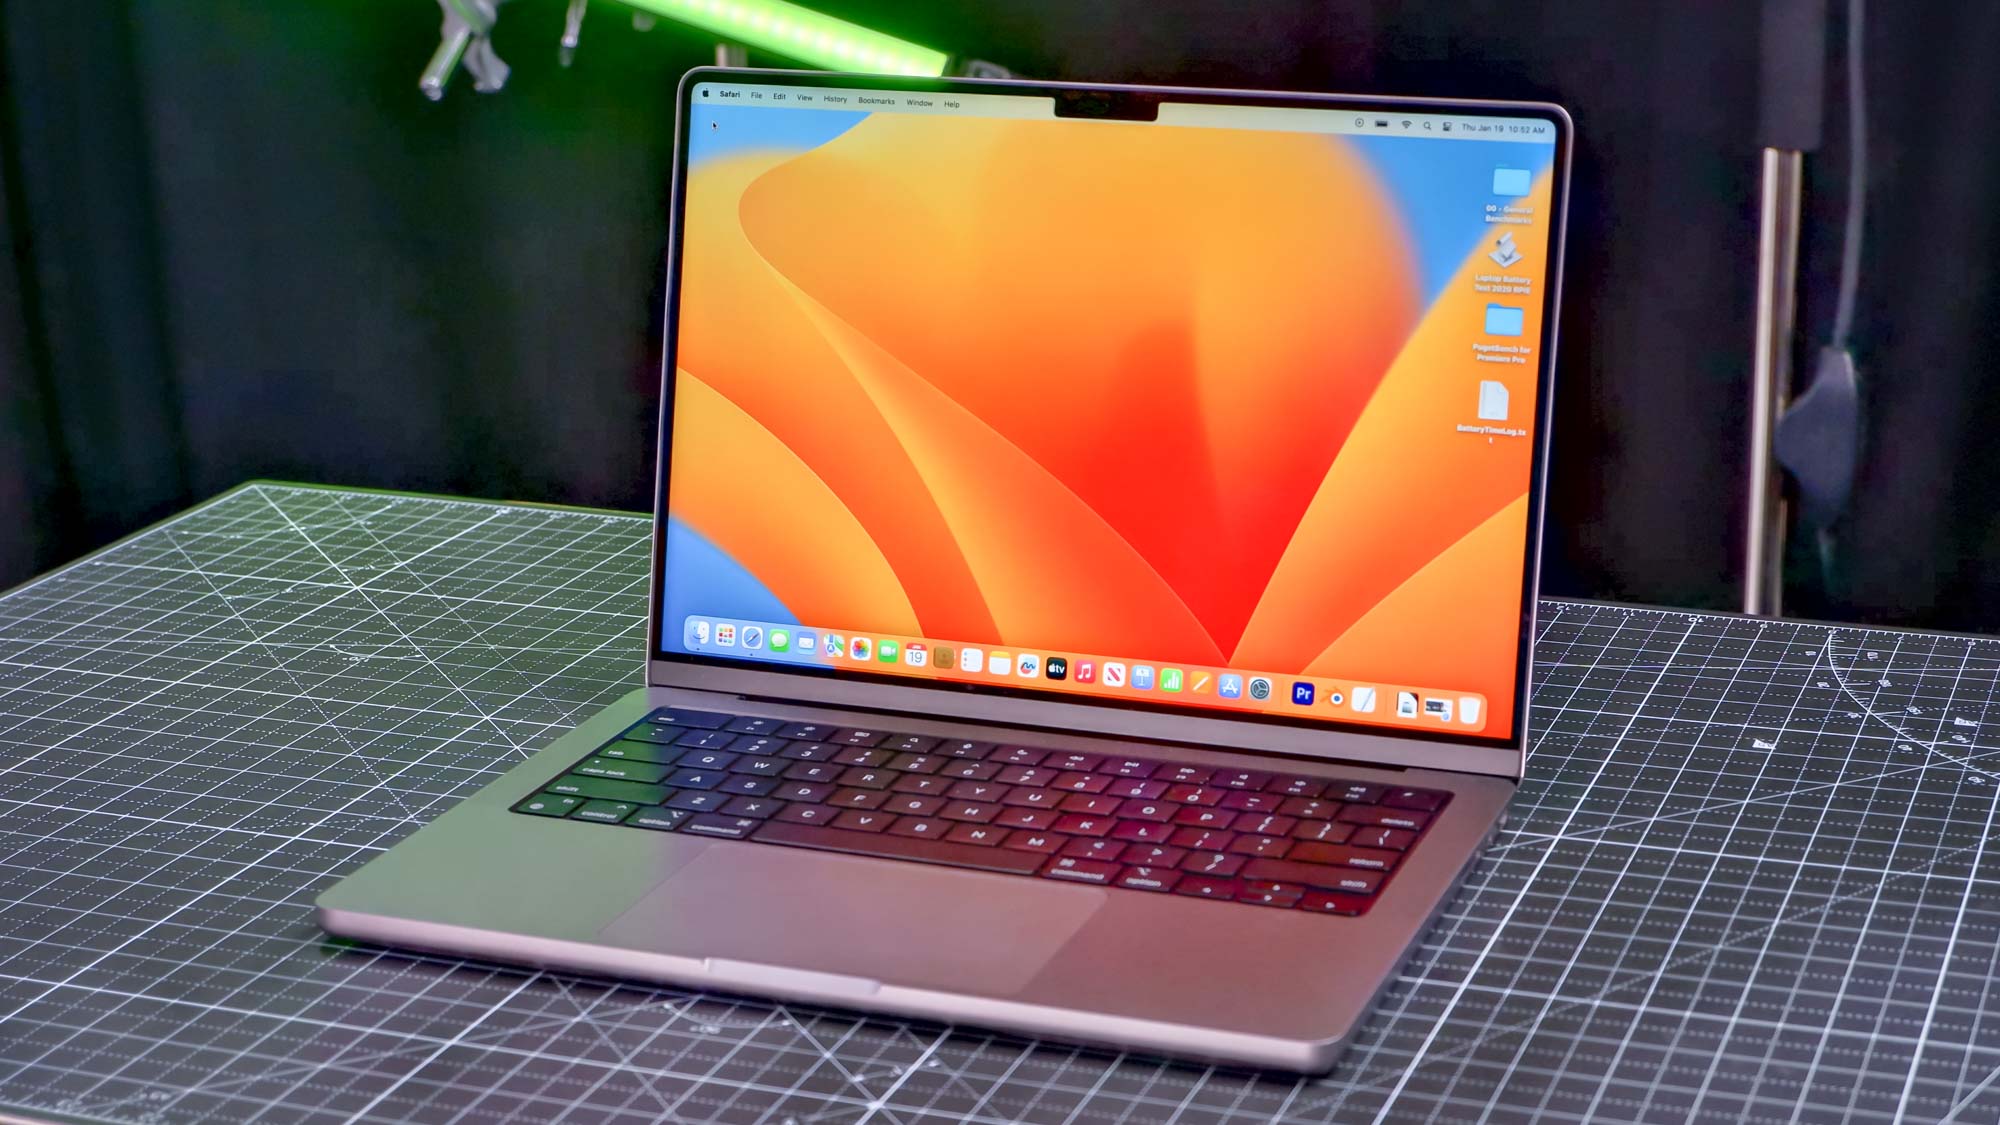
If you're looking for how to reset a MacBook Pro (or any kind of Mac for that matter), you've come to the right place (we've got all the tips on how to use macOS). Whether something's wrong with your Mac or you're looking to part ways with it, we've got everything you need to know.
But before you reset your Mac, make sure you prepare it properly. That starts with using one of the best cloud backup services to get your data safe.
That means signing out of all the Apple services (go to System Preferences > iCloud for iCloud, the Messages app for iMessage and the TV and Music apps too). You want as few devices tied to your account as possible, for good housekeeping.
And one note: since macOS doesn't allow for screenshots in Recovery Mode, we don't have all of the helpful visuals here we normally do. So, please read this all the way through before you jump right into the process, so you're aware of how it works (and before you move onto buy another of the best laptops, if you're looking to replace your MacBook Pro).
How to reset a MacBook Pro the easy way
Running macOS Monterey or later? (Click the Apple logo and select About This Mac to see if you're on macOS 12 or later) or own a Mac with Apple Silicon or the Apple T2 Security Chip? You have a faster way to go about all this.
On macOS Ventura:
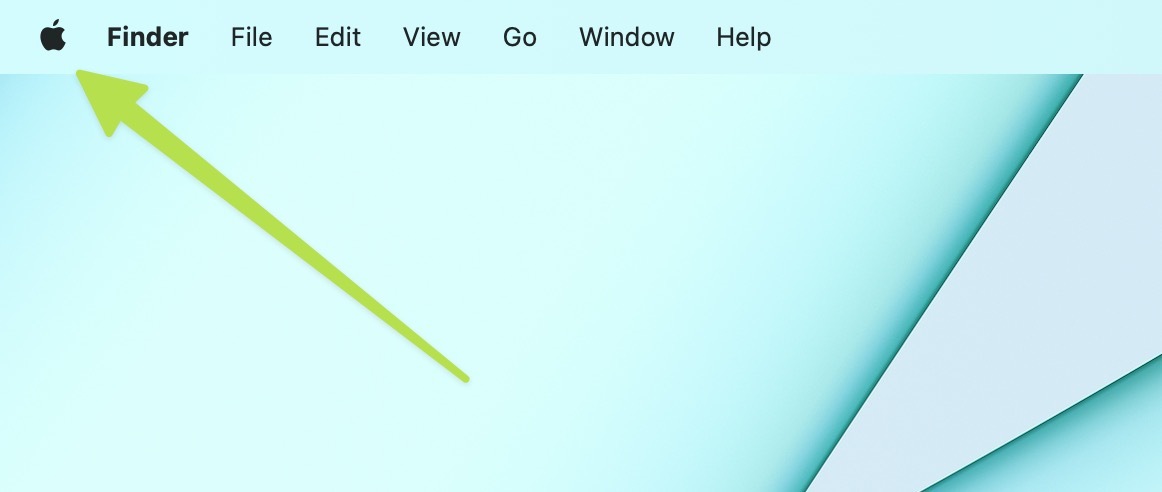
1. Click the Apple menu in the top left corner.
Sign up to get the BEST of Tom's Guide direct to your inbox.
Get instant access to breaking news, the hottest reviews, great deals and helpful tips.
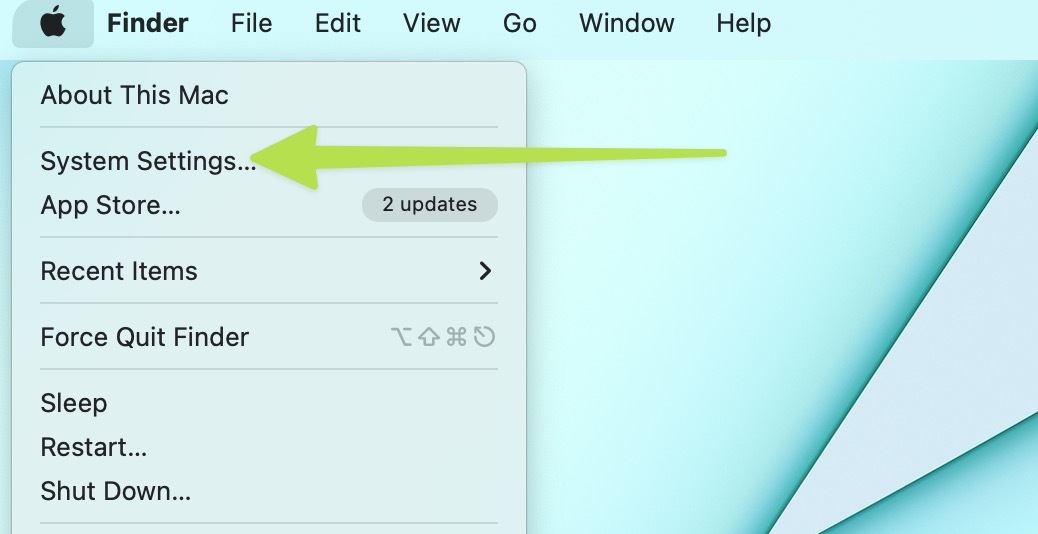
2. Select System Settings.
3. In the sidebar, select General.
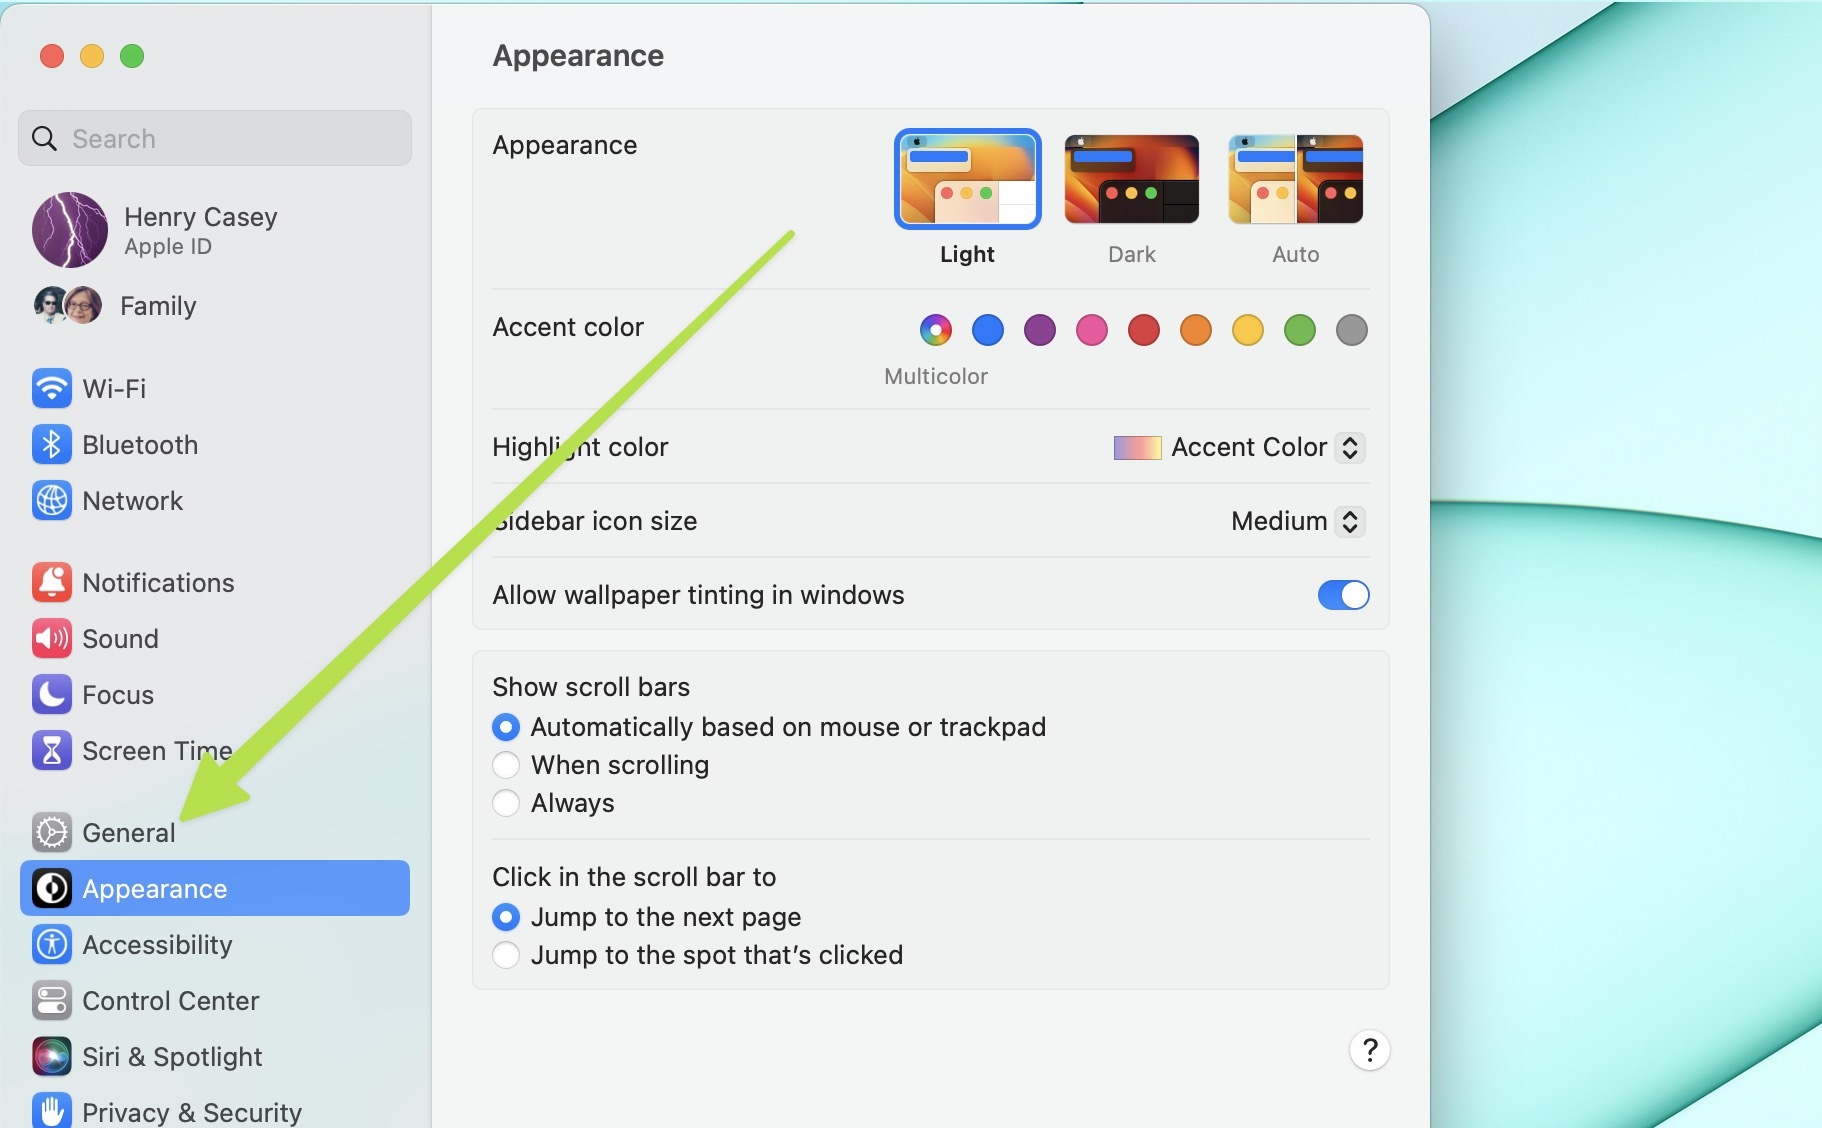
4. Select Transfer or Reset.
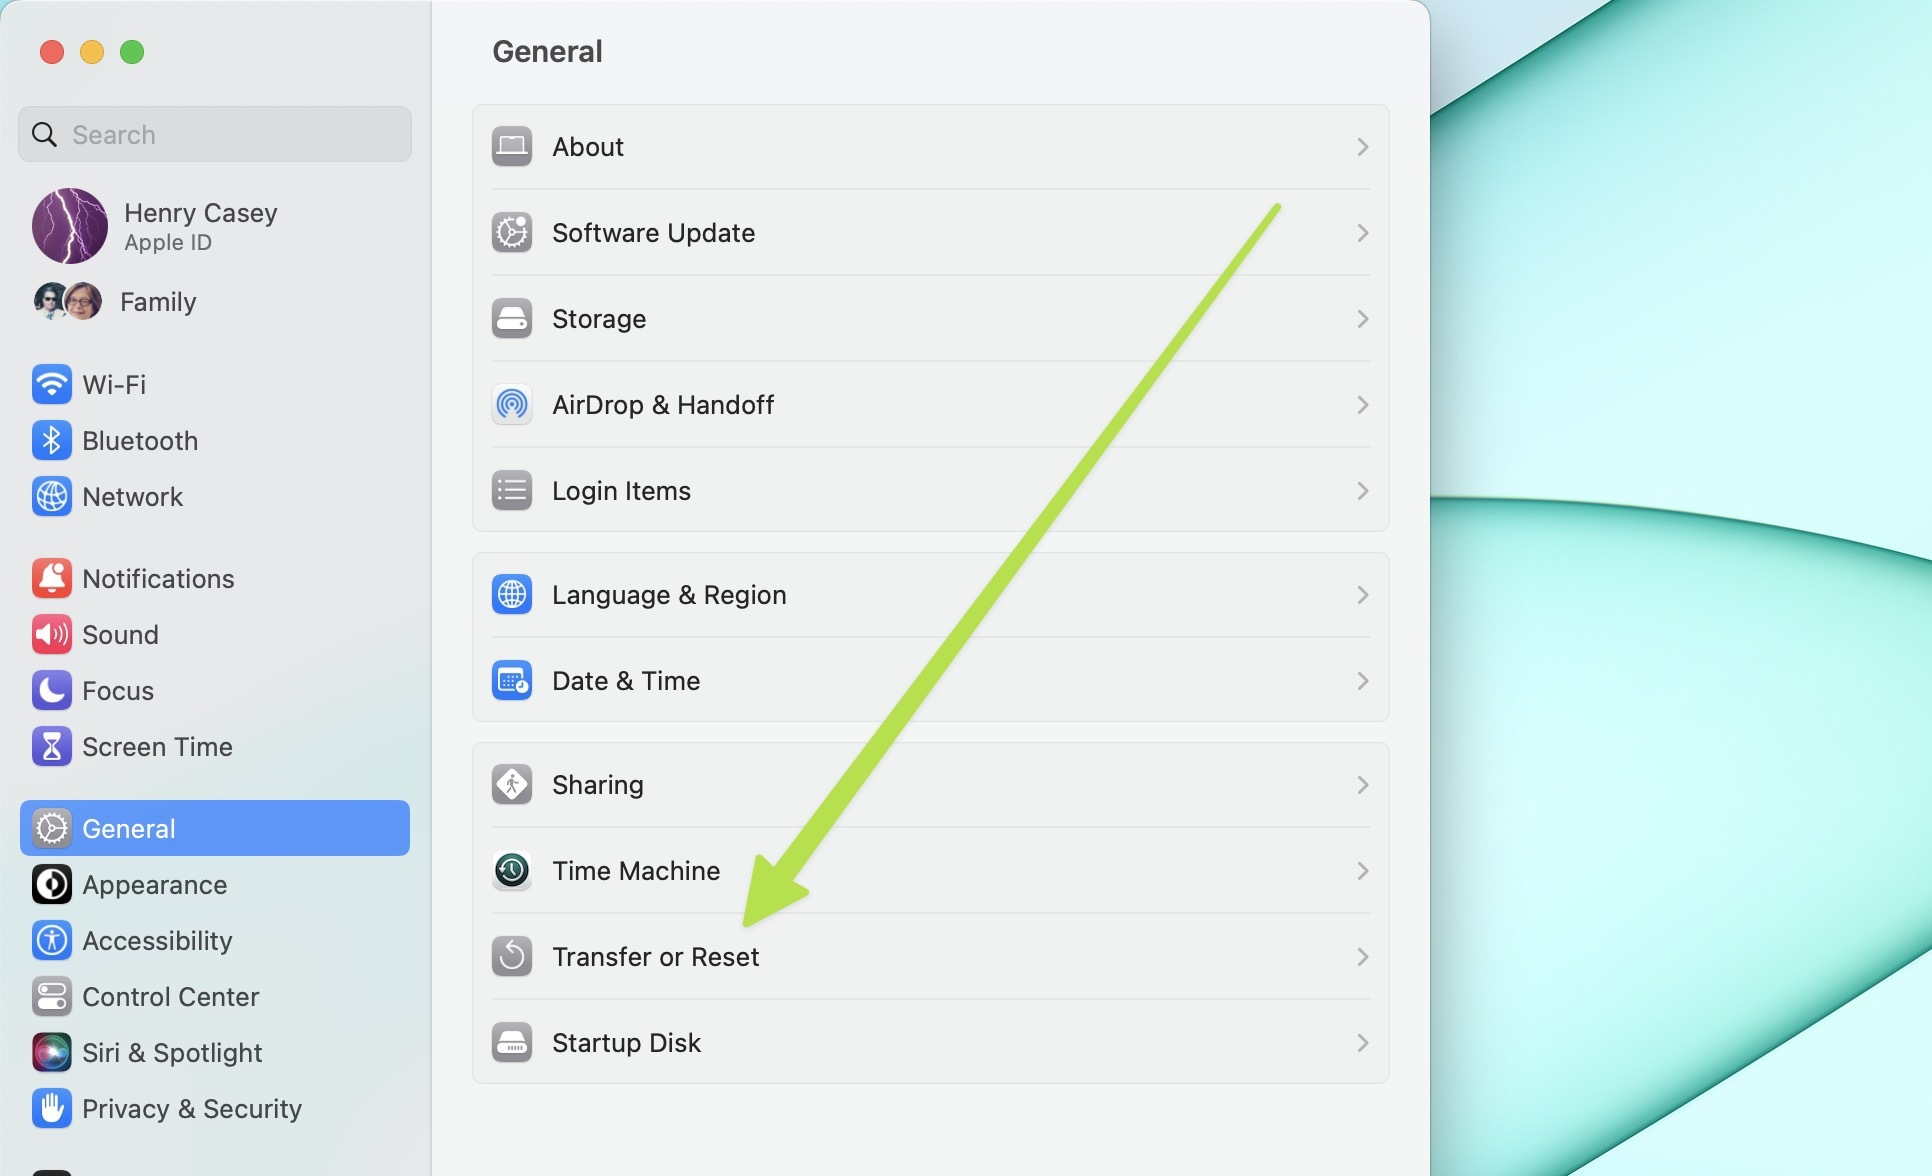
5. Select "Erase All Content and Settings."
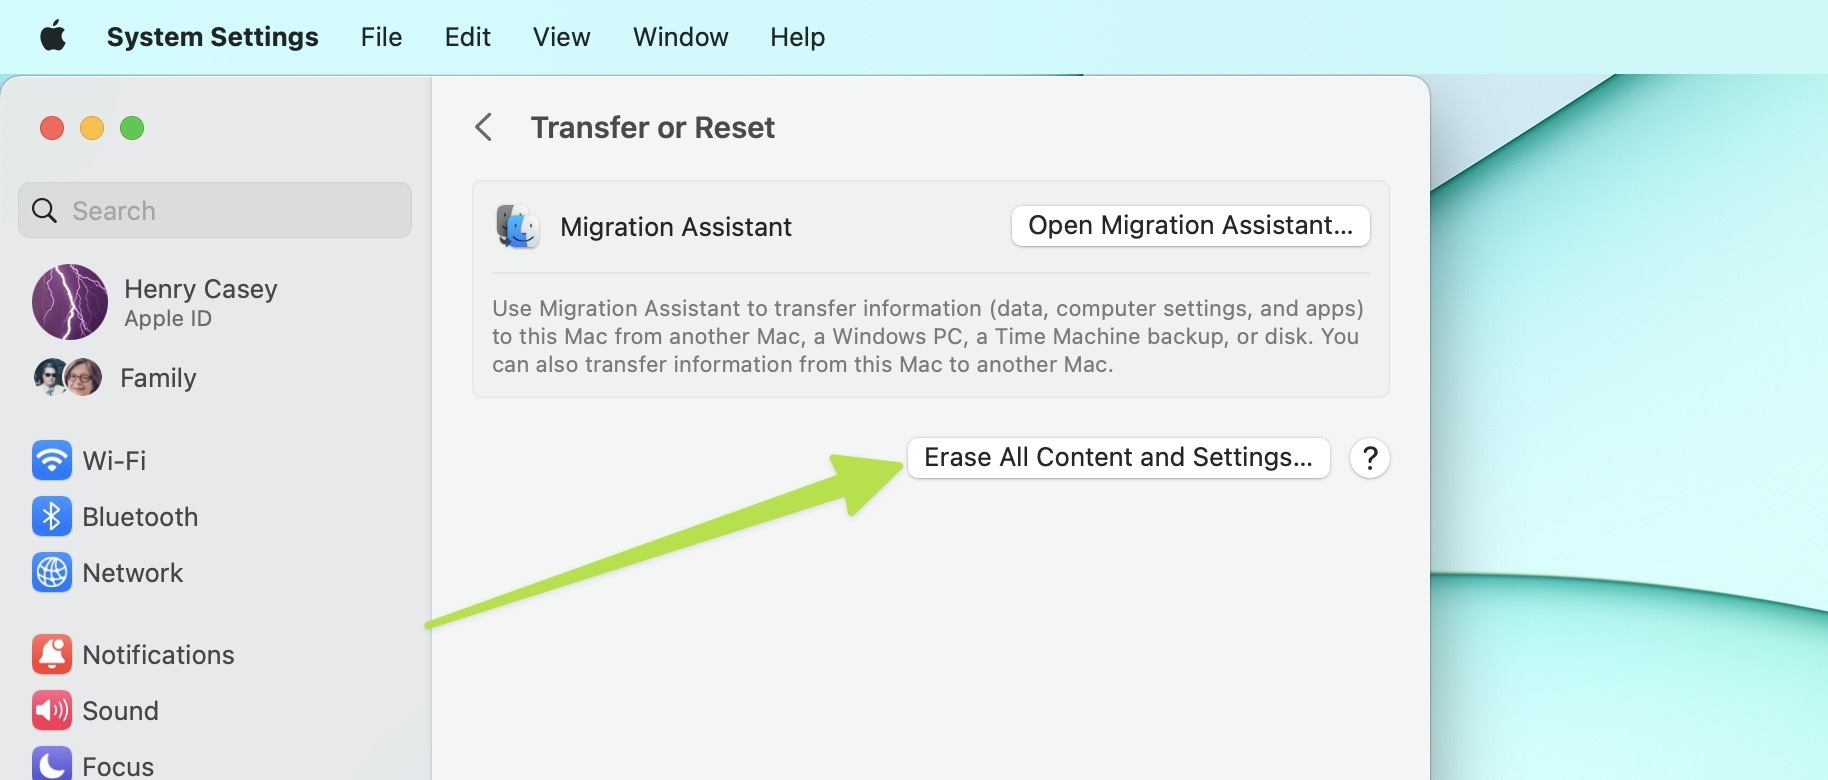
6. Follow the prompts.
On macOS Monterey
- Click the Apple menu in the top left corner.
- Select System Preferences.
- Select "Erase All Content and Settings."
- Follow the prompts
How to reset a MacBook Pro: Start with Recovery Mode
Here's how you reset older Macs!
1. Enter Recovery Mode
If you're on an older Intel-based Mac, restart your system (Apple logo > Restart) and hold down Command+R until you see the Apple logo.
Those on modern Apple Silicon-based Macs have an easier time booting into Recovery mode. Shut down your computer (Apple Logo > Shut Down), and then hold the power button down until you see the prompt to "Continue holding for startup options. Once you see "Loading startup options," you can release the power button. Select Options and click Continue and you will enter Recovery Mode.
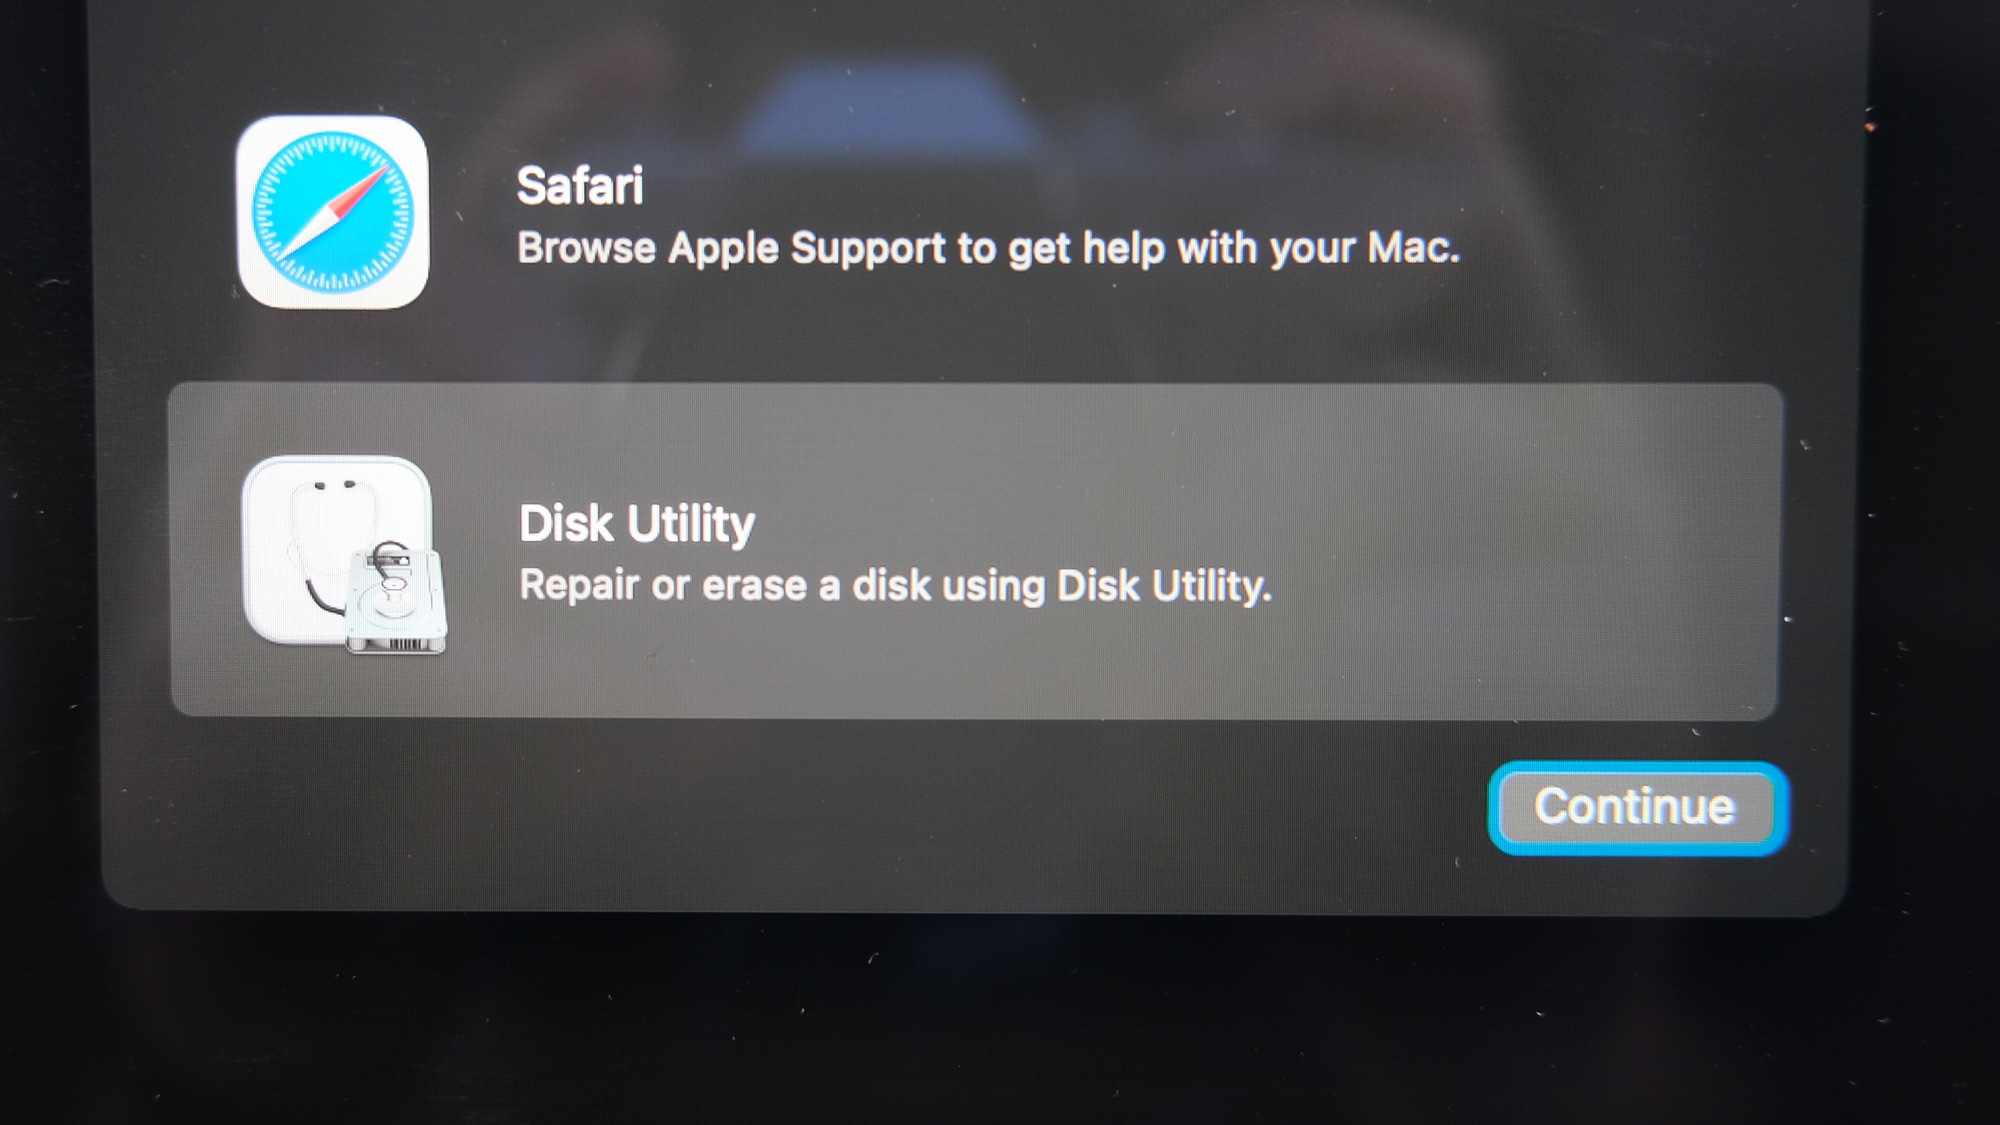
2. Select a user with administrator privileges and enter the account password.
3. Select Disk Utility.
4. Select your built-in start up disk.
This is usually called Macintosh HD, but you may have edited its name.
5. Click the Erase button.
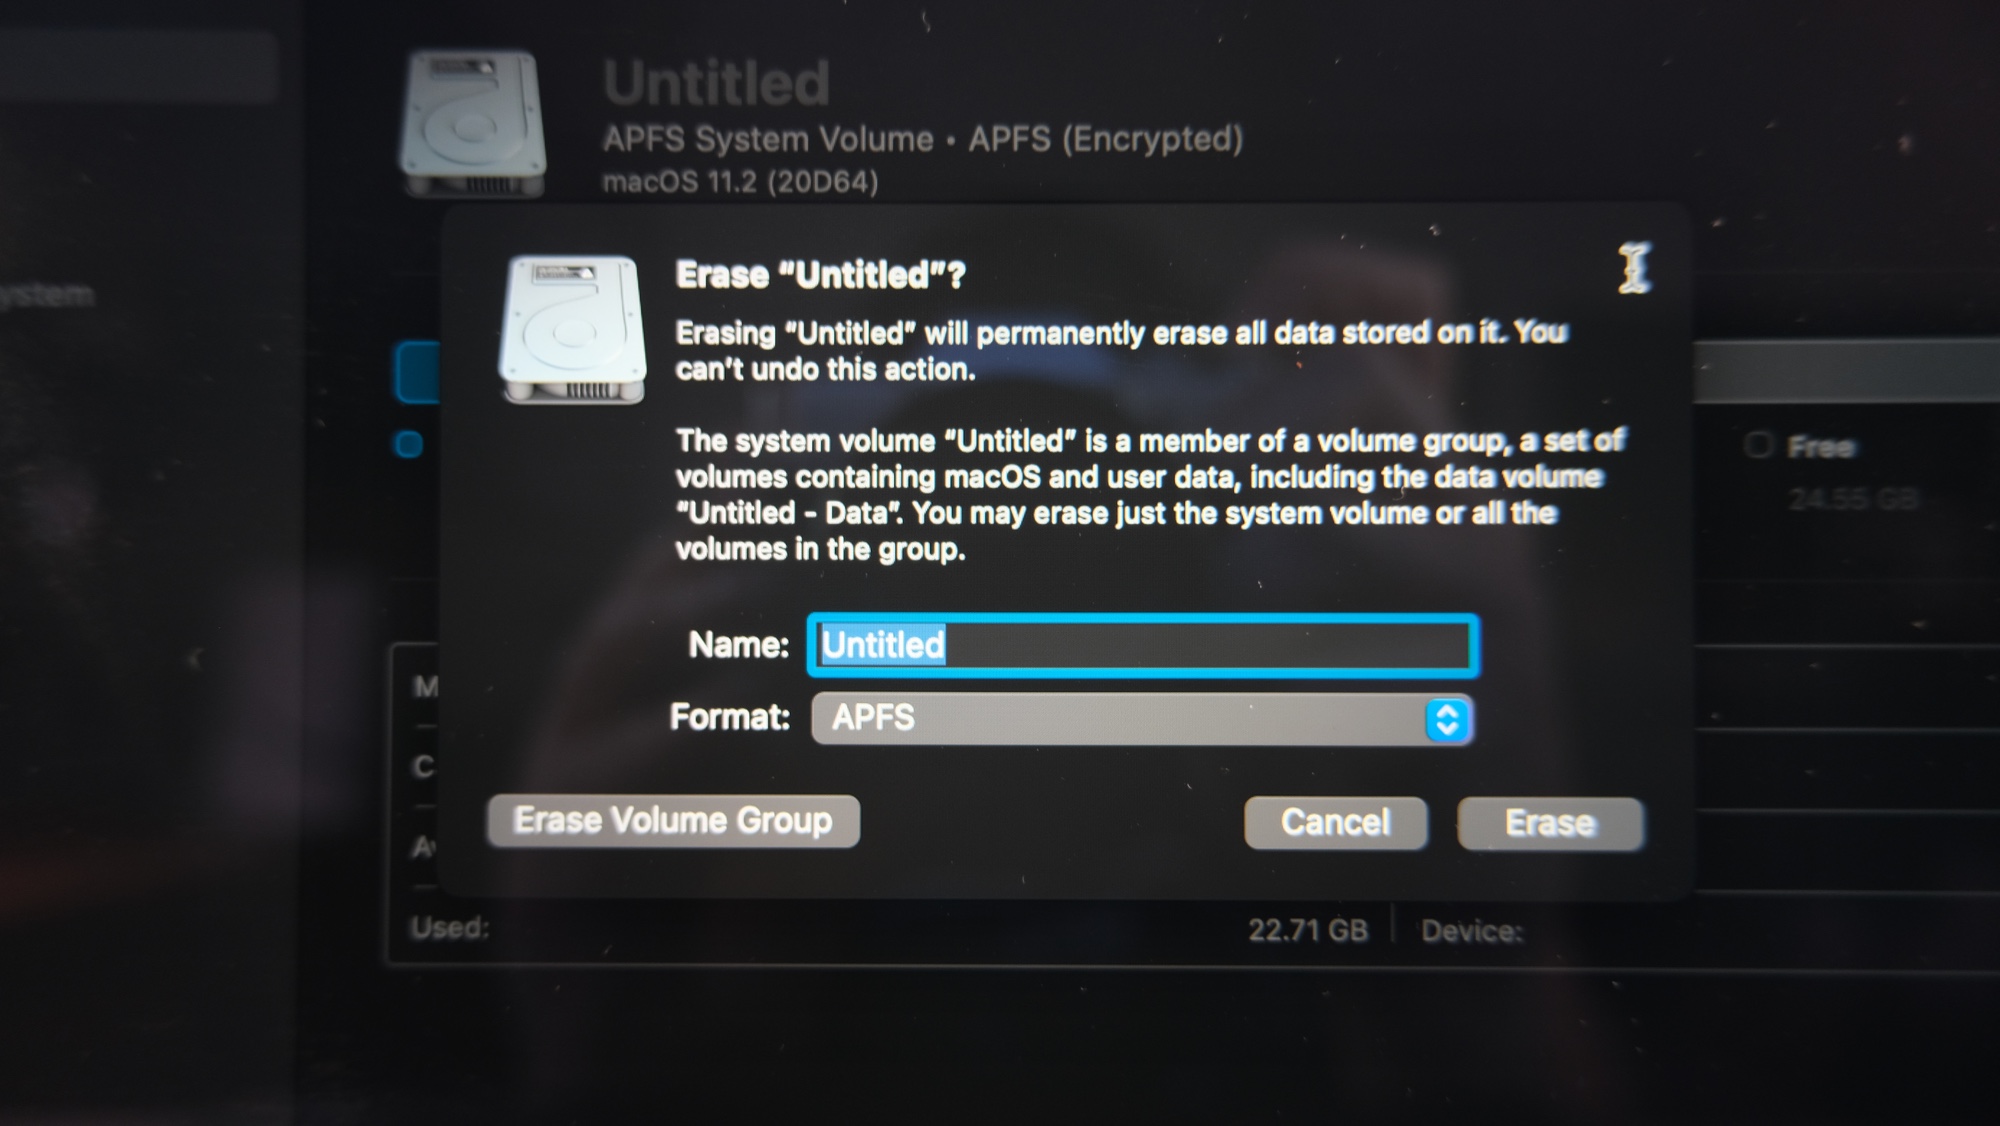
6. Enter a name for your drive.
Or keep the default Macintosh HD.
7. Select a disk format.
APFS and MacOS Extended (Journaled) are the top options.
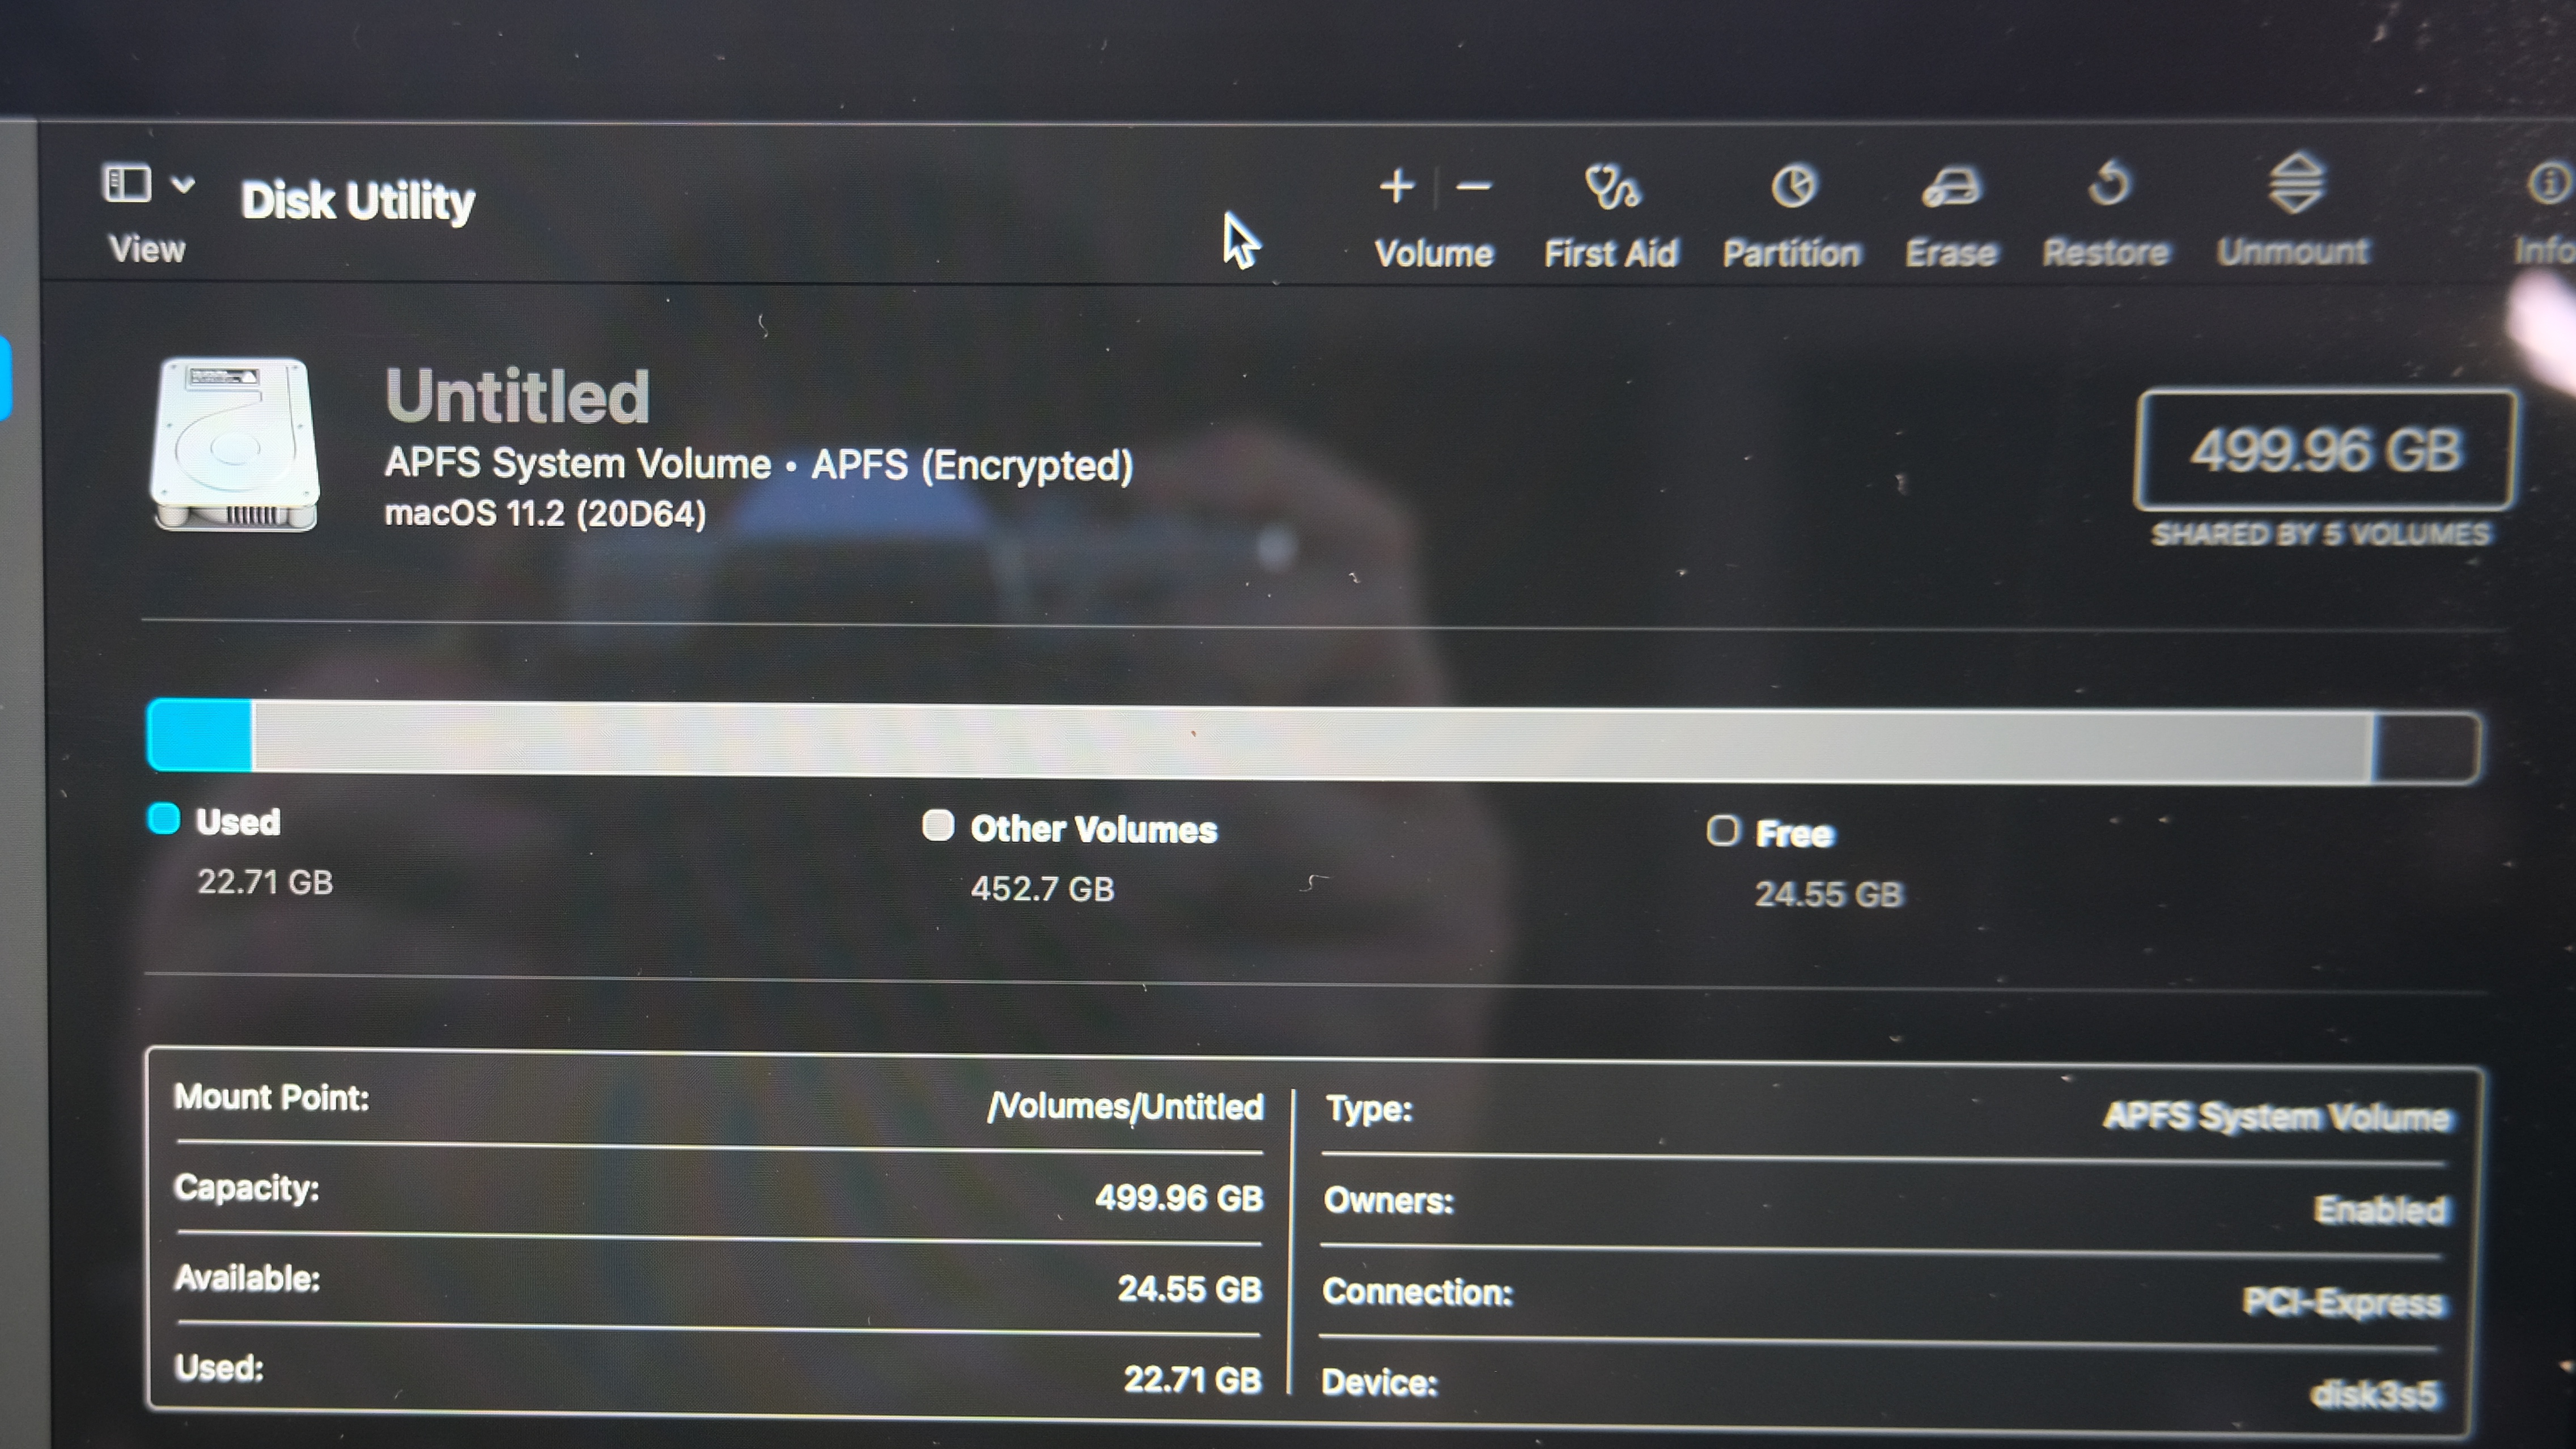
8. Click Erase Volume Group (or just Erase if you don't see that button).
9. You may need to enter your Apple ID credentials to remove the Find My service.
10. Delete the other volumes from your system by highlighting them in the menu and clicking the delete volume (–) button.
11. Quit Disk Utility (Command+Q)
12. Select Reinstall macOS Big Sur and click Continue.
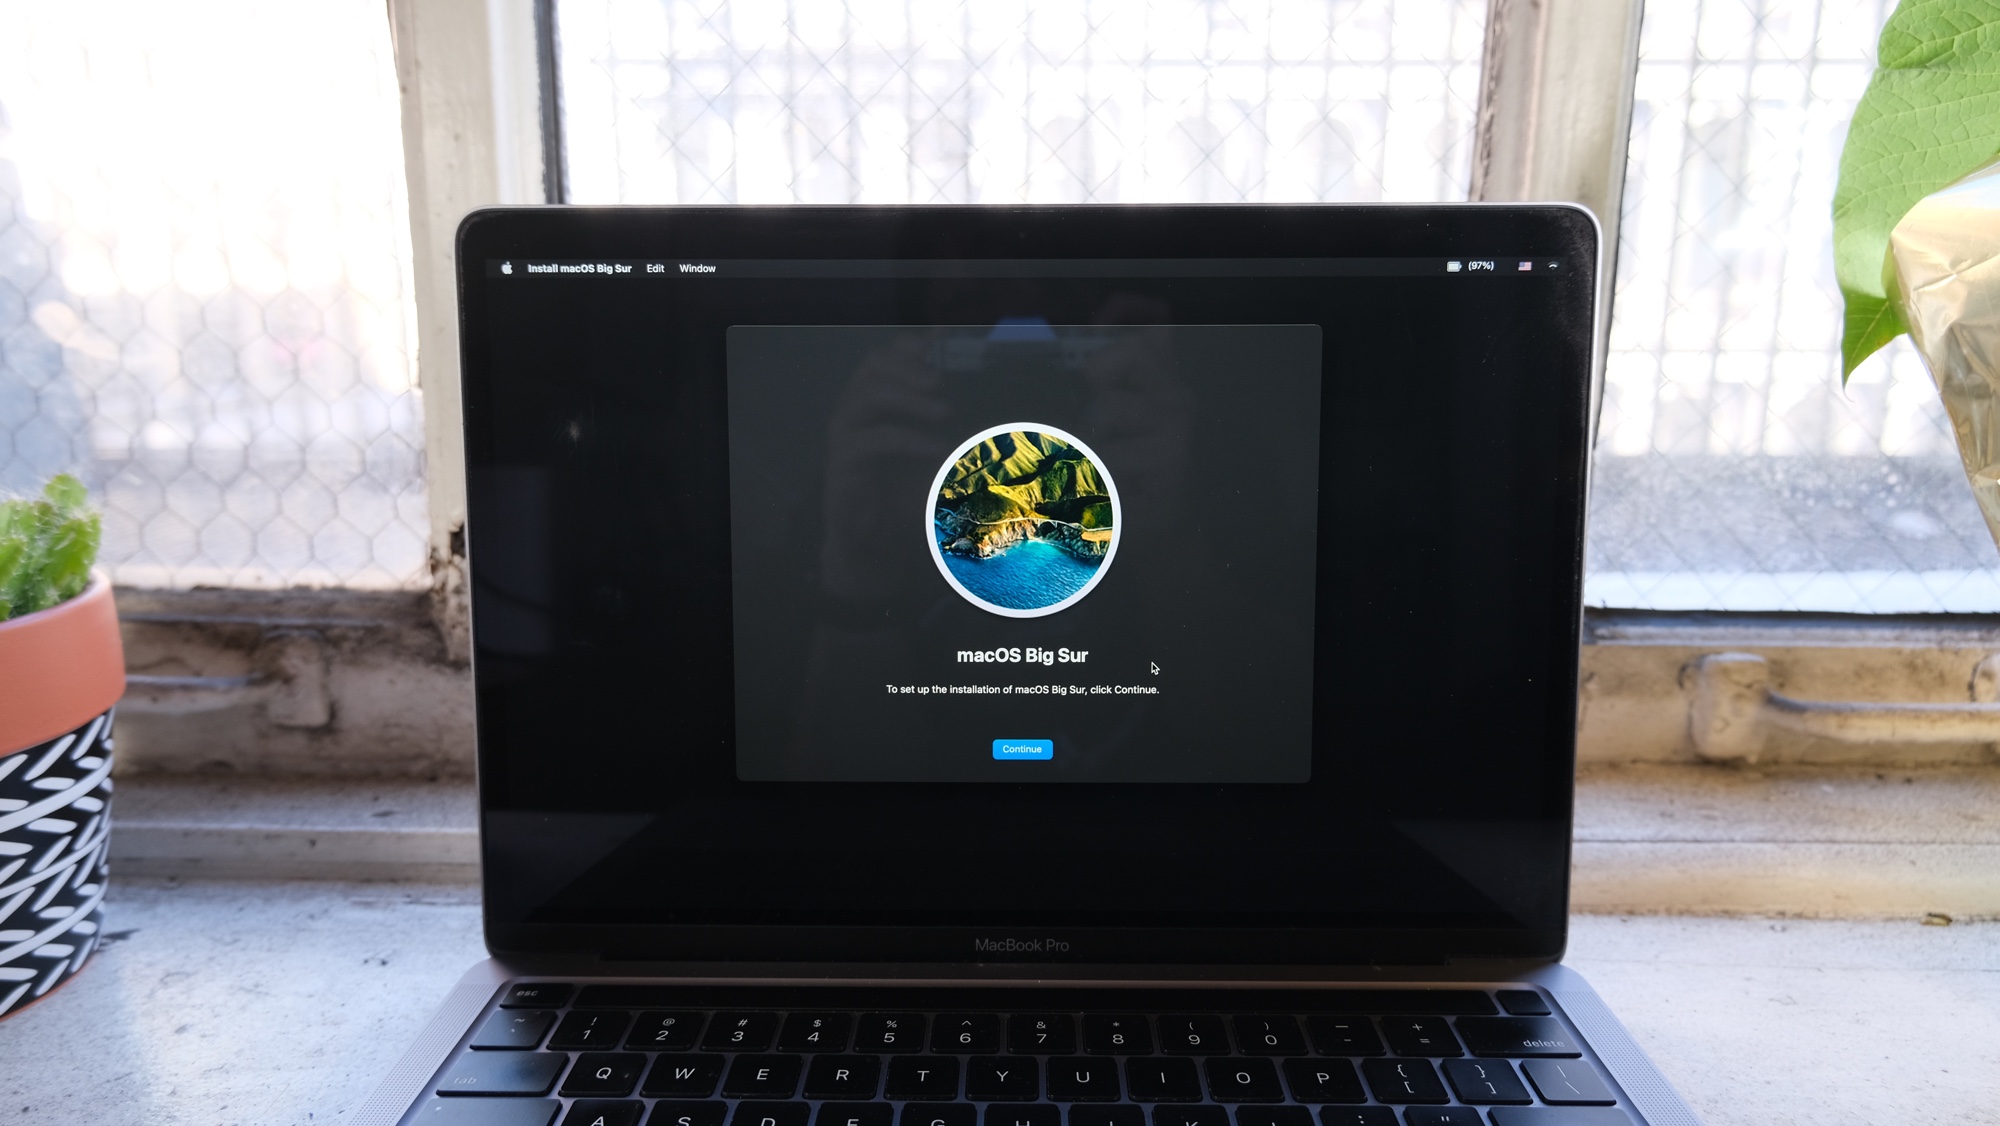
The following process can take a lot of time, so be prepared to wait — keeping your Mac on and connected to power. You may also need to enter your administrator password.
More macOS tips

Henry is a managing editor at Tom’s Guide covering streaming media, laptops and all things Apple, reviewing devices and services for the past seven years. Prior to joining Tom's Guide, he reviewed software and hardware for TechRadar Pro, and interviewed artists for Patek Philippe International Magazine. He's also covered the wild world of professional wrestling for Cageside Seats, interviewing athletes and other industry veterans.
