How to repot succulents in 7 simple steps
Here’s how to repot succulents and help them thrive
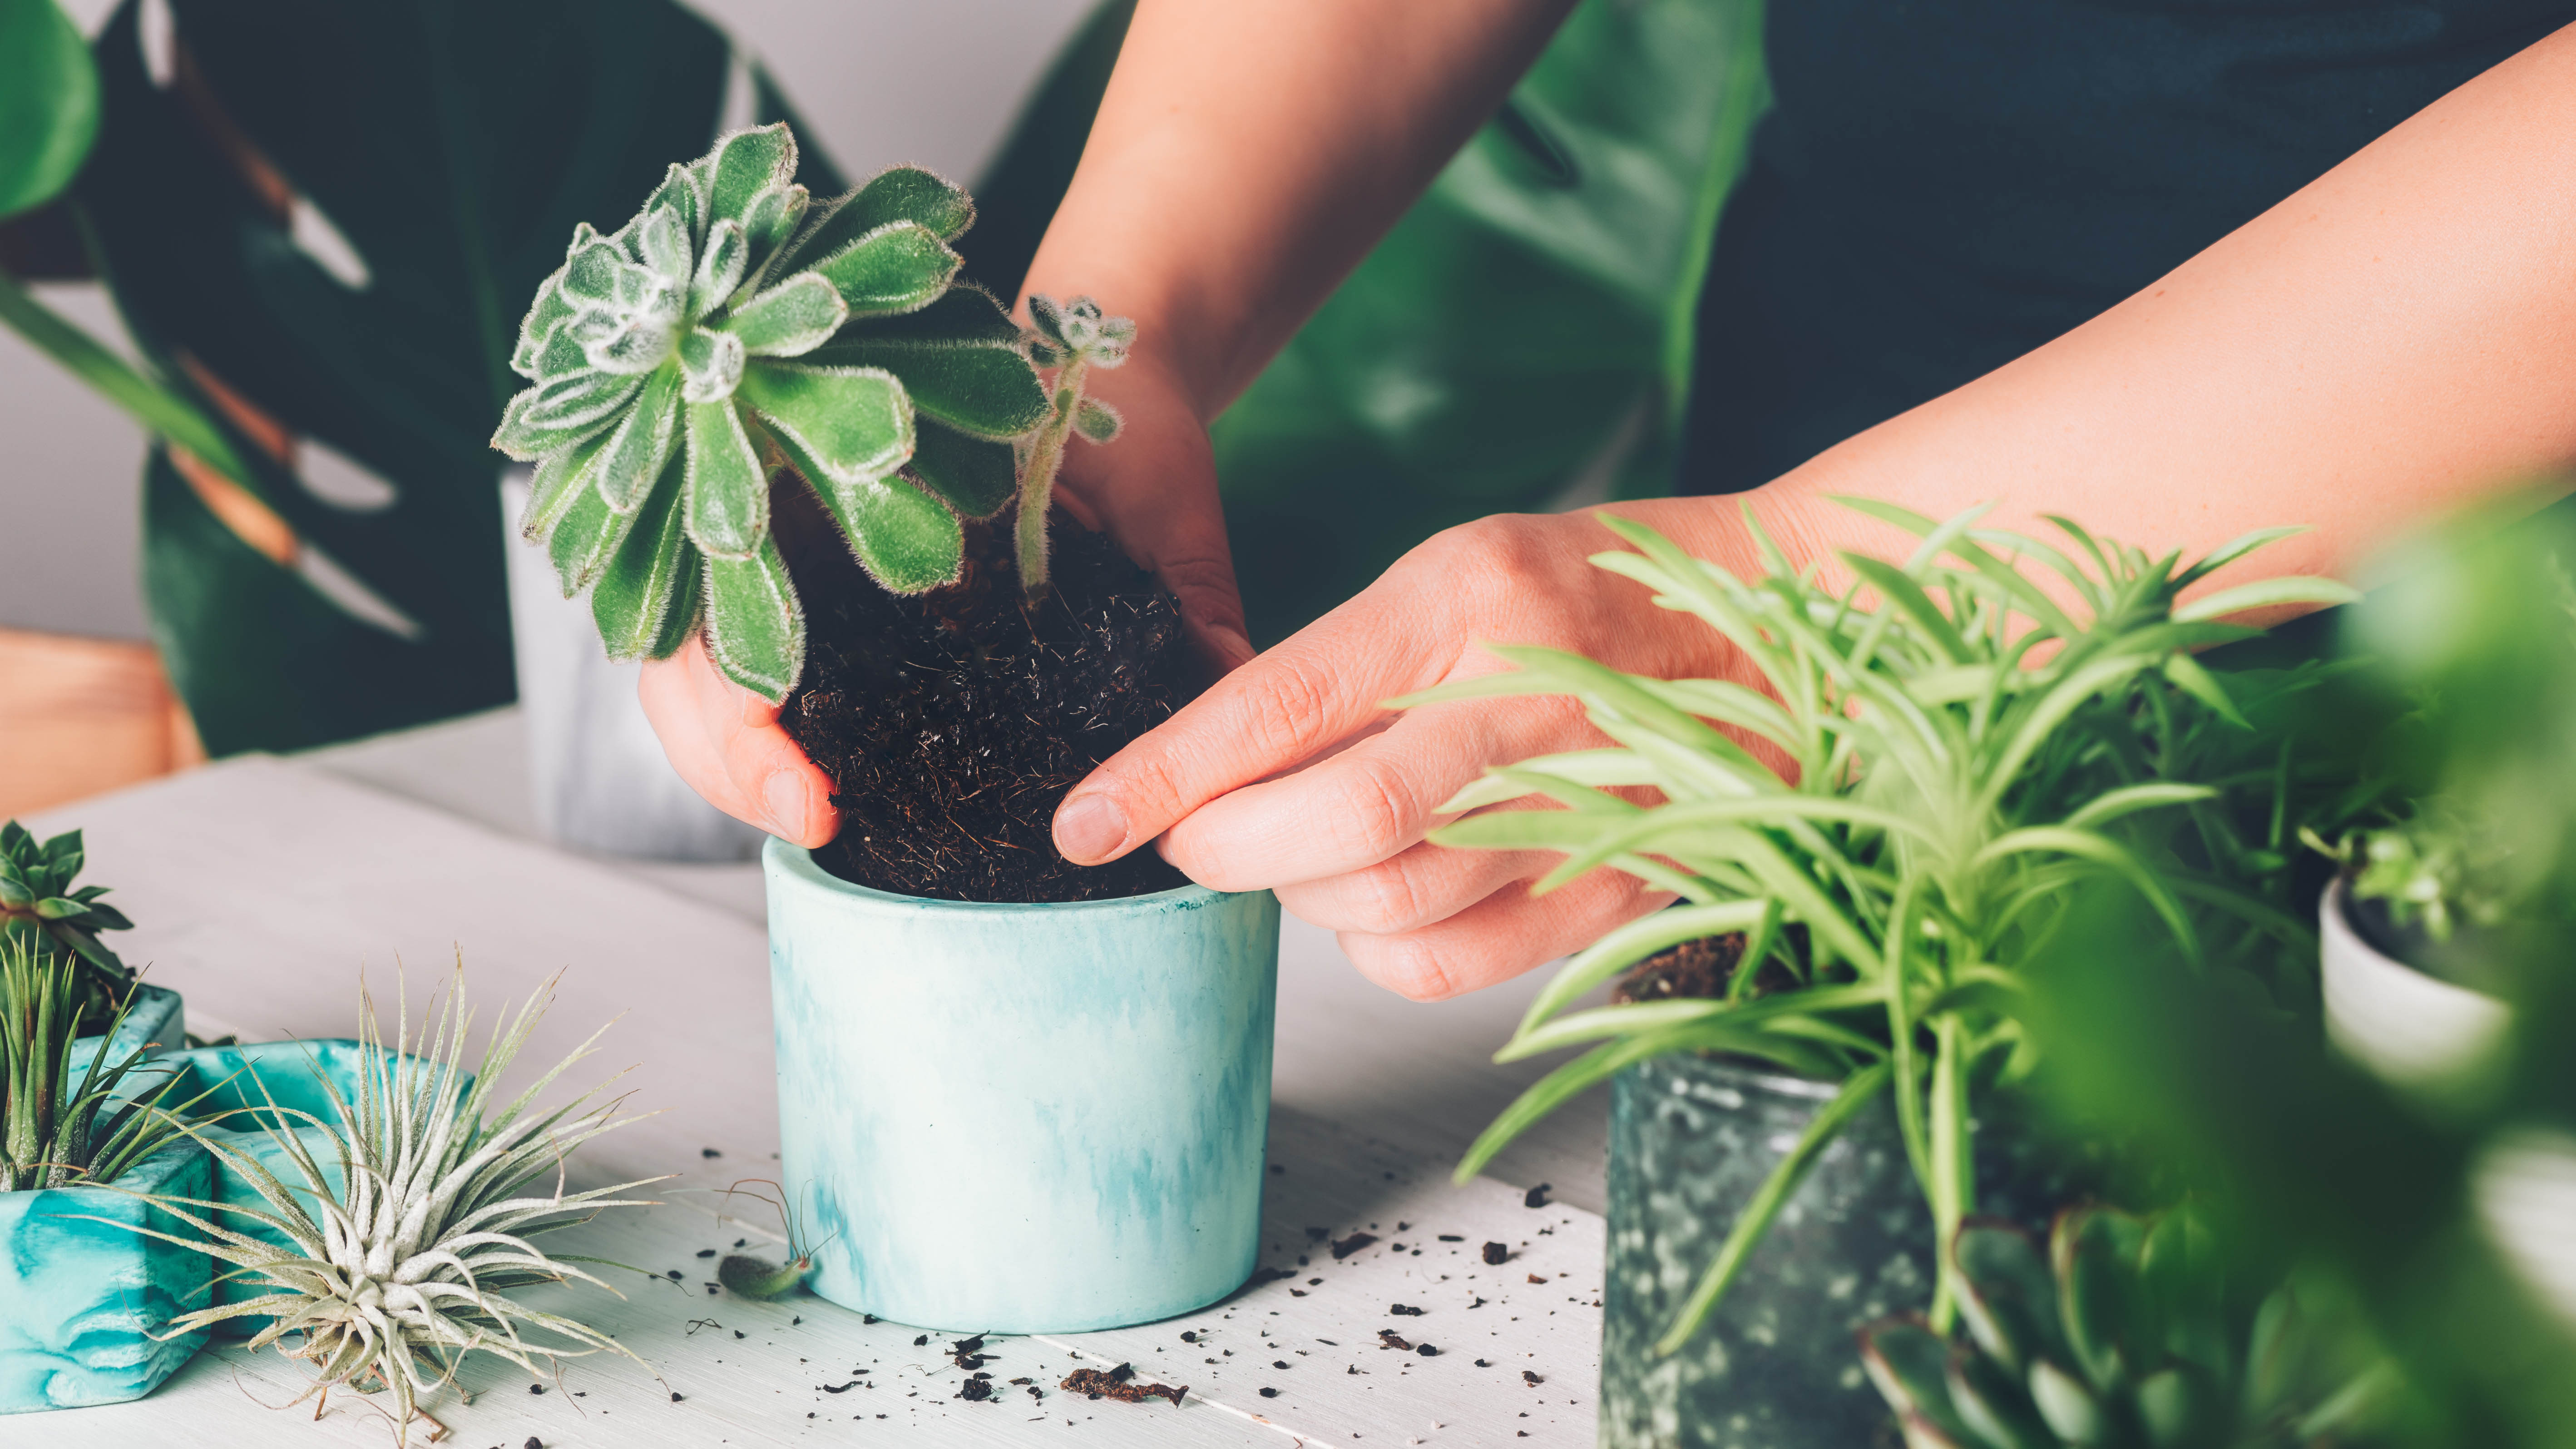
Knowing how to care for succulents is one thing, but knowing how to repot succulents is entirely another. If you’re a fan of these sweet little houseplants, you'll already know that while they’re durable, they will need some TLC. This is particularly the case if they’ve grown too big for their pot, or it’s been a few years since the soil was changed.
It may sound like an intimidating task, but it’s essential that you take the time to do this to keep your succulents healthy and thriving. It doesn’t take long, and the results will be worth it. Don’t worry if it’s your first time. We will take you through exactly what you need to do, with tips and tricks to help you along the way. Here’s how to repot succulents.
Looking for more? You'll want to know how to propagate succulents to fill out your indoor garden. But, watch out for these 7 mistakes to avoid when growing succulents.
How to repot succulents
A larger plant pot
Succulent soil
Gardening gloves (optional)
Hammer (optional)
It’s worth noting that before you start repotting your succulent, you will need the plant to be semi-hydrated, so it’s a good idea to water it a few days beforehand. You should also trim away any dead leaves prior to repotting.
1. First of all, you need to prepare your succulent’s new home. Find a pot which is slightly larger than its current one. You’ll need one that’s about 20% bigger in both width and height. Terra-cotta pots with drainage holes are generally a good option, such as this 6 Inch Clay Pot ($27.99, Amazon).
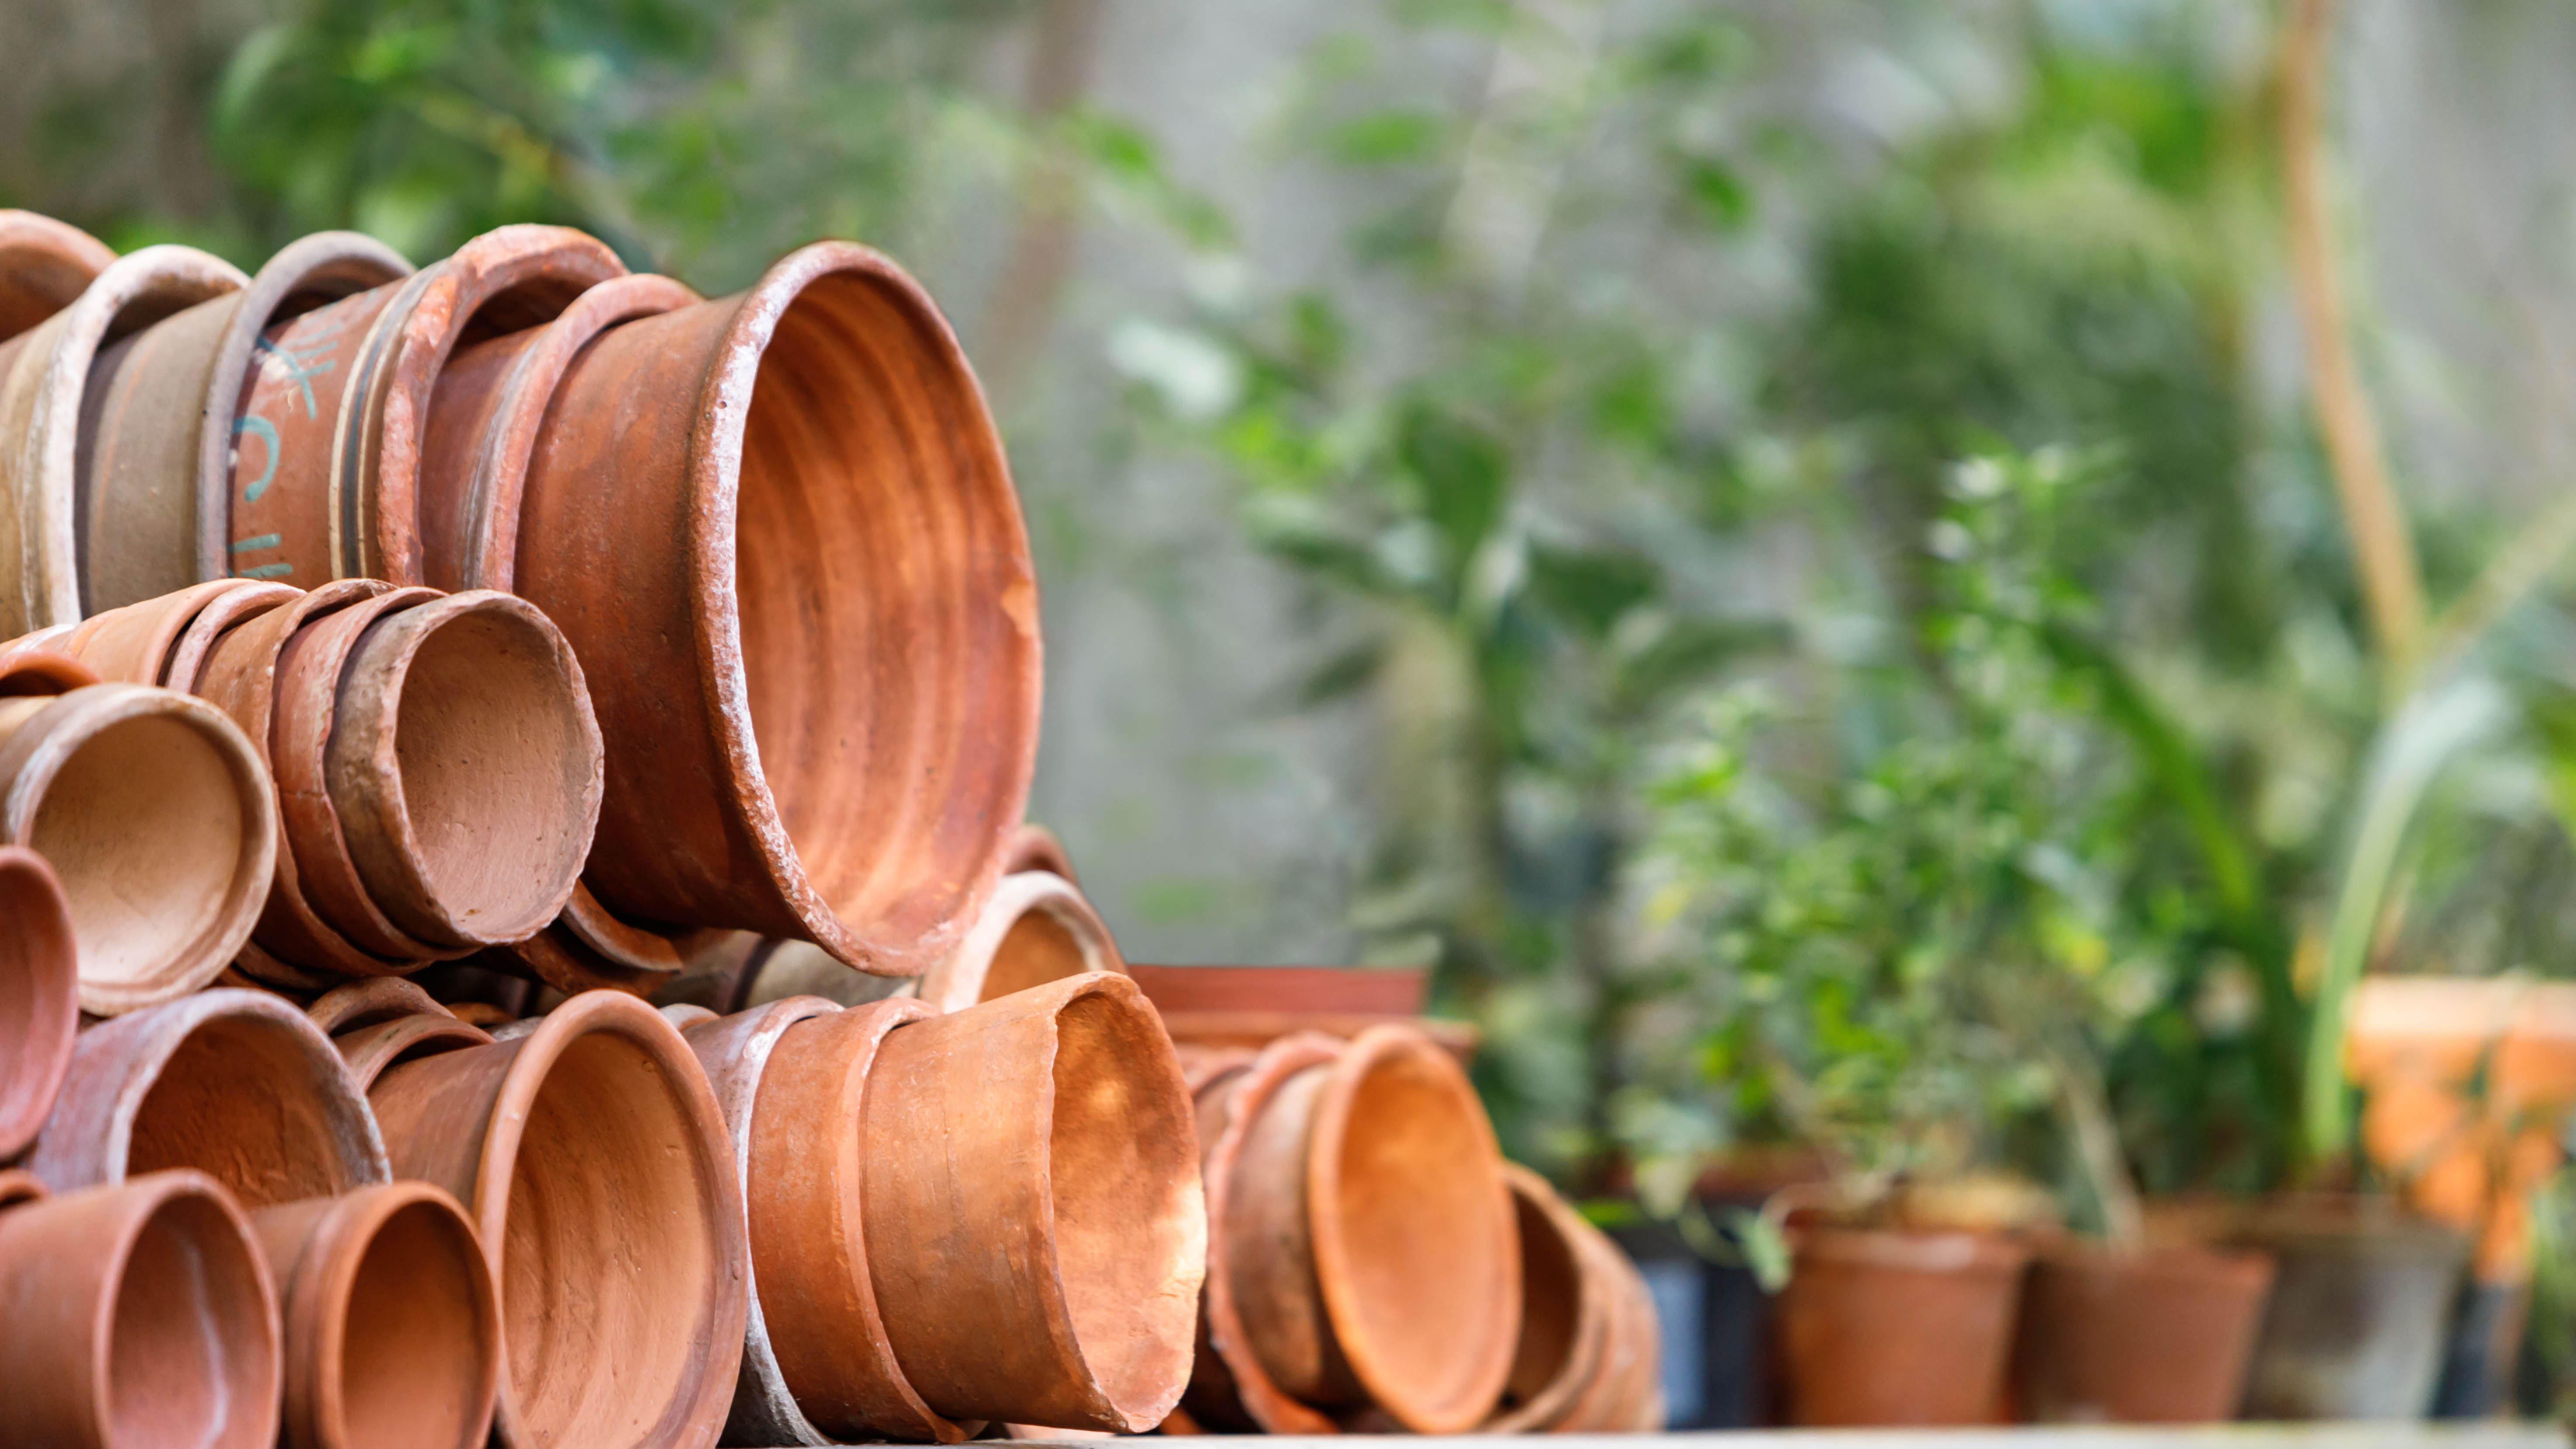
2. Place a small stone over the hole at the base of the new pot — this will help with the drainage. You can also use a clay shard from any broken pots to cover it over.
3. Now, fill the new pot about ¾ full with the succulent soil. It’s important that you do not use regular compost as it’s too dense and won’t drain quickly enough. Dedicated cactus soil also exists, so make sure you choose the soil best suited to your succulent.
Sign up to get the BEST of Tom's Guide direct to your inbox.
Get instant access to breaking news, the hottest reviews, great deals and helpful tips.
4. The next step is to remove your succulent from its current pot. You might want to lay down some newspaper or do this outside as it can get messy. First, take a look at the underside of the pot to see if any roots have grown through. If they have, you will need to tease them free from their grip, but do so gently.
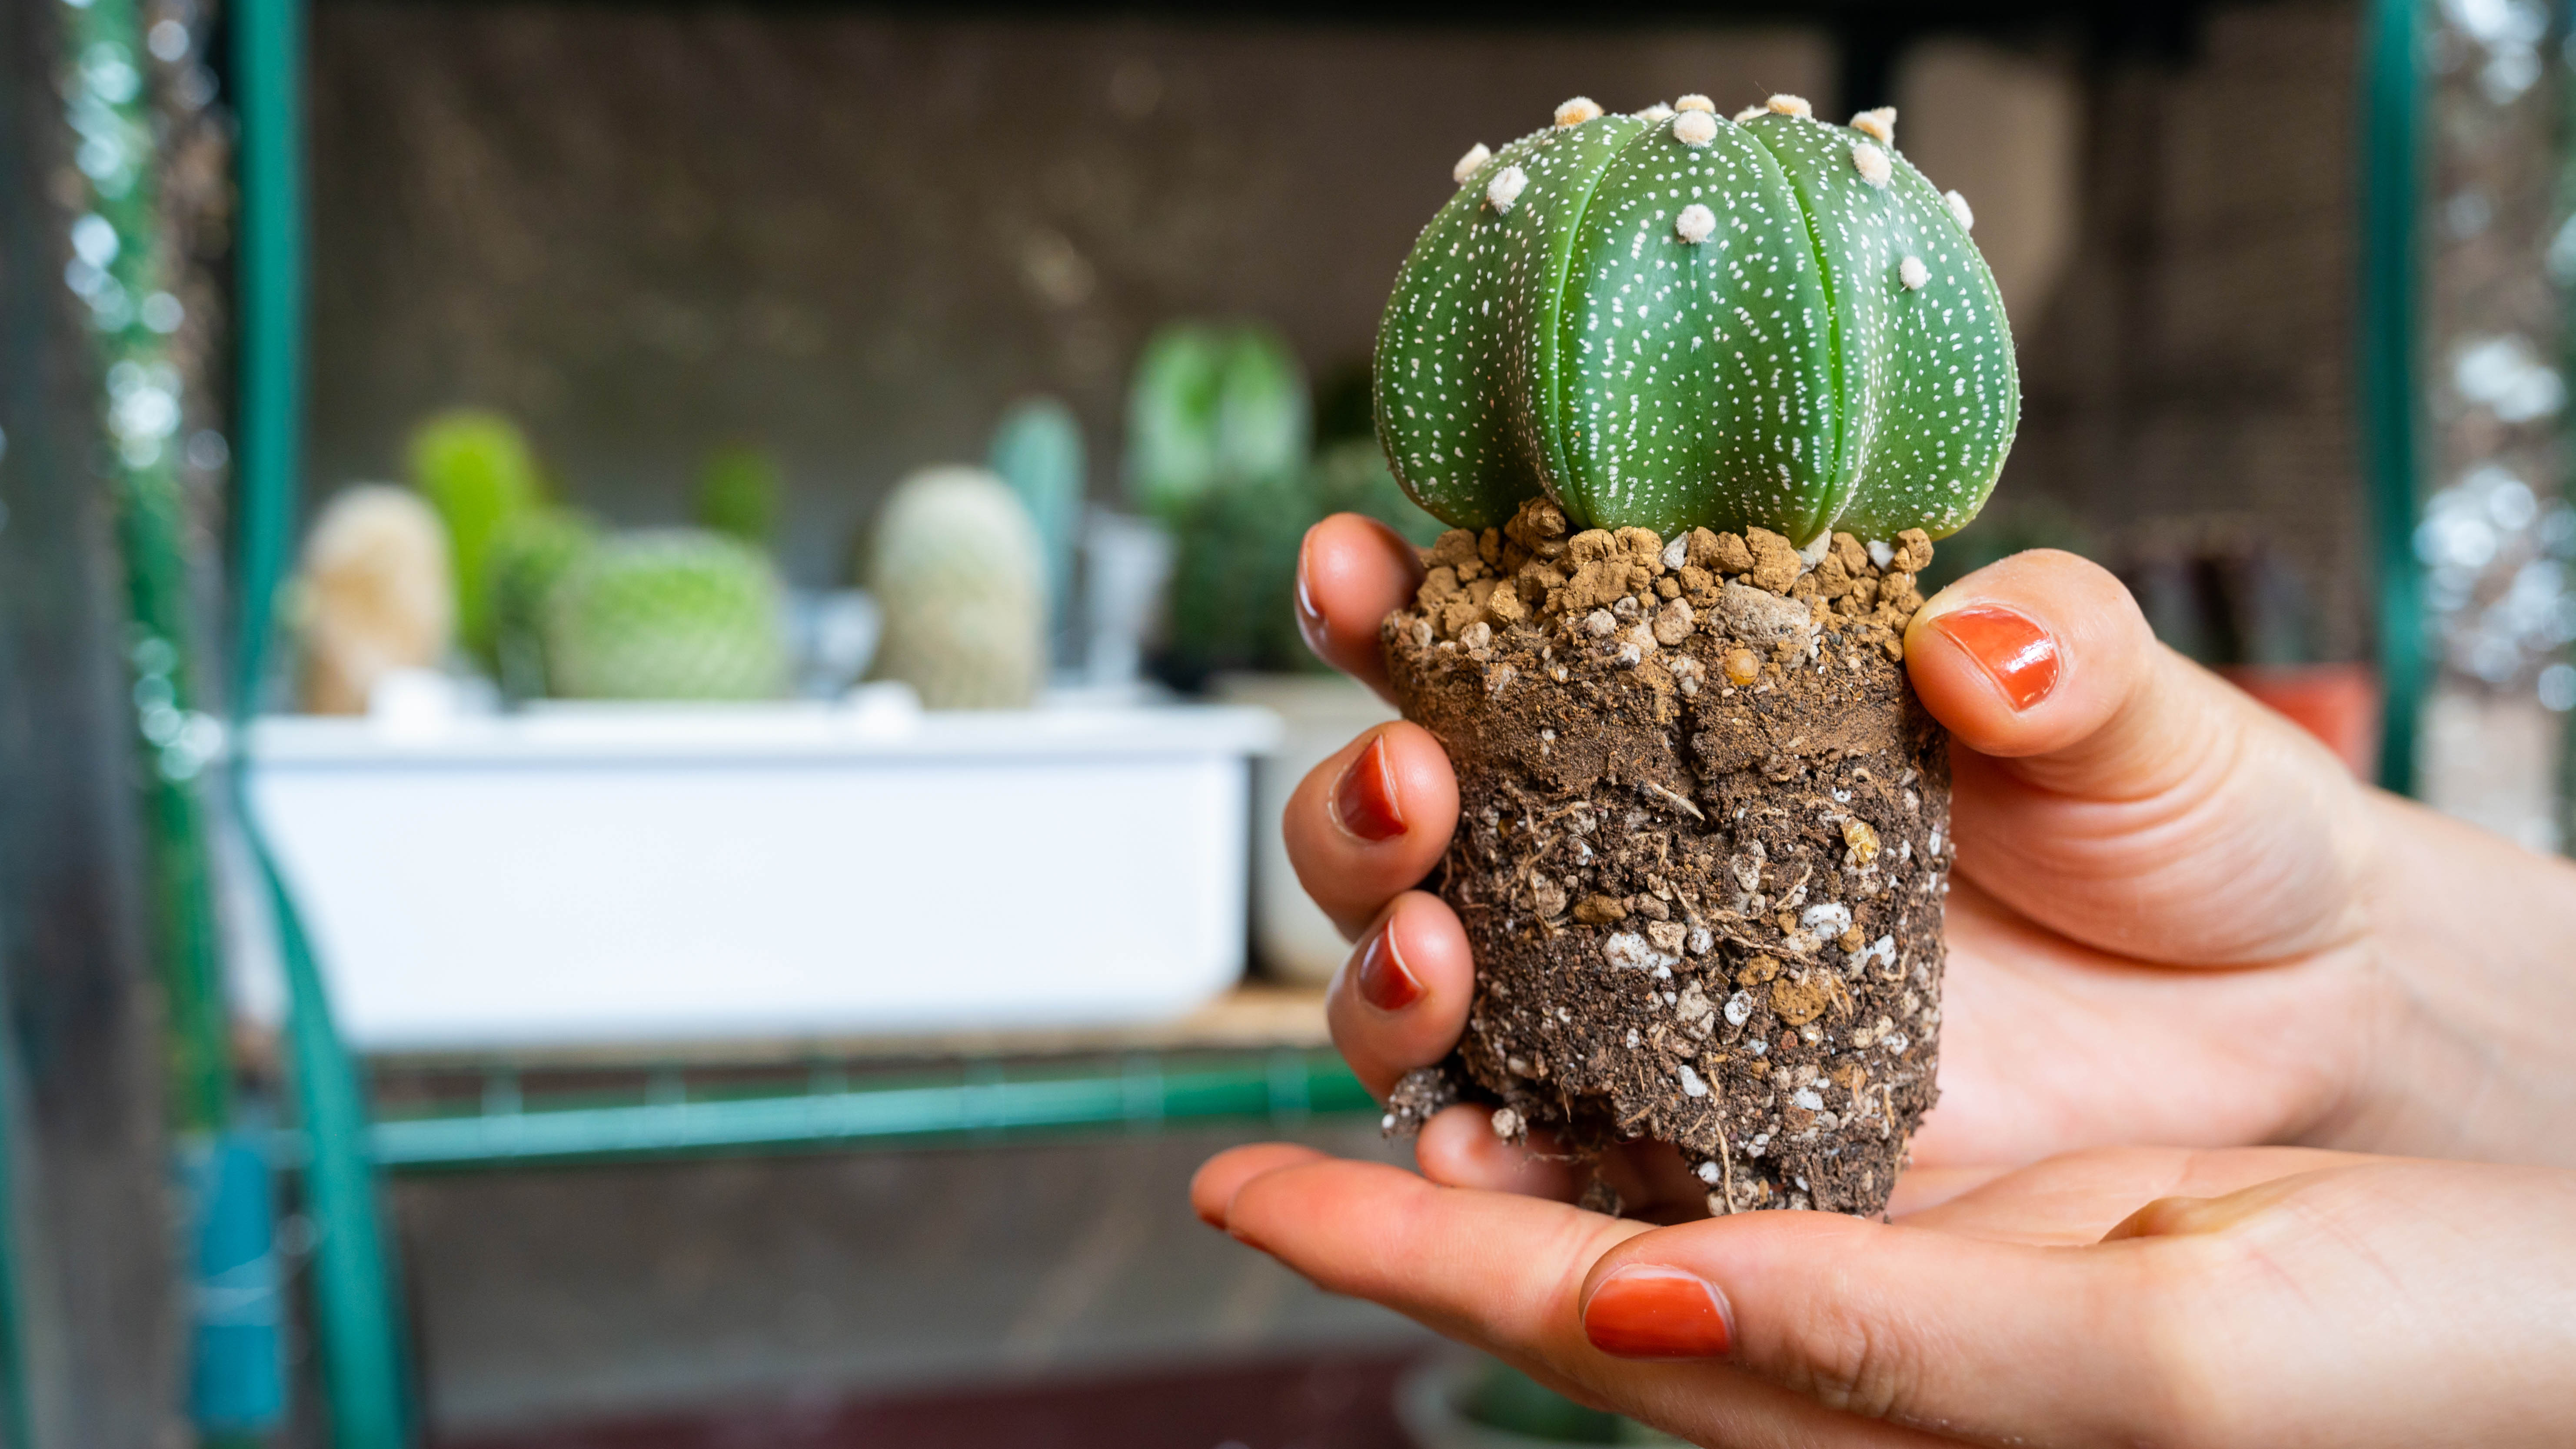
Now, tip the planter on its side, take grip of the succulent at its base (make sure to use gloves if handling a cactus) and give it a wiggle to see if it comes loose. You may have to tap the underside of the pot a few times and give some encouragement. Be gentle, but consistent until it pulls free. If your succulent absolutely refuses to come free, you can always break the old pot with a hammer. This will be better for your succulent’s roots, but you will be sacrificing a pot.
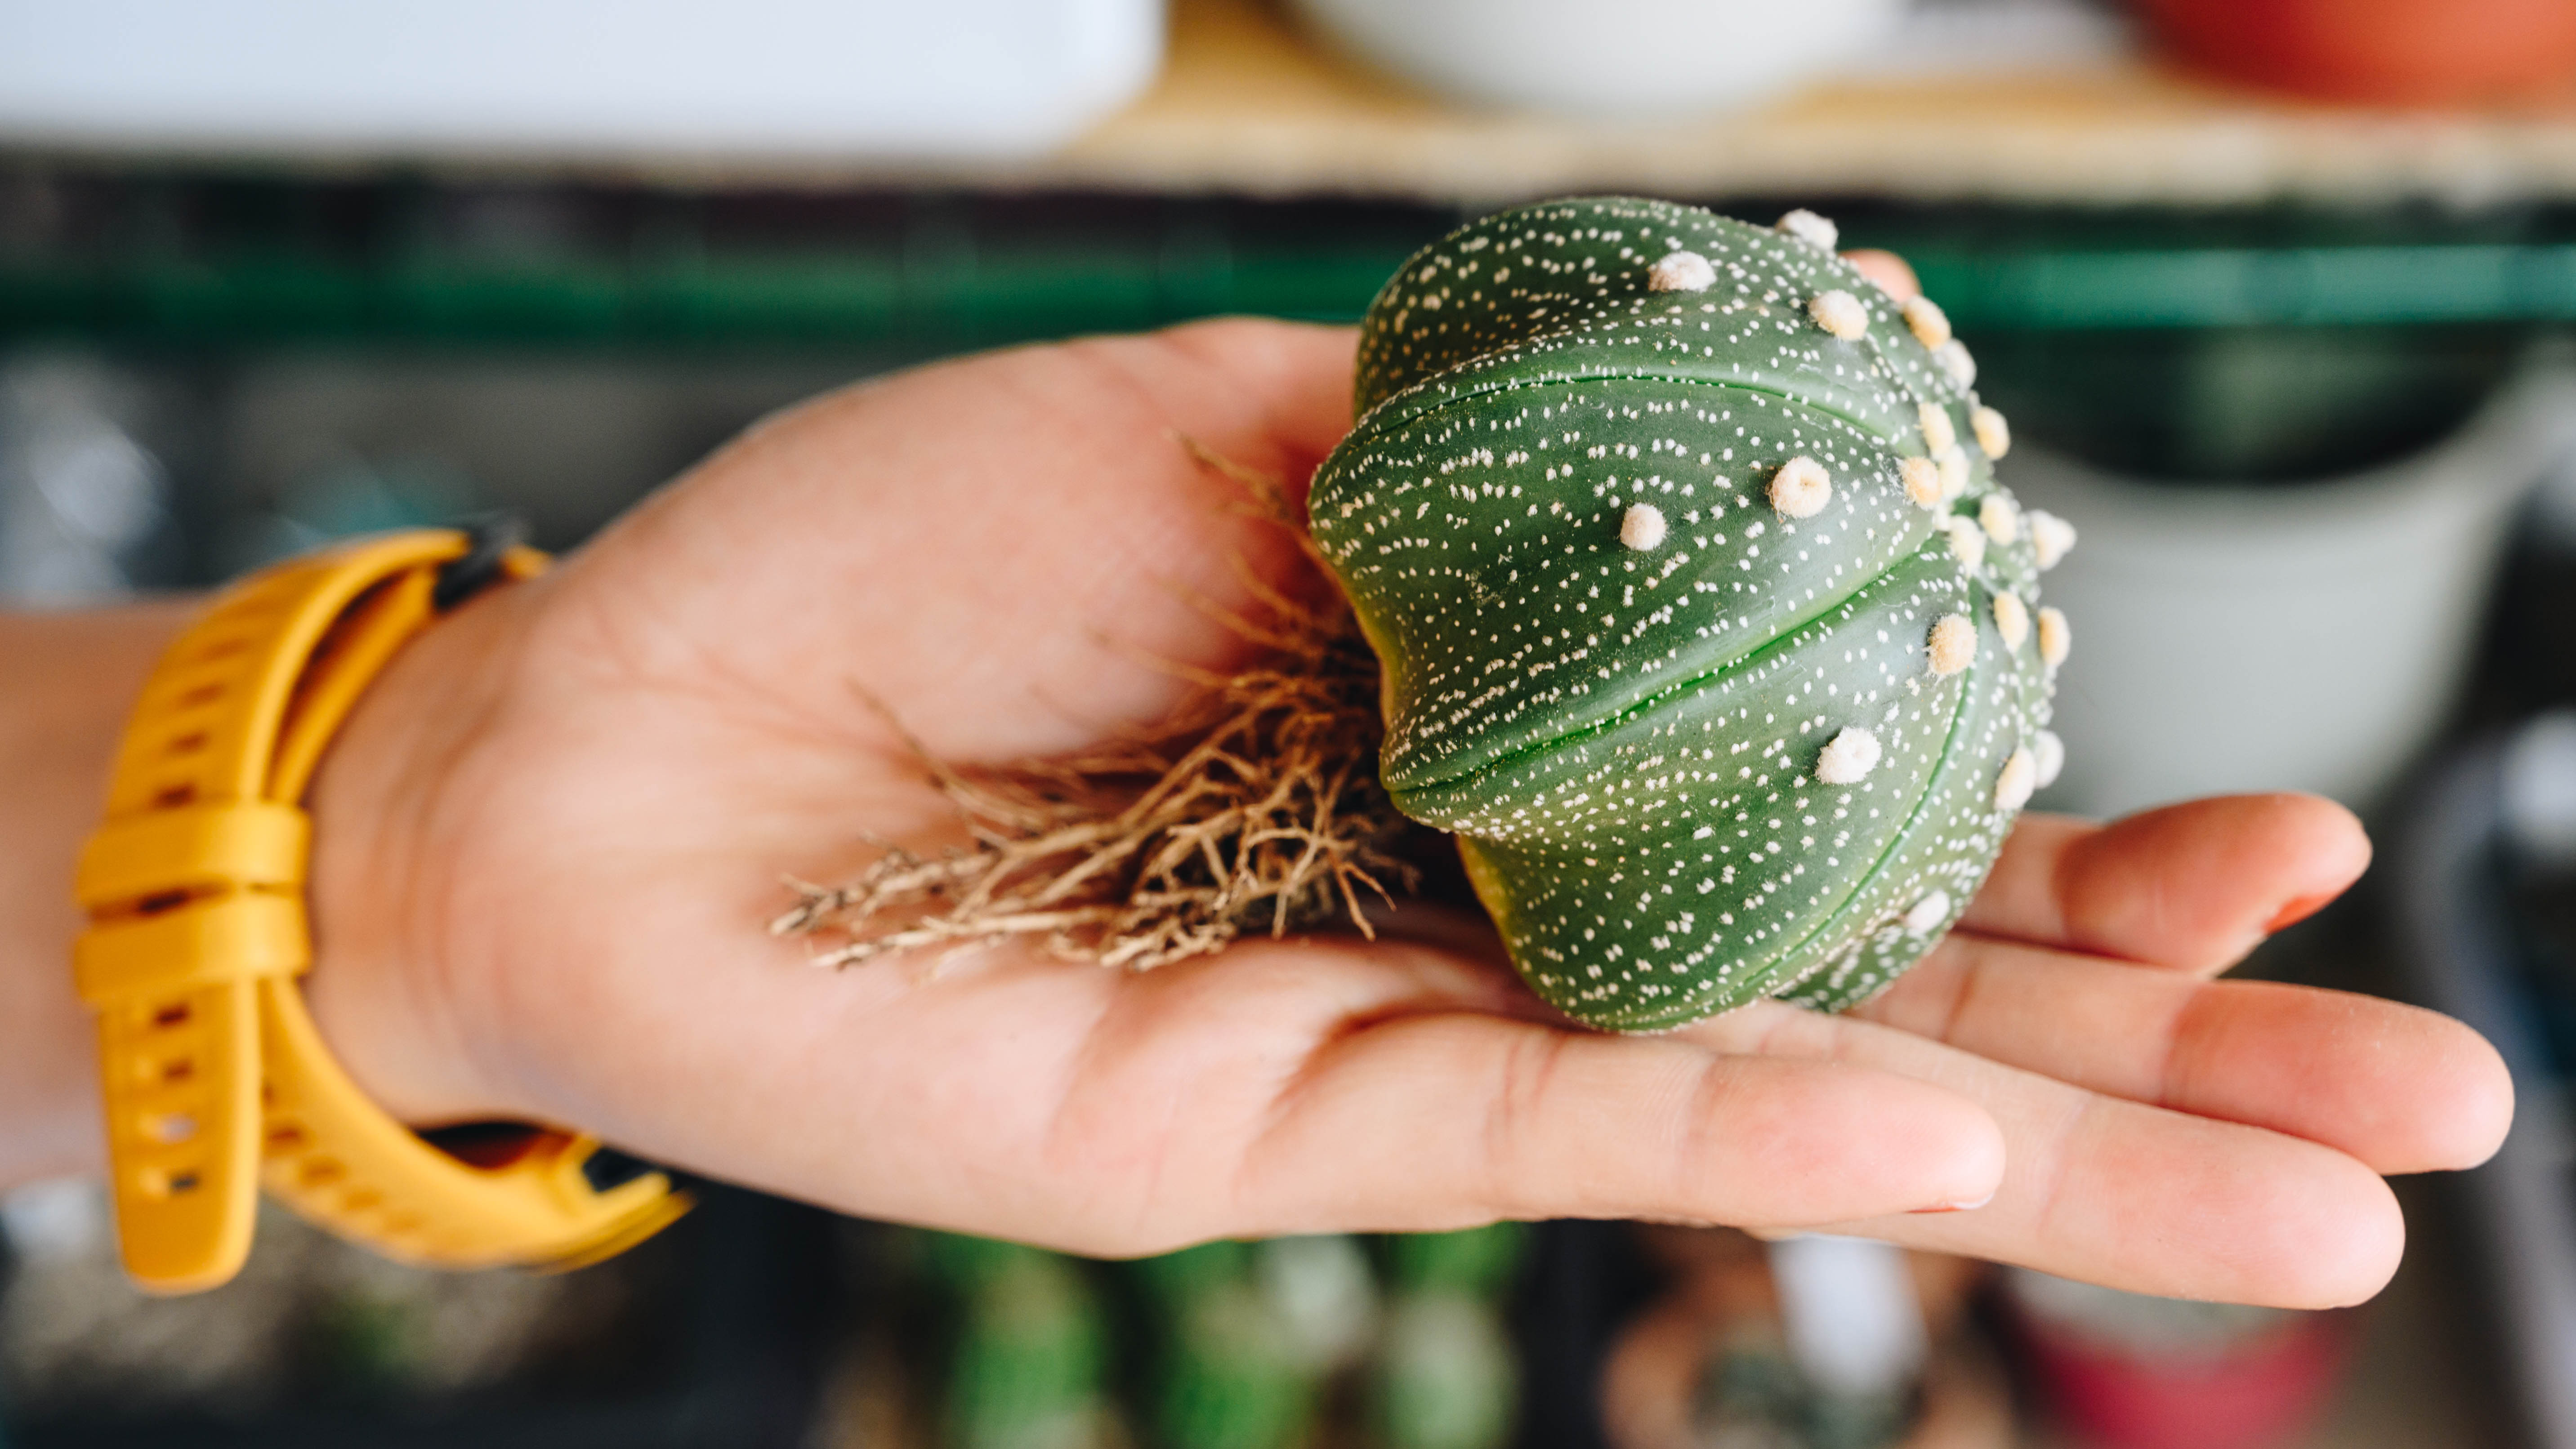
5. Now your succulent is out of the pot, it may have some soil mixed in with the roots. Try to brush as much of this off as you can. You can ‘tickle’ the roots to help separate the old soil. If the roots appear tangled and tied, try to loosen them, but do so very gently. You can also trim the roots back at this stage if they’ve grown too long.
6. Now place your succulent gently on top of the soil in the new pot. Depending on its height, you may want to dig a shallow hole for it. While using one hand to keep it upright, fill the planter with more soil mix until the roots are fully covered.
Make sure the soil isn’t touching the leaves though, as this can lead them to rot. Don’t fill with soil mix up to the brim of the pot either — this will just cause a mess when you try to water your succulent!
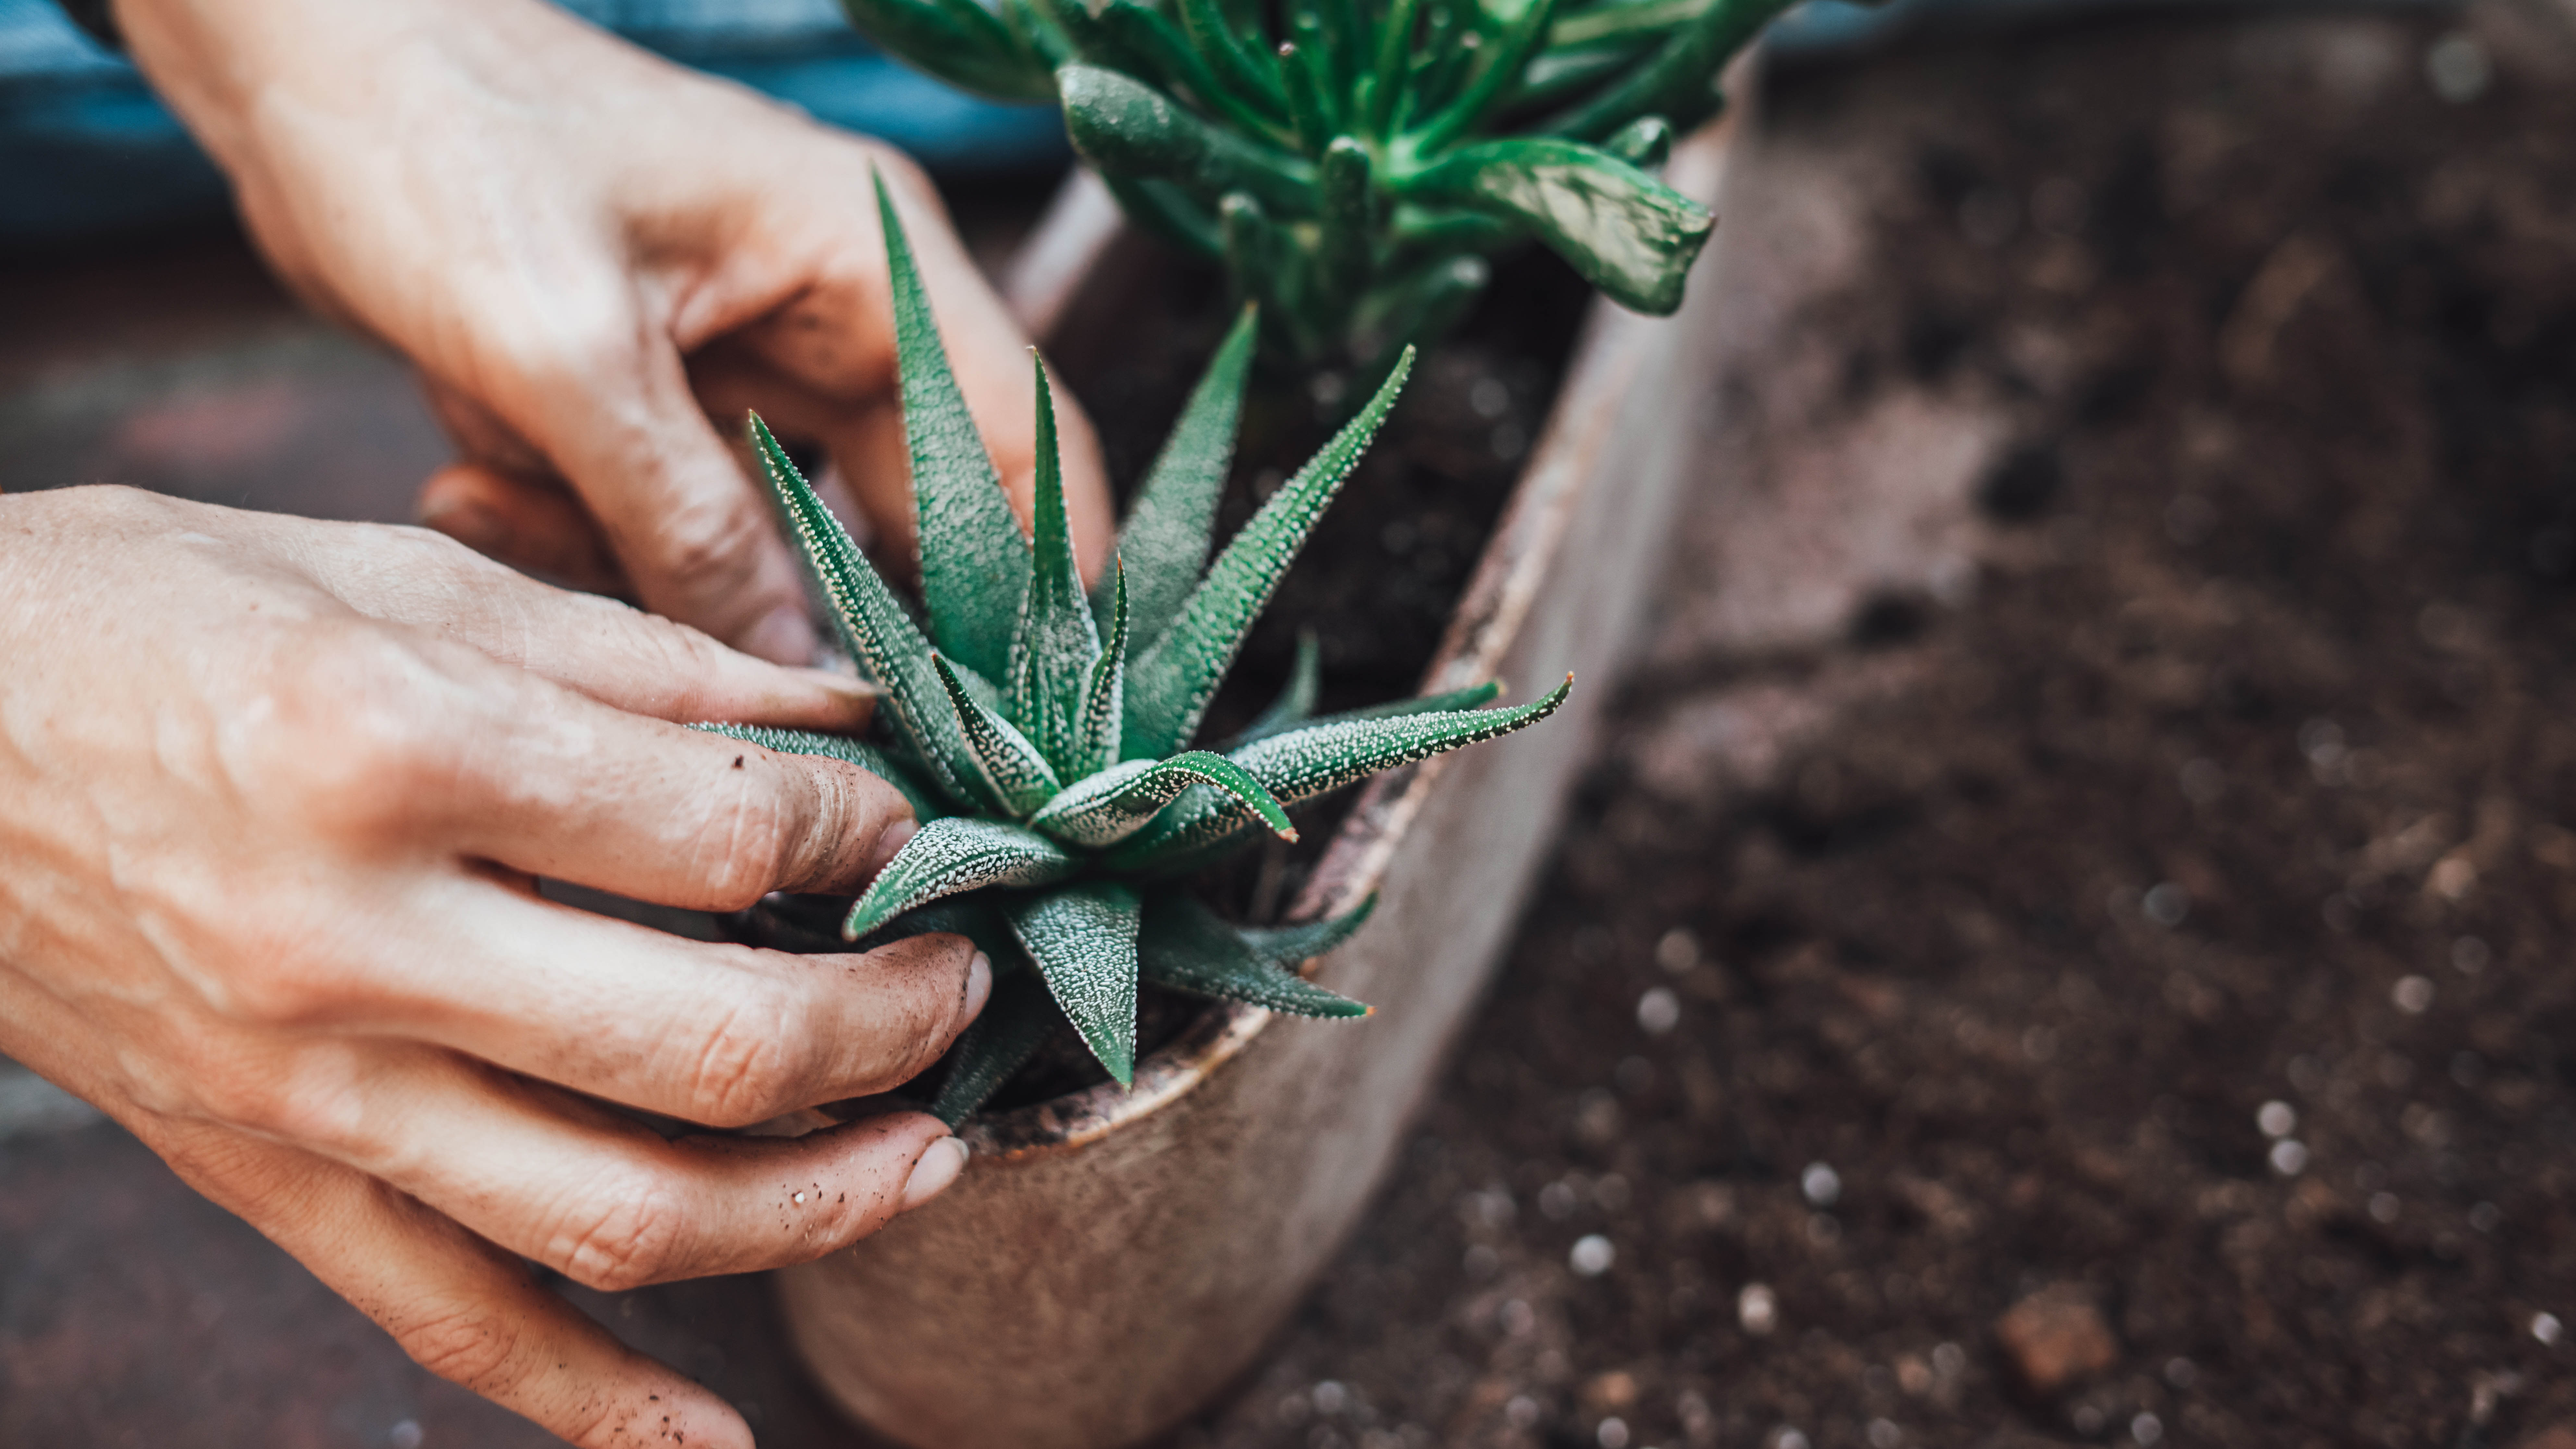
7. Gently press down on the soil to compact it.
There you have it, your succulent has a new home it can grow into. As a rule of thumb, wait a week before watering it again.
When should you repot succulents?
You should always repot just before your succulent’s growing season, which is usually early spring or fall — double check your succulent type to be sure of which. You should avoid repotting during the summer or winter months as that’s when your succulent will be dormant, in which case you could be doing more harm than good.
Signs that your succulent could do with repotting include:
- It’s growing too big for its pot — Roots will be growing out of the drainage holes when it’s exceeding the available space.
- It’s a new succulent — If you’ve just bought a succulent home, it might come in a temporary plastic pot. It will need a more permanent home so you should repot it in a week or two.
- It’s been a few years — If it’s been two years or so since you last changed the soil, your succulent could do with a fresh batch.
- The plant looks unhealthy — Your succulent may have seen better days, in which case repotting can help revitalize it.
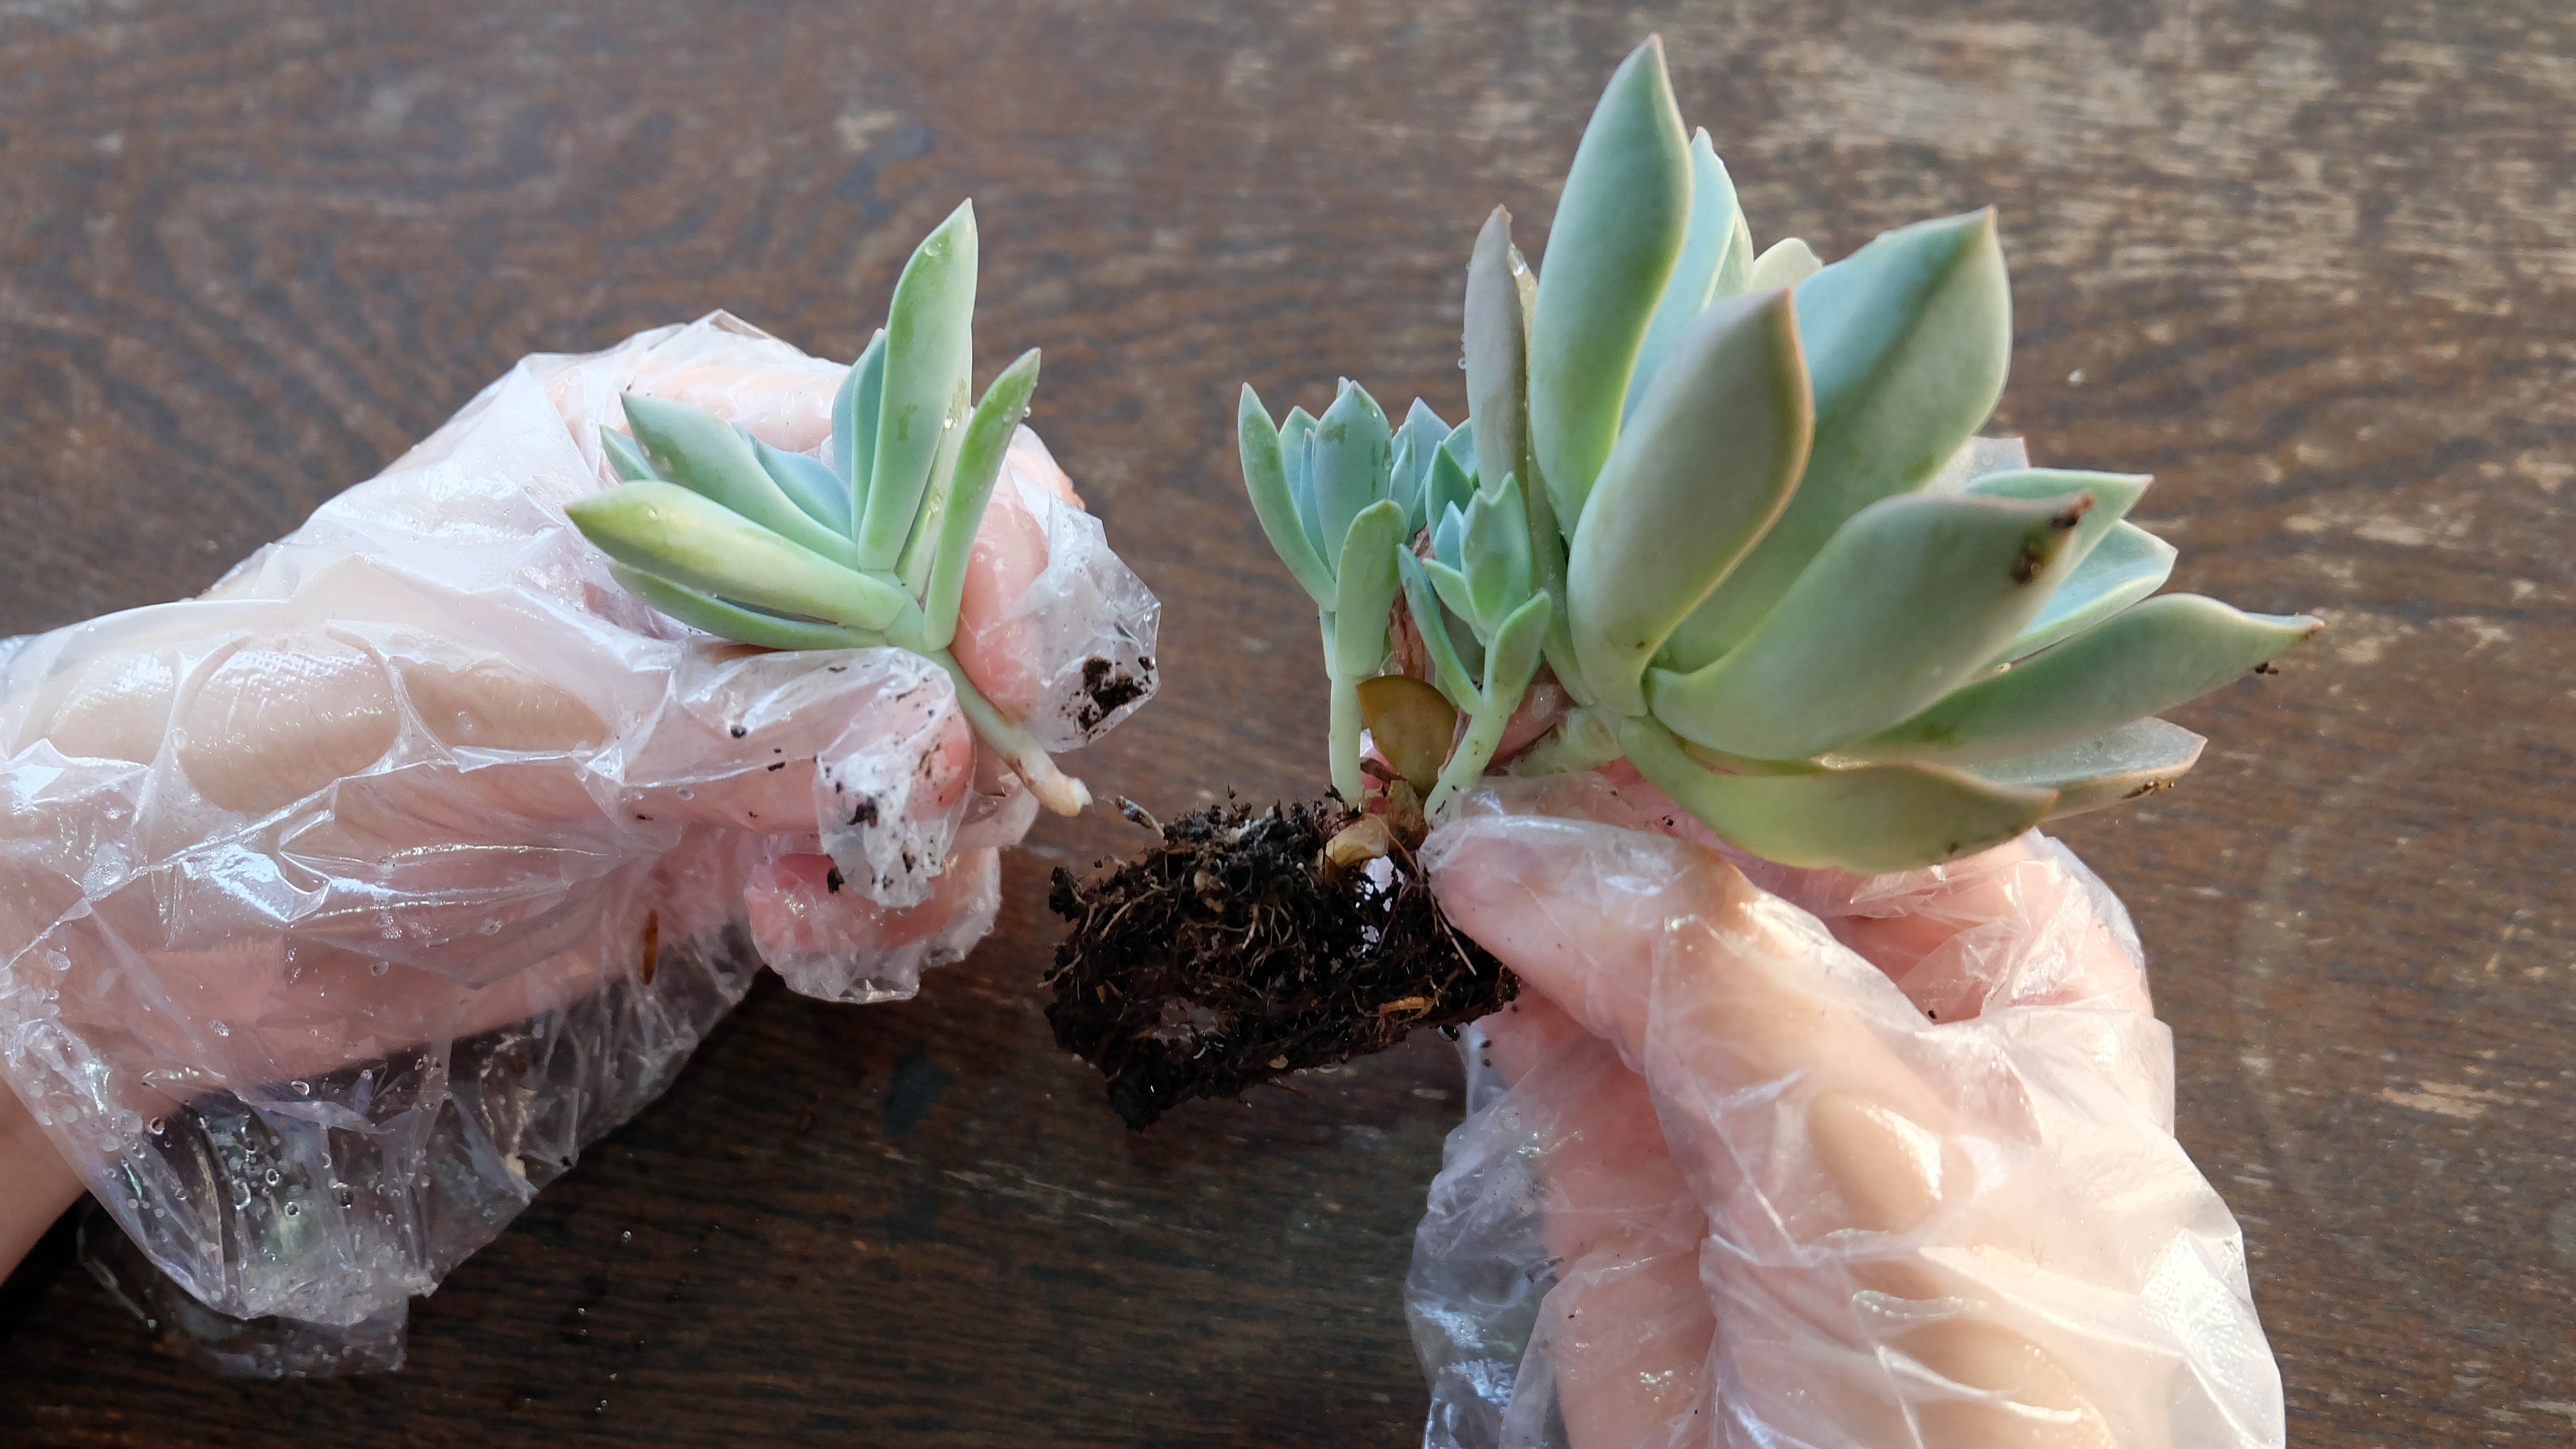
- Your succulent has grown offsets — Some succulents will also grow offsets which can be cut away from the base and then repotted to grow a whole new plant.
- You need to water it more often — If you’ve noticed the water is draining much more quickly that it used to, that means fresh soil is required.
For more planting tips, tricks, and how-tos, check out our guides on 9 mistakes you make when repotting a plant, how to care for an orchid, how to prune roses and when to do it, and how to grow strawberries.

Katie Mortram used to be a Homes Editor for Tom's Guide, where she oversaw everything from kitchen appliances to gardening tools, as well as smart home tech. Specializing in providing expert advice for cleaning and home manintenance, she now works as Household Advice Editor for Good Housekeeping.
