How to remove a link from a watch in 10 easy steps
Here’s how to remove a link from a watch like a pro

Want to know how to remove a link from a watch? It’s not as tricky as you might think. It can be an intimidating task at first, much like how to clean an iPhone’s charging port or how to clean iPhone speakers, but it’s definitely worth doing. After all, there’s nothing as frustrating as a loose metal strap rubbing your wrist. Some can be so loose that the watch face itself ends up on the wrong side — not an ideal look for the best smartwatch.
If your watch isn’t fitted correctly, you really don’t need to endure it. With just a few useful tools and a couple of minutes of care and attention, your watch can fit like a glove. Here, we will take you through what you need to do step-by-step, so you don’t need to pay for a pro to do it.
How to remove a link from a watch
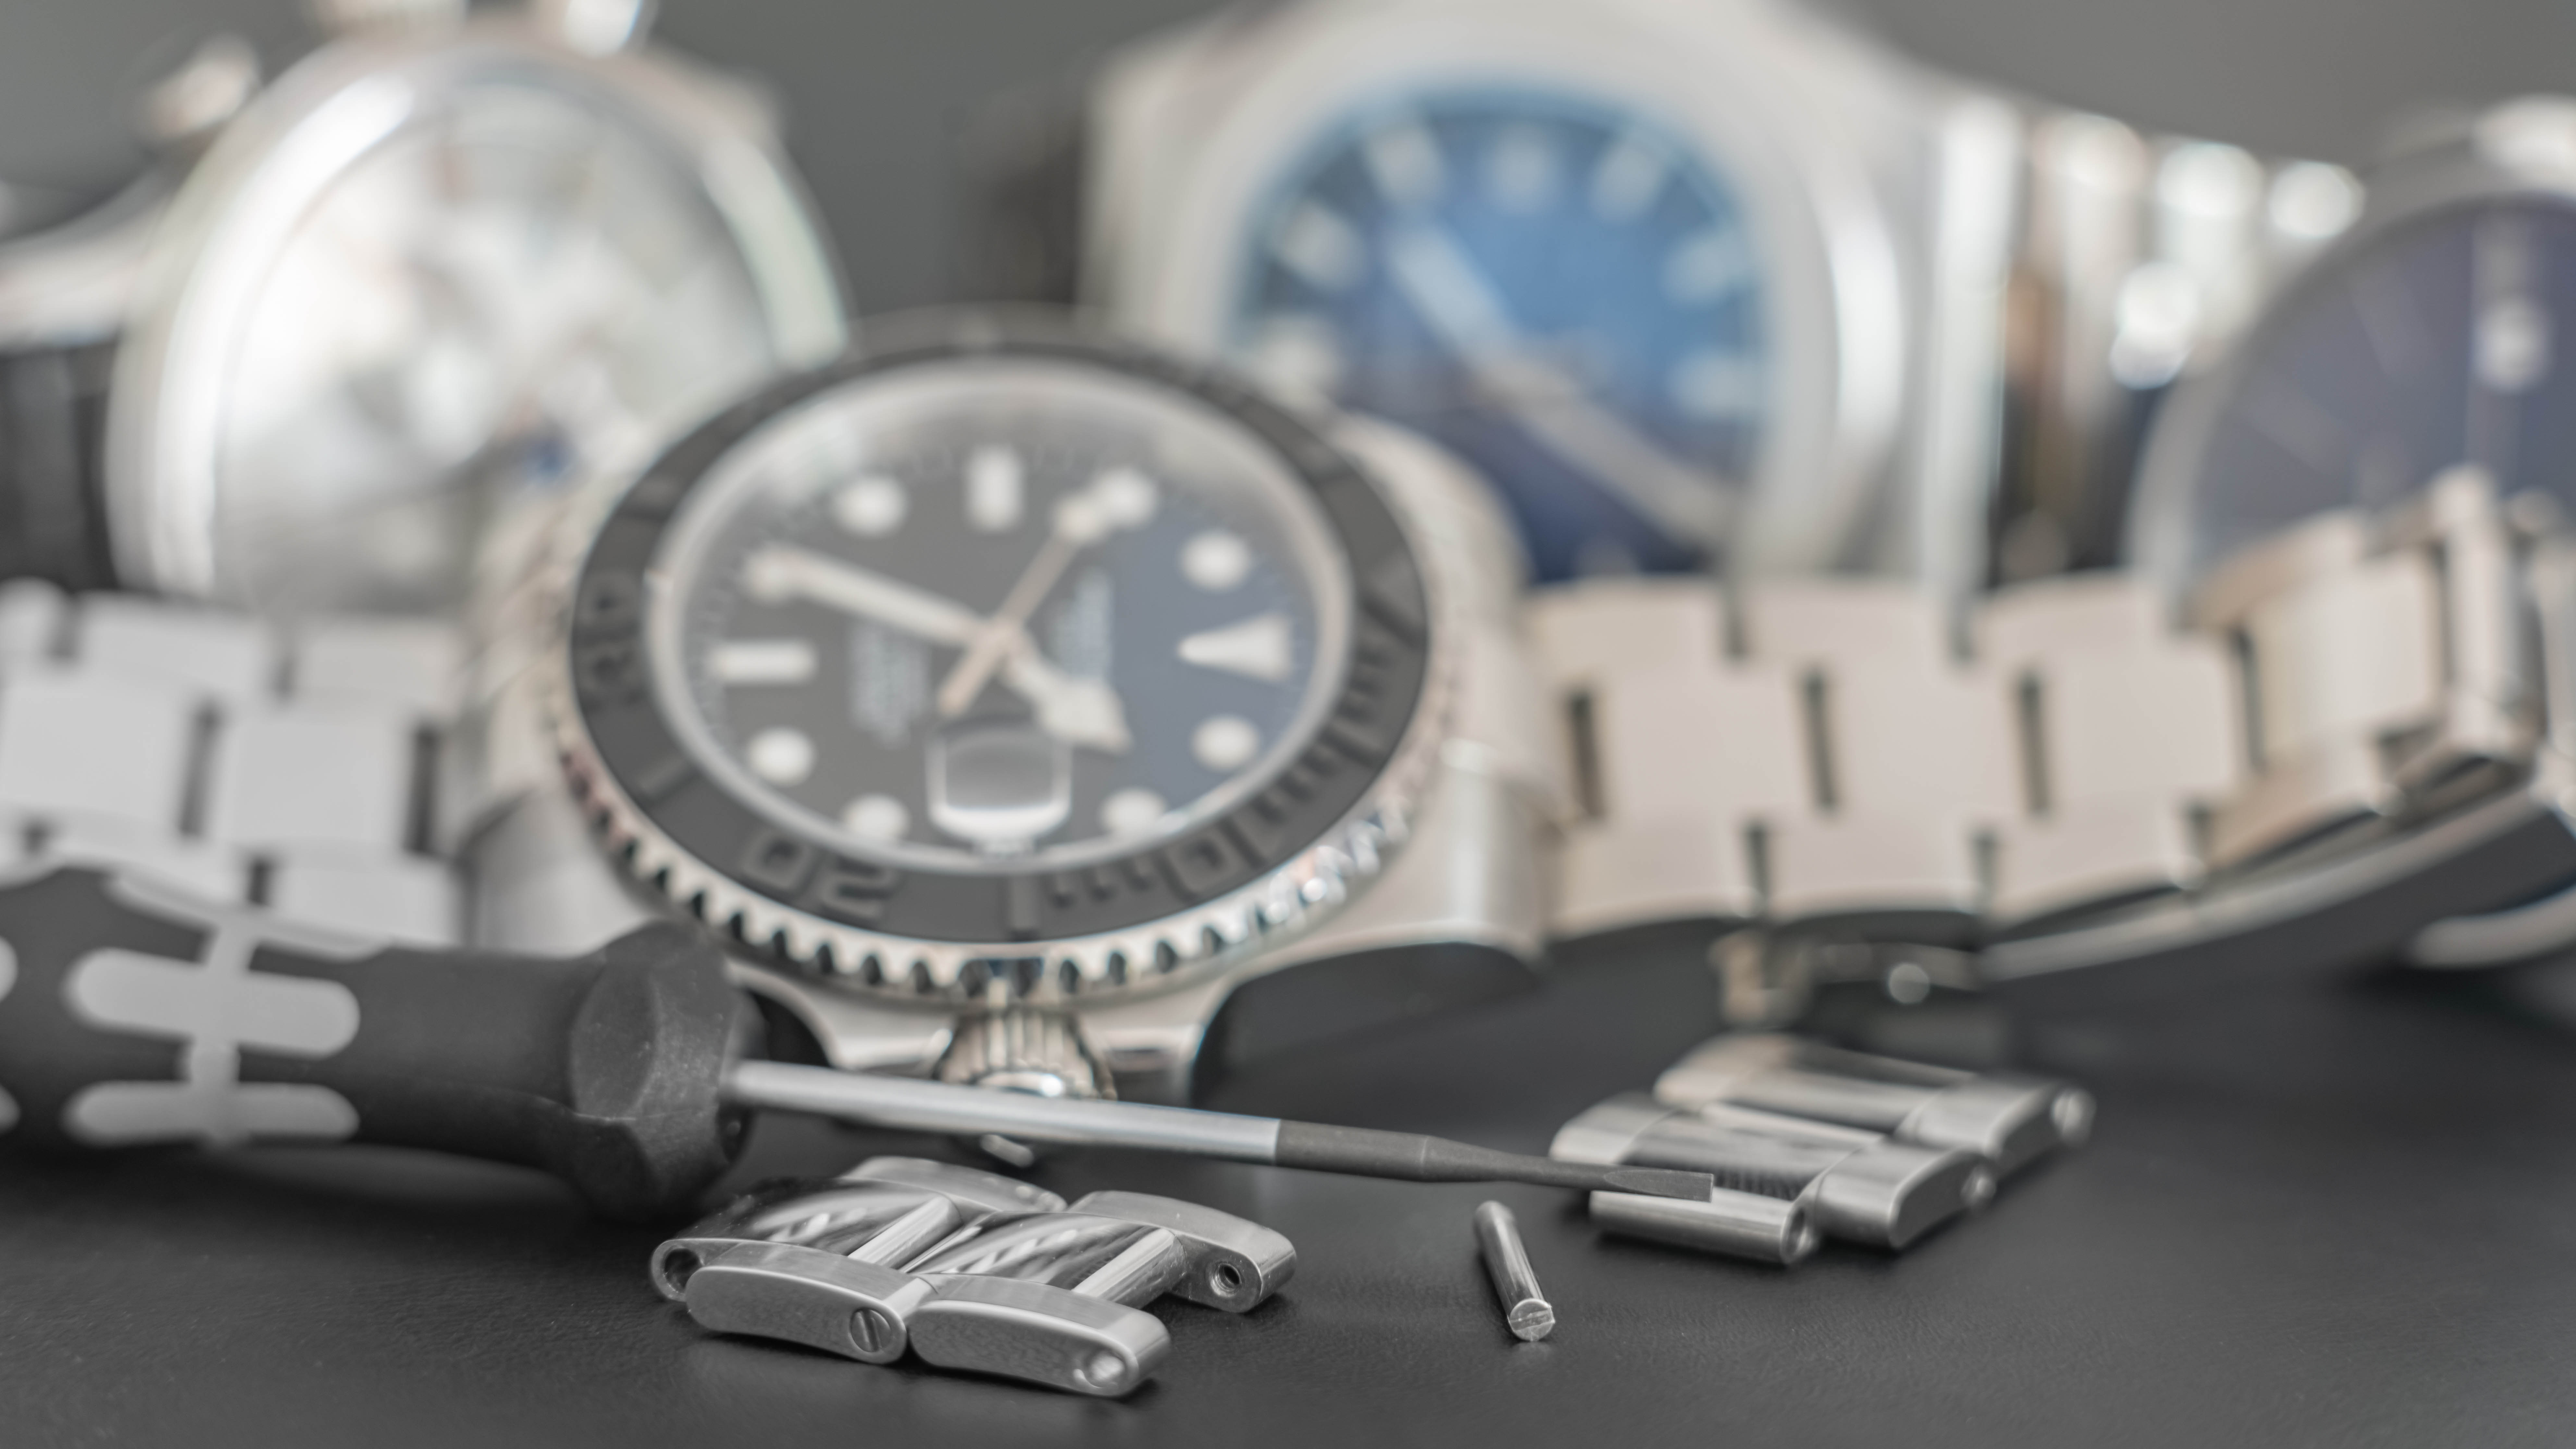
Watch tool kit
OR
Pin pusher/screwdriver
Hammer (optional)
Pliers
1. First, you will want to find somewhere to do this with plenty of light. It’s also a good idea to have a tray on hand to hold the parts and a small bag to store the spare links.
2. Now, hold the watch in place on the wrist you want to wear it. Gather up the excess links on the underside and count out how many links you could stand to remove. Remember, you’ll want a little breathing space on your wrist, so if you’re not sure if one extra link might be too tight, air on the side of caution.
3. Double check this number before proceeding to the next step.
4. Divide this number by two so you know how many links you’re going to remove from each side of the clasp. You’ll want to keep this even so the clasp sits central.

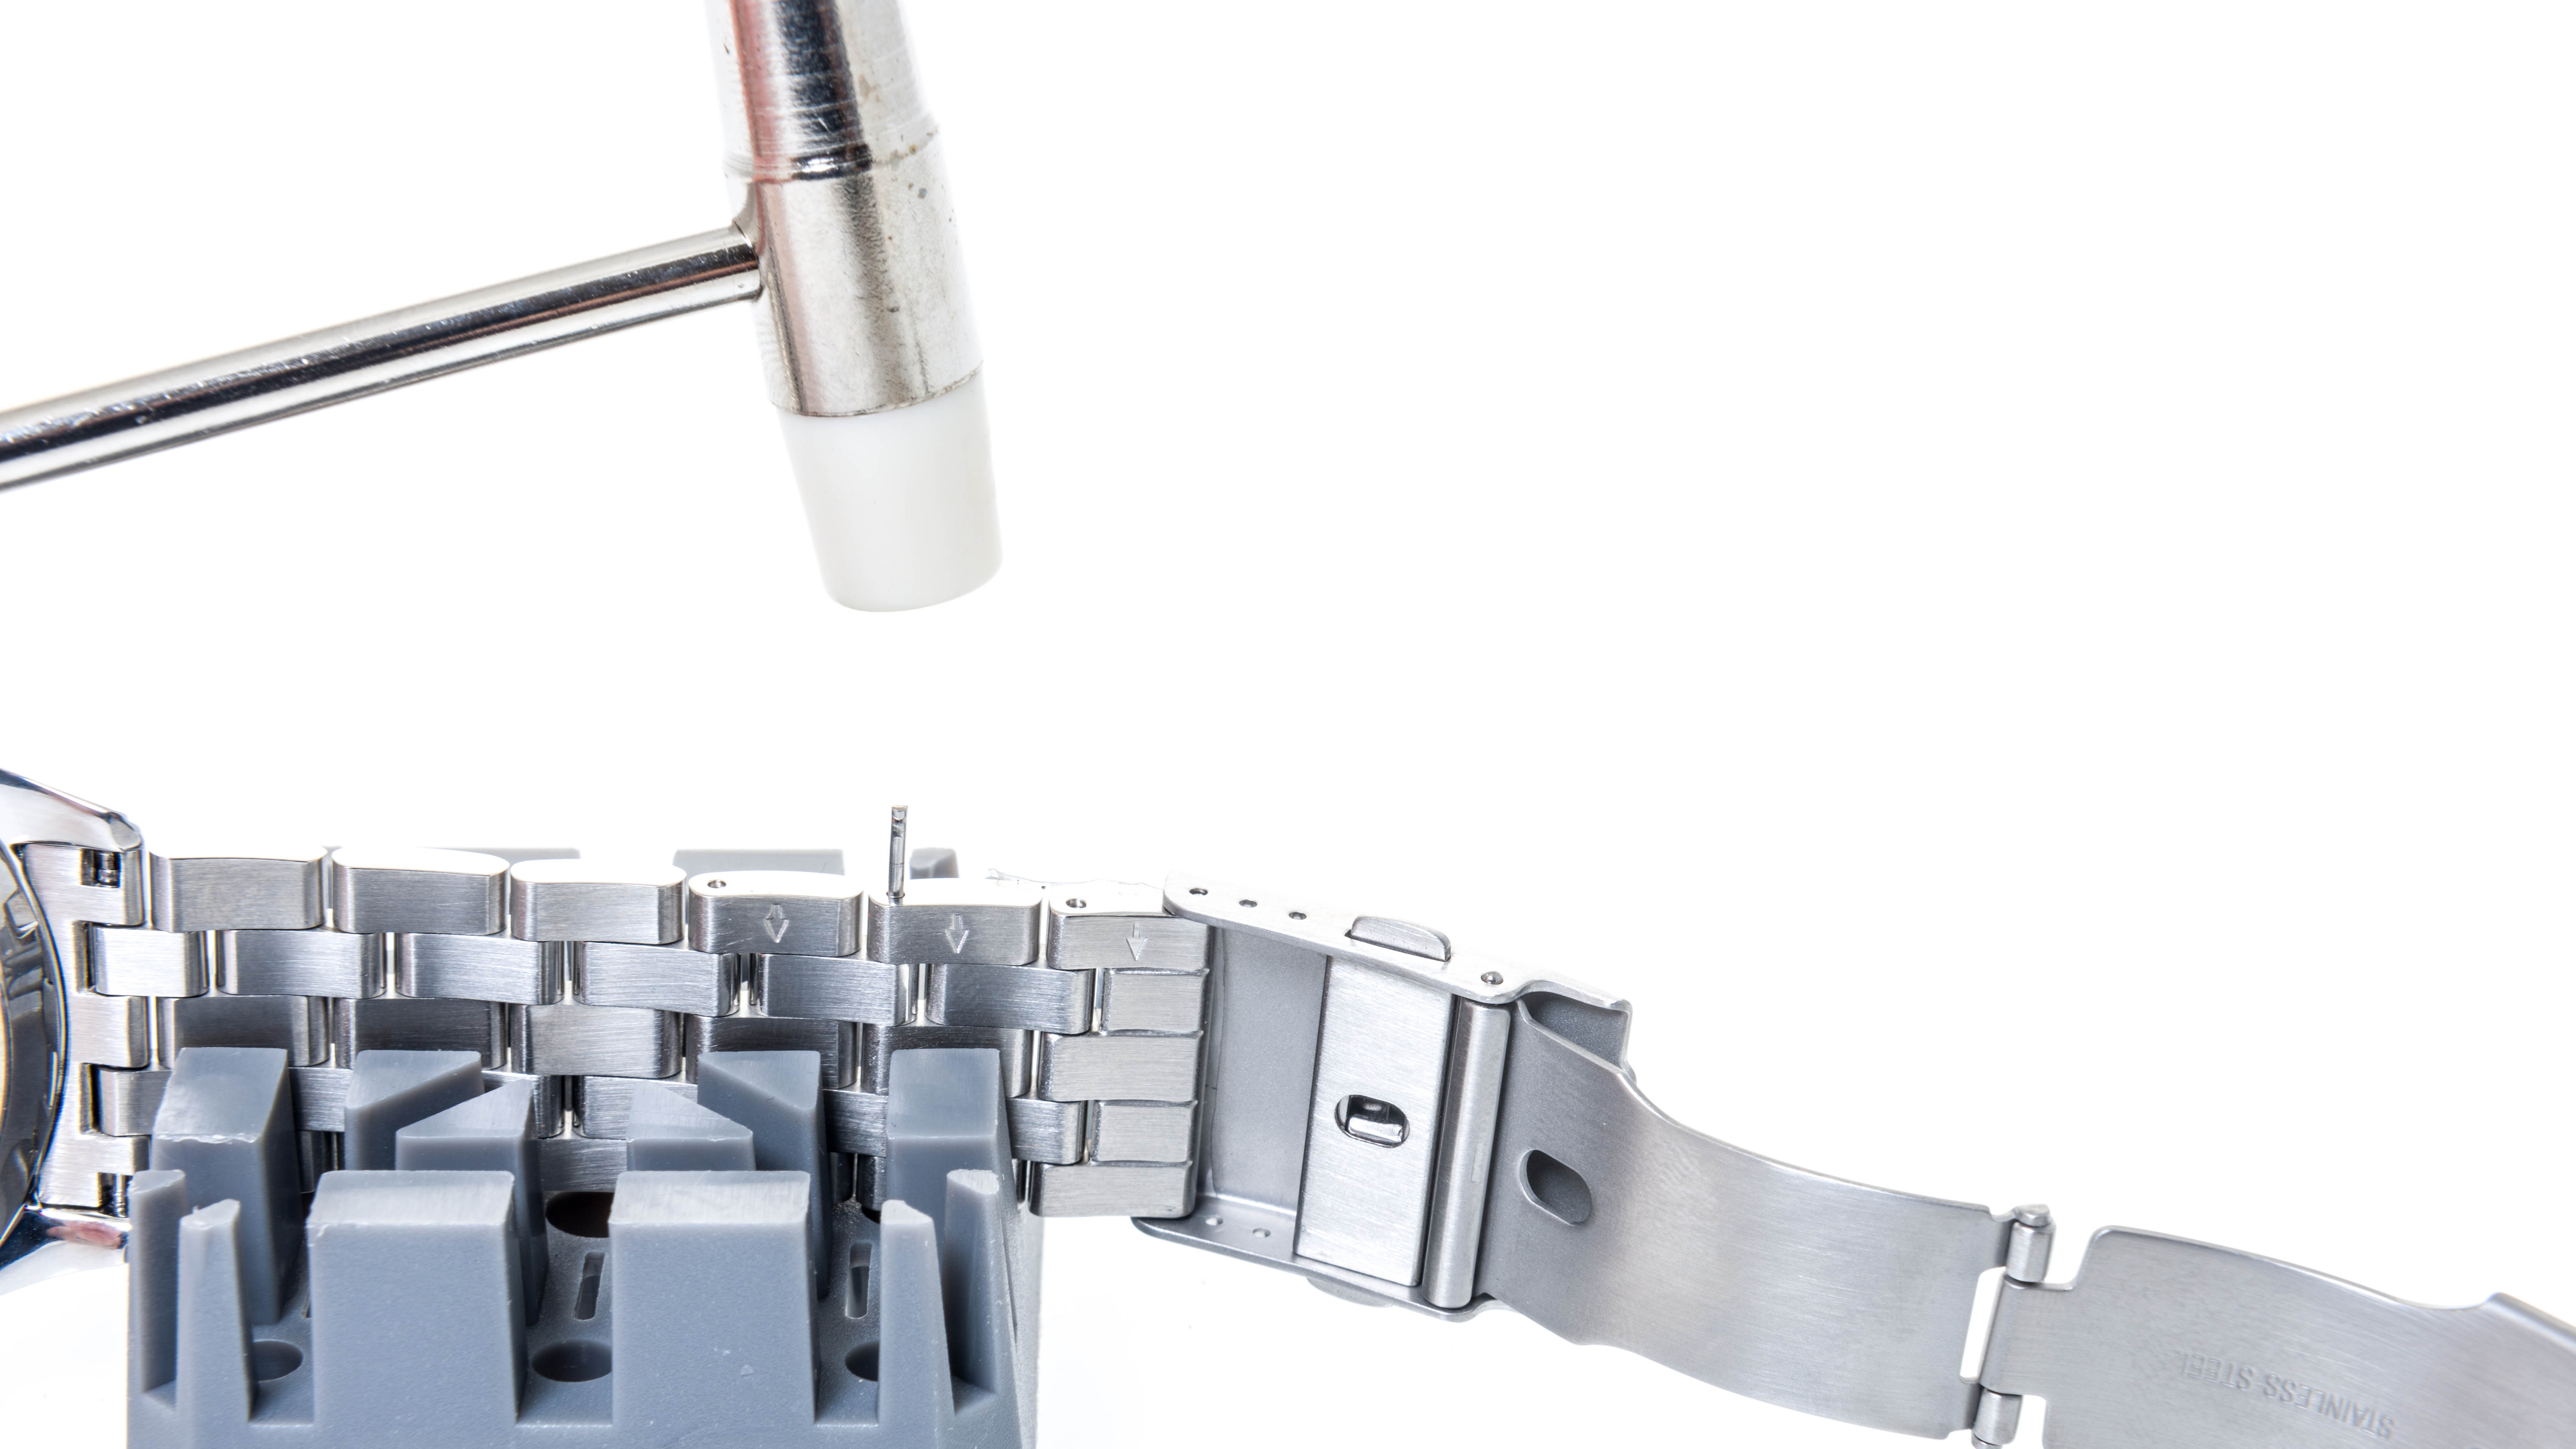
5. If you’re using a watch tool kit, such as the EZTool Watch Repair Kit ($19.87, Amazon), then it likely comes with a watch holder. Take a look at the underside of your metal strap. You should notice some small arrows on the links nearest the clasp. Place the watch in the holder with those arrows pointing downwards. These essentially represent the direction you should remove the pins. If you can't see any arrows, your pins may be a screw head, in which case move onto step 7.
Sign up to get the BEST of Tom's Guide direct to your inbox.
Get instant access to breaking news, the hottest reviews, great deals and helpful tips.
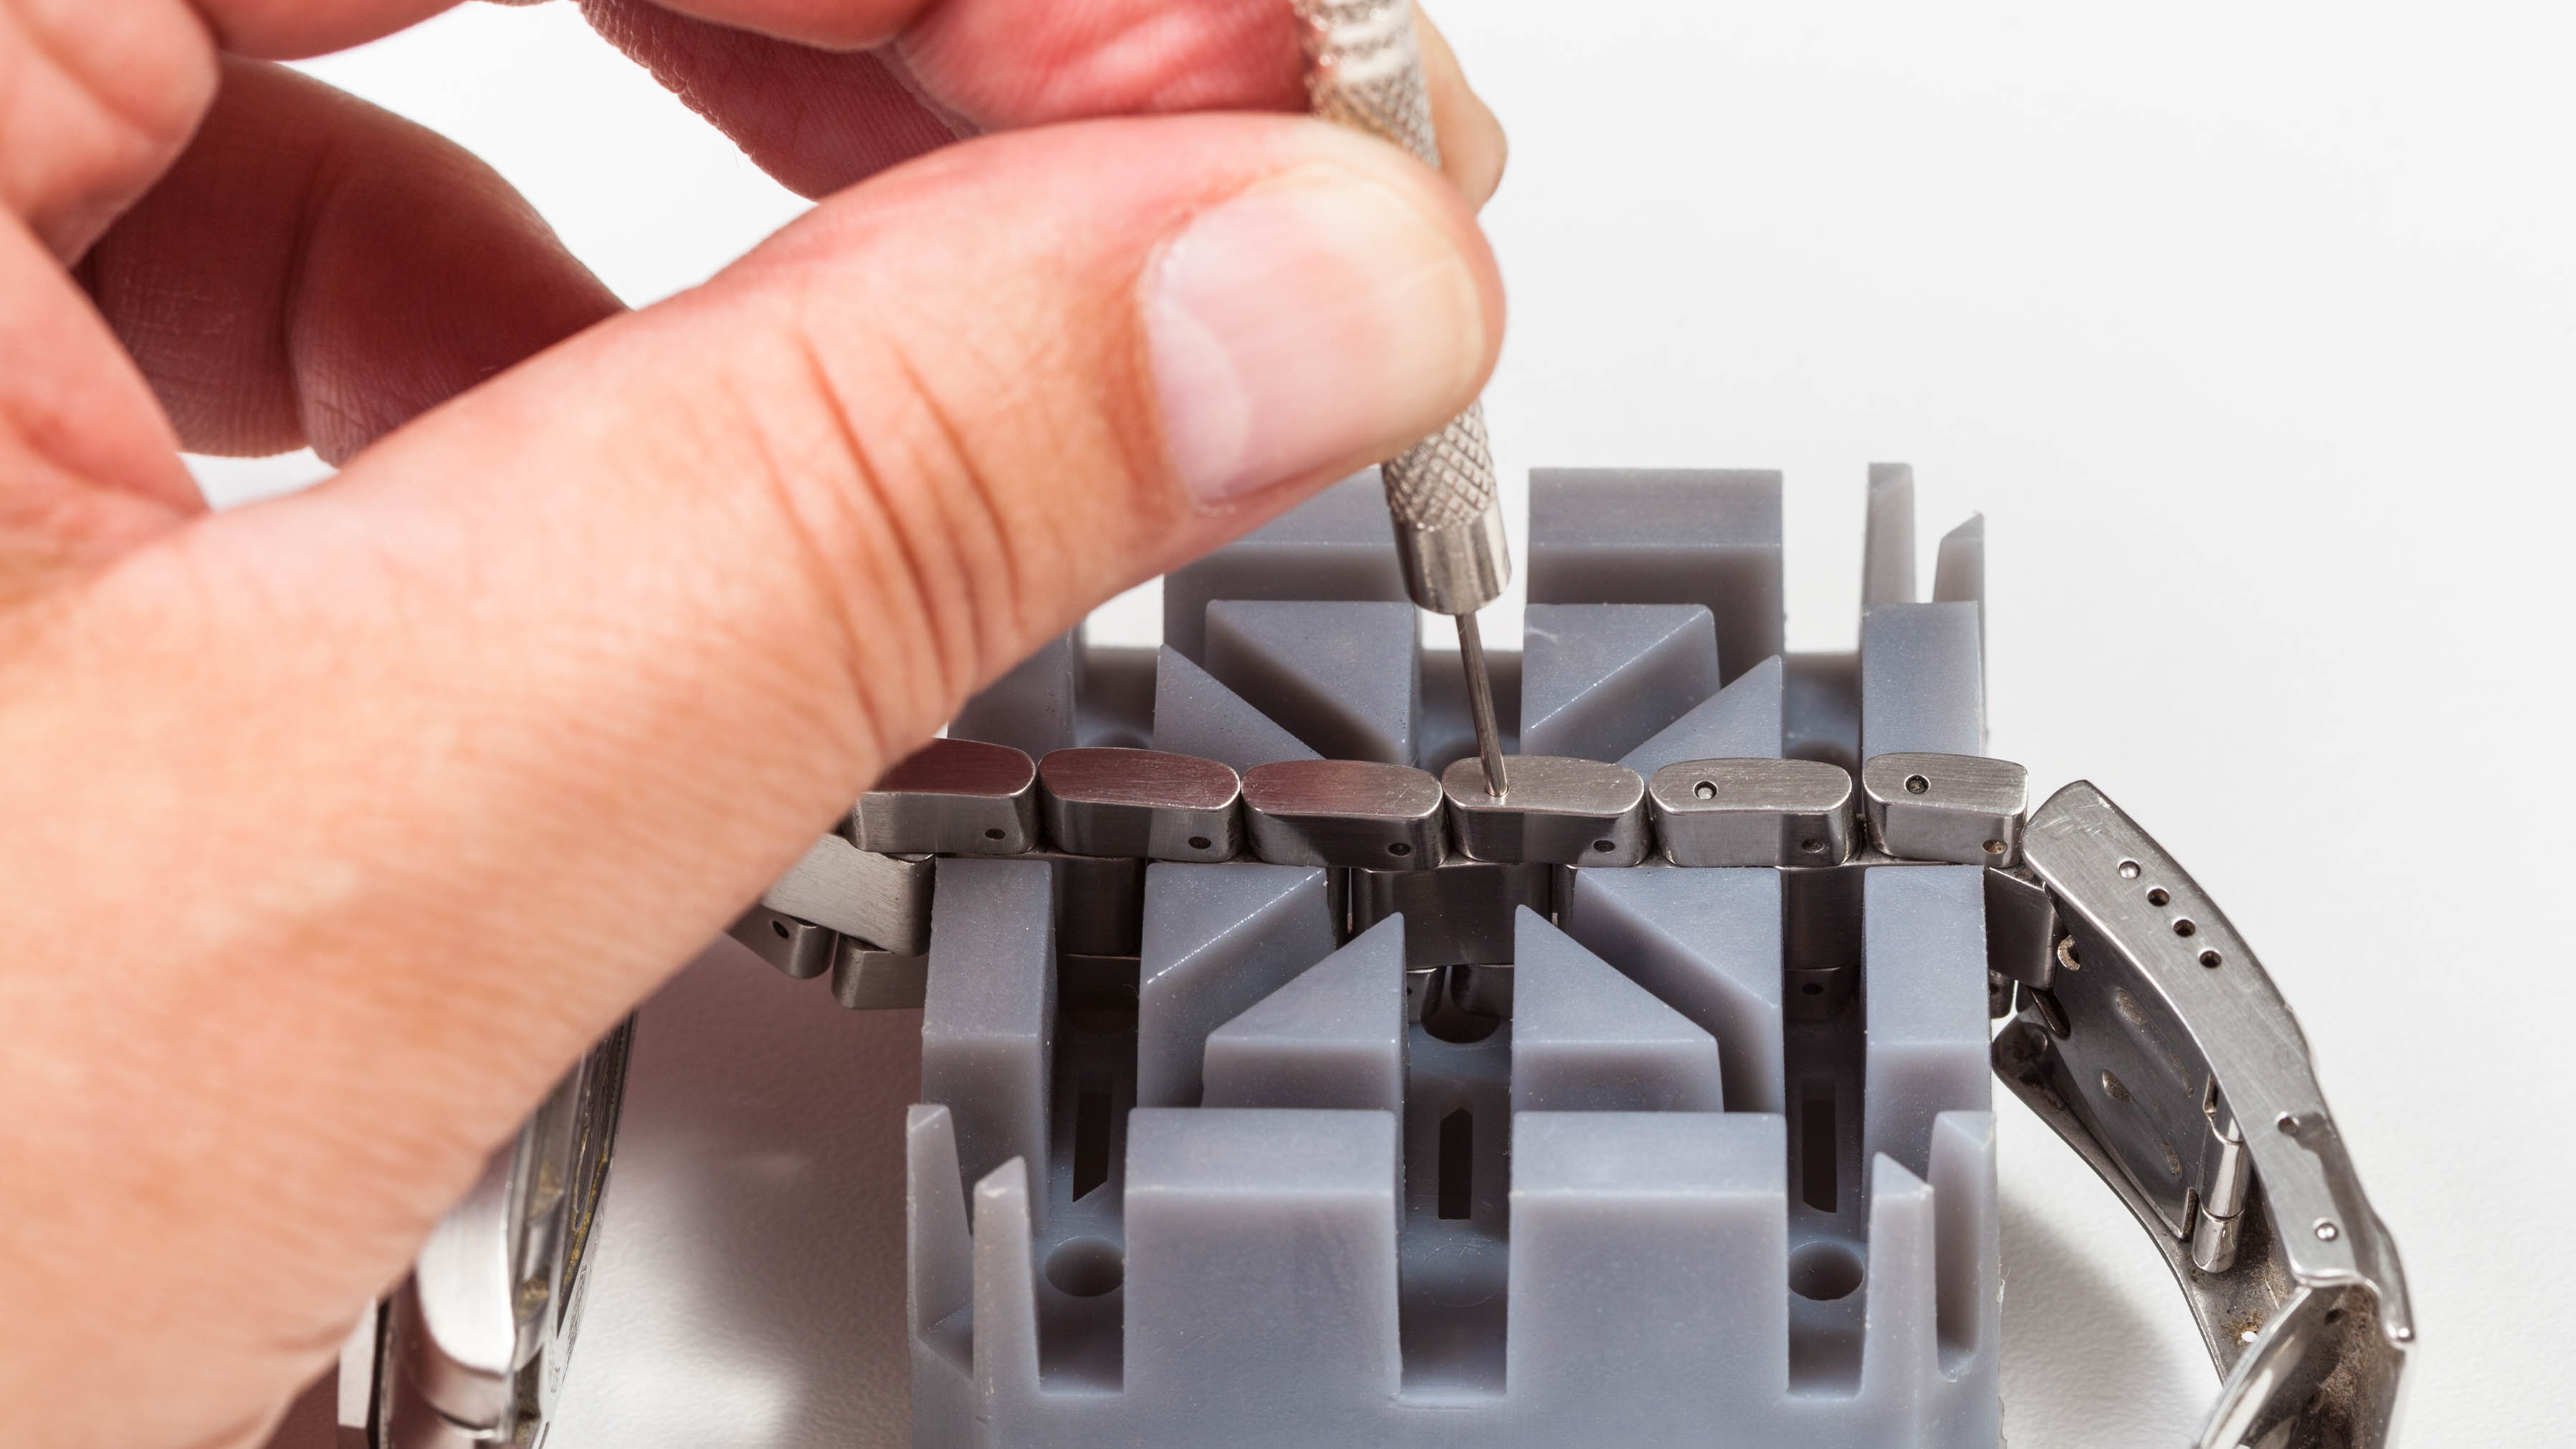
6. You then want to insert the pin pusher over the pin for the relevant number of links you want to remove — remember, you want to remove half on each side of the clasp. Then, using the included hammer (a regular hammer can also work if you’re careful), lightly tap the pin pusher until you can’t push it any further into the link. Rotate your watch and pull the pin loose from the other side using a pair of pliers of your fingers. Be ready for the links to fall free and watch out for ferrules falling loose too. Don’t lose the pins or ferrules — keep them to hand on a tray.
7. Depending on your watch, the pins may have a screw head, in which case you’ll want to use a 1mm screwdriver to remove these instead. Simply turn the pins counterclockwise and use pliers to remove.
8. You’ll want to repeat this method on both immediate sides of the clasp itself as well as for the number of links you want to remove on the other side of the strap.
9. Set the excess links aside in a bag. Now you’re ready to refit the clasp. Rotate the watch in your watch holder so the arrows now point upwards.

10. You now need to connect the links to the clasp by reinserting the pins from the direction that you knocked them out. Place the pins in the holes after lining up the clasp and any ferrules, and gently tap them with the hammer until they’re knocked back into place. Alternatively, screw them back into a place if you used a screwdriver to remove.
And that’s it, your watch strap should now fit you perfectly. Remember to keep the spare links and pins in case you should ever need them in the future.
For more DIY tips, tricks, and how-tos, check out our guides on how to repair a leaky bathtub faucet, how to install laminate flooring and how to make your washing machine last longer and need fewer repairs.

Katie Mortram used to be a Homes Editor for Tom's Guide, where she oversaw everything from kitchen appliances to gardening tools, as well as smart home tech. Specializing in providing expert advice for cleaning and home manintenance, she now works as Household Advice Editor for Good Housekeeping.
